


Make some fancy schmancy cloth napkins!
It’s the perfect project is to practice straight-line sewing on the machine!
You get to practice sewing around the edge with a nice, straight, 1/4 inch seam allowance, and then you get to go around the edge again with a topstitch.
Easy peasy!
So here’s a free pattern for you.
What You’ll Need for Each Cloth Napkin
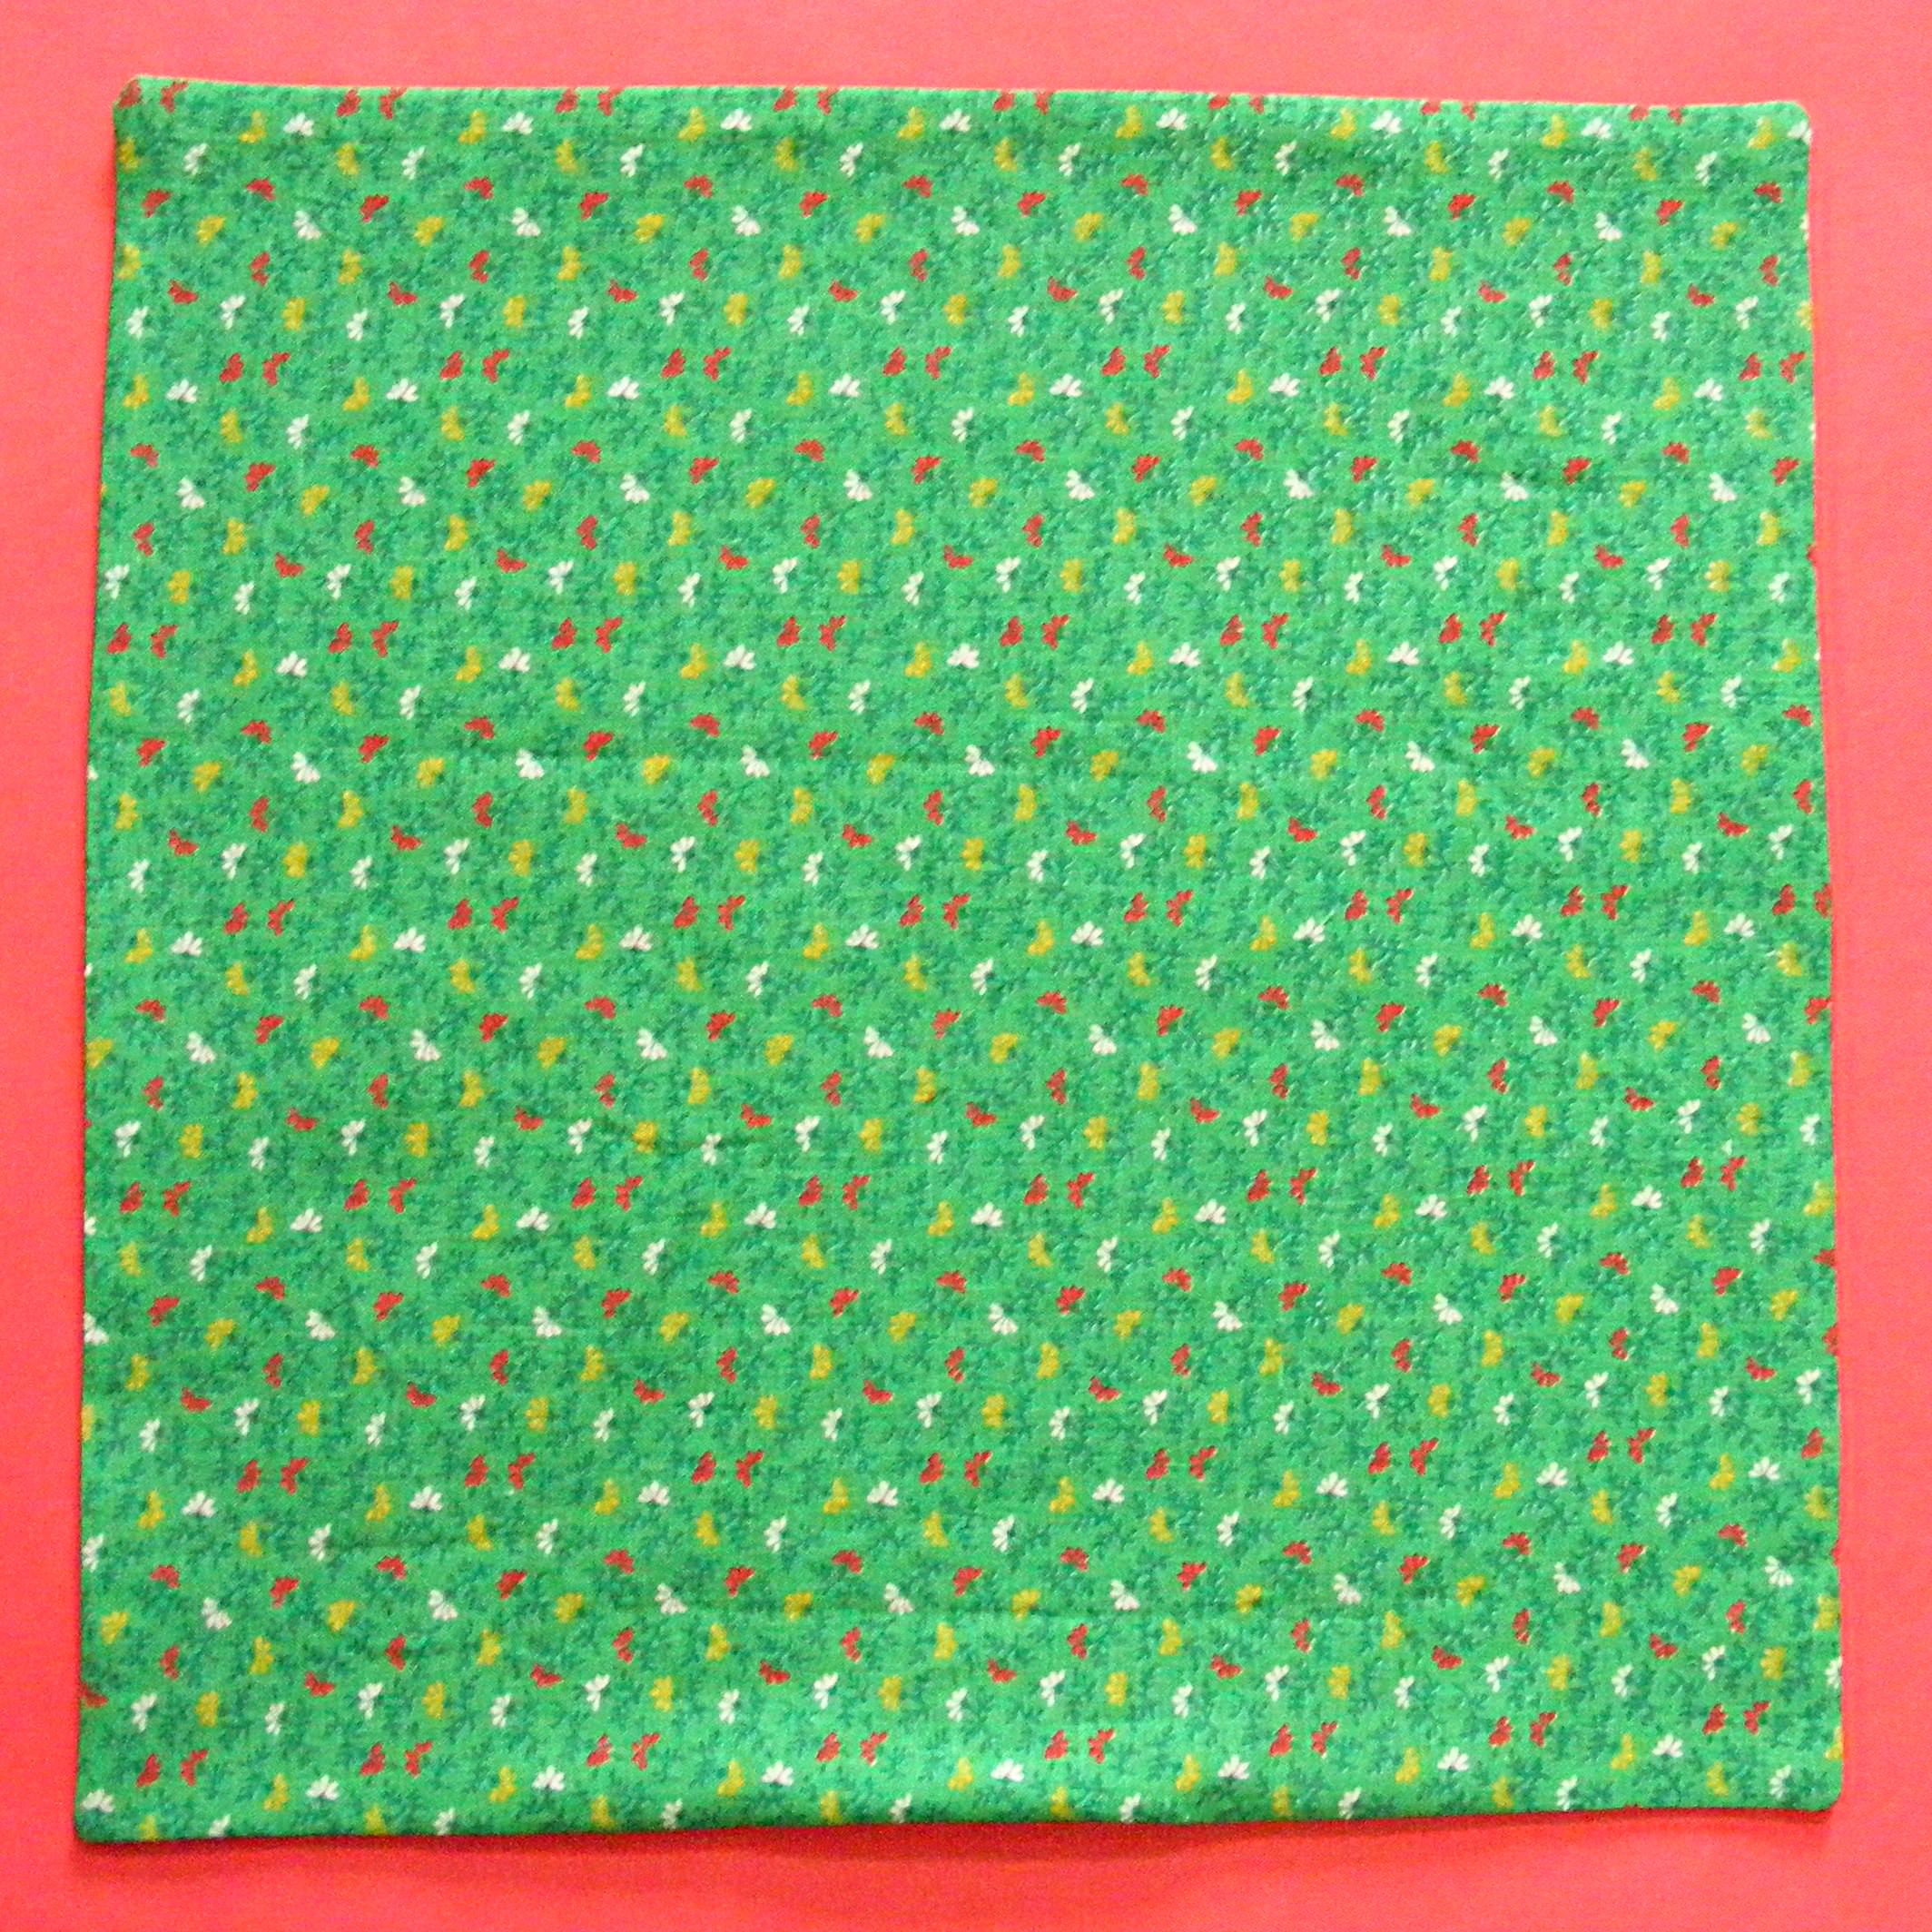
- Two squares of fabric. I use 12-inch squares but you could go a little larger or smaller if you like. The two fabrics can match, can coordinate, or can be completely random – it’s all up to you. I usually use a print and a solid that I think looks good with it.
- Matching thread
- Sewing machine
- Iron
- Pins
You read the part about this being good for practicing sewing straight lines, right? This is definitely for beginners.
If you want to get really fancy you can embroider on one of the squares of fabric before you sew them together. Maybe an initial? Or a flower? Or a small beetle?
There are a bunch of embroidery patterns here, and this book has over 500 motifs, including really unusual ones like chainsaws, lumberjacks, succulents, toys, and kitchen equipment.
Step 1
Iron your fabric so it’s nice and smooth.
Stack the two squares of fabric with their right sides together and their edges lined up. The napkin should be “inside-out.”
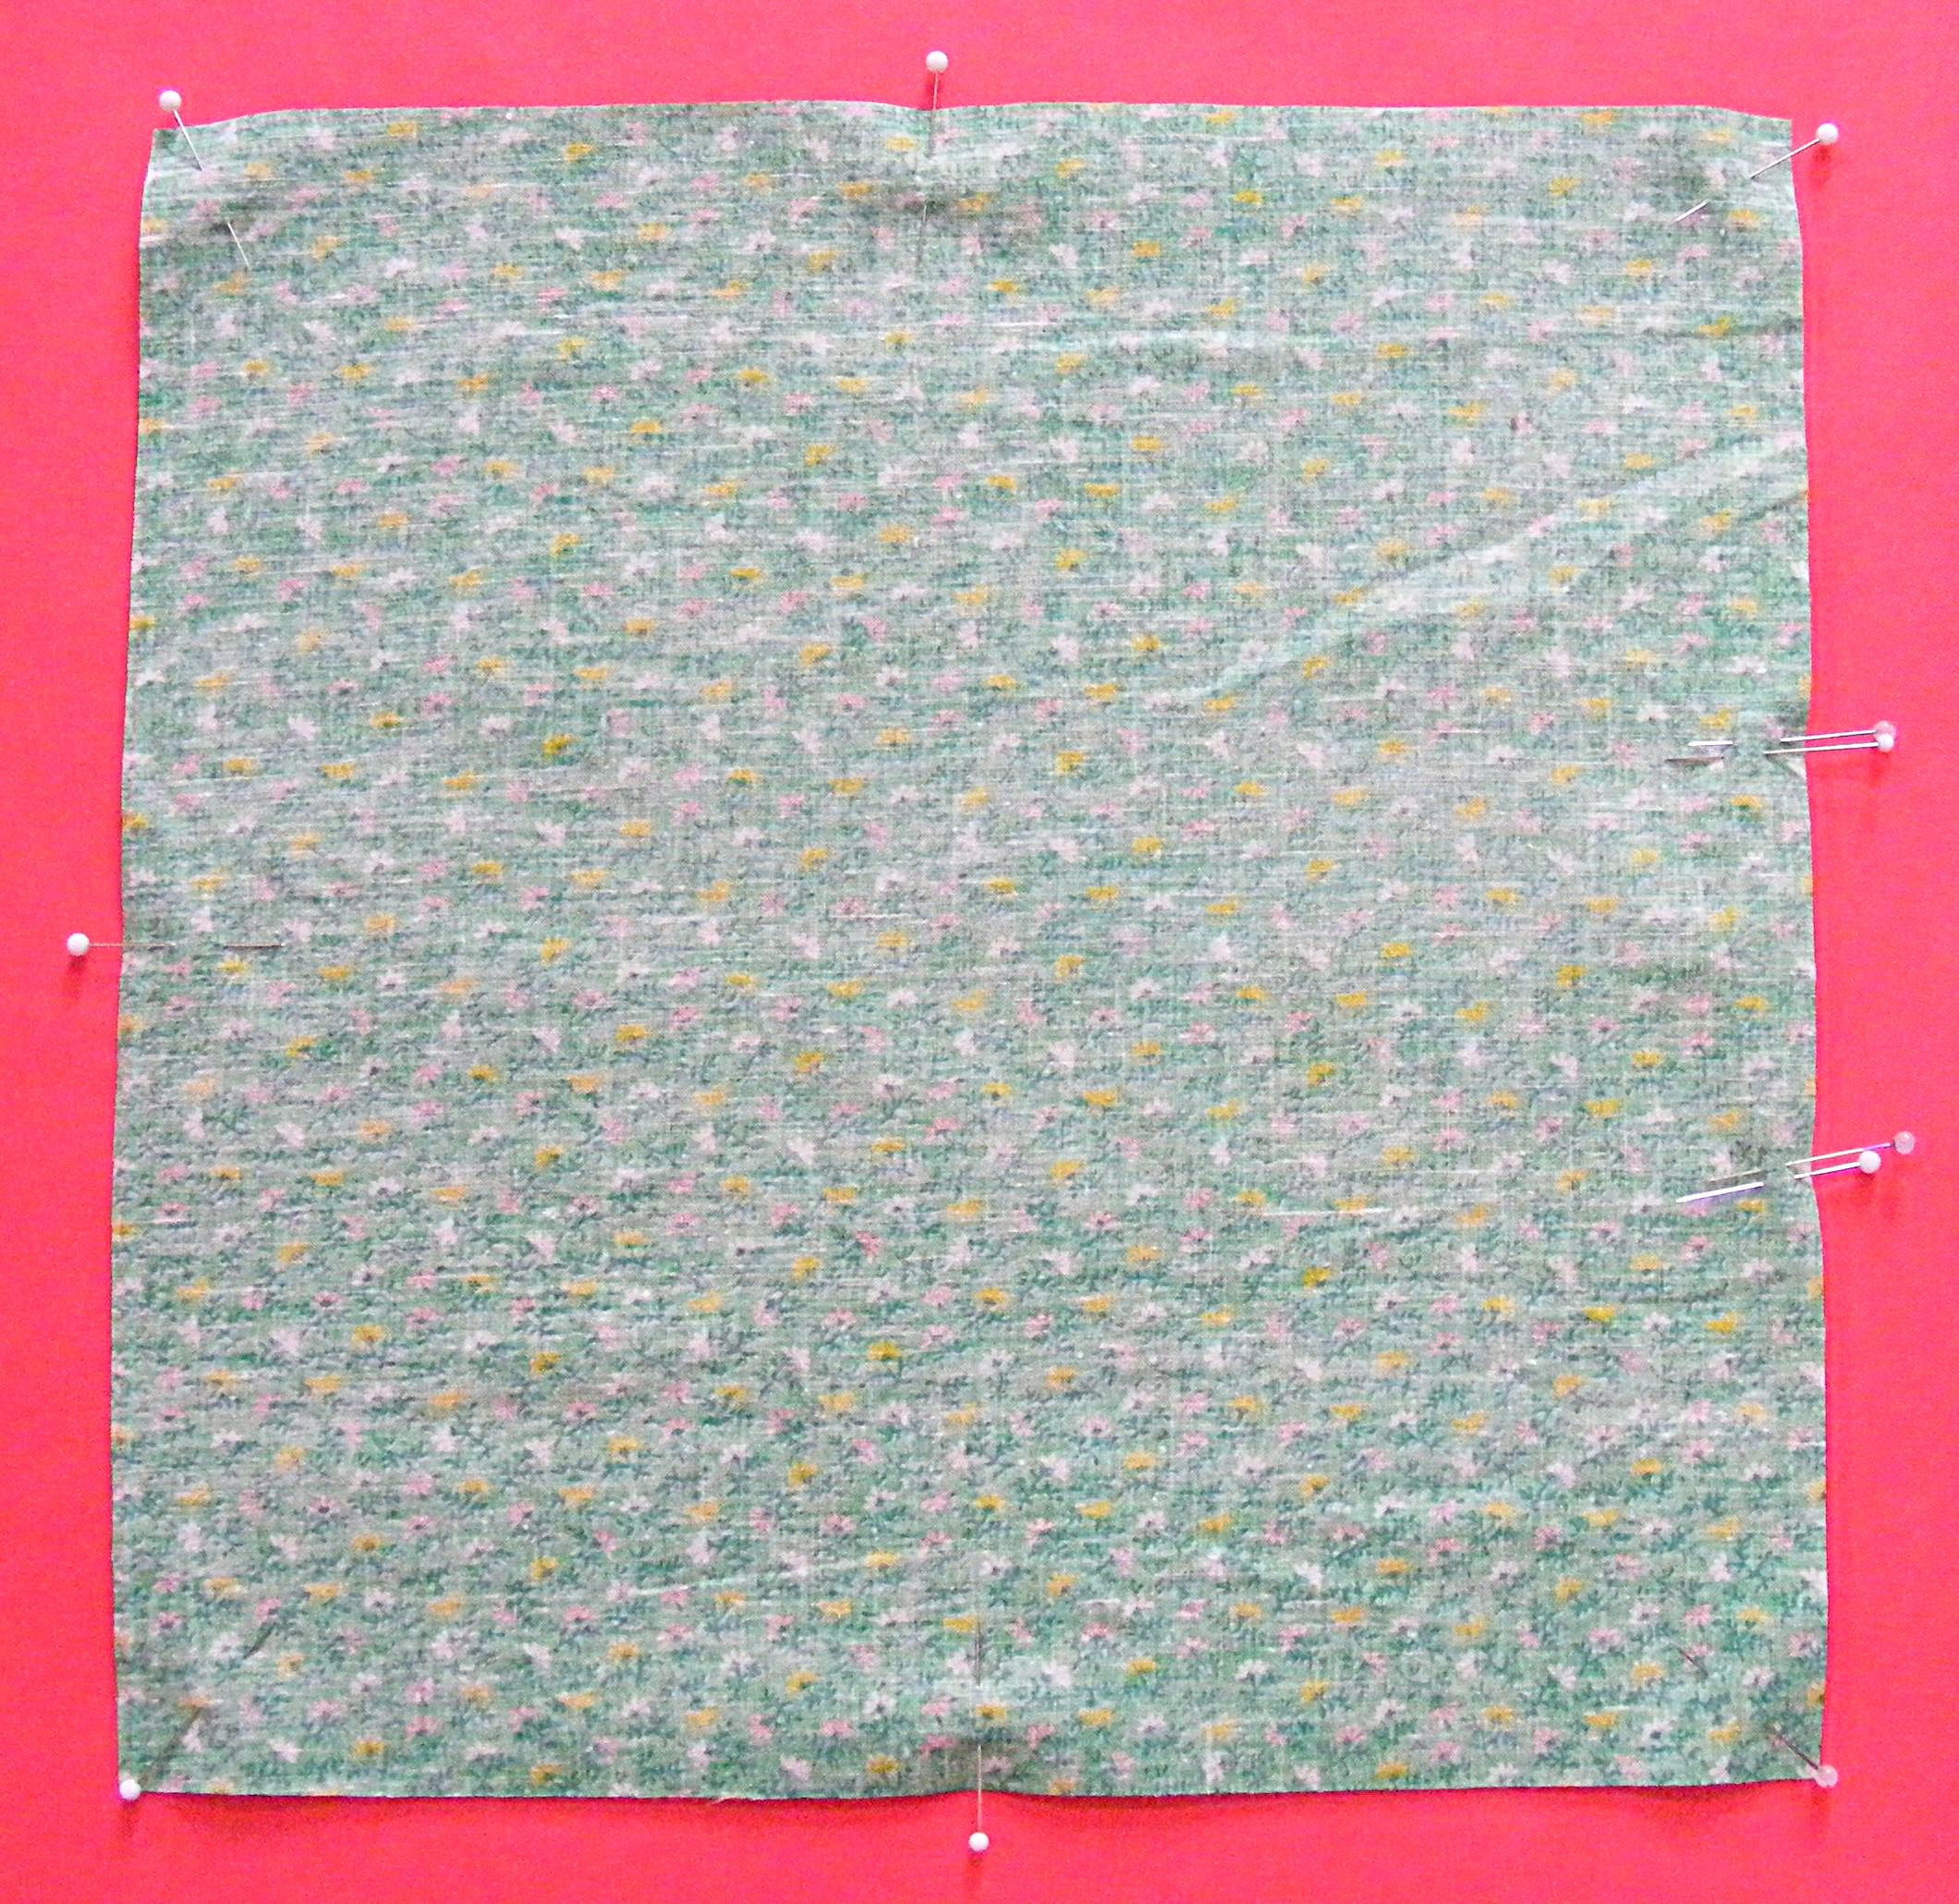
Pin the two layers together around the edges.
Step 2
Leave an opening of at least 3 inches so you can turn the napkin right-side-out after stitching.
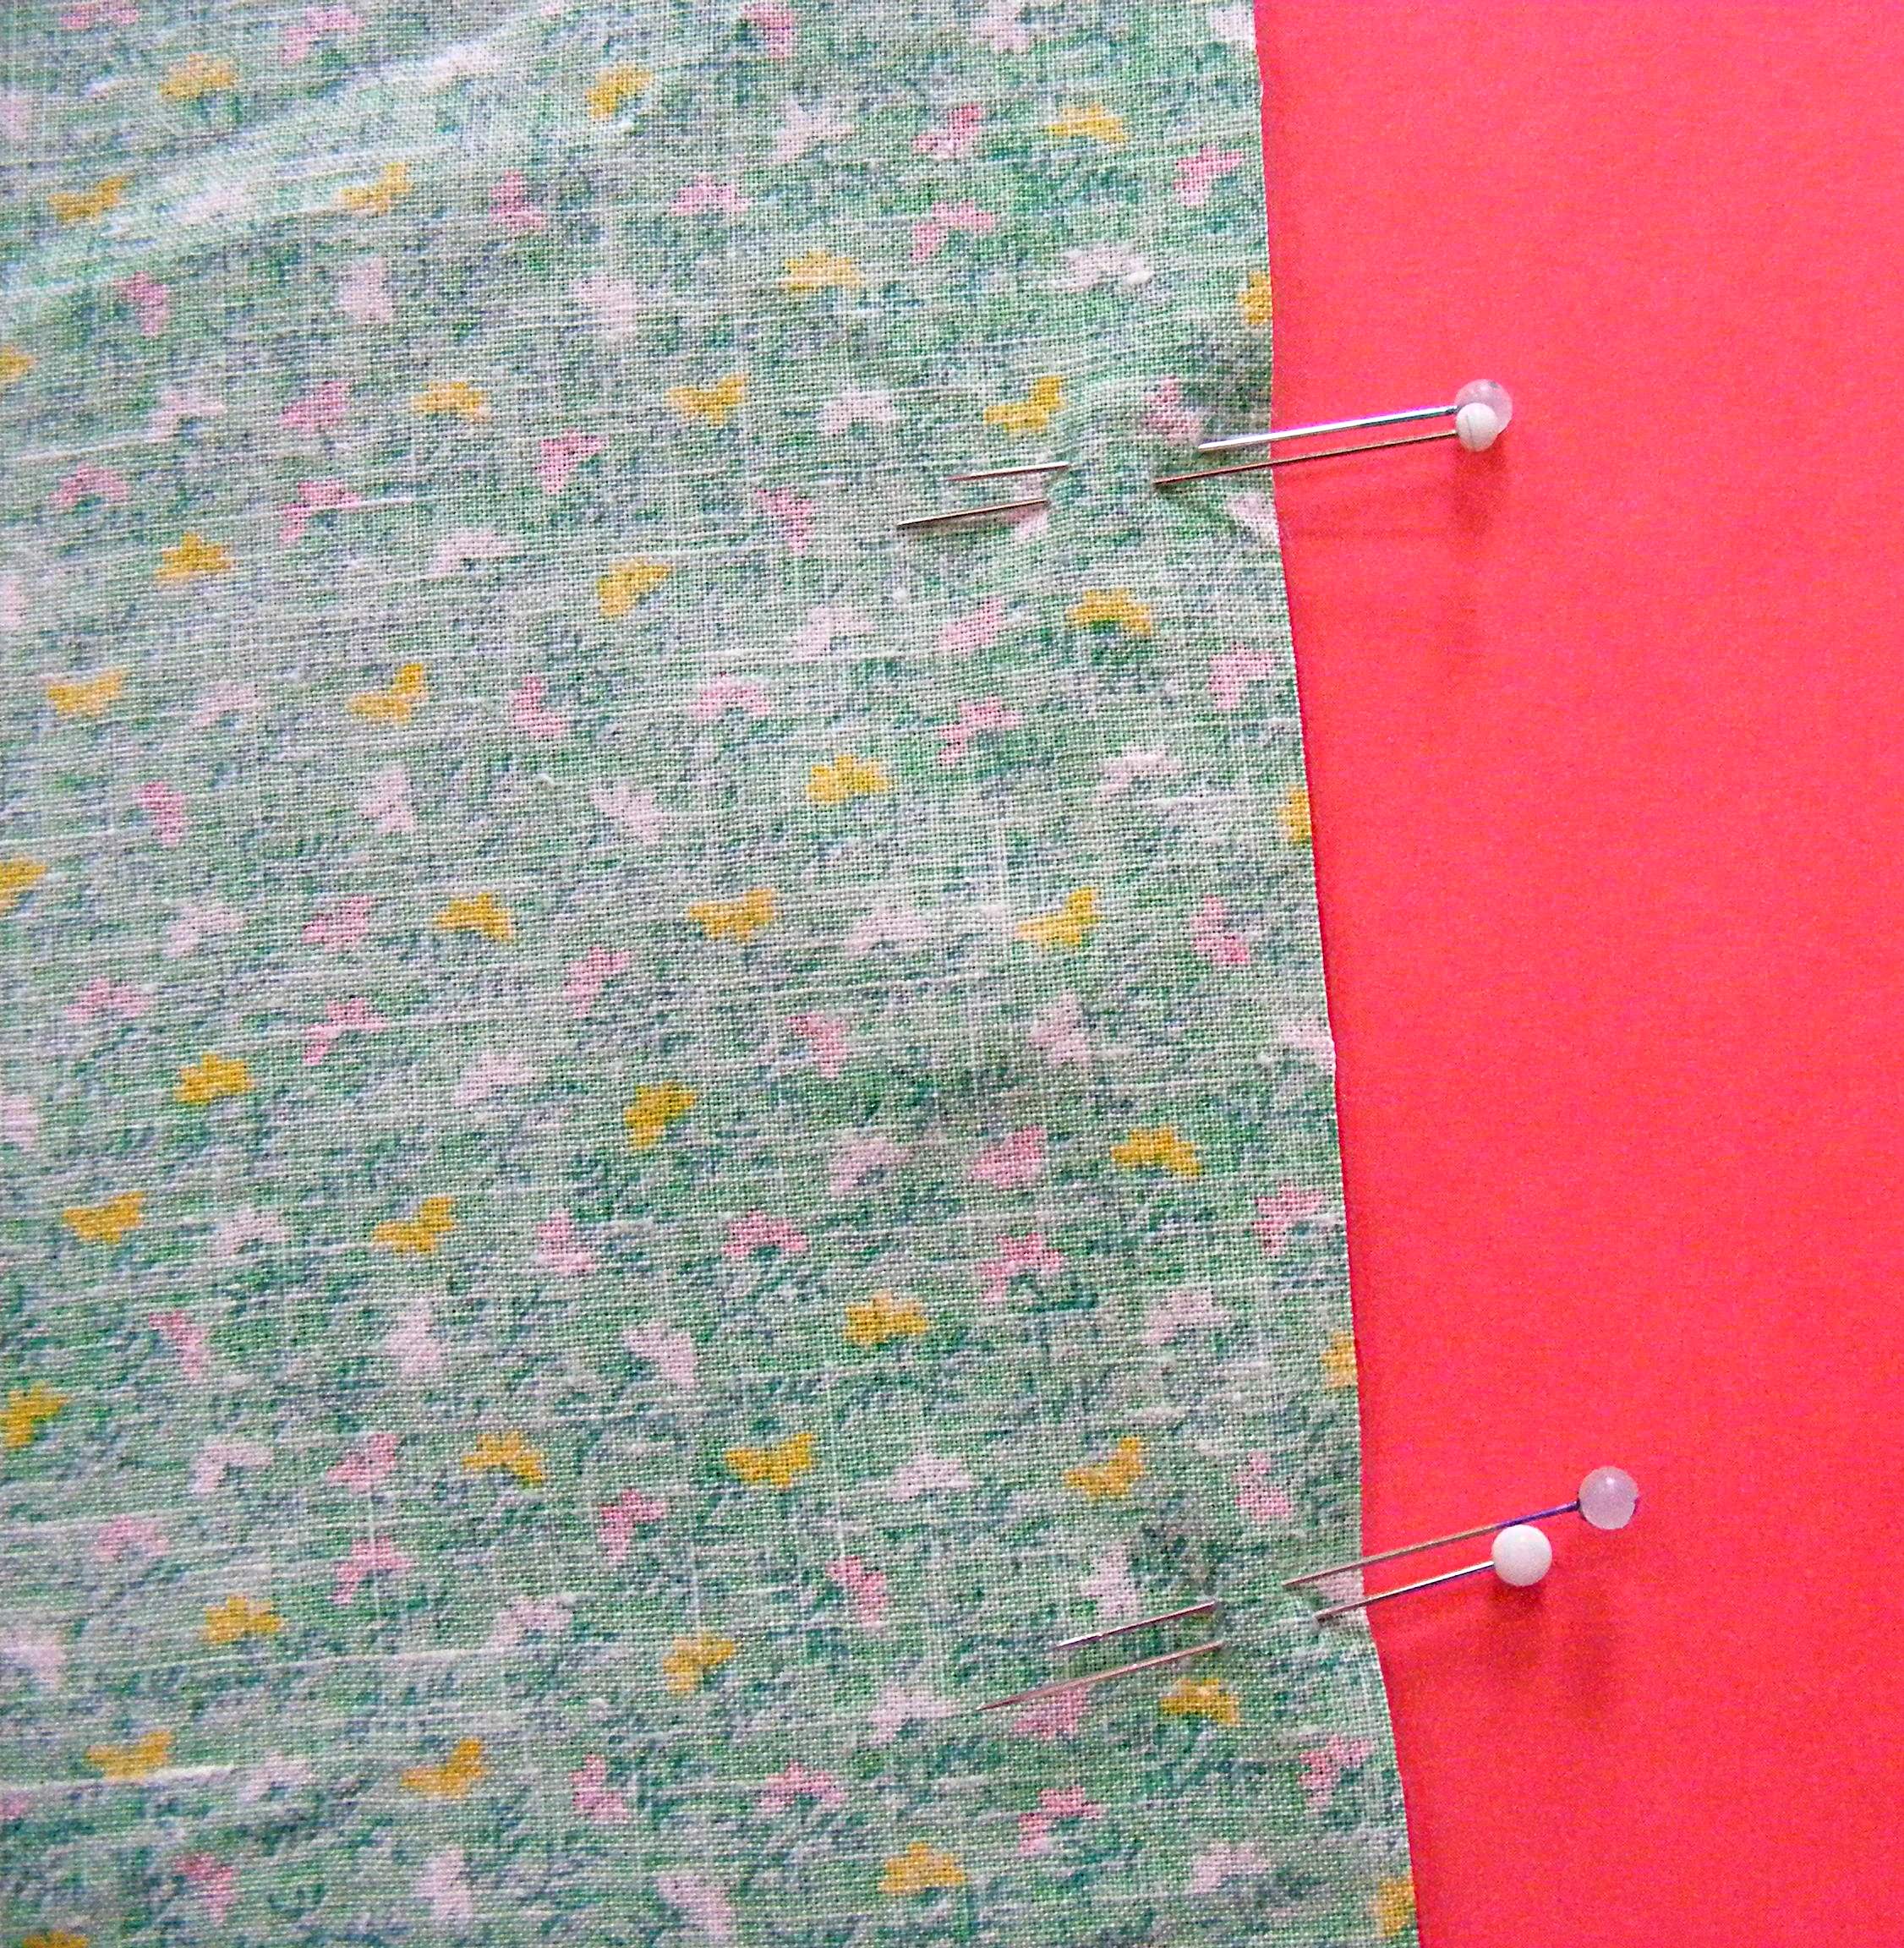
I like to mark the beginning and end of my opening with double pins so I remember not to sew it closed.
Step 3
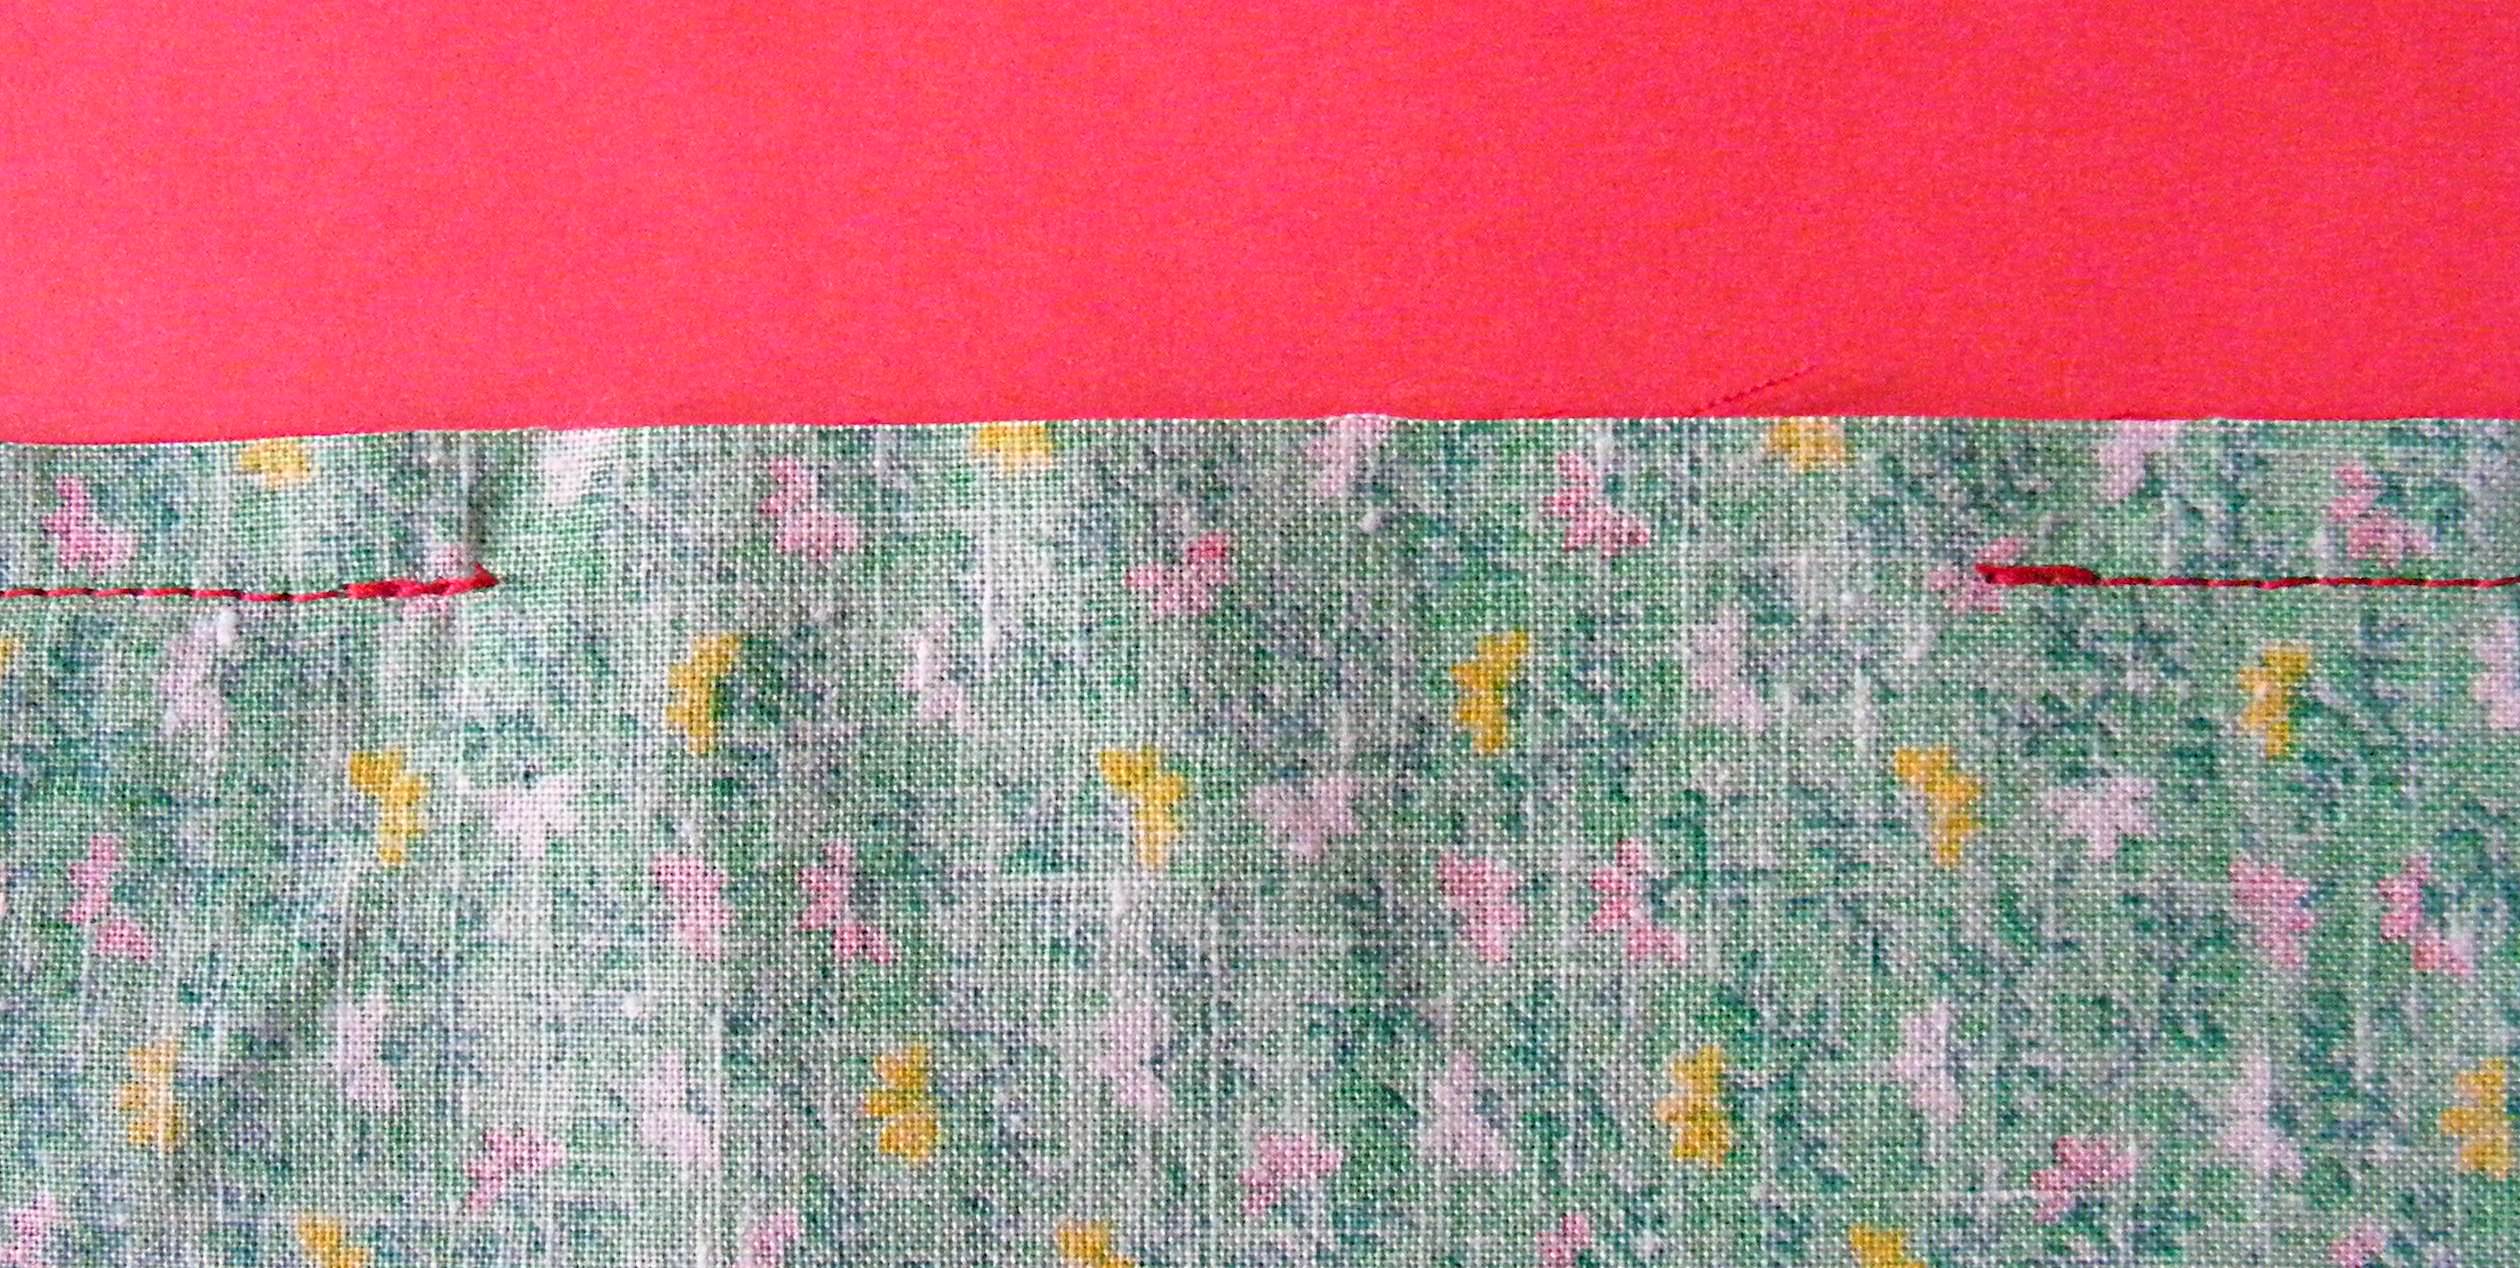
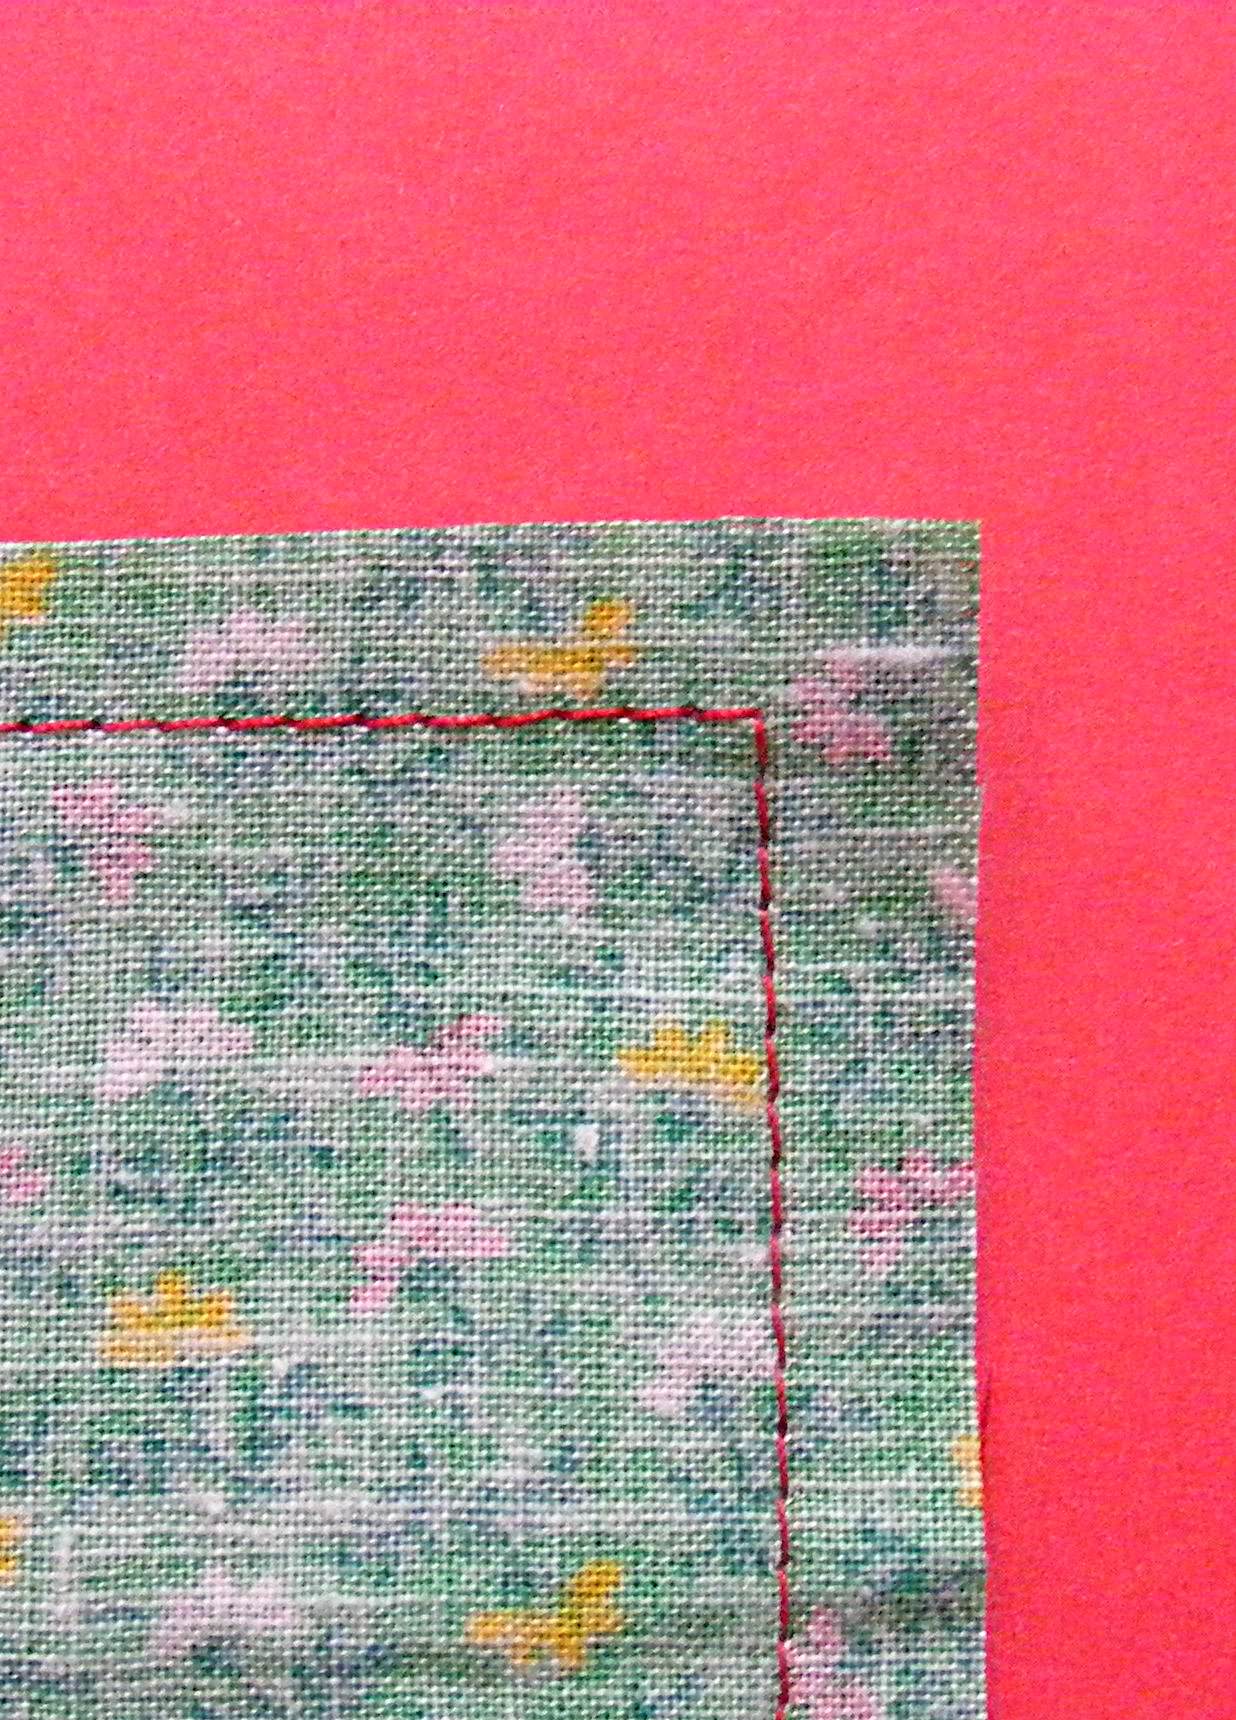
Using 1/4 inch seam allowance, stitch all around the edge of the napkin – except for the part you’re leaving open.
Remember to backstitch a few stitches at the beginning and end of your stitching.
The opening should look like this.
And the corners should look like this.
If you need help with your seam allowance or turning corners, watch this video.
Step 4
Trim away excess fabric at each corner. This will help make your corners nice and flat when you turn the napkin right-side-out.

Be careful not to cut through your stitches – your cut should be just a little bit out from the corner of your stitching.
Step 5
Turn your napkin right side out. Use a chopstick (or some other pointy, but not too pointy tool) to help pop the corners all the way out.
Smooth everything out and carefully press all the seams. Take your time and make the sides as square as possible.
Step 6
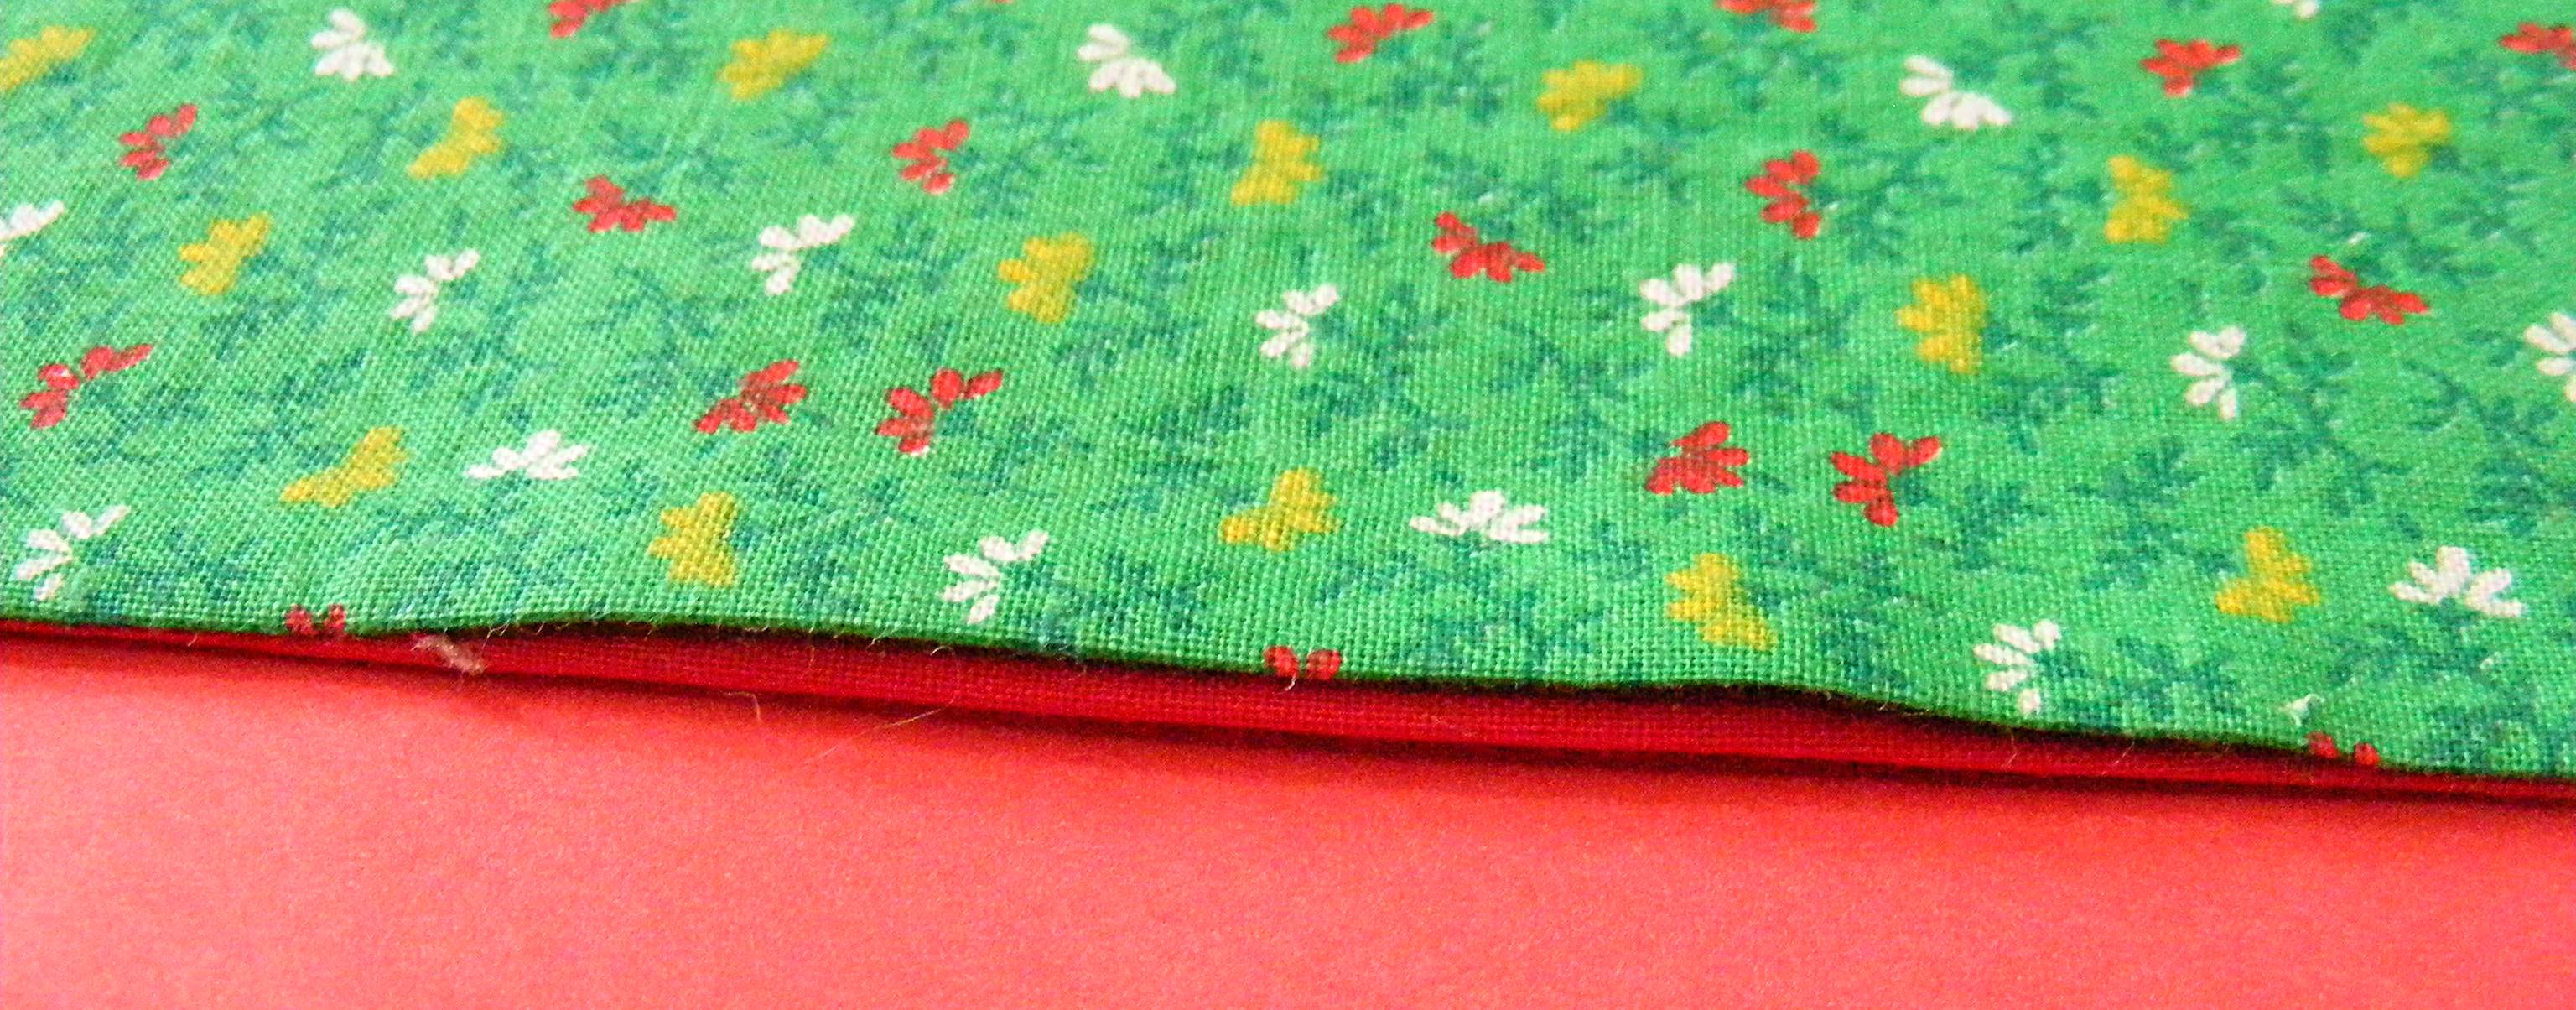
The unstitched edges of your opening should fold in pretty perfectly all by themselves, but give them some help if you need to. They should look like this before pressing. . .
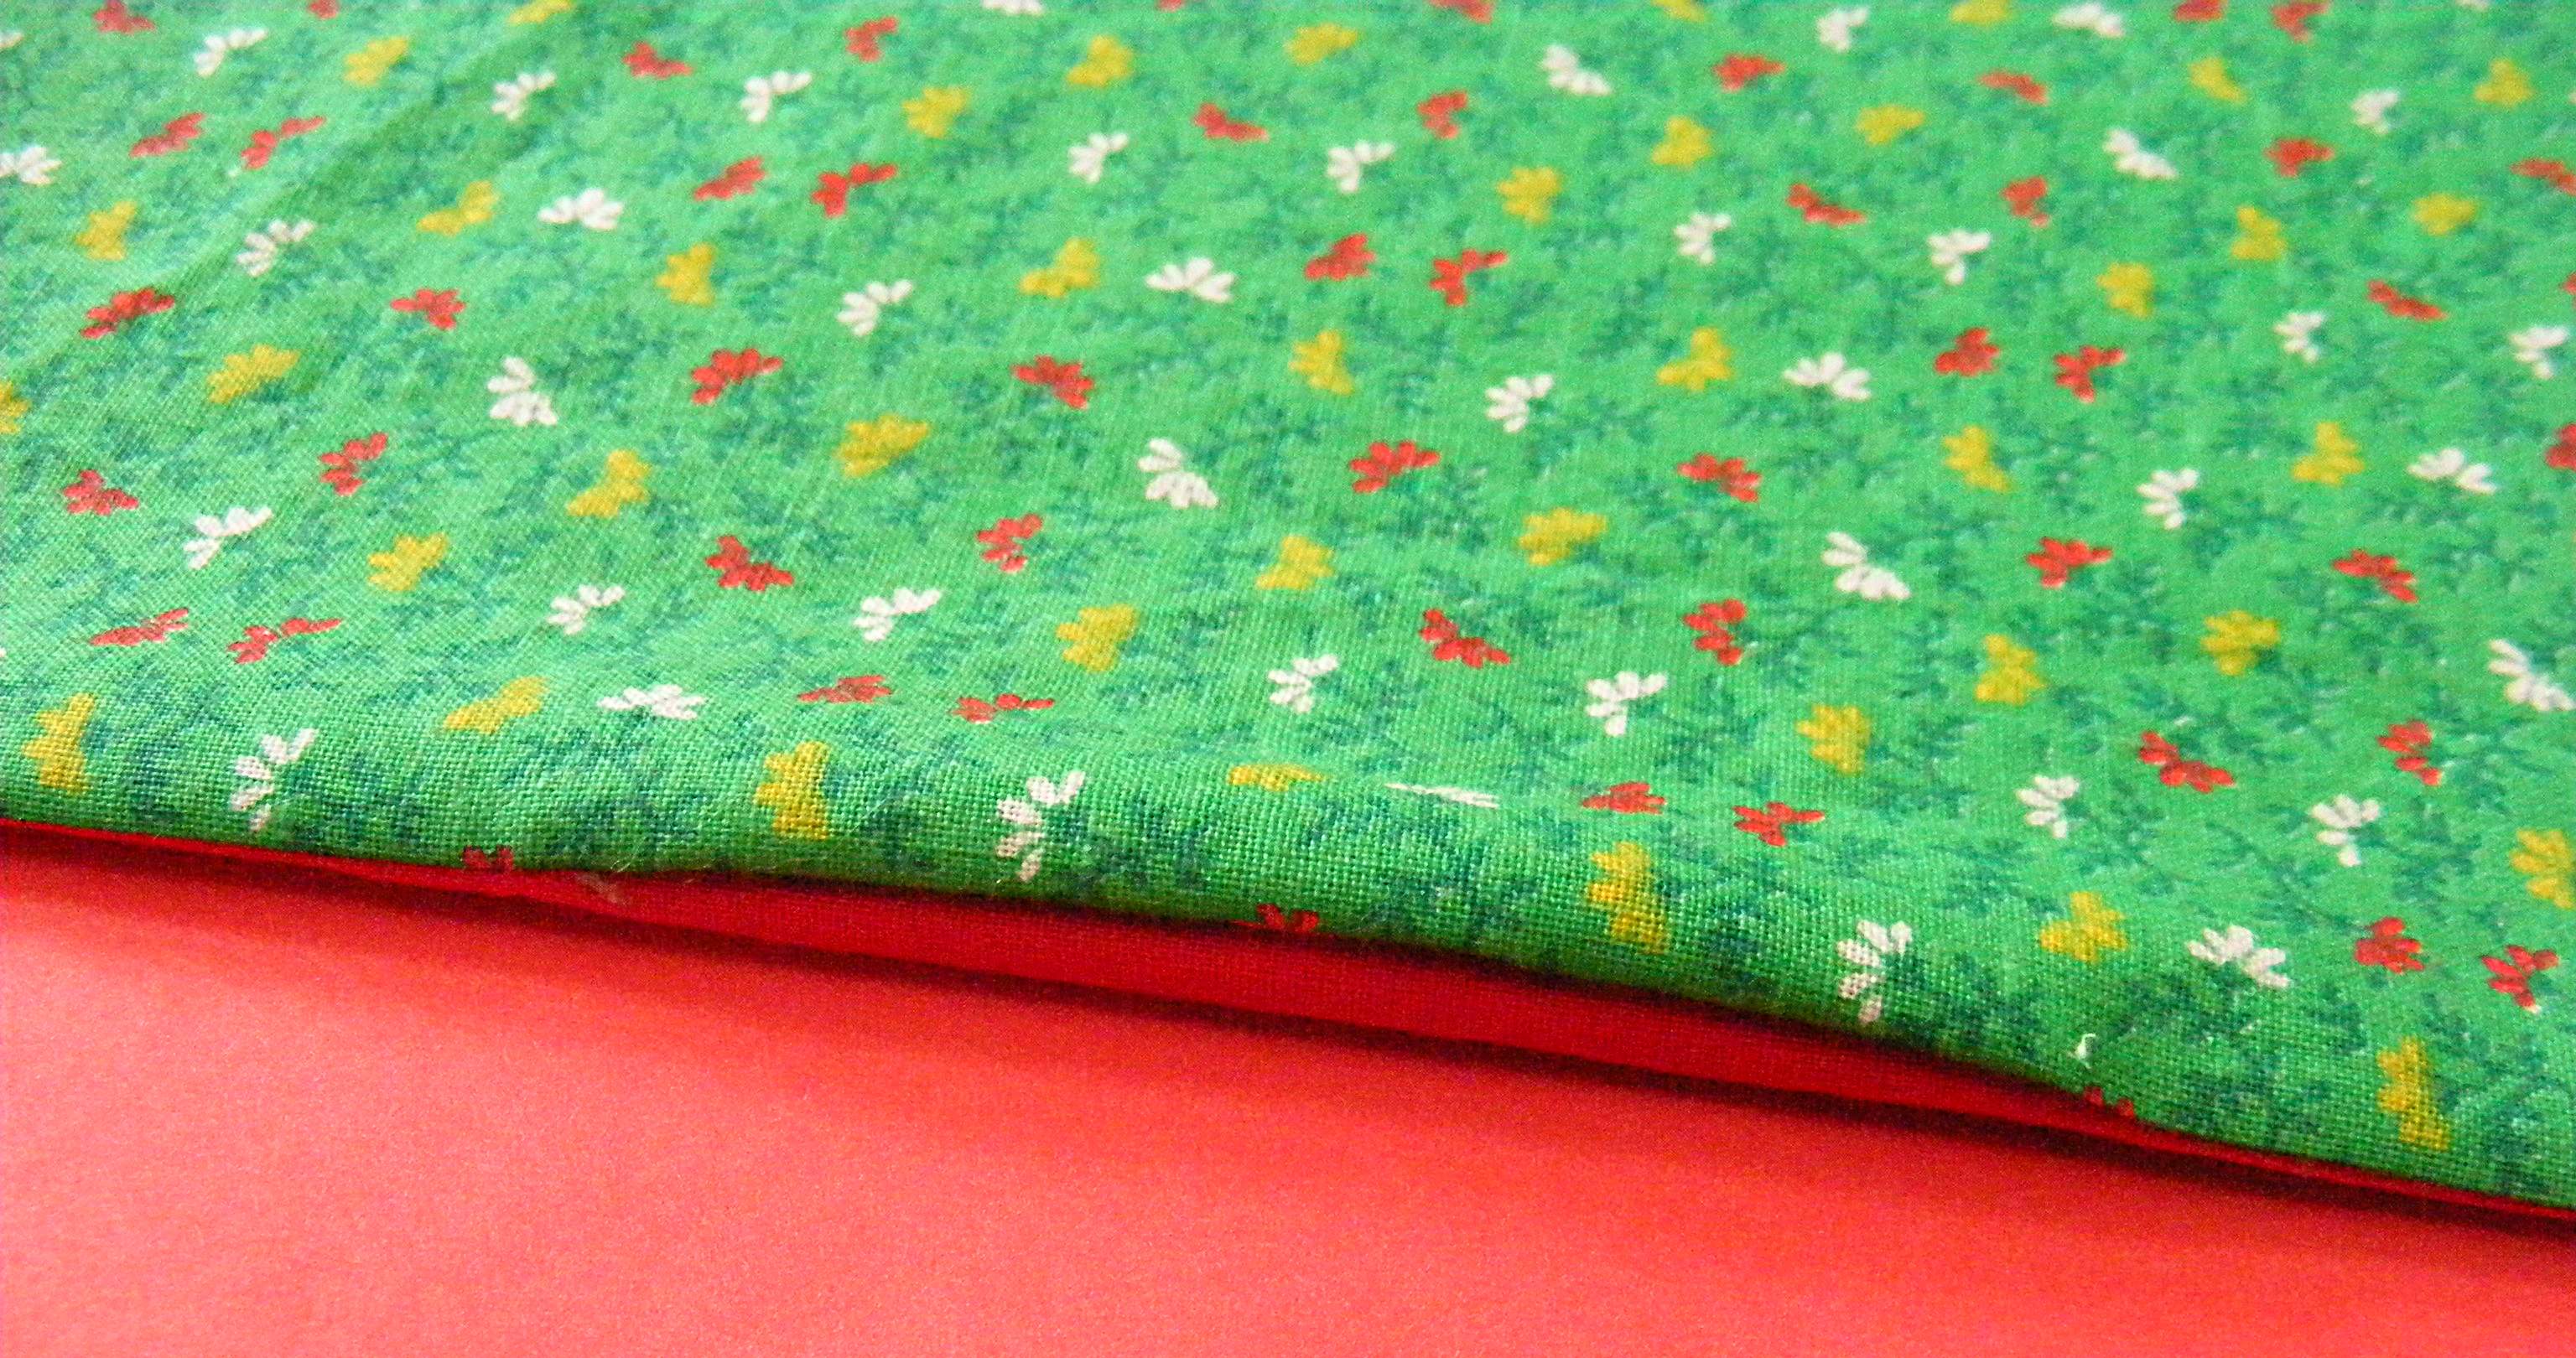
And like this after pressing. . .
Step 7
Now you have two options. You can use ladder stitch to sew up the opening. It’s invisible, but some people don’t like hand stitching.
If you want to do the whole thing by machine, just stitch all the way around the edge, very close to the edge of the napkin. This is called topstitching and there’s a video here showing how to do it.
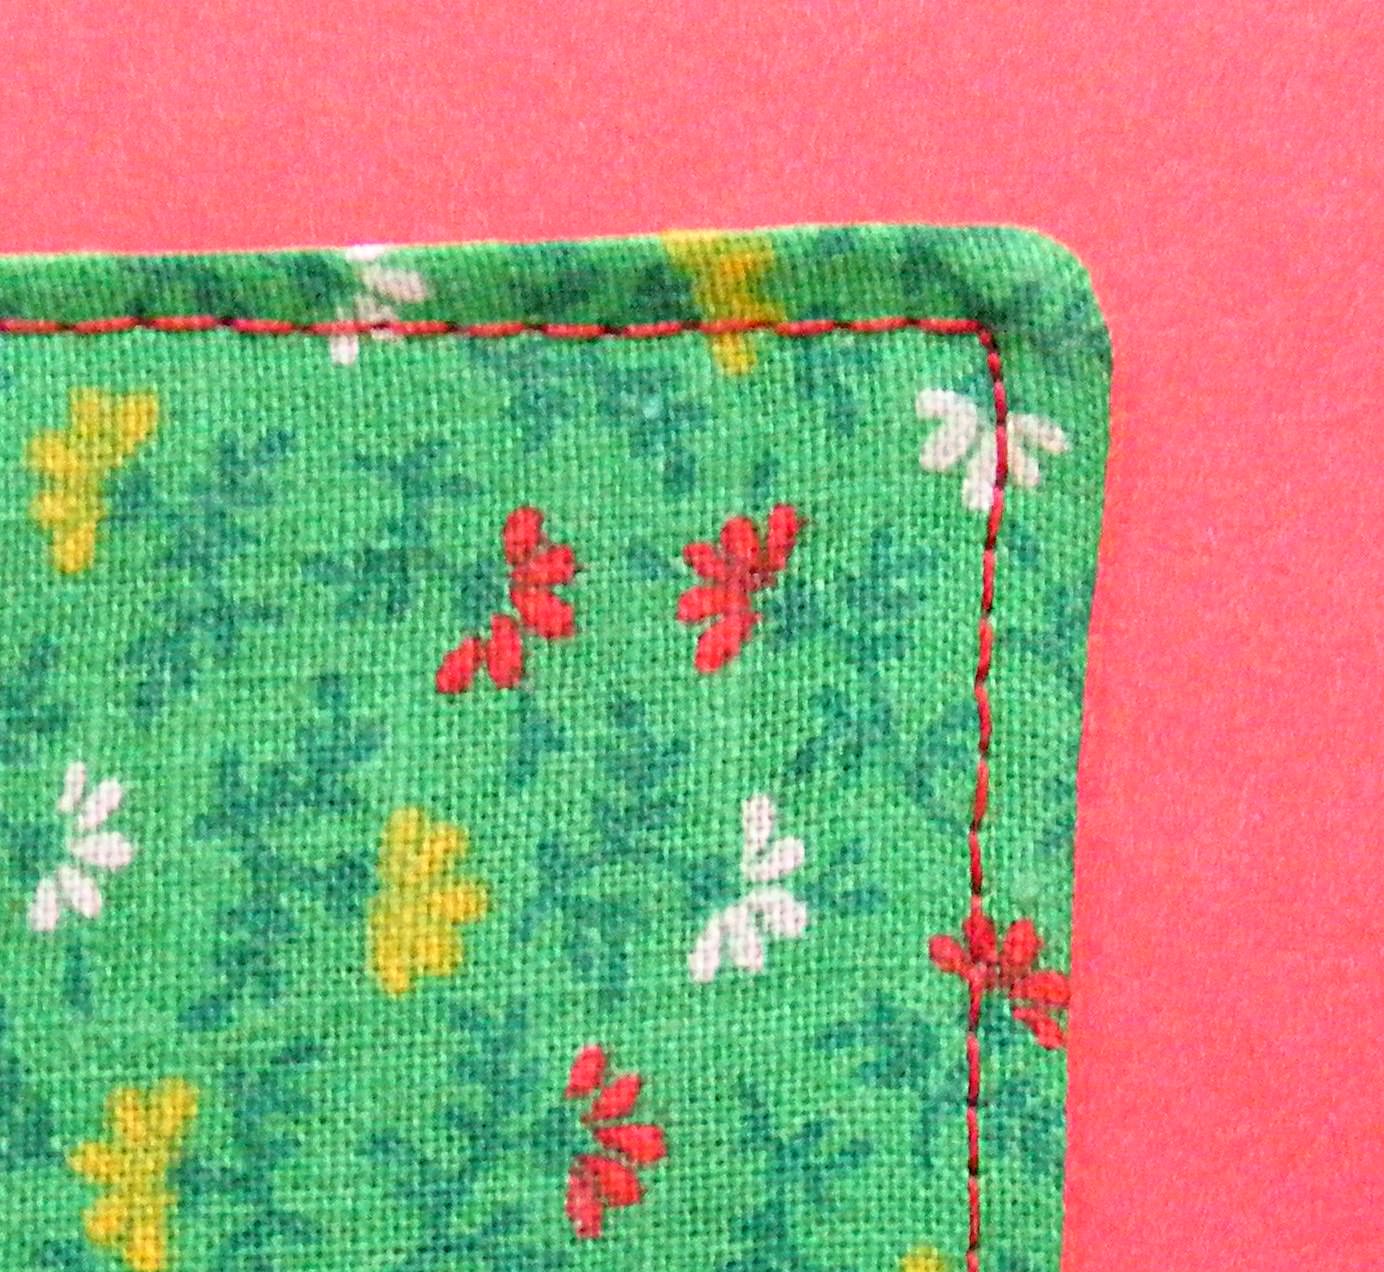
Every corner should be nice and square and this stitching will seal up the opening you used for turning. Easy peasy!
Trim your threads and press your napkin one more time. That last pressing will help the threads of your topstitching sink down into the fabric and look nice and finished.
Now – have a snack!
We have a big stack of colorful napkins in our house and everyone has their own favorites. This is a great way to use up random bits of favorite fabrics.
Happy stitching!
Thank you so much for posting this. I’m slowly teaching myself to learn how to sew for real. I had dabbled with sewing n the past but had no idea what I was doing, so I’m looking forward to some real beginner sewing lessons! I cannot wait to make these. I’ve looked over the directions ten times already, and even I think I can handle them!
Thanks Anastacia! I’m so glad the lessons have been helpful to you so far. Please show off what you make! I just set up a Flickr group at http://www.flickr.com/groups/1600245@N21/ where people can post photos of their projects. I love seeing what people make with my patterns!
Thanks Wendi! I am trying extra hard to convert Hubby to cloth napkins for many reasons!
I love them – and my husband does now, too. I think he was a little sceptical at first. He thought the size in this pattern was too small so I made some much bigger and he loves them.
Wendi, I love your blog. I have been embroidering the wrong way all of these years. Your tutorials are wonderful. I have a blog also and I have been doing tutorials. I’m just getting started and I could use some of your tips. It seems to take me forever to do a tutorial and I just do pictures without using the digital videos. Could you tell me any way to make my tutorials easier?
Charlotte (quiltlikecrazy@hotmail.com).
What kind of fabric are you using? Are you using flannel or cotton? I would love to make these but I want to know what kind of fabric to use. I am learning how to sew and this looks like it will be easy to do.
I just use regular quilting cotton for mine.
I’ve made these in the past. I like to use fun quilting fabric on one side and some nice, soft flannel on the other. We call them Un-Paper Towels, but Fancy Schmancy Napkins is a much better name!