


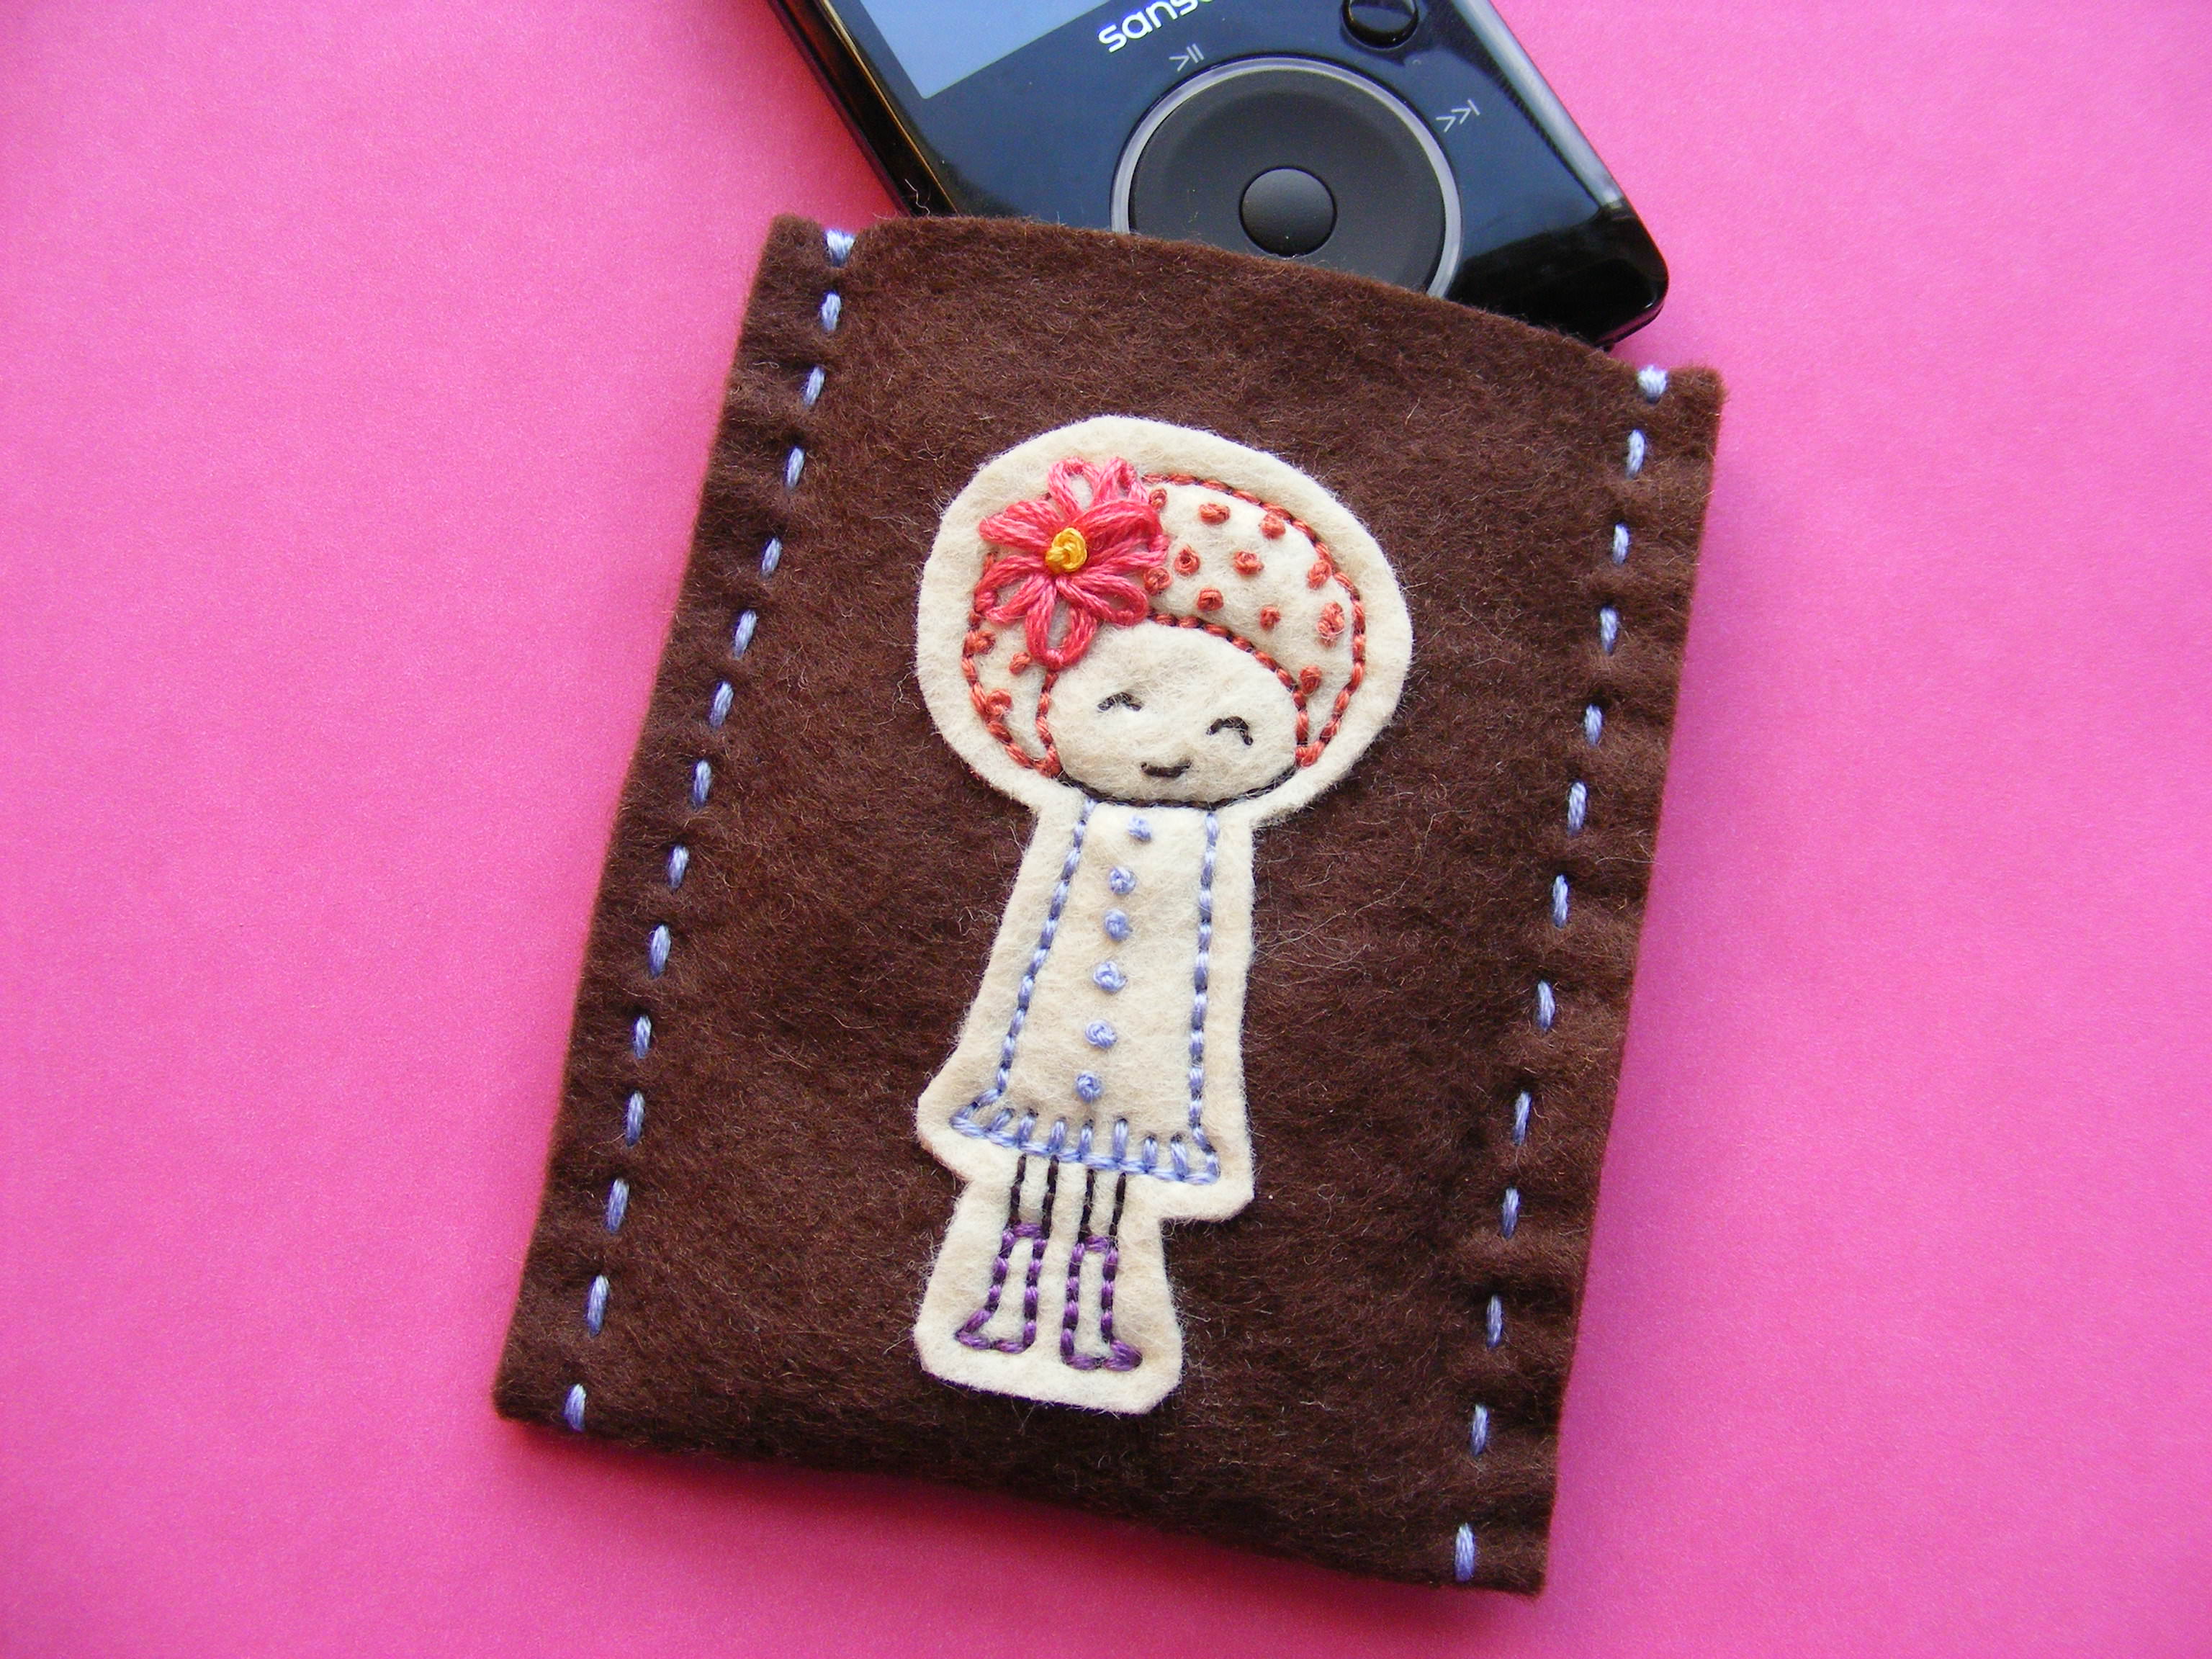
Keep your electronic gizmos from getting scratched up – and also keep them warm and cozy (and cute!) with a super-easy felt cozy.
In this free pattern I teach you how to measure and fit any device – so you can make cozies for your MP3 players, your cell phone, your tablet, your e-reader – even a laptop!
You can sew by hand or by machine. You can embellish with embroidery, or applique, or beadwork, or anything else you know how to do.
It’s a totally open-ended project, perfect for playing and experimenting. Have fun with it!
What You’ll Need
- wool felt (available here) – it’s more expensive than craft (acrylic) felt but it will last WAY longer and wear better so it’s worth it (see this post for a photo of this cozy after 3 years in my purse)
-
embroidery thread or regular thread
-
sewing machine (optional)
- materials for embellishment (optional)
-
basic sewing tools
- about an hour
Difficulty
The measuring and construction of the cozy is super easy – just simple running stitches. You can make the embellishment as fancy as you like.
Measure Your Device
First we need to do a little math. All these gizmos are different sizes so you’ll have to customize the pattern for each device.
Width
Measure the width of your gizmo. You’ll need to account for the thickness of it too – so measure up one edge, across the surface, and down the other edge. I use a flexible tape measure so I can do this all in one step, but you can use a regular ruler and add the three measurements together.
To the width measurement you’ll need to add some seam allowance. I like 1/4 inch on each side, so add a total of 1/2 inch to your width. Write it down.
______________________ = cutting width
Length
Now measure the length of your device. It won’t need to wrap around the top, so this time measure up the bottom edge (to get the thickness) and then across the surface to the top edge. This will be your length measurement.
You won’t be sewing the top or bottom edge, so no need to add seam allowance to this measurement. But we do need it to cover the front AND the back of your device. So multiply your length measurement by 2. Write it down.
_____________________ = cutting length
Cut and Decorate
Cut a single rectangle of felt that is the cutting width x the cutting length.
Now – decorate it if you want to!
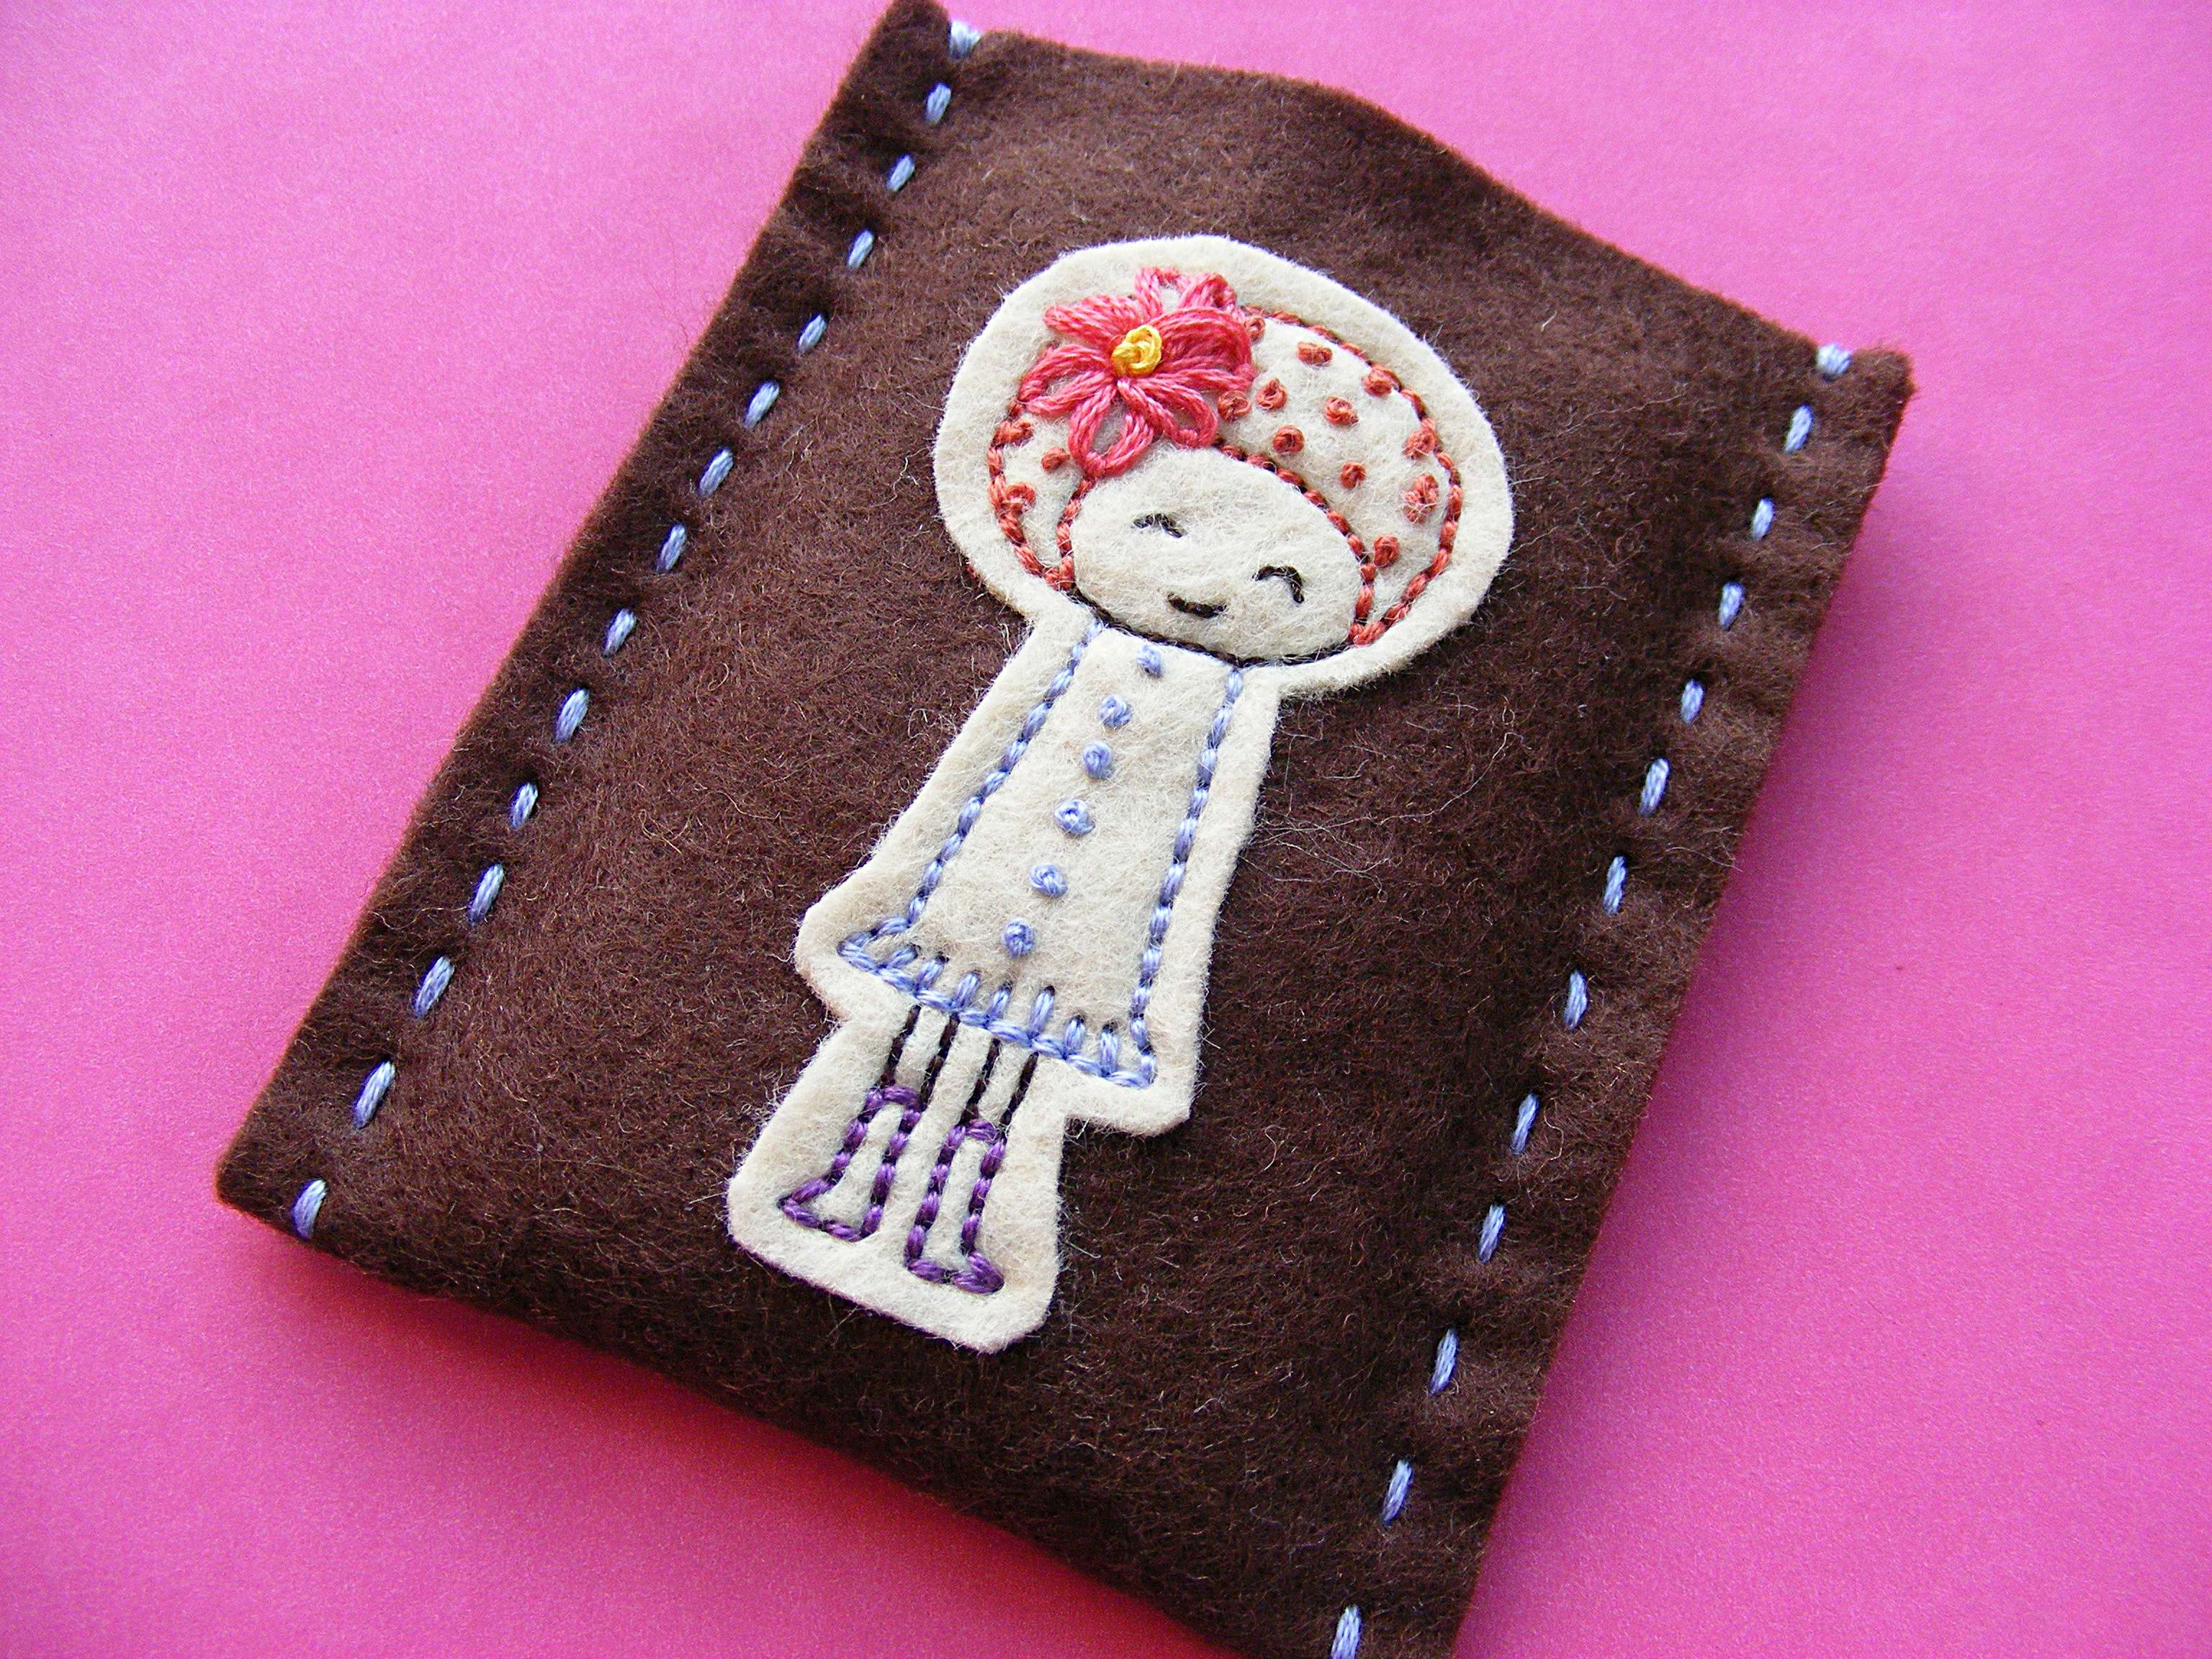
Remember – the front of the cozy will be the top half of the rectangle you cut. You can, of course, decorate both the front and the back. But if you want an image centered on the front, fold your felt rectangle in half and center your image on the top half.
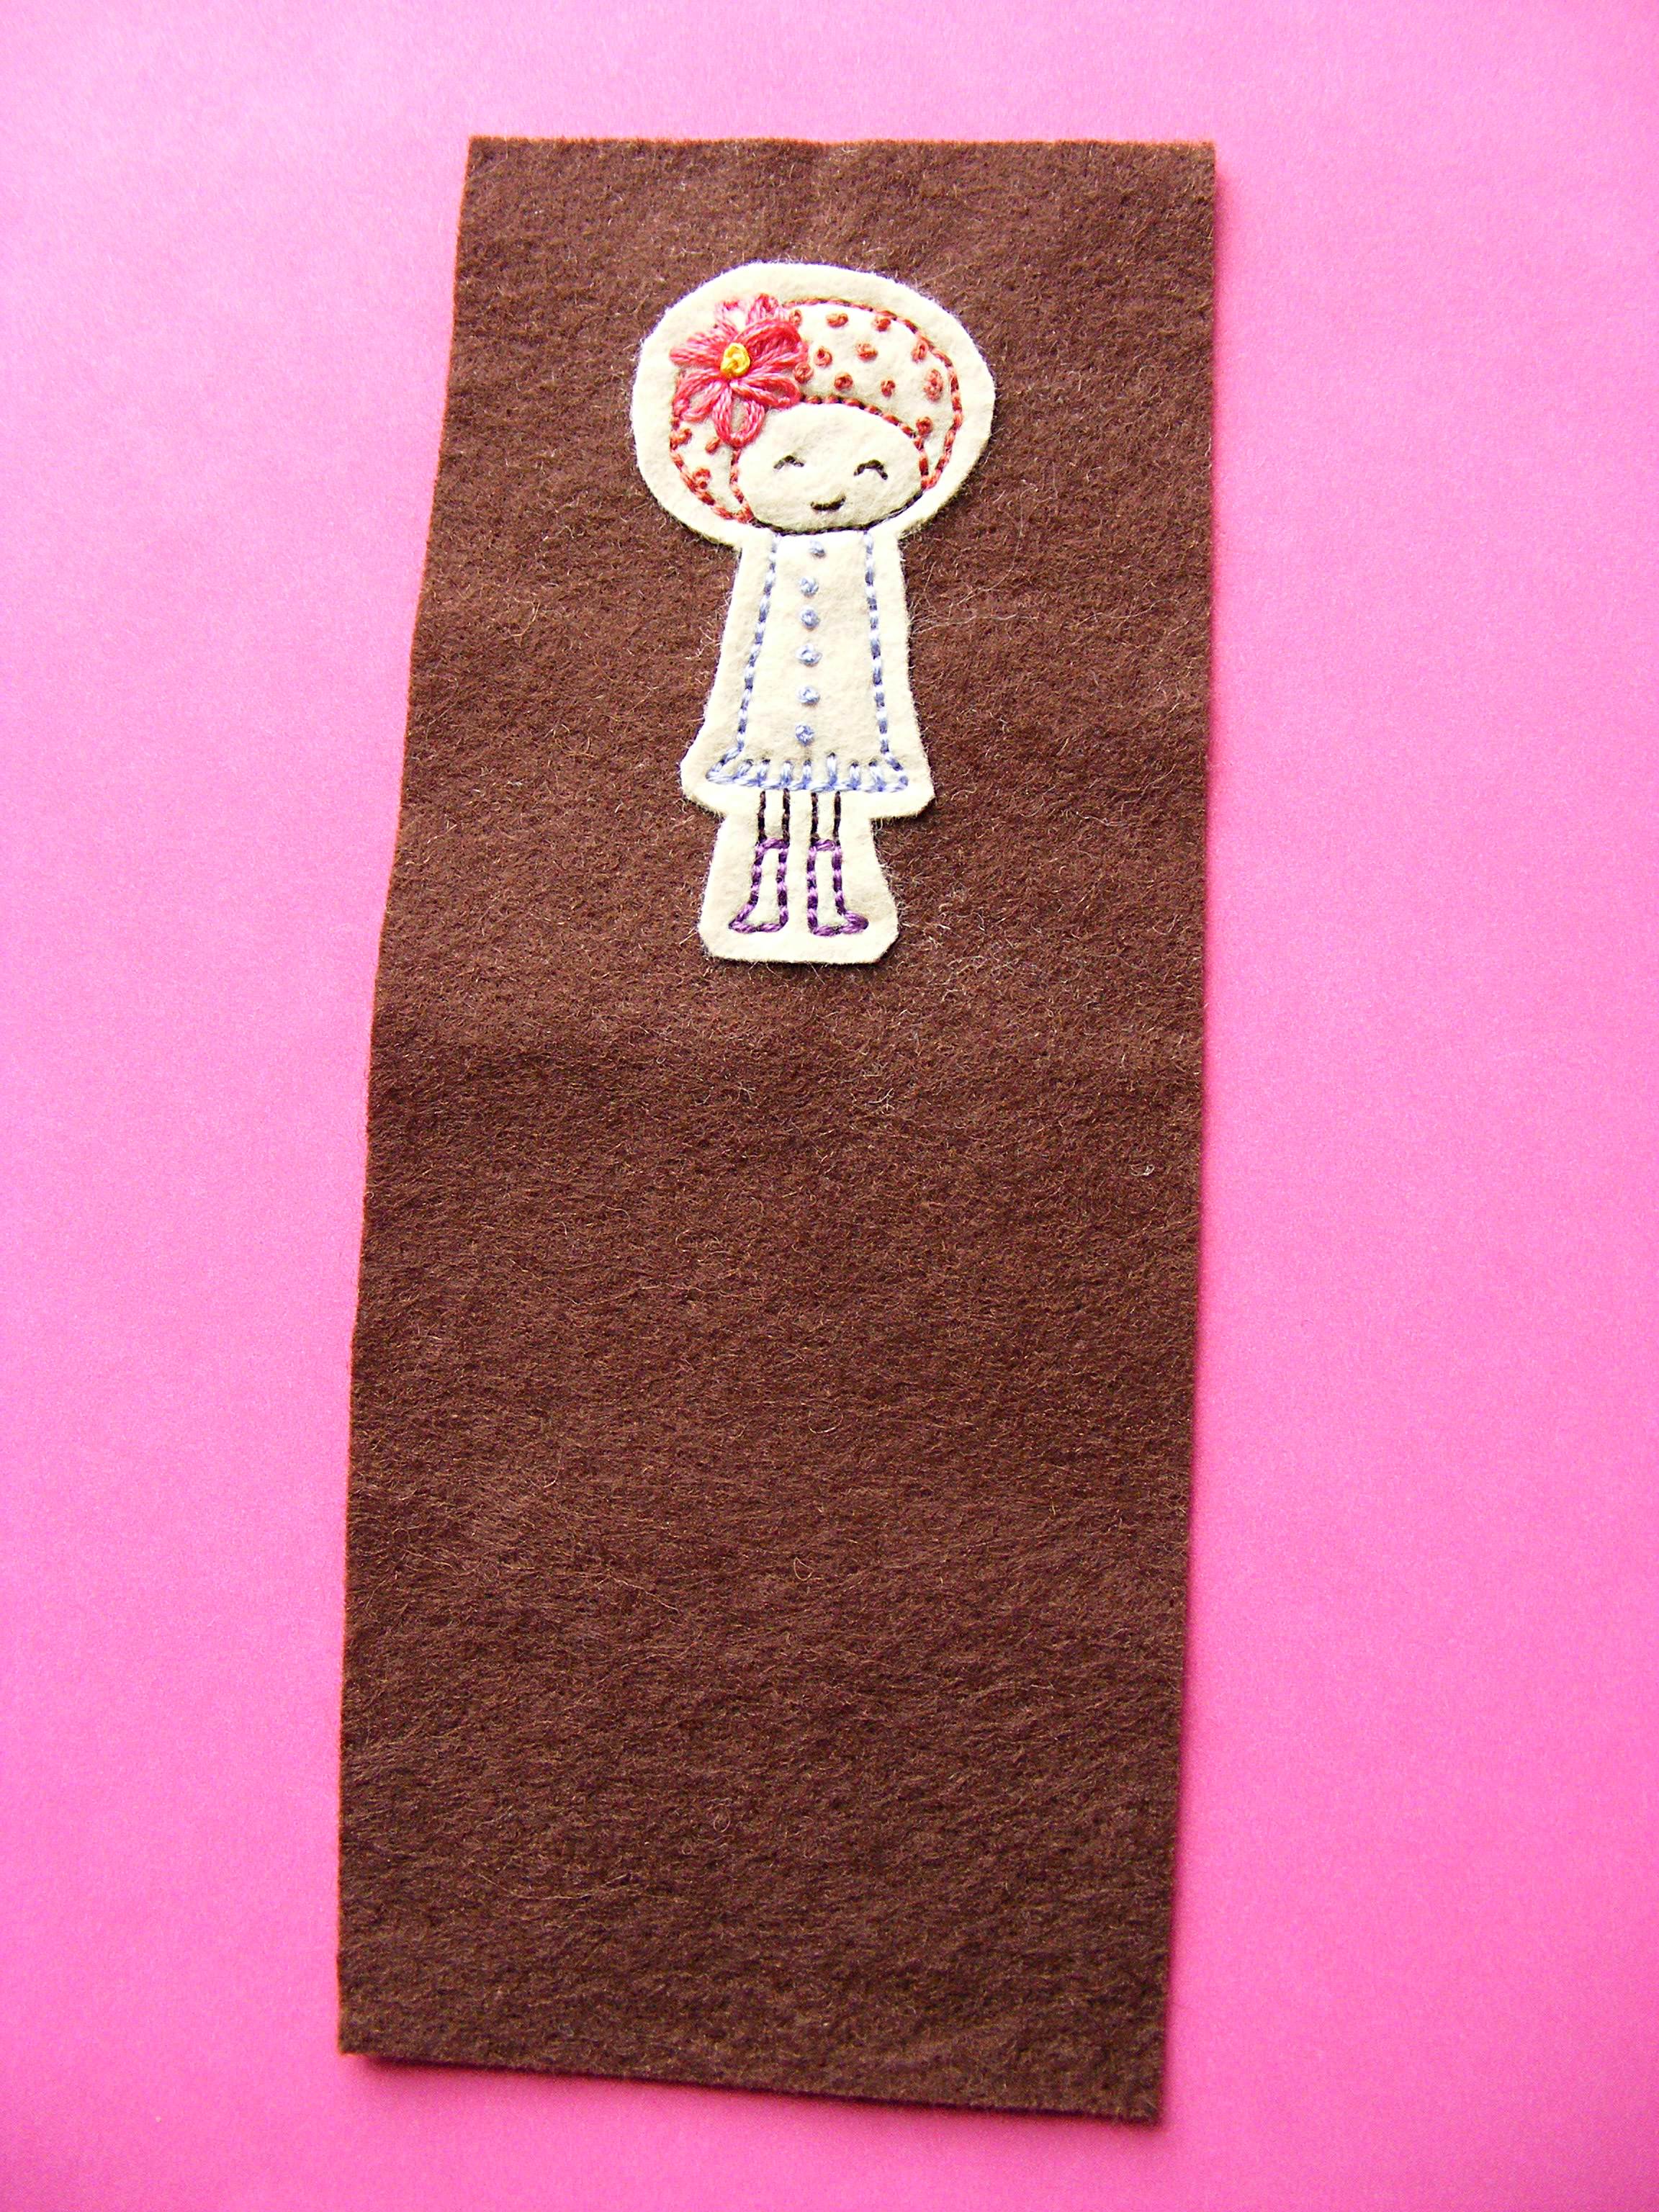
See where I put the image on my rectangle?
If you want to embroider on your cozy, here’s how I did mine. . .
Step 1
Choose an image to embroider. I used one of the Rainbow Girls, but anything will do. Find all my embroidery patterns here.
Transfer the image onto a second piece of felt.
Step 2
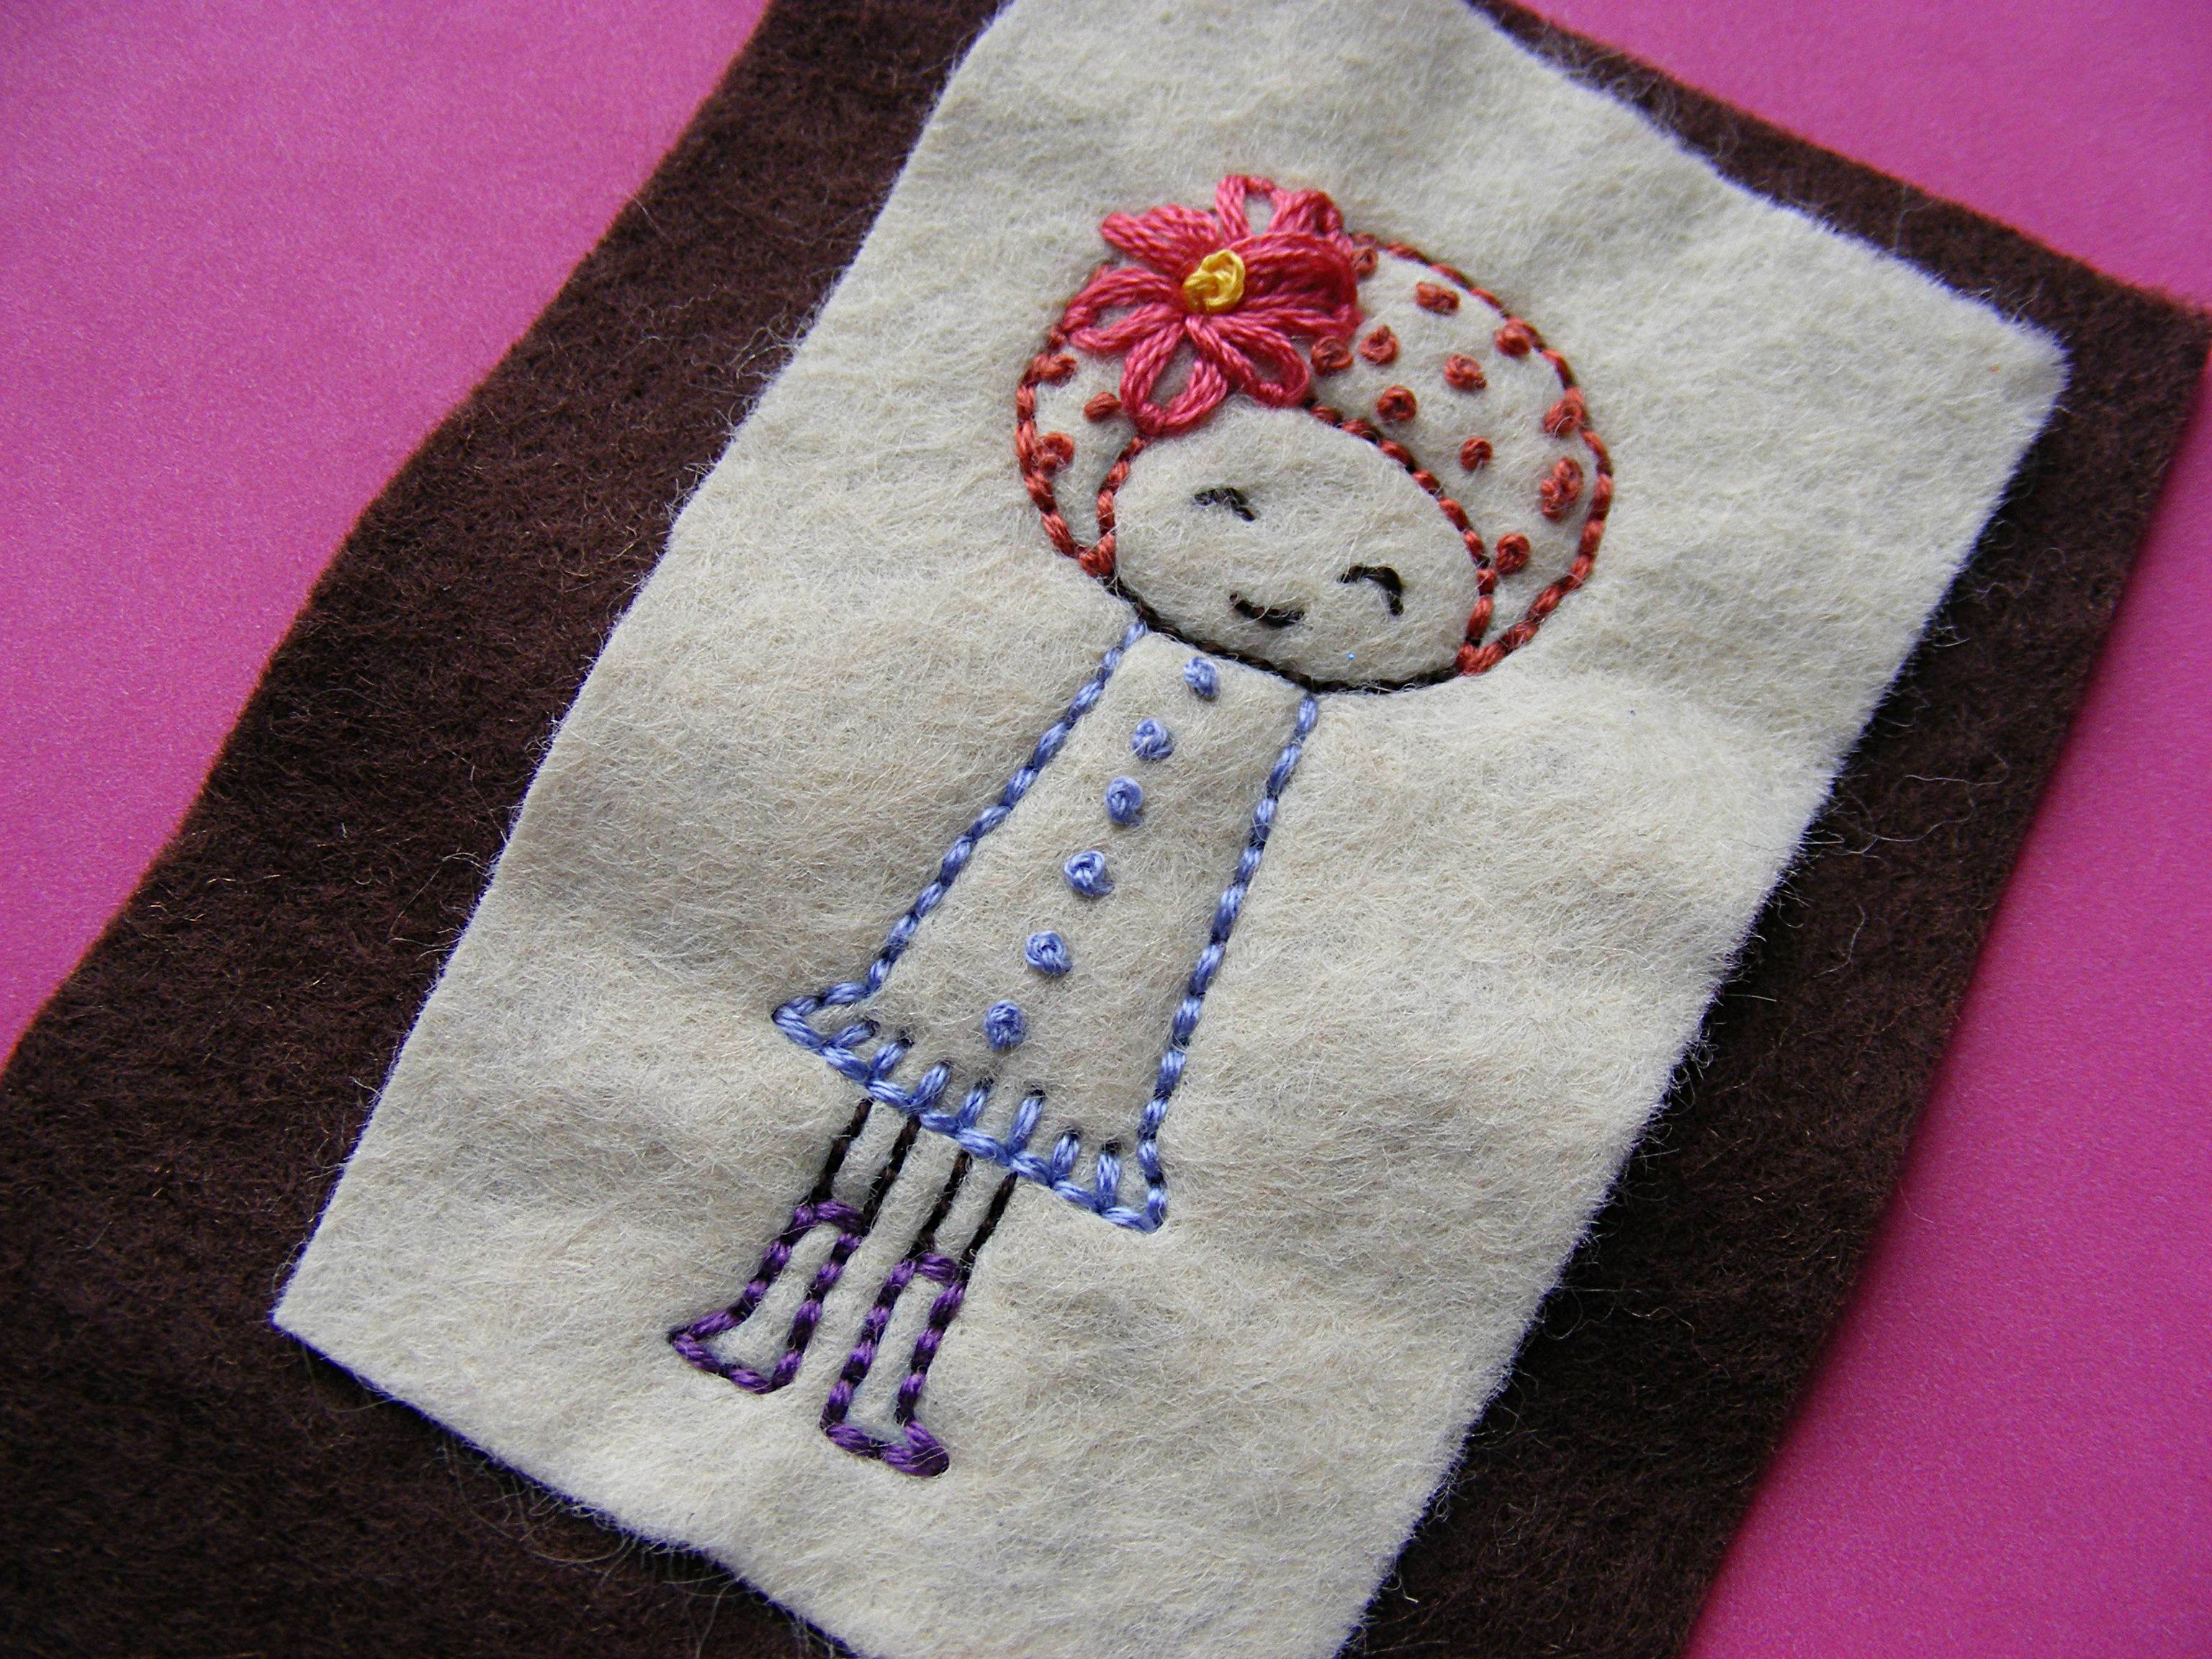
I like my embroidery to sink in around the edges and make the felt more three-dimensional, so I started by embroidering just the inside of the design on the small felt piece. For this design I stitched the French knots in her hair and on her dress, her eyes and her mouth. Nothing else – yet.
Step 3
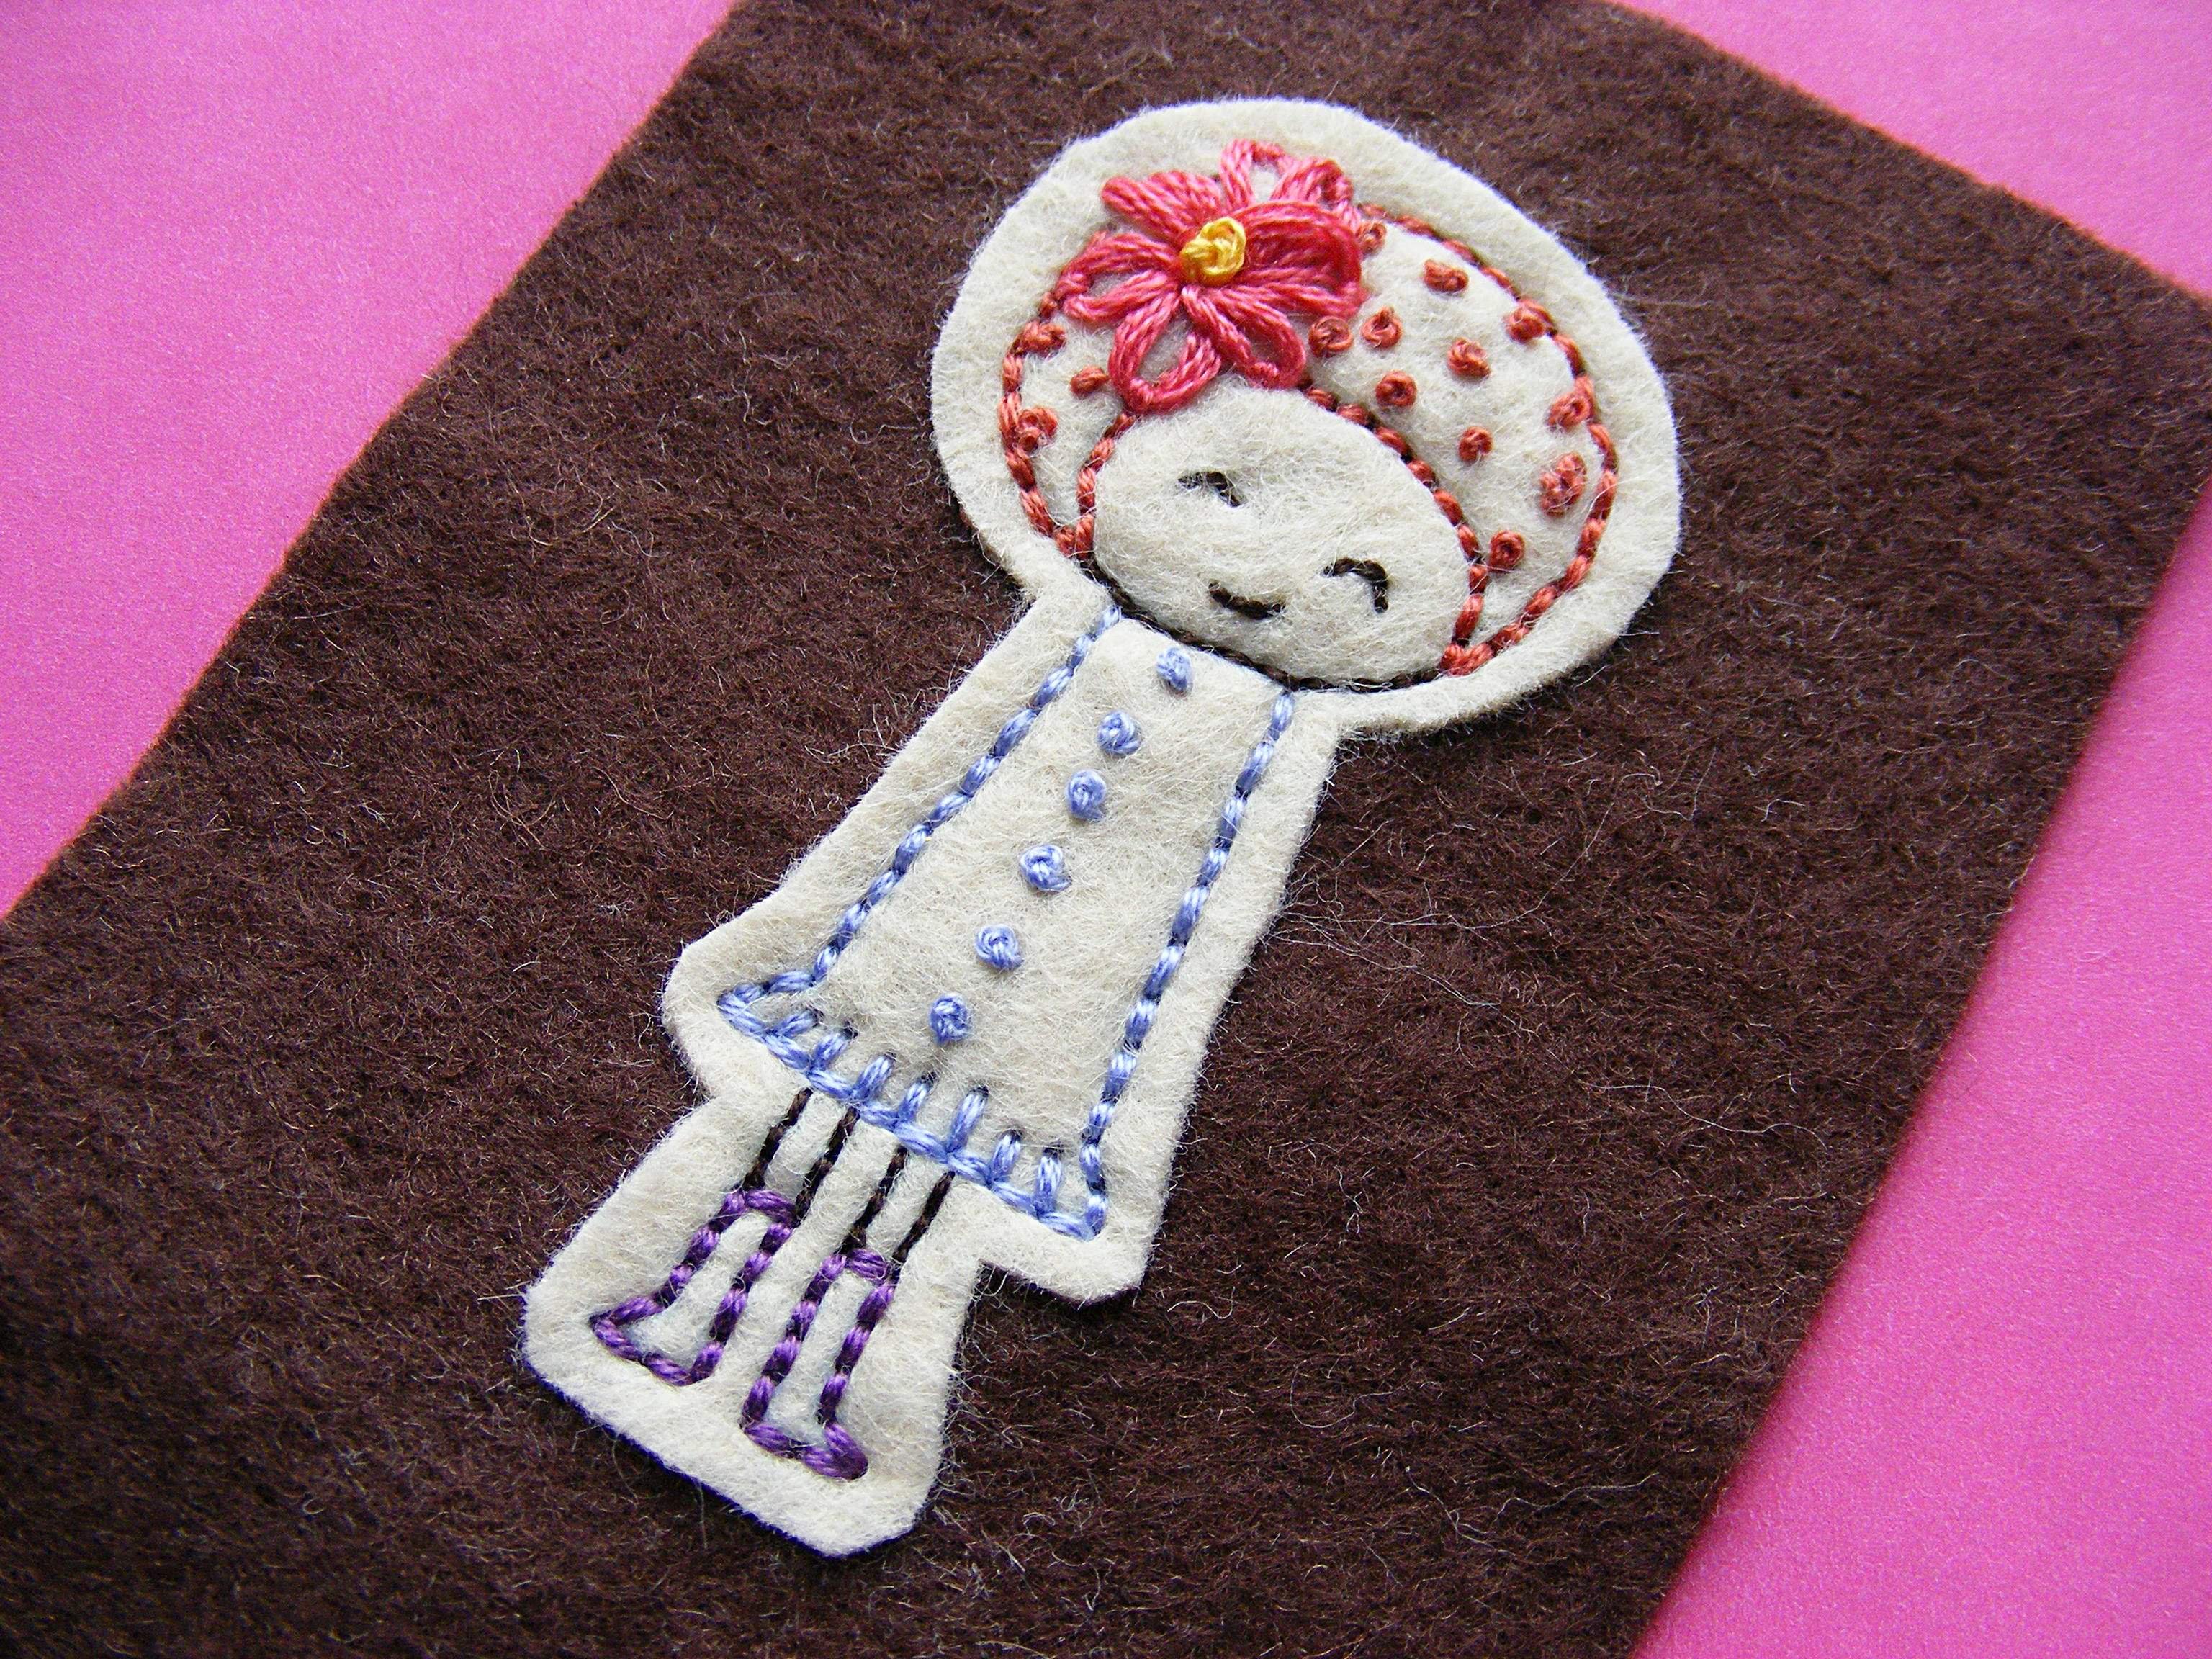
After I finished the “inside stitching” I centered the scrap of felt on the top half of the rectangle of felt I cut in Step 5 above.
I attached the design to the cozy by embroidering the outline of the Rainbow Girl (the outline of her hair, her chin, the outline of her dress, and her legs and boots) through both layers of felt.
Going through both layers for the outline makes her hair, face and dress all look slightly puffy and rounded – and it also attaches the two layers together. If you want to do all the embroidery before you attach the design to the cozy – you can do that. Just use a glue stick to attach them together after you’re done stitching, or whipstitch all around the edge.
If you want to do all the stitching through both layers – that’s good too. It just gives you a subtly different look. Play around and experiment!
Step 4
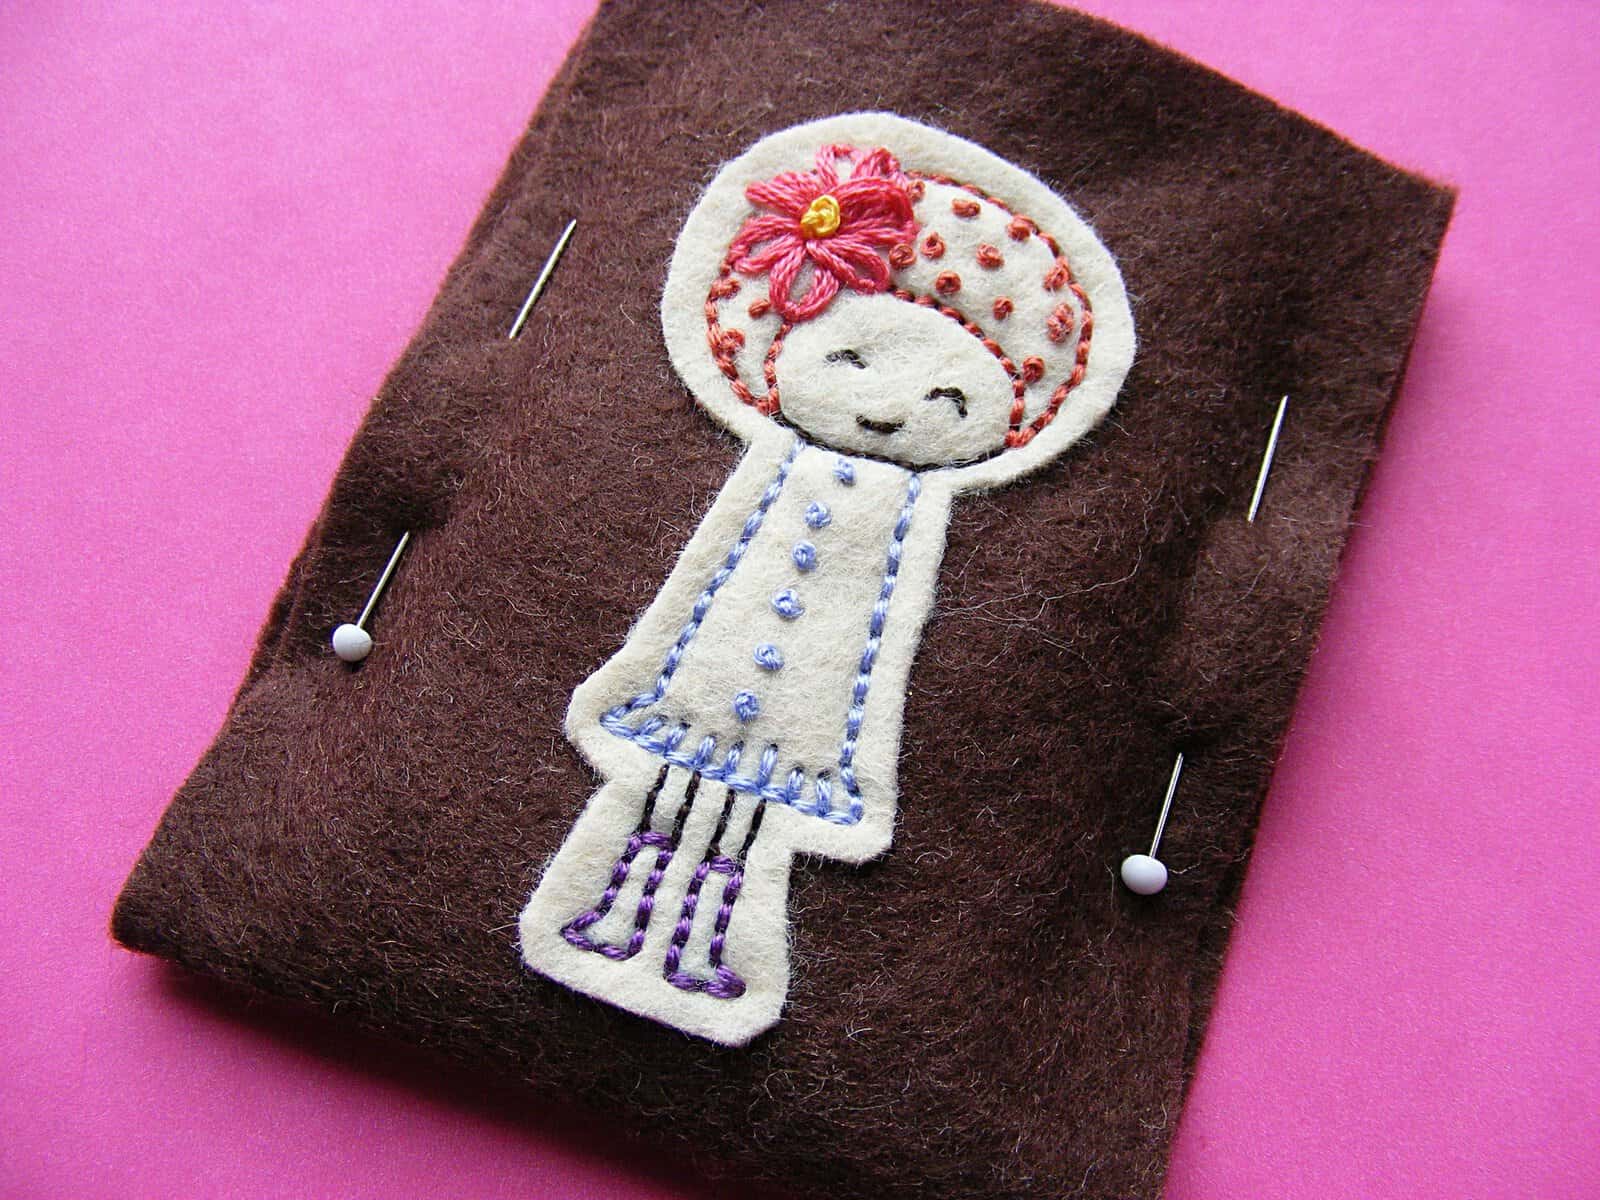
Use a sharp pair of scissors to trim around the design, leaving a little extra around the edge.
One of these days I’ll get myself a pair of applique scissors (the bottom blade has a rounded tip so you can’t accidentally cut through the bottom fabric) so I can do this without having a nervous breakdown, but for now I just go very slowly and very carefully.
Sew It Up!
Fold the cozy in half, carefully lining up the edges. Pin it together on each side, 1/4 inch in from the edge.
Slide your gizmo in to make sure it fits. Fuss with the placement of the pins until you’re happy with the fit on your device. You want it snug – but not too tight. The device should still slide in and out easily.
Stitch up one side. I wanted big, chunky, visible stitches so I used fat embroidery thread and a running stitch by hand. Blanket stitch would look nice too. You could also use a sewing machine instead – with matching or contrasting thread.
Check the fit one more time before you sew up the other side. Make any necessary adjustments – and sew.
Trim away some of the seam allowance if you want to – but don’t get too close to the stitching or your seam won’t hold.
Finished!
![]()
Hi Wendy, a few days ago I sent you an email regarding my dificulty in paying through paypal – I don’t know if you had the opportunity to read it and find a solution. When you have time, tell me something, because I really wanna purchase some of your great patterns 🙂
Thank you and have a nice weekend,
Beatriz
Beatriz – I sent you a personal email this morning letting you know what I’ve found out so far.
Great, I’ll practice it. I’m sorry, my phone was faulty. I just repaired it. Thanks