


Want to learn the basics of hand embroidery with an easy online workshop – totally free?
Sign up for Embroidery 101 here. You’ll learn how to get started, the tools and supplies you’ll need, the four most basic stitches, how to transfer your pattern and how to display your work.
If you already know the basics – sign up for Embroidery 201. It’s also free! You’ll learn how to stitch on specialty fabrics like felt and stretchy T-shirts. Plus you’ll learn lots and lots and LOTS more stitches – all my favorites!
Last week I showed you how you could quickly add some color to your embroidery using colored pencils or crayons instead of fill stitches. Today I want to show you how you can do the same thing by combining applique and embroidery.
I have two different approaches to this technique. I think of the first one as my “color outside the lines” technique and the other as my “color inside the lines” technique. We’ll do outside the lines first.
I really like screen prints when the colors don’t exactly register. It’s usually considered a mistake, but I love it. Here’s a little elephant print I made several years ago. . .
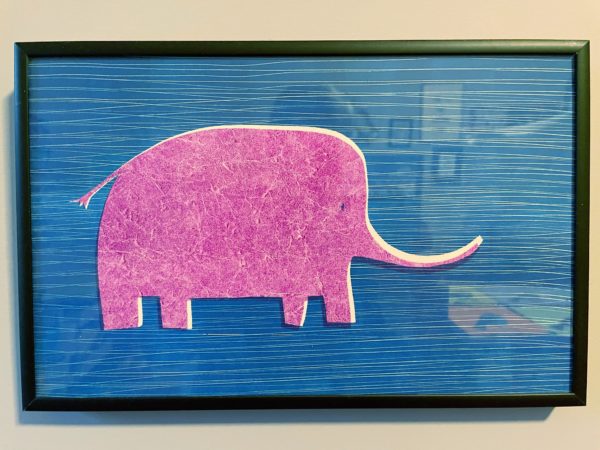
See how the magenta elephant doesn’t exactly match up with the space I left for him in the blue background? That’s the look I’m trying to achieve with this technique. Here’s how you do it. . .
Step 1
Choose a fabric for the applique and transfer your embroidery pattern to it.
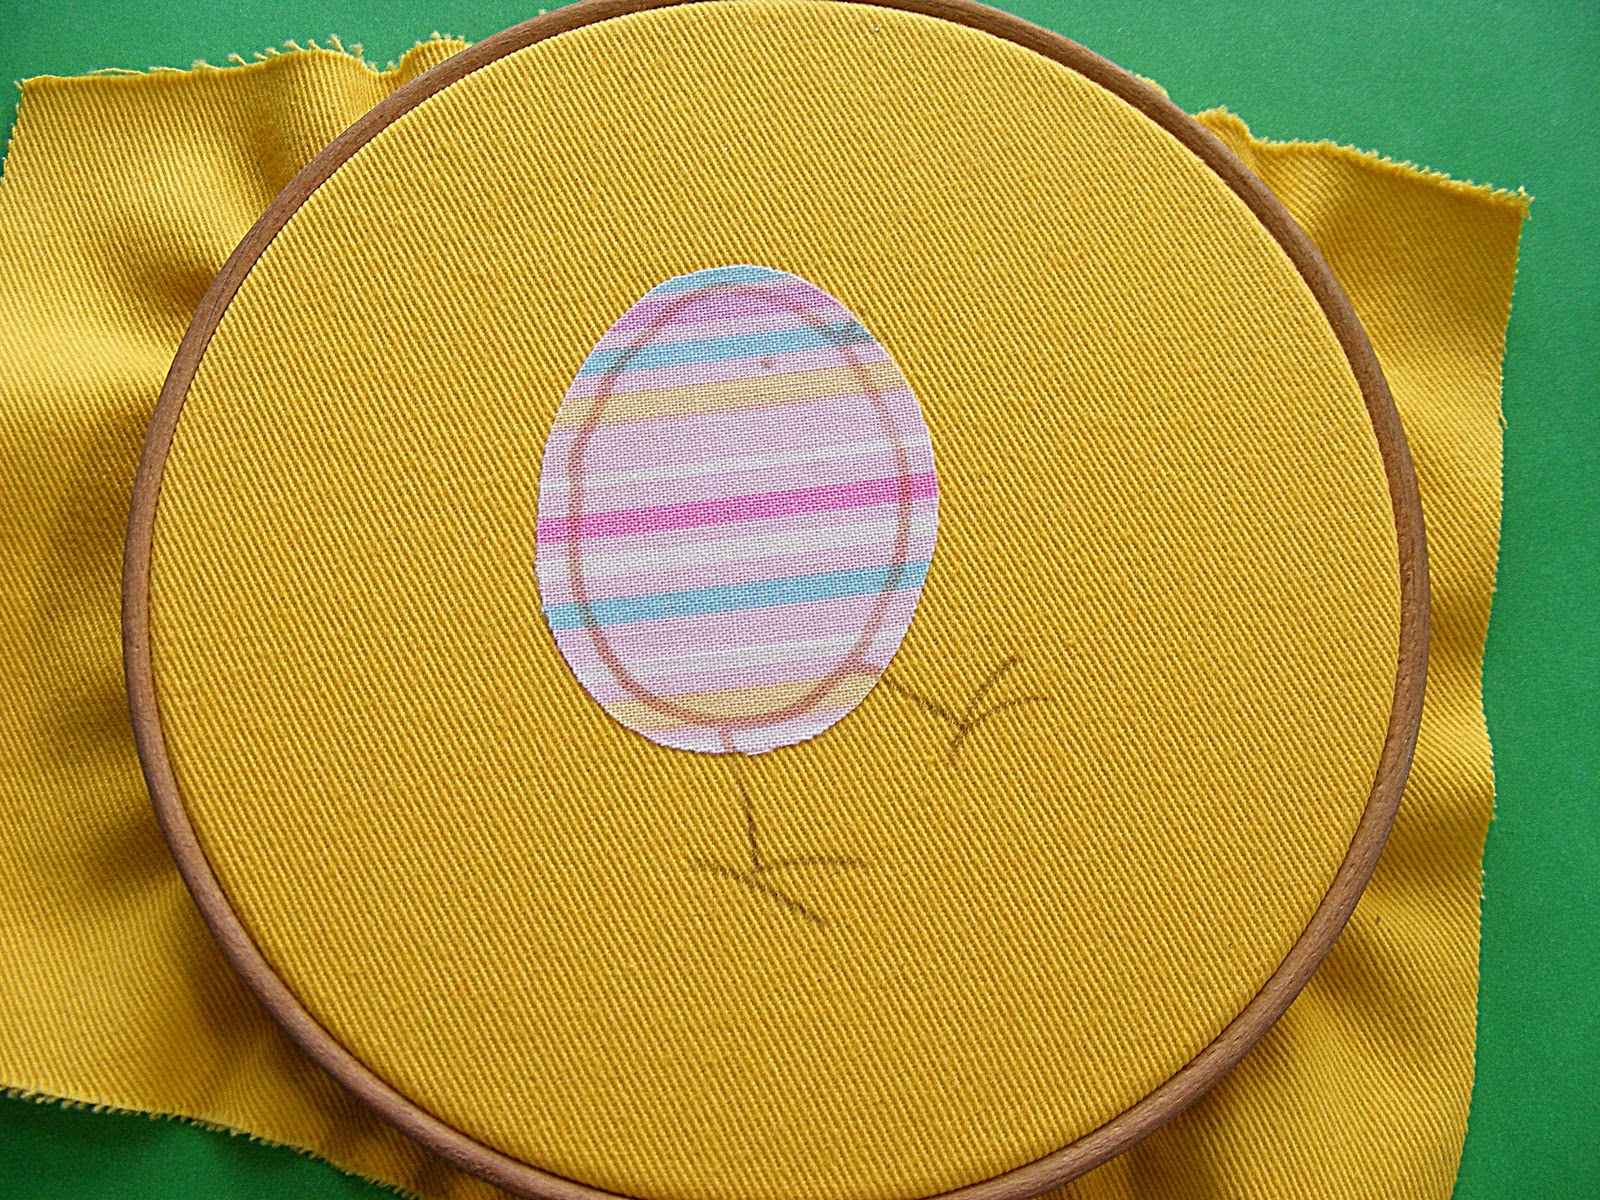
Step 2
Cut out the applique shape, leaving a little space around the edge of your stitching line. It’s ok if you cut off the legs and beak – we’re going to fix that. Fuse it to your background fabric.

Re-transfer the lines you cut off. For this step I usually trace in front of a window – it makes it easy to get everything lined up.
Step 4
Hoop it up and stitch. When I do this technique I usually stitch everything in very dark brown (DMC #3371). I think it contributes to the overall playful and cartoony effect.
Step 5
Done! See how well the applique and embroidery work together?

I think it’s especially fun to use this technique with patterned fabric. You get stripes or dots or flowers without having to stitch them!
But maybe you’re not a color outside the lines kind of person? Maybe that extra fabric around the edge really bugs you. Then you’ll want to use the “color inside the lines” technique. Follow all the steps outlined above except. . .
- Use the instructions in the fusible applique video to transfer your applique shape to the paper backing of your fusible adhesive.
- Cut your shape out exactly on the lines.
- Stitch inside the edges of the shape with matching thread. I usually use a running stitch. You do not want to use contrasting thread with this technique – it will make the eye read the line instead of the shapes and you want the line to disappear.
You can see an example where I used a combination of both techniques here.

I wanted the hat and the skin to be shapes without strong outlining, so I cut them out exactly the size I wanted and I did the stitching in a matching color. I wanted the hair to look looser, so I cut its shape out a little bit outside the lines and I stitched the curls in a darker color.
I started using this technique of combining applique and embroidery to get skin color without having my ladies look hairy from the texture of the fill stitching. Now I use it for lots of different things! You can use it on any embroidery pattern.
Have fun and happy stitching!
Cute Eastery chick. What great advice! I’m still stuck in “embroider on plain fabric only” mode. and I’ve been stitching off and on for 40+ years! Time to break out of that creative rut – Thank you.
Can’t wait to see what you make!
Pingback: Free Easter Embroidery Pattern – Little Chick with Big Feet - Shiny Happy World