


Aprons.
This is about the easiest apron you can possibly sew. A rectangle of fabric, gathered at the top, and edged with double-fold tape that also serves as a tie.
Easy peasy!
Follow this pattern to whip one up in an afternoon, and you’ll be an expert – ready for some really fun variations – patchwork aprons, ruffled aprons, and frilly, fancy, useless aprons.
But first – an easy apron.
What you’ll need
- fabric for the main apron and pocket (amount will depend on your measurements)
- sewing machine, thread, basic sewing tools
- 1-2 hours
Step 1
Cut the following pieces. . .
For the main apron piece, measure all the way around the waist, and measure from the waist down to the desired length (usually anywhere from mid-thigh to the knee, depending on the look you prefer).
Cut a rectangle of fabric the width of the total waist measurement, and the height of the desired length plus 1 inch.
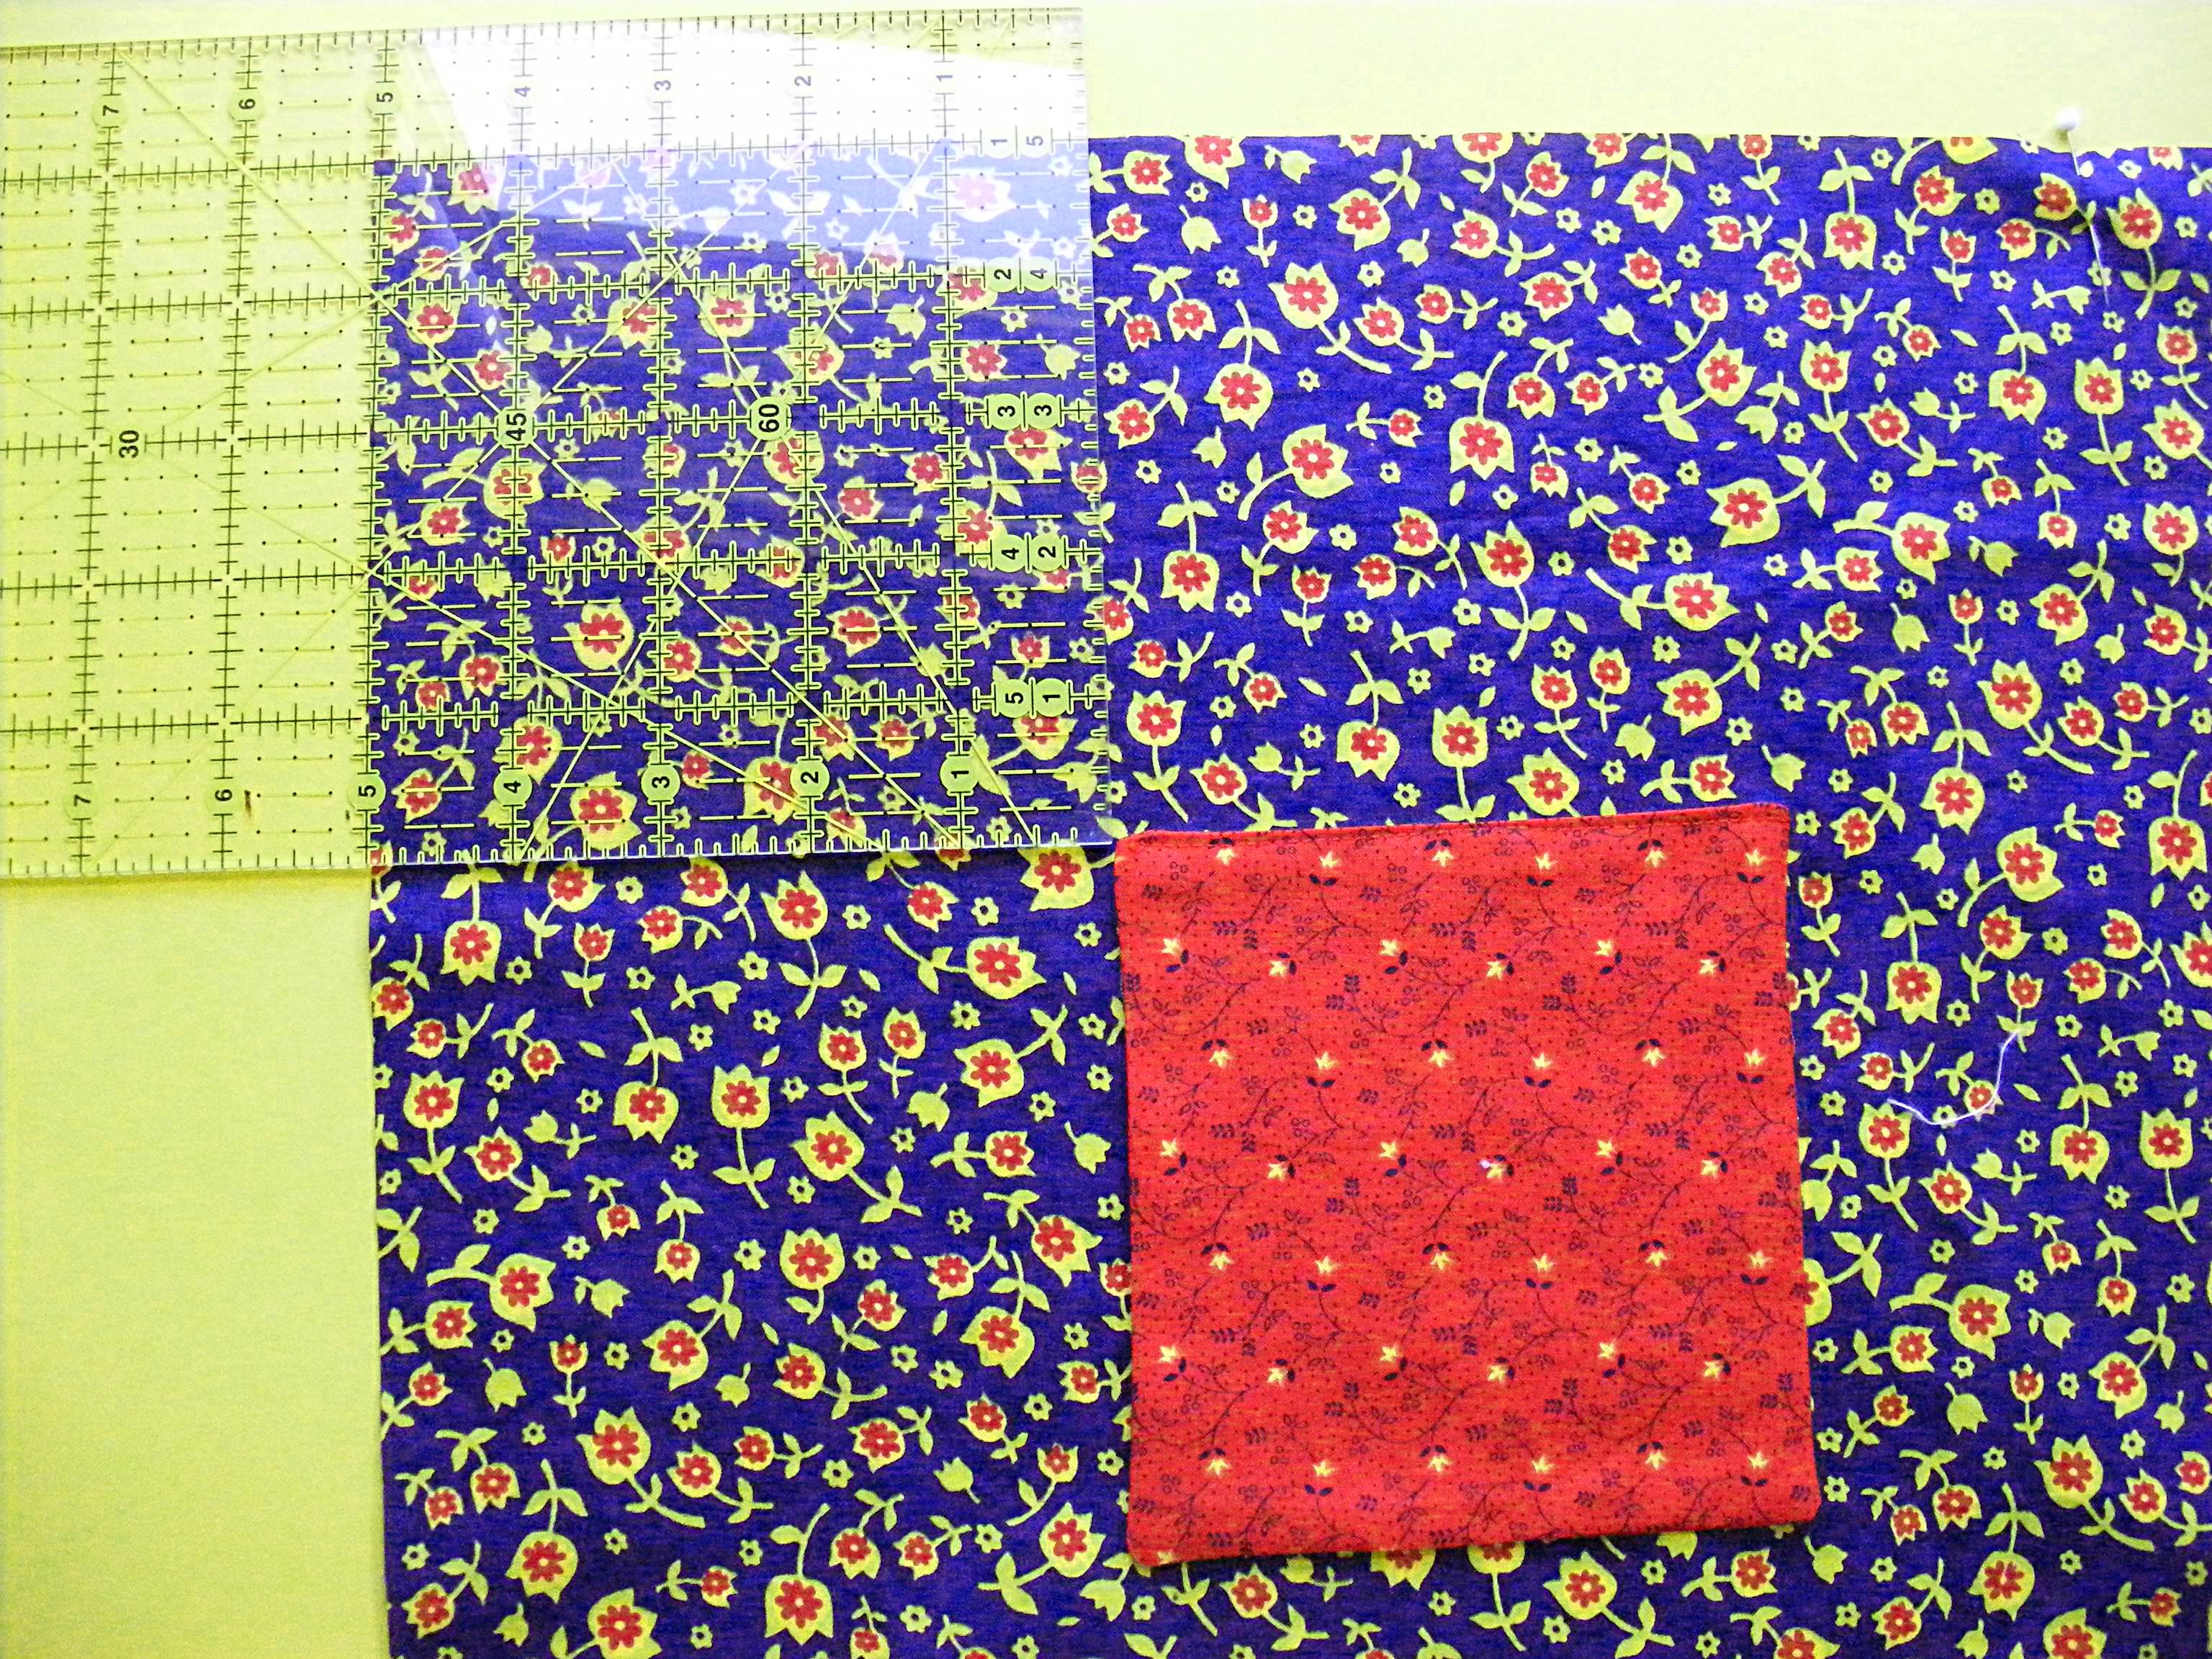
For the pocket, cut two squares of fabric, both 6 inches square. This will make one pocket. If you want to make two pockets, cut four squares.
For the wasitband/tie, cut strips (on the straight grain) 3 inches wide. You’ll need to cut multiple strips and join them together to get the desired length.
- For a girl’s apron that ties in the back, you’ll need a total length of 58 inches. To double-wrap and tie in the front you’ll need 84 inches.
- For a woman’s apron that ties in the back you’ll need 72 inches. To tie it in the front you’ll need 96 inches.
Step 2
Place two pocket squares right sides together.
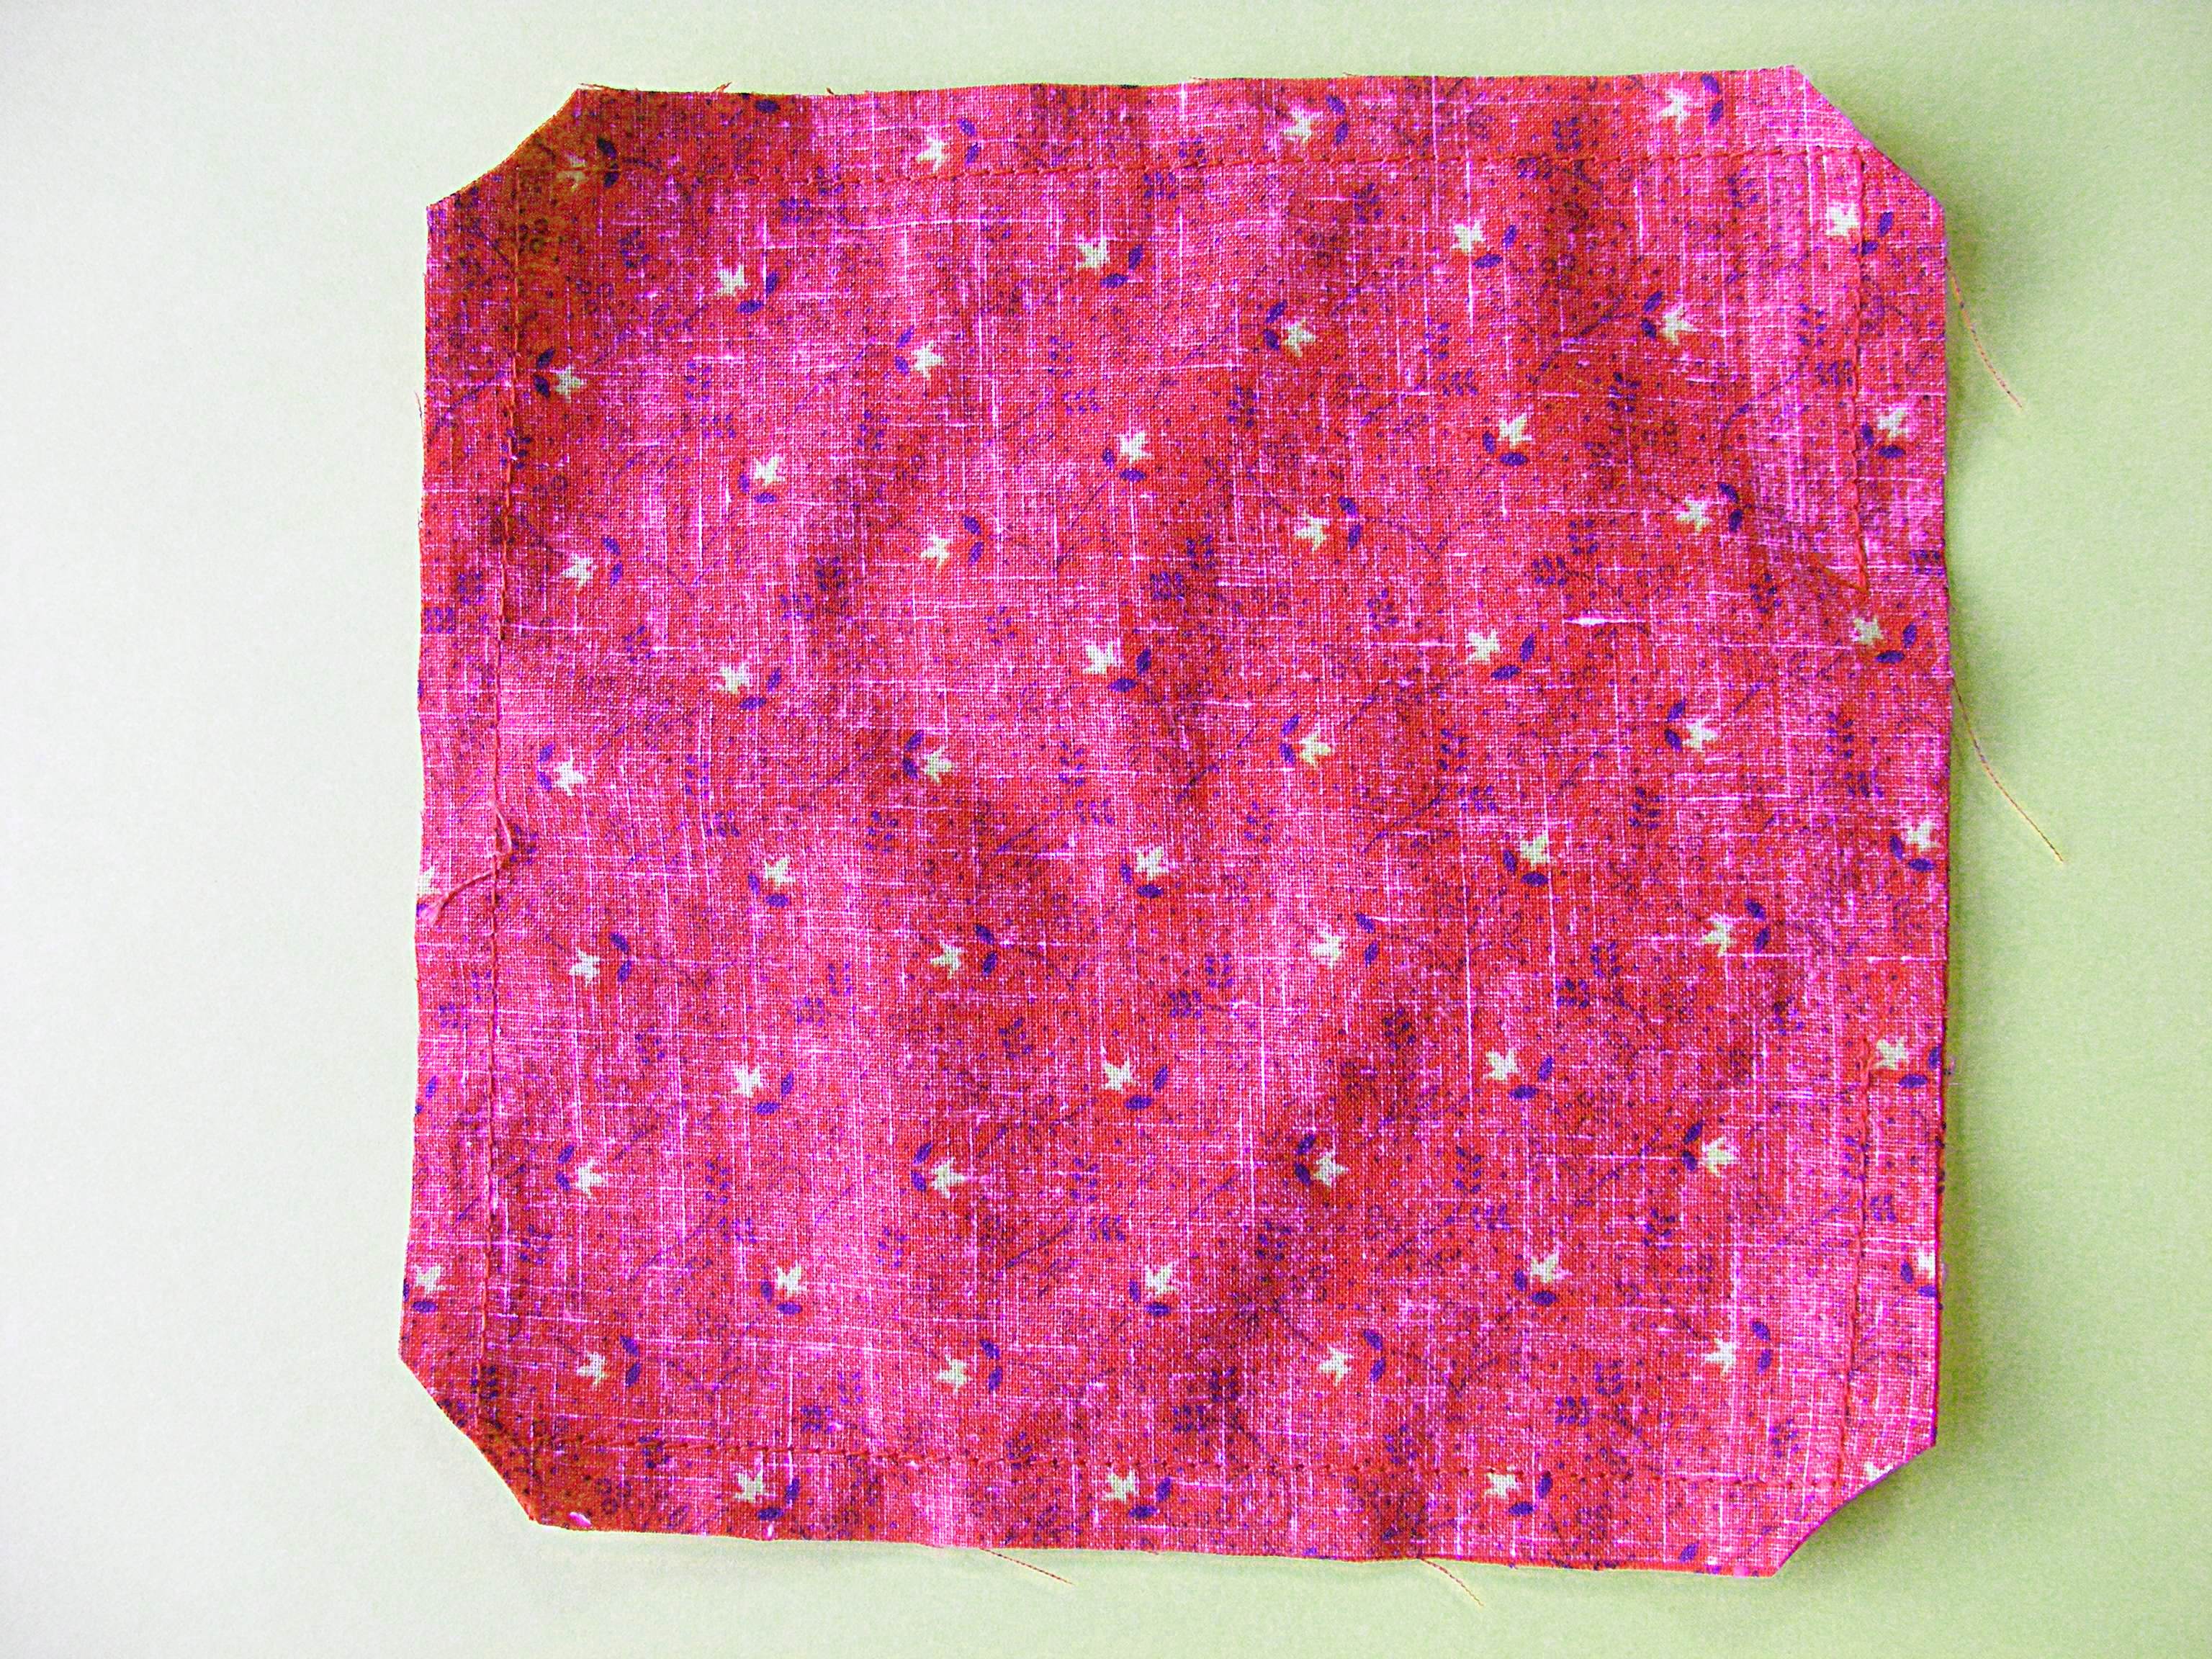
Using 1/4 inch seam allowance, stitch almost all the way around the edge, leaving a two-inch hole to turn it right side out. (If you’re new to sewing, this video shows how to sew straight lines and turn corners.)
Don’t forget to backstitch at the beginning and end of your stitching.
Clip the corners close to, but not into the stitching.
Step 3
Turn the pocket right side out. Tuck in the raw edges at the opening you used for turning and press all the edges flat.
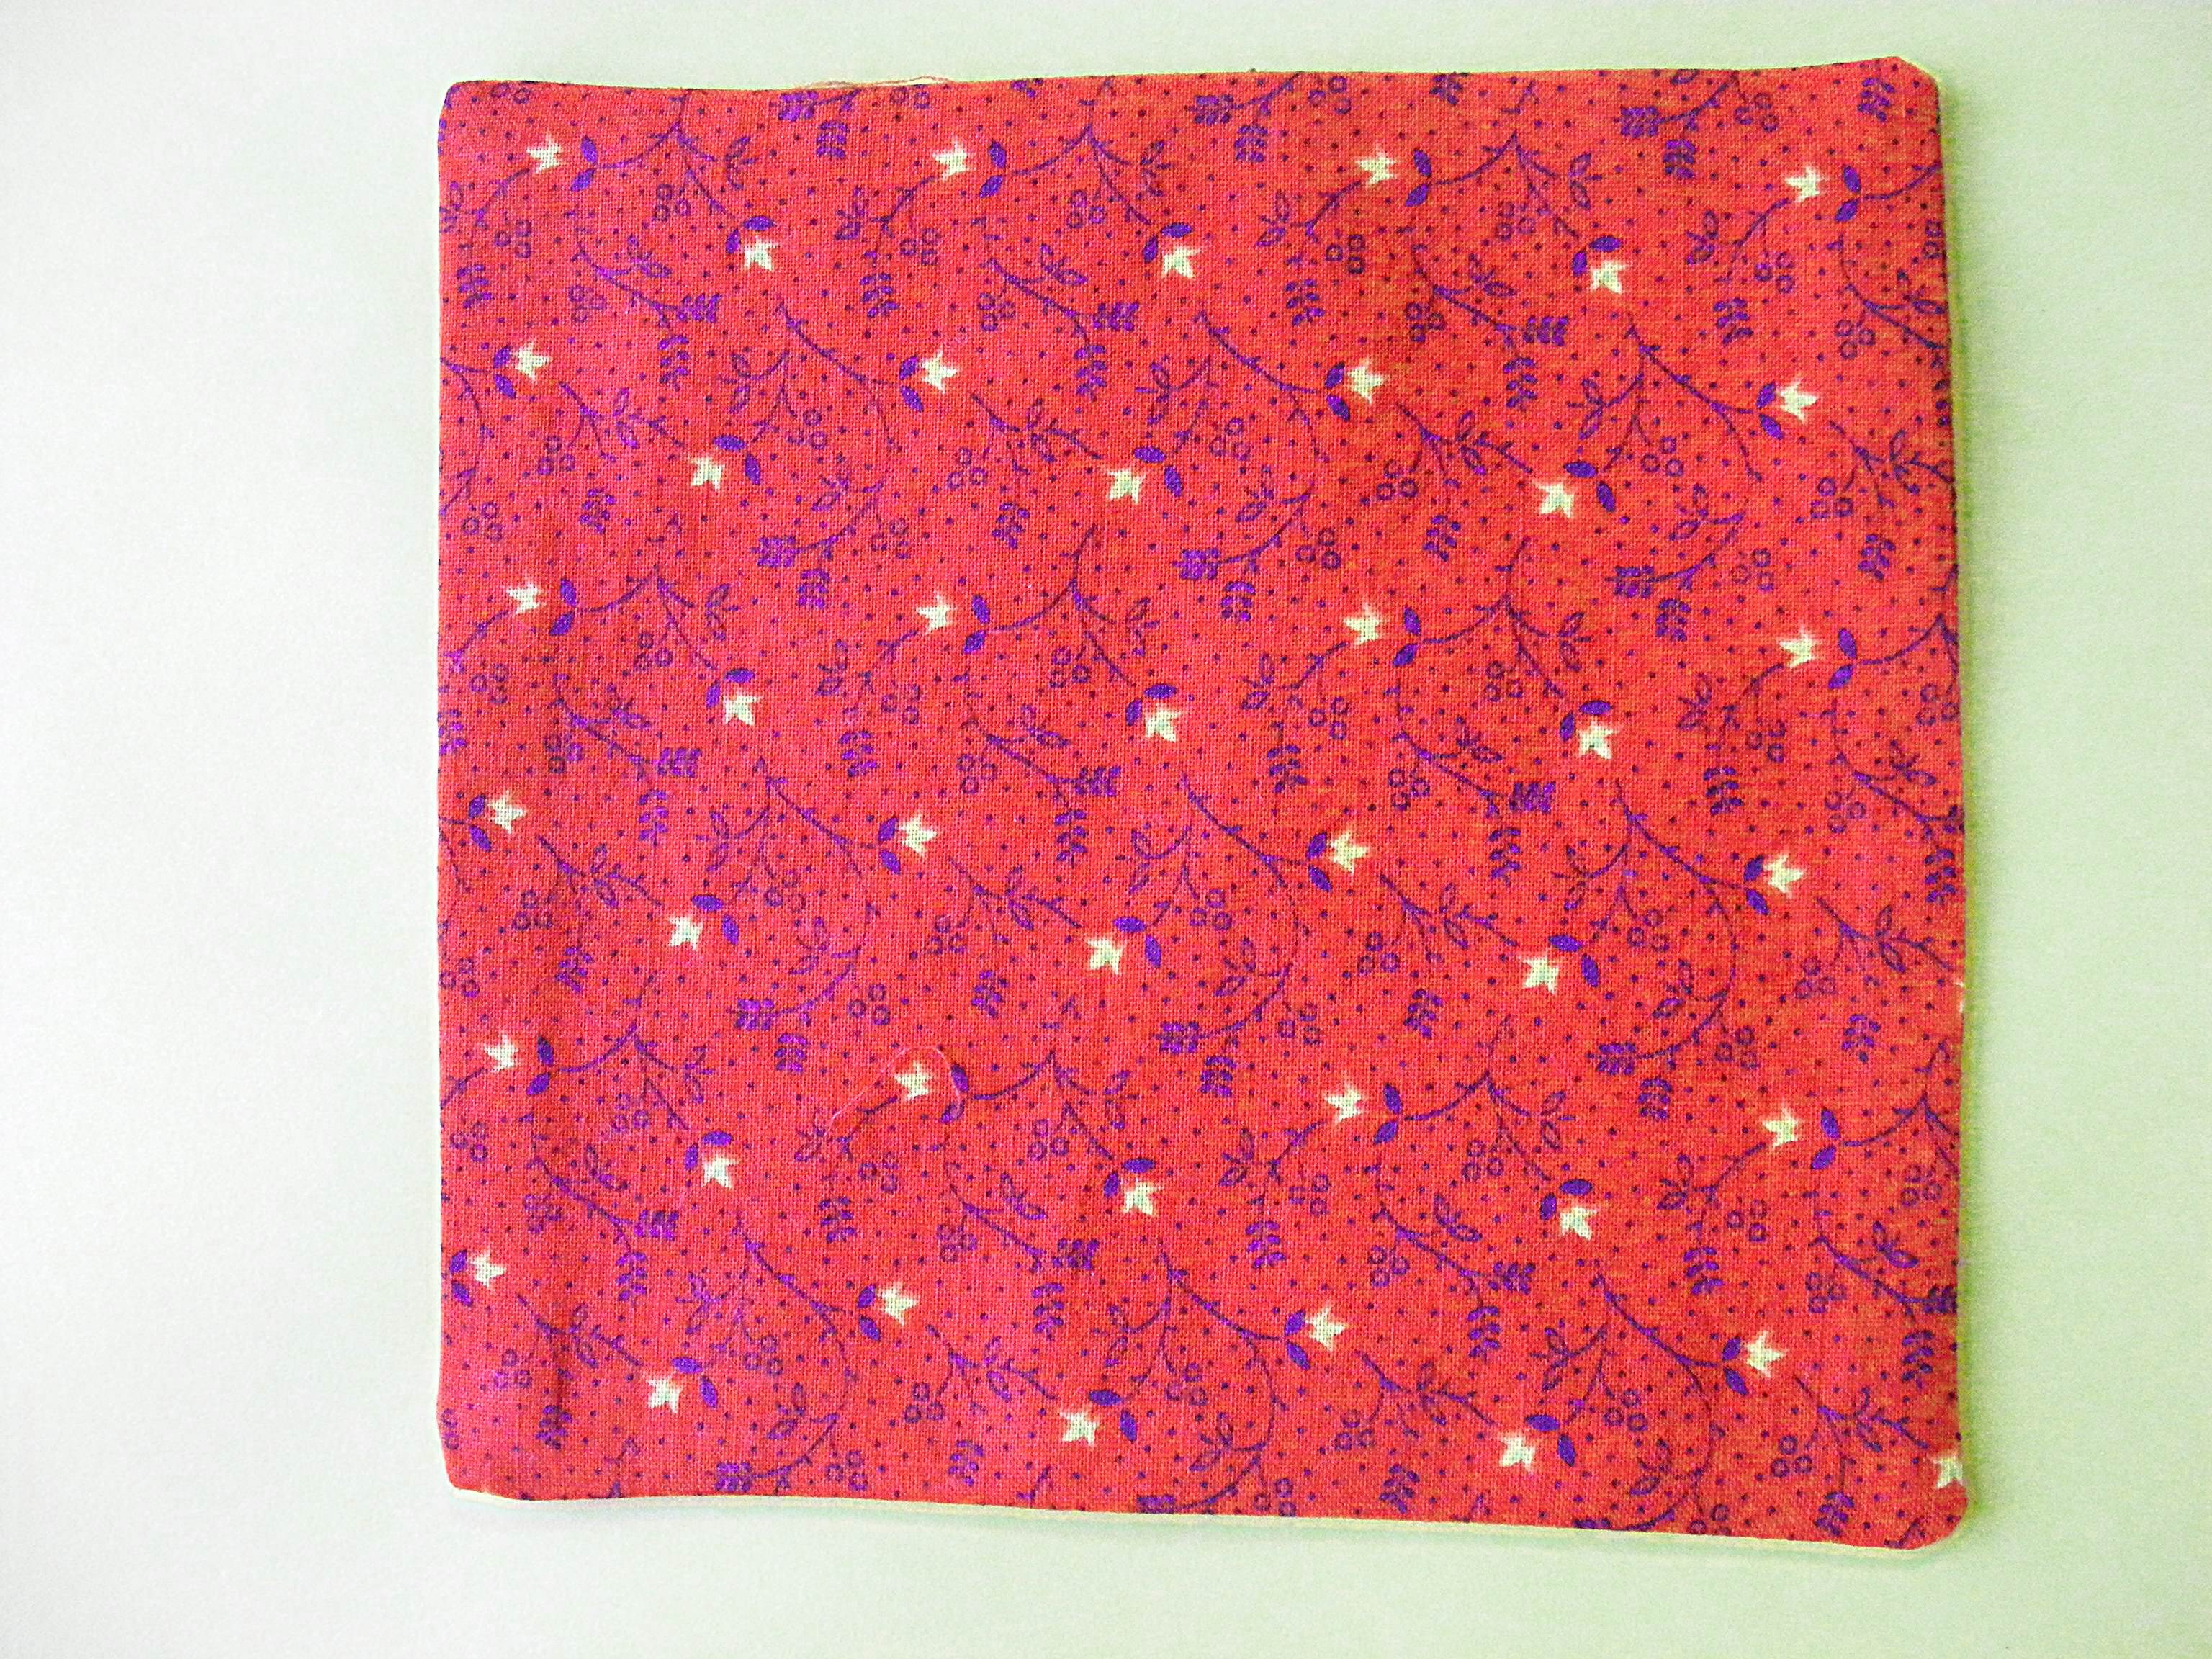
Stitch along the top edge of the pocket, as close to the edge as possible.
Repeat for a second pocket, if you choose.
Step 4
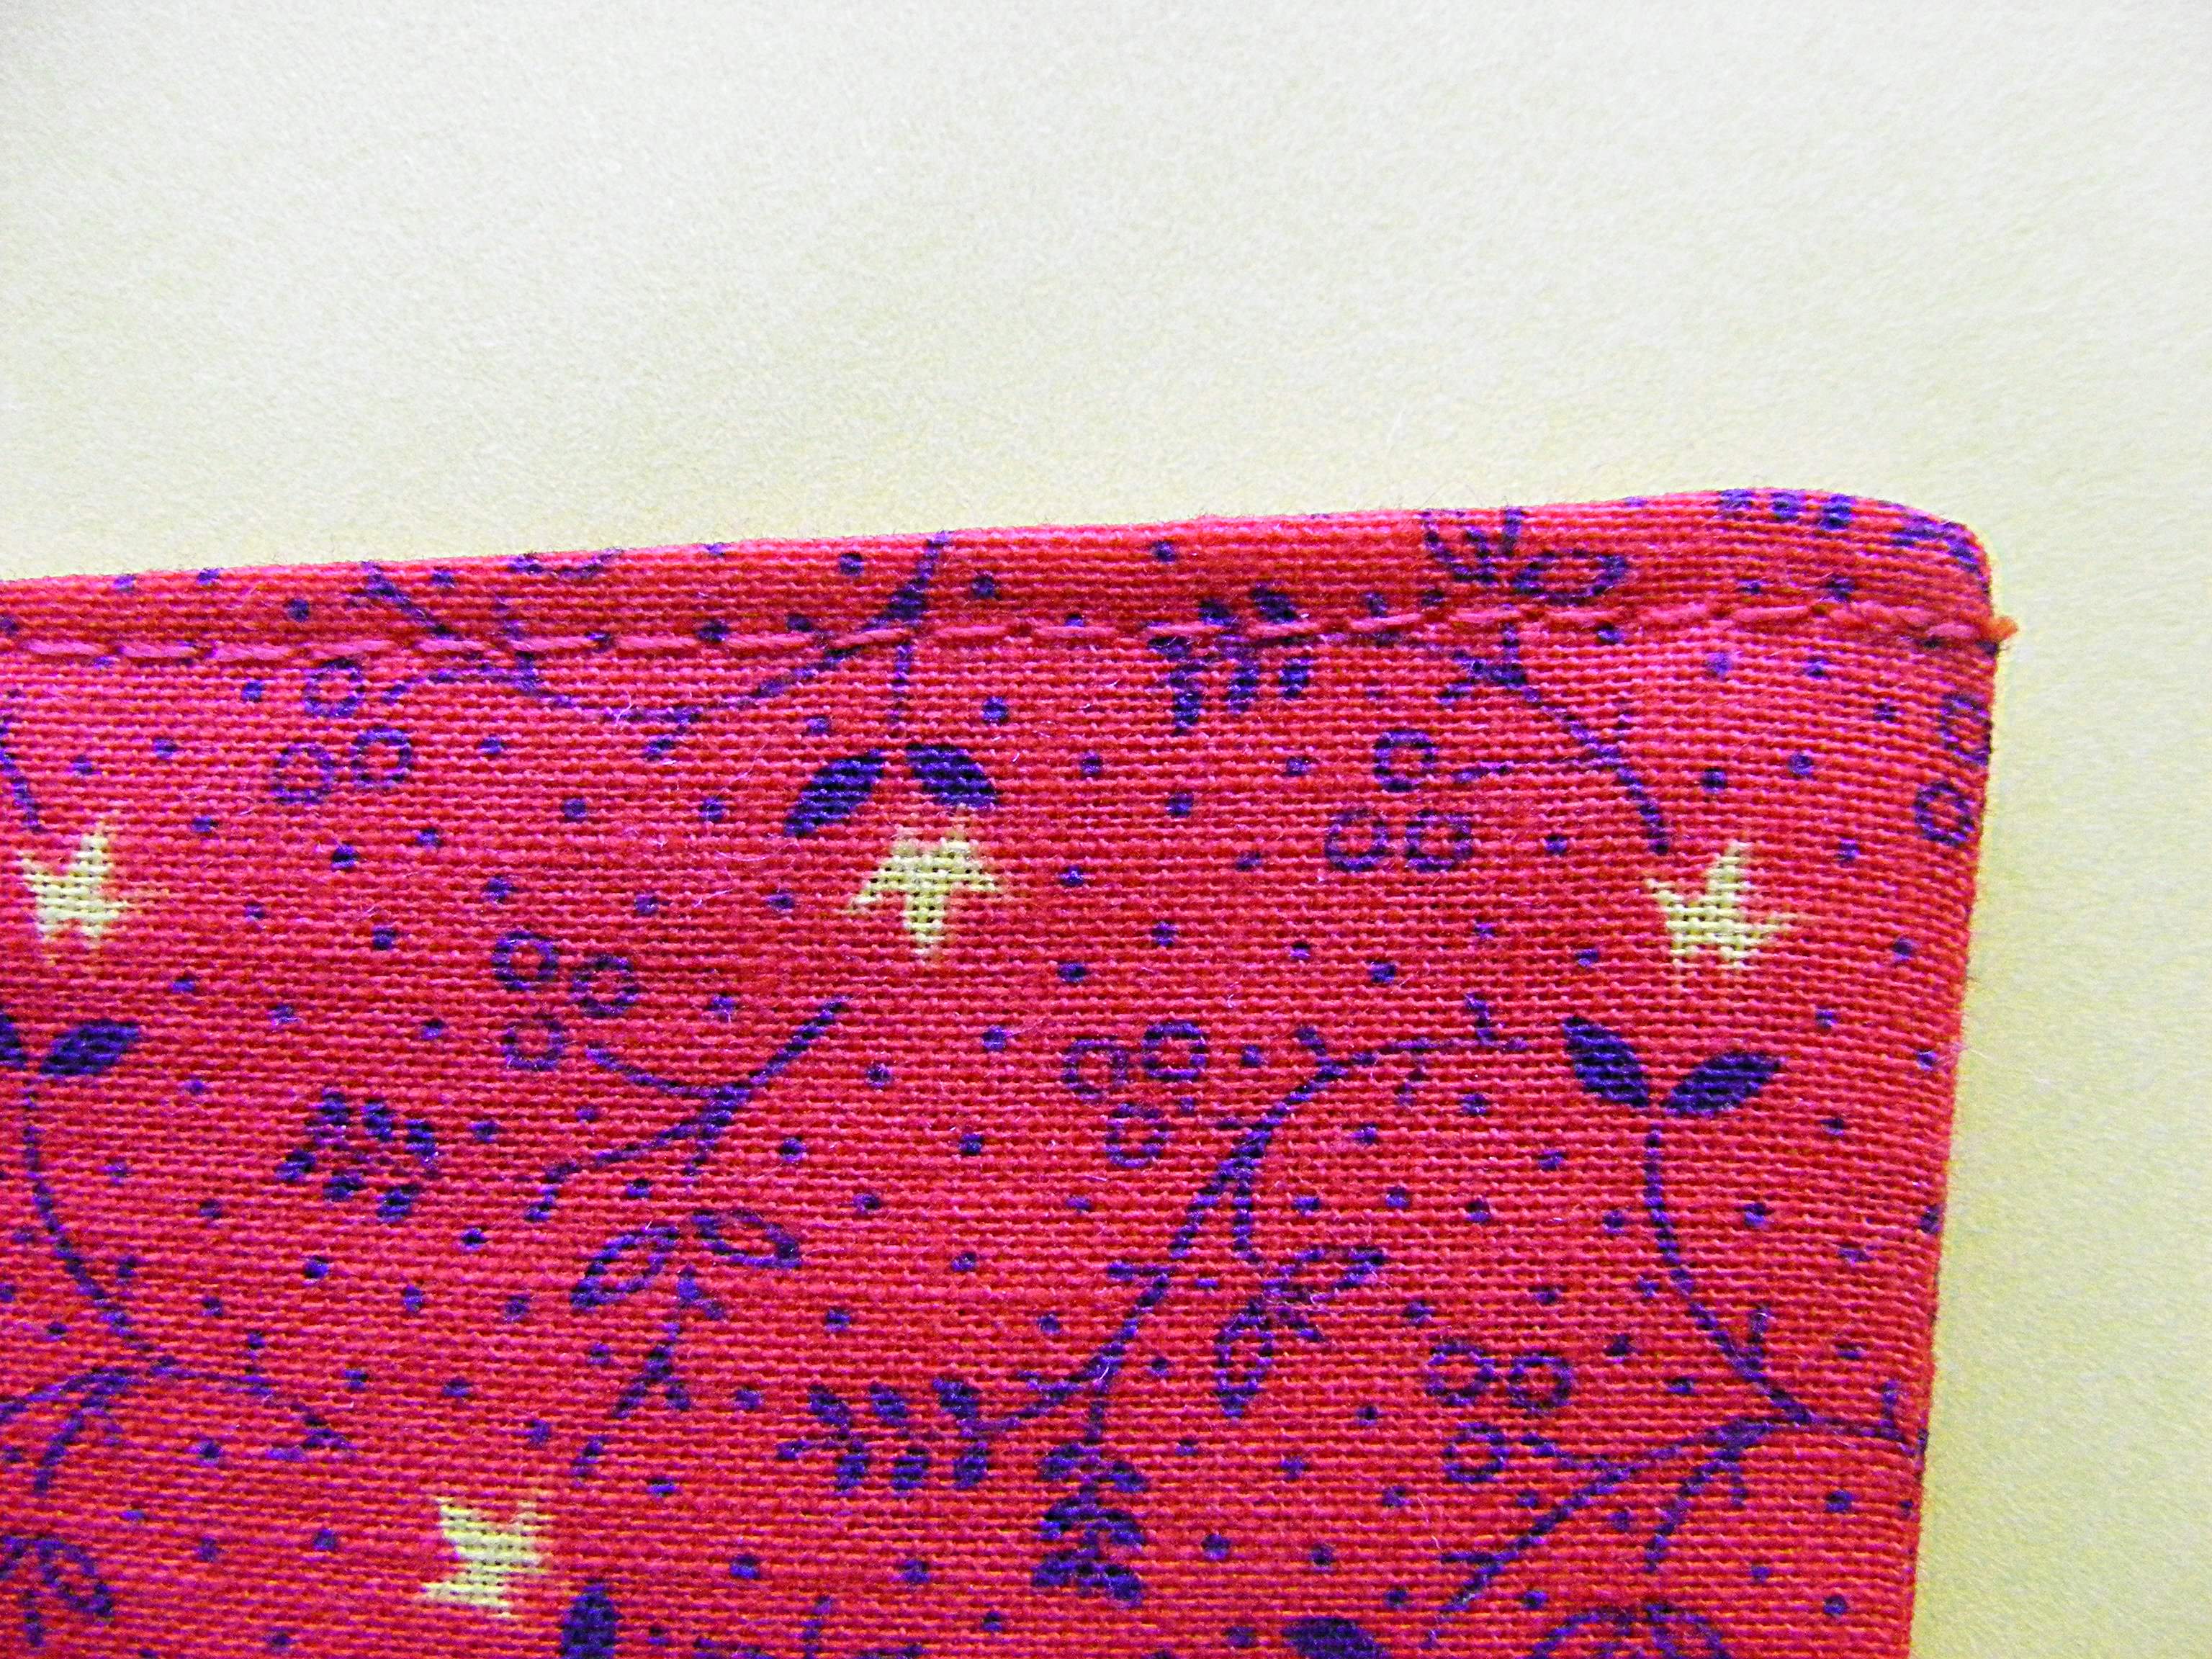
Position the pocket so that the top left corner is 5 inches down from the top edge of the apron piece, and 5 inches in from the left edge of the apron piece.
Stitch the pocket in place, very close to the edge of the pocket. Stitch down one side, across the bottom (closing up the opening you used for turning), and up the other side.
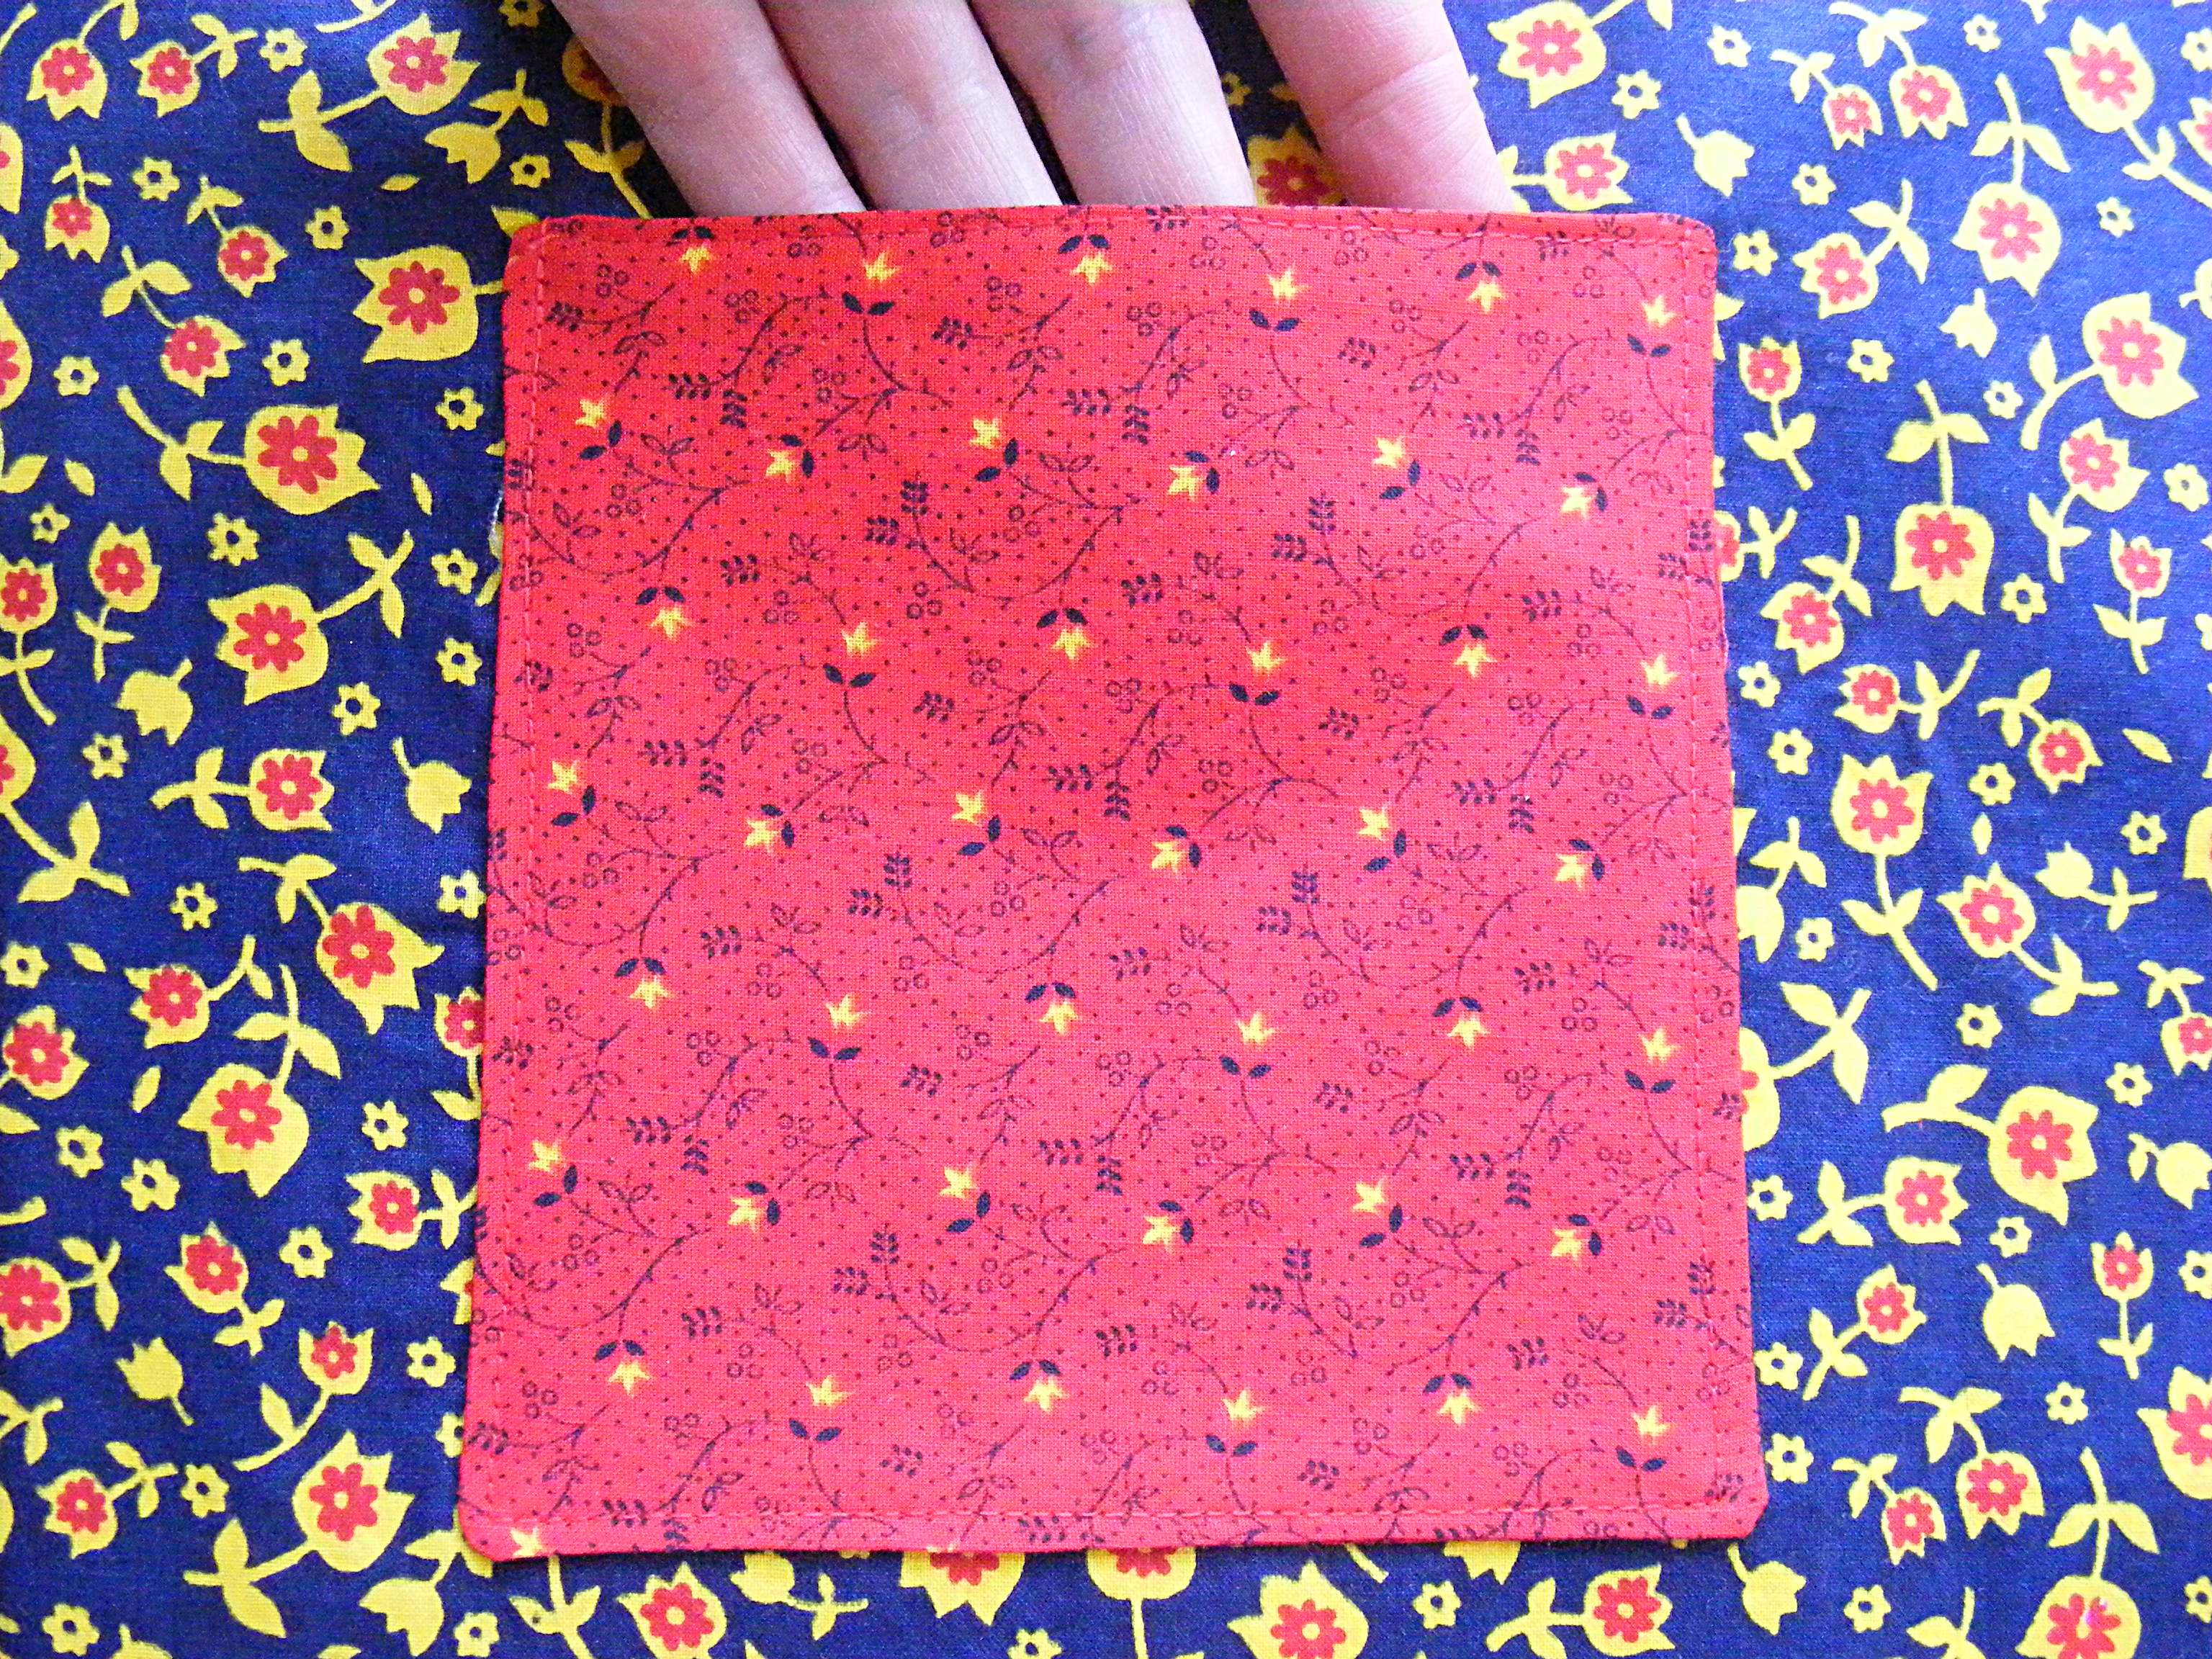
It’s VERY important to remember to backstitch at the beginning and end of your stitching. Otherwise your pocket will eventually come loose and fall off and you’ll be sad.
Step 6
Hem each side of the main apron piece.
Turn the edge under 1/2 inch. Press. Turn under another half inch. Press. Stitch down very close to the folded edge of the fabric.
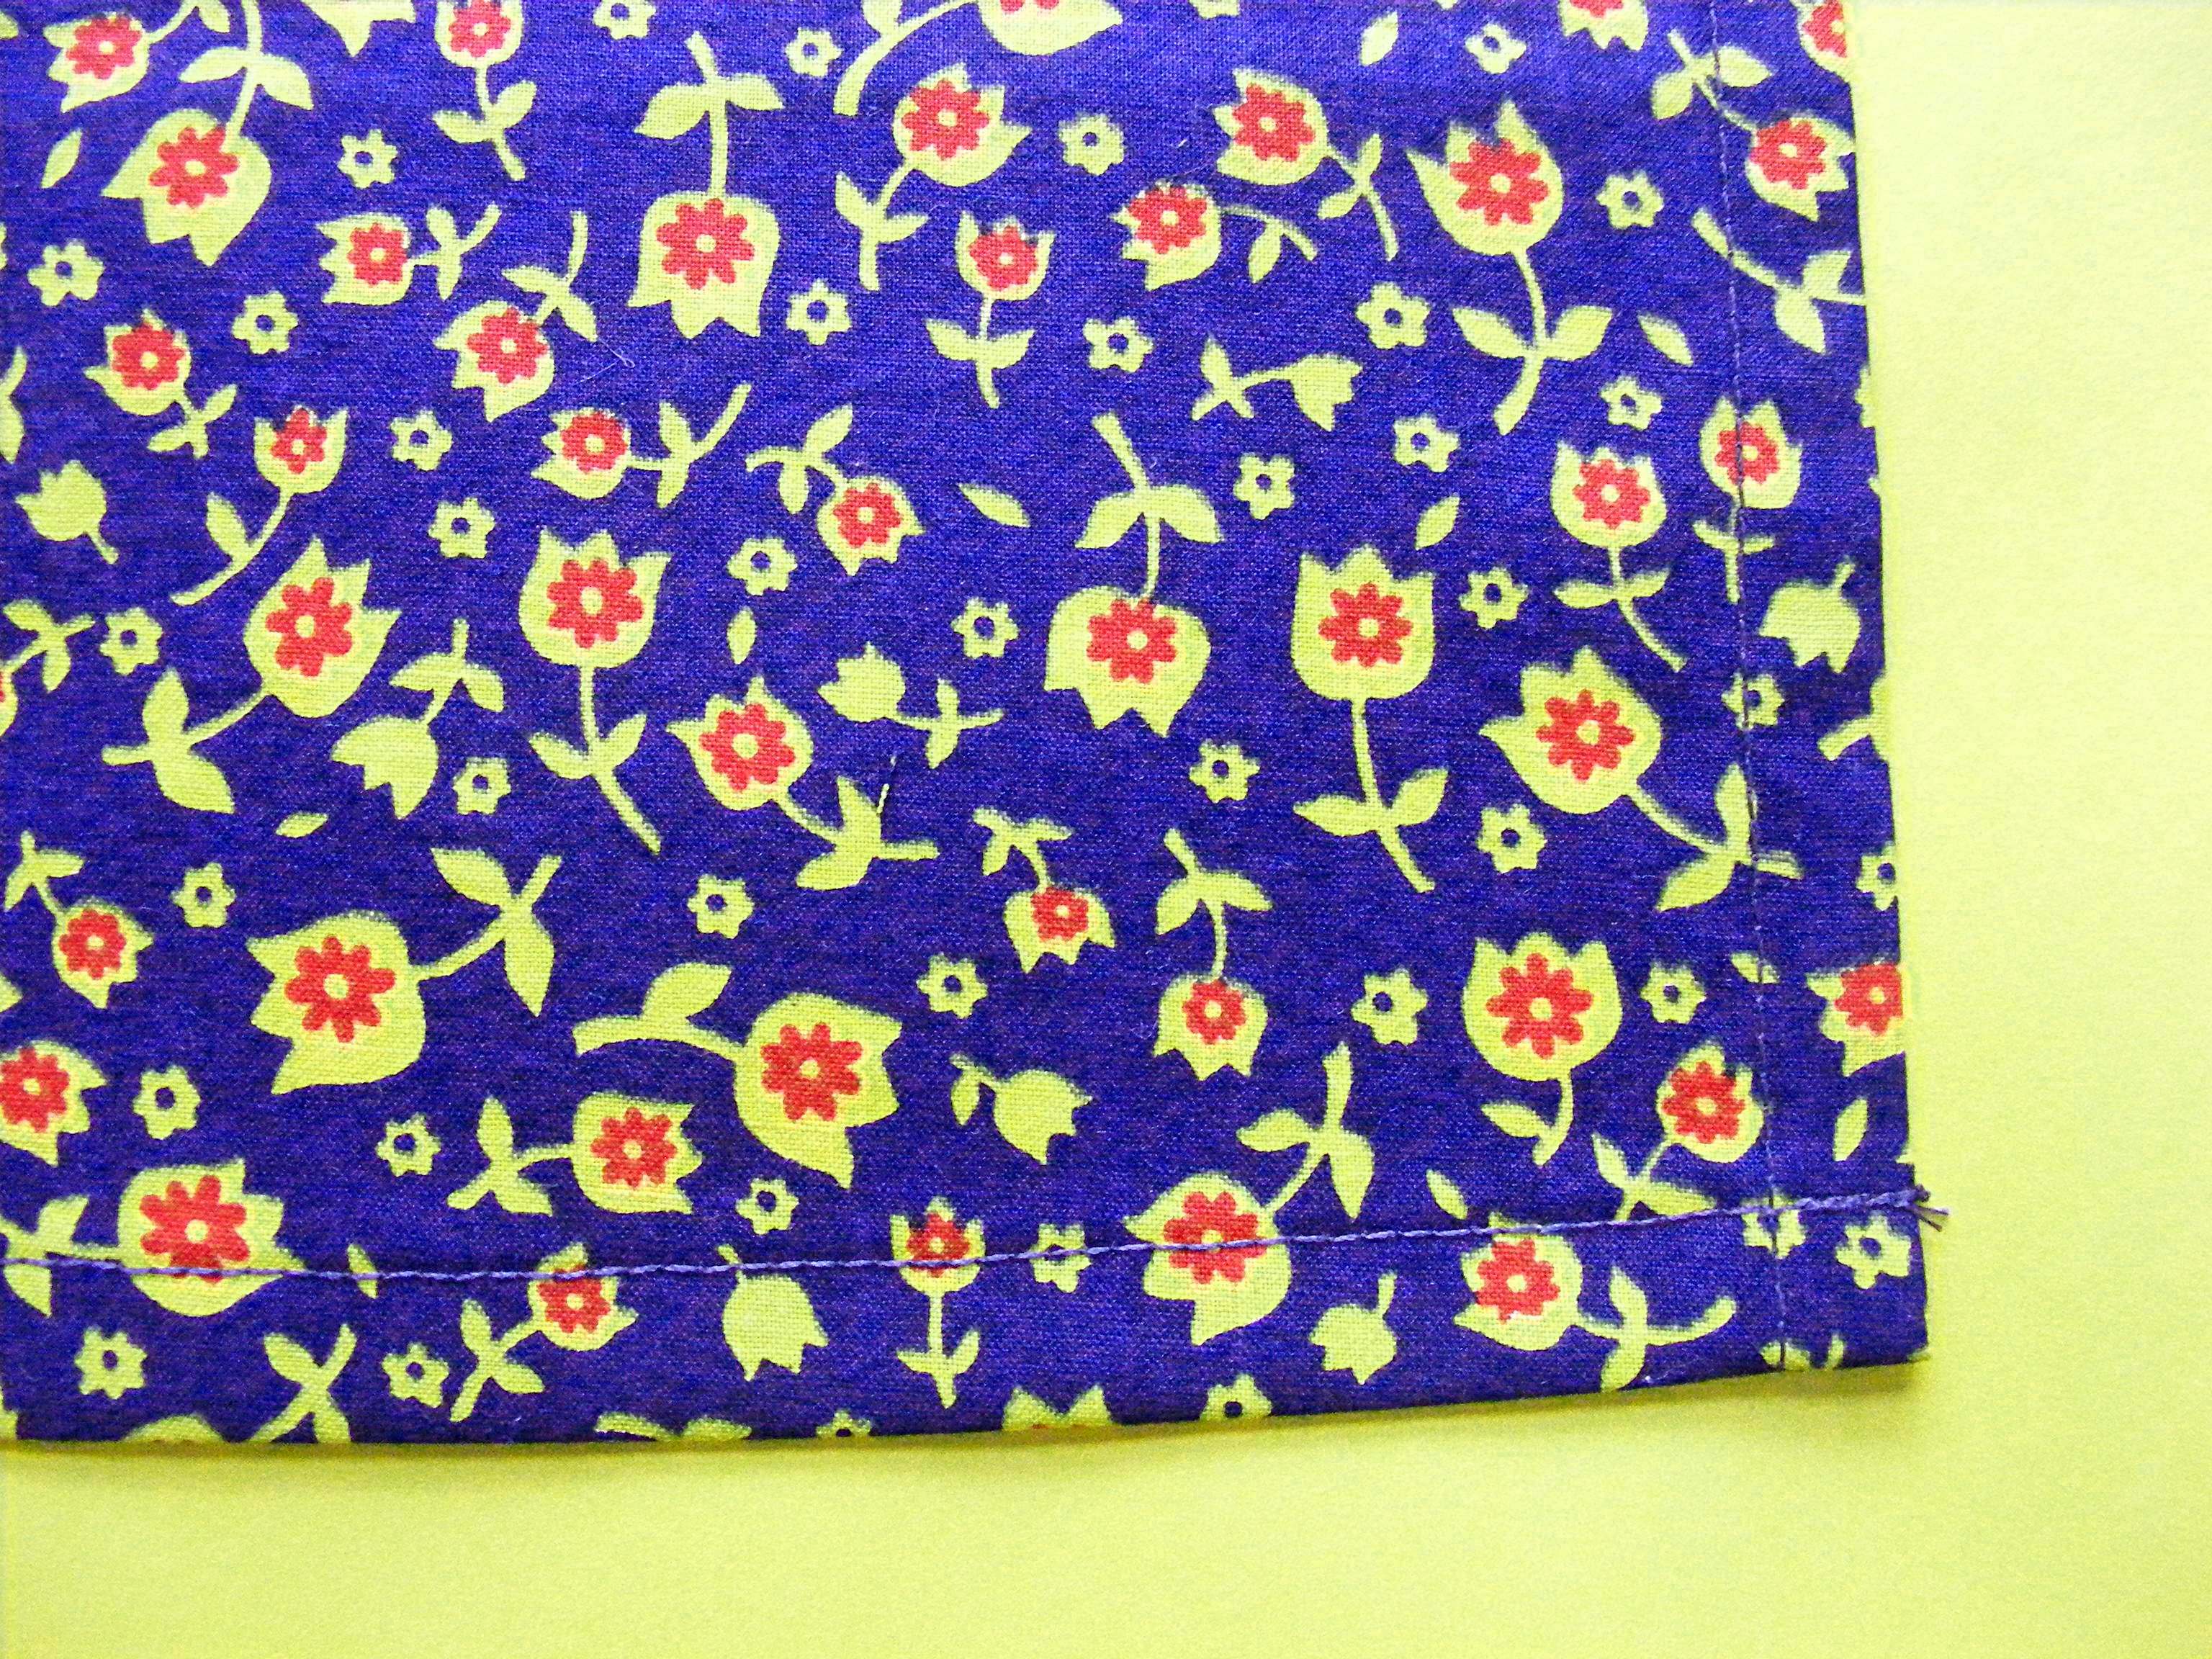
Repeat with the second side.
Repeat for the bottom edge of the apron.
Step 7
Time to prep the waistband/tie. Essentially – we’re going to make some wide double-fold tape. There’s a video here showing how.
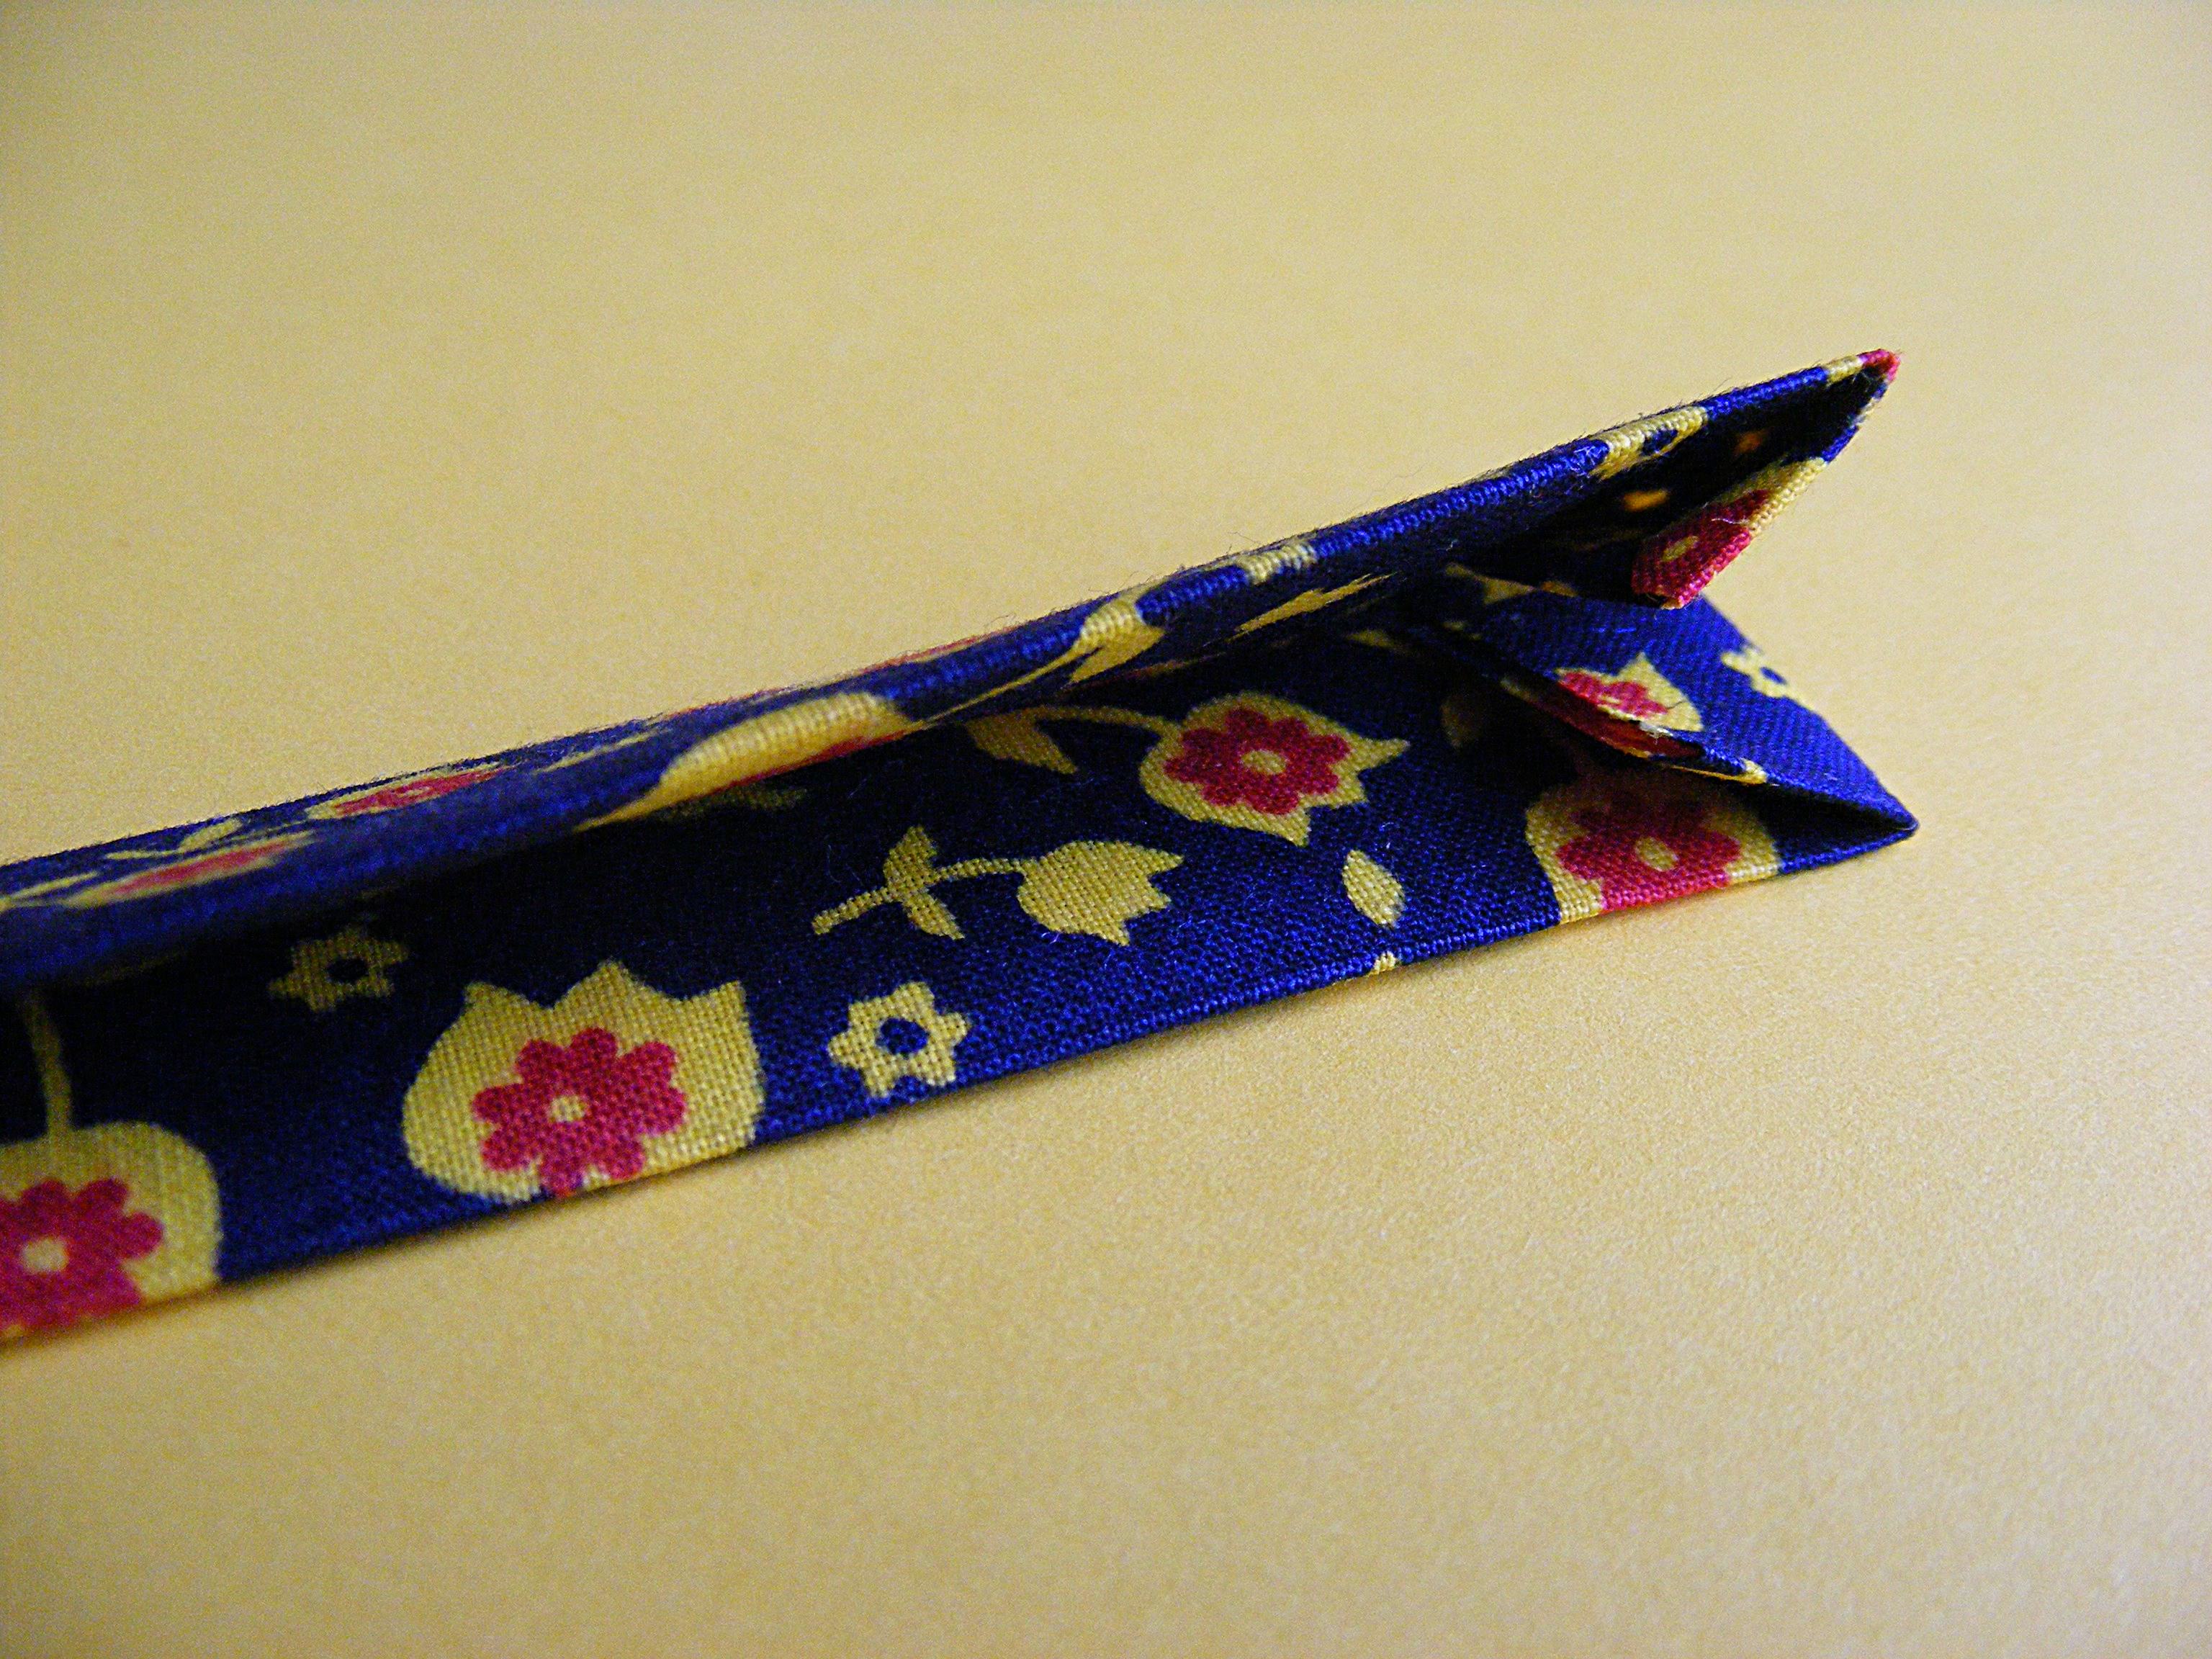
Use a 1 1/2″ bias tape tool to turn your 3″ strip into double-fold tape. If you don’t have the right tool, just do it by hand.
Fold the strip in half the long way. Press.
Fold each long edge into the center. Press.
Refold the center. Press.
The tool is handy, but doing it the old-fashioned way doesn’t take long. 🙂
Open up the center fold and turn the short end under 1/4 inch. Refold and press. Now you’ll have a neat end to your tie.
Step 8
Gather up the top edge of the apron (using either a gathering foot or the basting-stitch method from this video) until it’s the desired width, usually a little more than half of the total waist measurement.

This isn’t rocket science, so don’t tear out your hair (or your stitches) if you end up a little longer or shorter than you wanted. A little bit of variation won’t look bad.
Step 9
Fold your double-fold tape over the raw, gathered edge of the top of your apron.
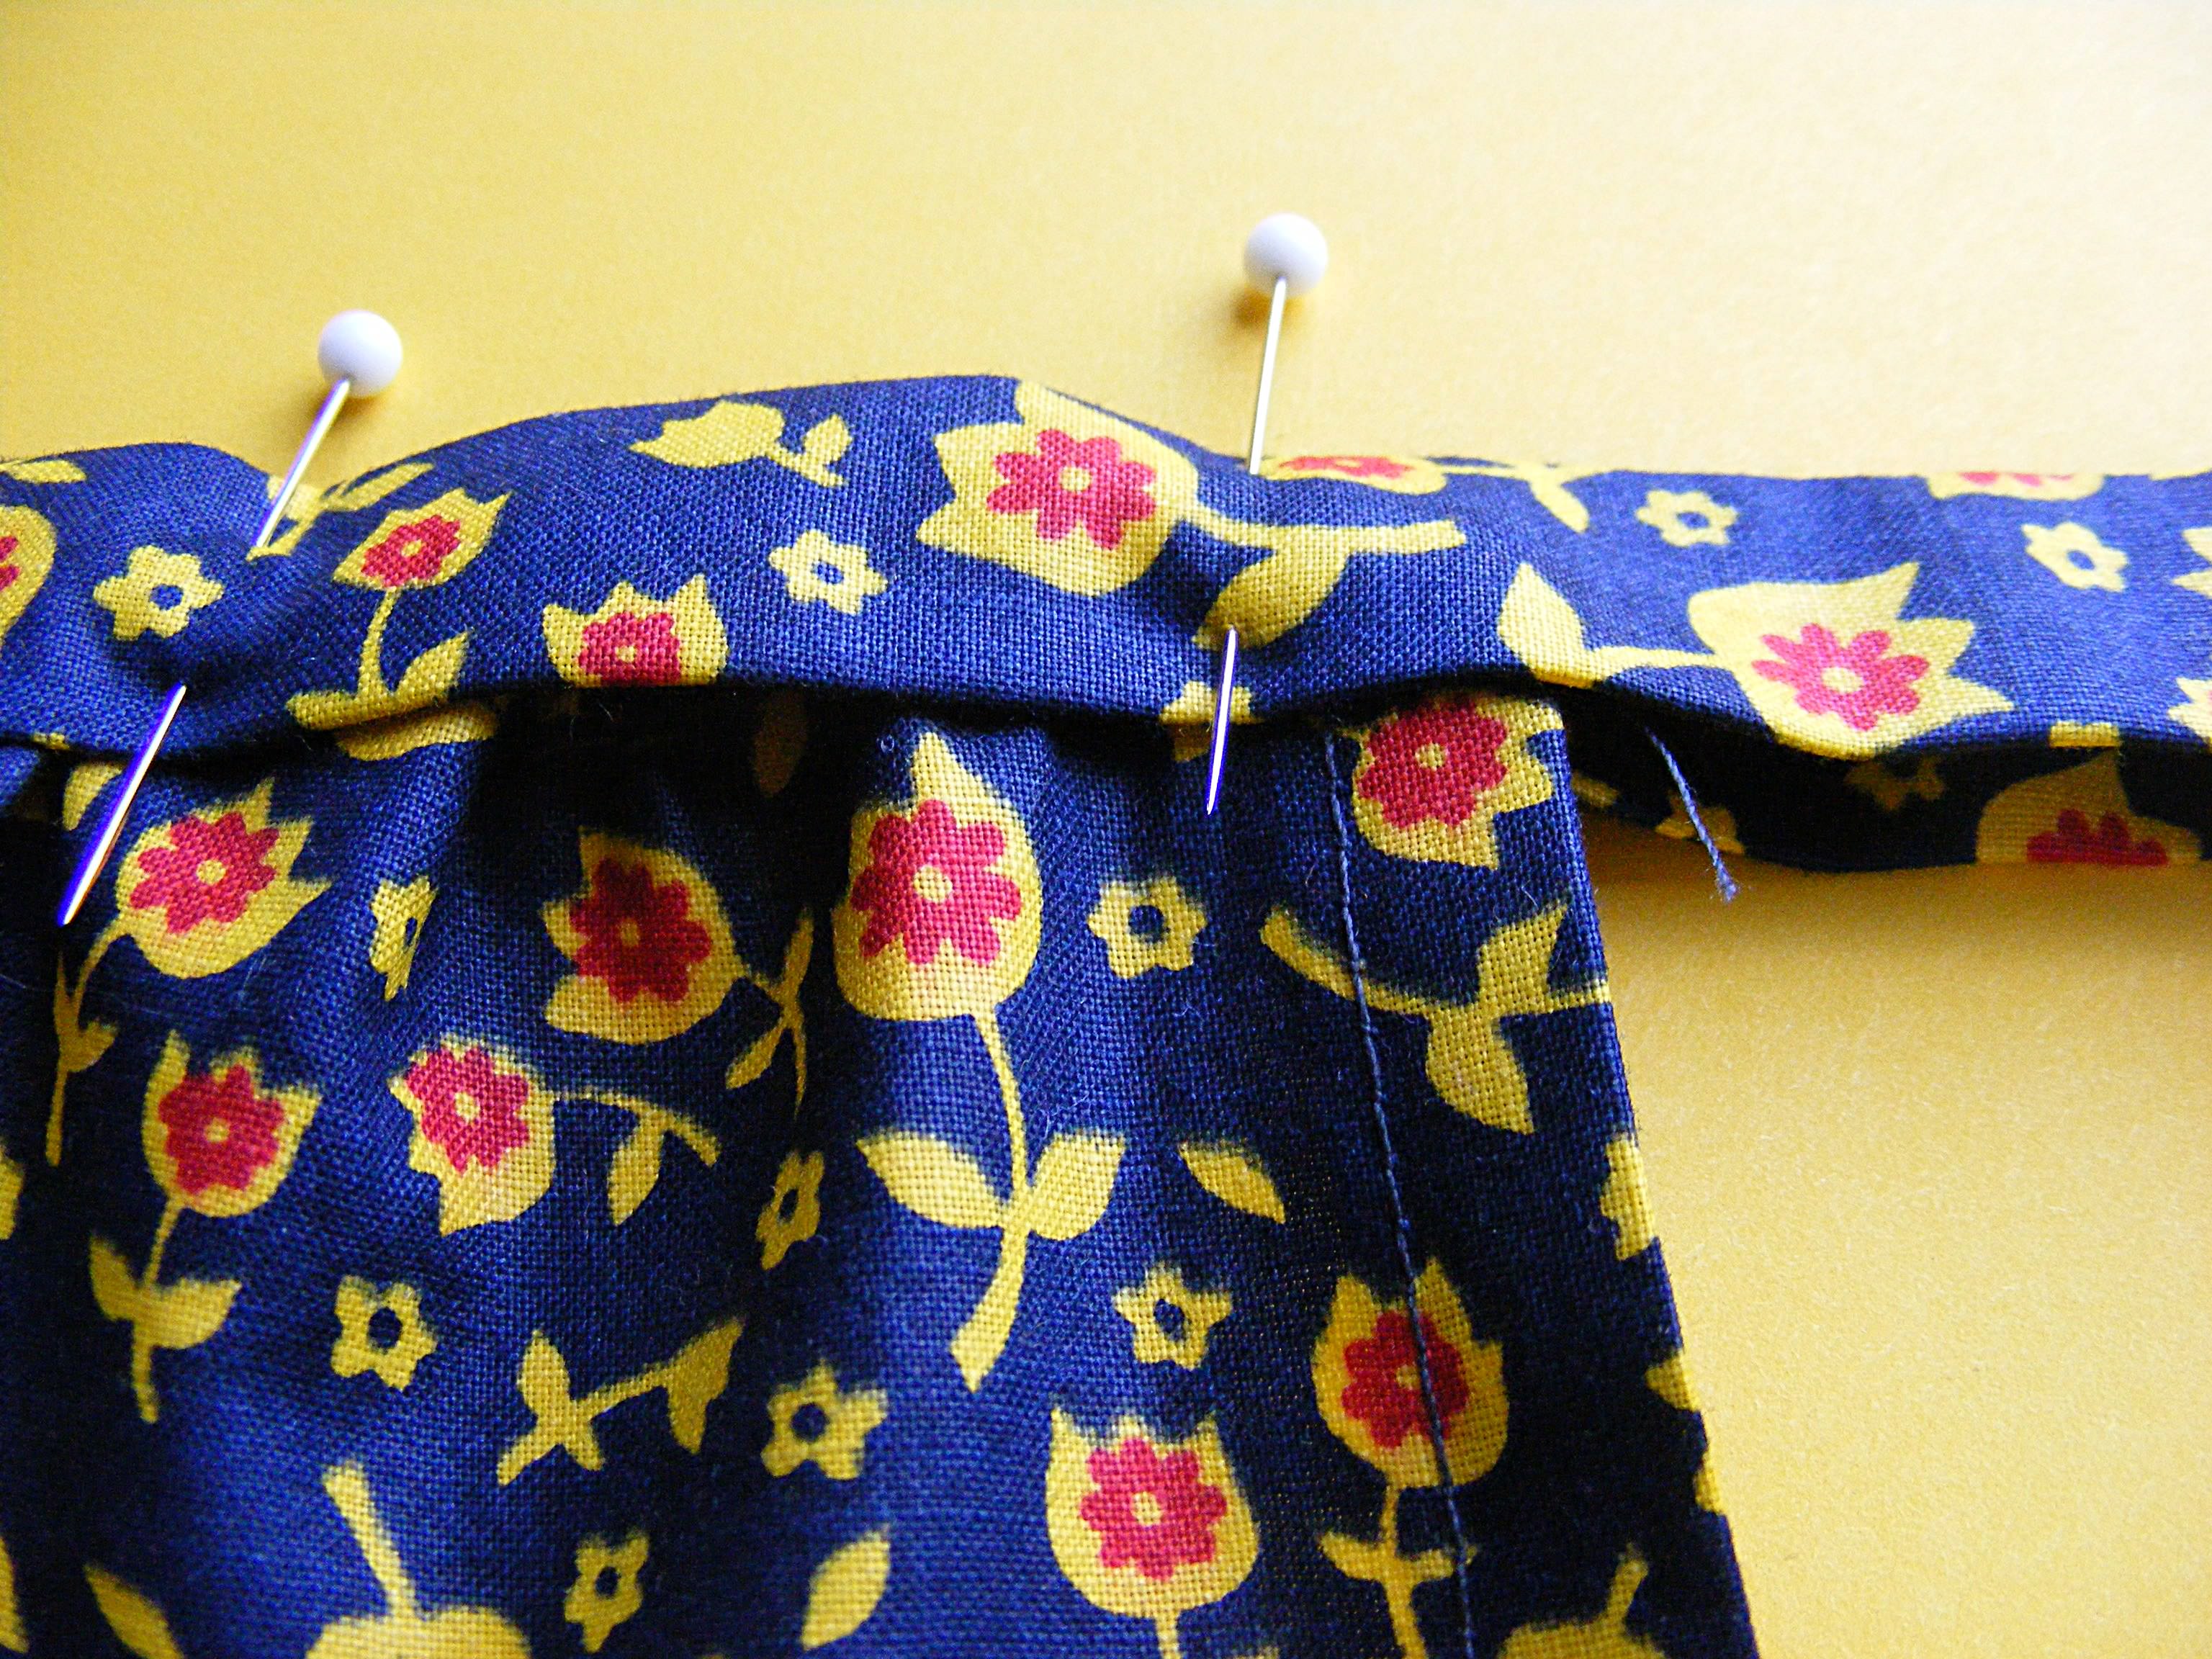
If you pin the center of your tie to the center of your apron piece and work your way out from that center point, it’s very easy to get everything even with no measuring.
Pin the double-fold tape in place.
Step 10
Stitch the folded edges together, the whole length of the waistband/tie.
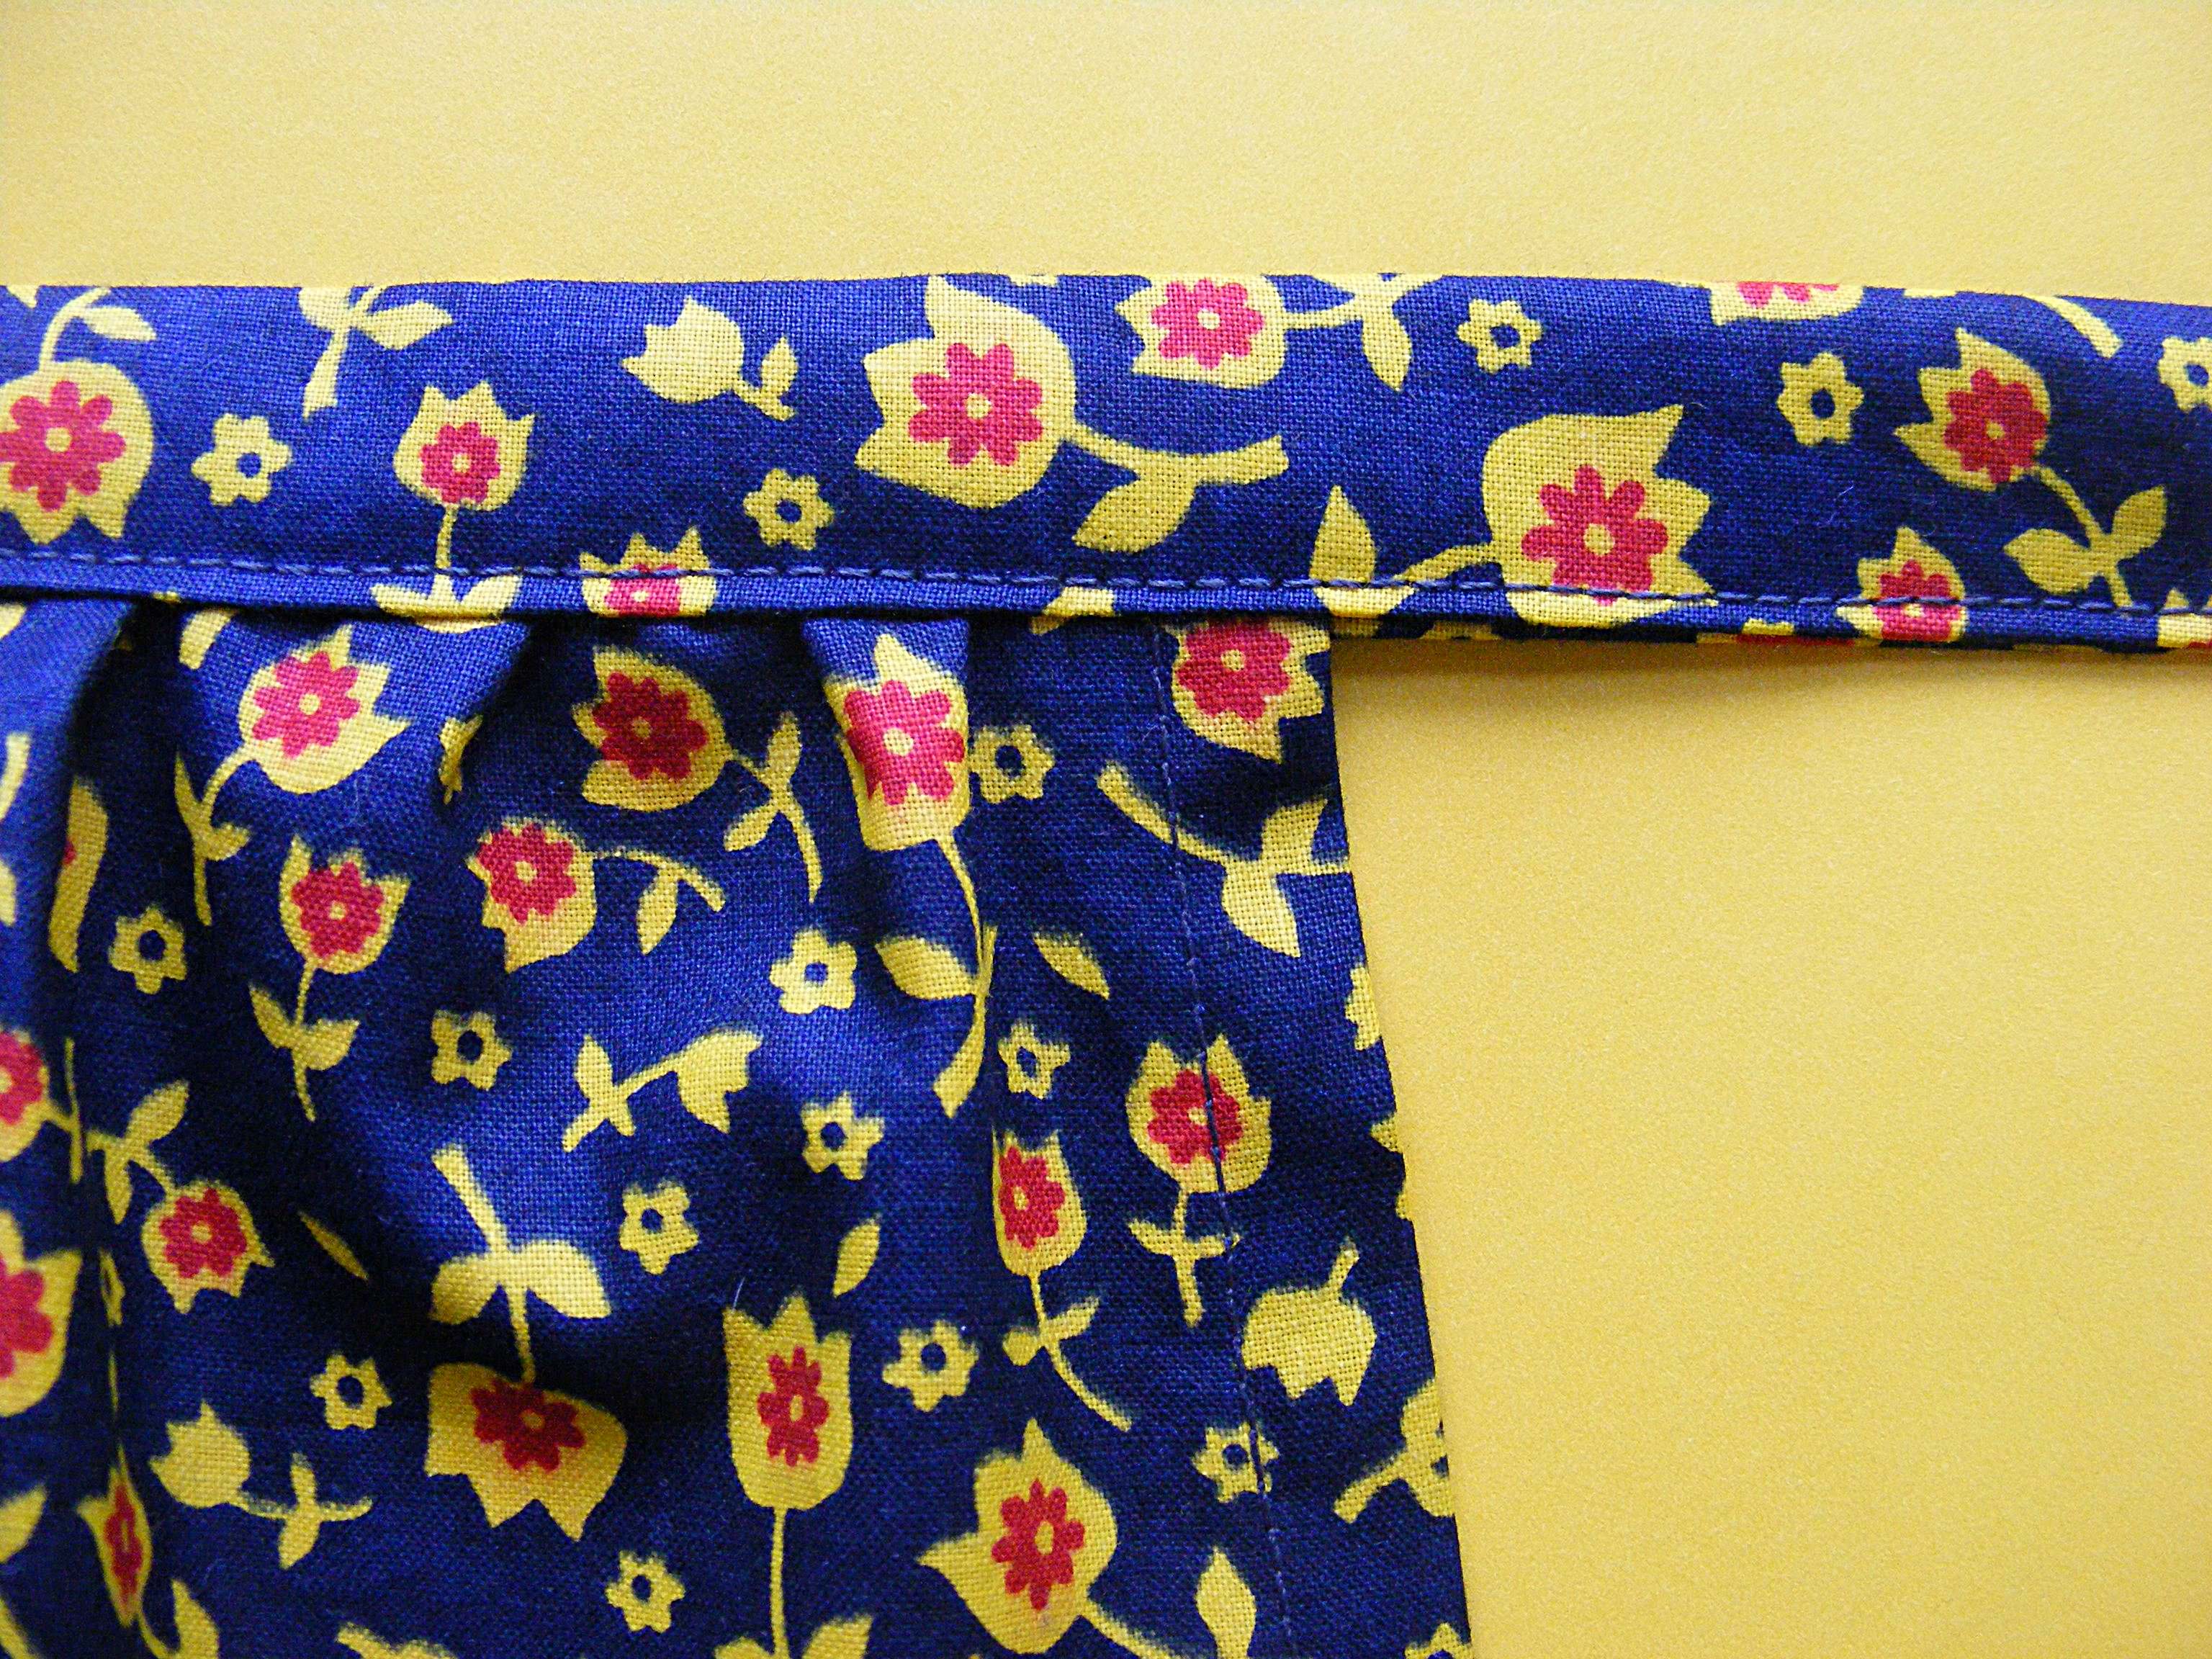
Start at one end. Stitch the short end together. Turn the corner and stitch all the way down the length of the tie, enclosing the gathered edge of the apron top in the fold. Sew slowly, making sure that you are catching the back fold of the tape in your stitching. Turn the corner and stitch the other short edge.
Finished!

You’re done! Tie on your new apron and get ready to make another. Now that you have the basics down you’re ready to try all kinds of fabulous variations!
Brag a little!
Don’t forget to take a picture of your finished apron! Post it to the Shiny Happy People group so everyone can see and be inspired by your work. Sharing is fun!
Happy stitching!
Best,
Wendi![]()