


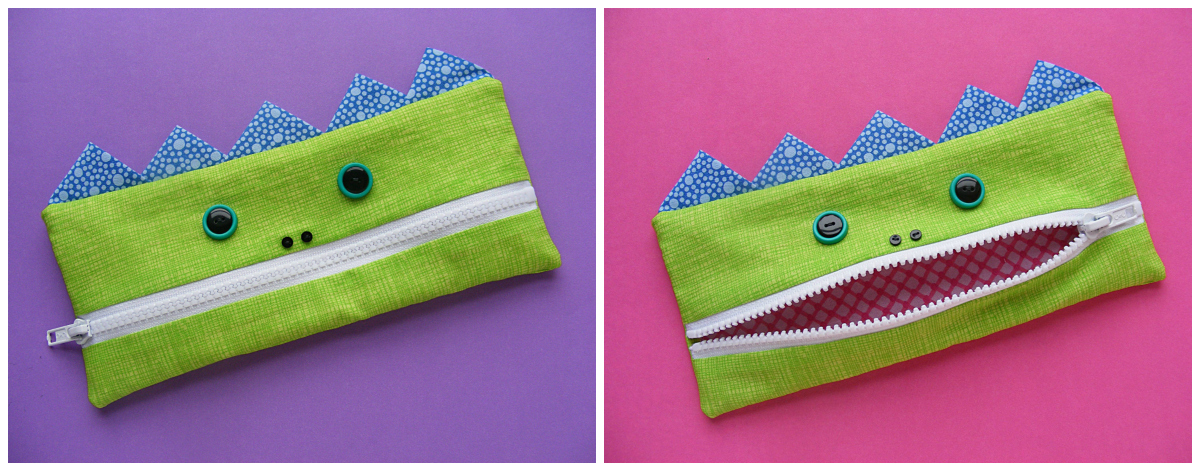
I call this pencil-eating pouch The Gobbler.
It’s so much fun to choose fabrics and sew this project! If you can sew a straight line and sew on buttons – you can make The Gobbler.
You can make it even if you’ve never sewn a straight line – the pattern has links to videos teaching you everything you need to know. 🙂
This video shows how to cut fabric using rotary cutting tools.
This video shows how to sew a straight line and turn corners.
Materials
- 1 fat quarter of fabric for the outside of the pouch
- 1 fat quarter of fabric for the inside of the pouch
- scraps of fabric for the hair/spikes
- two 7/8 inch buttons for the eyes (I stacked smaller black buttons on top of these buttons)
- two 3/16″ buttons for the nostrils (optional)
- 9 inch zipper
The hardest part of this project is getting the fabric facing the right direction, so pay special attention to those parts of the instructions.
Step 1
Cut out all materials.
For the top of the face cut one wide rectangle 3″ tall and 10″ wide. Cut the same size from the lining fabric.
For the bottom of the face cut one narrow rectangle 2″ tall and 10″ wide. Cut the same size from the lining fabric.
Wait to cut the pieces for the back of the pouch. The size will vary depending on the width of your zipper, how close to the teeth your zipper foot lets you get, etc.
For the pointy spikes cut five 3″ squares.
Step 2
Lay the wider rectangle in the outside fabric face up on a flat surface.
Lay the zipper face down over the fabric. Make sure the teeth of the zipper (not the zipper tape) are centered over the rectangle. Line the edge of the zipper tape up with the edge of the fabric and pin in place.
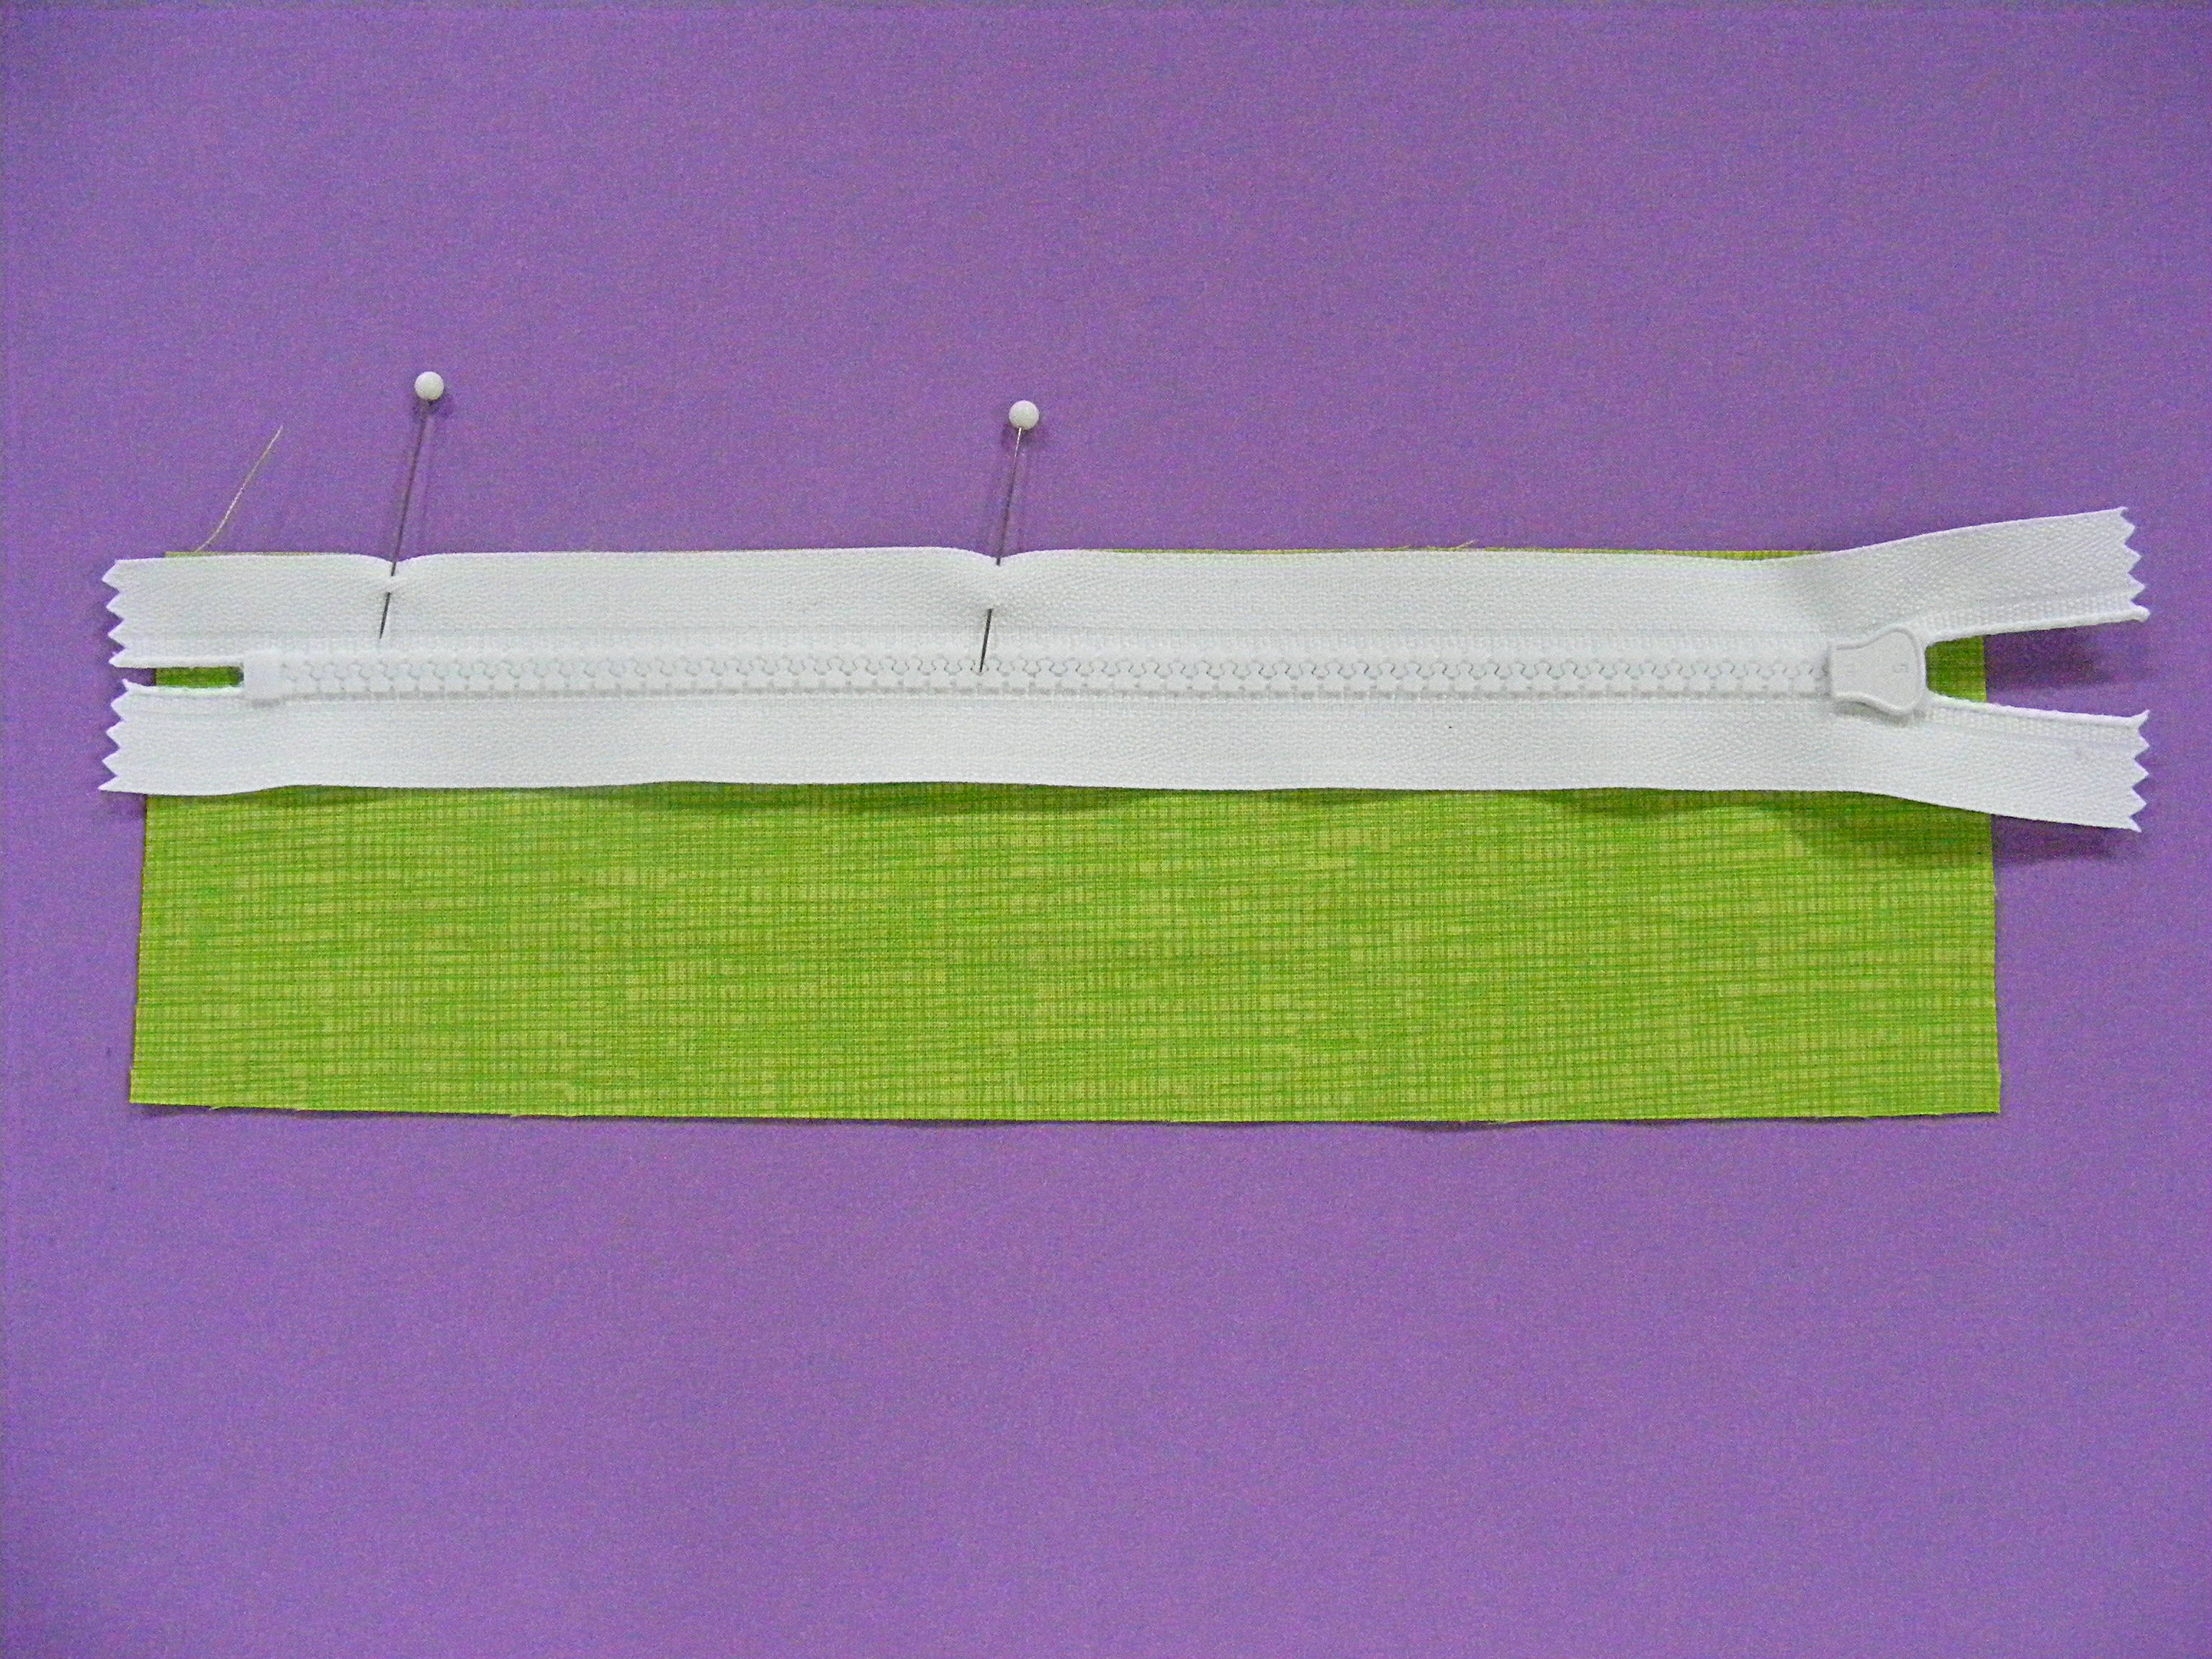
Click here for a video showing how to do this kind of zipper installation.
Step 3
Lay the wider rectangle in the lining fabric face down over the rectangle from Step 2, with the zipper sandwiched between the two layers of fabric.
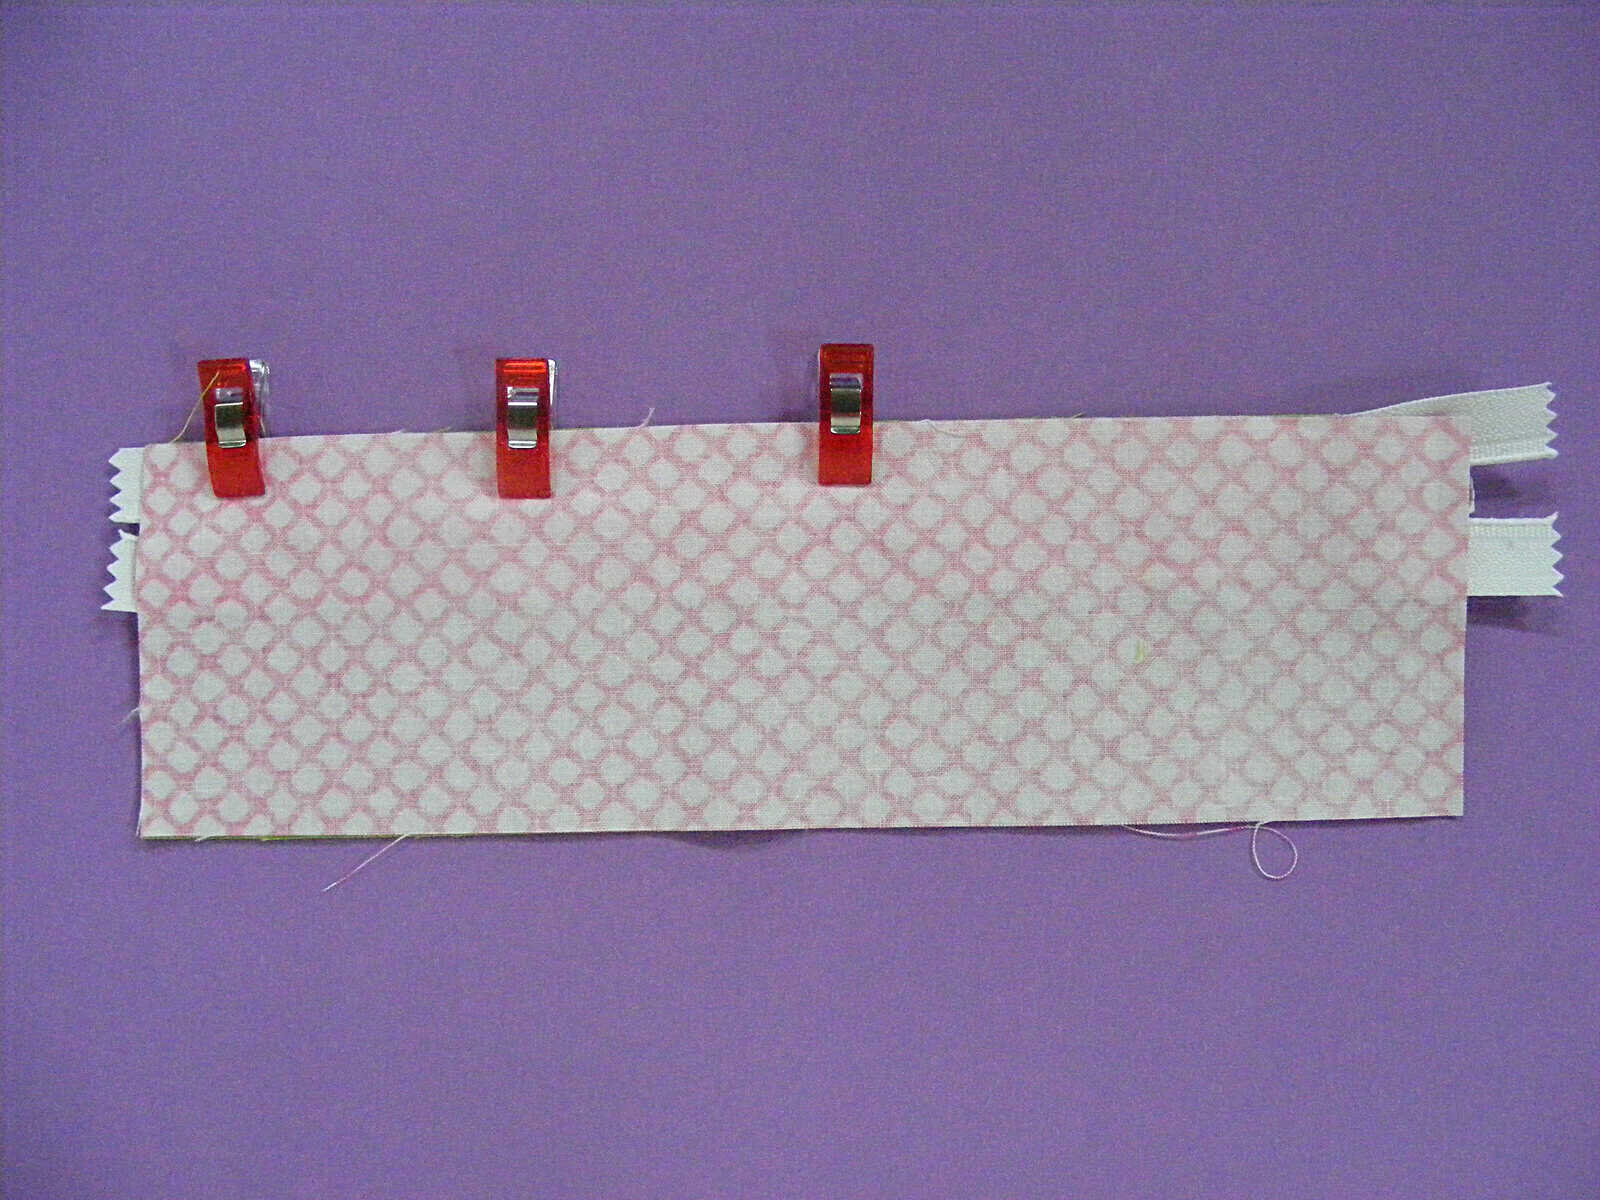
Pin or clip the layers in place.
Step 4
Sew the three layers together (outer rectangle, lining rectangle and zipper) getting as close to the teeth of the zipper as possible. You’ll want to stop partway along the seam to move the zipper pull out of your way. Watch this video for tips.
If you have a zipper foot, that will let you get very close to the teeth. If you don’t have a zipper foot, just get as close as you can. You’ll have a little more zipper tape showing in the finished pouch and it will be fine.
Step 5
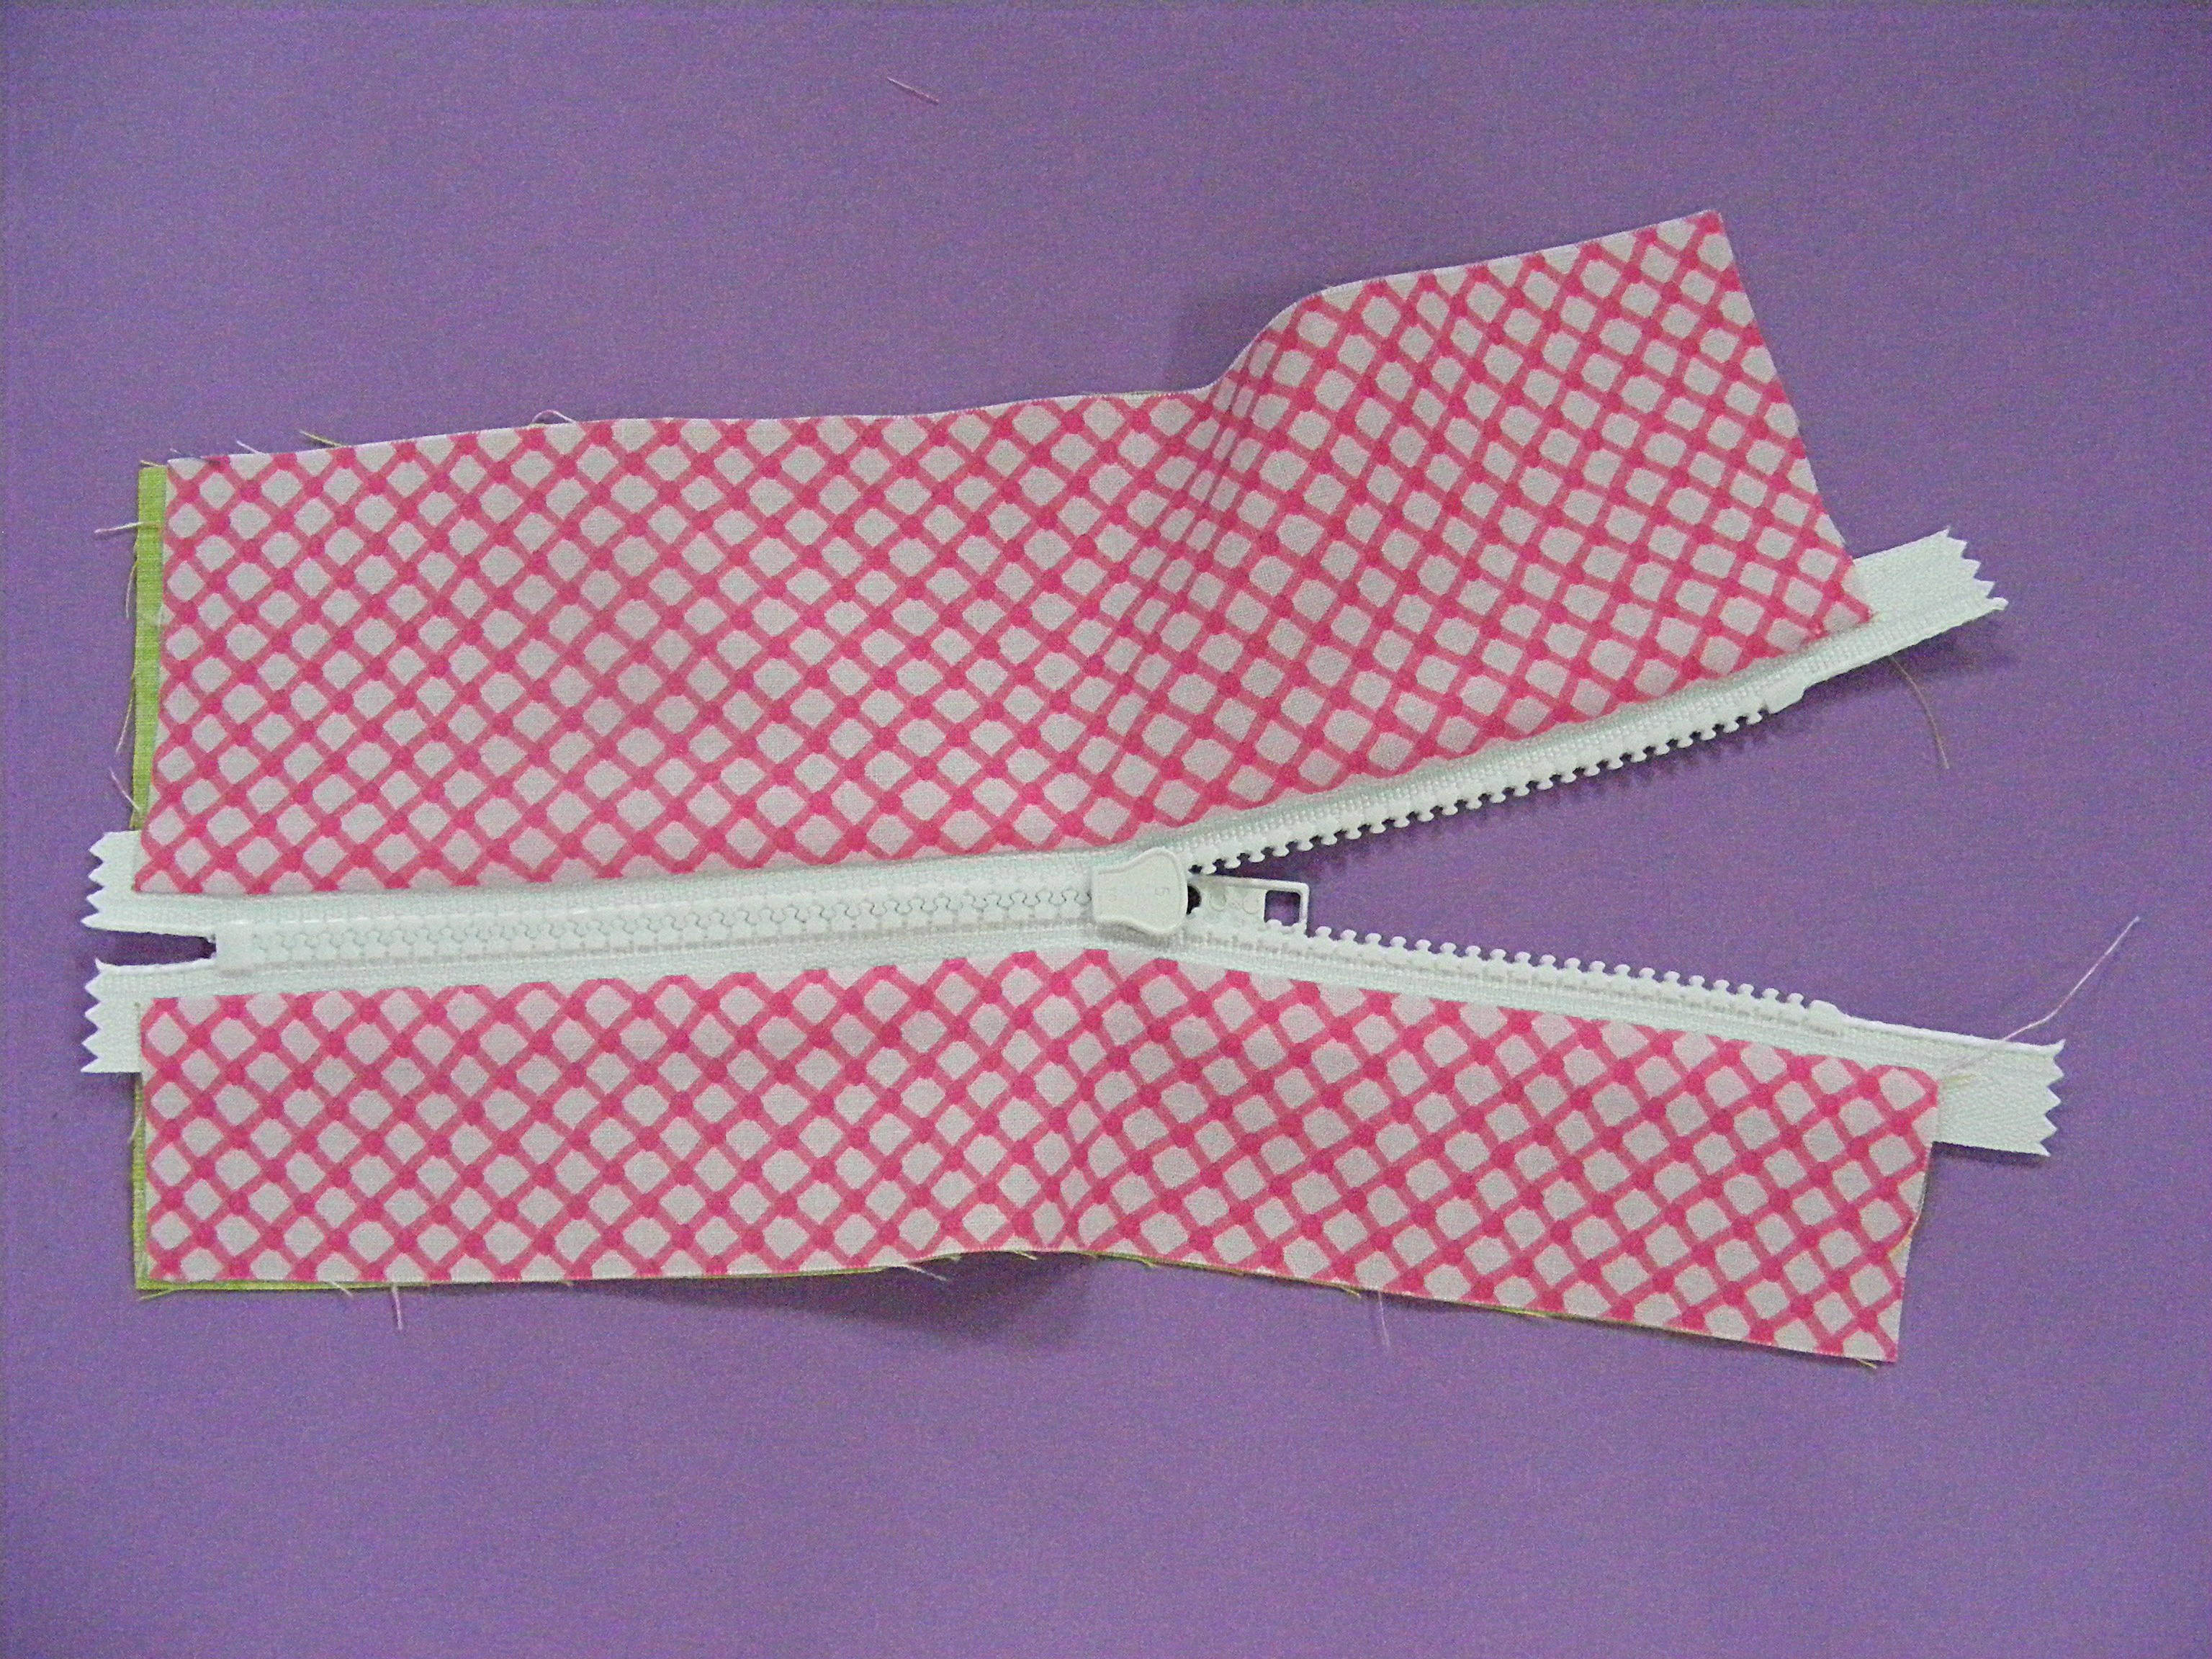
Flip the fabric rectangles right side out and press.
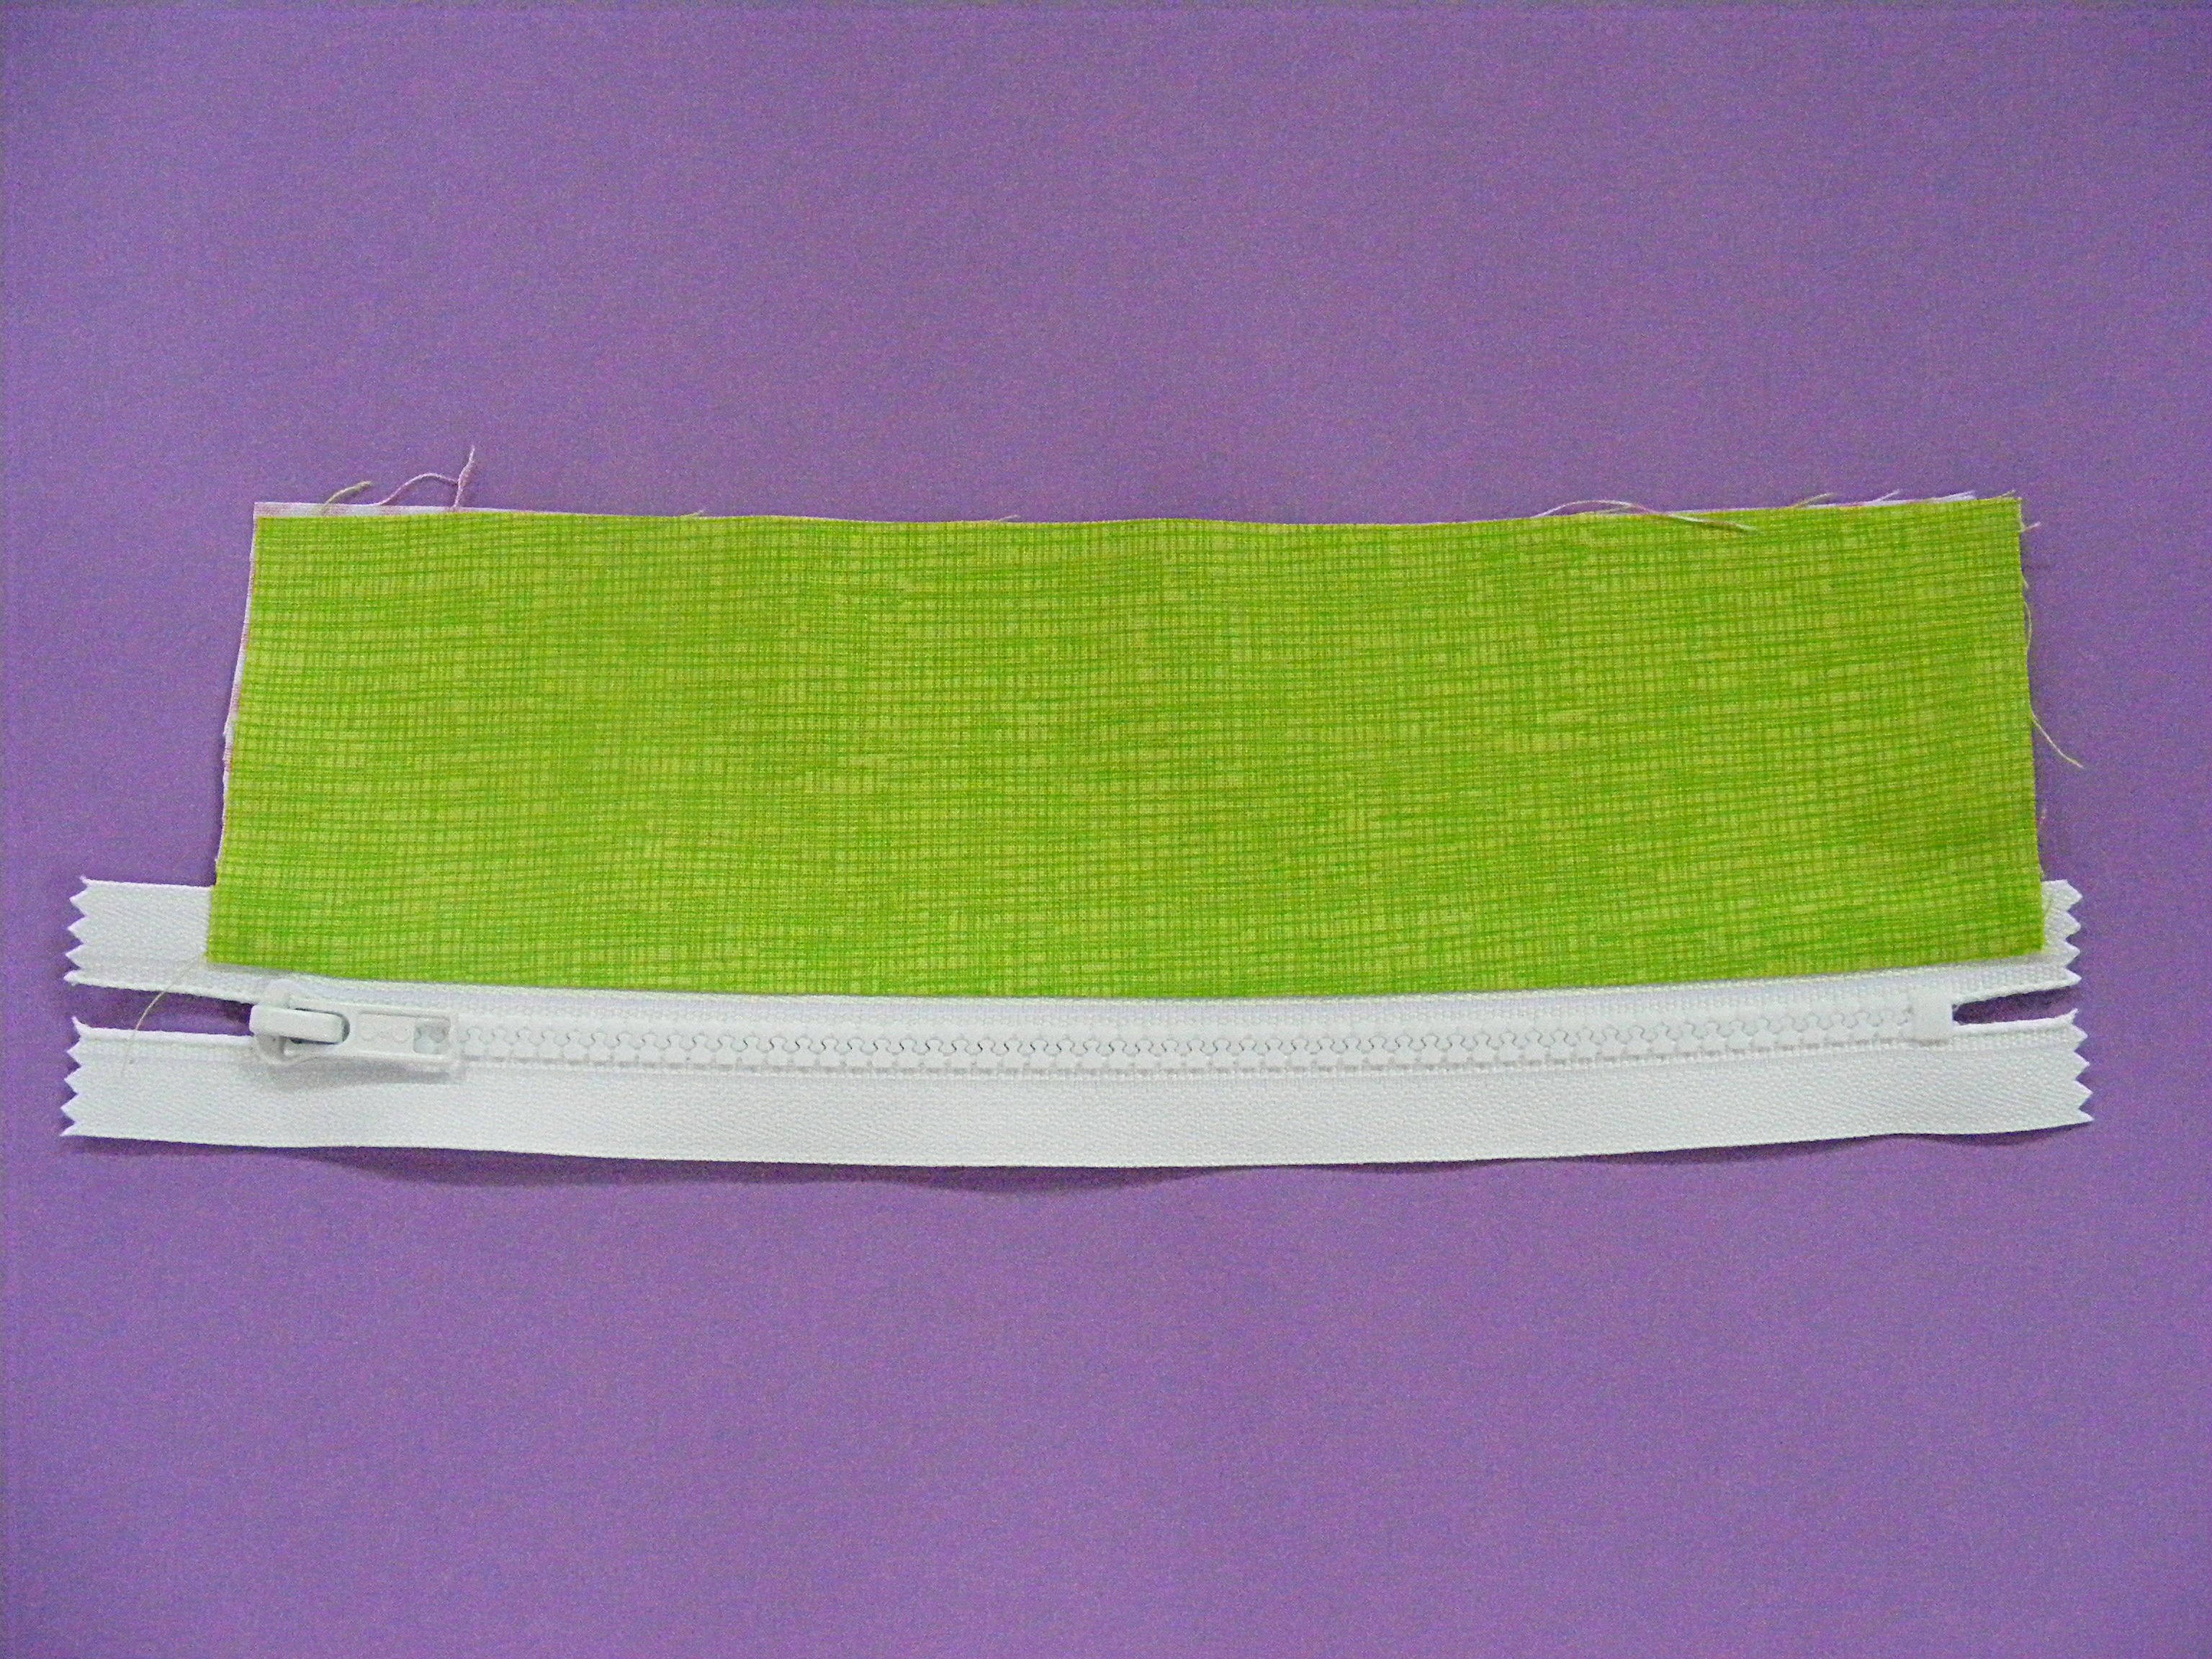
On the right side of the zipper (where the pull is) you should have the right side of the outer fabric showing. If you flip the whole thing over you should have the right side of the lining fabric showing.
Step 6
Repeat Steps 2-5 with the narrower fabric rectangles and the other side of the zipper for the bottom of the face.
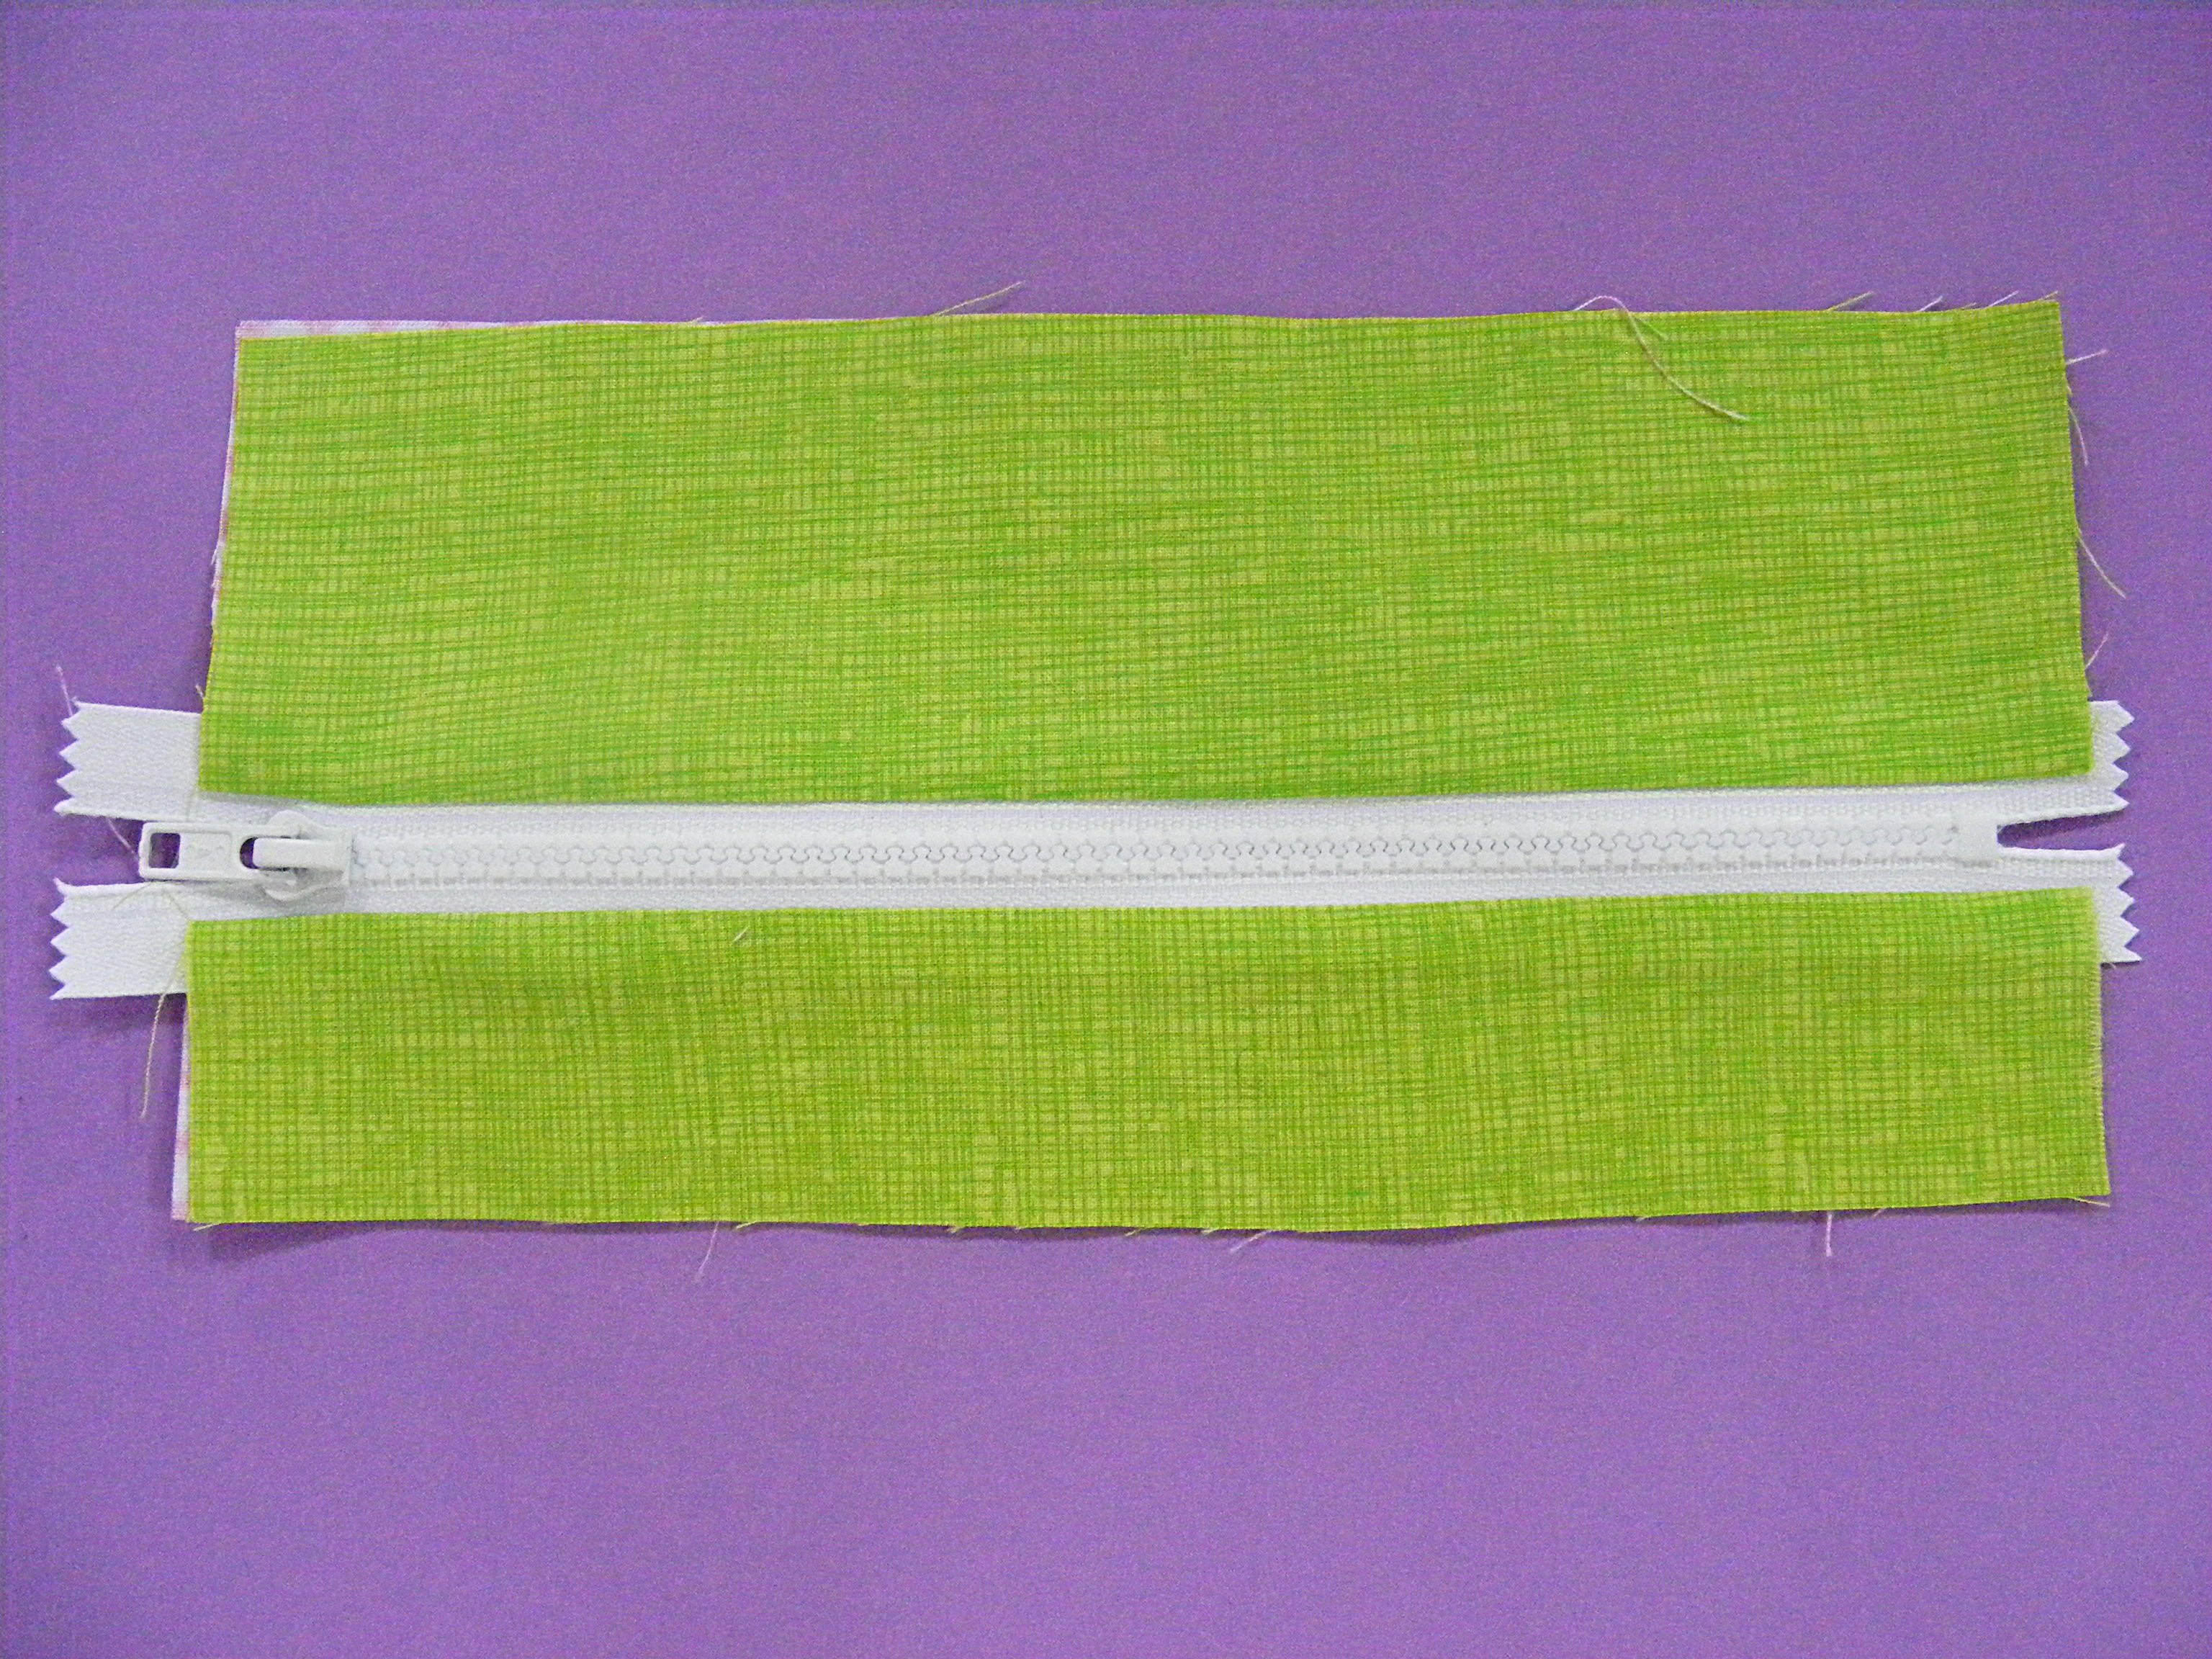
Remember - the right side of the outer fabric should be facing the right side of the zipper and the right side of the lining fabric when you sew.
You’re done with the front of the pouch!
Here’s the view of the same piece from the inside. You should be seeing the right side of the lining fabric.
Step 7
Sew on some fun features! I stacked black buttons on top of larger blue buttons for the eyes, and sewed on tiny black buttons for the nostrils.
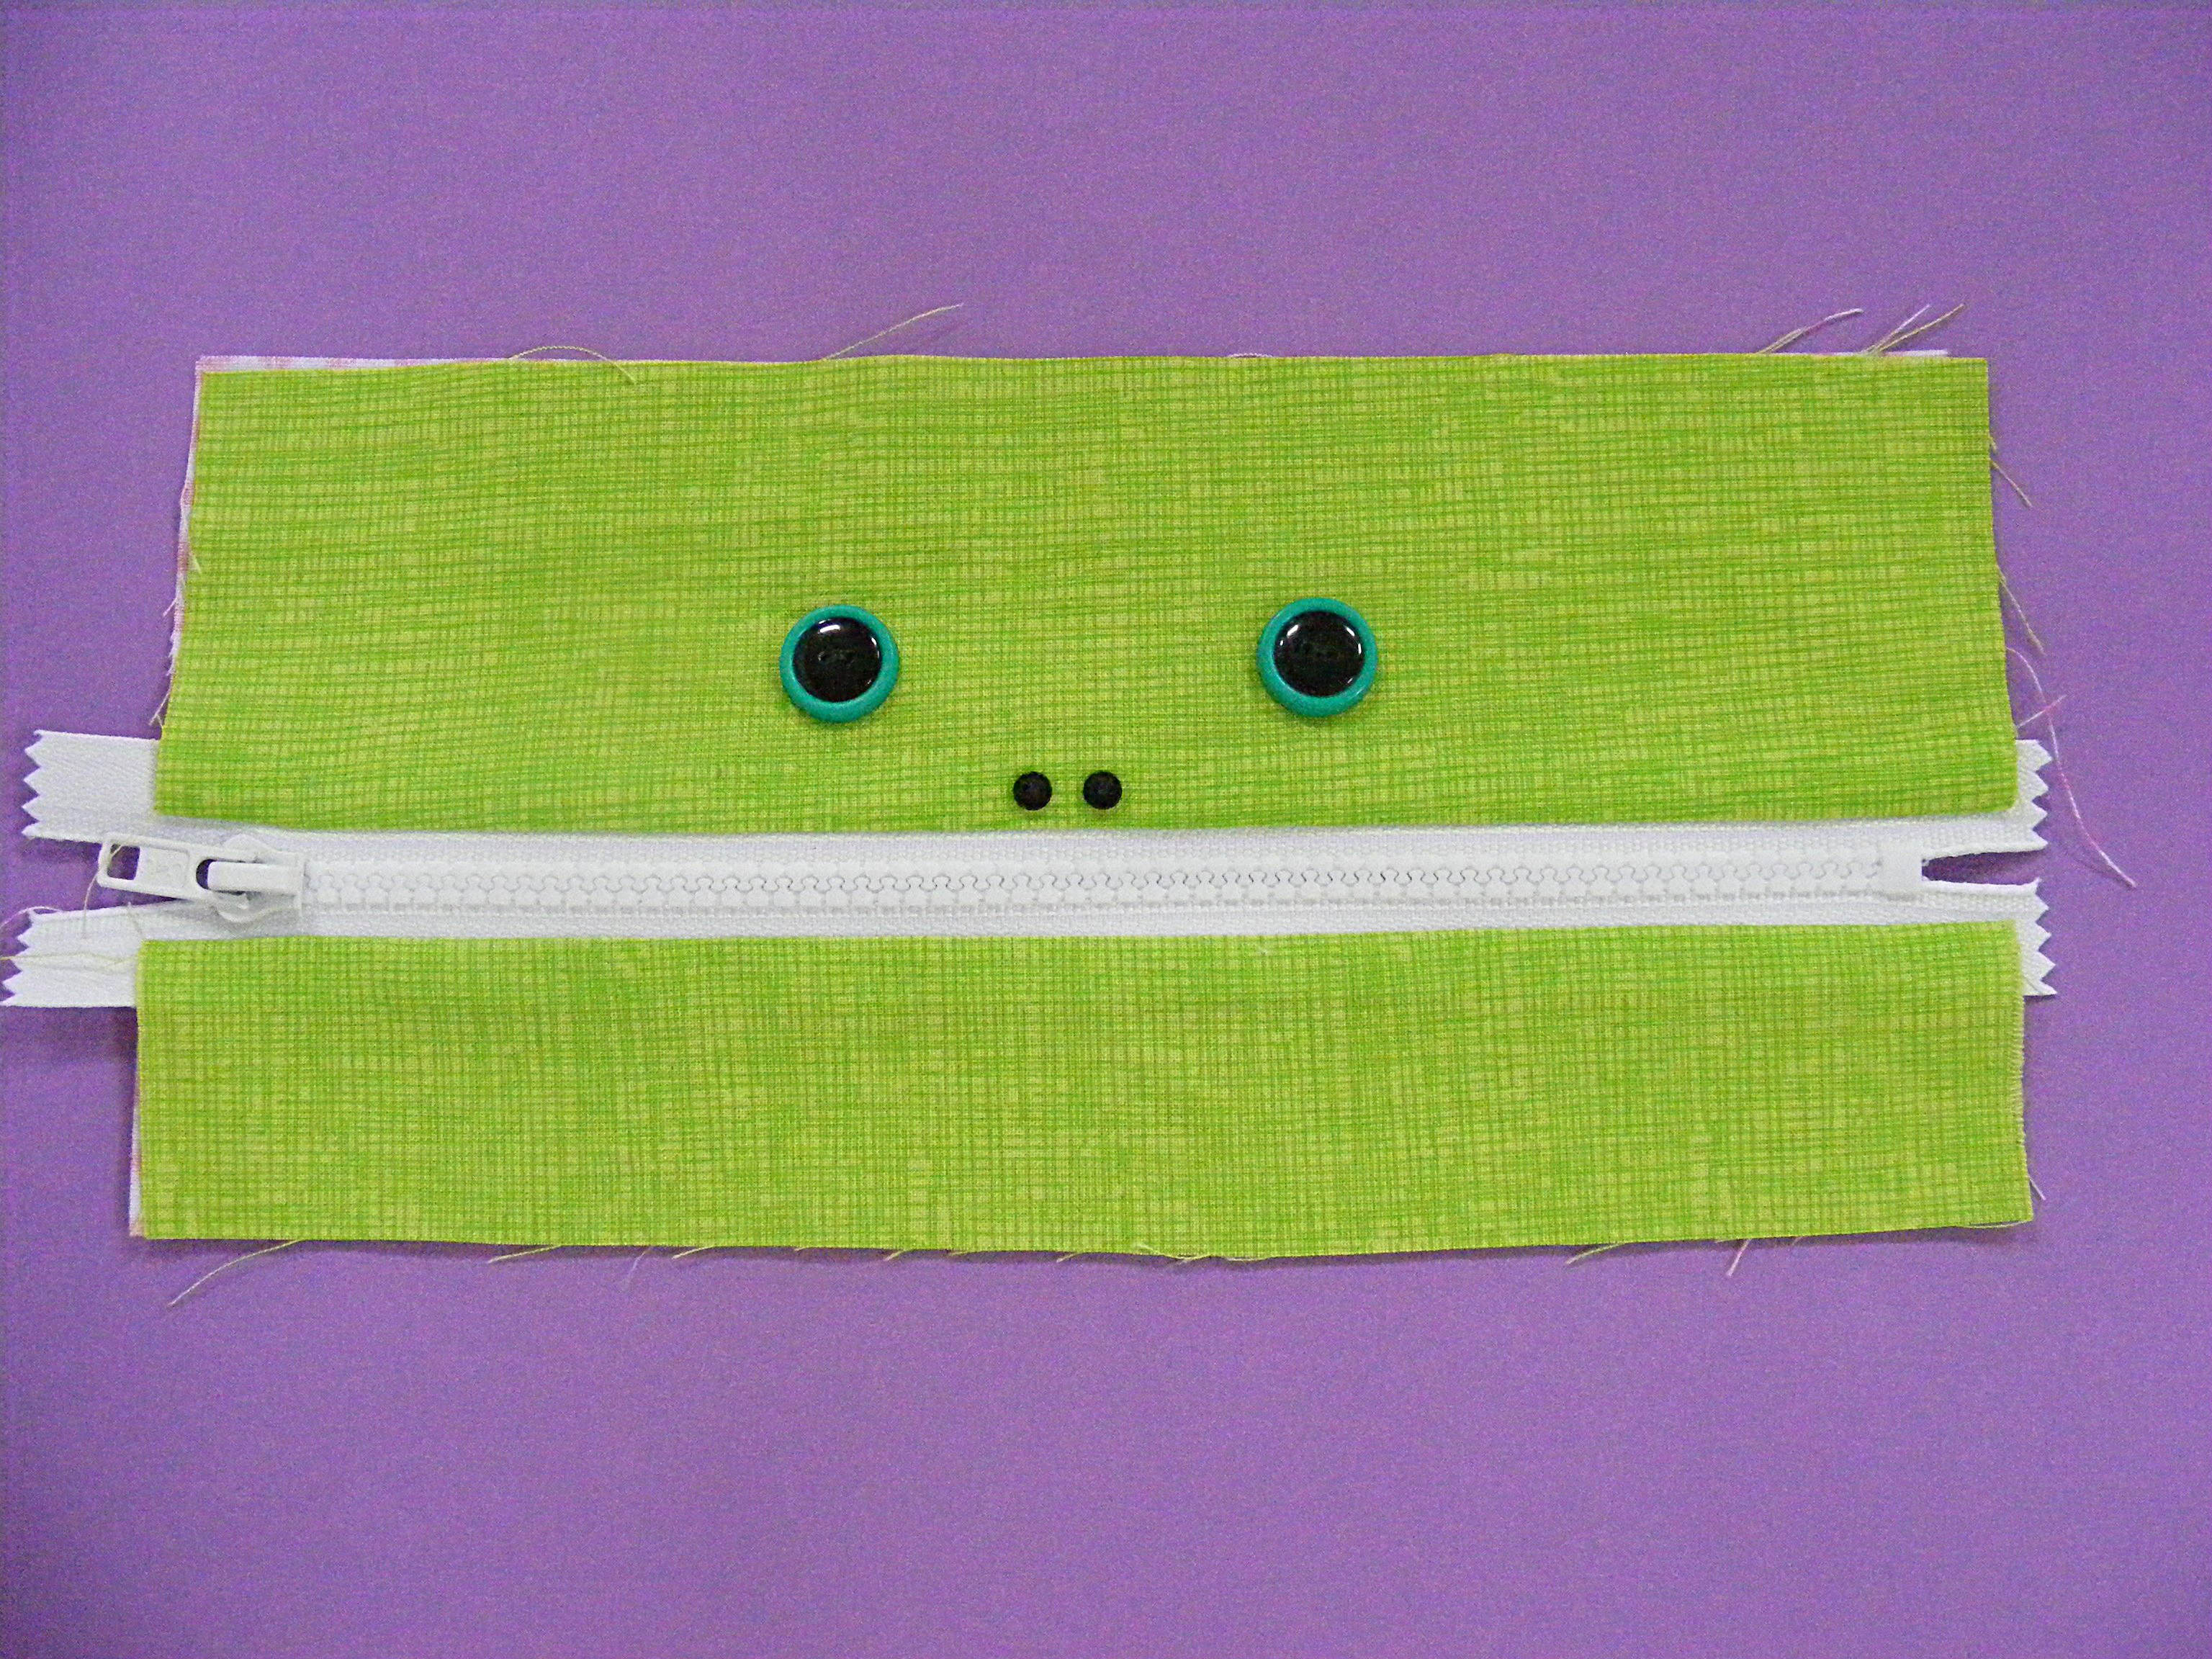
Play around and have fun with these! Add one giant button to make a cyclops. Embroider on some eyebrows. Skip the nostrils. Make it your own!
You’ll be sewing all around the outside of the pouch using 1/2″ seam allowance - so make sure to take that into account when you position your eyes and other features.
Flip the lining piece out of the way so you’re only sewing through the outer fabric.
Step 8
Measure the finished piece. It should be 10 inches wide, but the height will vary depending on the chunkiness of the zipper you’re using, and how close to the teeth you were able to stitch. Mine was 10″ wide and 4 7/8″ tall.
Use the measurements of your finished face to cut two back pouch pieces to match it. Cut one from the outer fabric and one from the lining fabric.
Step 9
For the hair/spikes we’ll be making some prairie points. It’s really easy - just folding!
Fold one of your squares in half along the diagonal.
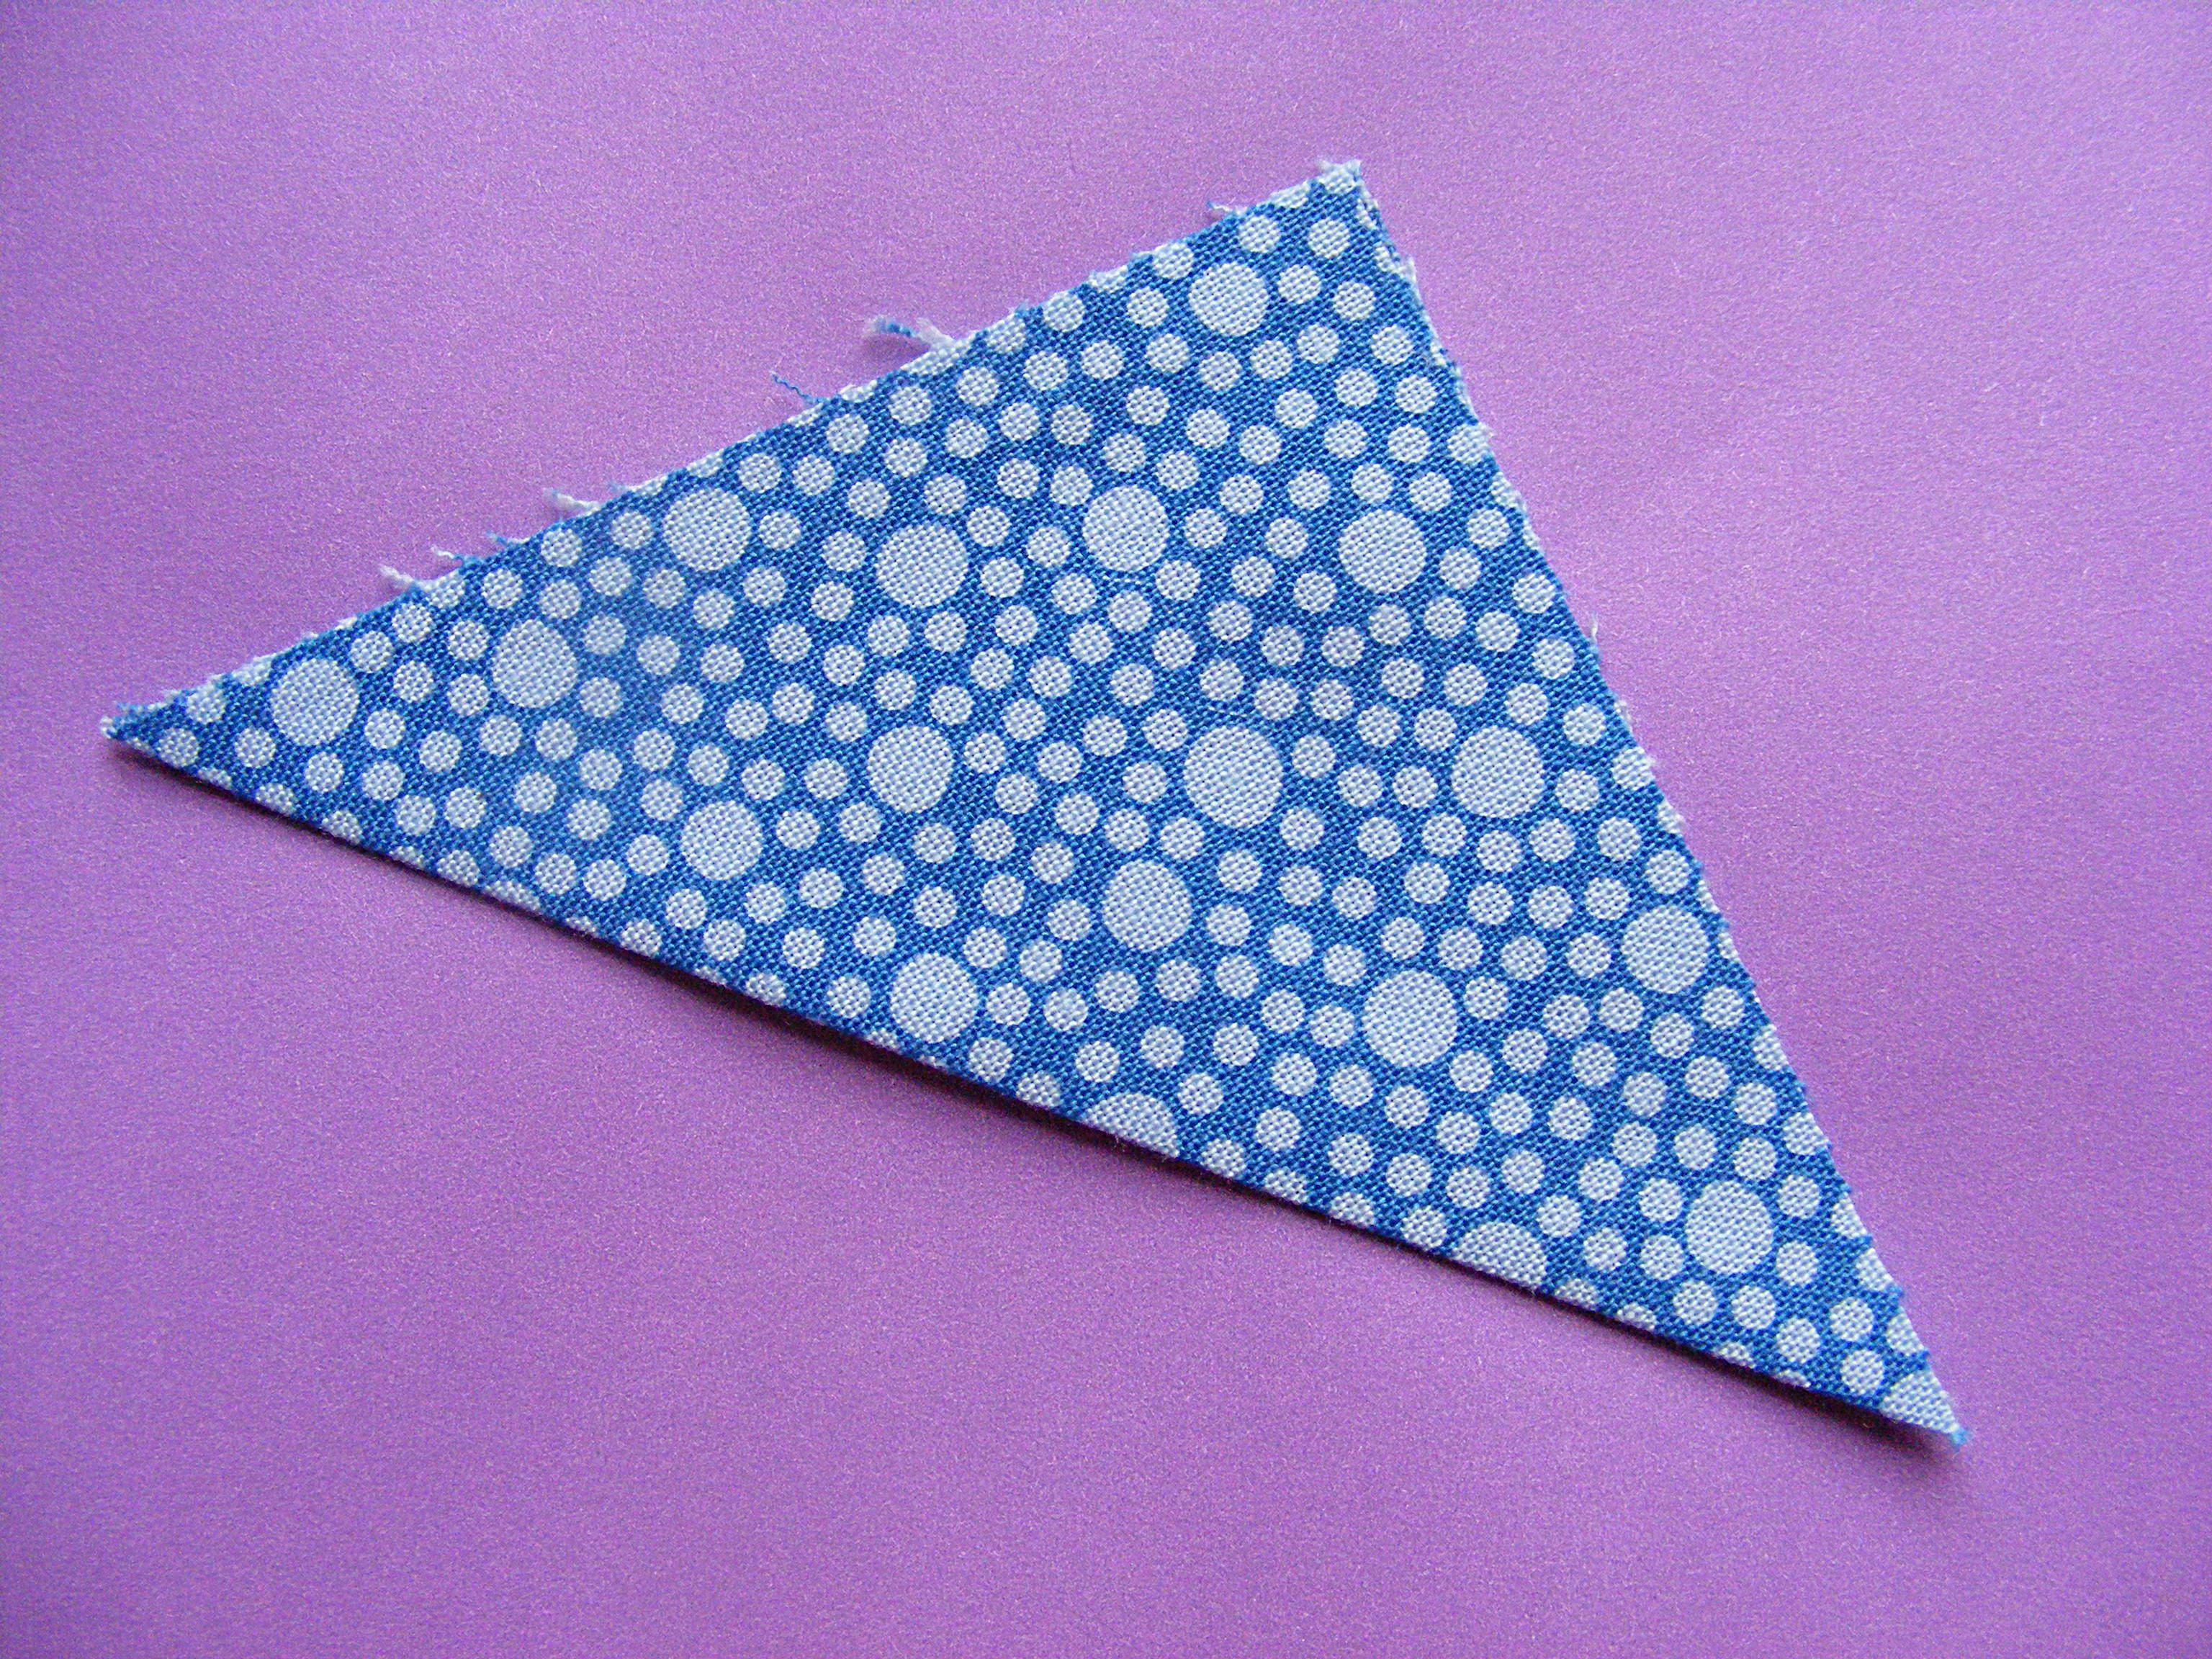
Press.
Now fold it in half again, so that all the raw edges are lined up along the longest edge of the triangle.
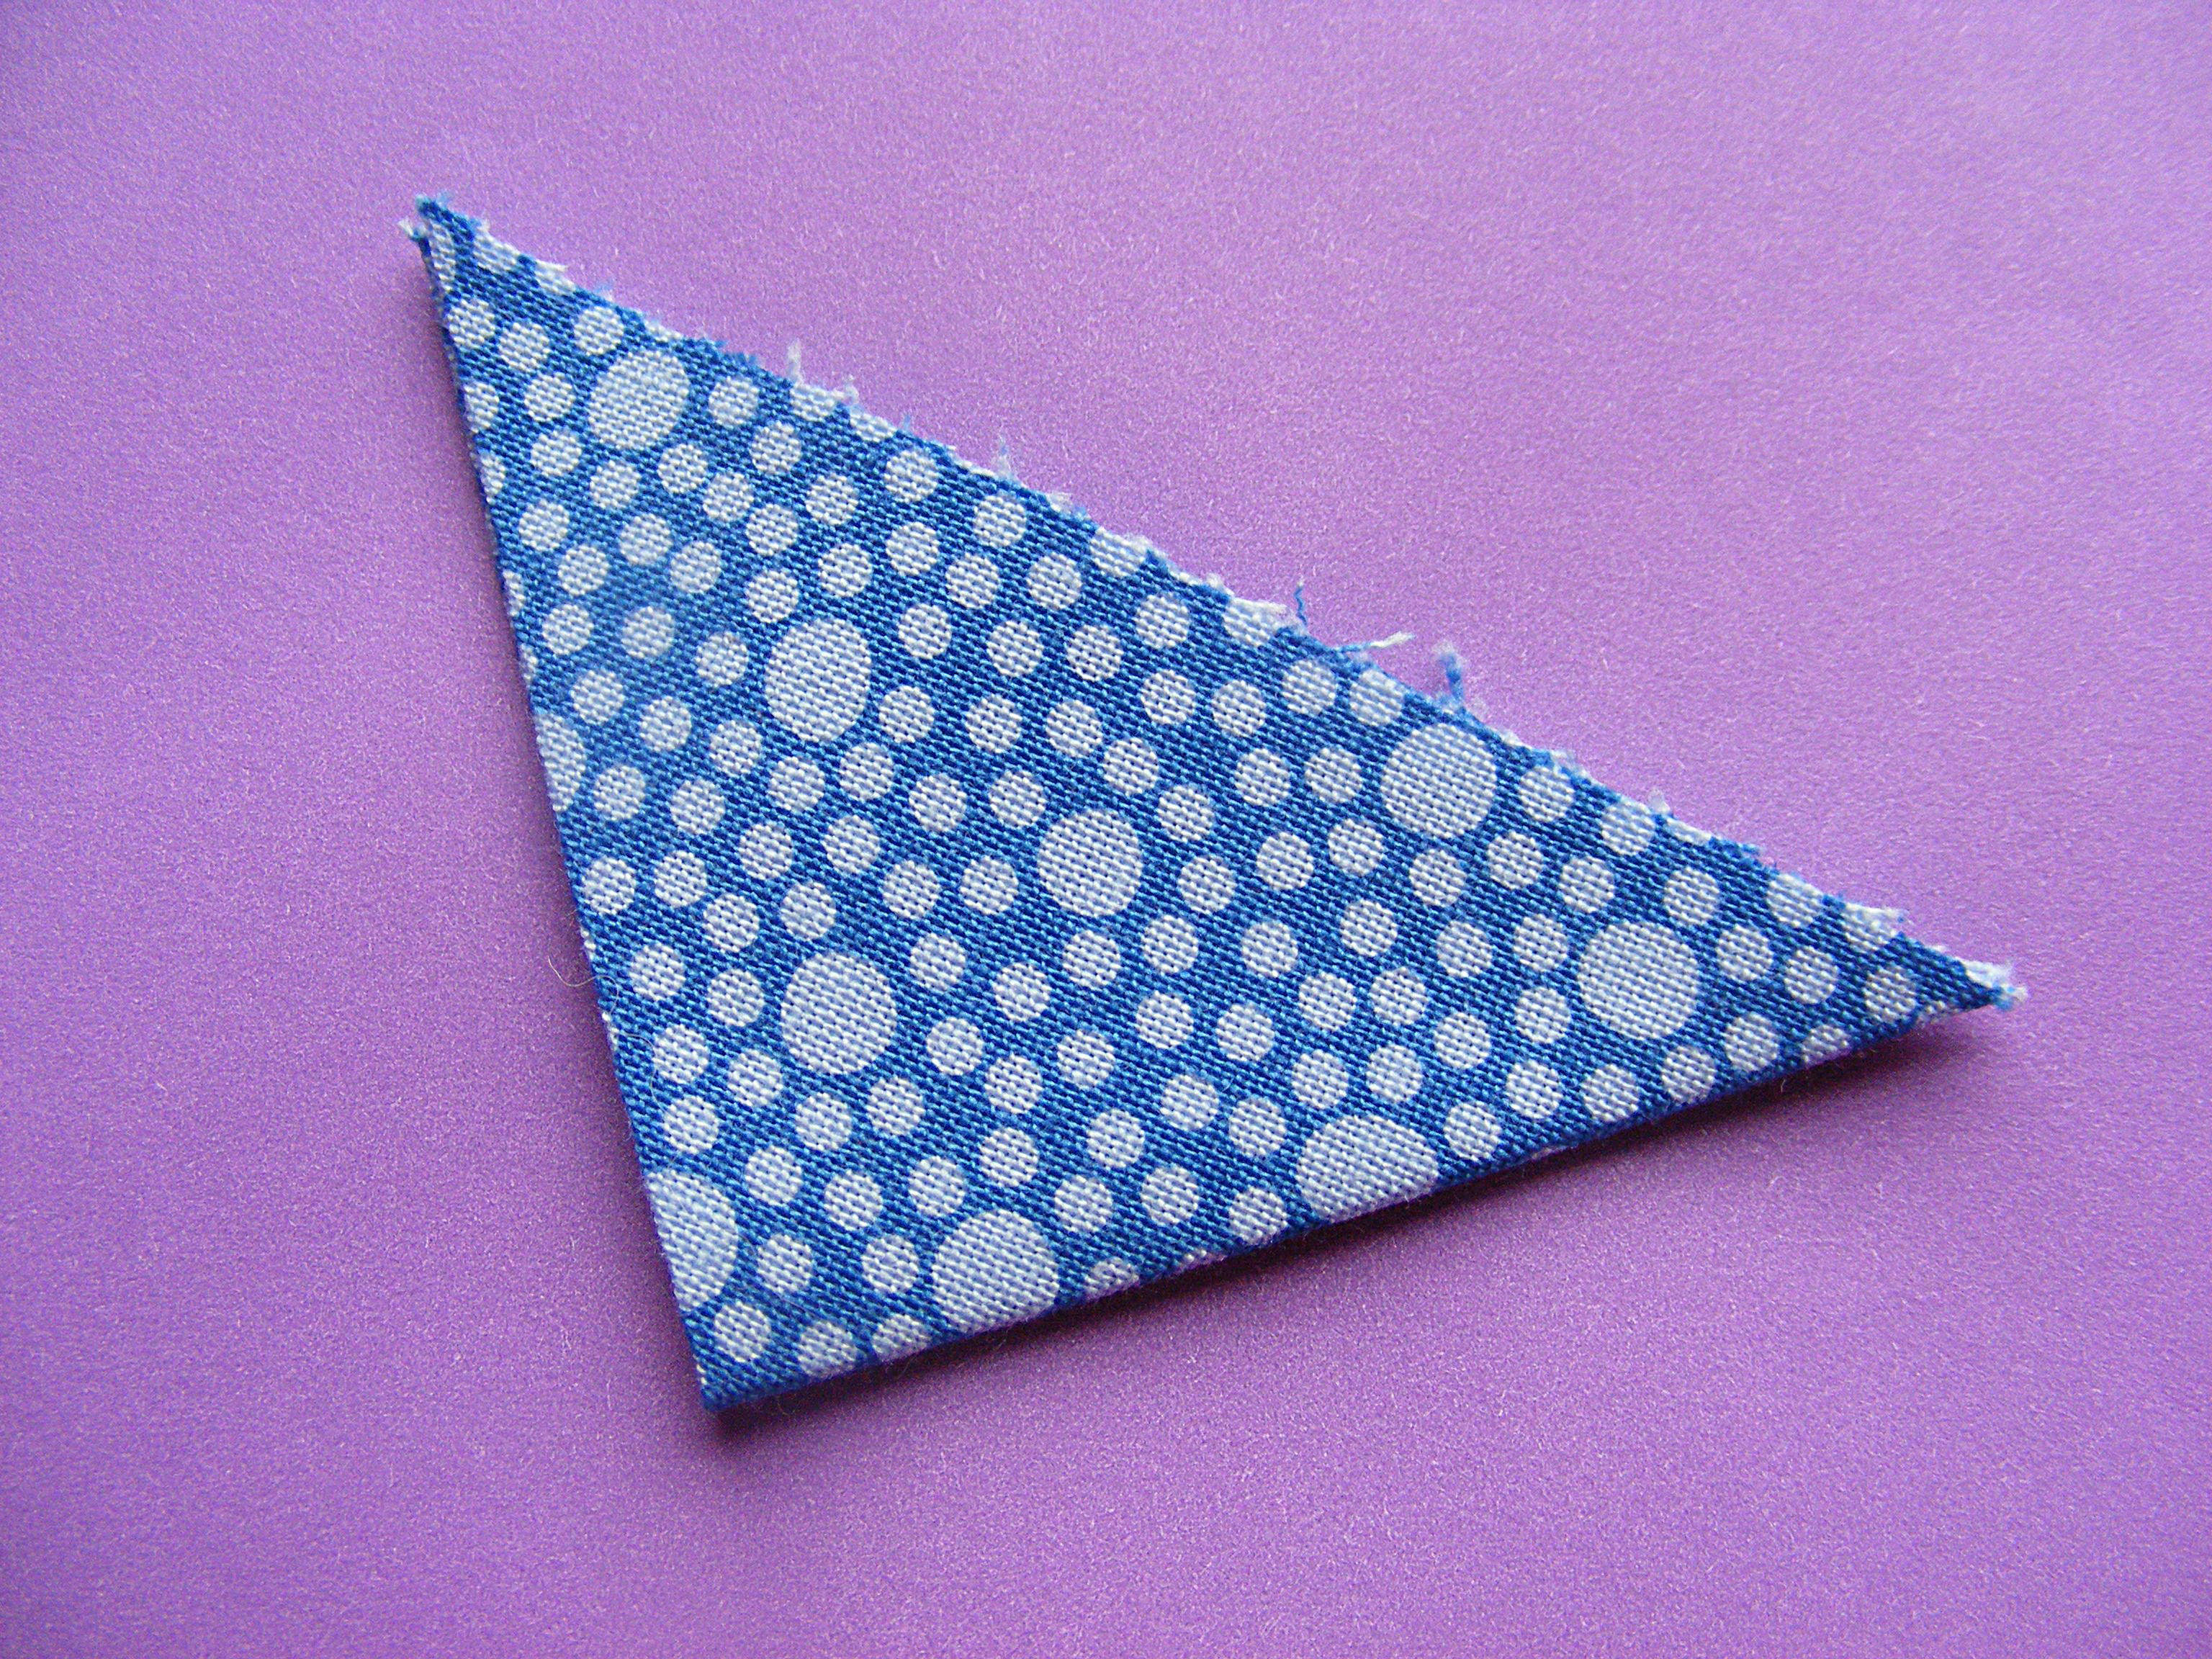
Press.
Done! Repeat for the other four squares.
Step 10
Ready to put it all together?
Pin the prairie points along the top edge of the face. I start by folding the face in half to find the center. Pin the center point in place first, then pin the two at the edges, then center the last two between them.

All the raw edges of the prairie points should be lined up with the raw edges of the outer and lining fabrics.
Step 11
Unzip the zipper mouth at least part way. This is very important! If you forget, you won’t be able to turn your pouch right side out after the next step!
Lay the outer fabric rectangle (the one you cut in Step 8) face down over the face, with the prairie points sandwiched between the two layers.
Lay the lining rectangle face up over the outer fabric. Pin all the layers together all the way around the edges.
Step 12
Sew all the way around the edge using 1/2″ seam allowance. That should have you sewing right up against the bumpy ends of the zipper.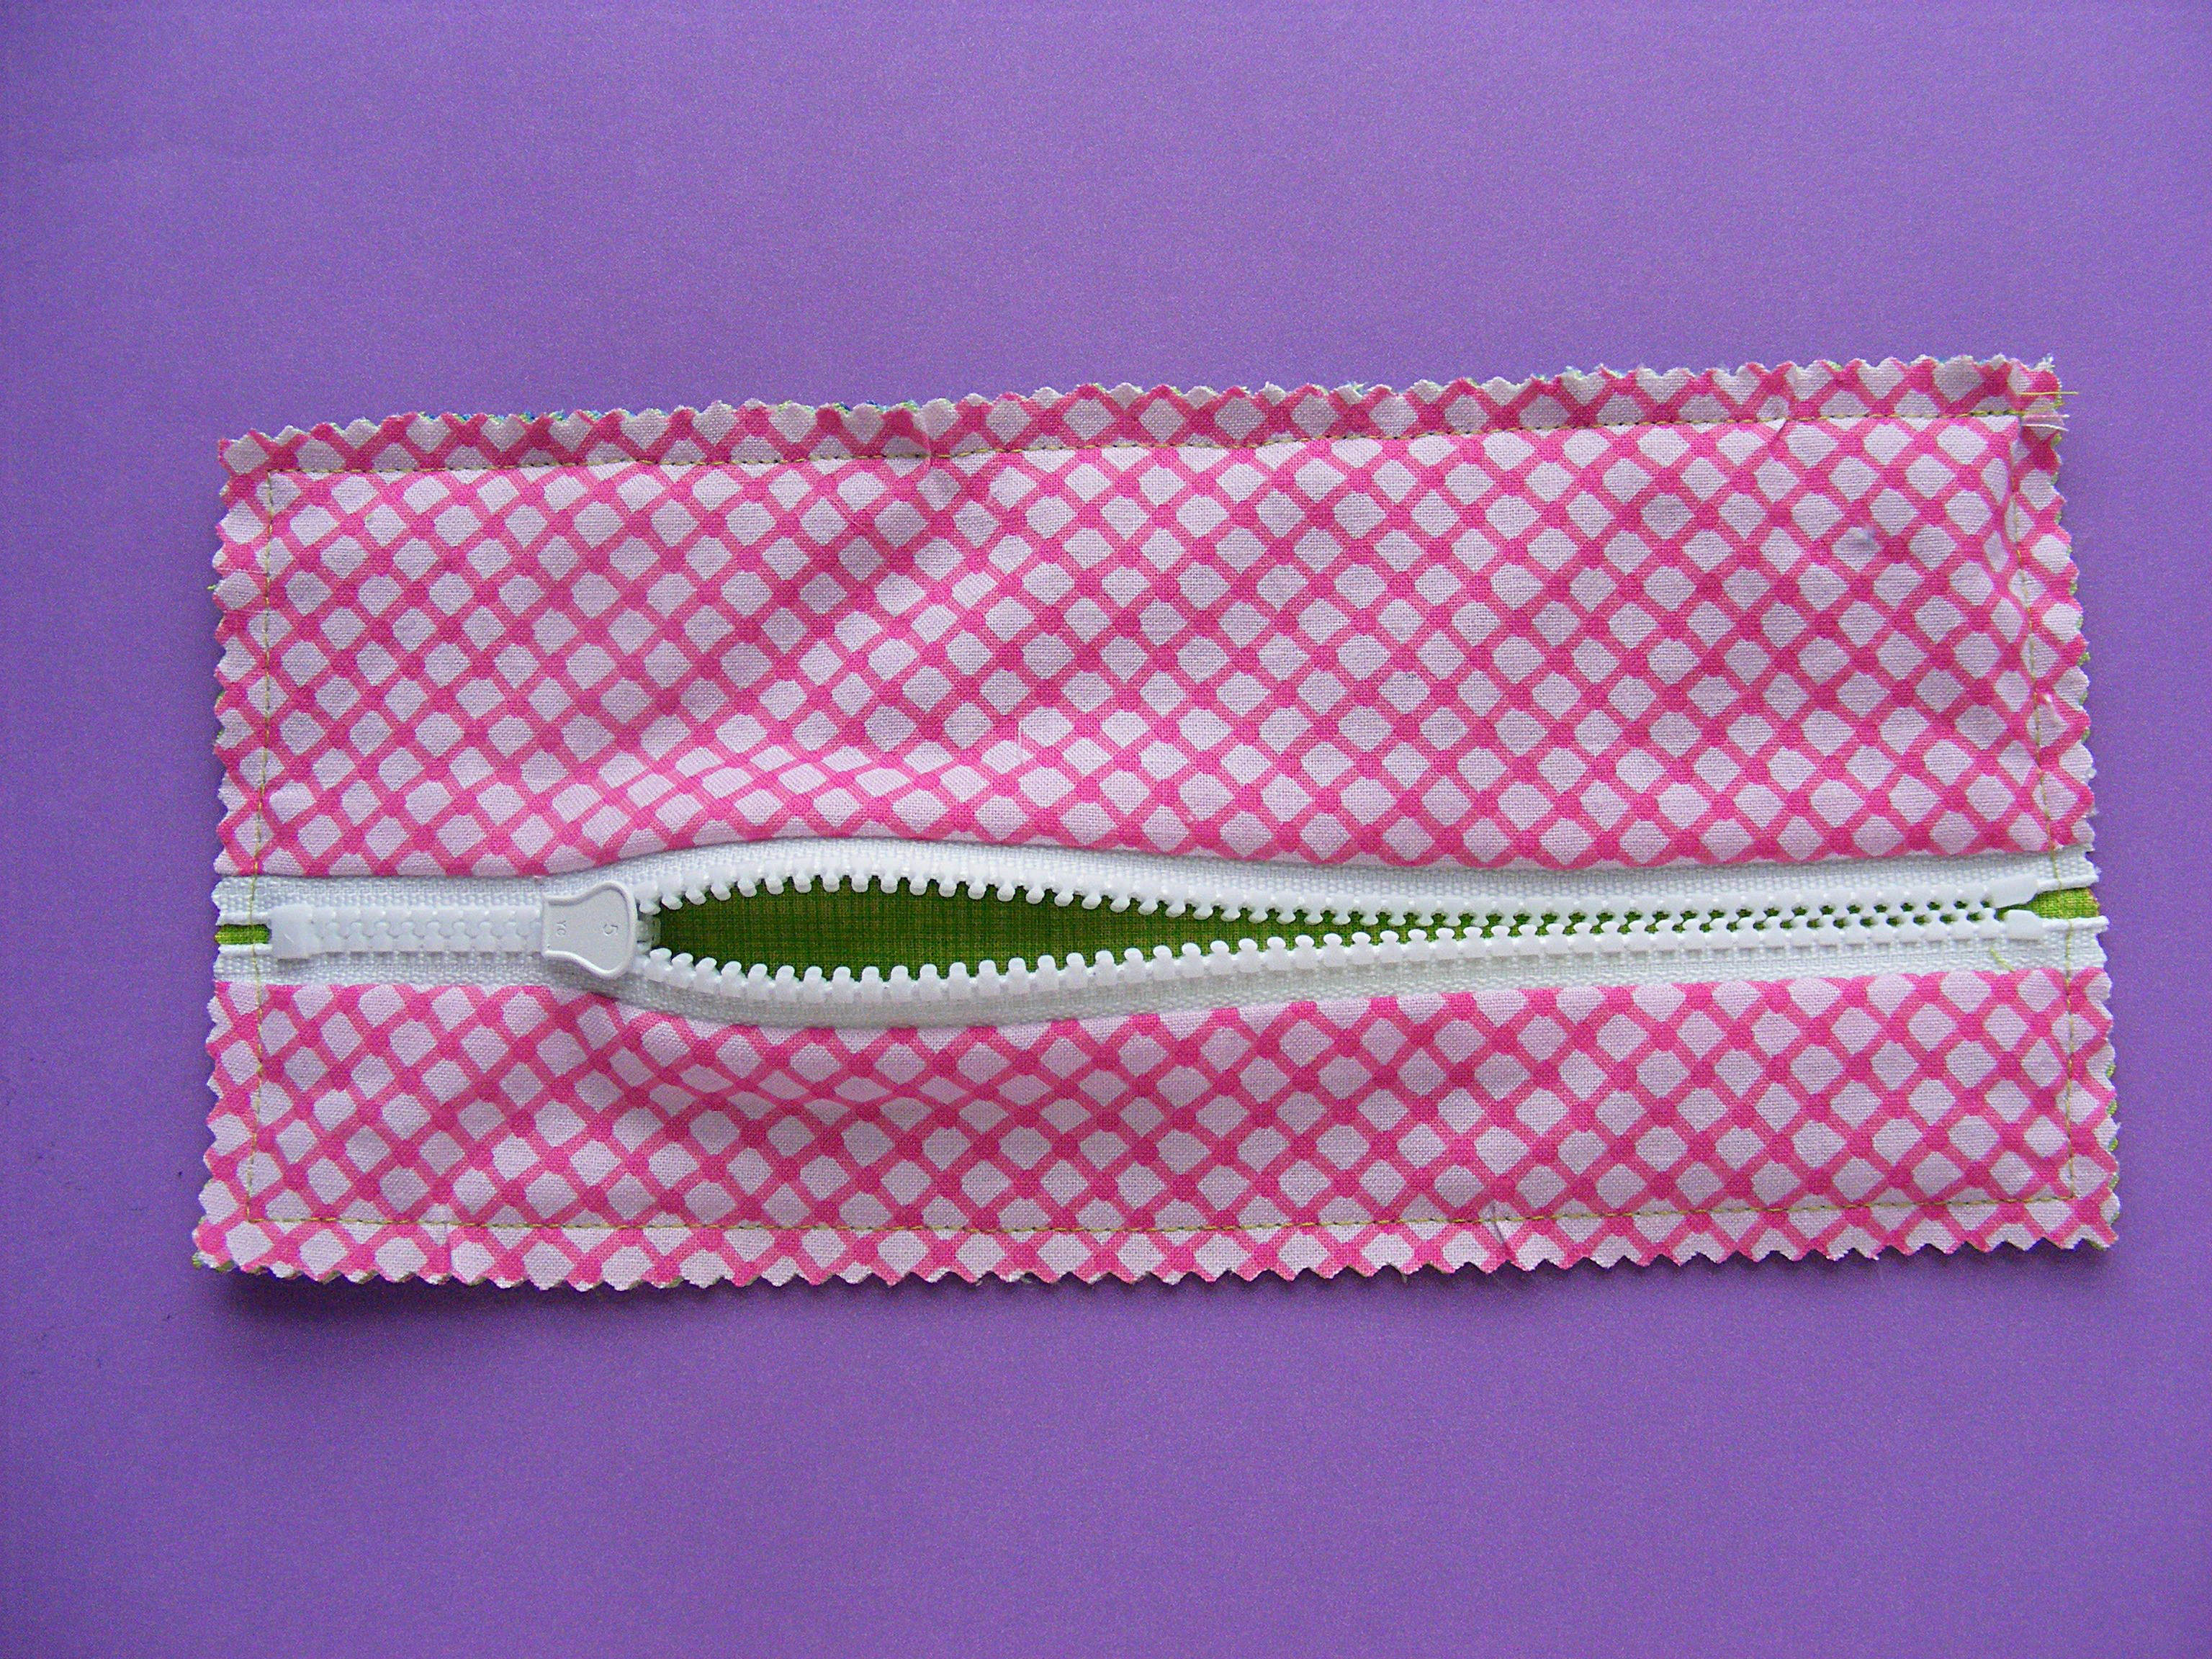
Trim away your excess seam allowance with pinking shears. That will keep the fabric from fraying too badly - plus it looks cute. :)
Leave about 1/4″ seam allowance.
Step 13
Turn the pouch right side out and poke out the corners with a chopstick. You’re done! See how cute the contrasting lining inside the mouth looks?
Do you like this? Get the weekly Shiny Happy News and never miss a free pattern! Sign up here.
Happy sewing!
Best,
Wendi![]()
Cute!!! I’ve got a Craft Gossip post scheduled for tomorrow morning that links to your free pattern:
http://sewing.craftgossip.com/free-pattern-the-gobbler-pencil-eating-pencil-pouch/2014/09/16/
–Anne
Thanks so much! 🙂
Pingback: Free pattern: The Gobbler pencil eating pencil pouch – Sewing
Thank you for the Gobbler pattern, Wendi, he is so cute. I am going to make one each for my grandsons, I’m sure they will be delighted!
I bet they’ll love them! 🙂
Wendi,
On the xmas stockings you show a red and white string. Are you twisting the 2 colors together? Wanted to check before I started.
Thank you
It’s a stitch called Whipped Backstitch – super easy to do and I love the twisty effect. There’s a link in the pattern to a video showing how, and you’ll also find it in the outline stitch tutorials in the embroidery lessons.
Pingback: Project Posts and Project Forms | Crooked Needles . . .
Pingback: Squirrelly Minds » The Friday Five | Back to School DIY’s
Pingback: 20 Fun Back to School Crafts - Little Red Window
Pingback: 25 Totally Awesome Back to School Craft Ideas
Pingback: Sassy Pencil Cases for Back To School – Craft Collector
Pingback: DIY favourites this Back to School season | Brother Inspires
Pingback: 13 manualidades para la vuelta al cole | MUNDO DE BEBE
Pingback: Cloth Bags for the Rez |
They turned out so adorable!
Pingback: March Projects “Books, Pillows and Bags” |
Pingback: 8 Back-to-School DIY Crafts for the Whole Family to Enjoy – Modern Times News
Pingback: 8 Back-to-School DIY Crafts for the Whole Family to Enjoy | Home Improvement Tips and Resources
Pingback: 8 Back-to-School DIY Crafts for the Whole Family to Enjoy - Better Home News
Pingback: The Best Back-to-School Crafts for Kids to Make - HAPPY TODDLER PLAYTIME
I made this and it’s adorable. However, I think I missed something. When I turn inside out I have raw edges …..
You didn’t do anything wrong. The partial lining makes it easy to do the zipper, but you still have raw edges around the four sides.