


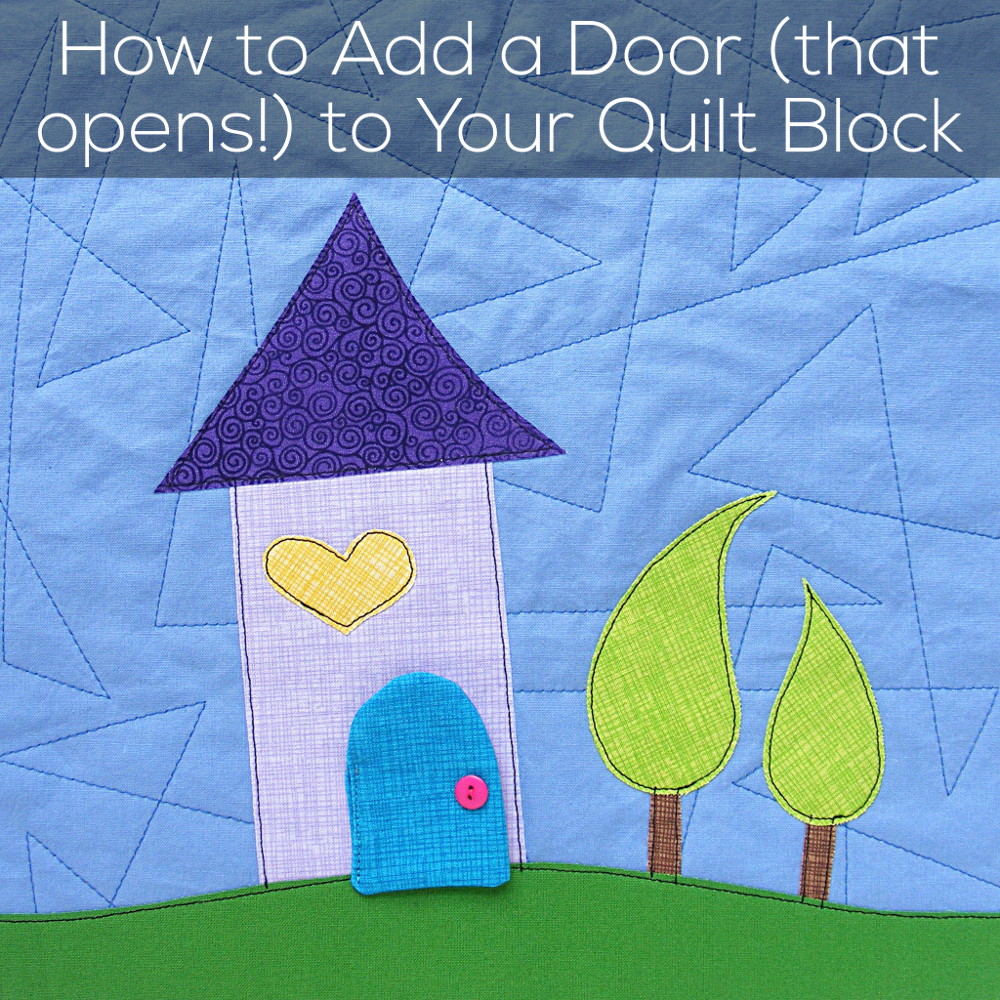
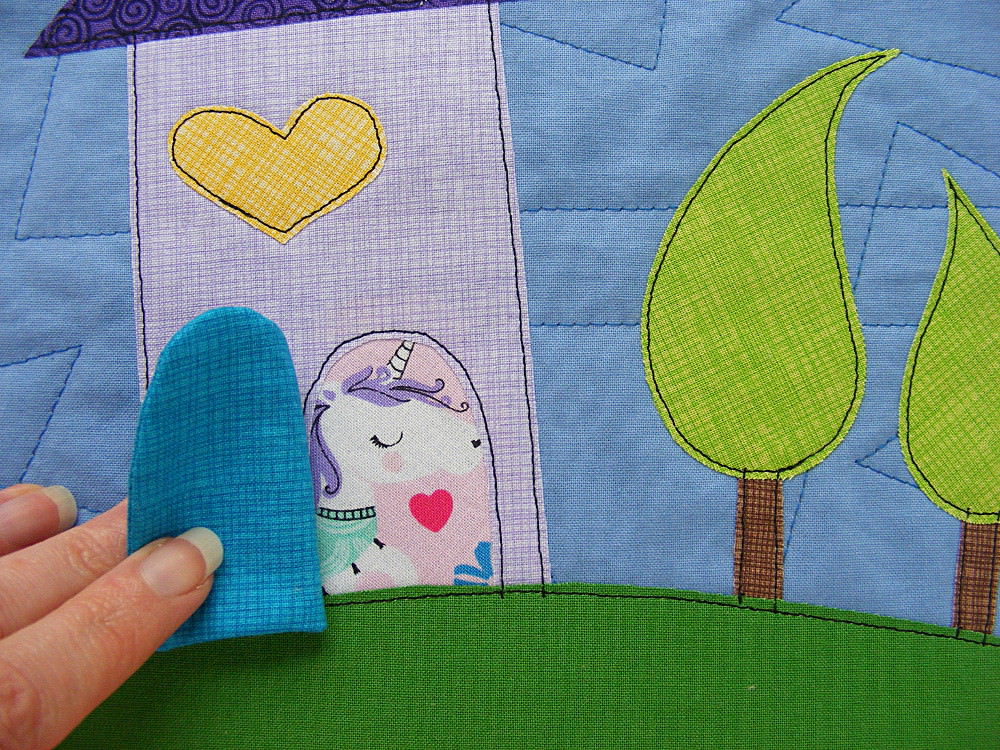
That house doesn’t look very special – right?
Look closer!

Peekaboo!
The door opens!
Here’s how to do it.
I’m using an example of one block from the Shiny Happy Houses quilt pattern, but you could adapt this idea in all kind of ways! I list a few possibilities at the end of the tutorial.
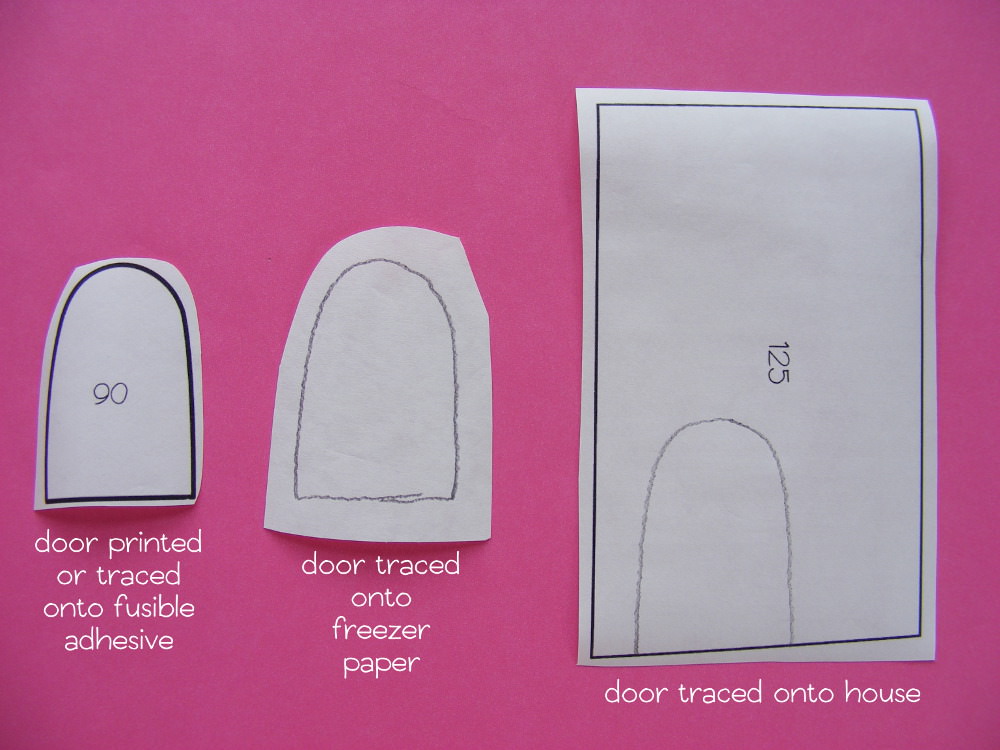
Step 1
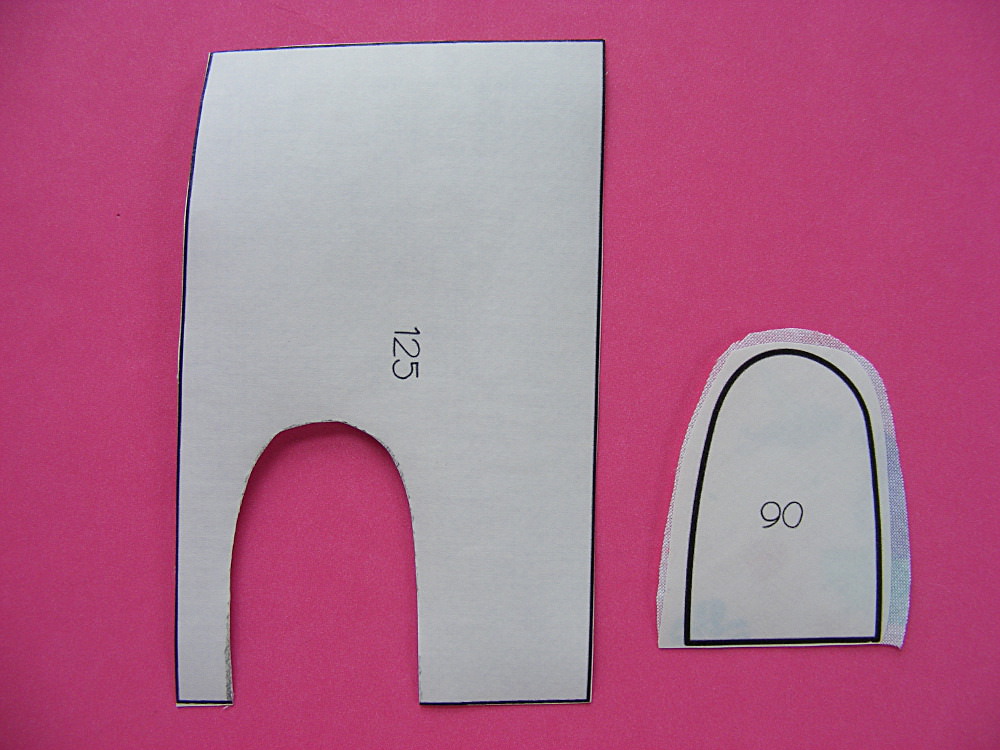
Trace or print all your pattern pieces as usual. You’re going to do three things with your door piece.
- Print or trace your door onto the fusible adhesive – just like normal.
- Also trace your door onto a piece of freezer paper.
- Also trace your door onto the fusible adhesive house piece – right where you want it to go.
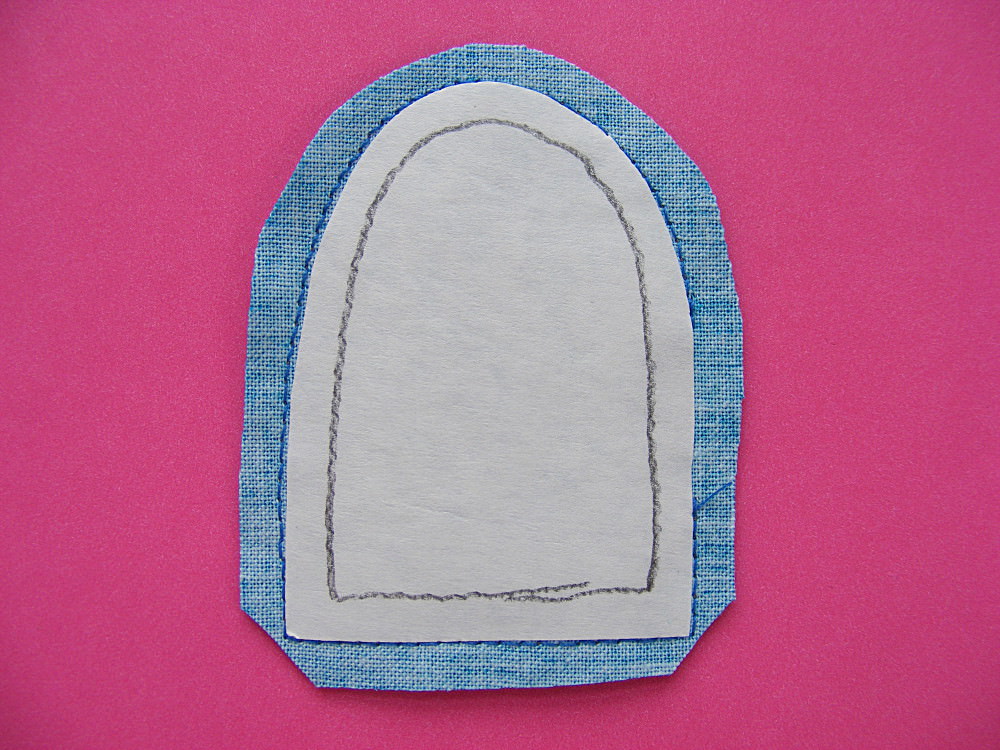
Step 2
We’ll start with making the door itself.
Cut the door piece out of the freezer paper a little bit bigger all the way around. Do this neatly – it’s just to make the door a smidge bigger than the door opening. Mine is a little bit more than an extra 1/8″ all the way around.
Layer two pieces of door fabric right sides together and fuse the freezer paper door piece to the wrong side of the top layer.

Use the edge of the freezer paper as a guide and stitch almost all the way around the door, leaving a little bit open for turning on the side where the “hinges” would be. Don’t forget to backstitch at the beginning and end of your stitching.
Step 3
Trim around the door, leaving a small seam allowance.
Clip away the excess completely at the corners.
Step 4
Turn the door right side out through the opening. Smooth your curves, poke out your corners, and tuck the seam allowance at the opening inside and press the whole thing nice and flat.
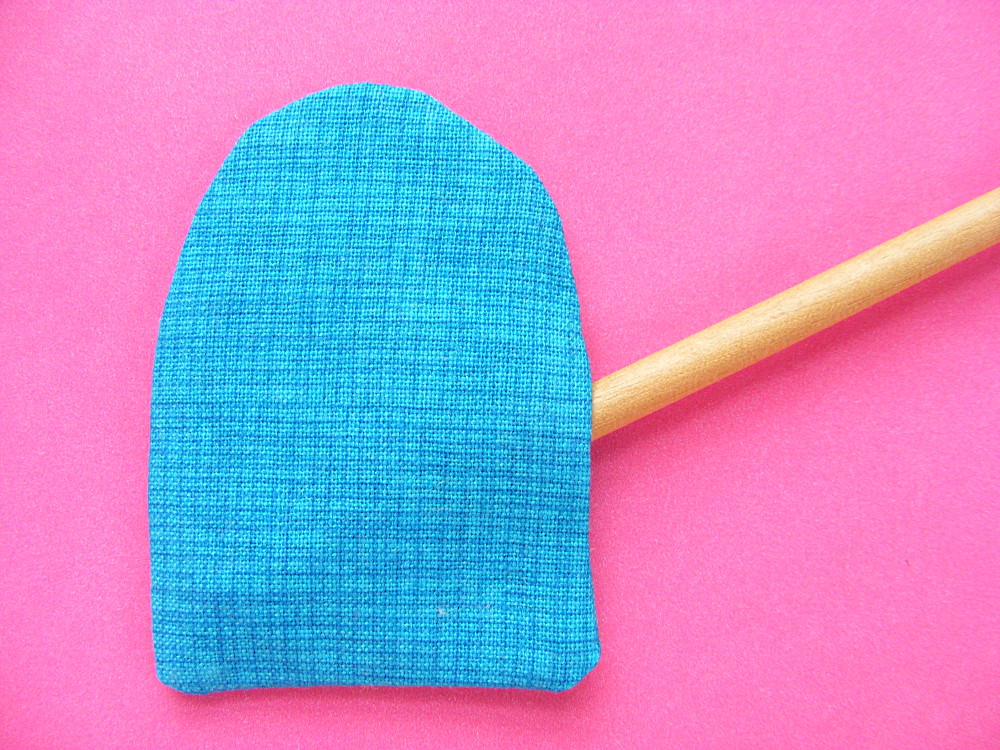
I’ve got my turning stick going into the opening here so you can see where it is. 🙂
Now set the door aside for a bit.
Step 5
Fuse the house piece and the “behind the door” piece to the back of their fabrics.
Cut out the house piece right on the line – including cutting away the door that you traced.
Cut the “behind the door” piece right on the line at the bottom of the door. Leave a little extra fabric at the top and sides.
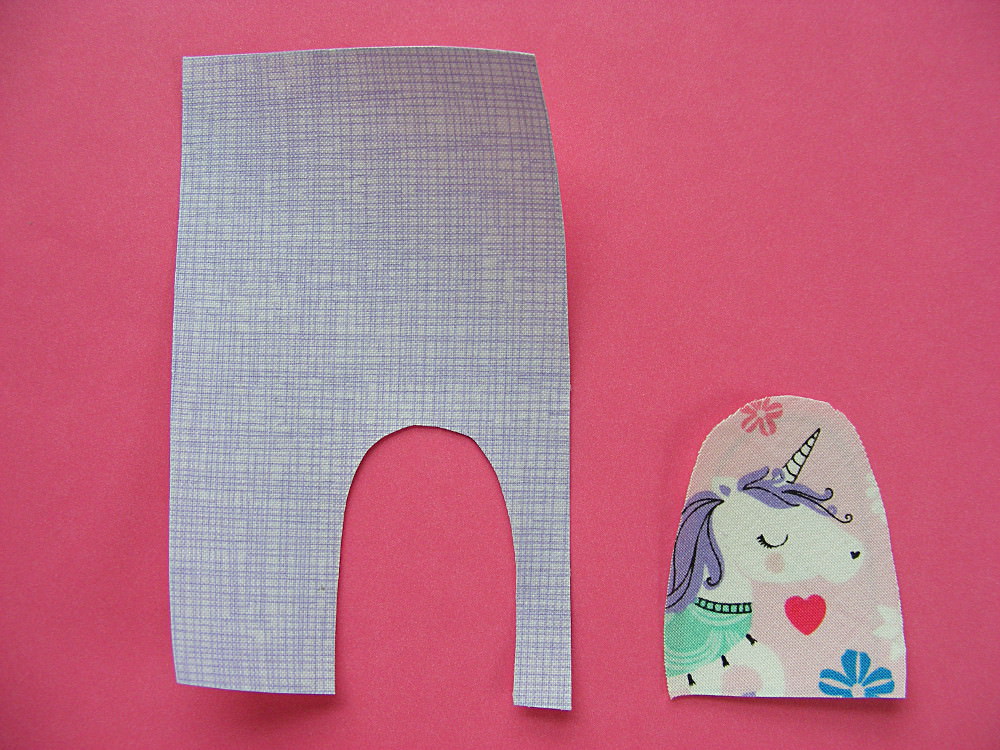
Here they are from the front after cutting them out. It’s fun to fussy cut something cute for the “behind the door” piece. 🙂
Step 6
Peel off the paper backings, layer all the pieces together, and fuse.
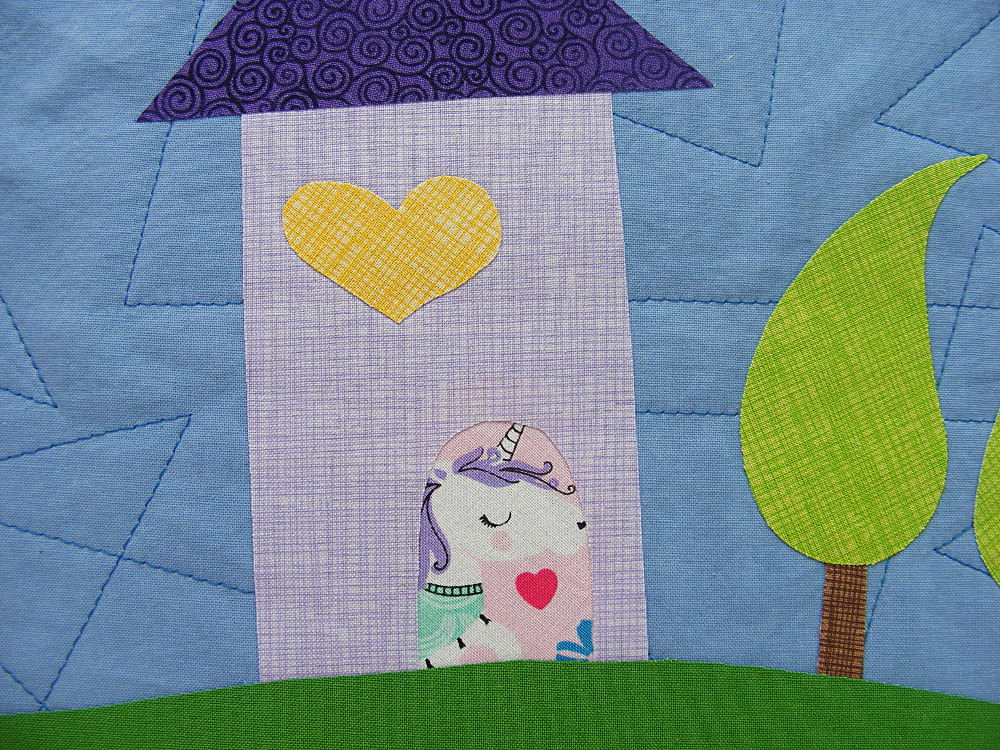
The “behind the door” piece should be tucked behind the door opening so that it peeks out.
Step 7
Outline all the pieces as usual.

You’ll only need to stitch around the door opening on the house piece – that stitching also secures the unicorn piece behind it.
Step 8
Sew the door in place by stitching down the side with the turning opening.
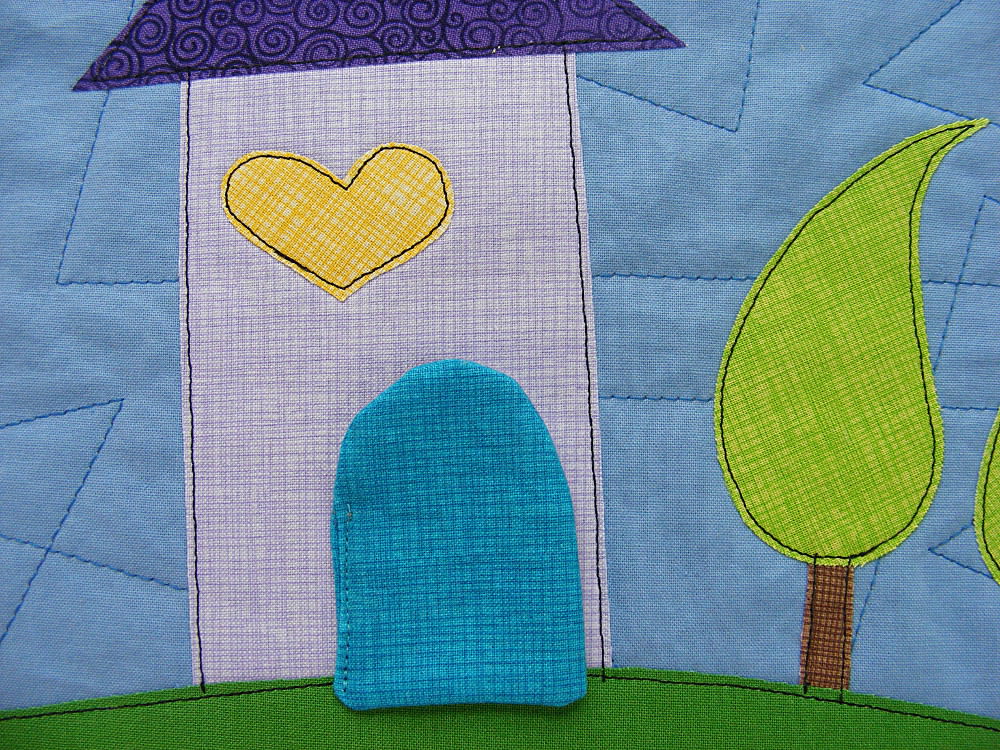
No hand sewing needed!
Finished!
Add a button doorknob if you like. 🙂
You can play with this idea in so many ways! Add shutters to the windows! Make a camouflaged “door” in a treetop (using the same fabric as the rest of the treetop) and hide a little bird or squirrel in there! I know someone out there has used the Shiny Happy Houses pattern to make a castle. Add a functioning drawbridge!
The possibilities are endless, and I can’t wait to see what you all make!

Here are links to all the posts showing how to applique with fusible adhesive – my favorite method. It’s fast and easy and (with the right materials) it holds up beautifully to rough use and repeated washing.
- How to Applique with Fusible Adhesive – a very basic intro
- How Durable is Applique with Fusible Adhesive?
- Fusible Applique the Easy Way – the way I currently work – use with any of my patterns that include SVG files
- How to Use a Light Box to Layer Your Applique – perfect placement every time
- How to Applique with Fusible Adhesive – photo tutorial – use with any of my patterns that do not include SVG files
- How to Applique with Fusible Adhesive – video tutorial – use with any of my patterns that do not include SVG files
Here are links to special posts about eyes.
- Easy Eye Options for Applique
- Using Fabric Markers and Paints for Small Eyes
- Free Embroidery Machine Files for Machine-Stitched Eyes
- How to Machine Stitch Eyes without an Embroidery Machine
- How to Minimize Show-Through on White Eyes
- How to Applique Dark Eyes on Dark Faces
- How to Add Catchlights to Eyes
Here are links to some extra fun things you can do with your applique.
- How to Add a Baby Animal to Any Block
- How to Squish Two Animals into One Block
- How to Add Playful 3D Bits to Your Applique
- How to Add Soft 3D Pieces to your Quilt Block
- How to Add a Door (that Opens!) to Your Quilt Block
- How to Give Your Monster an Underbite
- Fake Trapunto (Stuffed) Applique
- Broderie Perse Applique
Other Applique Methods
Finished with this topic?
Return to the Let’s Make a Quilt main Table of Contents.
Move on to the lessons about outline stitching.
Happy stitching!

How cute! My granddaughter loves playing with her mother’s Fisher Price Doll House that is more than 30 years old, but is in good condition. She loves opening the door(the bell still rings), and peeking through the window. You might consider doing something in windows, also. Thanks for the inspiration!
Thank you!!! I’m getting ready to make quiet books for a couple of granddaughters. This will make a wonderful addition to the books! I will make a flap for a bird in the tree, a door in the house and maybe a flap-bush that hides a squirrel 😊. I have the house patterns so now will go play! You just made my day. Thank you again.