


A couple of years ago I started building up a stash of reusable fabric gift bags – and working down my stash of gift wrap.
This little bag is one of my favorite sizes – roughly 4 inches wide x 7 inches tall x 2 inches deep.
It’s perfect for small gifts – and it goes together quickly and easily enough to make up a big batch and use them as party favor bags.
This batch is kind of girly looking, but a simple change of fabric will completely change the look. Try making some up in a favorite team’s colors!
Once you get the hang of making them, it’s really easy to adjust the pattern to be any size you want.
Have fun with them!
What you’ll need
- two 7 x 9 inch rectangles for the bag
- two 1 1/2 x 12 inch strips for the ties (or use 1/2 inch ribbon)
- sewing machine, thread, etc.
- less than an hour
Difficulty
Very easy – this is all straight line sewing. It’s a great first sewing project.
Step 1
We’ll start with the ties. Fold one of the fabric strips in half the long way, right sides together. Using 1/4 inch seam allowance, sew along one short side and down the long open side, leaving the other short end open.
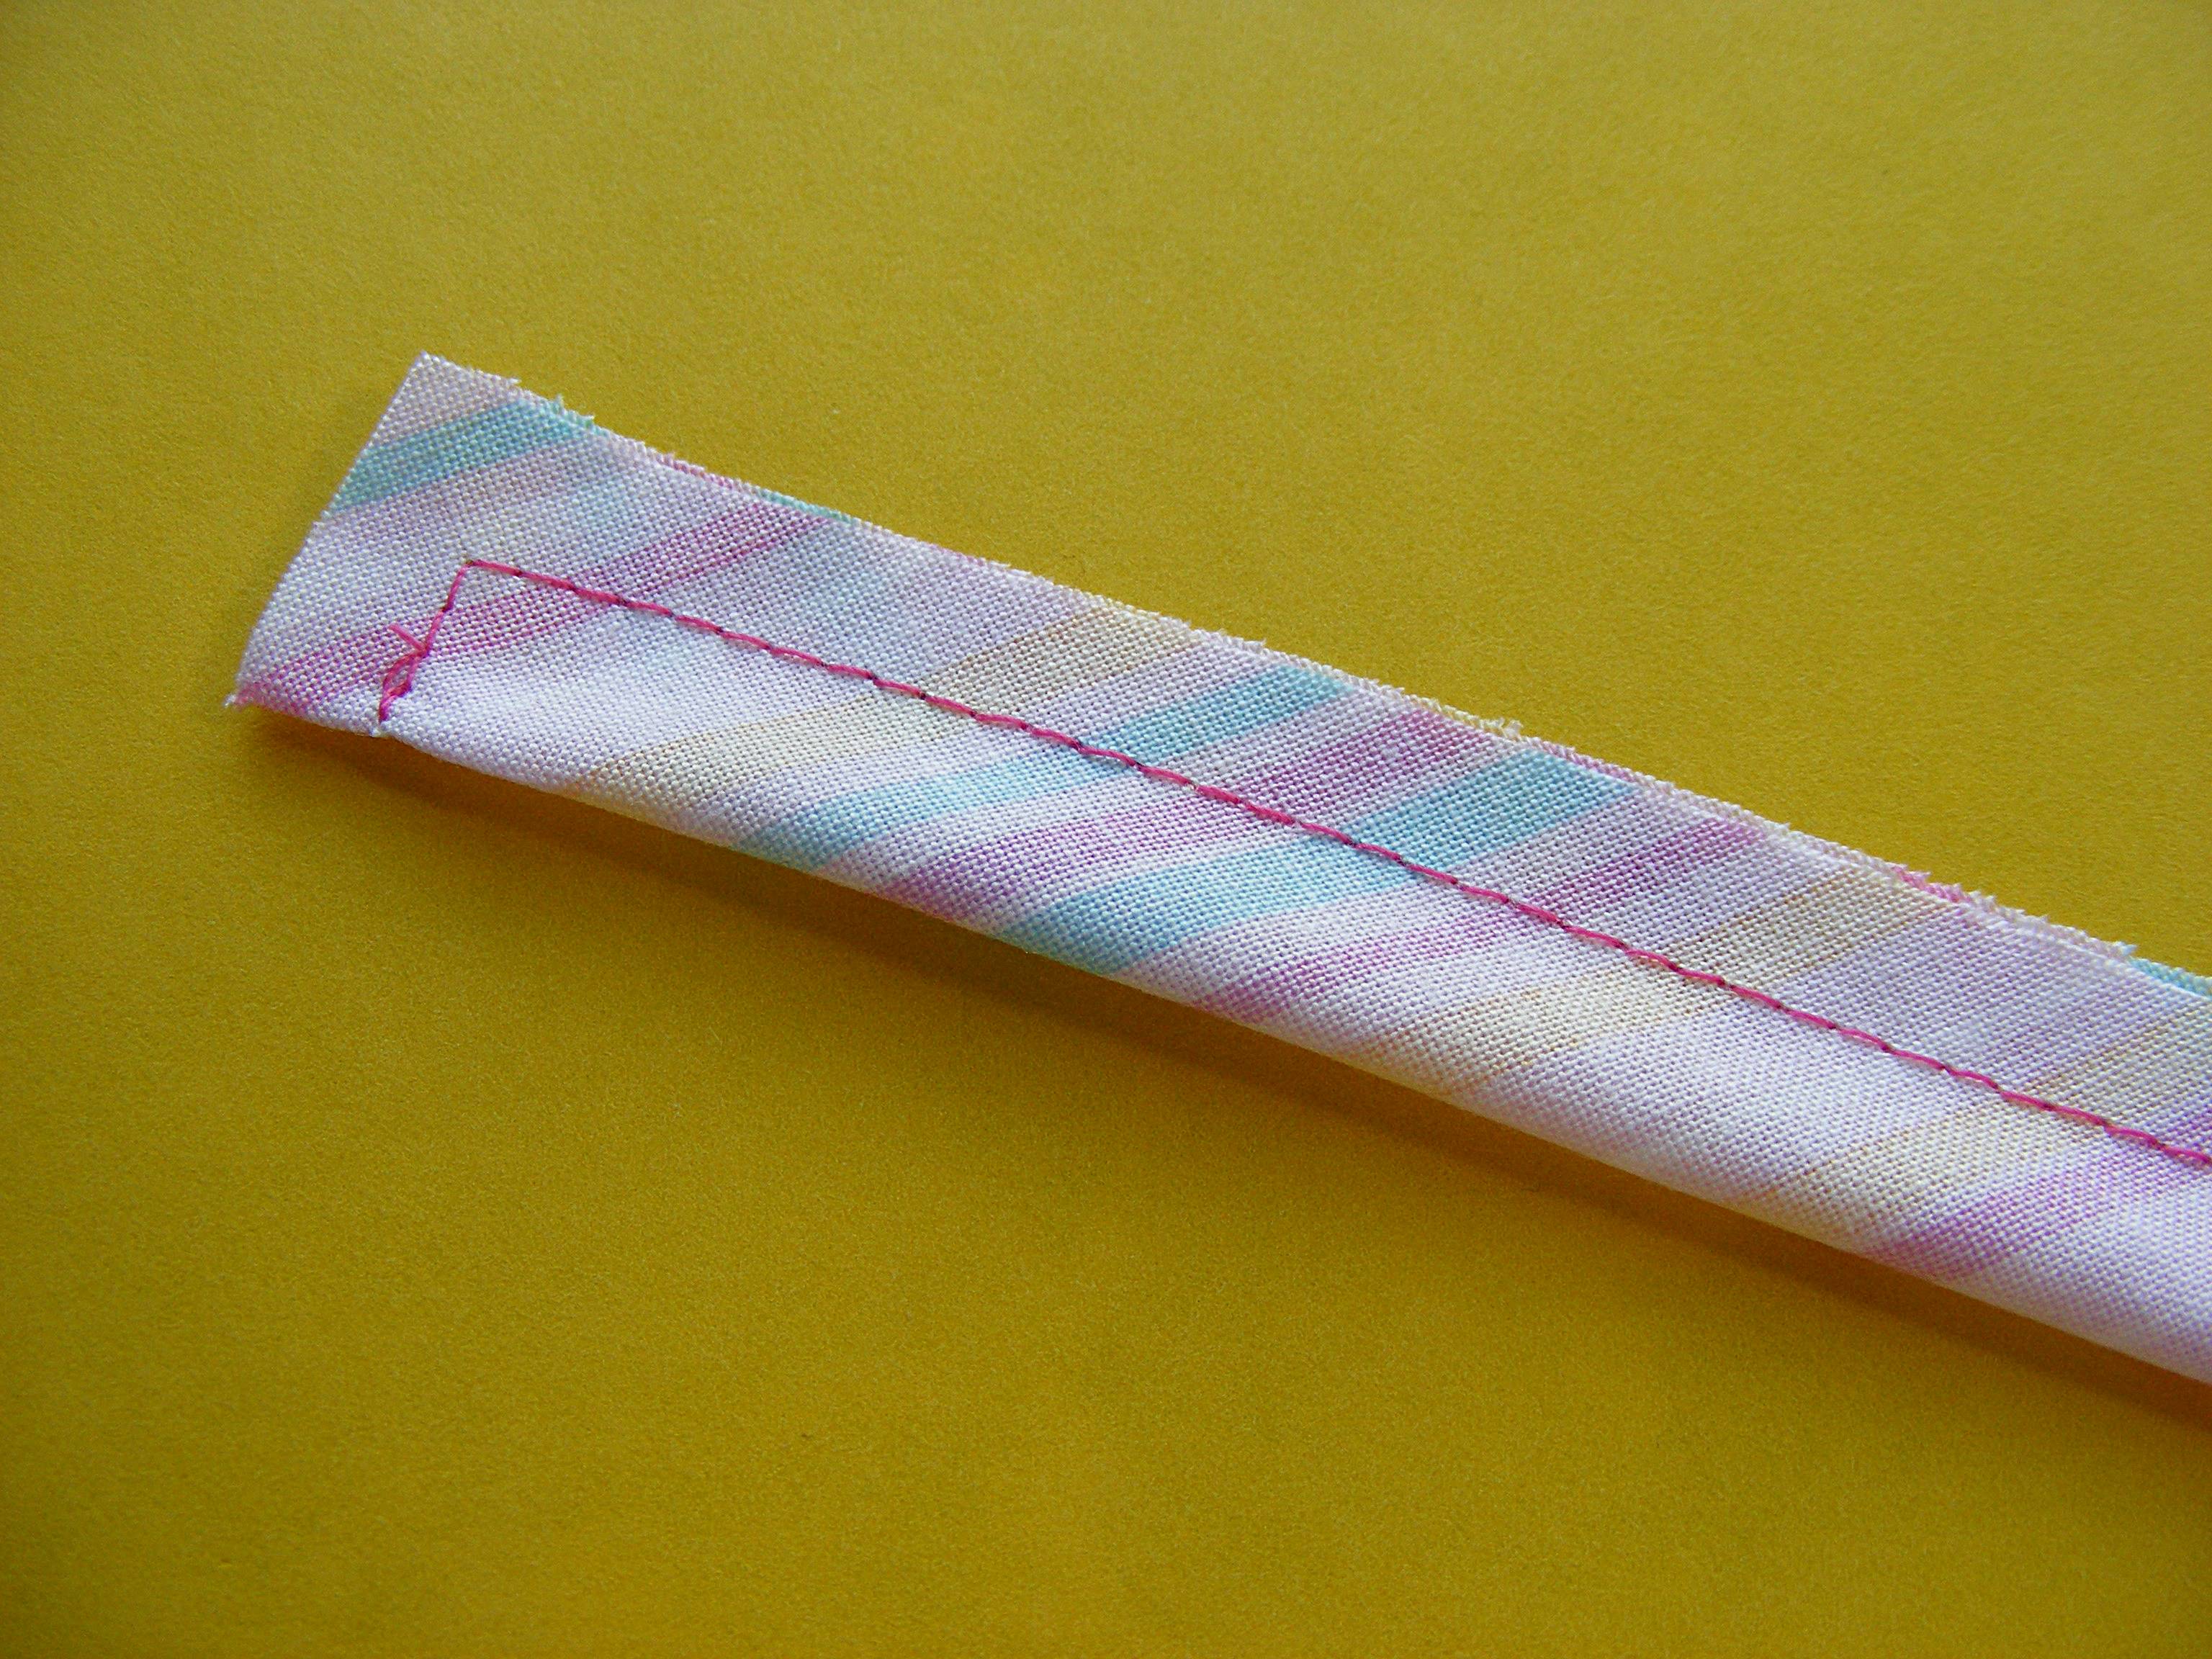
Remember to backstitch at the beginning and end of your stitching.
If you’re a beginning sewer, this video will help you with sewing straight lines and turning corners.
Step 2
Trim away the excess fabric at the corners of the stitched end.
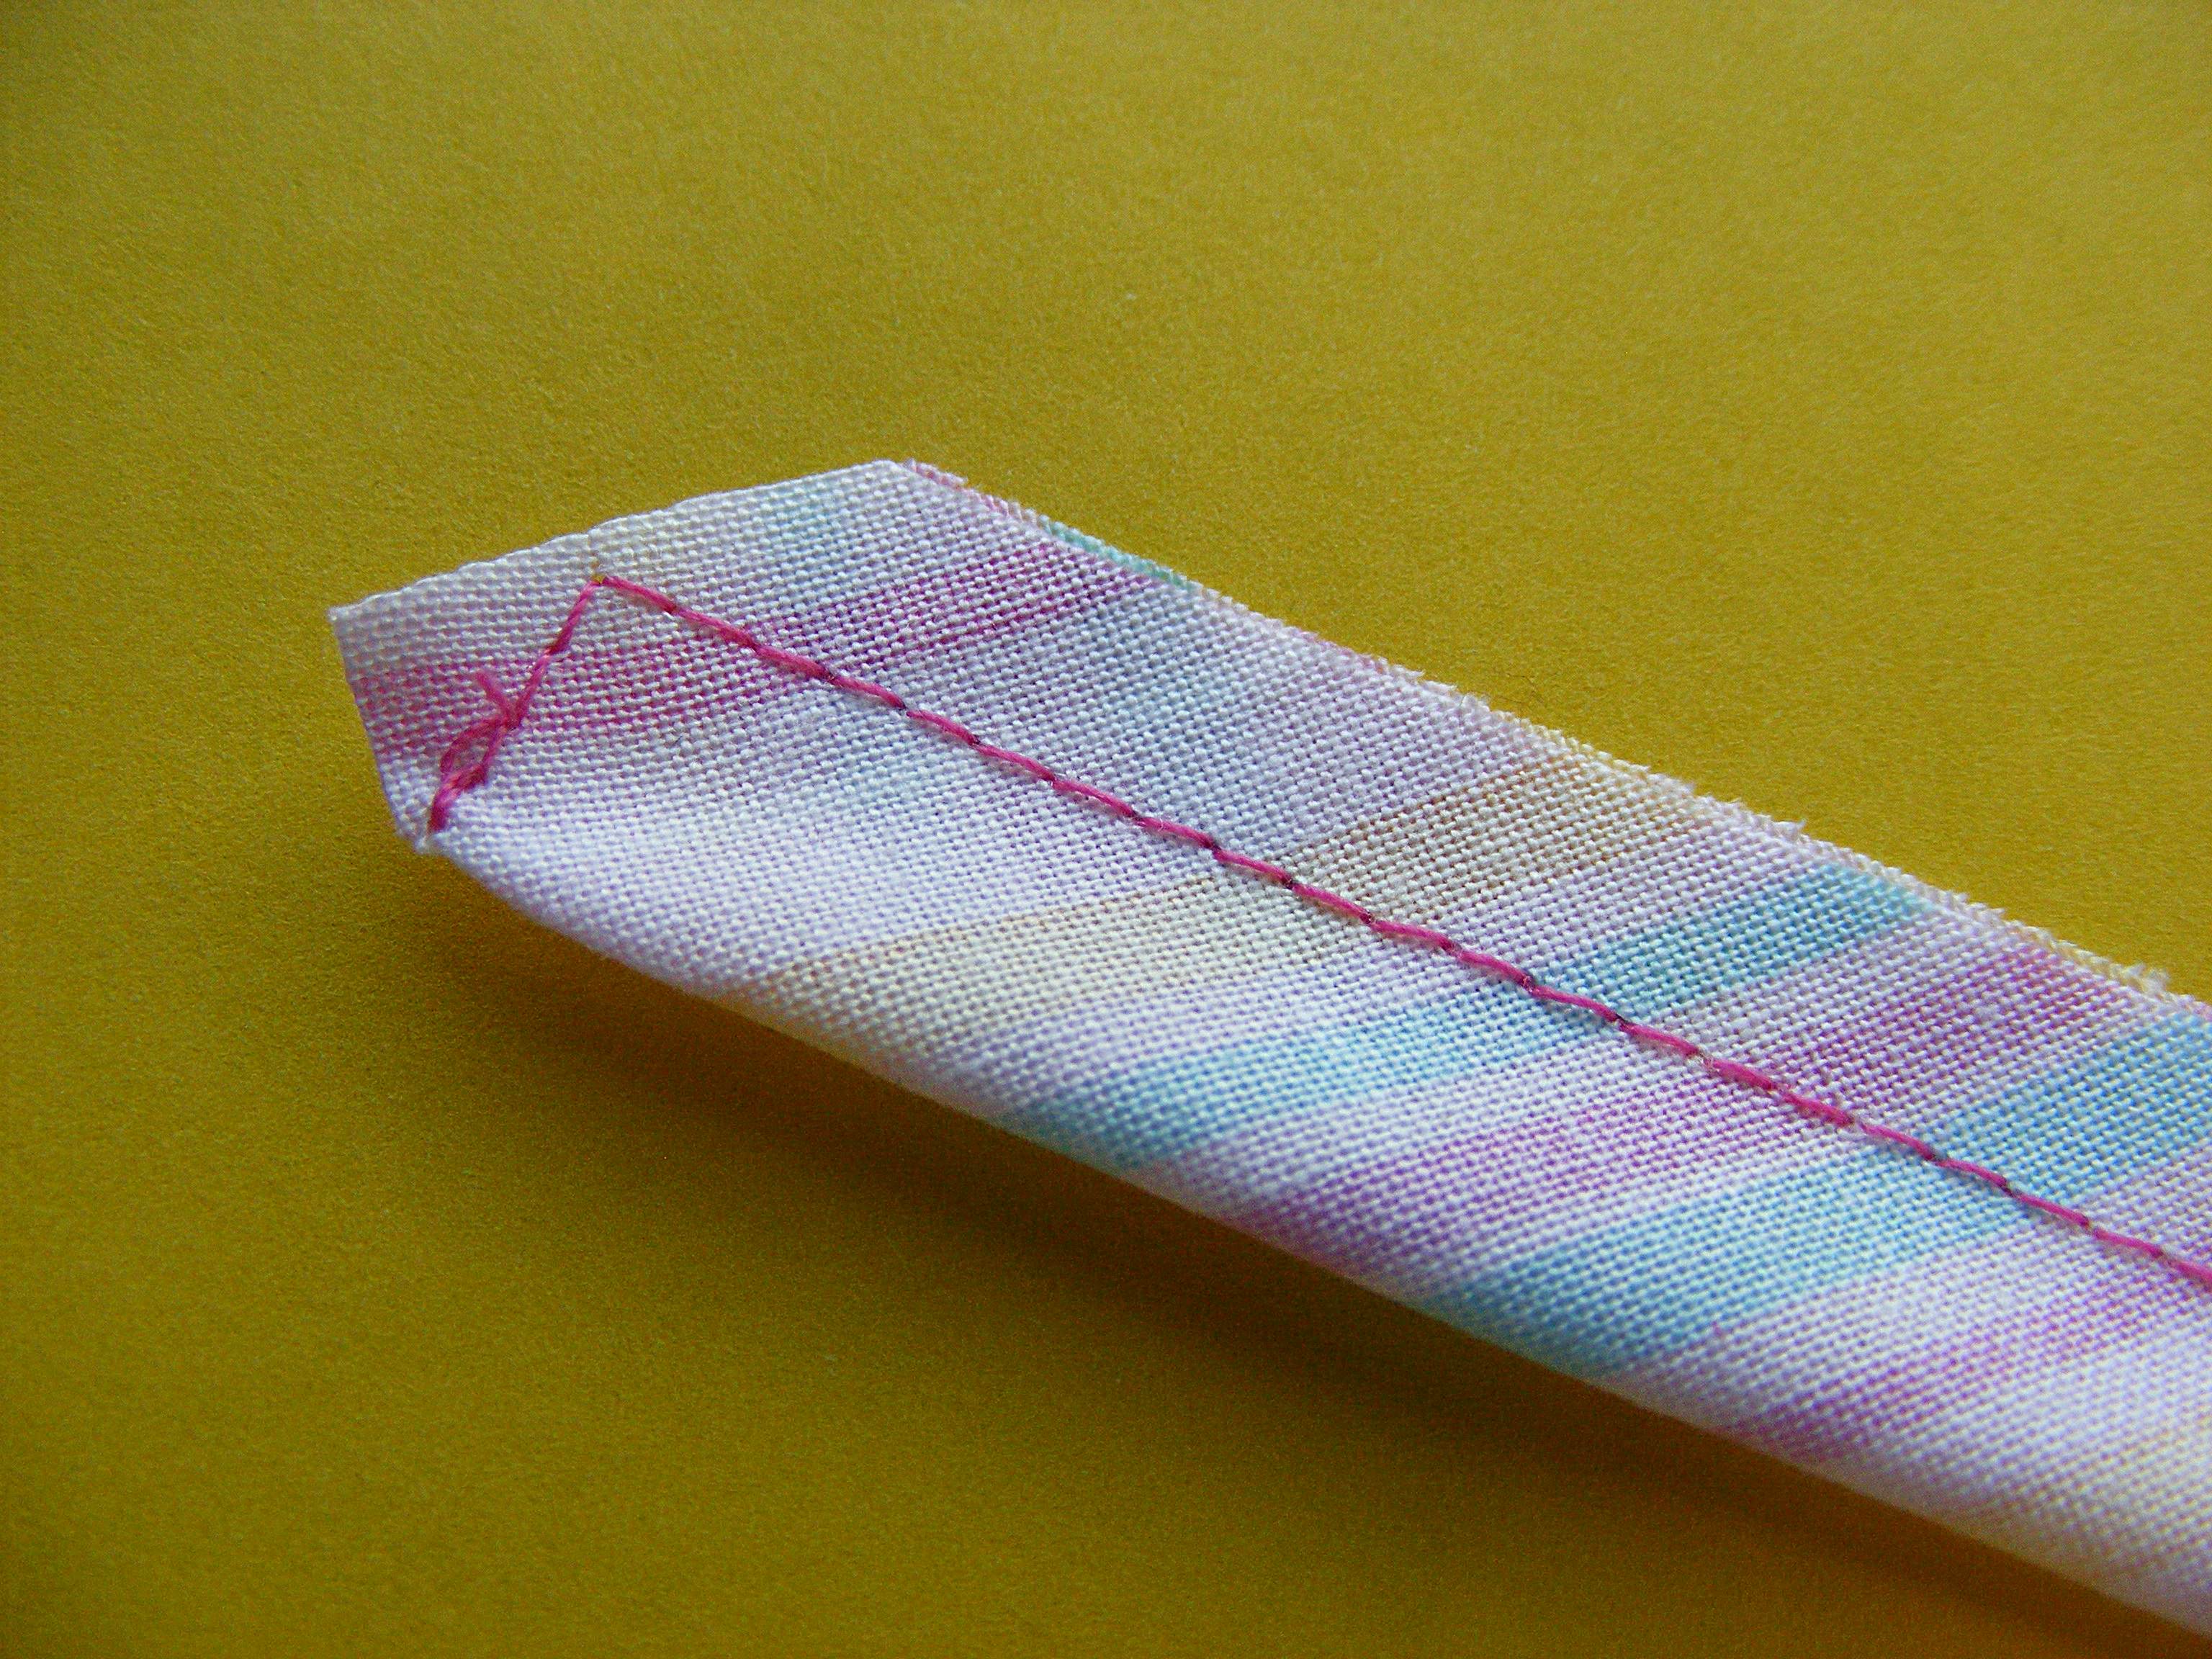
Be careful! Cut close to – but not into – the stitching.
Step 3
Turn the tube of fabric right side out. Press flat.
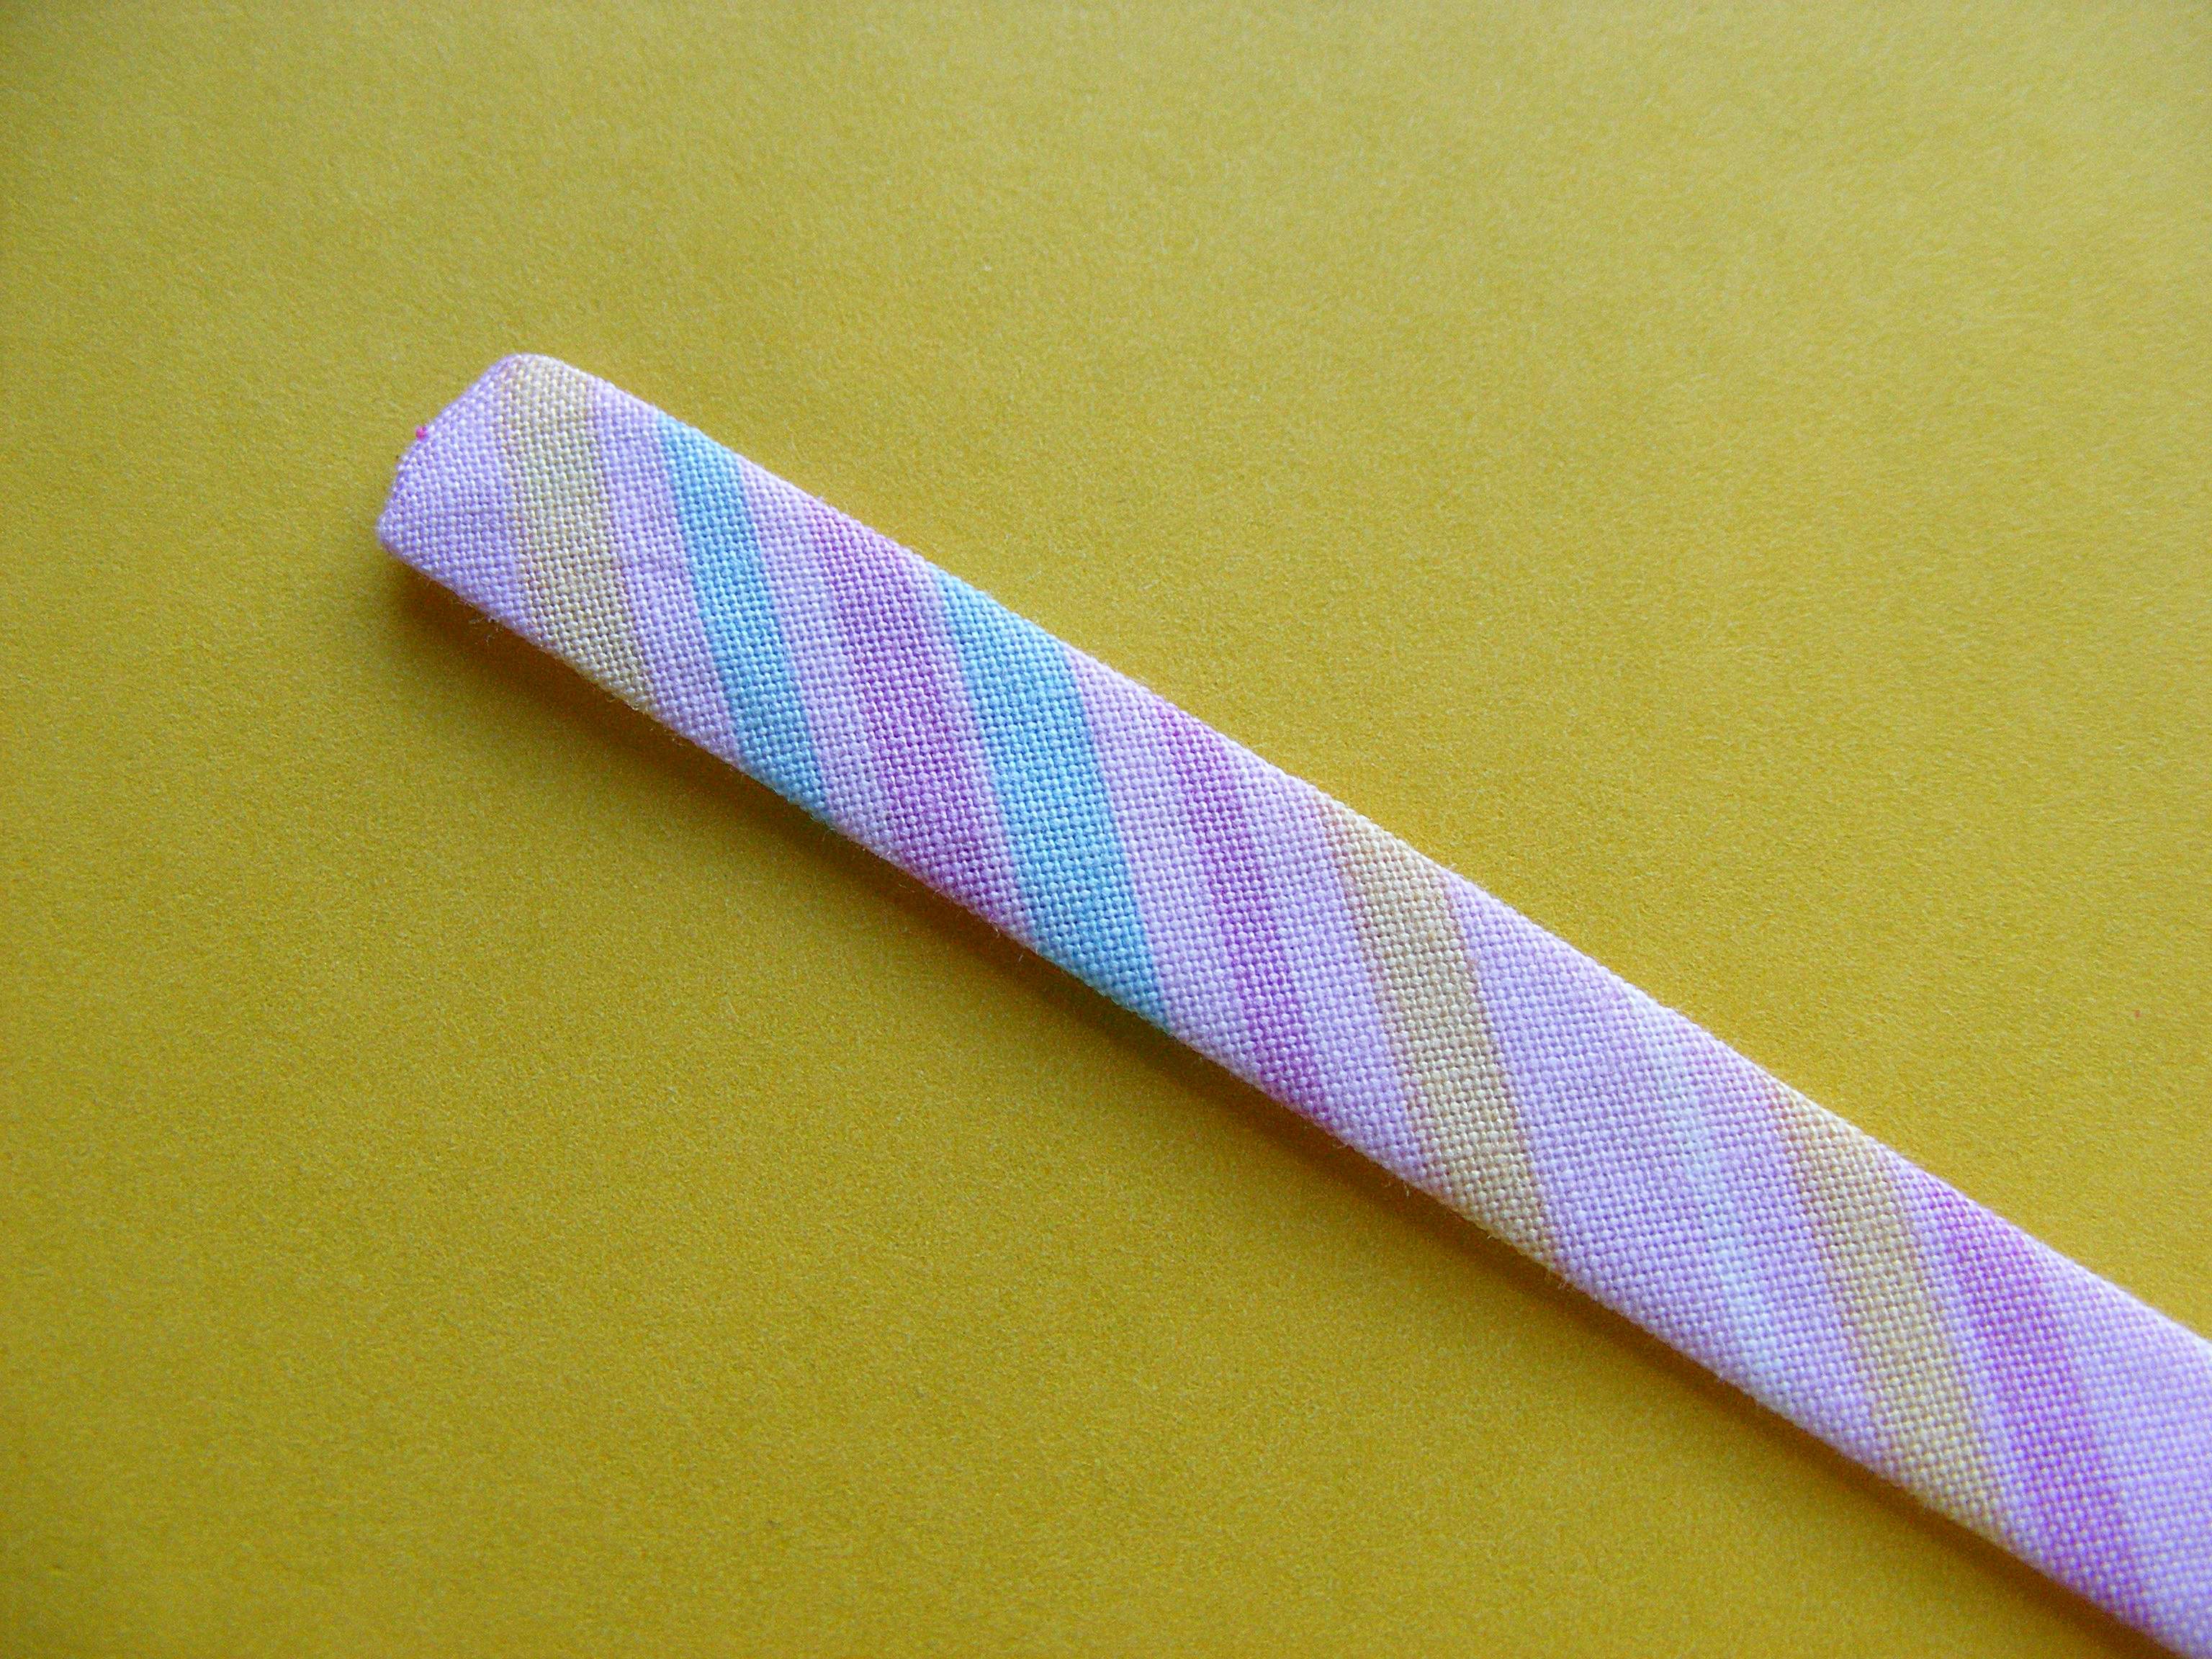
Repeat for the second tie.
This video shows my favorite way to turn tubes of fabric right side out.
Step 4
Lay one of the bag pieces so that it’s a tall rectangle.
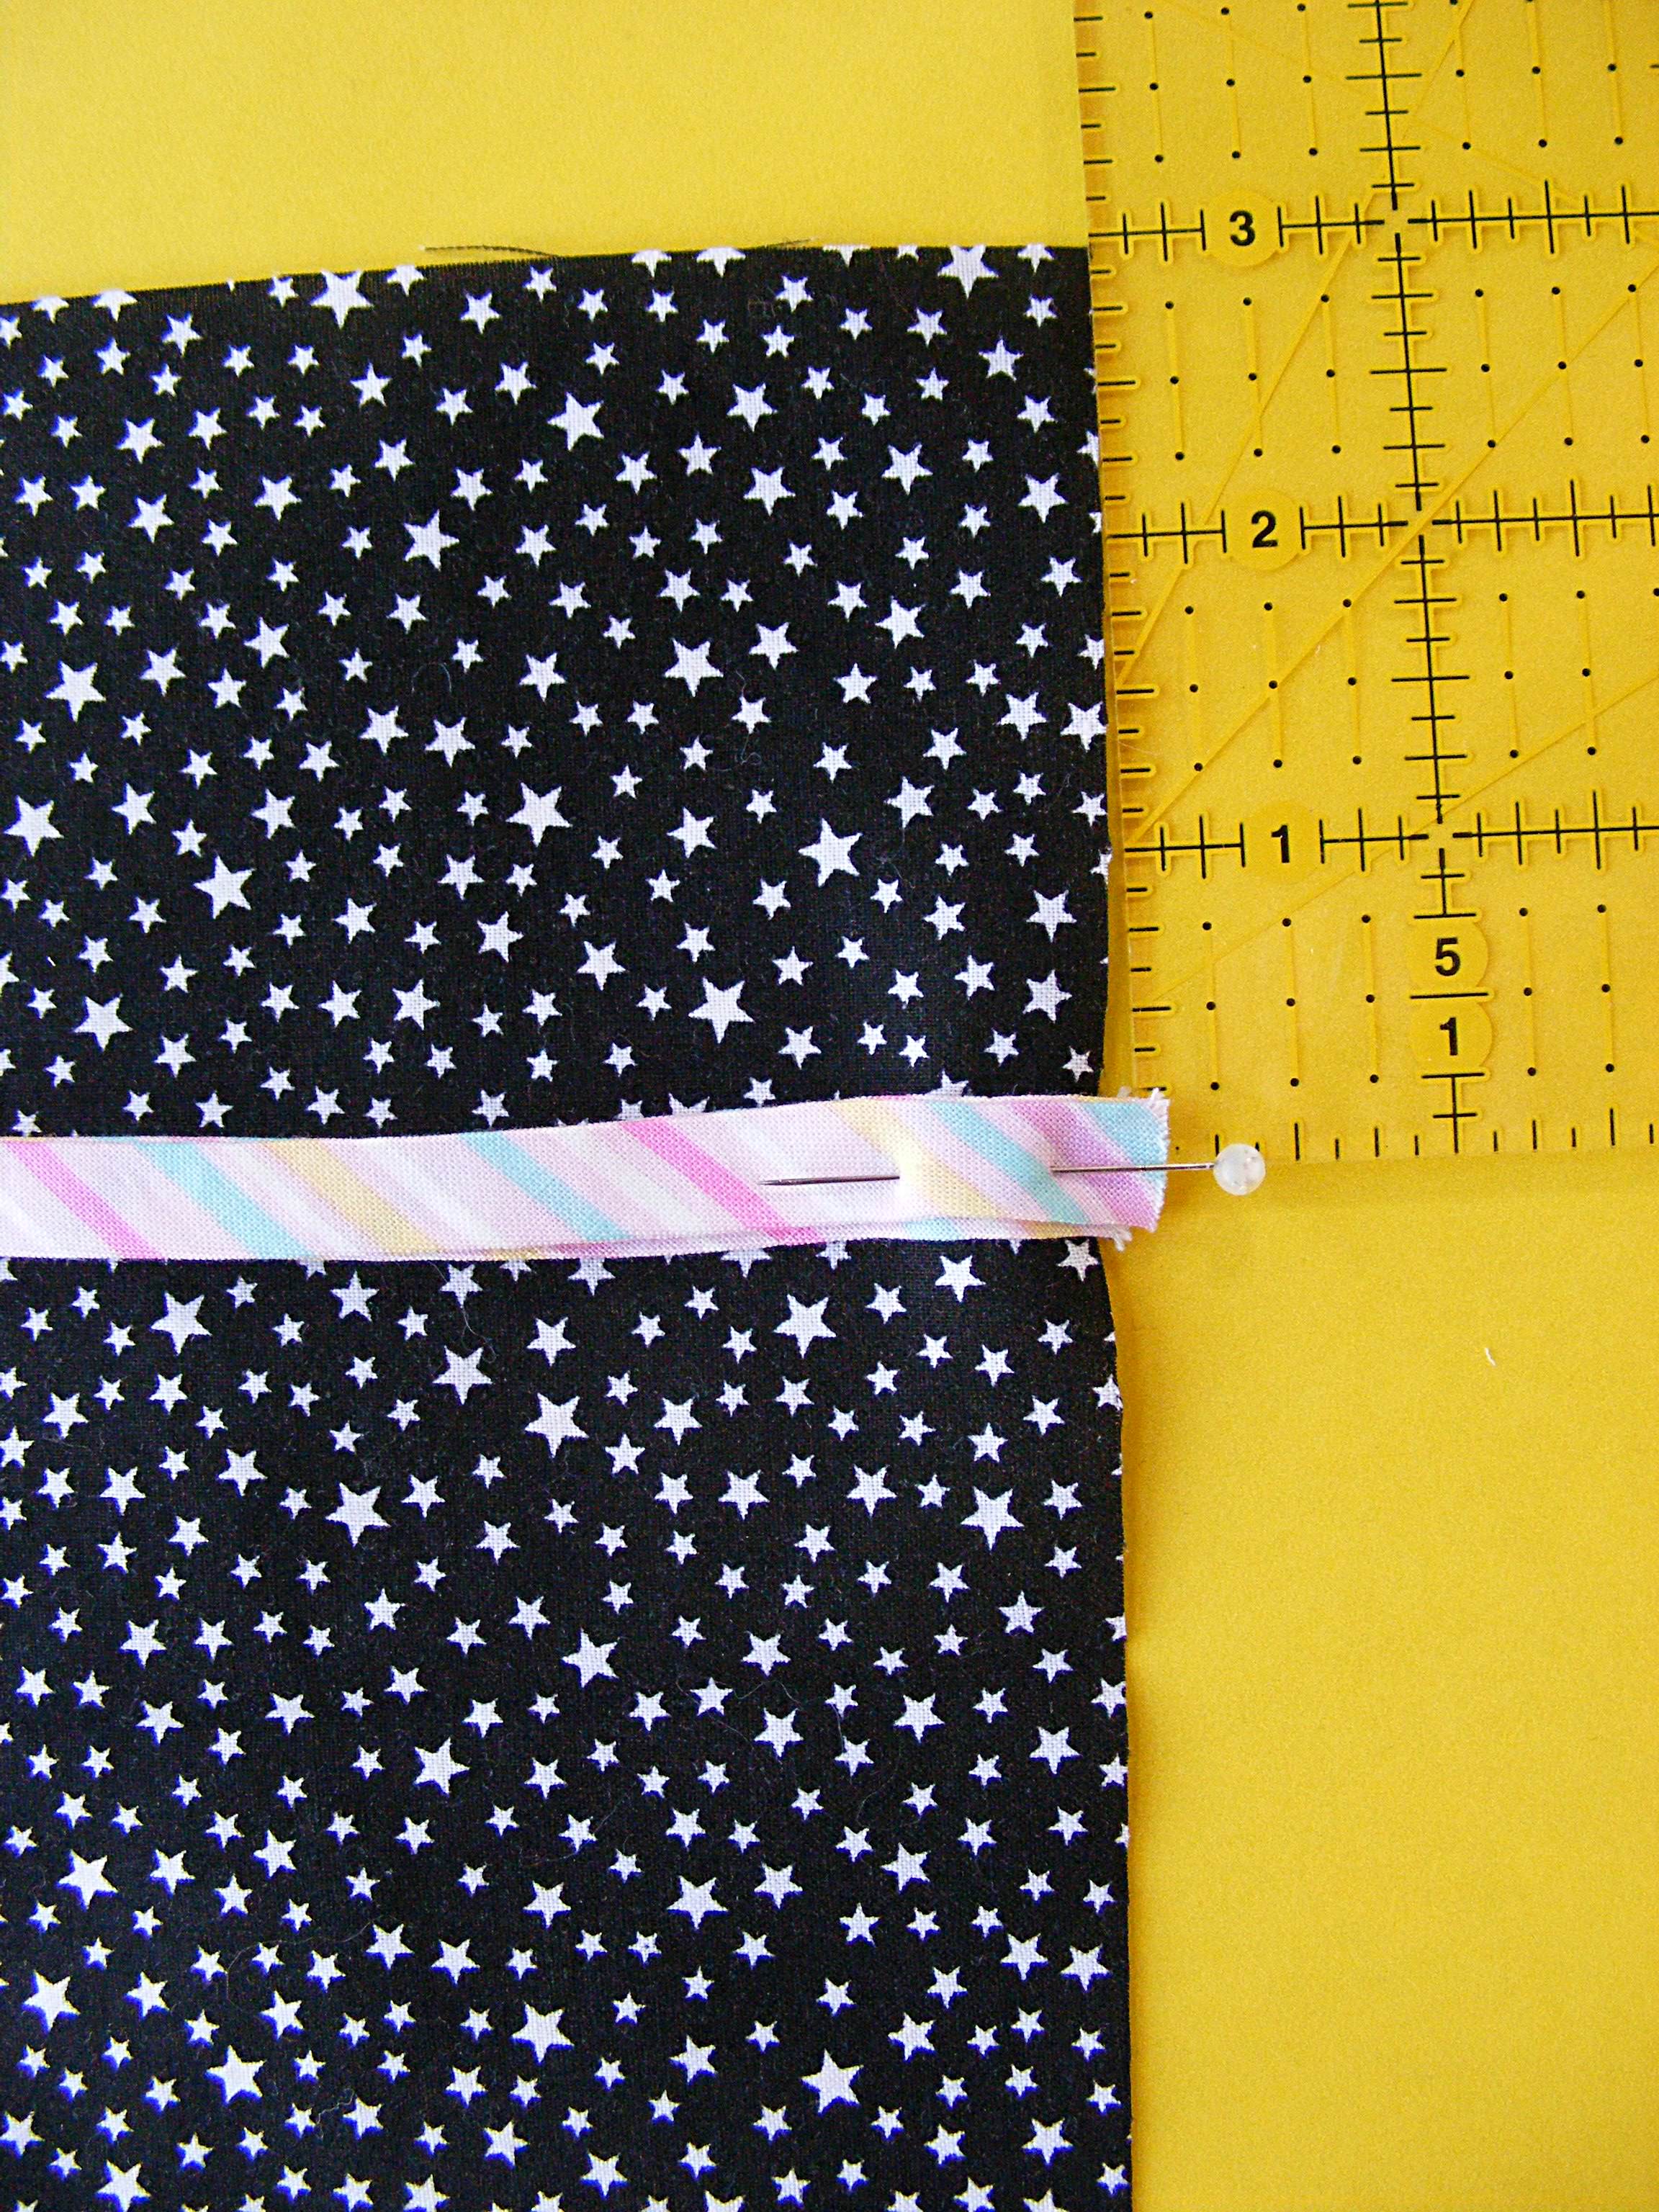
Pin the raw ends of your two ties to the edge of the bag, 3 inches down from the top edge.
Step 5
Layer the second bag piece face down over the first, with the ties sandwiched between them. Pin in place.
Make sure to tuck the ties into the center of the bag so they only are stitched into the seam where you pinned them.
This video has more info about how to embed ties (and other things) in a seam.
Step 6
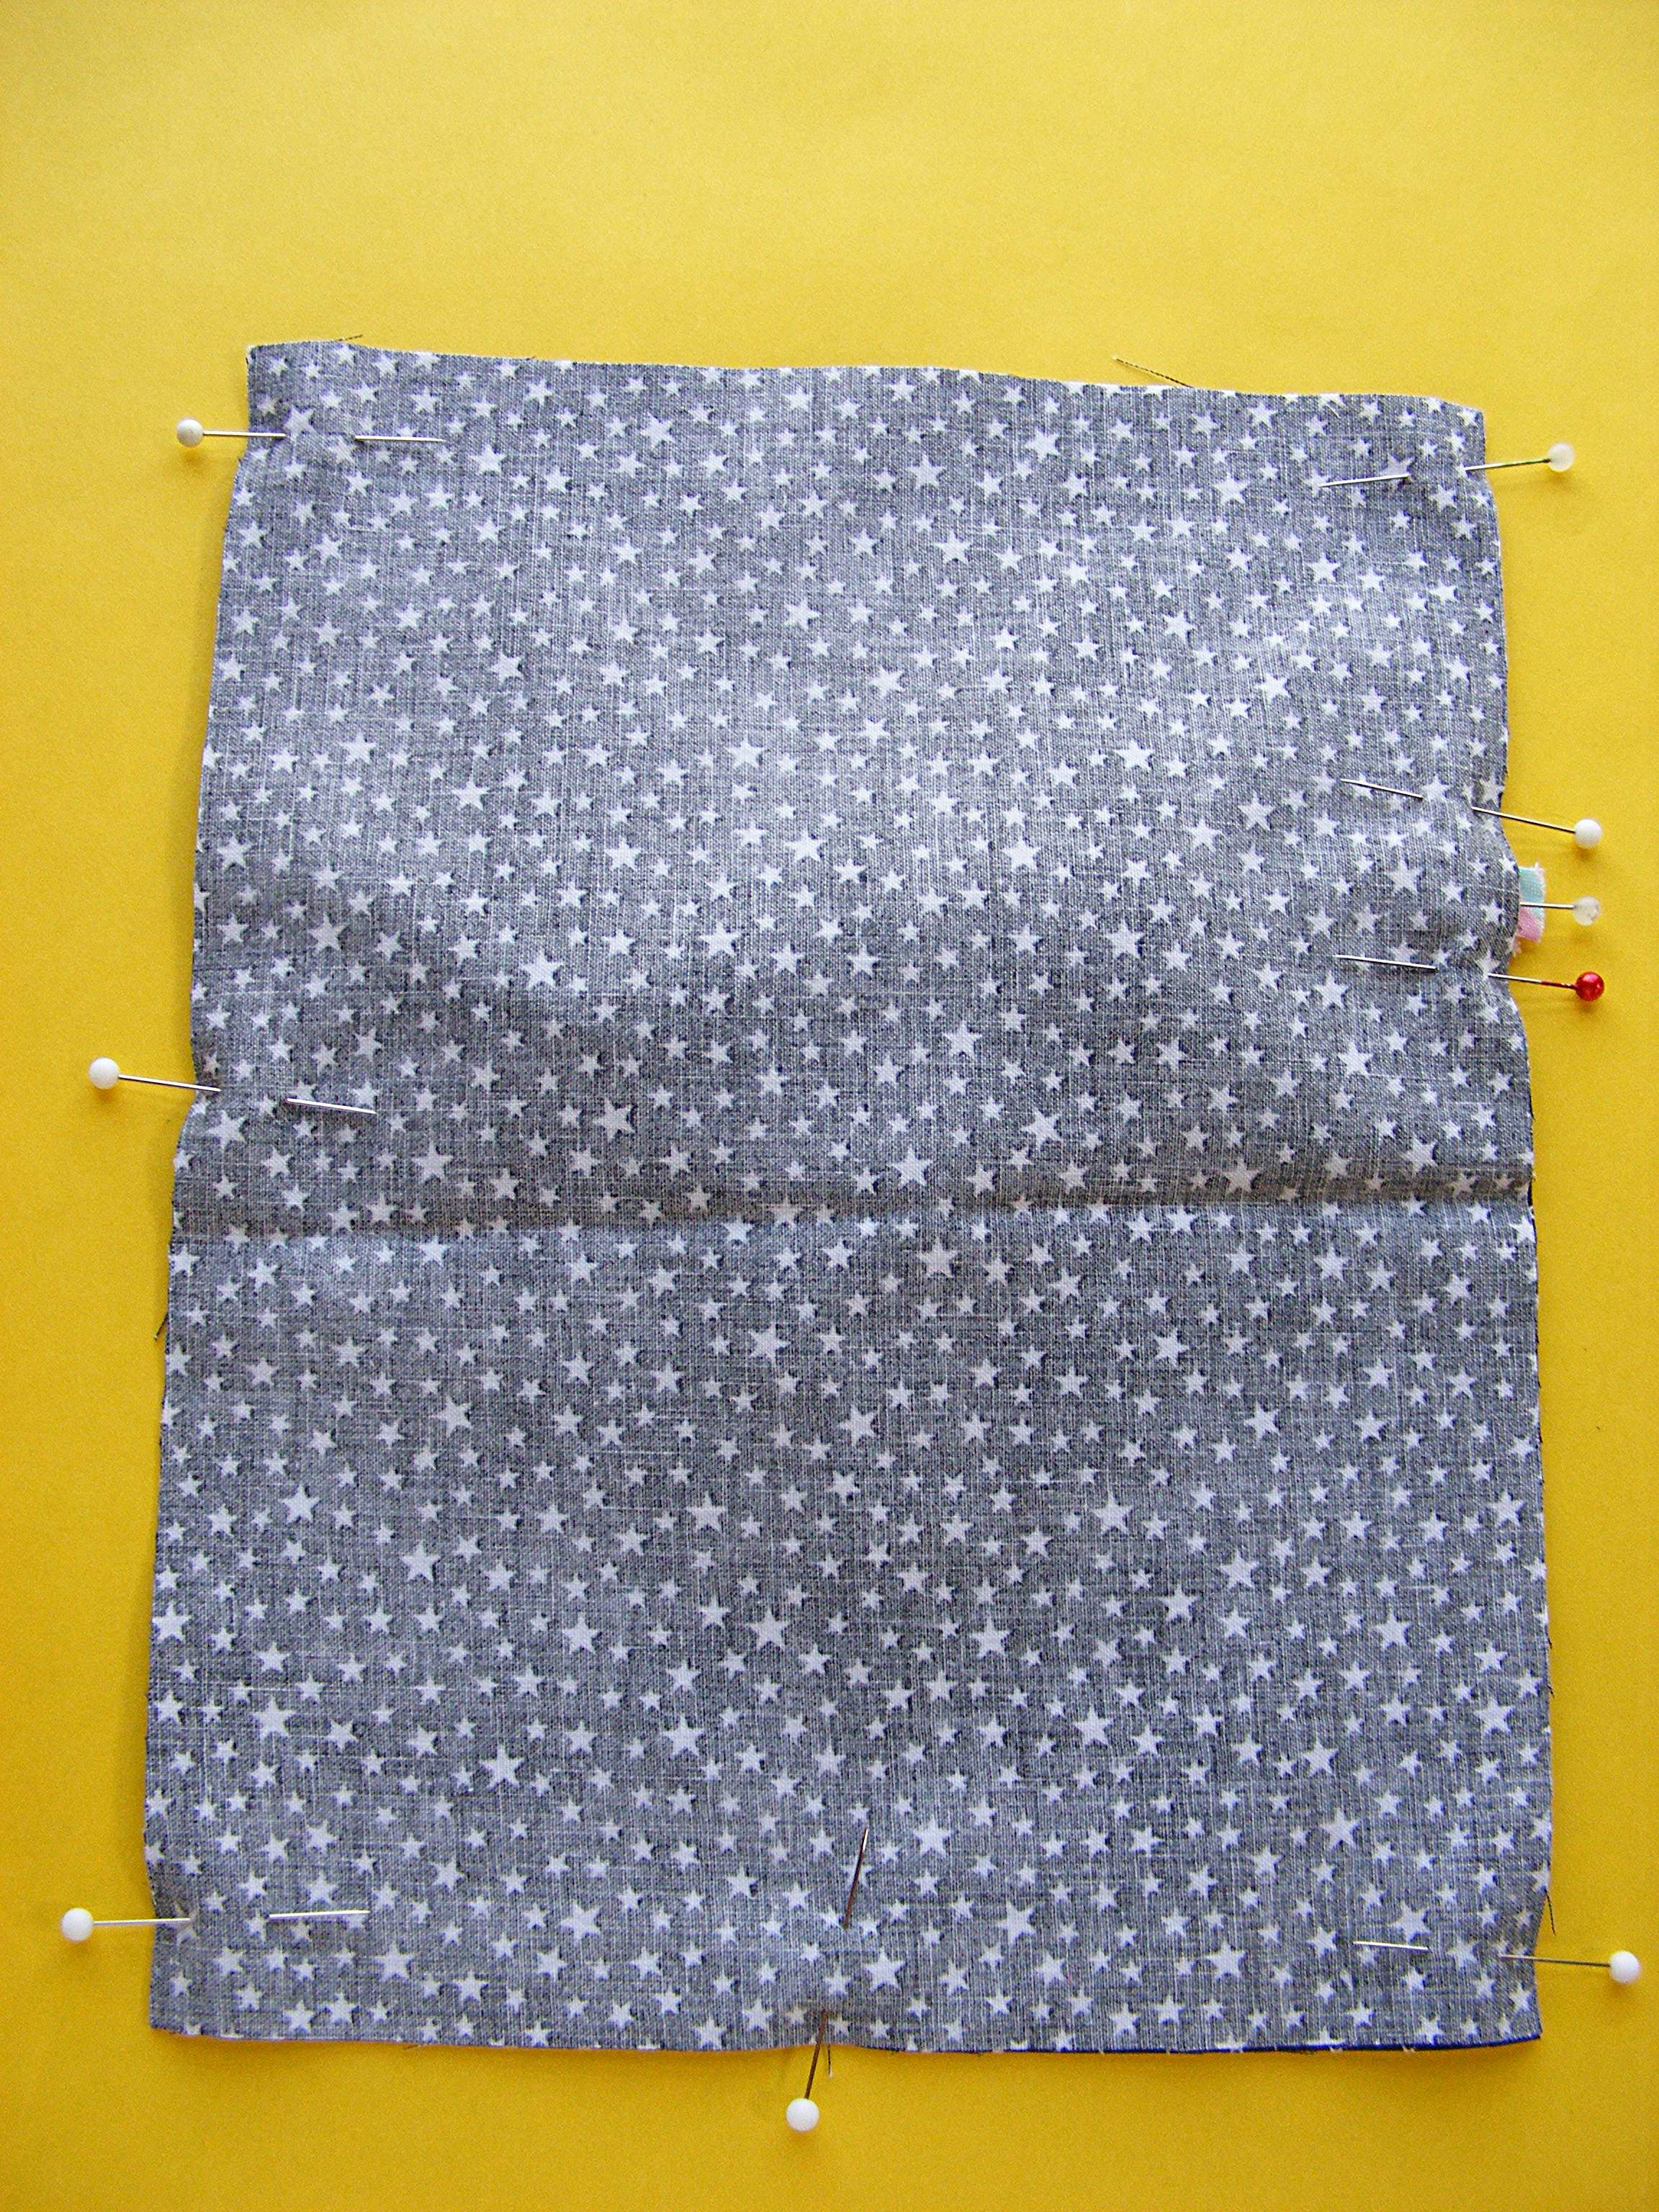
Using 1/4 inch seam allowance, sew together both sides and the bottom of the bag, catching the ties in the stitching where they’re pinned. Don’t forget the backstitch at the beginning and end of your stitching.
Step 7
Now we’re going to box in the corners of your bag so it has some depth.
Flatten and fold one corner of your bag so that the side seam is lined up with the bottom seam. It should come to a point at the bottom.
Measure up one inch from the tip of the stitching line (not the point of the fabric) and mark a line perpendicular to the stitching line. Stitch on that line from edge to edge, backstitching when you start and stop.

Repeat for the other corner.
Step 8
Turn the bag right side out. Finish the top edge however you like. I like to just trim the edge with pinking shears, but you could hem it if you prefer.
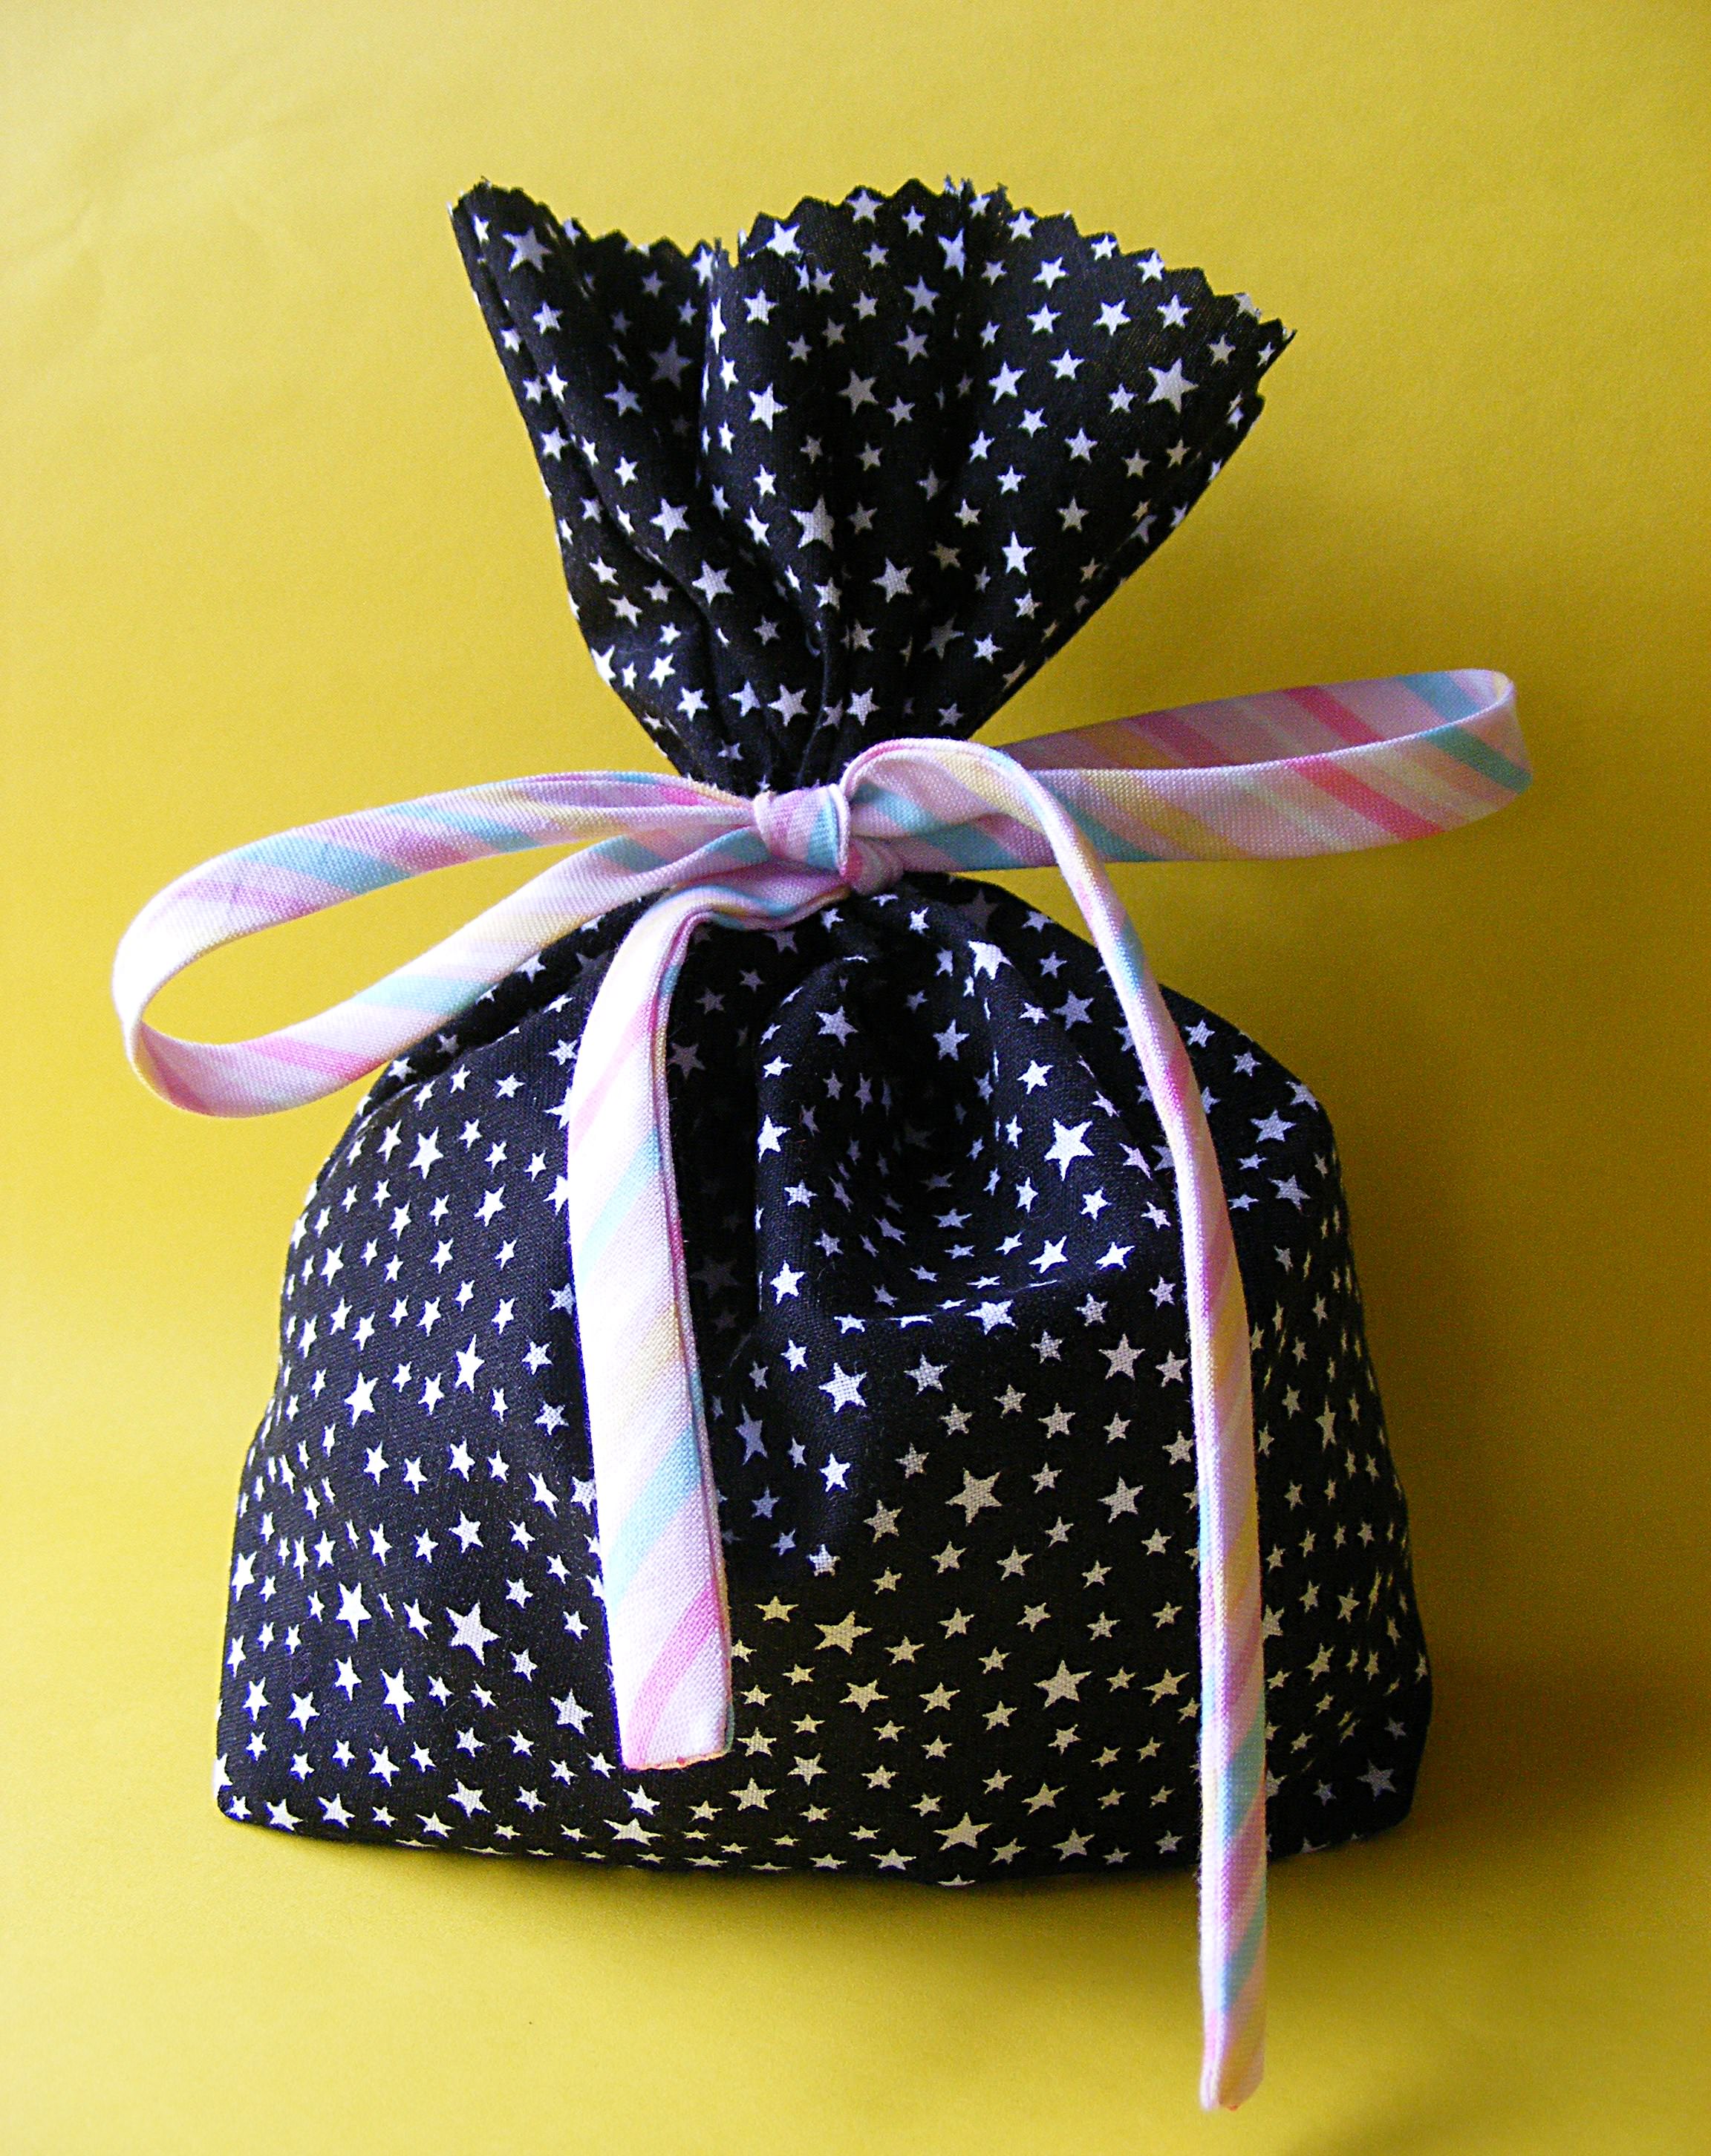
This is a great size for small gifts or party favors, but you can easily make the bag bigger for larger gifts. Have fun with it!
Happy sewing!

Very cut bags!
Thanks! I’m glad you like them!
Any patterns for retro rv’sand camping?
Sorry – I don’t.
Wendi – thanks again for your continued generosity! These bags are adorable. I love the gingerbread people. Every time I see an email from you in my in box, it makes me smile!! Also, I’m a FAN of the Queen’s Gambit!! Definitely worth a rerun!! Enjoy the holidays! Thanks for all you do!