


Here it is – the simplest skirt you can possibly make and the best project I know for beginning sewists who want to make clothing.
Size this one up to fit adults – or down to fit dolls and stuffed animals. It’s all good.
What you’ll need
- fabric (amount will depend on your measurements)
- elastic
- double-fold bias tape (optional)
- sewing machine, thread, basic sewing tools
- less than an hour. I mean it. I’ve never actually timed myself, but I think I can make one of these in 15 minutes.
Difficulty
Very, very, very easy.
Here’s how to make it.
Step 1
Measure around your waist and the desired length of the skirt.
waist _______________ length ______________
For a skirt with “average” fullness, cut your rectangle twice your waist measurement, plus 1 inch for seam allowance. This does not need to be an exact measurement.
My daughter’s waist is 24 inches. My target for the total length of my fabric rectangle was 49 inches, but the fabric was 44 inches wide. Did I piece in an additional 5 inches? No way. I just used the existing width of the fabric.
Anything from 1 1/2 – 2 1/2 times the waist measurement will look good and have some fullness, but you can go even smaller for a more fitted look, and even larger with a very thin fabric. Play around with it!
What width elastic will you be using?
You’ll need to add enough to your total cut length to make an elastic casing. Add the width of the elastic + 5/8 inch. That’s enough to turn it under 3/8 inch, press, then turn it under the width of the elastic + 1/4 inch.
You can see a video showing how to use elastic in a casing here.
Will you be adding a hem?
I usually add 1 inch hem allowance – enough to turn it under 1/2 inch, press, then another 1/2 inch, press, and stitch. Some people like wider hems. In this sample I didn’t hem at all – just bound the lower edge with bias tape. It’s up to you!
Cut your fabric rectangle.
Step 2
Fold your rectangle in half, right sides together, and stitch the short edge with 1/2 inch seam allowance.
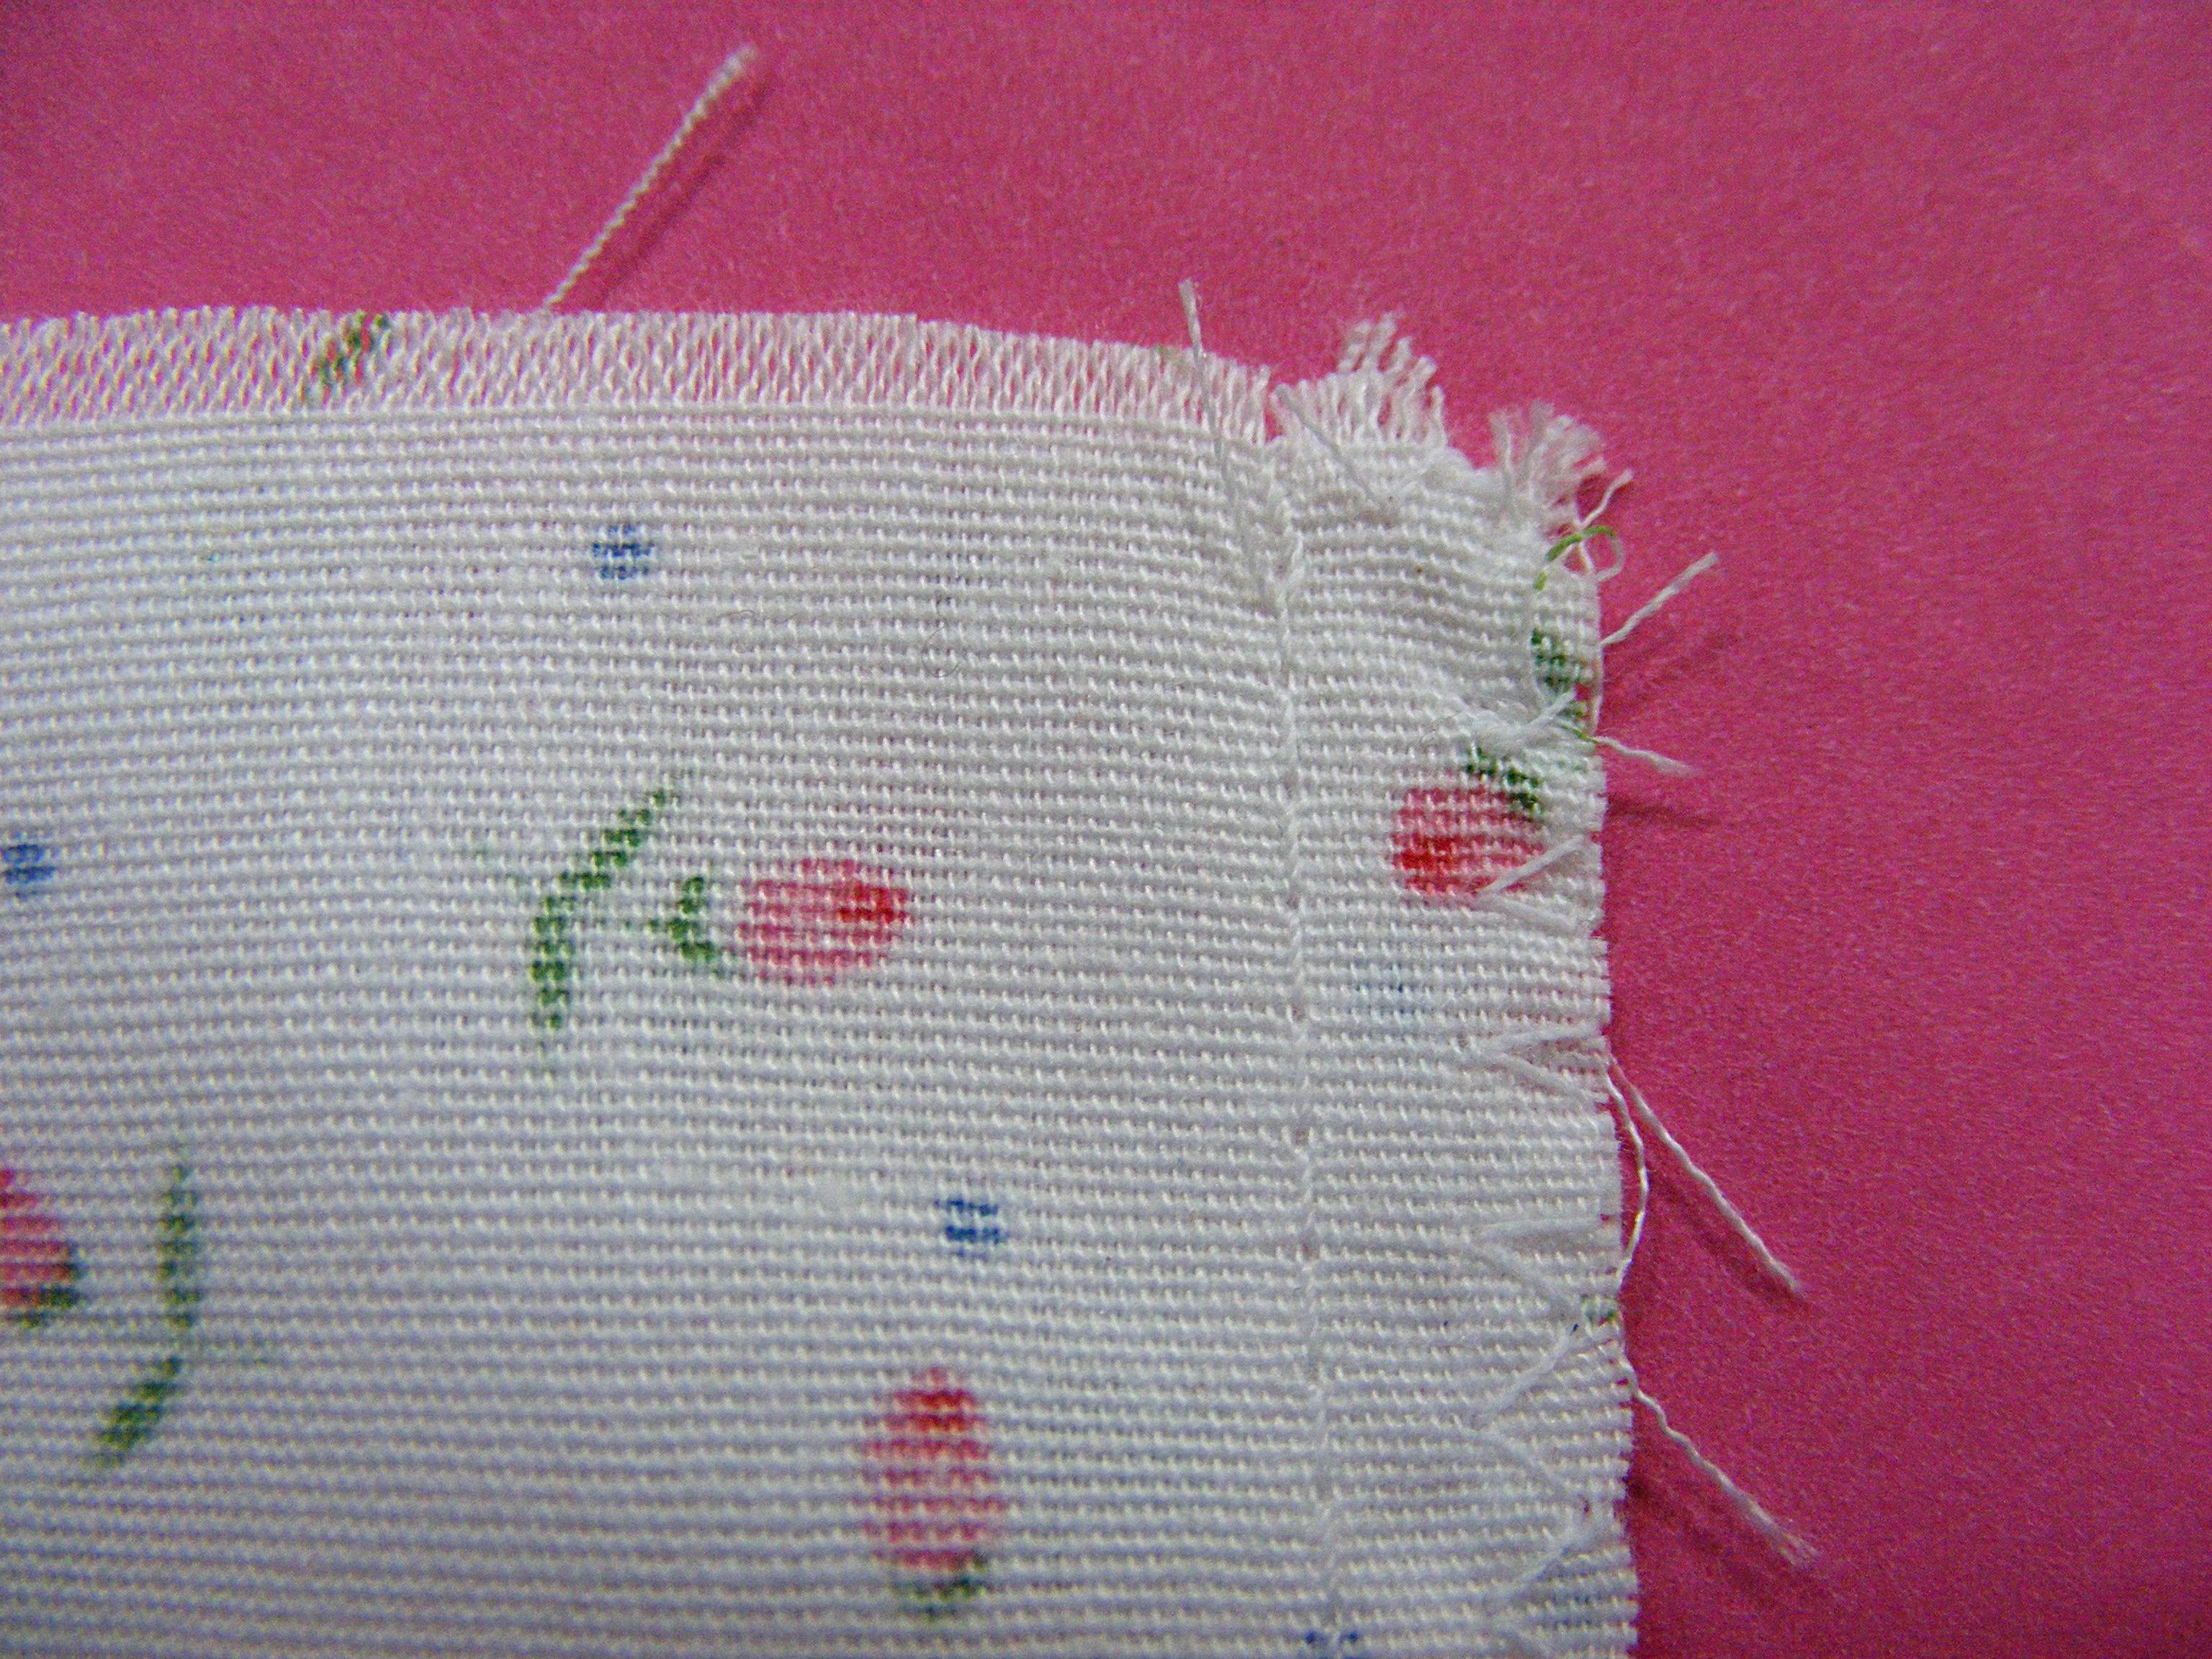
Finish the seam allowance. This was kind of a ravelly fabric, so I zigzagged the seam. You can see how to do that and another easy seam finish option in this video.
Step 3
If you’re going to use bias tape to finish the seam, prepare it now. I found a packet of very old single fold bias tape that I wanted to use. Since it was single fold, I needed to fold it in half one more time and press it.
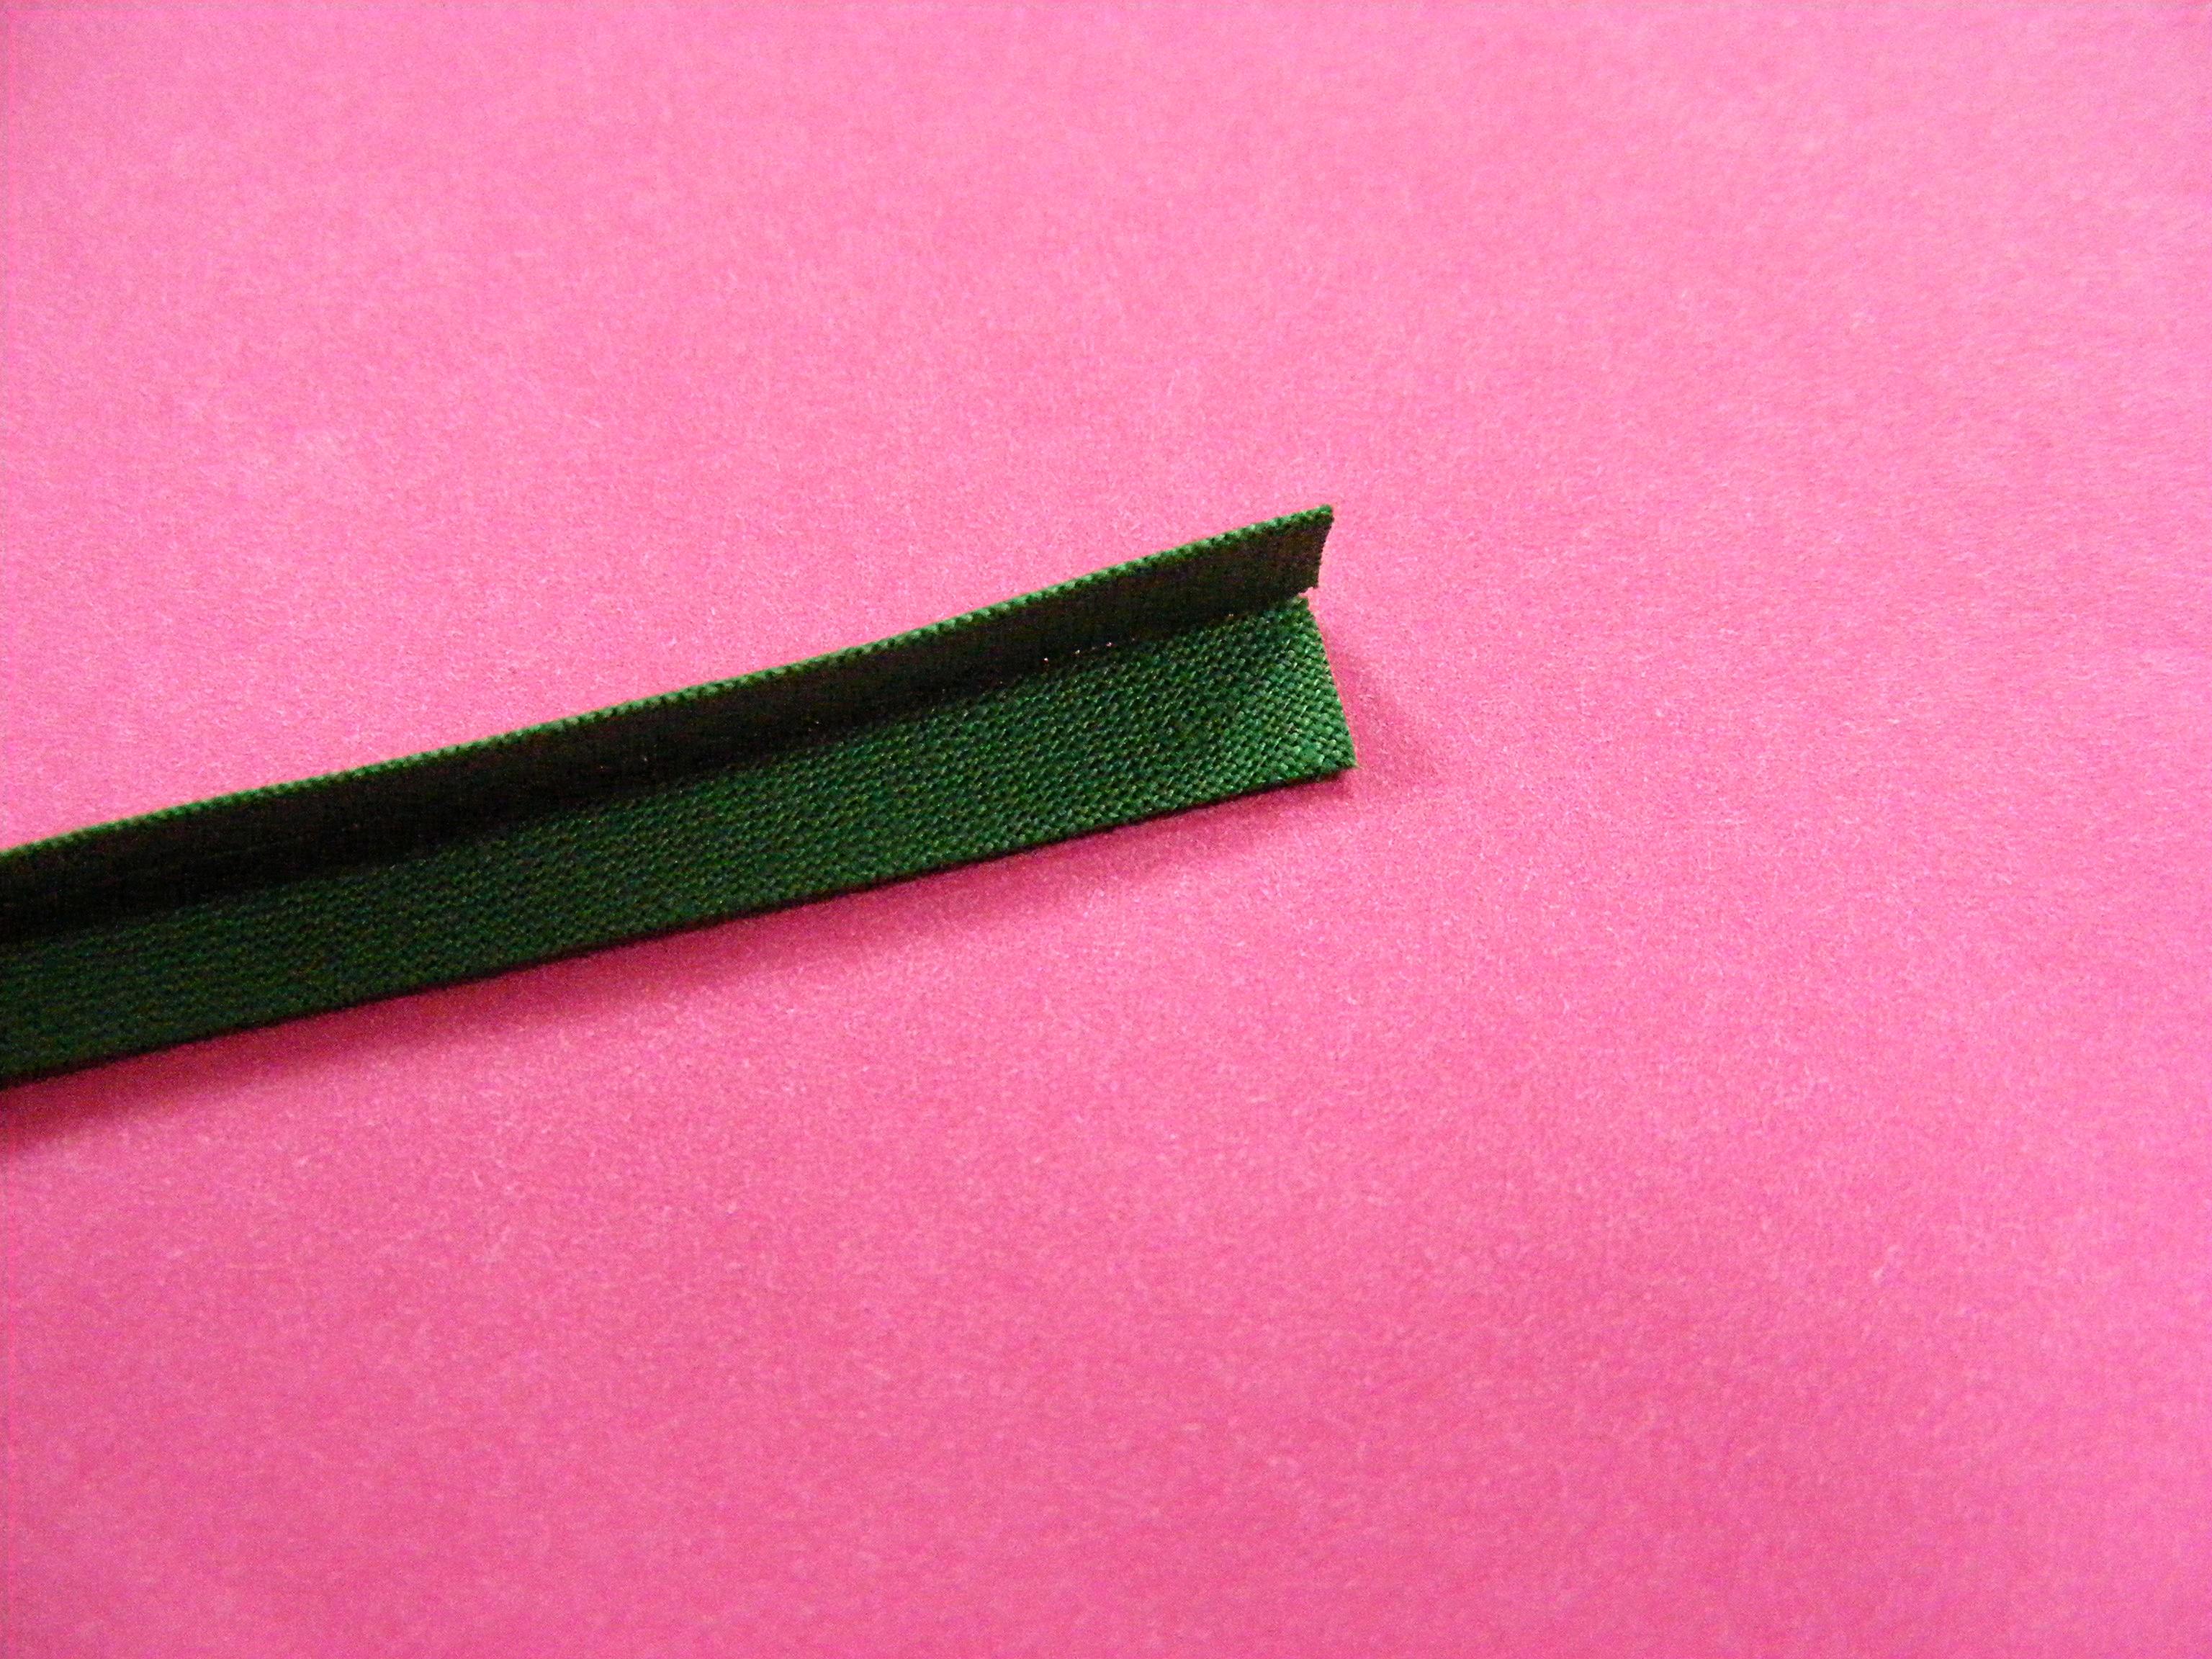
If you want to make your own and don’t know how – watch this video. For this project you can cut your strips on the straight grain.
Step 4
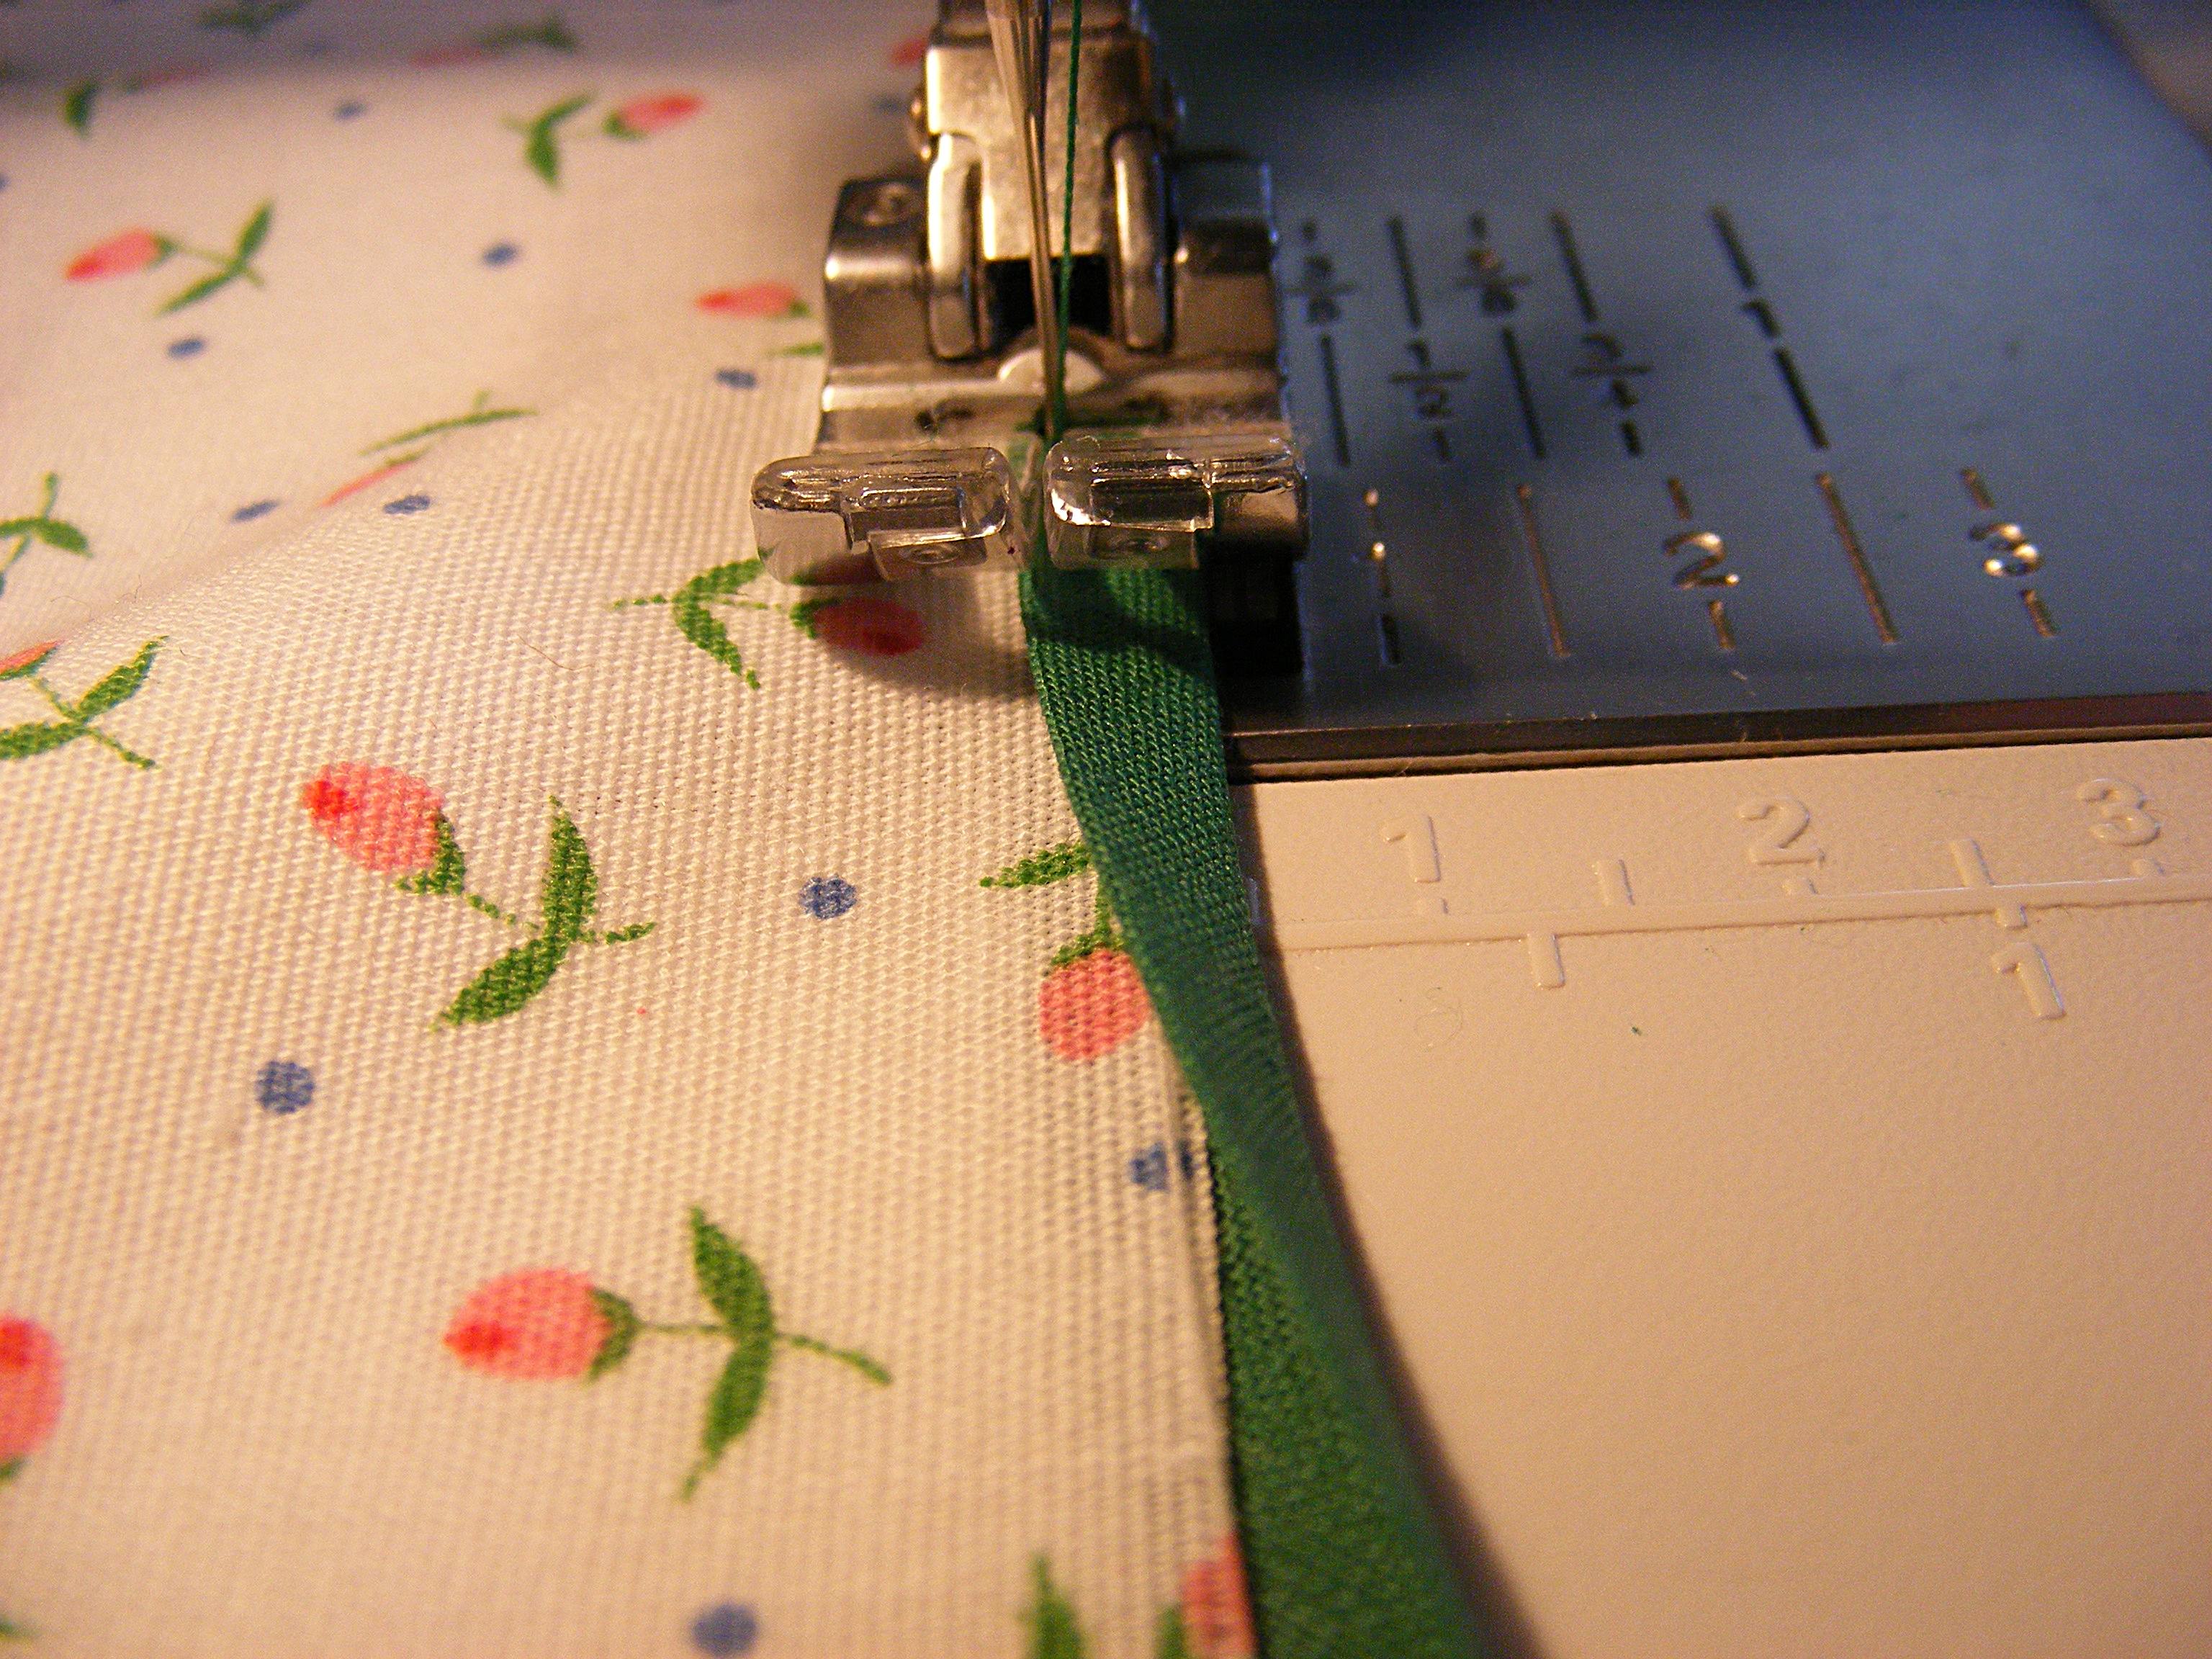
Attach the bias tape by folding it around the raw edge of the skirt fabric and stitching it in place.
Step 5
Here’s what your finished hem will look like.
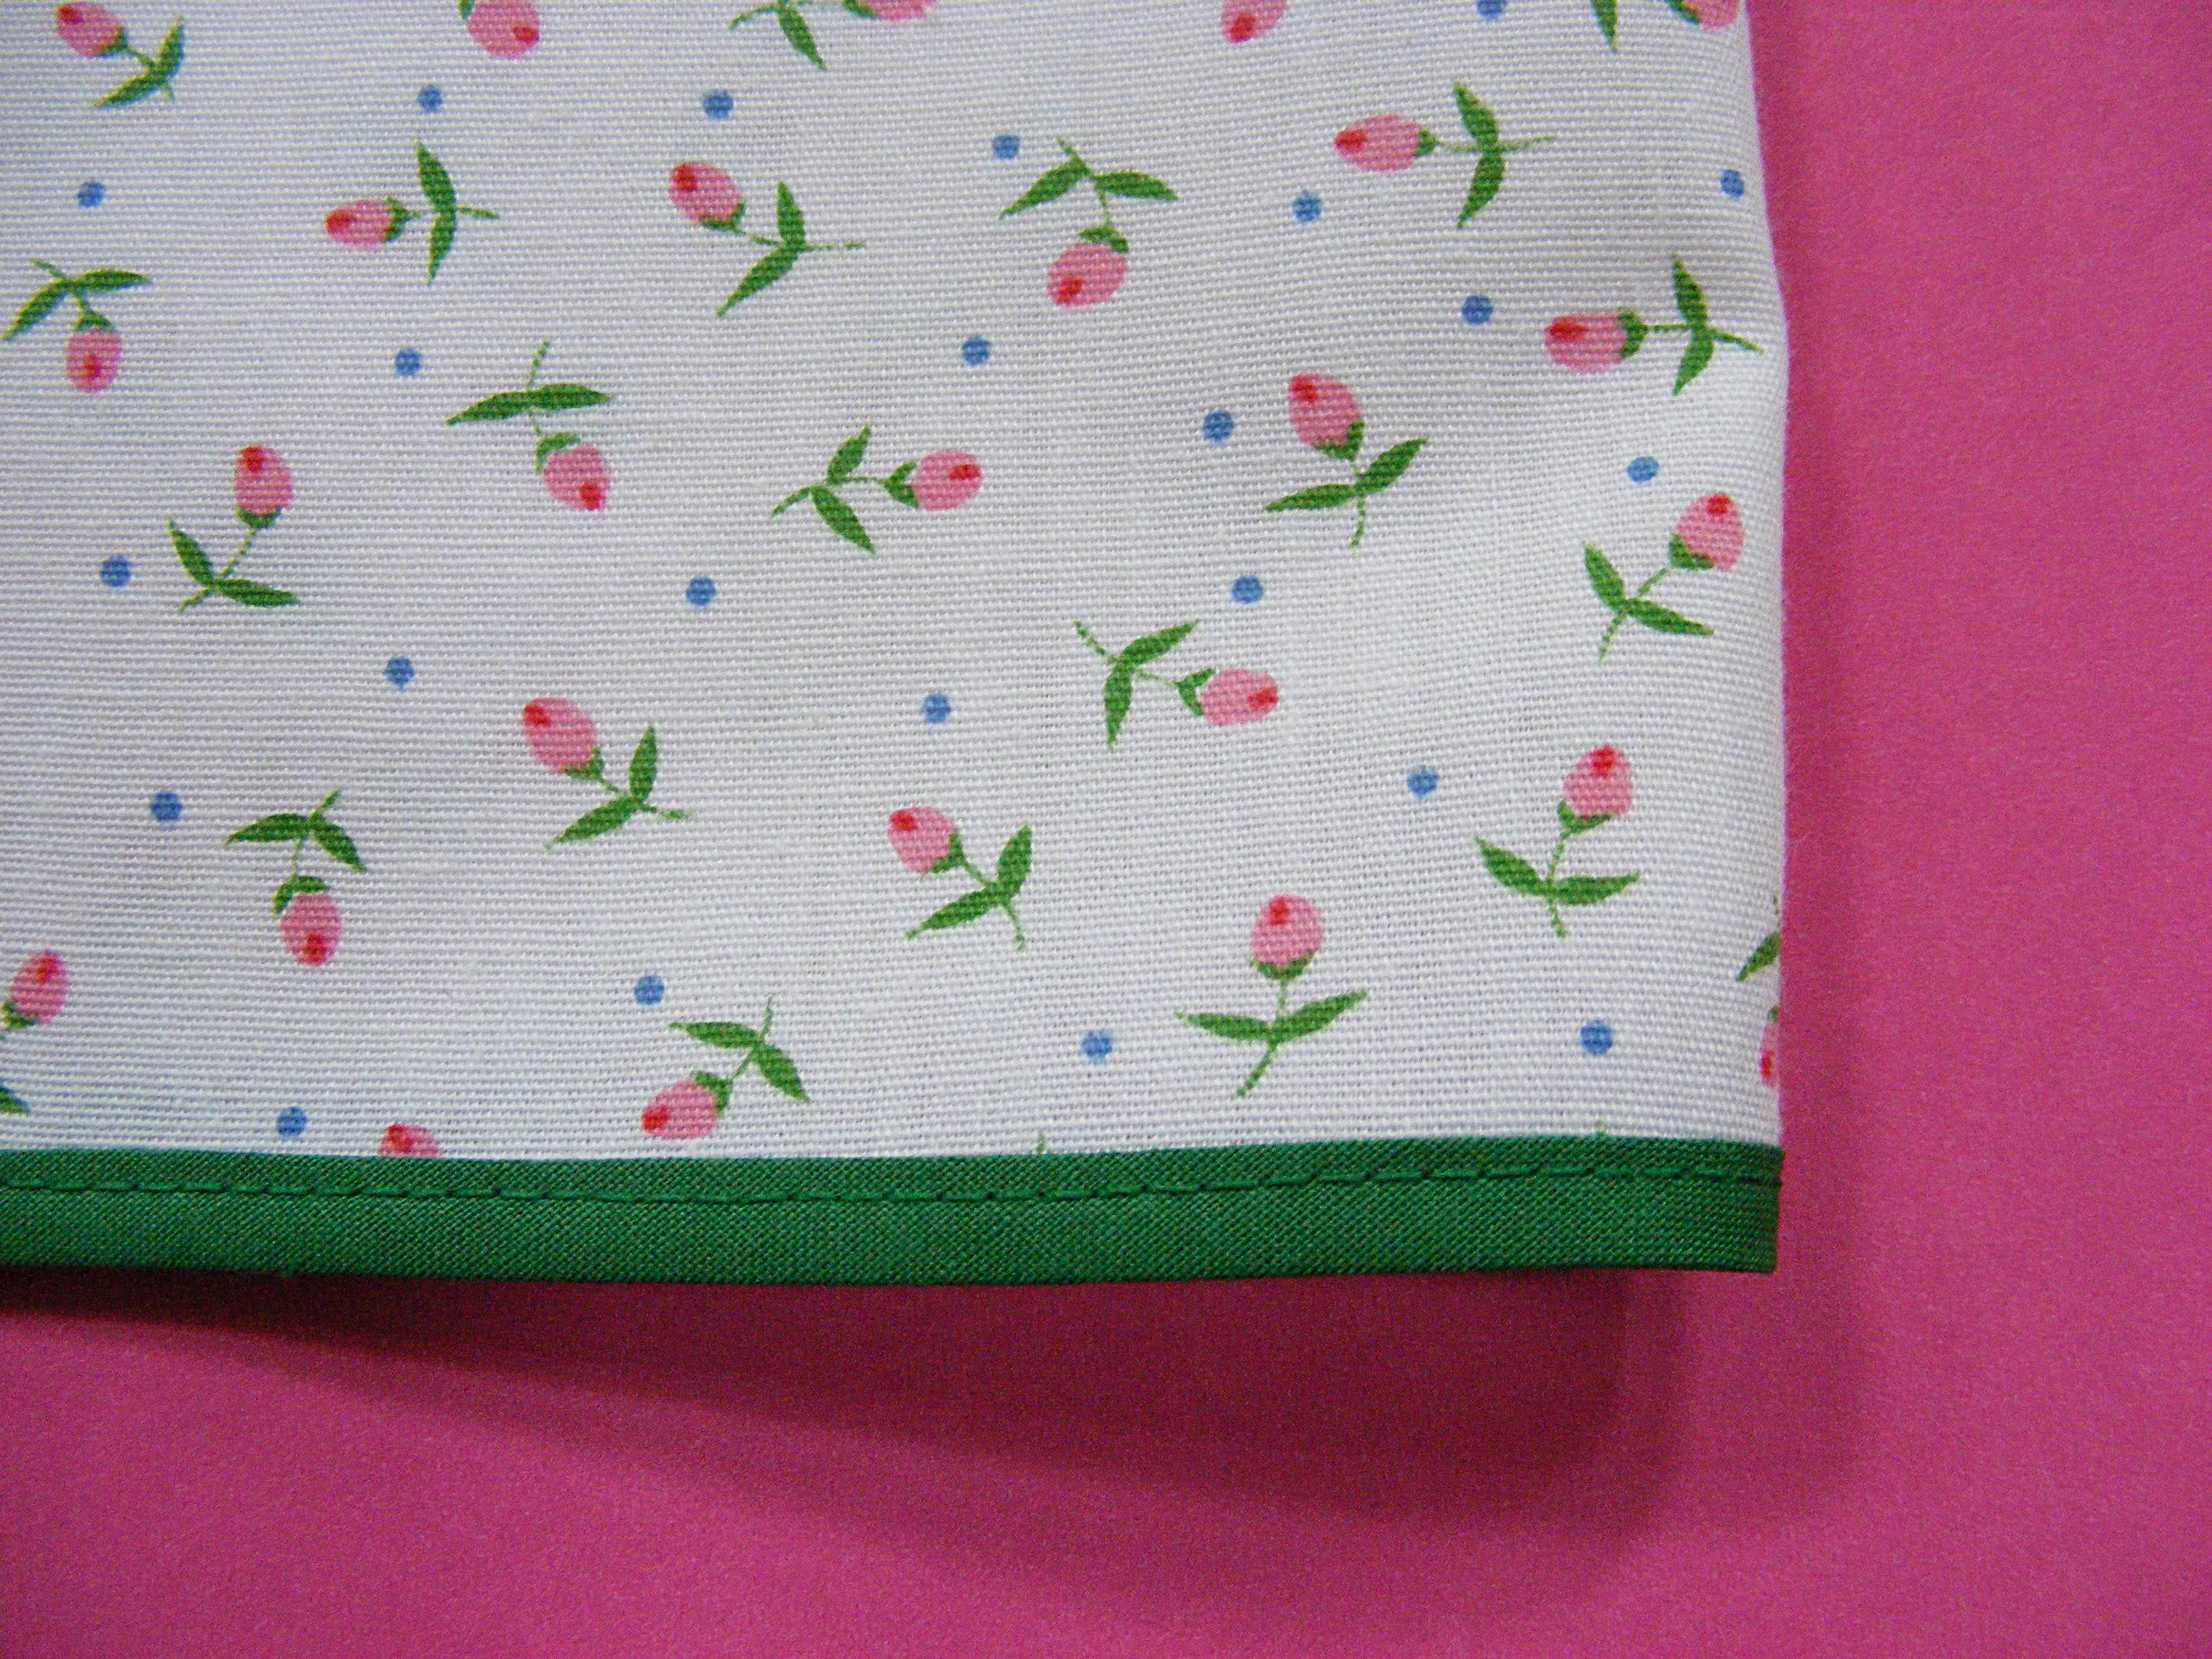
If you want to do a regular folded hem instead, you can see how in this video.
Step 6
Fold the top edge under 3/8 inch. Press. Fold again the width of the elastic plus 1/4 inch. Press. (I used 1 inch elastic on this skirt.)
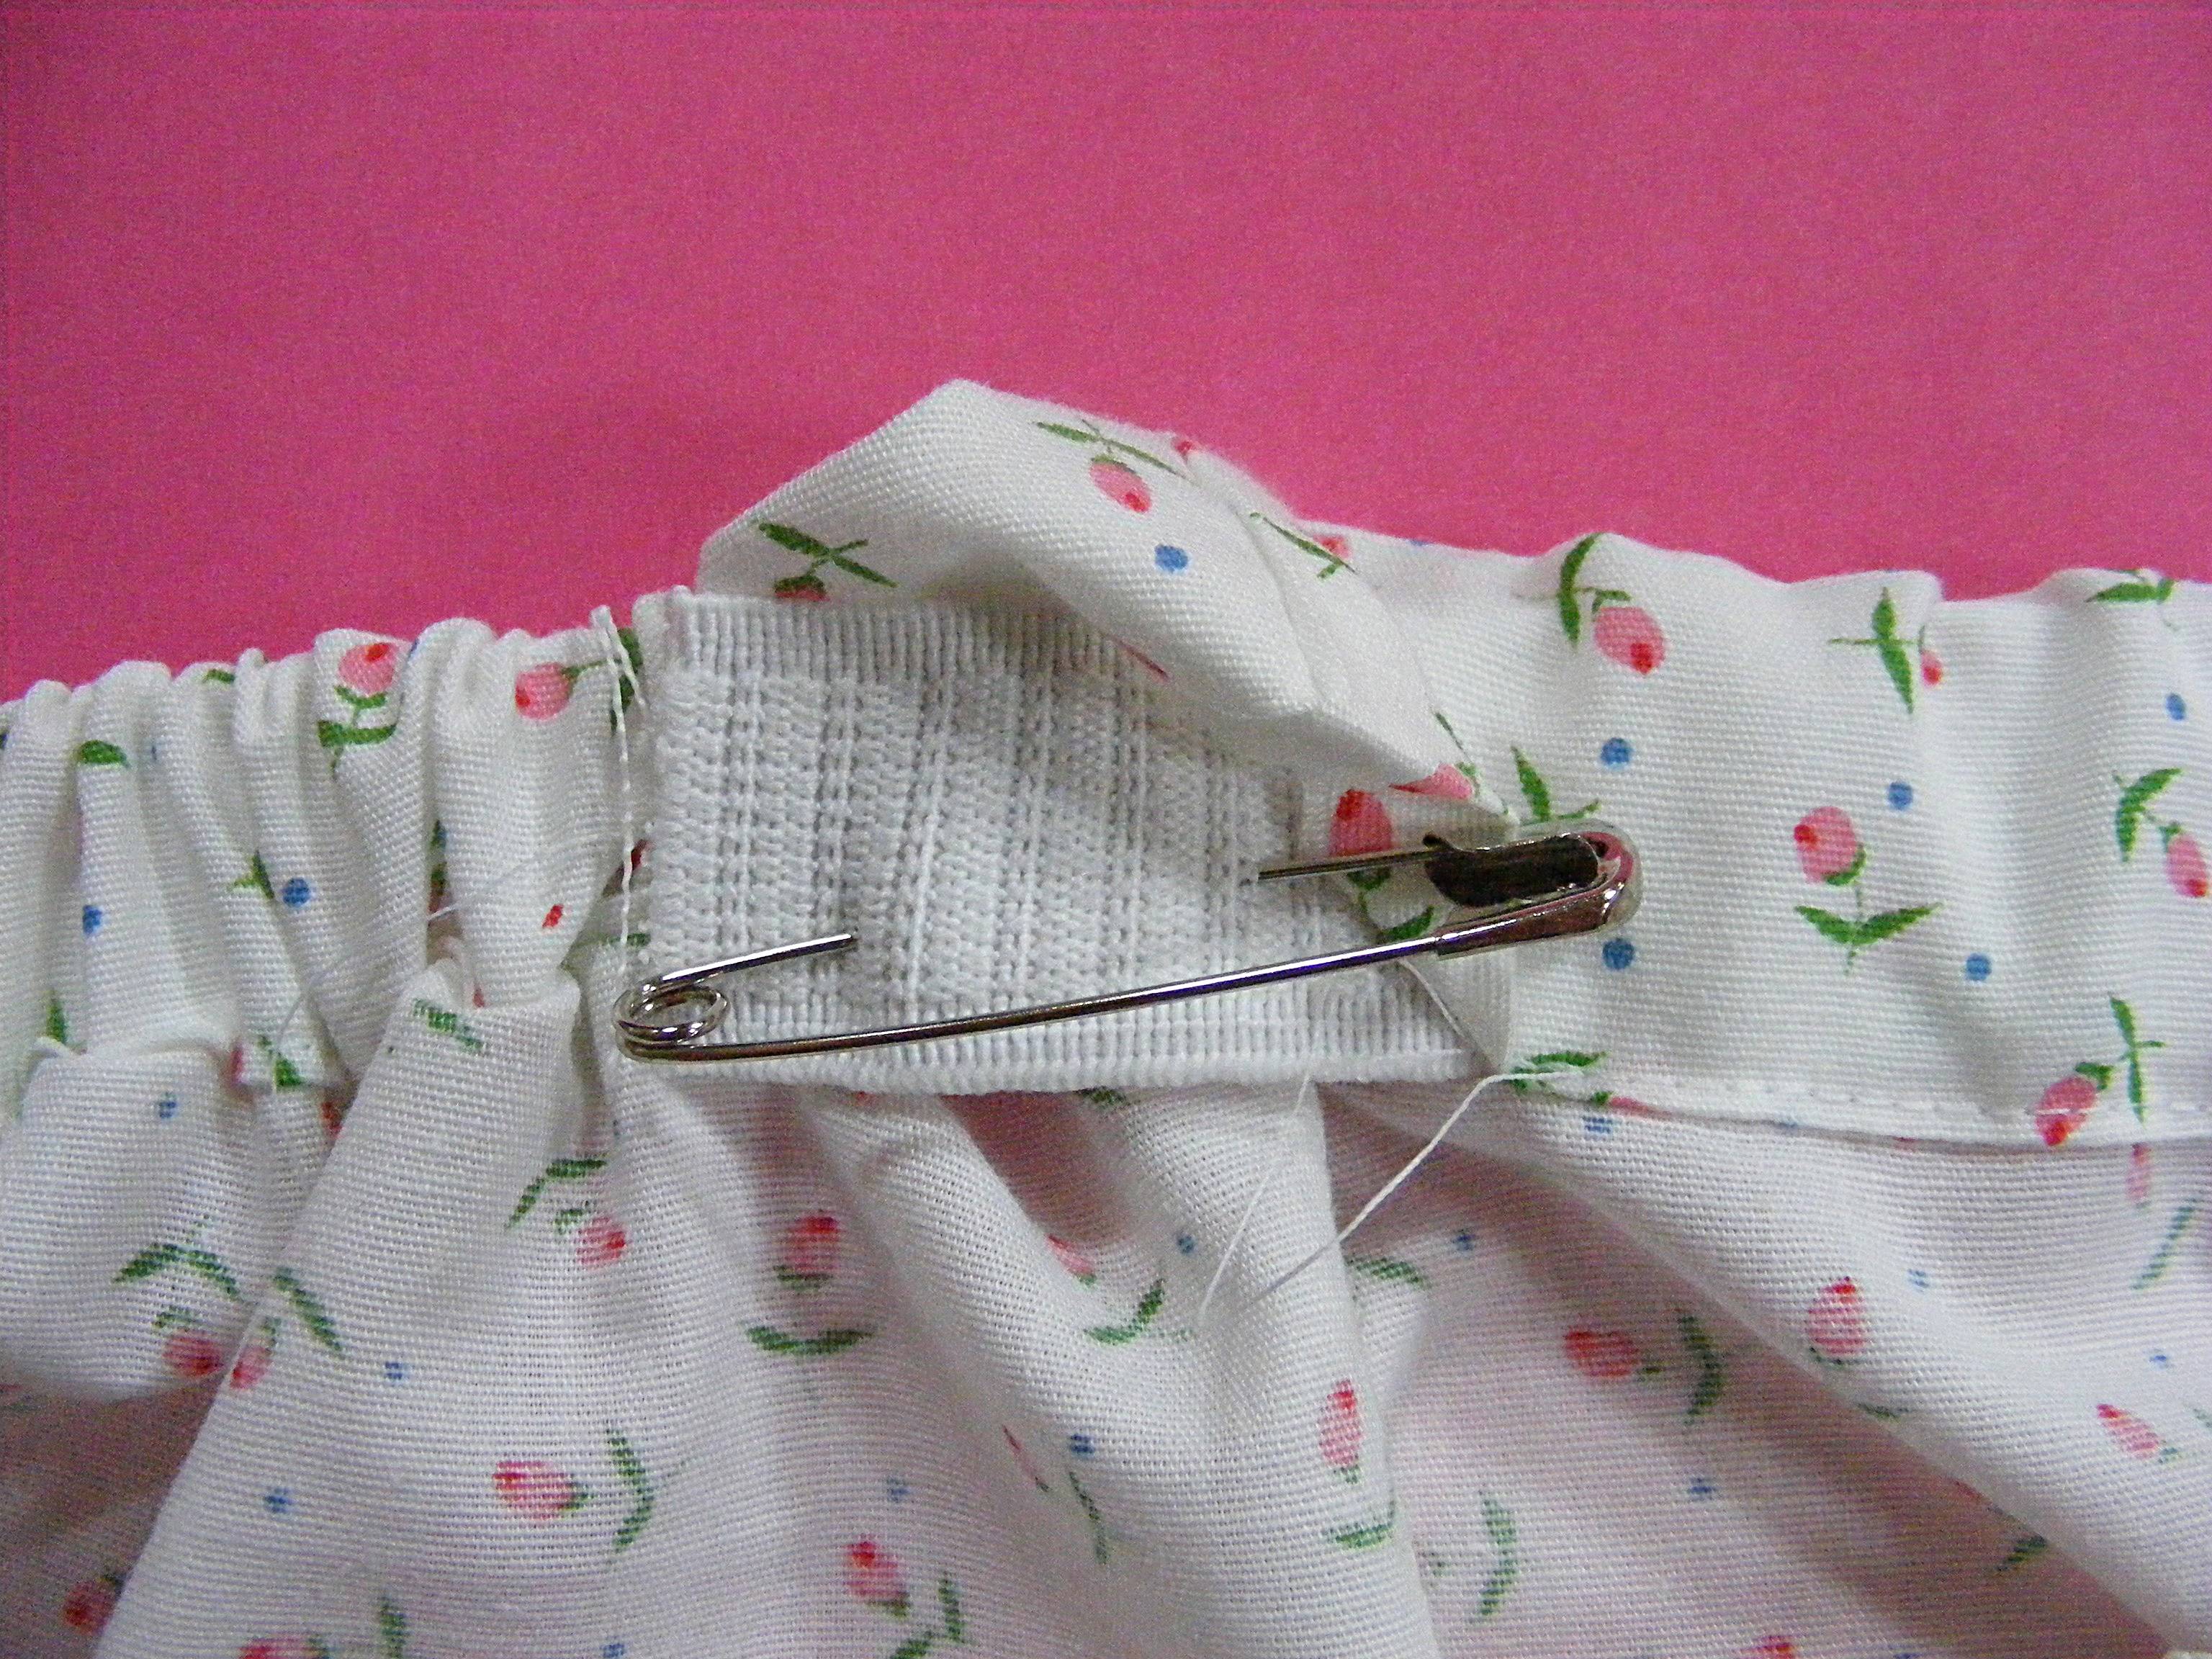
Stitch the casing as close to that folded edge as possible, leaving about 3 inches open for inserting the elastic. Thread in the elastic, pin the ends together and TRY IT ON.
If you want to see me do this step on this very skirt, watch this video.
Step 7
Once you know the fit is good, securely sew the ends of your elastic together. I sew a box around the edges of the overlapped bits, then sew an X across the box.

I’m showing you an example from another project because if I sewed this one in a thread dark enough to see, it would also show through the very thin white fabric of the skirt, and that would’t be pretty.
You can see all of this in the same video I mentioned in Step 6.
Step 8
Let the elastic pop back into the casing, fold the casing back in place, and stitch that opening closed. Throw on the skirt and go play on a tire swing.
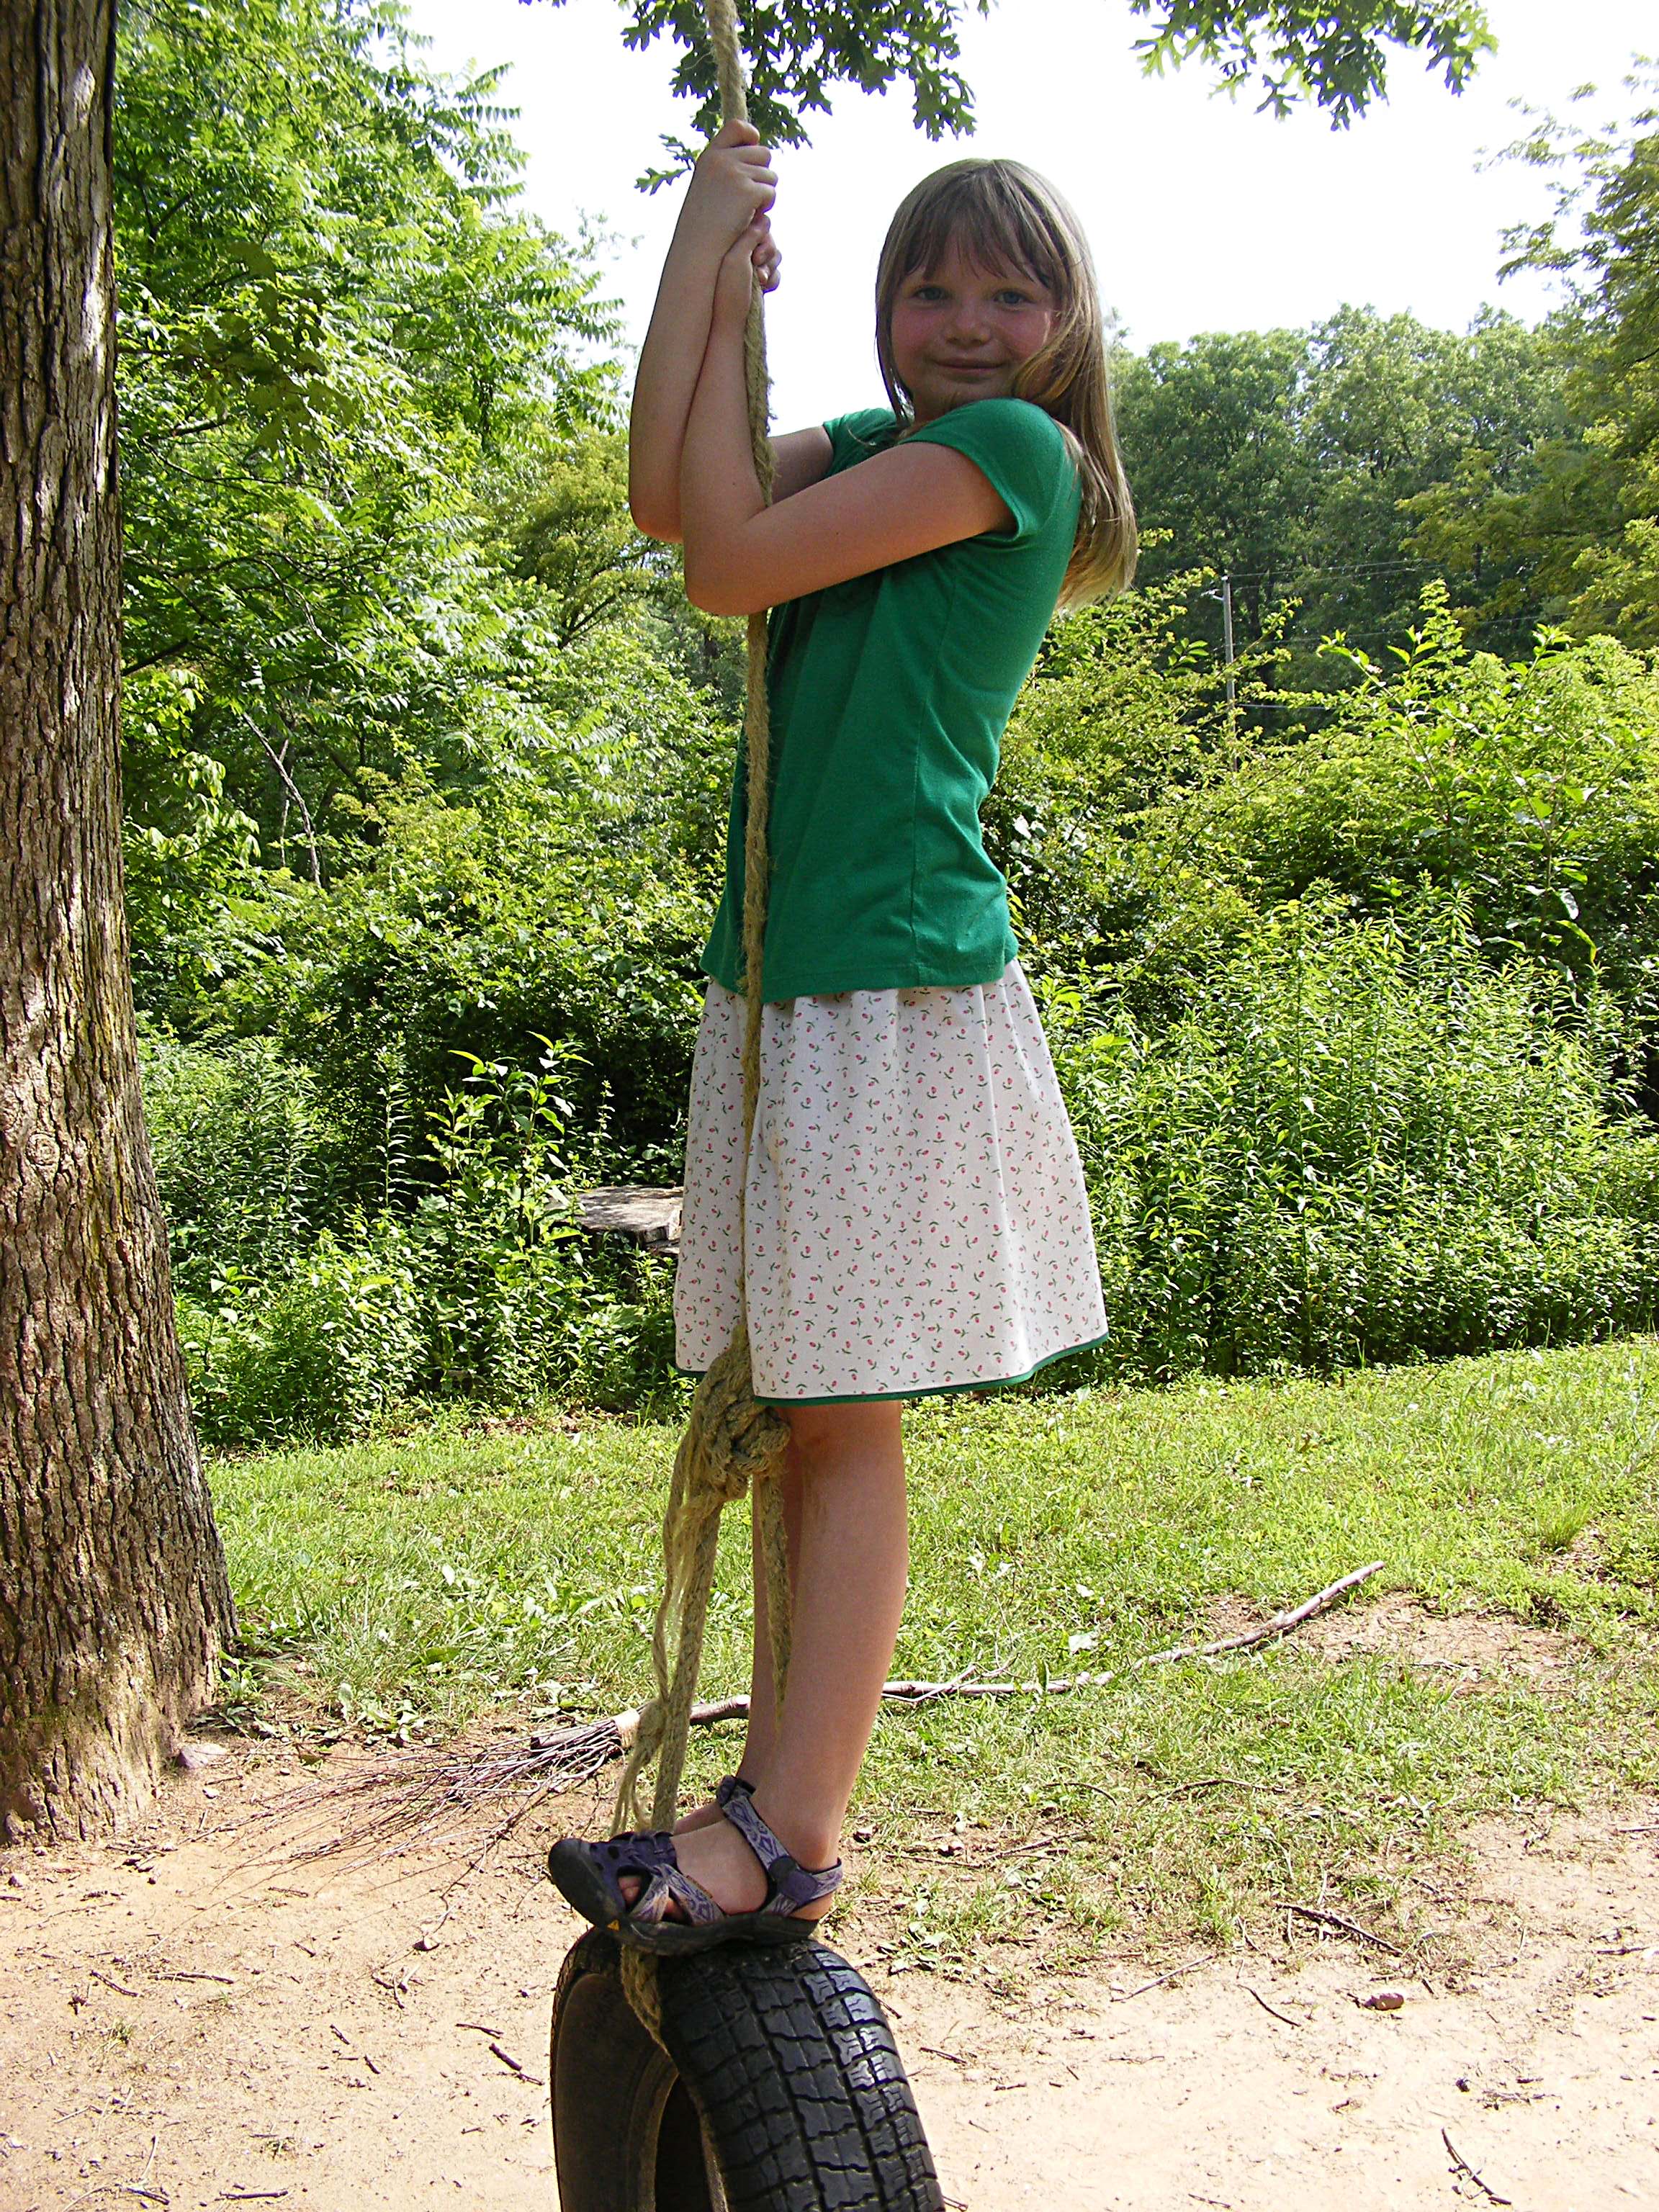
It really is that easy!
You can size this to fit anyone – though the shape isn’t terribly flattering on most adult women. Those of us with hips, anyway. 🙂
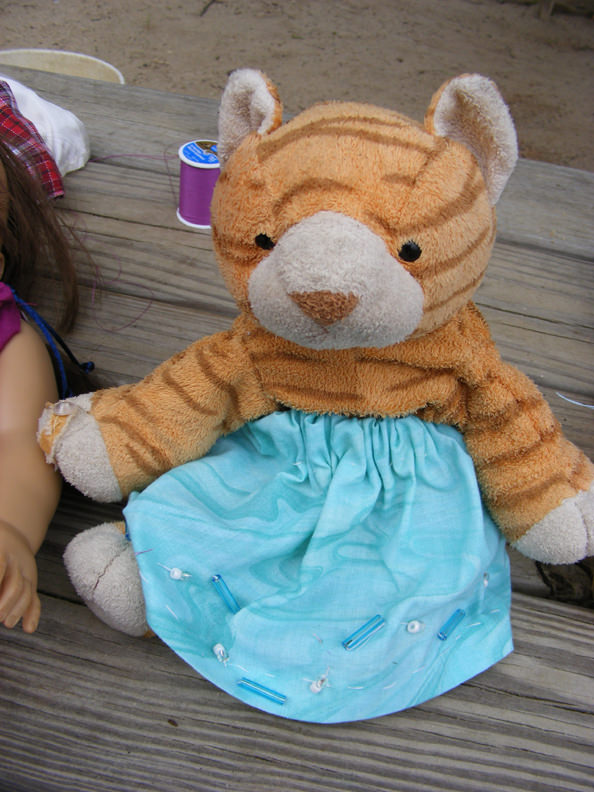
This is a great project for kids to make for themselves and also for their dolls and stuffed animals – easy to sew, easy on and off, and really inexpensive.
Want to see what some kids have made with this basic pattern?
This skirt got some fancy beading.
 And I love the tutu on this Ugly Doll – made with tulle and no hem needed.
And, of course, the gap-toothed kid holding it! 🙂
These were all from a Summer Camp I taught a couple of years ago.
Best,
Wendi
![]()
Thank you for the elastic lesson you told me things i really did not know and i’m an old sewer.
Your lesson on elastic help me alot .Thank you.
I’m glad it was helpful! 🙂
Thank you so much for your free basic sewing lessons. I am going to view some more of your tutorials and then tomorrow, I will try what I learned using the sewing machine.
I’m happy to help. 🙂
I can’t get any of your files to open. I download to adobe and when I try to open it tells me that it is not a valid PDF file. Can you tell me what I am doing wrong? Or can you help me in any way?
Thanks
That’s really weird. I wonder if you’re using a very old version of Adobe? If you go to the Adobe site online you can update it for free.
Thank you for this lovely pattern. Do you know if it’s possible to sew this skirt by hand? I haven’t got a sewing machine…
Absolutely! It’s very simple hand stitching – nothing tricky.
O.k….then I will give it a try 🙂
Have fun! 🙂
How do I get this pattern? Super cute!!
Everything you need is right in the post. 🙂