


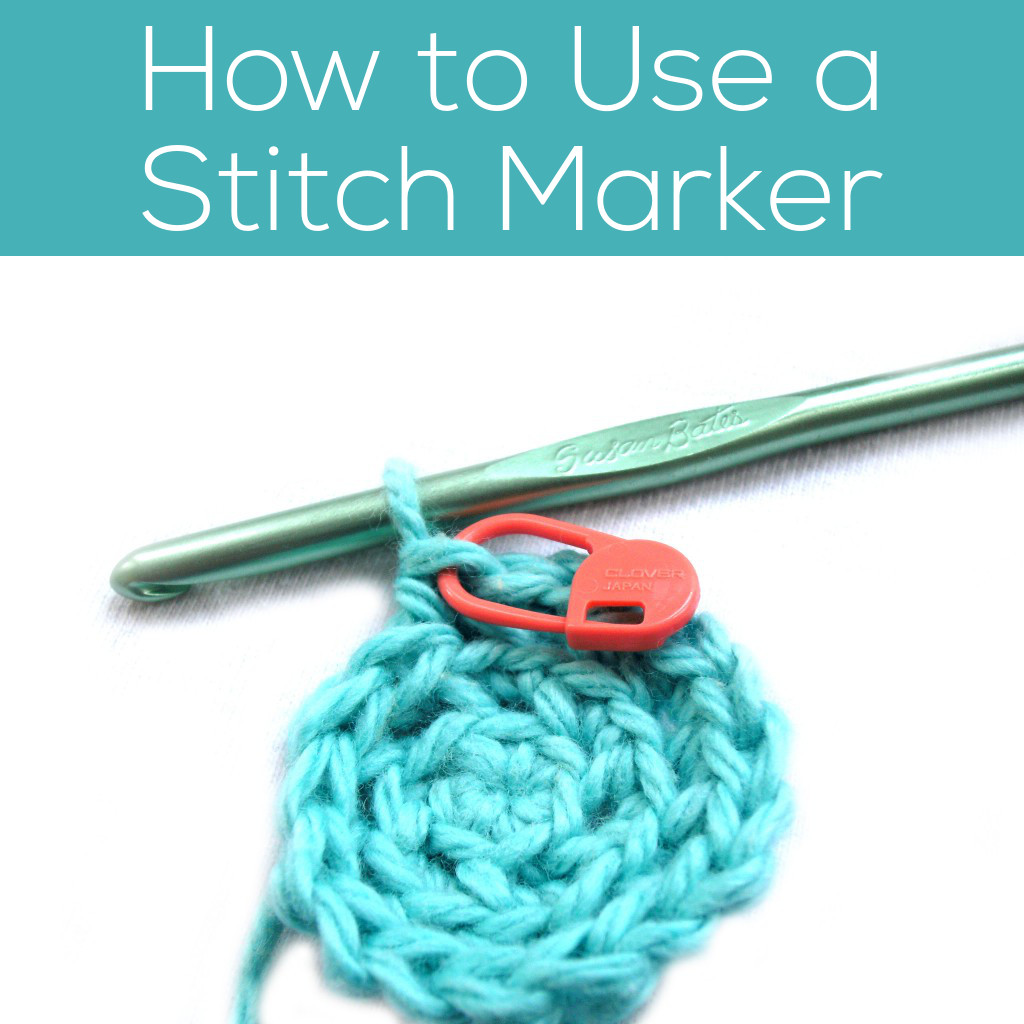
Besides your hook and yarn, a crochet stitch marker is your best buddy and most useful tool!
You want to look for a locking stitch marker, which is a lot like a fancy safety pin.
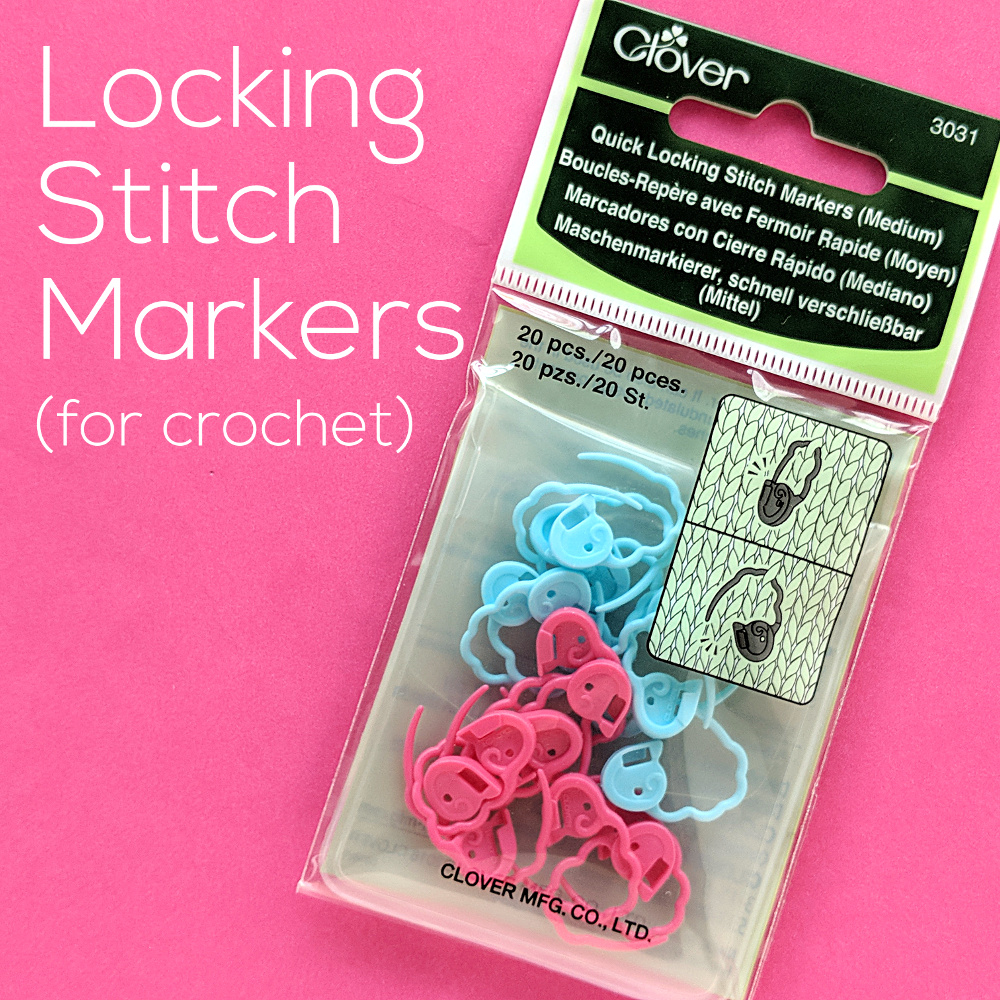
Locking stitch markers come in a few varieties, but the most important thing is that they open and close! Don’t get fooled into buying those ordinary ring markers that are for knitting needles. . . they don’t work for crochet.
Do you have your stitch markers ready? Let me get you and your new best friend acquainted!
Handy Use #1: Mark the End of the Round
The most common problem crocheters have when crocheting in the round is losing track of where the round starts and ends – which leads to an incorrect stitch count and mayhem! So, I’ll show you how to use a locking stitch marker to mark the end of a round.
I don’t tend to use a stitch marker for the first couple of rounds (because there are so few stitches per round), but I usually start at the end of the third round. Here I’m crocheting the snout of the cow, but many circles begin the same way.

Since I crochet through the back loop only the front loop is available to hold a locking stitch marker.

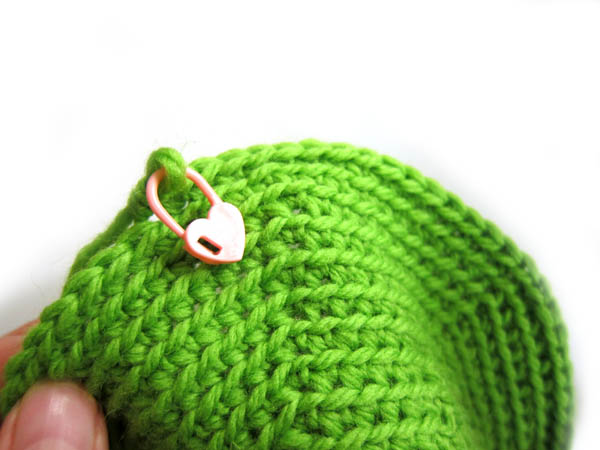
Slip the stitch marker into the front loop of the last stitch in the round, close it up, and keep crocheting!

I know I’m finished with my next round when I’m just above the stitch marker, like this:

Then I can move the marker and start my next round. No confusion!
Handy Use #2: Counting How Many Rounds You’ve Done
A lot of amigurumi are made by crocheting in the round. When teaching classes, I’ve noticed that counting rounds is something that gives a lot of crocheters trouble… I mean, who wants to count every stitch? I’ll show you how a crochet stitch marker can help you in counting rounds.

Let’s do a little example.
I’ve been following my pattern instructions for the first three rounds, and now my pattern says:
Rounds 4-6: sc in each st (18)
How can we do this without counting?
I take a crochet stitch marker (the orange thing in the photo above), and lock it onto the last stitch of the round. Then, I’m just going to keep crocheting around and around until I’m exactly 3 rounds above my marker!

Check out the photo above… and you’ll also see why I prefer crocheting through the back loops- each round leaves behind a little horizontal ridge that makes each round super-easy to count!
Handy Use #3: Position Your Pieces for Attaching
Attaching pieces can be a little tricky, too… but stitch markers can help! So, let’s look at some instructions that say, ‘attach legs to rounds 9-14’.
What you want to do is find out where round 9 is, and place a locking stitch marker there. Start counting (see the ridges?) from the center:

Count until you’re at round 9, and place a marker. Place another at round 14. Now you know where your leg should be located on the body!

Handy Use #4: Use Crochet Stitch Markers to Hold Pieces While Seaming
So now you’ve marked where your pieces should go… but locking stitch markers have one more great use. I use crochet stitch markers to hold my pieces in place while I’m sewing pieces together. It’s like having a few extra hands!

They’re big enough to go through a couple layers of crochet fabric, and by placing a couple around the piece that you’re attaching it’ll be held in place – making your sewing even easier. Yay!
I’ve been showing you lots of examples of circles… but this exact same trick can be used when assembling a sweater or afghan blocks! It keeps everything nice and even!
Handy Use #5: Keep Your Work from Unraveling When You Travel
Throw your crochet into your bag, and you’re just one snag away from all of your work coming undone. Eep!
But not with a stitch marker!
Put your locking stitch marker through the loop when you’re done… and it can’t unravel even one stitch! Fabulous!
Caring for Your Crochet Stitch Markers
I bet you didn’t think these handy tools needed any special care, but there’s one little trick that will make them even easier to use.
Store them open!
That’s it! That’s the key to a healthy and long-lasting locking stitch marker.
Why? If you store your marker closed, the plastic slowly bends until the ‘open position’ isn’t very open anymore.
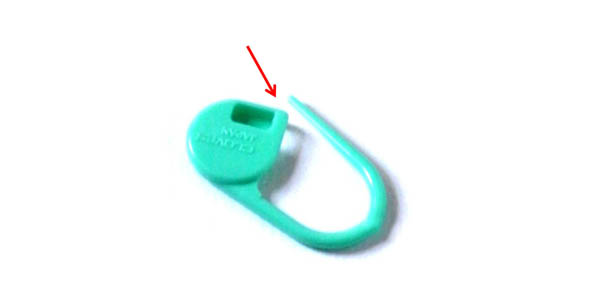
It’s not a huge deal, but it makes the marker just a little bit harder to slip onto your crochet piece. Store them open and there’s no problem!
There you go – lots of handy ways to use your crochet stitch markers to make your projects just a little easier and more fun.

Here are handy links to all the posts about crochet tools and supplies.
- Crochet Tools – Everything You Need
- My Favorite Supplies and Where to Get Them
- Crochet Hook Size Conversion Chart
- Which Crochet Hook Is Right for You?
- How to Use a Stitch Marker
Return to the main table of contents for Let’s Learn to Crochet Amigurumi.
Move on to the posts about yarn.
Happy stitching!

I use yarn as well as these stitch markers…I also found using the smaller ones to mark placement and rows and the larger ones to secure pieces together work better for me. I also mark placement of pieces as I crochet instead of after
Great post, great explanations! I made a sweater for the first time and struggled with the seams. I never thought to use the stitch markers to hold together. Thank you for these suggestions and post!!
THANK YOU!…..have always just used a piece of yarn as a marker and was never really sure where to put it.
Hi,
I love stitch markers. I was using a home-grown-version before I even knew they existed: some brightly-colored vinyl-coated paper clips! Then I found these:
https://smile.amazon.com/Clover-347-Split-Ring-Markers/dp/B000YQGLOY/
Easier to use one-handed and they won’t come un-clipped, which I have had happen on rare occasions with the locking type. Funny, the FIRST thing I used paper clips, ahem, stitch markers for was to hold the loop to keep my work from unravelling.
I didn’t understand the use of stitch narkers till now. I have a few but not the plastic safety pin type which I have been wanting to get.
Your ideas on how to use them is great and instructions concise. I will definitely keep this post to refer back to.
Thank you for sharing it🙂
That was amazing, thank you so much for all the wonderful helpful tips. Very well said and easy to understand.
This was a great explanation– thanks! I’m new to crochet and I was trying to use a safety pin while making your blue bird amigurumi but it would catch on the yarn. Very annoying! I need to get some of these smooth stitch markers.
I love your explanation of the benefits of crocheting in the back loop. I’ve always put my crochet hook under both loops. I still think this is the way most crocheters do it, and how I see it in tutorials I watch. But I like your idea better! Thanks!