


I’m pretty particular about curtains. I hate the ones that actually block light. 🙂 I’ve made lined curtains once – for Jo’s nursery when she was a baby. They were total blackout curtains and they were totally unnecessary. I love natural light and the only reason I have curtains is to block glare. So I like curtains that are light colored, not too heavy, and that open and close really easily. I do not like curtains that have the rod threaded through a pocket at the top. They are difficult to slide open and closed – and they never seem to open all the way. I love rings like this.
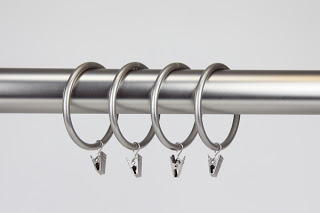
They slide really easily over the curtain rod. And because they clip on – really all you have to do is make a large rectangle. Easy peasy.
First – you need to measure the inside dimensions of your window and figure out how wide you want the contrasting band at the bottom. Mine is 5 inches, but you might need to adjust that to be proportional to your window.
Now calculate the size of your pieces.
For the main part of the curtain, make it roughly 1 1/2 times the width of the window. My window is 3 feet across and my fabric was 45 inches – close enough!
Calculate the length of the main piece. It should be the inside height of the window – 5 inches (for the lower band) + 1/2 inch for the seam allowance where the main part joins the bottom band + 1 inch for the top hem.
For the bottom band, it should be the same width as the main piece. The height should be twice the height of the finished band + 1 inch for the seam allowance where it joins the main piece.
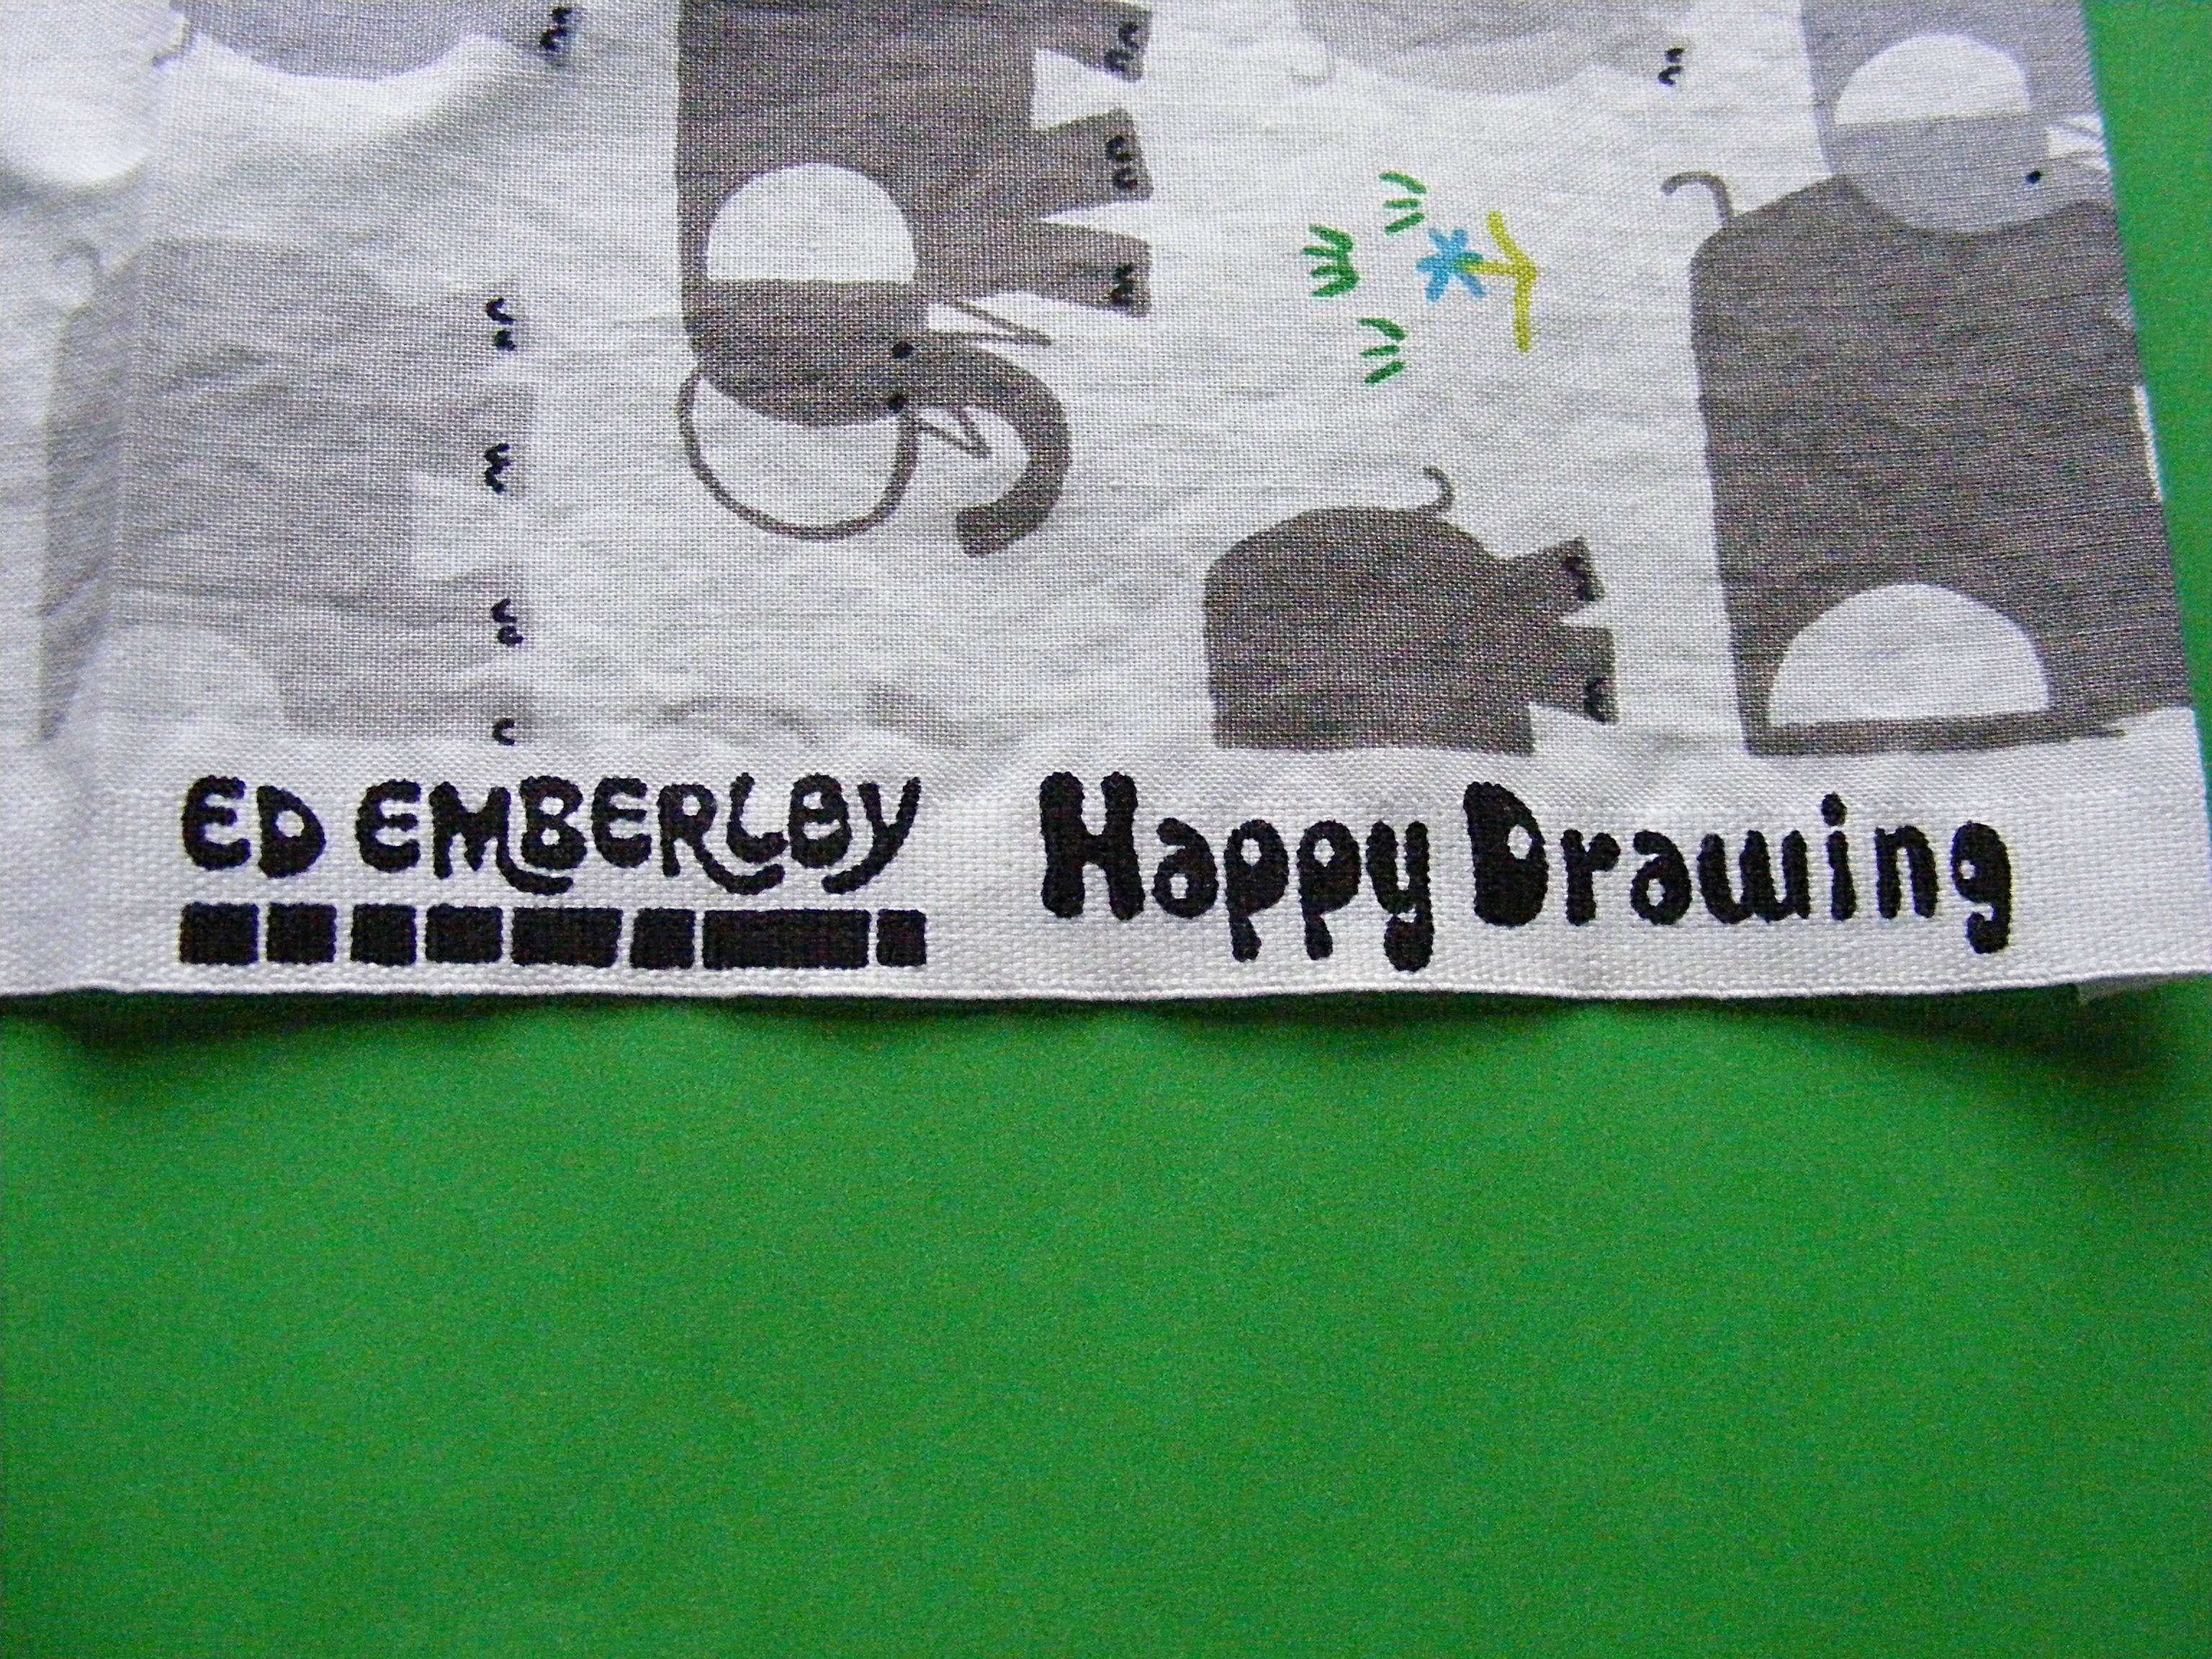
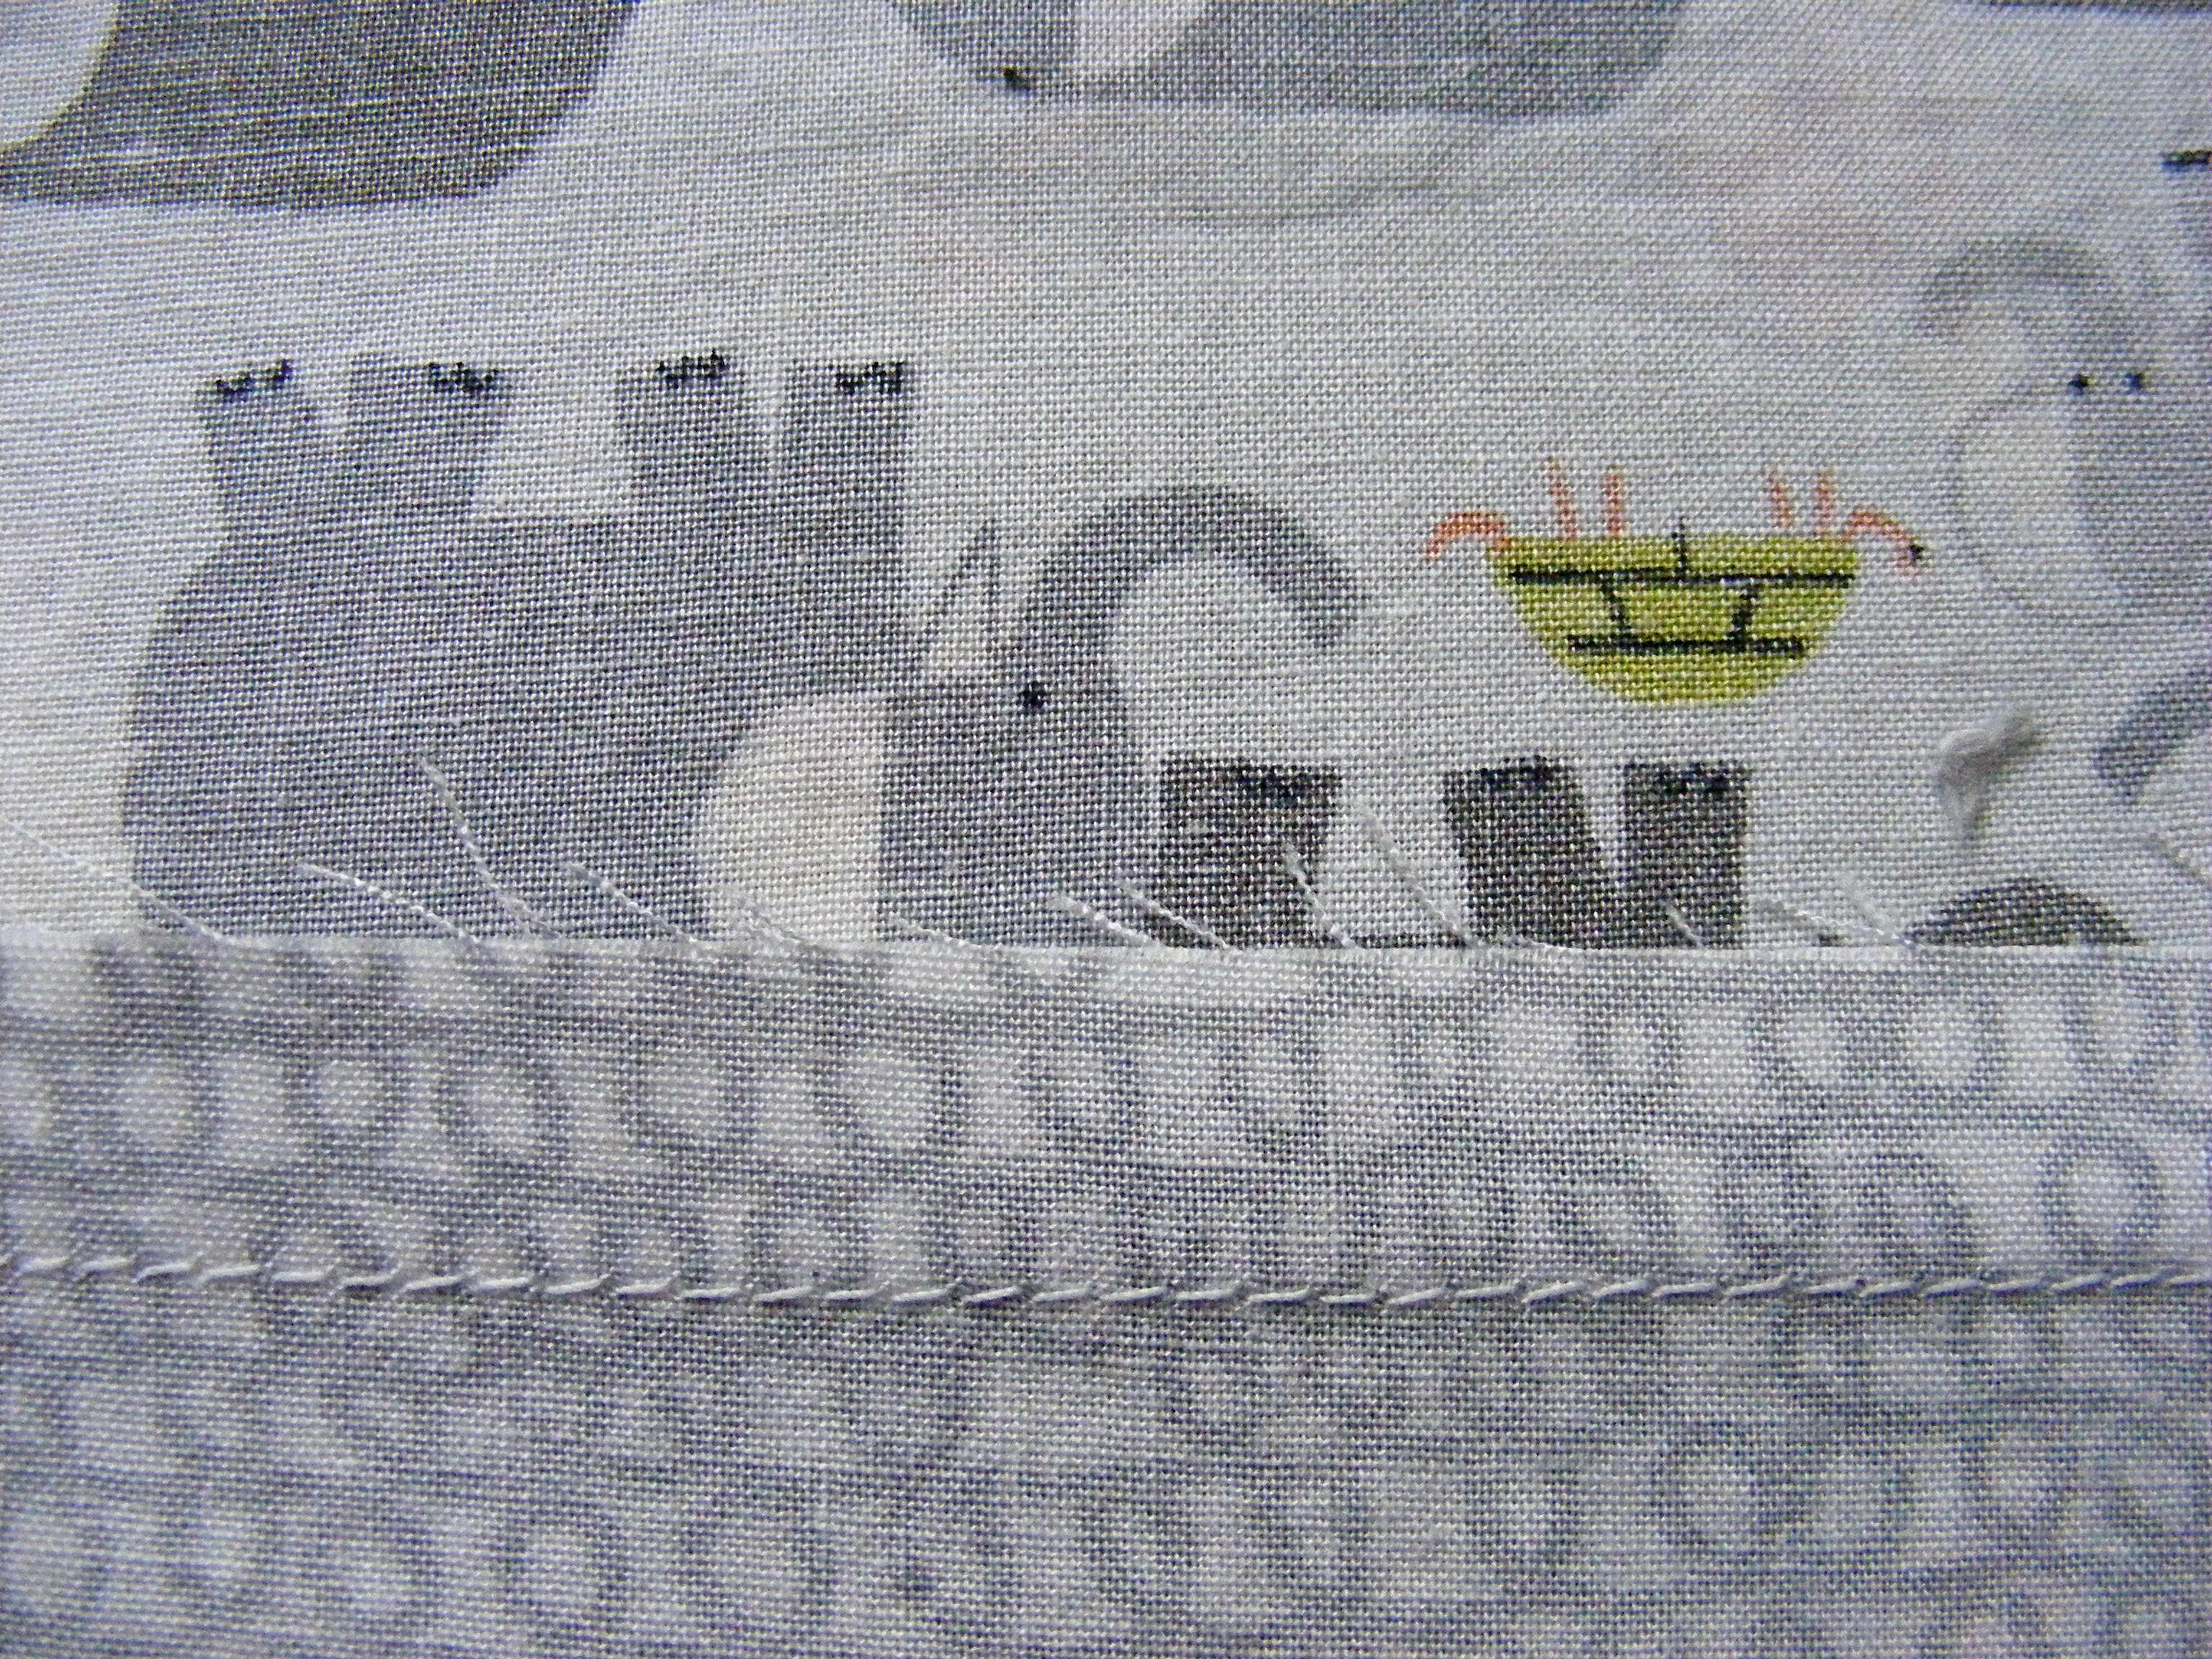
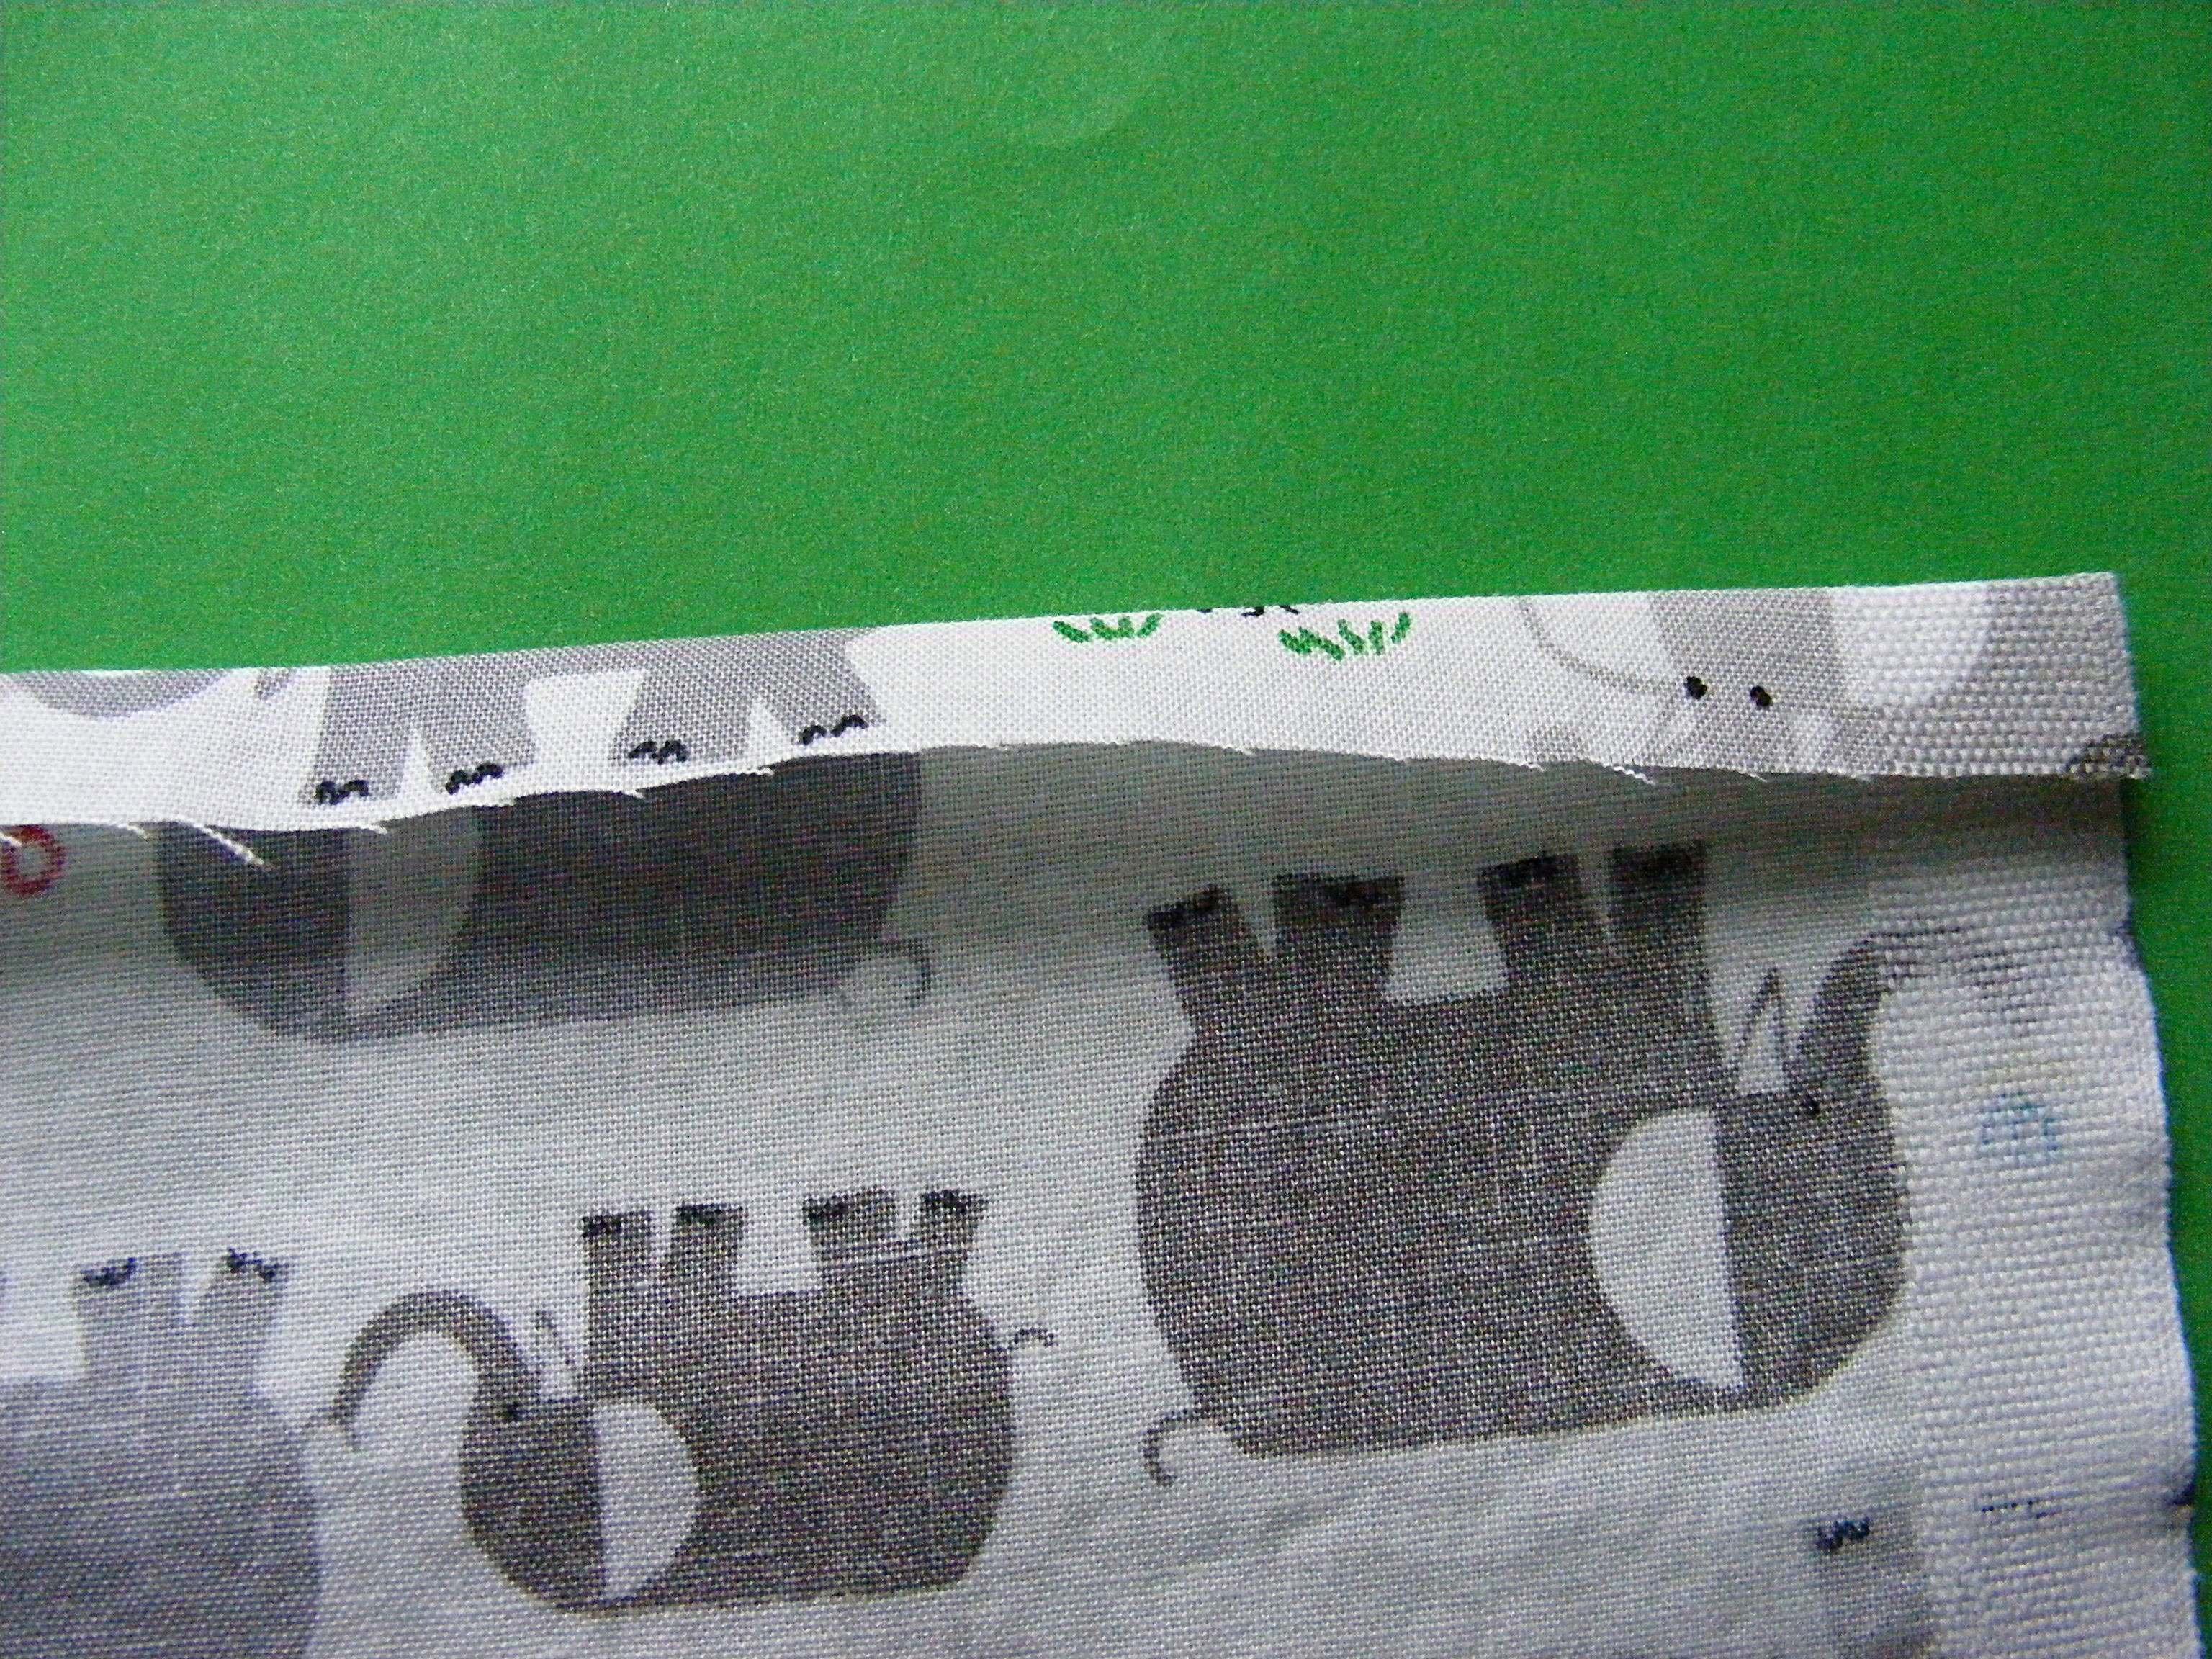
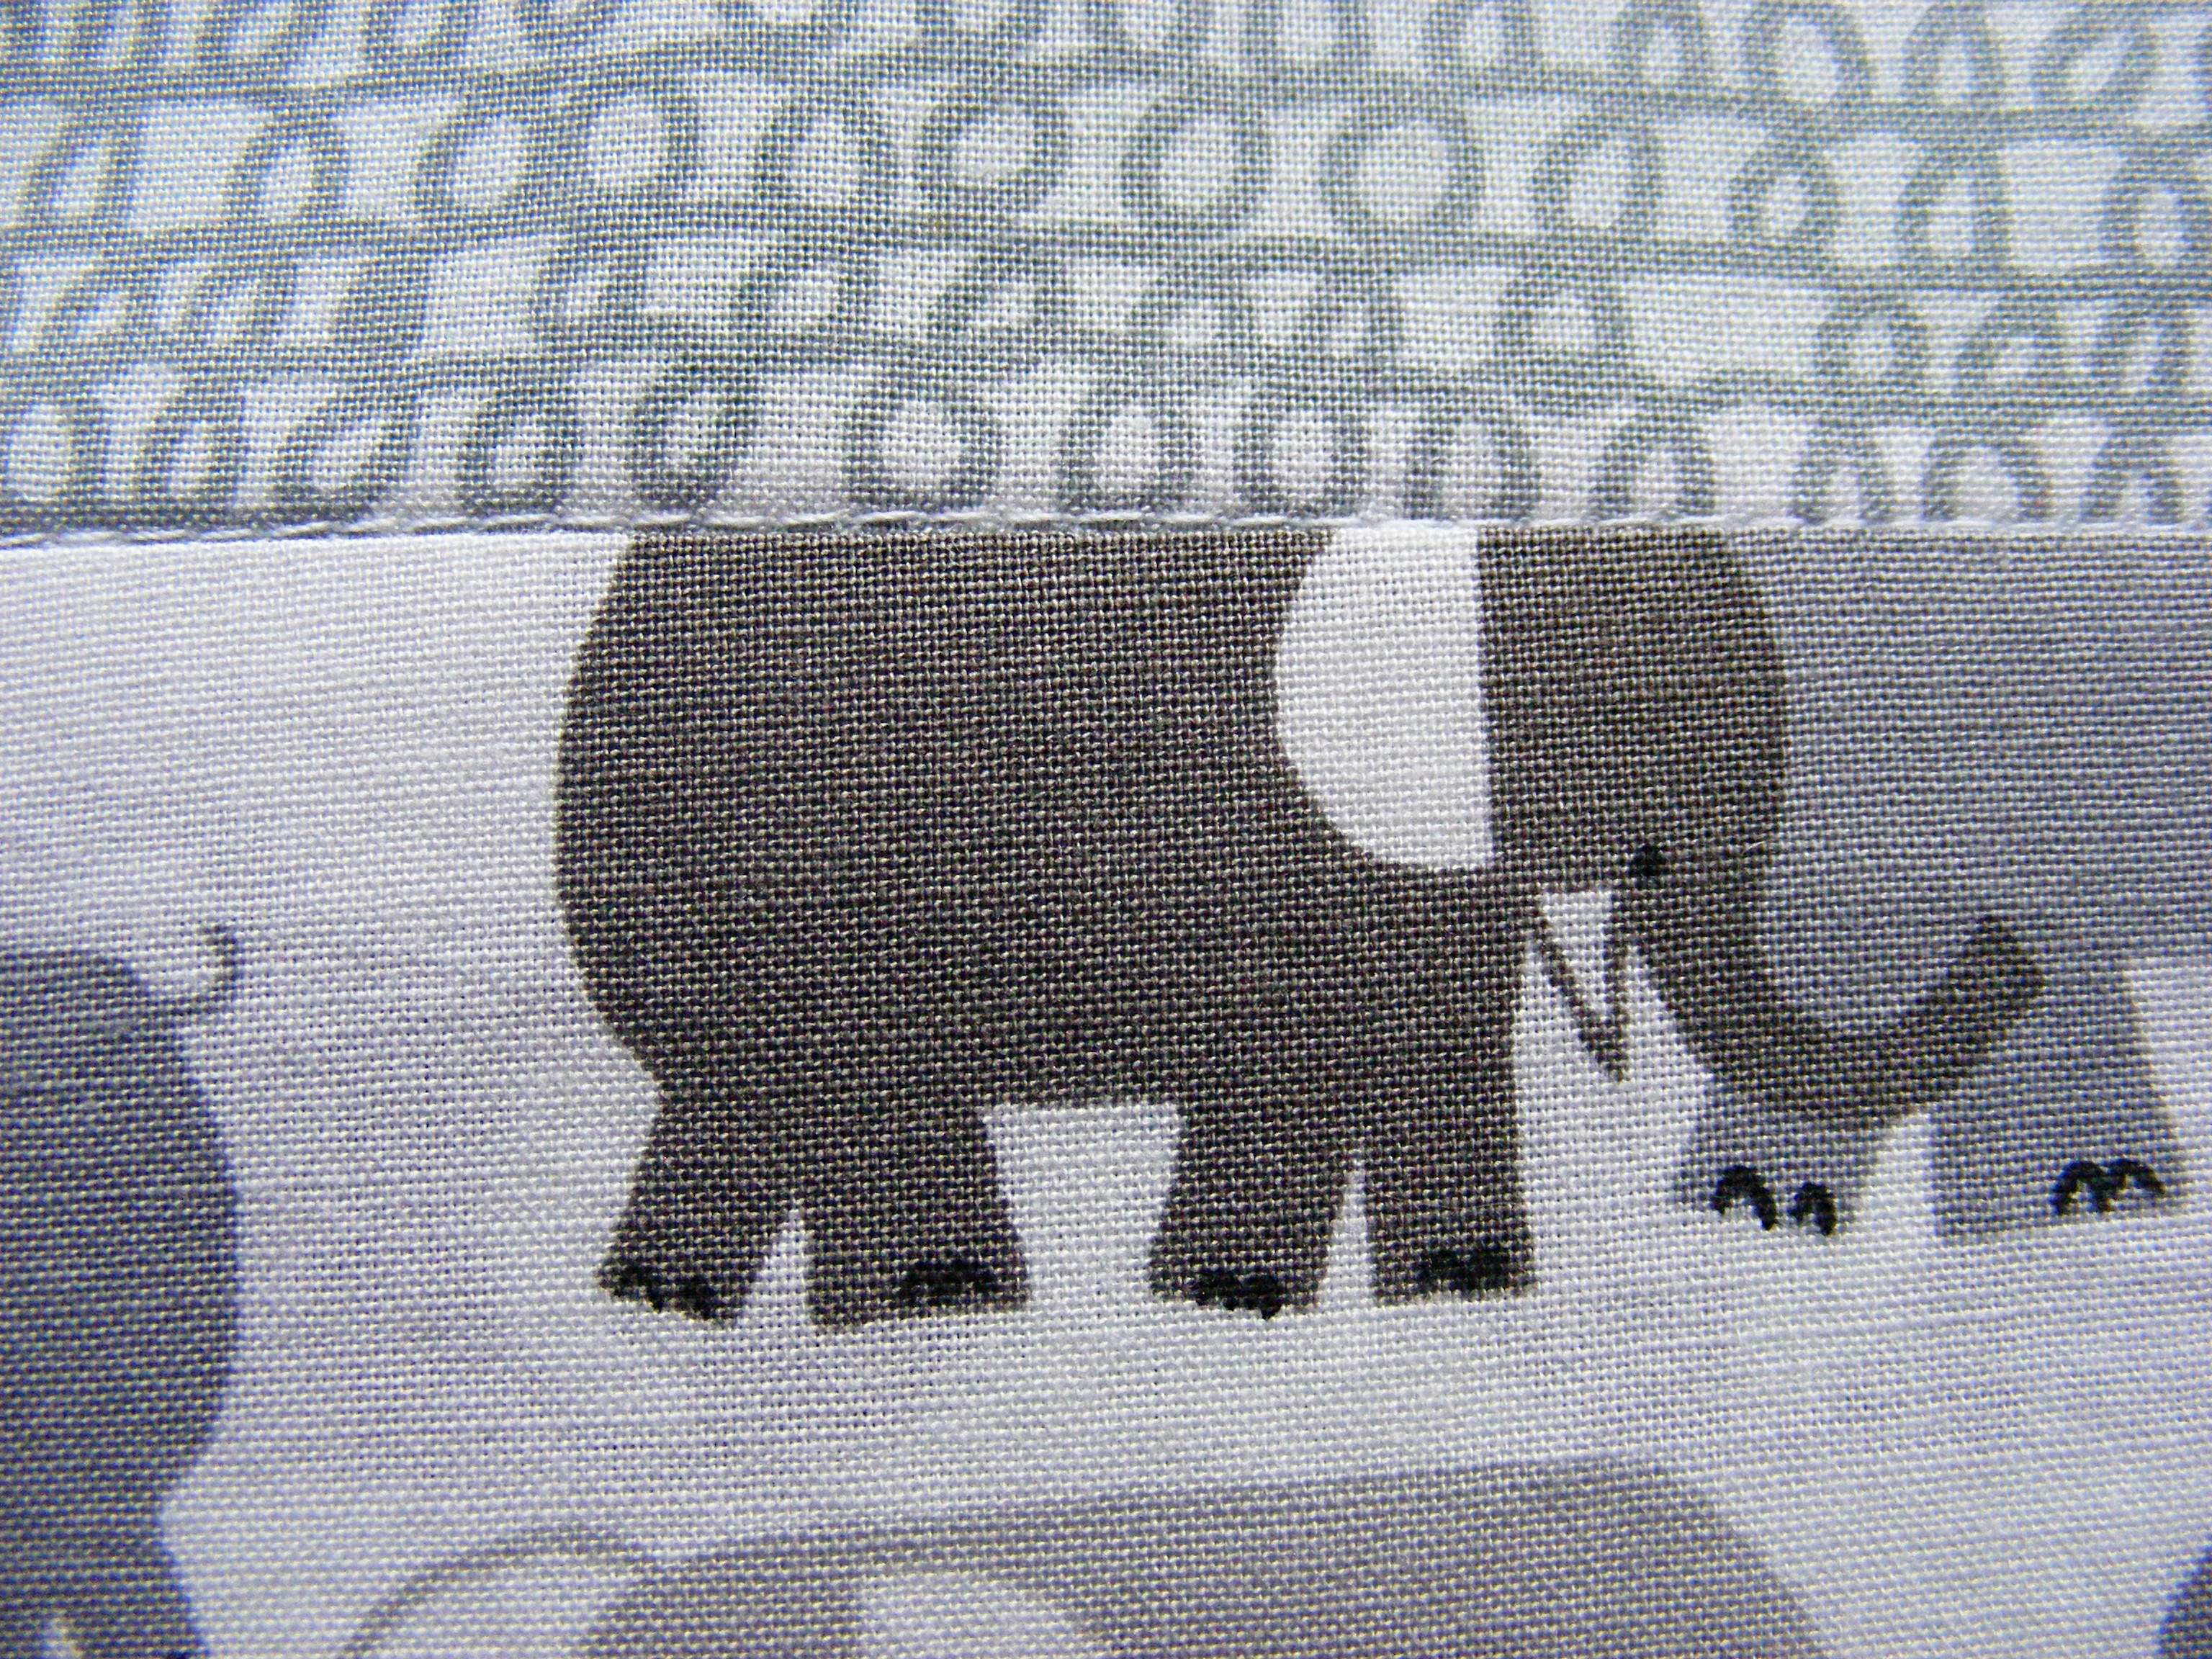
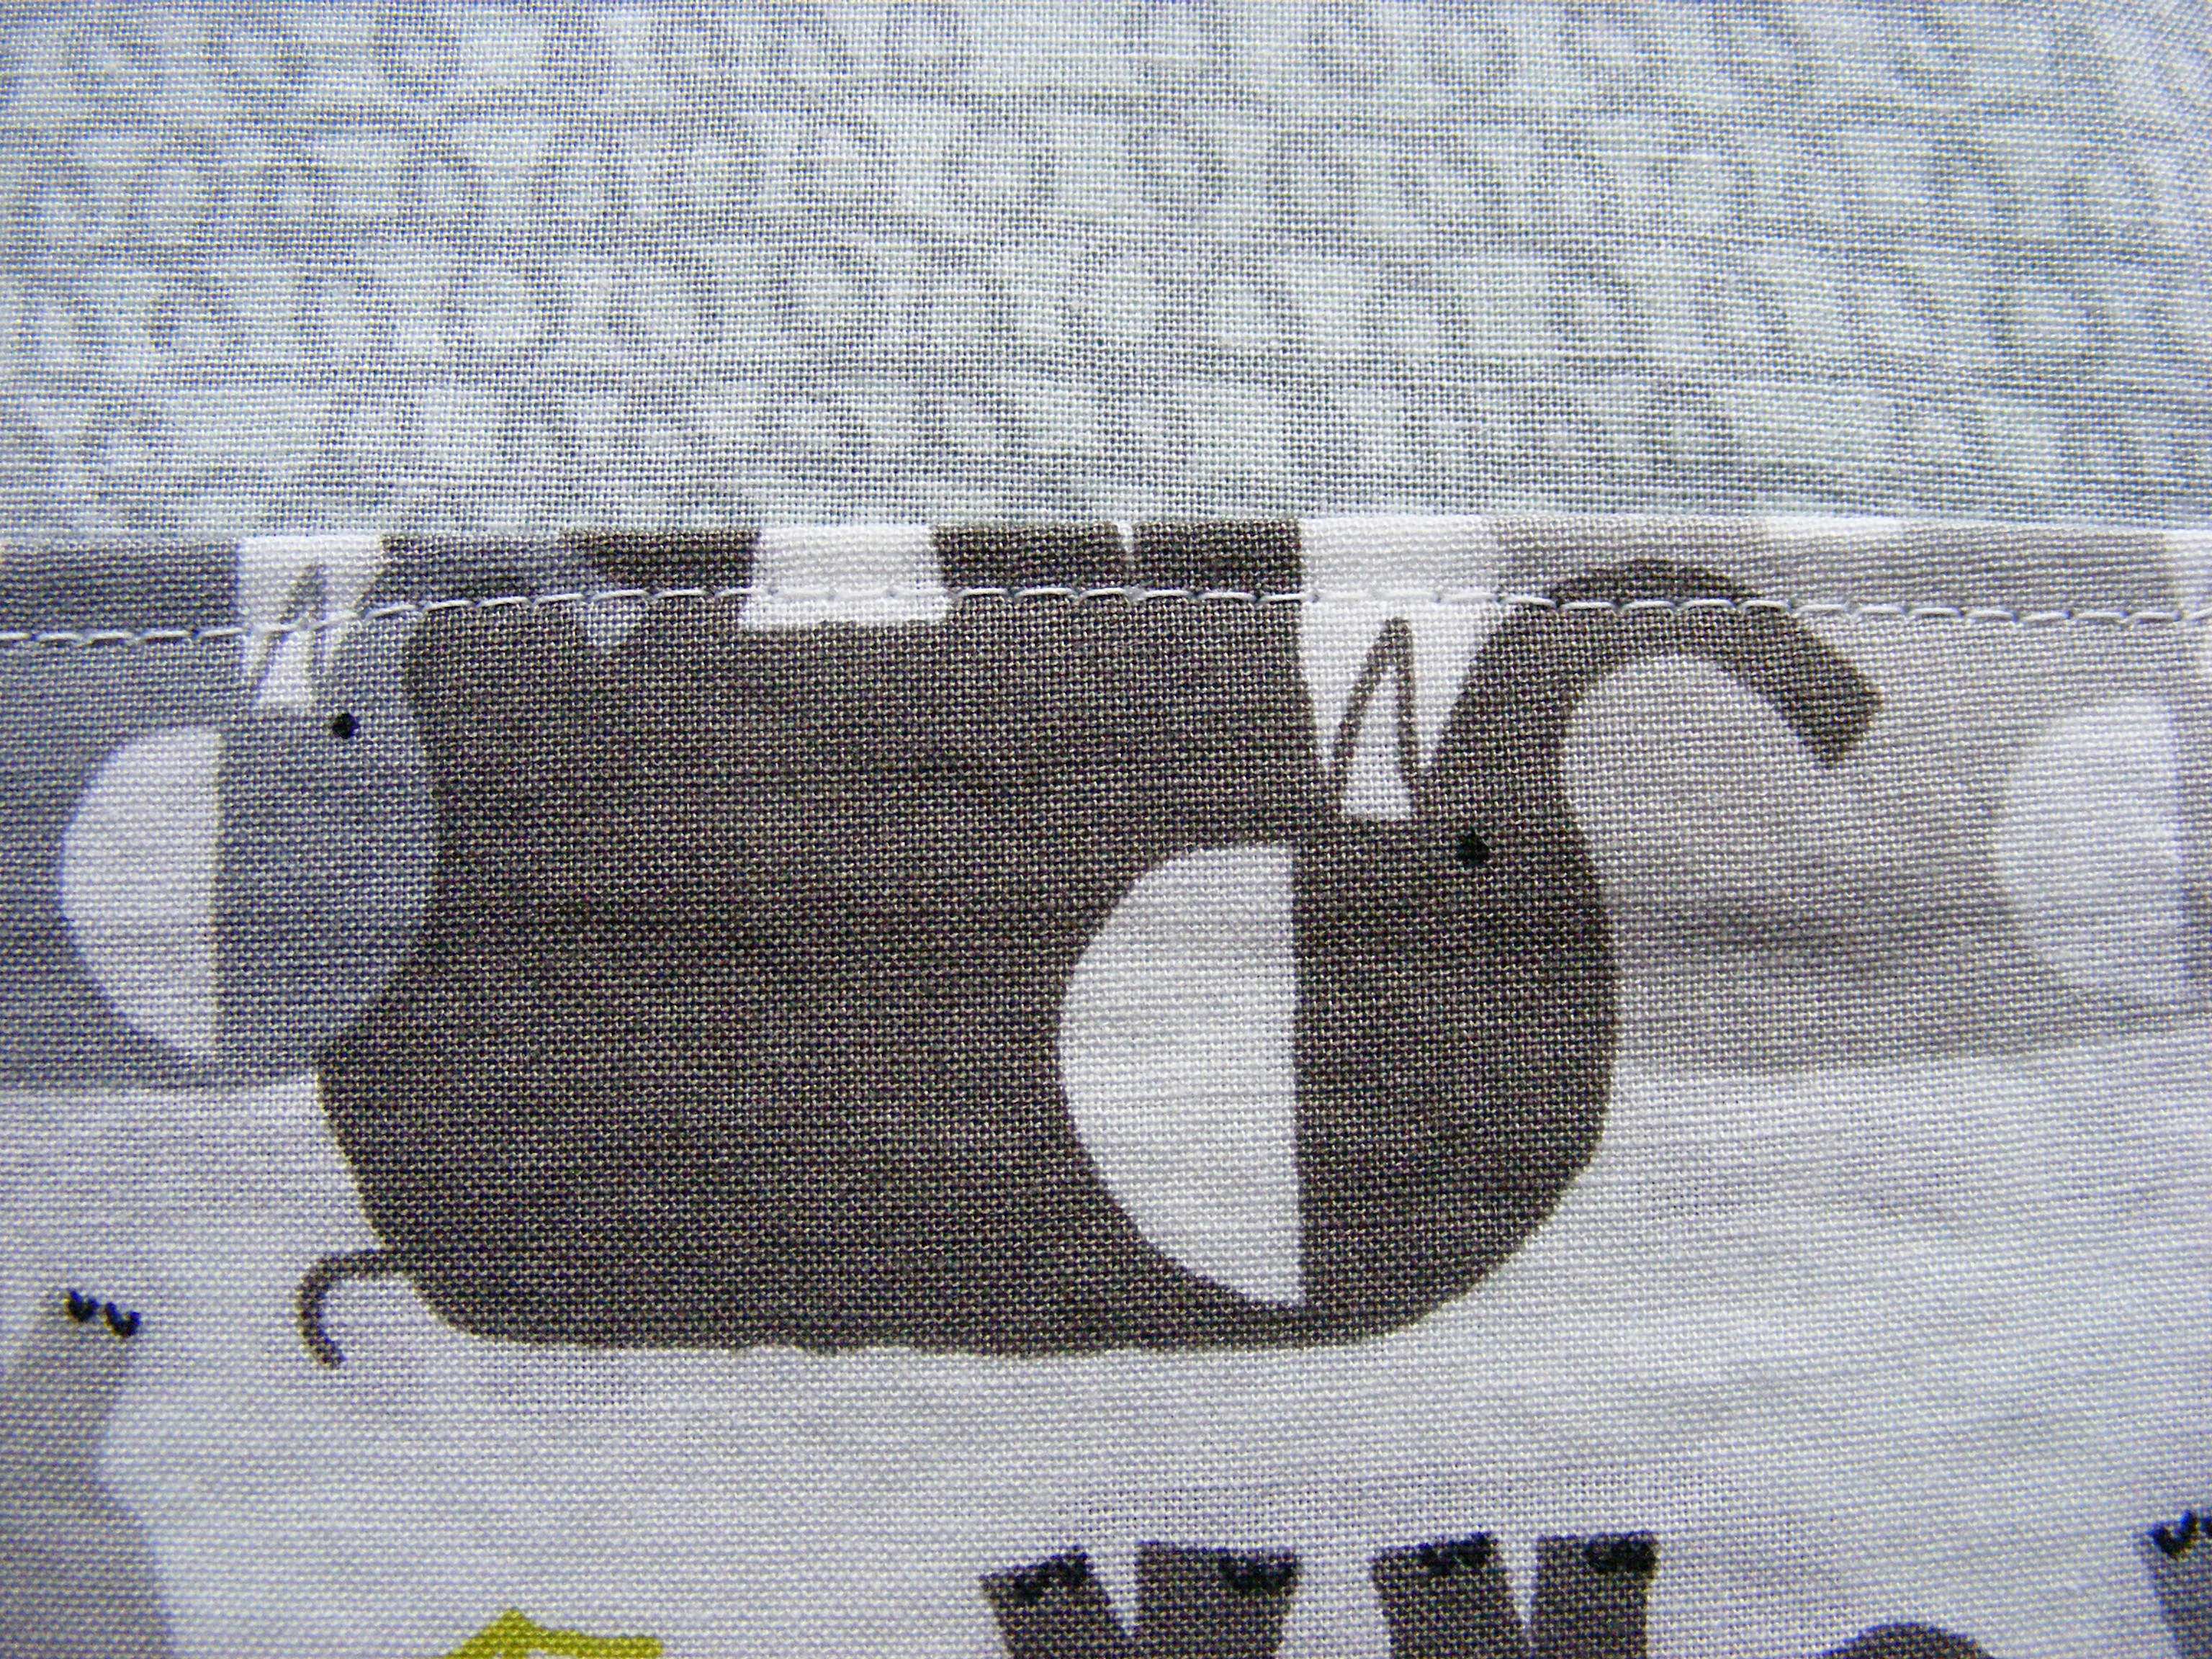
One more note. . . most people would want to cut off the selvedge edges and hem the sides. I happen to love selvedges – especially when they’re this cute. (I love this collection!)
Update – a couple of people have asked and you can still get the Happy Drawing fabric here. There are also lots of Etsy shops that still have it in stock too.
🙂 Plus I think it’s totally ok for the curtains in my sewing room to have visible selvedges. But if you want finished sides – do that now.
Ready? Time to put it all together.
Turn the top edge down 1/2 inch and press. Now turn it down another 1/2 inch and press again. Stitch the top hem in place.
Fold the bottom band in half the long way and press a nice crease in it.
Sew the top edge of the band to the bottom edge of the curtain using 1/2 inch seam allowance. Press the seam allowance towards the contrasting band.
Now turn under 3/8 inch on the other end of the band and press.
That way, when you refold the band in half along that center crease line, the bottom fold comes just a smidge past the seam joining the main curtain to the contrasting band. Like this.
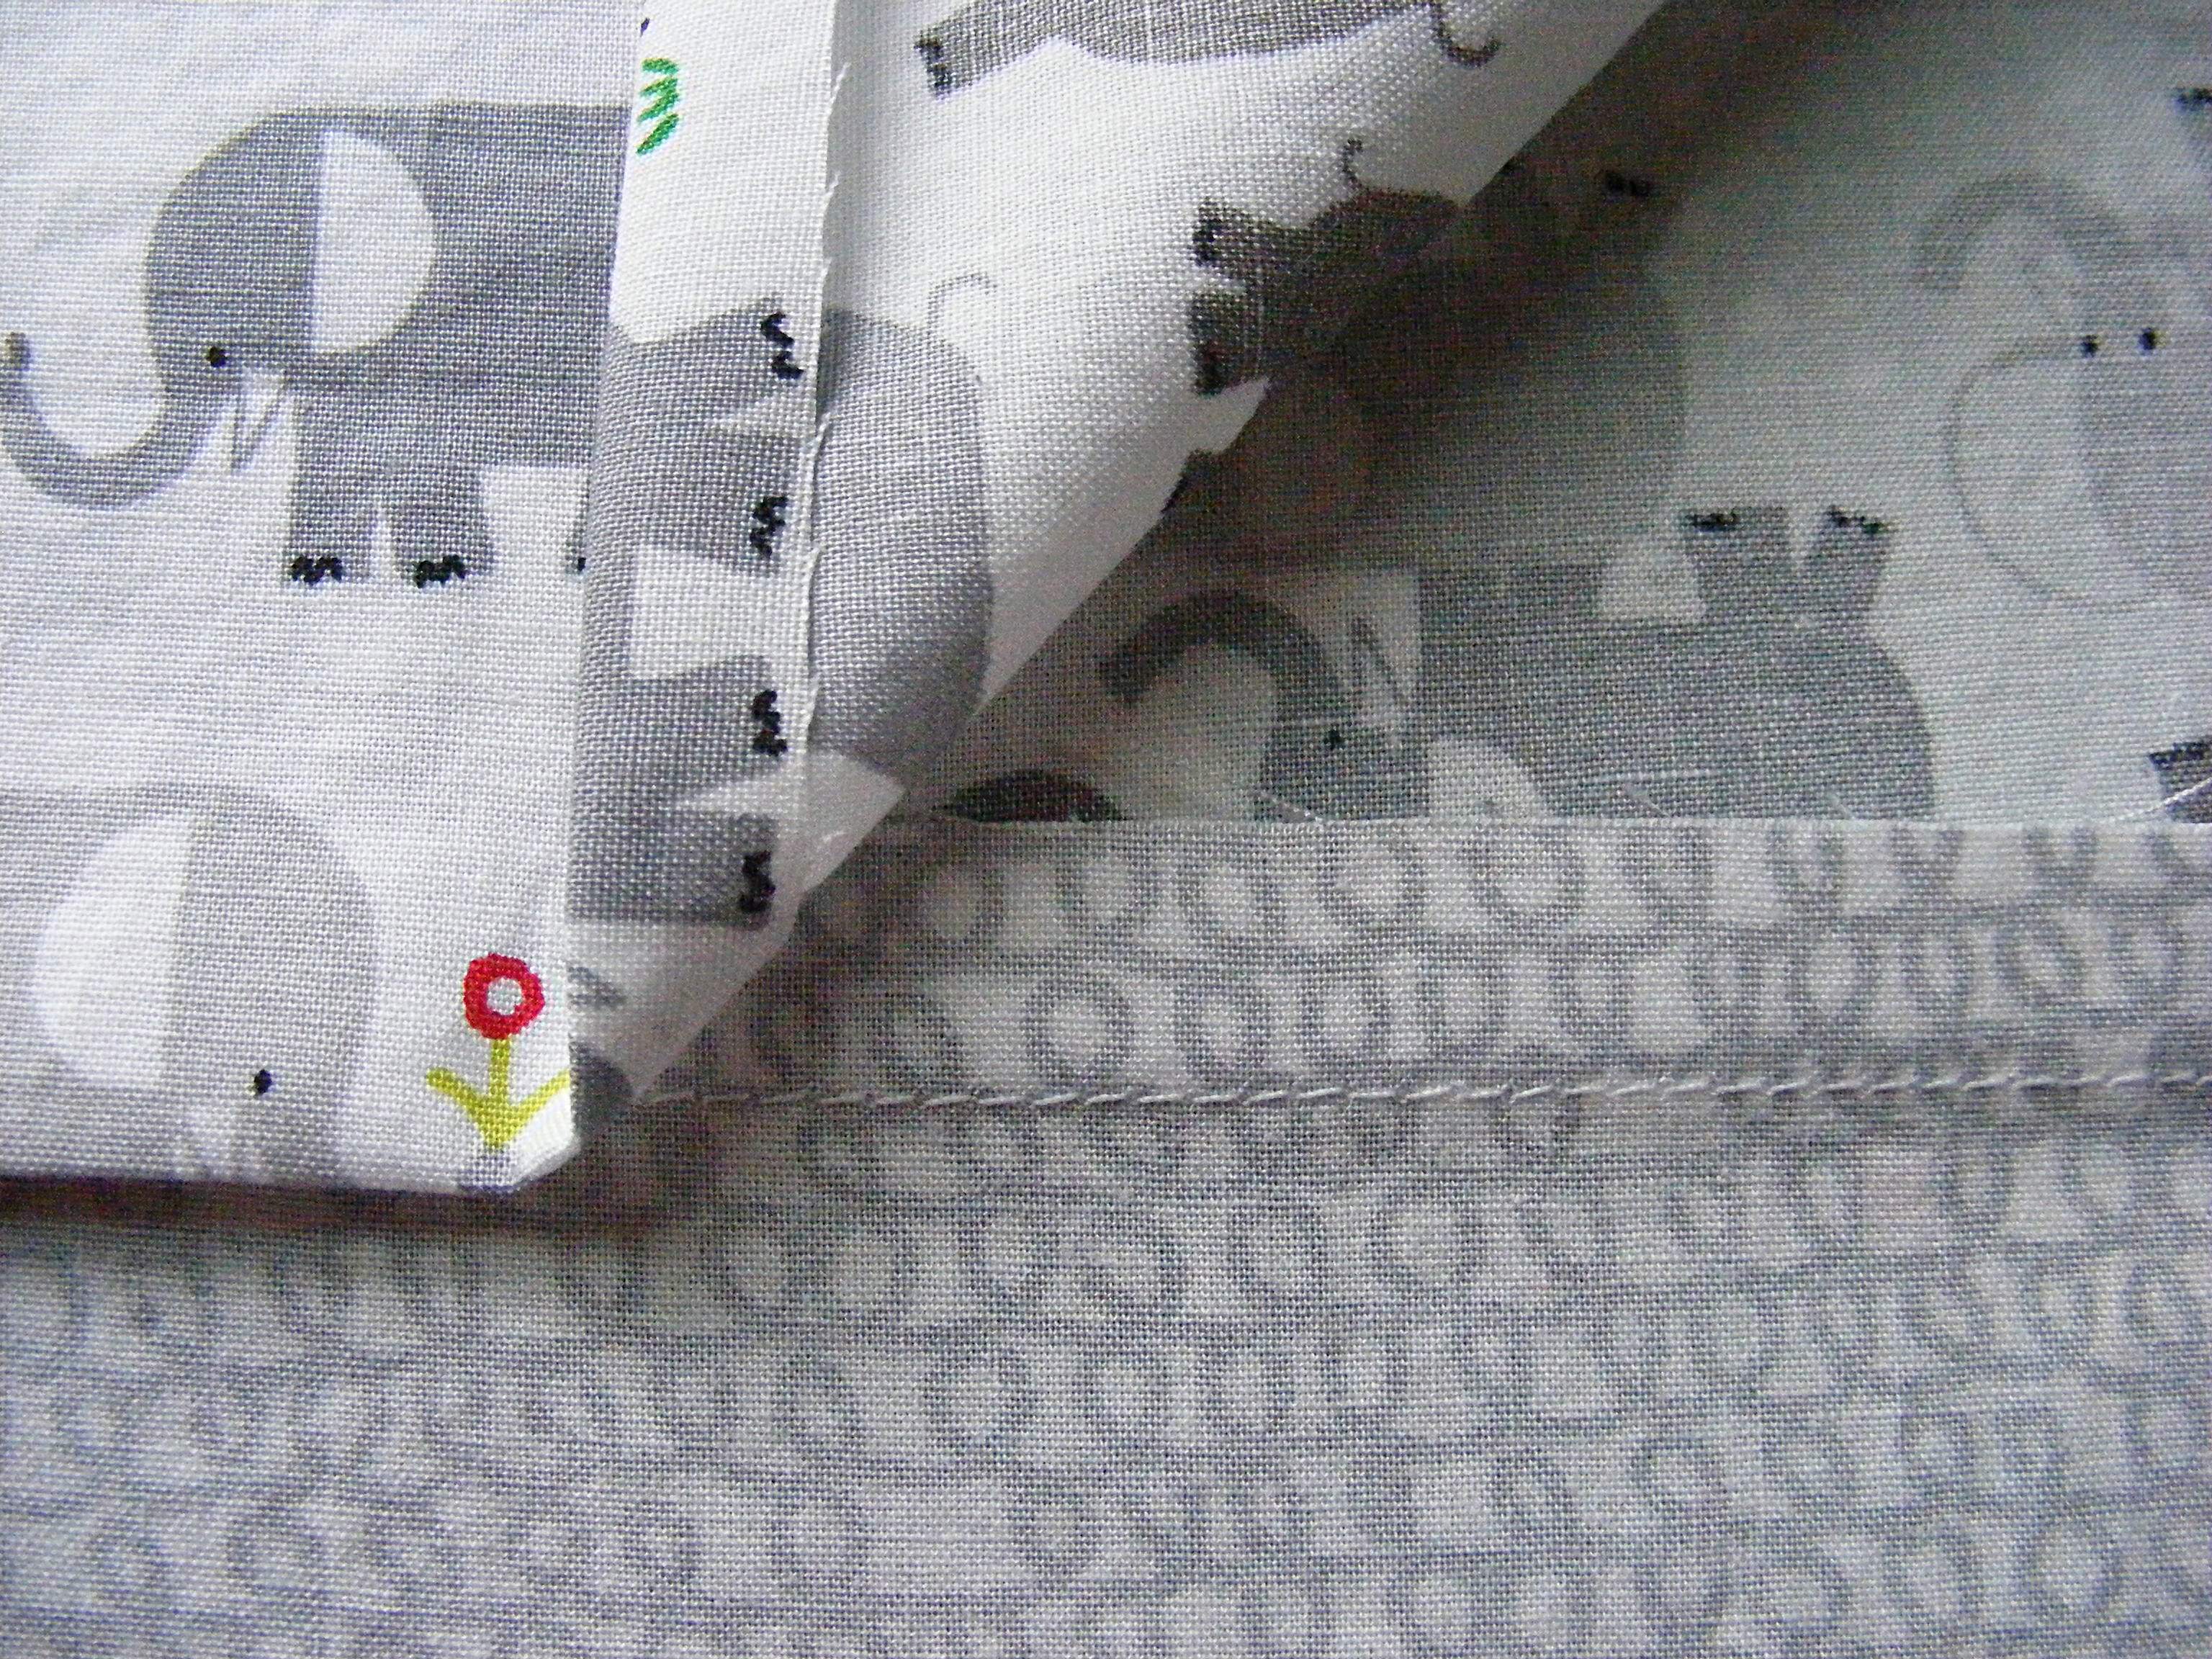
Now pin it in place. Flip the whole thing over and stitch right over the seam line joining the main curtain to the contrasting band. That’s called stitching in the ditch.
And here’s what it looks like from the back.
And see? All the seam allowance messiness is buried – hidden in the folded bottom band. Neat!
Give the whole thing one more good pressing and clip it to your curtain rings. Done!

Happy stitching!
Best,
Wendi
![]()
adorable!! love the contrasting band!
I’ve made these clip-on curtains a million times before, but this is the first time I’ve done the contrasting band. I’m really happy with it! Not only does it add an extra splash of pattern, it also gives just a tiny bit of weight to the bottom of the curtains which helps them to hang nicely.
Wendy, How far do you space each clip when you hang the curtains? And where do you purchase the clip rings? Thankyou!!!,
They’re spaced about 8 inches apart. For heavier weight fabric you might want to space them closer together – just play around and see what looks good. I get my clip rings at Target – nothing fancy.
Me encanta!! I´ll post it in my blog Baby-Deco
Thanks for share it 😀
You can learn to make easy curtains with help of the post here. Read to know more
Can someone explain to me what selvedges and contrasting bands are. I’m sorry , I’m new to the world of sewing.
Thanks.
The selvedges are the finished edges that run down both sides of your fabric. It often has the name of the fabric collection and the designer printed on it. The contrasting bands are just the bands of contrasting fabric at the bottom of these curtains.
What type of fabric is the white fabric you used? What type. Of fabric do use use for your curtains?
It’s just a quilting-weight woven cotton – nothing fancy.
Wendy I love yr curtain tutorial…I’ve made curtains but not like this….I’m going to make my granddaughters some for their rooms!! I have fabric to see if they like and make it so fun…I love all you do Wendy and share yr sight every chance I can…you are the best Wendi!!
Best always
Kathy