


We’re a T-shirt-wearing family. All three of us wear T-shirts all the time – the geekier the better. (Our favorite source for great designs is Tee Fury. They have a new design every day – available for only a day. Fun!)
Jo has been saving her outgrown T-shirts for years, with the thought that someday I would make her a T-shirt quilt with them.
Someday is suddenly NOW. She’s going away to school in a couple of weeks and has requested a T-shirt quilt for her bed.
I have never made a T-shirt quilt.
A couple of months ago I saw that Diane Gilleland is offering a video class showing how to make T-shirt quilts. Awesome!
Diane is a terrific teacher and the author of the wonderful book Quilting Happiness. You can read my review here.
And her T-shirt quilt class is FREE if you watch it live. Even more awesome!
Get all the details and get signed up here.
Seriously! Do it! I’m doing it!
But first I’m going to muddle through one on my own because Diane’s class is happening the last two days before Jo heads off to school and I know I’m setting myself up for major stress if I try to actually make the entire quilt in two days.
And guess what?
I’m going to share the muddling through part with all of you! I always get such nice emails when I share my mistakes publicly and this has the potential for some truly spectacular failures. 🙂
I’ve done a little bit of research about T-shirt quilts, but mostly I’m winging it. I figure I’ll learn all the good stuff in Diane’s class. 🙂 But here are a couple of key things I’ll be doing/tools I’ll be using. . .
Interfacing
T-shirts are stretchy. Stretch is bad when you’re trying to do precise piecing and end up with nice, straight lines. Plus the cut edges will curl up and make me crazy when I’m trying to sew them together.
So the first thing I’m going to do is make my stretchy fabric not stretchy anymore. For that I’m using fusible interfacing.
I don’t sew clothes or structured bags much, so I’m no interfacing expert. I decided to use Pellon 906F – a very lightweight fusible interfacing. I took a totally wildly random guess and bought 6 yards for my quilt. I’ll let you know later if that was enough. 🙂
I’ll write a post showing what I do with the interfacing.
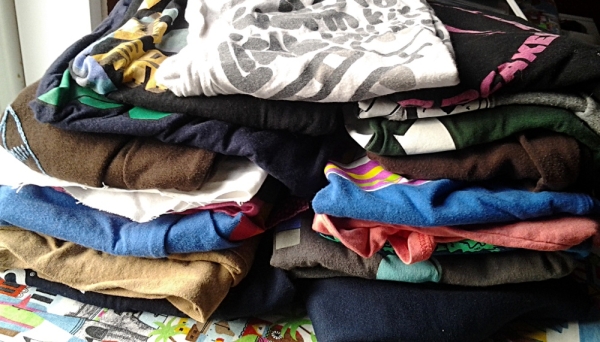
Totally Random Sizes
The pile of shirts ranges from children’s XS to men’s XL (she added a couple of Alan’s old shirts to the stash too). We want to keep the images on the front of the shirts as intact as possible, so I decided to frame each image with scraps of regular fabric. I’m a little worried about mixing wovens with knits, but it’s what Jo asked for and I’m willing to give it a try. I’ll let you know how that works.
The finished blocks will all be 15 inches square. Why? Because I already have a 15 inch square ruler and I’m going to use it to make trimming the blocks to their final size quick and easy.
I’ll share how I standardize the sizes of the blocks in its own post.
Jo wants a twin-sized quilt, so I’ll be making 30 blocks. I think she has 28 T-shirts so I’ll fill in the last couple of blocks with fabric of Jo’s choice.
Tune in tomorrow for the post about the interfacing!
And remember to sign up for Diane’s class if you want to learn from someone who has actually DONE THIS already and done it very well. No – I’m not an affiliate or anything. I’m just really confident that the class is going to be awesome and I want you to get in on it. 🙂
Happy quilting!
Best,
Wendi
![]()
Looking forward to seeing how your t-shirt quilt turns out. I’m sure it will be wonderful!
Thanks! I’m really happy with how it’s coming together so far. 🙂