


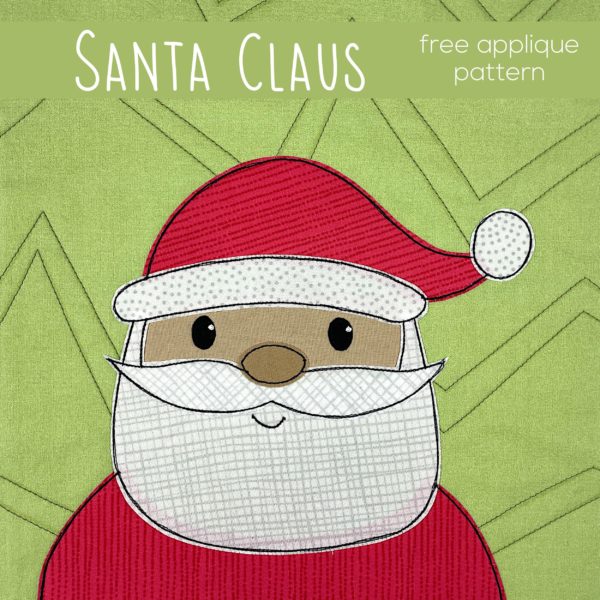
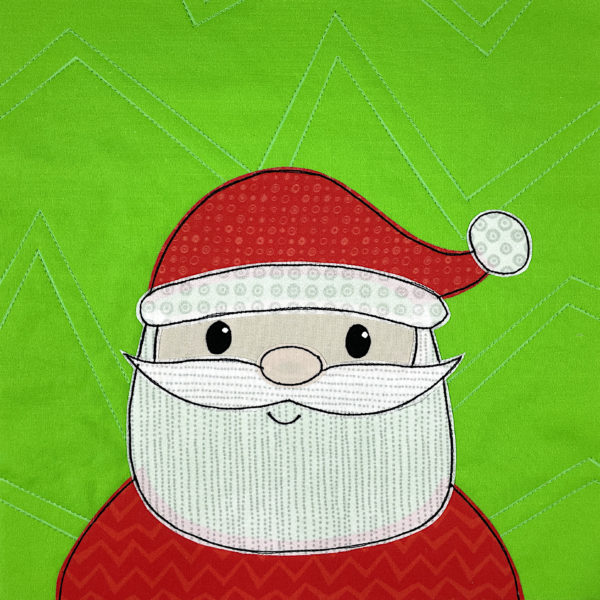
Use this free Santa applique pattern to make all kinds of things! Here are just a few ideas (with links to free patterns) . . .
The pieces are designed to make an applique that fits in a 10 inch block. That makes it really easy to resize as needed. Do you want to make a 4 inch coaster? Print the pieces at 40% size. Do you want to make a tote bag that’s 17 inches square? Print the pieces at 170% size.
The question is – where can’t you use a jolly old elf?
A Little Extra Help
If you’ve never done any applique before, or are new to my method) there’s a free video workshop here. You can work through the lessons using any pattern – including this Santa.
There’s also a single video here that takes you through all the basic steps of my method.
You can find loads of single-topic tutorial videos here, and also by using the search box at the top of the page.
Prep Your Block
Cut an 11” square of fabric for the background, and an 11 inch square of batting.
Press them both (with steam) and let them cool. Layer the background square over the batting square and quilt the two layers together. Do NOT add the backing yet. This video shows some of my favorite straight-line patterns, and this video shows some of my favorite wavy line patterns.
Press the quilted block again (with steam) and let it cool.
This video has a general intro to my Quilt As You Go method, along with complete instructions for how to assemble the block. It’s a long video, but there’s timestamp info to help you skip to the specific instructions you want.
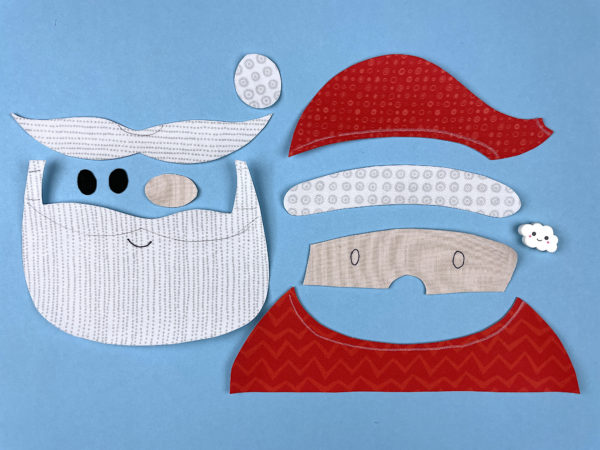
Cut Your Pieces
Download the template pieces and placement guide here.
If you have an electric cutting machine, you can use it to cut your pieces. Download the SVG file here.
The image in the SVG file is NOT reversed. If your cutting machine has you cut your pieces fabric side up, leave the orientation as it is. If your cutting machine has you cut your pieces fabric side down, you’ll need to flip the image horizontally.
Different cutting machine brands import the image at what seems to be totally random sizes. To fit the appliqué on a block that finishes at 10 inches square, check to make sure the small square in the image is one inch, and resize if necessary before ungrouping the pieces. Delete that square after resizing so your machine doesn’t try to cut it. 🙂
Print your templates.
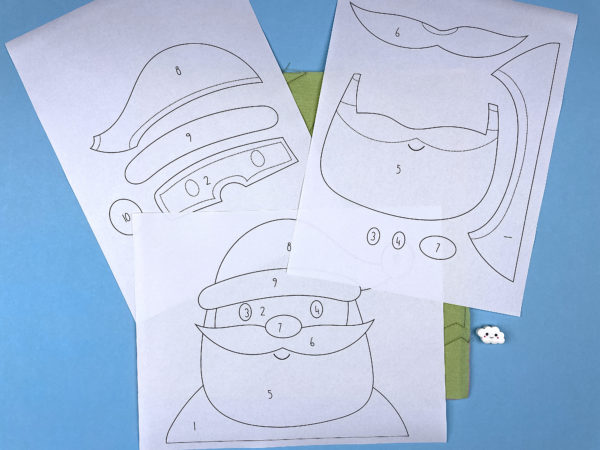
If you’re cutting everything by hand you’ll need to print the reversed and exploded templates. If you’re using printable fusible adhesive (I use Heat & Bond Lite for all my quilts) you can print those pages directly onto the paper side of your fusible.
If you’re using a lightbox you’ll also need to print the placement guide.
Roughly cut around each shape. Leave a little bit extra all the way around each piece.
Follow the package instructions and fuse each piece to the wrong side of the fabric.
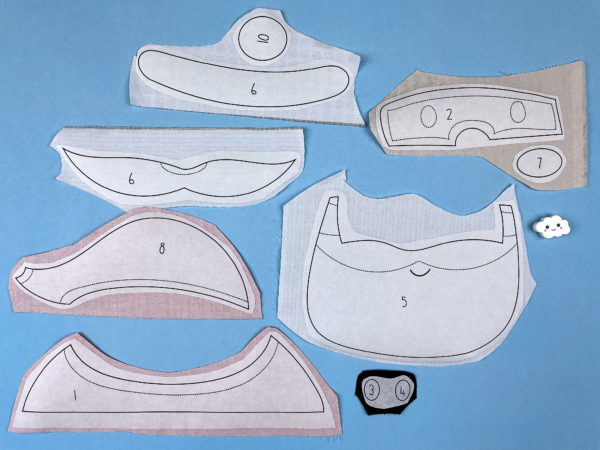
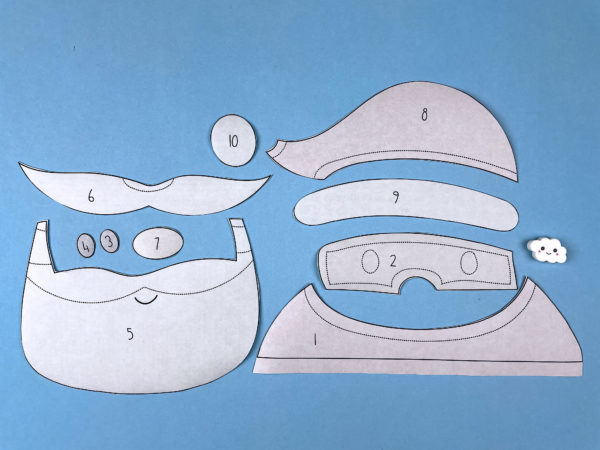
Cut out each piece neatly, directly on the solid lines.
Cutting after you fuse ensures that the adhesive goes right to the very edge of the fabric.
Trace the dotted lines onto the fabric. If you hold the pieces up to a window, the light will make the lines very visible – even on dark fabric.
If you want to skip this step, this video shows how to use a light box. If you use a light box, you only need to transfer the smile.
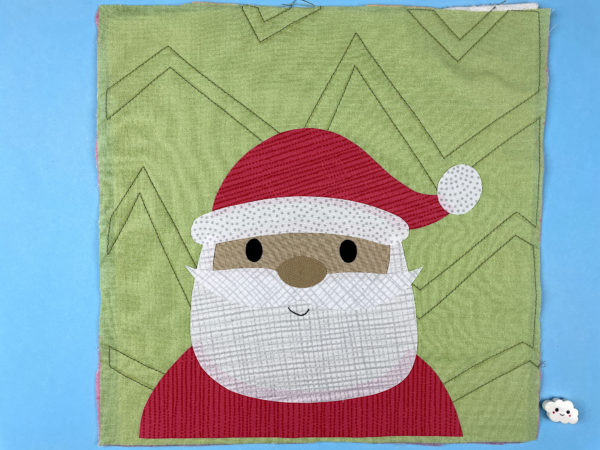
Put It All Together
Peel off the paper backing and arrange the pieces on your background block. Fuse in place according to the adhesive package instructions.
This video shows the assembly with me explaining how I’m layering the pieces.
This video shows the same thing – but using a light box to guide placement.
Stitch all the edges down. You can use any stitch you like, in matching or contrasting thread. I really love the cartoony look of a simple straight stitch with black thread.
I demonstrate sewing with different thread weights here.
This post will help you with the order in which to stitch.
This post has tips for stitching tight curves.
And this post shows three ways to add catchlights to the eyes.
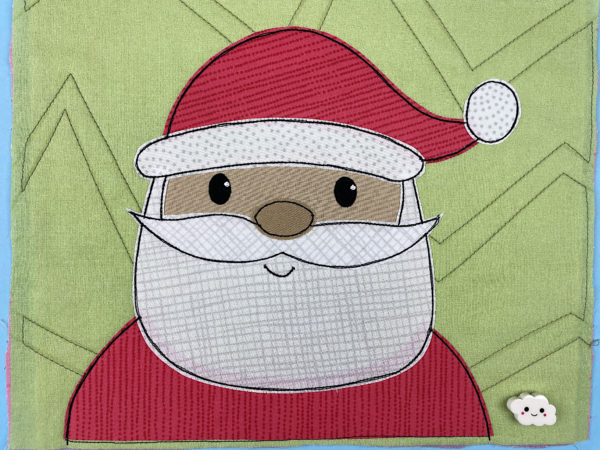
Finished!
For this slightly subdued color palette I used colors from the Farmers Market collection.
The background block is one of these pre-printed quilt blocks in Farmers Market – Light.
The reds are from the Strawberry Blenders and the whites are from Salt & Pepper Blenders.
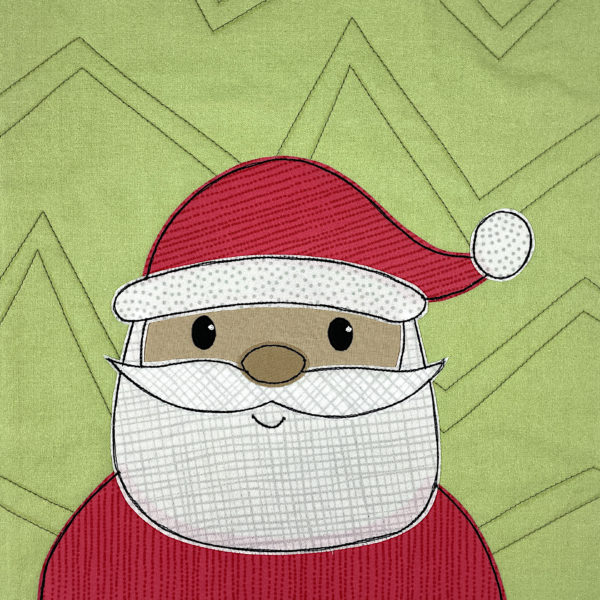
And here’s a version I did in the brightest, most saturated colors I have.
This color palette is called Classic Rainbow.
The background block is one of these pre-printed quilt blocks in Classic Rainbow – Medium.
The reds are from the Red Blenders and the whites are from Salt & Pepper Blenders.
Finishing
If you’re making a quilt, trim your finished block to 10 1/2” square.
If you’re using your block to make something else, just follow the pattern instructions for whatever you’re making. You’ll find a bunch of project ideas (and free patterns) here.
Merry Christmas!
Wendy, I just changed my password and it still won’t let me in.
Regina Muli
This happened to someone else a few weeks ago. Clearing her browser cache fixed it – it was holding onto her old password info and the same thing may be happening with you.
Thank you for sharing!! this Santa is so cute!!
Thanks! 🙂
Hi Wendy, I’ve clicked at the link from the newsletter and was asked for my login to see the content. Tried a couple of times, without success. Tried to reset the password, but it is saying this email is not registered. How can this be if I am getting the newsletter on this mailbox? Should I register again for the newsletter? Thank you for any help, Ana Paula. PS absolutely love your work!
Hi Ana! You signed up for the newsletter before I created the Members Only section for the website – so those two things aren’t linked for you yet. Go ahead and sign up again. As long as you use the same email address you won’t start getting two newsletters. 🙂
thank you very much
Thank you for the Santa! You are very generous and very talented. I love your designs and have many of your patterns.
Thanks so much! Have fun with him. 🙂
Thanks so much, Wendi !
Happy Thanksgiving
I was trying to download free Christmas patterns and the links don’t work.
I just checked and it’s working now. Maybe it was just a temporary glitch? Please give it another try, and if you continue to have trouble, try updating your browser. That can sometimes affect download links. If you go to whatismybrowser.com it will tell you if there’s an update available.
I’m a wee bit behind schedule (or I’m AHEAD of schedule for Xmas 2023!) but wanted to say Thank You for the free Santa pattern!!
You’re welcome! 🙂
I would like to male stocking Is the applique santa size the same as the quilt block
You have to reduce the size of my applique patterns a bit to get them to fit on my free stocking pattern. The stocking pattern has the dimensions needed.
This is so kind of you to share!