


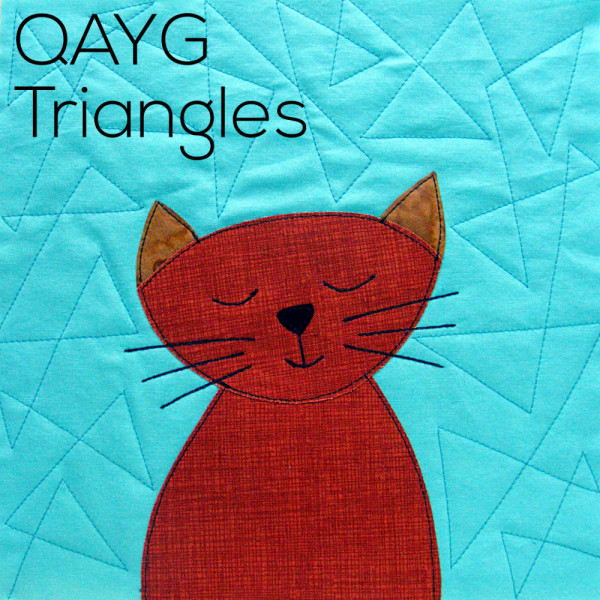
The Quilt As You Go lessons, videos and patterns are the most popular pages here at Shiny Happy World. That makes sense! It’s a super easy and fun way of quilting, and I don’t know of anyone else who does it quite the way I do.
Over time I’ve added a bunch of tutorials to answer questions, demonstrate specific steps, and make things as easy as possible. It’s time for one page to corral all those Quilt As You Go instructions!
If you want to work through these lessons in a systematic way, you can find them all here.

Every single lesson is free, and you can use any pattern to practice all your new skills!
Getting Started with Quilt As You Go
If you’re just getting started and want to know what the heck QAYG is, start with this video – What Is Quilt As You Go and How Do You Do It? Then jump to this video – How to Assemble and Finish Your QAYG Quilt.
Those two videos will give you a basic overview of the process. You’ll find lots more videos in the sections below.
You MUST use cotton batting. I use Warm & Natural and I love it (here’s why).
Cutting the Fabric
I’m currently rewriting all of my patterns to these cutting instructions. . .
Cut the blocks and batting 11 inches square (or even a smidge bigger – it doesn’t have to be exact). This will give you a little wiggle room and I like wiggle room.
After you quilt and applique the block, then trim the block to 10 1/2″ square. (There’s a video demonstrating this here.)
Sew the blocks together using 1/4″ seam allowance so that the finished block size is 10 inches. (Watch How to Join Quilt As You Go Blocks here.)
For half blocks (like adding words to your quilt) cut the initial blocks 11 x 6 inches. After quilting and applique, trim to 10 1/2 x 5 1/2 inches. Finished blocks will be 10 x 5 inches – exactly half the size of a full block. (Quilt Block Sizes for Alternate Grid Layouts has lots more info about half blocks and double blocks.)
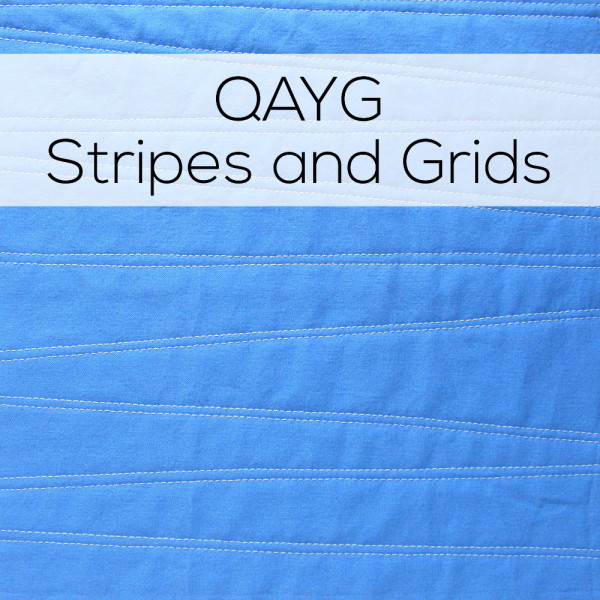
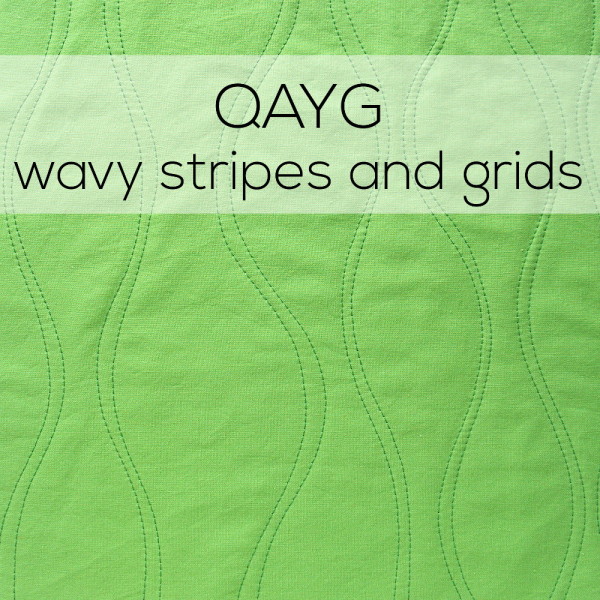
Quilting Patterns
I get a lot of questions about how I quilt my blocks. Here are some specific answers. . .
- I don’t baste the batting to the block. I find that the cotton fabric clings just fine to the cotton batting and I don’t have problems with shifting.
- I don’t mark any of my quilting patterns – I just jump in and start doodling on the machine and it’s lots of fun.
- I don’t use a special needle or thread – just a universal 80/12 needle and regular all-purpose thread.
- I do set my stitch length a little longer – a 3 on my machine. I like the look of the bigger stitches and it makes the quilting go faster. 🙂
- I do use a walking foot. All the quilting patterns I currently use work fine with the feed dogs and walking foot engaged – through I think this method would also work very well for people learning free motion quilting. That will be me someday. 🙂
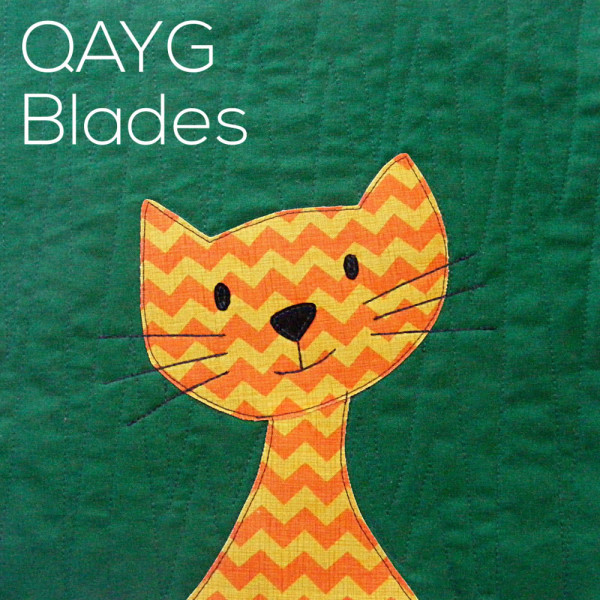
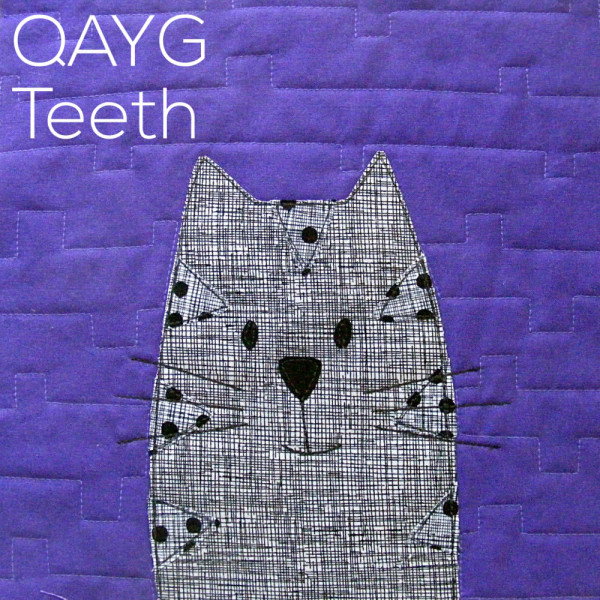
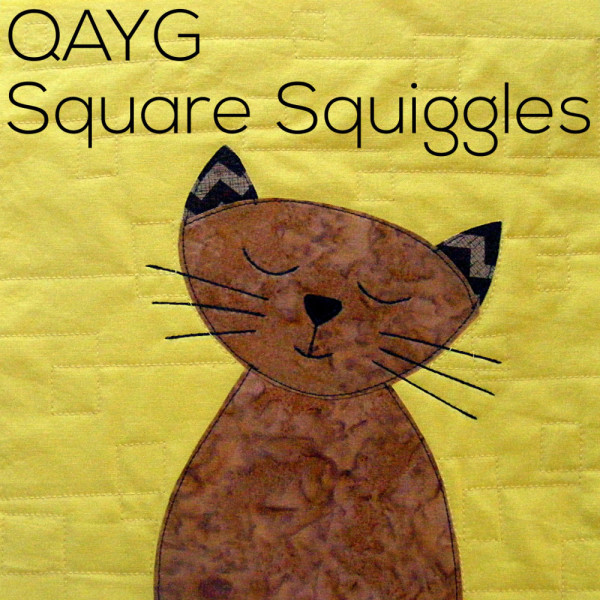
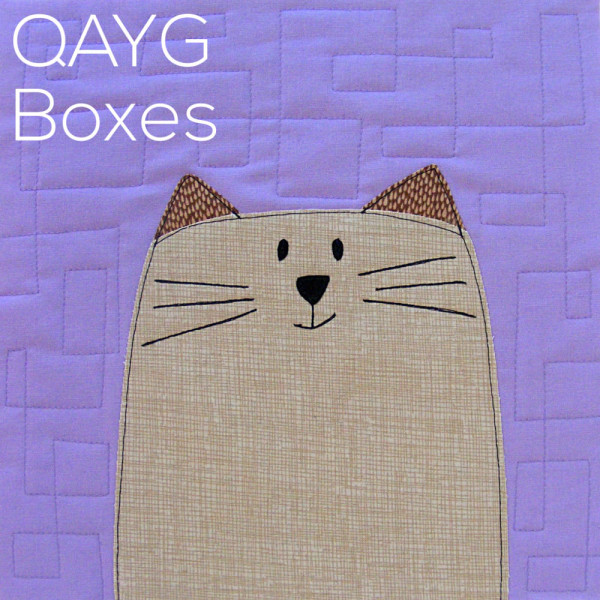
You can watch how I do it and see a gallery of quilting pattern ideas in the following videos. . .
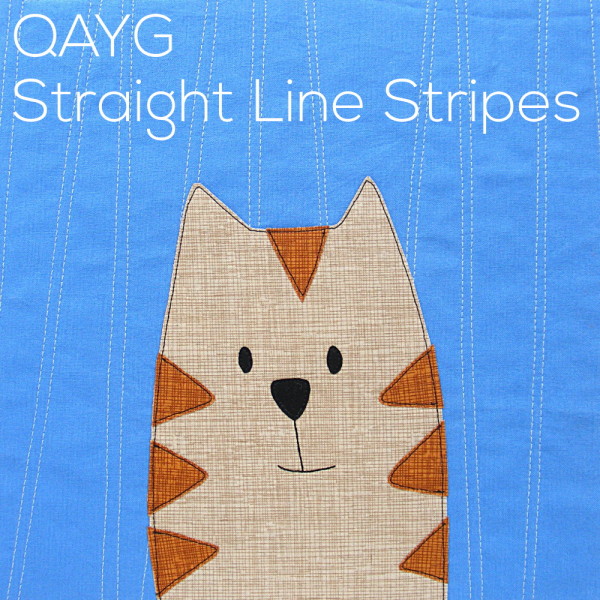
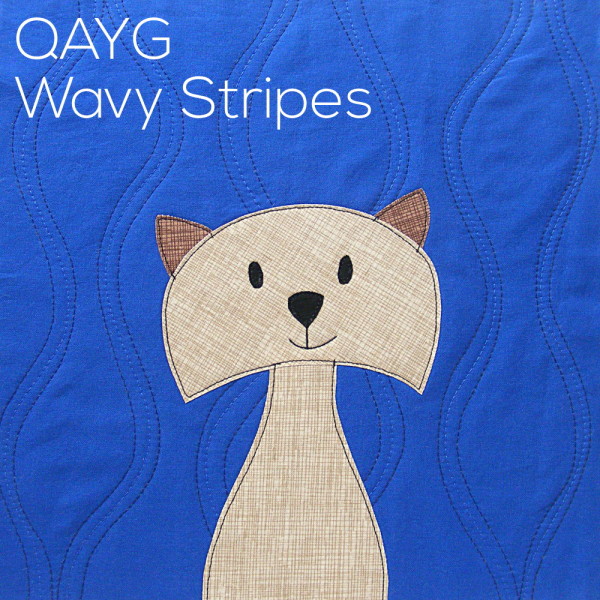
Piecing or Applique?
You can use QAYG for piecing or applique – but I especially love it for applique. I quilt all my blocks first, and then I applique over the quilting.
A lot of people ask – don’t the quilting lines show through your applique when you do the quilting first?
I’ve done a lot of experimenting with that and I’ve gotten to a place where that almost never ever happens. Here’s what to do. . .
- Use 100% cotton fabric. The worst show through I’ve had is when I’ve accidentally used a piece of mystery fabric that turned out to have synthetic content. 🙁
- Iron your quilted block nice and smooth and let it cool without moving before adding your applique. It’s an extra step, but it only takes a few seconds and it makes a big difference.
If you’re really worried about it, you can do the quilting after you applique. I give tips on that for lots of different patterns in these videos.

If you’re thinking about using QAYG for a pieced quilt – take a look at this gorgeous scrap quilt.
More About Applique
This is the applique technique I use for all my quilts. When combined with QAYG it’s a super fun, easy and fast technique – great for beginners of all ages and still fun for experienced sewists.
Outline Stitching
I usually outline all my pieces with all-purpose black thread and a simple straight stitch. I love the slightly cartoony look and I think it works well with the style of my applique designs.
I get a LOT of questions from people worried about the durability of just outline stitching. They don’t want to satin stitch, but they think they have to in order to keep the edges from fraying. I’ve never had problems with that with the materials I use – click here to read more and see some photos of a quilt that’s been washed a kajillion times.
Of course, you can use any decorative stitching you choose if that’s the look you want! I’m more likely to stick with the straight stitch and use a thicker thread if I want a heavier line. Read more about playing with different thread weights here.
This post has more information to help you plan out the order of your outline stitching.
This post has tips for outlining small pieces like eyes and noses.
Final Assembly and Quilting
After trimming, I sew my blocks together just like any quilt. Just sew through the top and the batting – pretend the batting isn’t there. Watch me sew QAYG blocks together in this video.
I press my seams open to eliminate bulk. You do NOT need to trim the batting out of the seam allowance. That would very quickly turn this into a not-fun technique. 😛
You don’t need to stick with the layout suggested in the pattern. This post has a bunch of fun variations to try.
Baste your finished quilt top to your back using whatever method you like. I have had nightmare experiences with spray basting, so I stick to pins. You can see how I baste a quilt here.
Quilt the top to the backing just along the major seam lines. Sometimes I stitch in the ditch using a straight stitch, sometimes I stitch 1/4″ to each side of my major seams. Sometimes I use a zigzag or decorative stitch to quilt those seams. All of those options work equally well.
- This video has general machine quilting instructions.
- This video has tips for quilting a full-sized quilt on a regular machine.
- This video shows exactly how I quilt my quilts with cuddle fleece on the back and answers a lot of reader questions.
- This post has lots of tips for using decorative stitches to quilt.
Bind your finished quilt just like any other quilt using your favorite method. This video shows my favorite quilt binding method.
Whew! That’s a lot of information! Please email me if you have any questions that aren’t covered here. I’m always adding new info as needed!
Happy quilting!

If you’re ready to jump in and start quilting – here are a few posts to help you choose (or design!) a pattern. . .
- Choosing a Quilt Pattern
- How to Work with Digital Patterns
- Tips for Turning Any Drawing, Embroidery Pattern, or Clip Art into an Applique Pattern

Hello Wendi,
I love your site. I am using it to learn as much as possible about quilting before I start my first project. I want not only to hand quilt but also to hand piece! I know it will be VERY time consuming, but I’m going into it trying to really enjoy the experience. I would love to see more about hand quilting and maybe something about hand piecing. Do you have any tips on marking seam allowances? I know that in your videos you say you don’t mark. If I wanted to eventually do something that is not either a straight line or a circle/curve, what would you recommend? I assume marking would be necessary then…I know these are probably niche questions, but I would love to learn more from you!!
Thanks and again great job!!
I don’t do much hand piecing anymore (except for an occasional English Paper Piecing project) but the way I learned was to make a cardboard template for each shape (no seam allowance), then trace around it on the back of your fabric. Cut out the shape roughly 1/4″ all the way around your traced line (to add the seam allowance) and stitch right on that line. If you’re interested in EPP (which I adore and can be used for way more than hexies) I highly recommend the book All Points Patchwork by Diane Gilleland. You can read my review of it here. http://wendigratz.wpengine.com/2015/06/book-review-all-points-patchwork.html Diane is all about enjoying the process and I love her approach.
Hi Wendy, I want to express my deepest gratitude to you for these video tutorials. I’ve never quilted before and these videos gave me the confidence to do a quilt for my hubby using some of his deceased mother’s clothing as parts of the fabric used. It turned out way better than I anticipated. I couldn’t have done it without you!! Thanks so much!
I’m so glad they’ve been helpful! 🙂
Hi Wendi,
I’ve got a stack of quilted squares with applique on top. 15 in by 15in. Do you you have a video showing me exactly how to piece them together to form a quilt? I love all the wonderful ideas on your site! Thank you so much.
The closest thing I have right now is this video. http://wendigratz.wpengine.com/2014/01/video-quilt-3-finishing-quilt.html There’s actually no trick to it. Just sew them together like you would any blocks – but you have to press the seams open, not to the side.
Pingback: Mix + Match Monsters Tutorial + Pattern | Sew Mama Sew | Outstanding sewing, quilting, and needlework tutorials since 2005.
Pingback: Peek-A-Boo Bear Quilt - It's Raining Crafts & Dogs
Pingback: Peek-A-Boo Bear Quilt #2 - It's Raining Crafts & Dogs
Hi Wendy, I love your techniques 🙂
Please could you tell me how to prevent the back of my applique stitching from showing through my backing fabric? I have tried to tackle this problem by using a patterned backing but I’m wondering how you do this?
Many thanks,
Val (Norwich, UK)
Hmmm – I’ve never really had a problem with this. I usually use cuddle fleece to back my quilts, and if I use regular fabric it’s almost always a bright or dark patterned fabric. But even before I put the backing on, the outline stitches have sort of sunk into the batting and don’t show very clearly. Maybe if you know you want to back it in a light color, you could use a lighter color thread in the bobbin – white or grey? You’d need to check your tension to make sure you don’t get pinpricks of the bobbin thread showing on the front – but you’d just need to do that testing and adjustment once.
Hi love your patterns and classes, just wondering why you do not put the backing on each square and quilt then join them thanks
Then I’d have to cover each of those seams with some kind of bias tape and that’s not fun. 🙂 This way is easier and faster.
hello Wendy,
I cannot figure how to cut the fabric to back my quilt. Say 3 yards of fabric 42′ WIDE. FOR A 48X60 QUILT. I HAVE BEEN USING WIDE FABRIC UP TO THIS POINT SO THERE WOULD NOT BE A SEAM. HELP!
All of my patterns have instructions for cutting the backing fabric. I can’t give you a specific page number because it’s different for every pattern, but the cutting instructions are included on the page with all the other cutting instructions for that size quilt, and the piecing instructions are near the end of the pattern, with the instructions for binding, etc.
Wendi__ I have just completed the blocks for the Woodland Animals quilt; I have them sewn together and added an inner one inch border plus an outer 2 l/2 inch border. How do I continue now as the blocks are sewn in the quilt as you go method? I am most anxious to complete these but don’t know quite how to proceed. I love the quilt; the expressions on the little guys just bring it to life! Thanks, Barbara
You want to pre-quilt your borders just like the blocks (this post about QAYG sashing applies to borders toohttps://www.shinyhappyworld.com/2017/04/add-sashing-quilt-go-quilt.html). Then sew them on and proceed just like any other QAYG quilt. This free workshop will help you out. https://shiny-happy-world.teachable.com/p/let-s-make-a-quilt. Basically, layer on the back and add just a bit more quilting (I usually quilt just the seams between my blocks at that point). Bind it like a regular quilt. Have fun!
I just bought my third pattern collection. Now I have playful pups, happy houses and mixandmatch monsters. Having so much fun. Keep the ideas coming!! Linda
Hello. 🙂 Can I use this item to batting? Please look this
https://www.amazon.de/-/cs/dp/B00IP2JS5S/ref=sr_1_2?crid=83G0UOS9Q93O&keywords=Warm+%26+Natural+Cotton+Batting&qid=1687587807&sprefix=warm+%26+natural+cotton+batting%2Caps%2C91&sr=8-2
Yes! Warm & Natural is the only batting I use – it’s fabulous! 🙂
Pingback: How to Make a Quilt - Shiny Happy World