After three years (that’s 36 patterns!) Ami Club is now closed.
I hope you all have had as much fun as Stacey and I have!
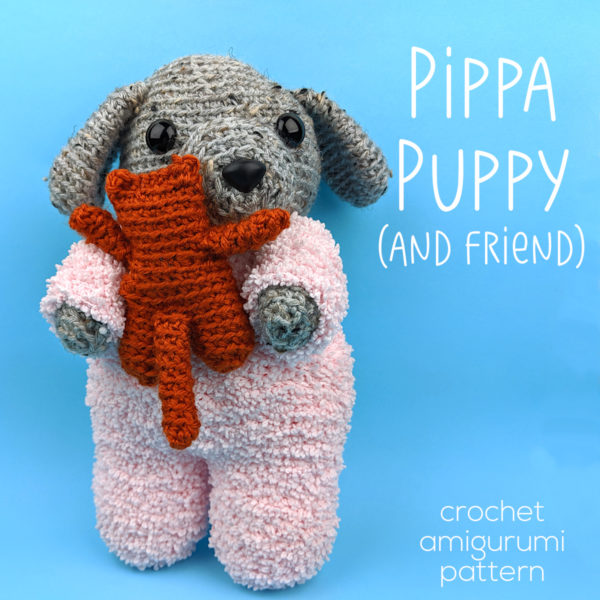
Pippa Puppy is the final pattern in the club. If you’re a club member, you’ll be able to download the pattern here until your membership runs out. Everyone’s membership and download access will run out on different days, depending on the date they signed up.
If you have any trouble accessing the final pattern (or didn’t see this notice of the closing until after your membership expired) please contact me at smile@shinyhappyworld.com and I’ll get your pattern to you.
You can find all the crochet patterns (including previous Ami Club patterns) here.
The end of the club doesn’t mean we won’t be designing more crochet patterns – just not one every month. 🙂 Instead, we’ll be designing some patterns that take a little longer. We’ve had requests for Mystery Crochet-Alongs and more Mix & Match patterns – so look for those (and maybe some crocheted puppets and baby toys) in 2020. You can sign up for the mailing list here.
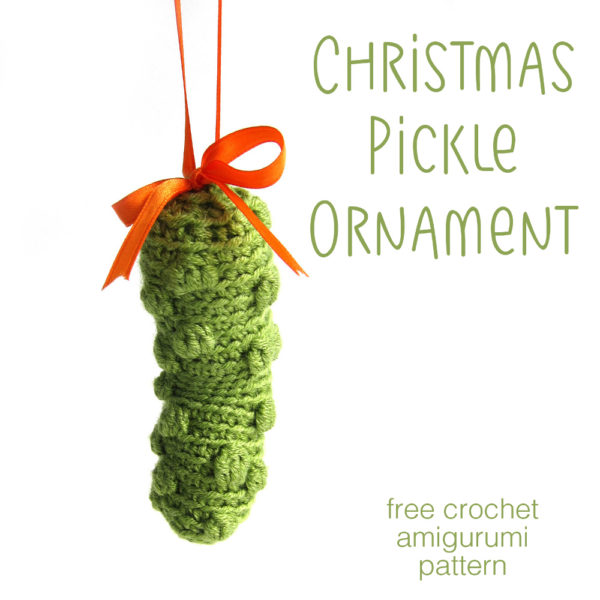
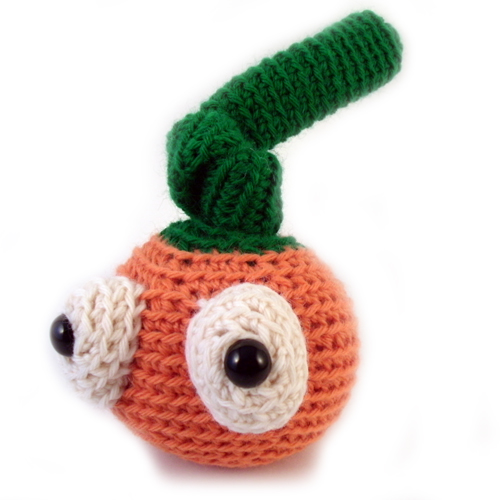
Stacey loves eating pickles, and is a Christmas Pickle Collector – so it’s no surprise that she designed a pattern for a crocheted Christmas Pickle! We’ve updated it here with some new tutorial links.
The skills you’ll need for just about any amigurumi are. . .
This pattern doesn’t specify a gauge. It’s a stuffed pickle, and you don’t need to be too picky about exact sizing. The most important thing is that you use a hook size that creates a nice looking fabric for your yarn. If you use the recommended hook size, and your fabric looks very loose (so that stuffing would show through), then you will want to use a smaller hook. Other than that, no measuring required!
Stitch into the Back
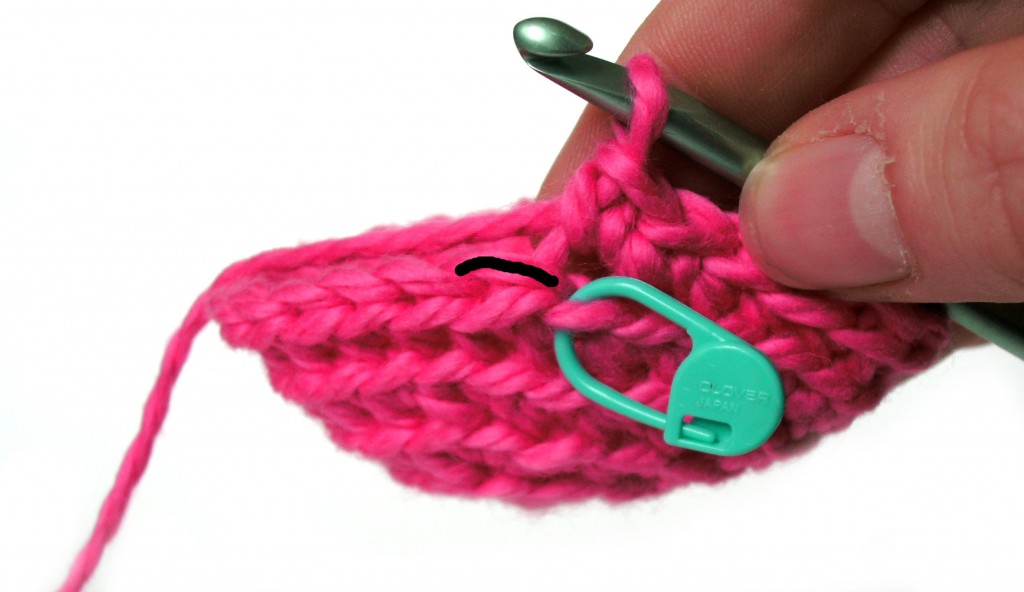
All stitches in this pattern (that are worked in the round) are worked through the back loop only, unless otherwise directed. Look at this picture.
See how one loop is highlighted in black? This is the back loop, and it’s what you’ll stitch into. Stitching into the back loop creates ridges on the right side of the piece.
Want to see crocheting through the back loop in action? Check out this blog post. It talks all about why Stacey crochets through the back loop and even has a handy dandy video showing how to find that loop.
You can go through all those posts now, or just hop to them as you get to those points in the pattern – whatever works best for you!
Yarn
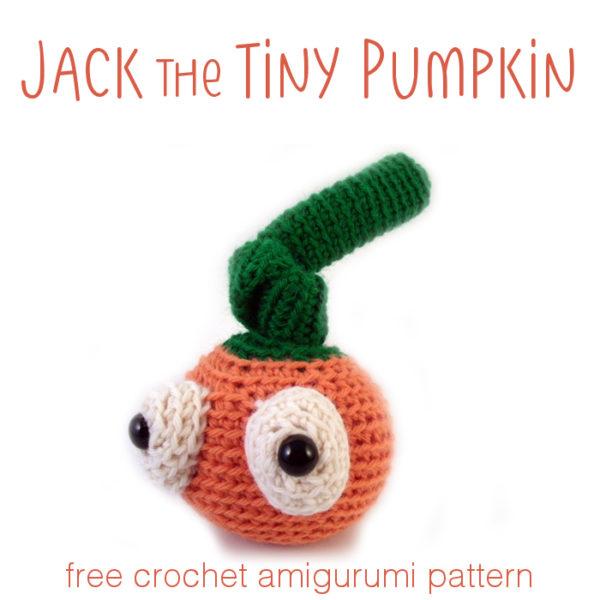
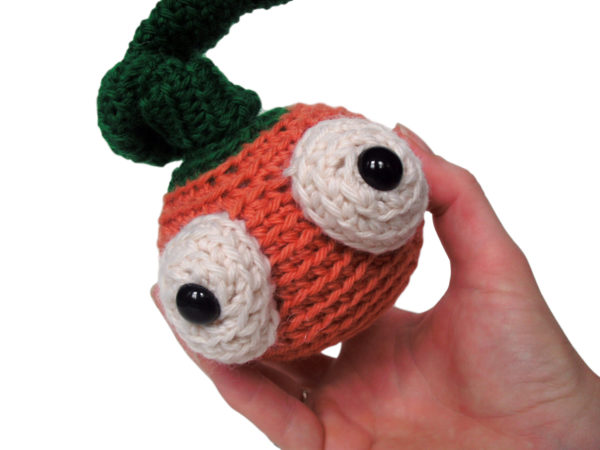
This pattern can be used with any weight yarn. The sample is crocheted with worsted weight yarn to make a 3-inch tall pumpkin with a 10-inch vine. You can use thicker yarn/a bigger hook to make a bigger pumpkin, and thinner yarn/a smaller hook to make a smaller pumpkin.
Materials
Size H crochet hook (or size needed to get a tight fabric)
All stitches in this pattern (that are worked in the round) are worked through the back loop only, unless otherwise directed. Look at this picture.
See how one loop is highlighted in black? This is the back loop, and it’s what you’ll stitch into. Stitching into the back loop creates ridges on the right side of the piece.
Want to see crocheting through the back loop in action? Check out this blog post. It talks all about why Stacey crochets through the back loop and even has a handy dandy video showing how to find that loop.
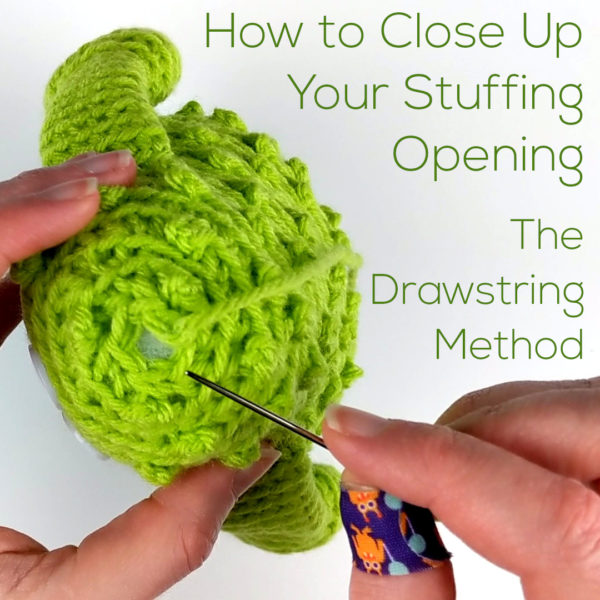
Recently I’ve been looking for a different way to close my amigurumi. Slipstitching across the opening works just fine, but sometimes it leaves a pointier top than I would like. I wanted something that was more consistently smooth.
After a bunch of experimentation, I decided on a new method where I close up the top like a drawstring bag. It works really well – and it’s super easy!
Here’s how to do it.
See how easy that is?
Here are handy links to all the posts about closing up the stuffing opening and fastening off in amigurumi. . .
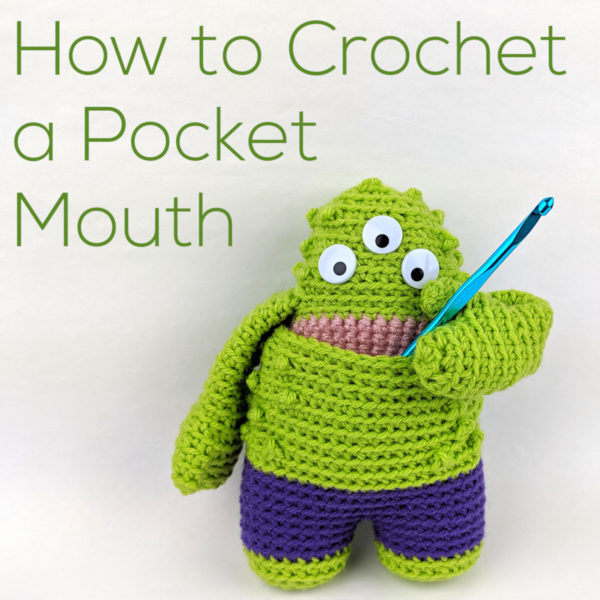
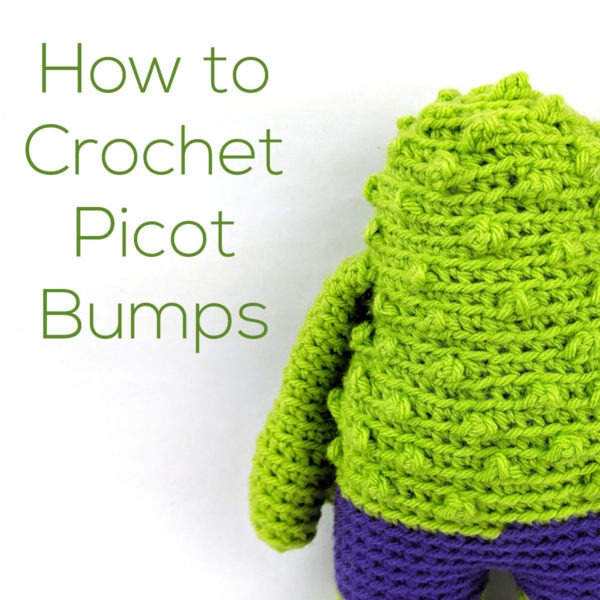
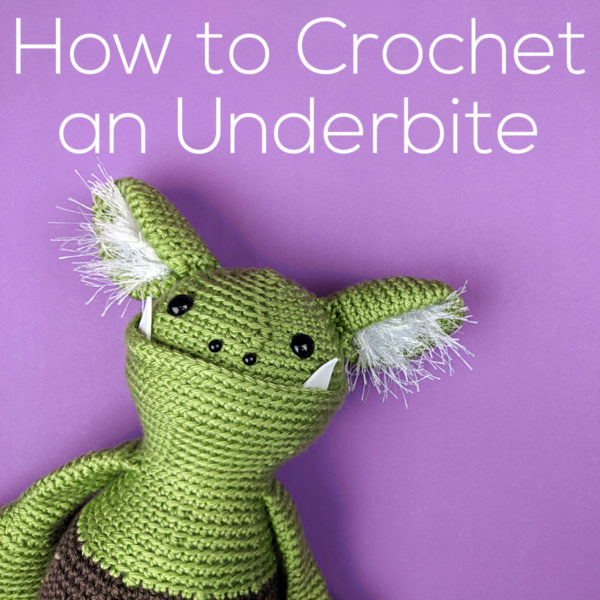
I wanted him to have spiky little bumps all over his back and head so I used a modification of a picot stitch to crochet picot bumps. Picot stitch is usually used as an edge treatment, but in this video I show how you can use it within the body of an amigurumi. It’s an easy and fun way to add texture!
See how easy that is? You can use this technique to add a spiky, bumpy texture to any amigurumi.
Have fun with it!
Here are handy links to all the posts teaching more fancy crochet stitches. . .
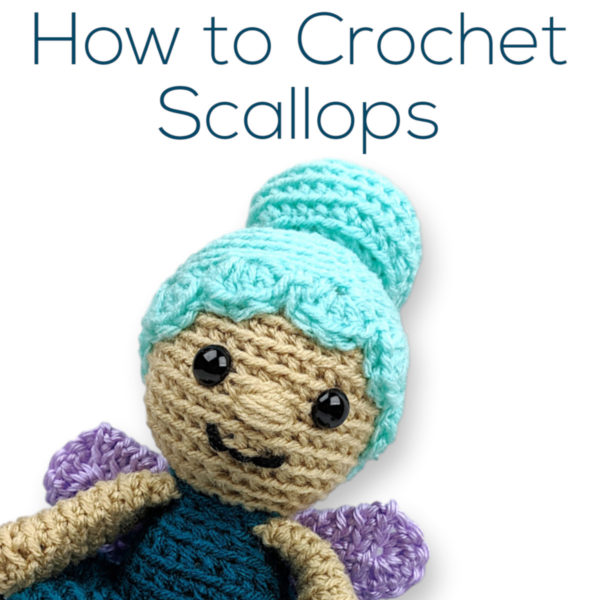
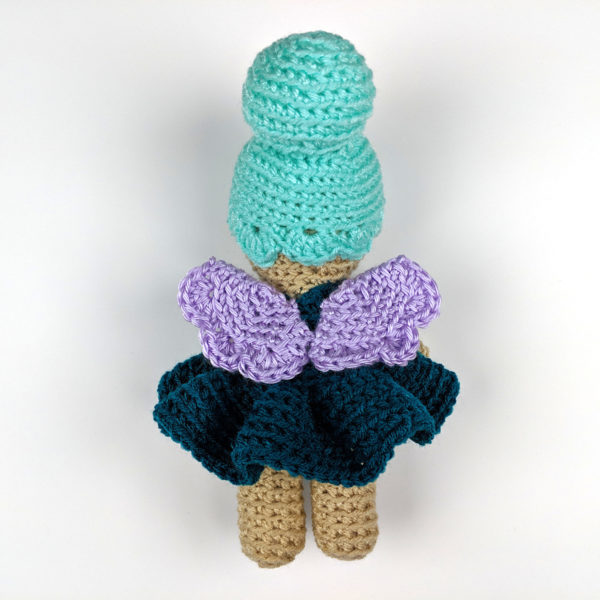
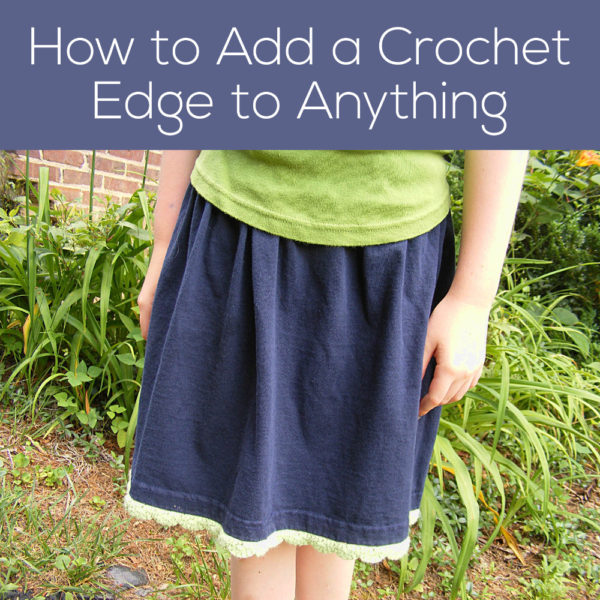
In the video I mentioned that you can use the same method to crochet scallops onto things that aren’t crocheted – like the hem of a skirt, or the edge of a pillowcase. You just need to make some stitches around the edge to anchor your crochet. There’s a video showing how to do that here.
Here you can see I’ve added some pretty scallops to the bottom edge of a skirt made from an old T-shirt.
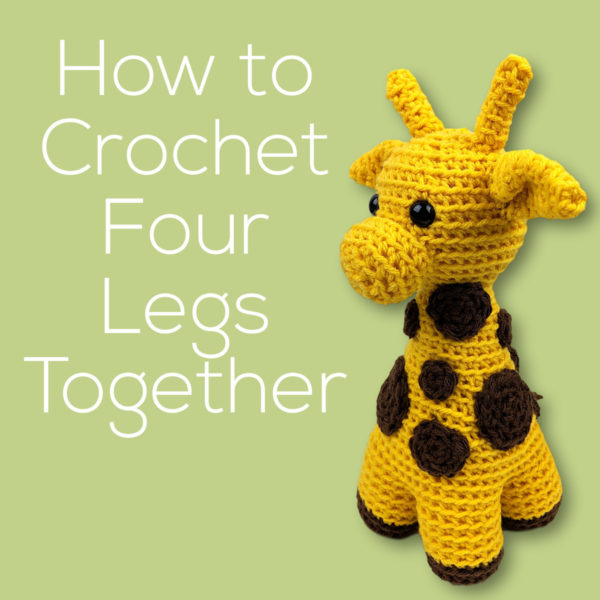
I was a little stiumped when I started to design this giraffe. How to crochet four legs together?
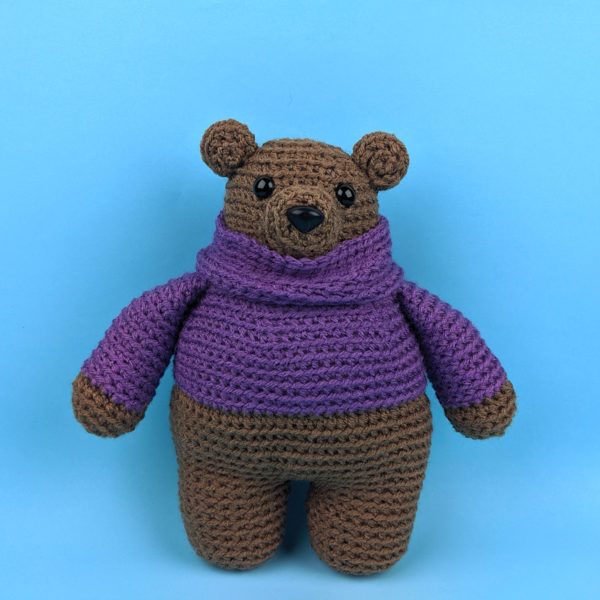
I really love making amigurumi that stand on two legs. Some of my favorite patterns use this basic shape and it’s really easy to do. Byron Bear here is a good example.
But when I designed this giraffe I wanted him to stand on four legs.
I did some digging online and I found that there are a lot of very different methods out there to do this, but all of them felt a little trickier than I wanted for beginners, so I came up with my own method based on how I like to crochet two legs together. The process is really the same – just with more parts!
Here’s a video showing how. . .
It works really well – and it’s pretty easy! If you can crochet two legs together (as I do in so many of my patterns) you can definitely crochet four legs together for this guy.
First of all – gauge isn’t that important for amigurumi.
You could make hundreds of amigurumi and never once measure the gauge.
When do you need to worry about it?
One – if you want your finished project to turn out the size the pattern says it will be.
Two – if you have exactly the amount of yarn specified in the instructions and you don’t want to risk running out.
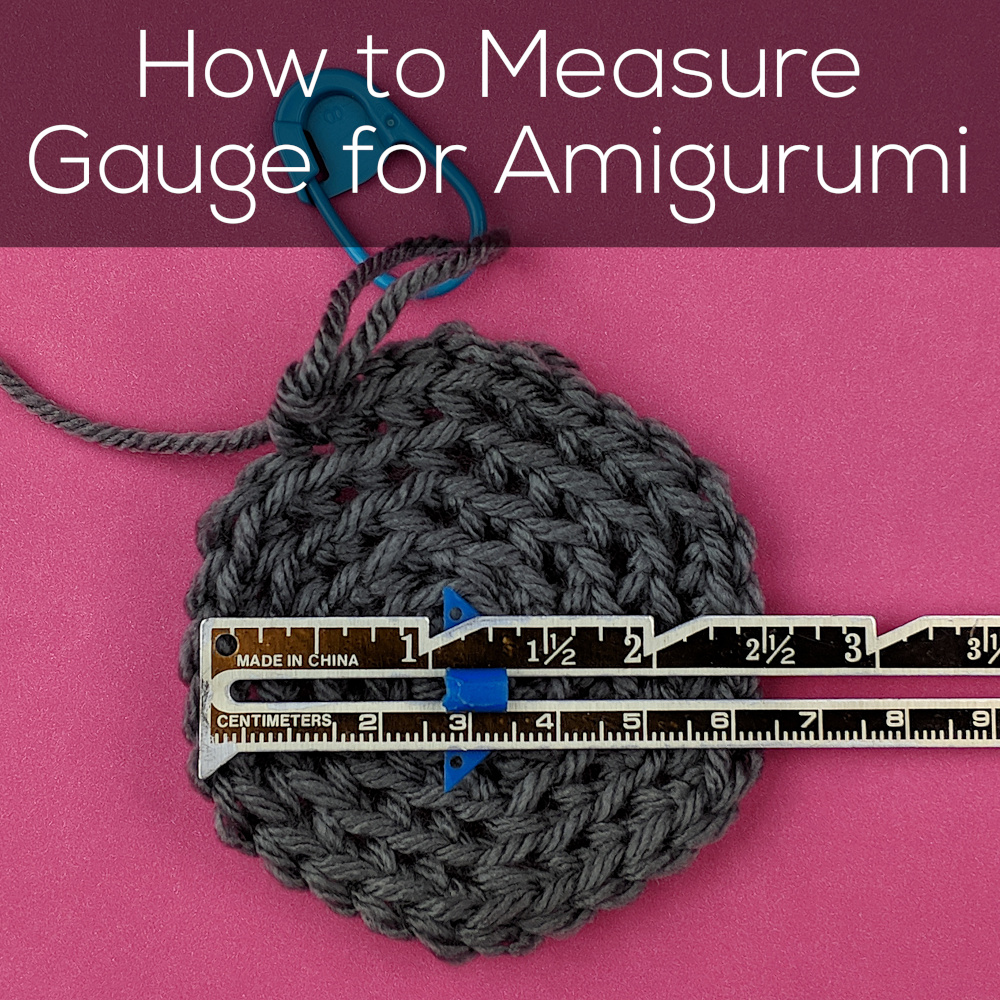
So how do you measure it?
Well, because you’re stitching in the round it’s a little different than other gauge instructions.
Crochet up a swatch of five rounds. Make sure you’re stitching through the back loop if that’s what the pattern says to do. (All FreshStitches and Shiny Happy World patterns are stitched through the back loop.)
Ch 2 (I like to start with a sloppy slip knot.)
Round 1 sc 6 in 2nd ch from hook (6)
Round 2 sc twice in next st (12)
Round 3 [sc twice in next st, sc in next st.] 6 times (18)
Round 4 [sc twice in next st, sc in next 2 sts.] 6 times (24)
Round 5 [sc twice in next st, sc in next 3 sts.] 6 times (30)
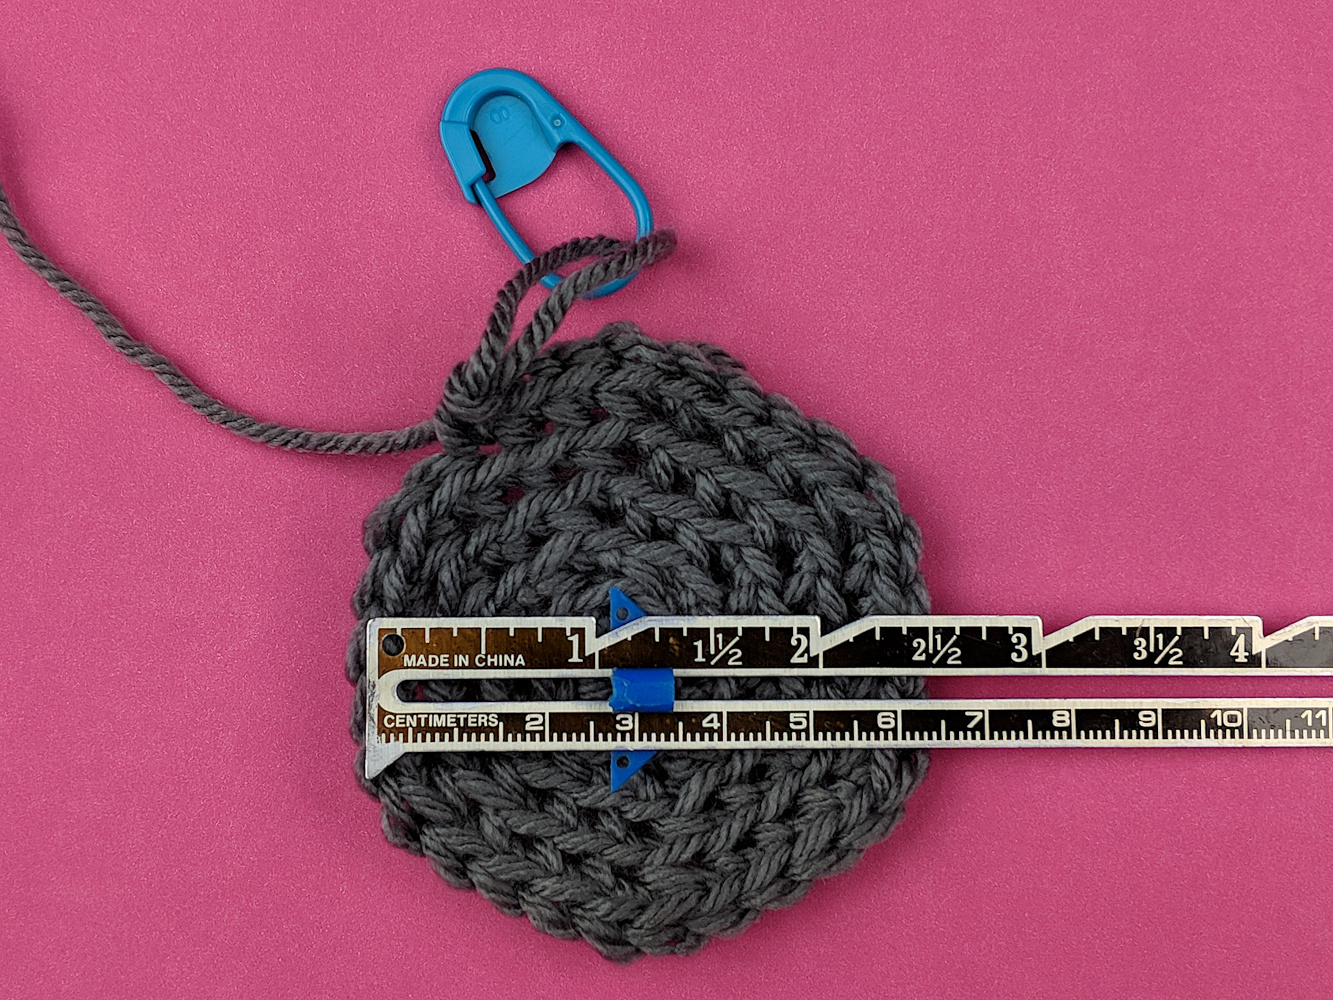
Now – measure across the diameter of your swatch.
Mine measures 2 1/2 inches.
If yours is 2 1/2 inches – good! Unravel your swatch (so you can reuse the yarn) and start stitching.
If yours is a little small, try using a larger hook size. If yours is a little big, try going down a hook size. You can also try switching between different hook materials – a bamboo hook “grabs” the yarn a little more than a metal hook, for example, which can change your swatch size.
Don’t try stitching just a little tighter or a little looser. As you work you’ll tend to revert back to your natural tension, so that’s not a good way to get gauge.
Keep experimenting until your swatch matches the one in the pattern – then stitch away!
Here are handy links to all the crochet troubleshooting posts. . .