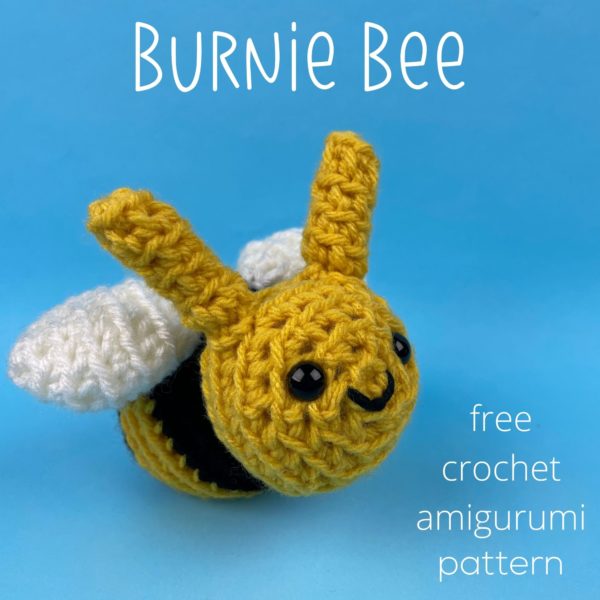
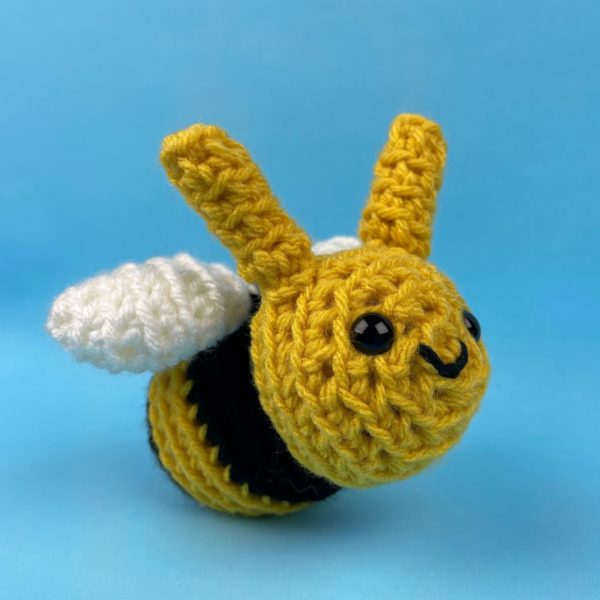
It’s a bee… but he doesn’t sting! Make a cute little bumbler with this free crochet bee pattern!
This is Burnie. (His full name is Vanburn von Bumble Bee.) He’s 3” tall and 4.5” long when made with worsted weight yarn. He’s super quick and easy to stitch up!
The skills you’ll need for just about any amigurumi are. . .
- How to Read a Crochet Pattern
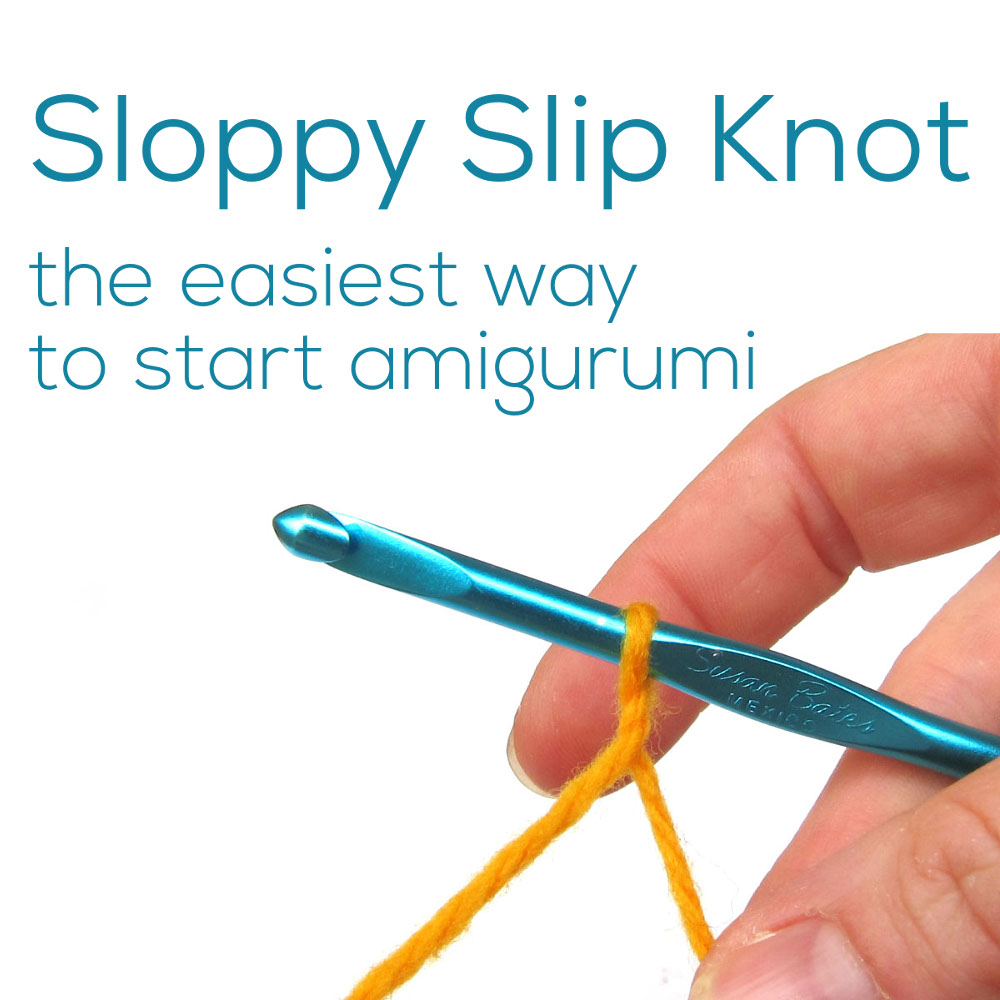
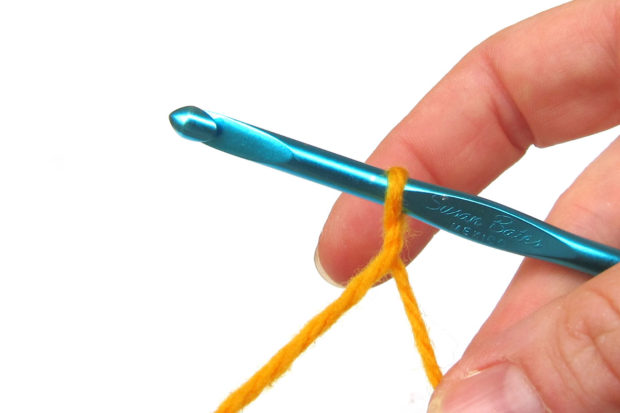
- Starting with a Sloppy Slip Knot
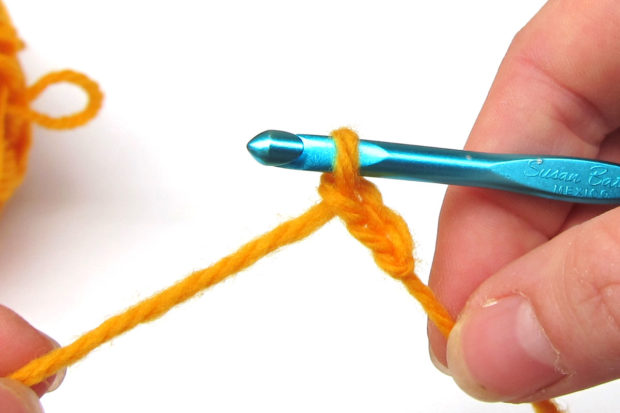
- How to Chain
- How to Single Crochet
- Single Crochet Increase
- Single Crochet Decrease
- How to Use a Stitch Marker
- How to Fasten Off Amigurumi Pieces
- How to Attach a Flattened Piece to Amigurumi
You can go through all those posts now, or just hop to them as you get to those points in the pattern – whatever works best for you!
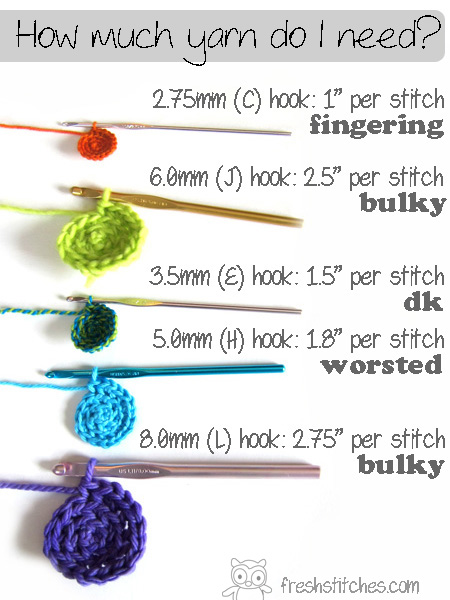
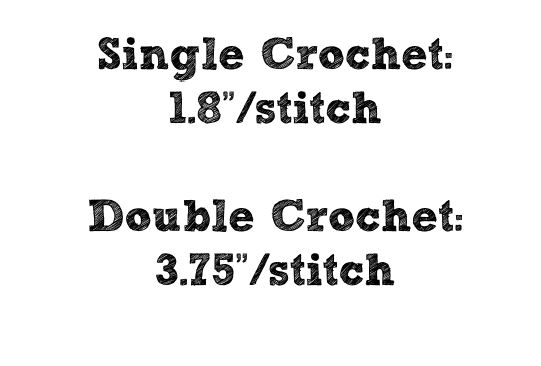
Yarn
This pattern can be used with any weight yarn! Just use the hook recommended on the ball band, and adjust as needed (see ‘gauge notes’ below). For a bigger, super-cuddly animal, try a bulky weight yarn! Just keep in mind that you’ll use more yardage than recommended. The sample is crocheted in worsted weight yarn, and all yardage/hook recommendations are calculated based on the sample.
Materials for this crochet bee pattern
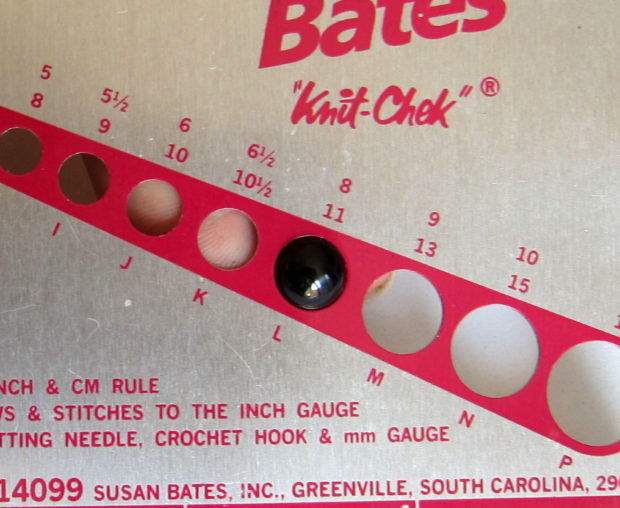
- Size H crochet hook (or size needed to get a tight fabric)
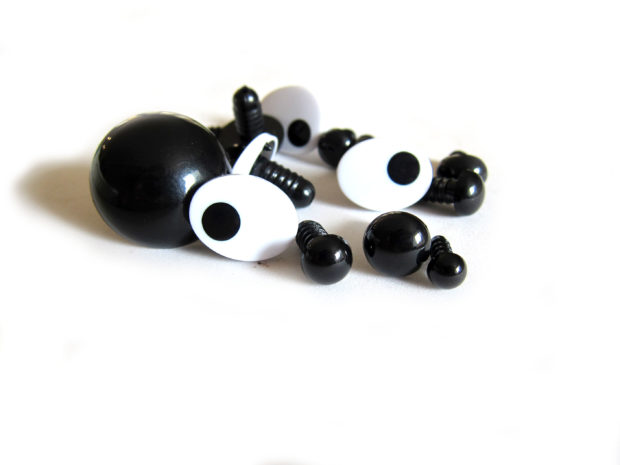
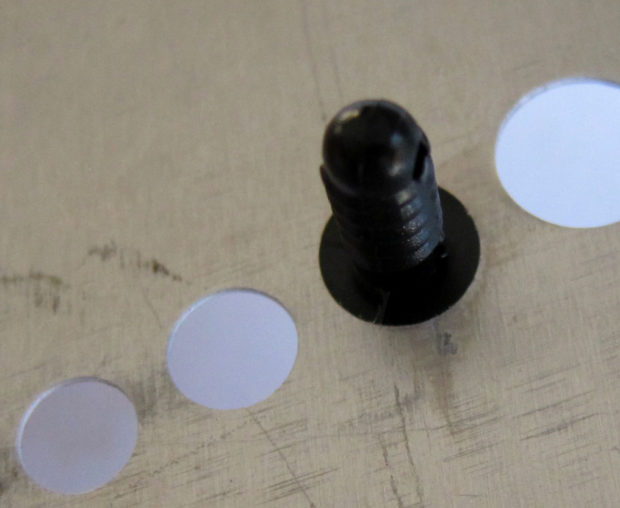
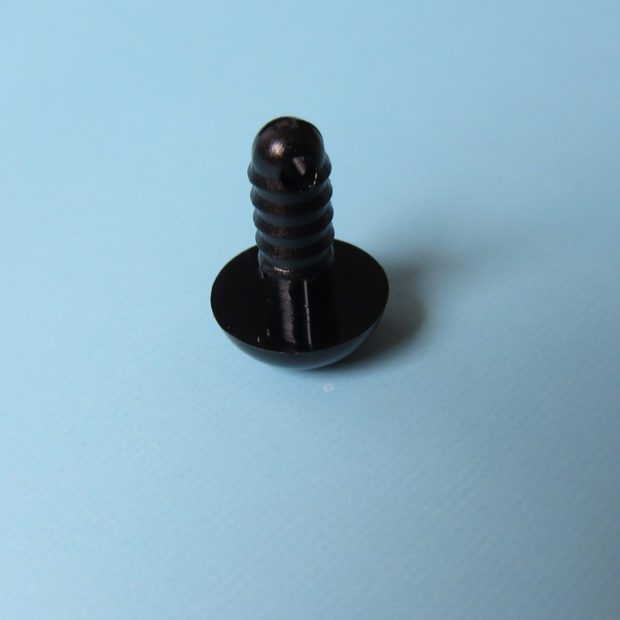
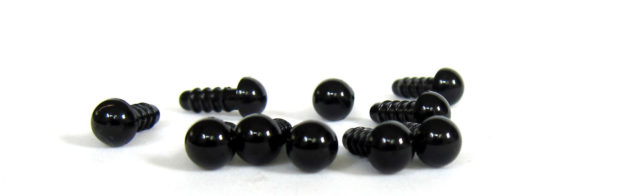
- two 9 mm black animal eyes
- tapestry needle
- a bit of stuffing
- three colors yarn – black, yellow and white
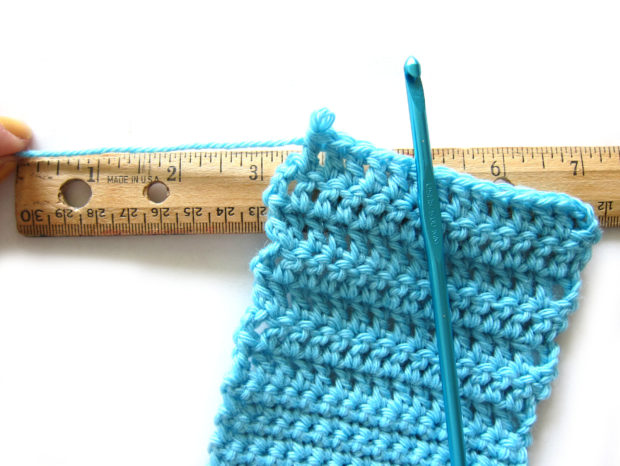
Gauge Notes
This pattern doesn’t specify a gauge. It’s a stuffed animal, and you don’t need to be too picky about exact sizing. The most important thing is that you use a hook size that creates a nice looking fabric for your yarn. If you use the recommended hook size, and your fabric looks very loose (so that stuffing would show through), then you will want to use a smaller hook. Other than that, no measuring required!
In case you’re curious about getting the exact gauge Stacey does, it’s 5 rounds=2 inches. Note that you will need to have this gauge for the yardage suggestions to provide an accurate estimation.
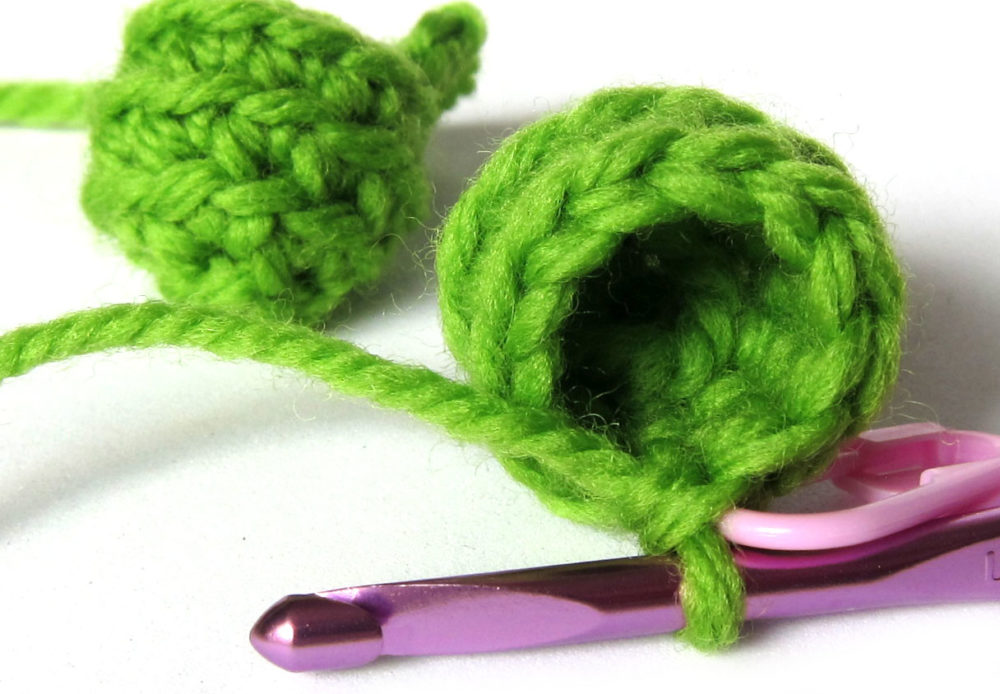
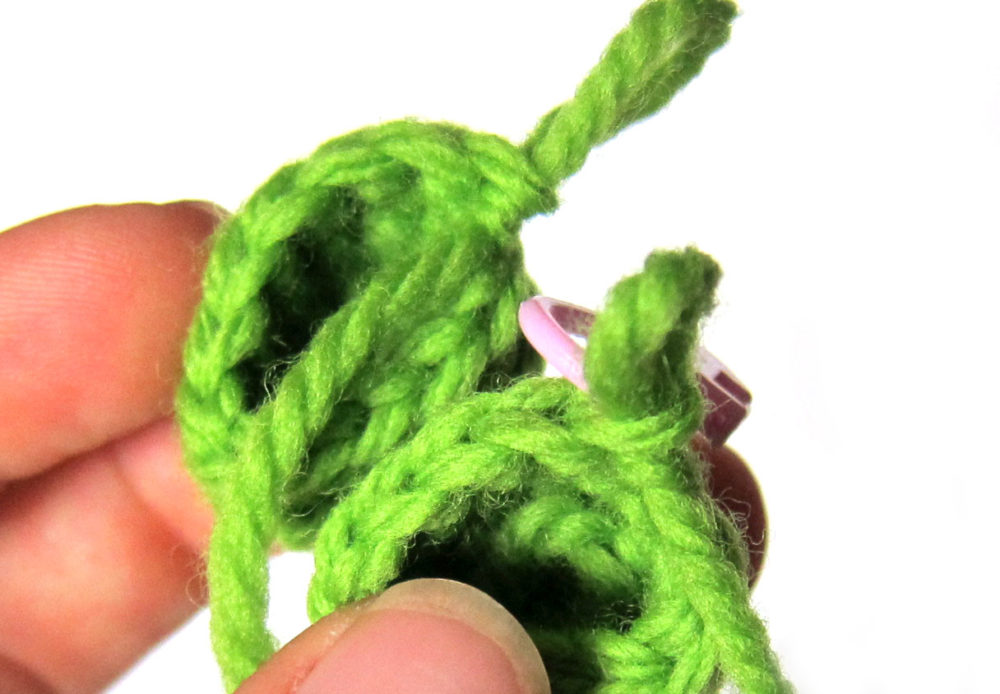
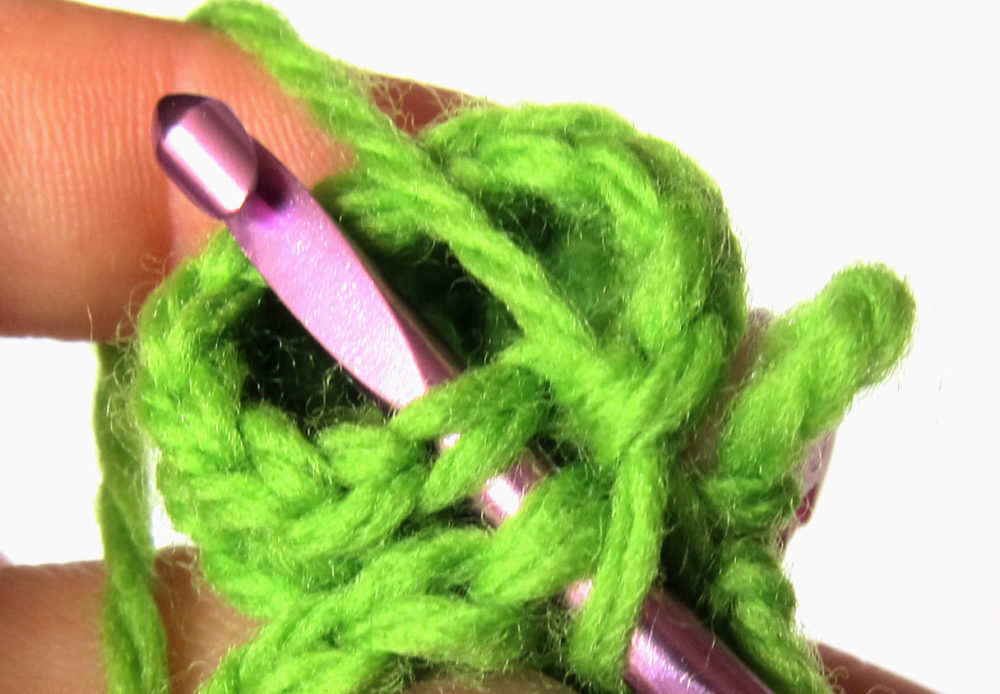
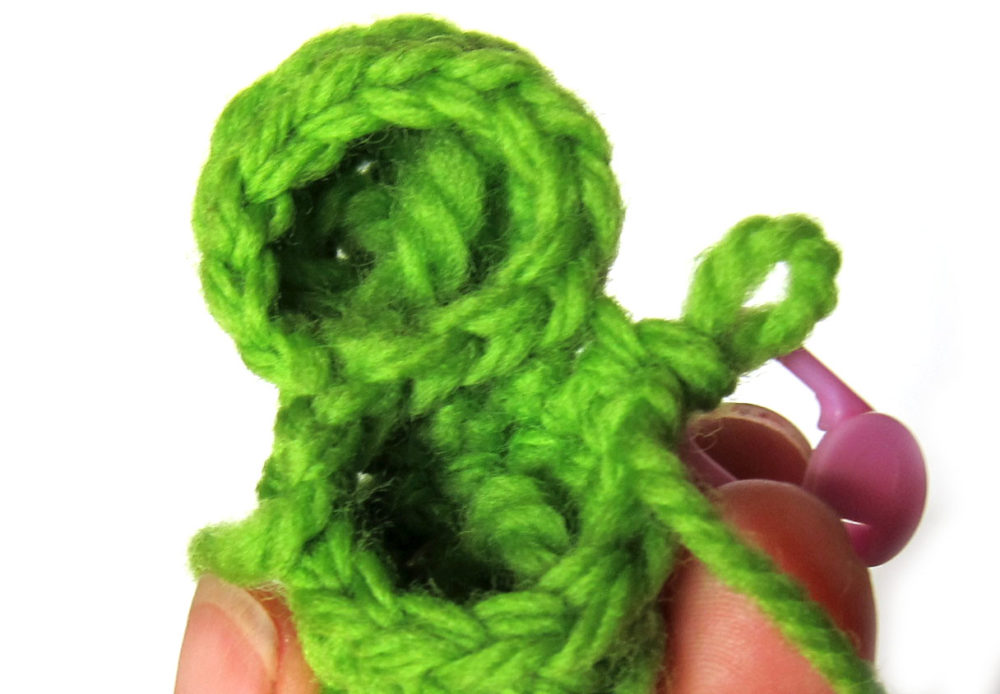
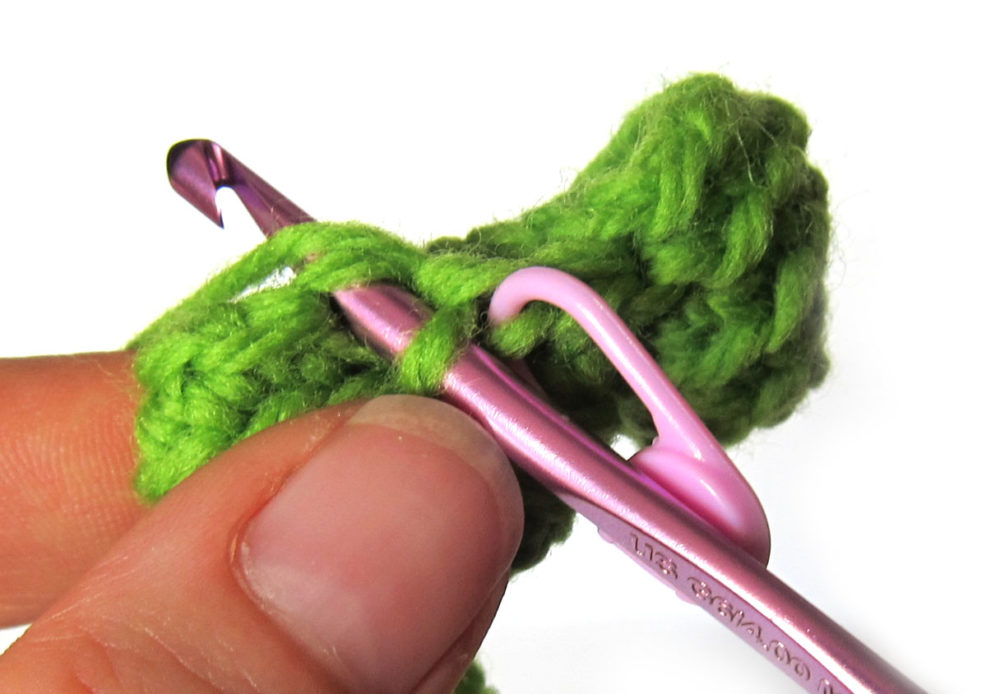
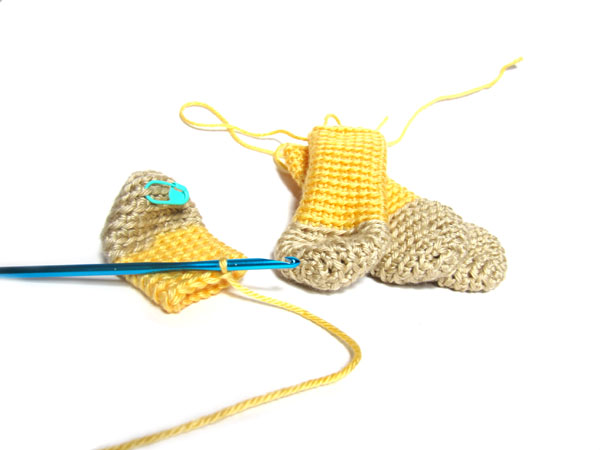
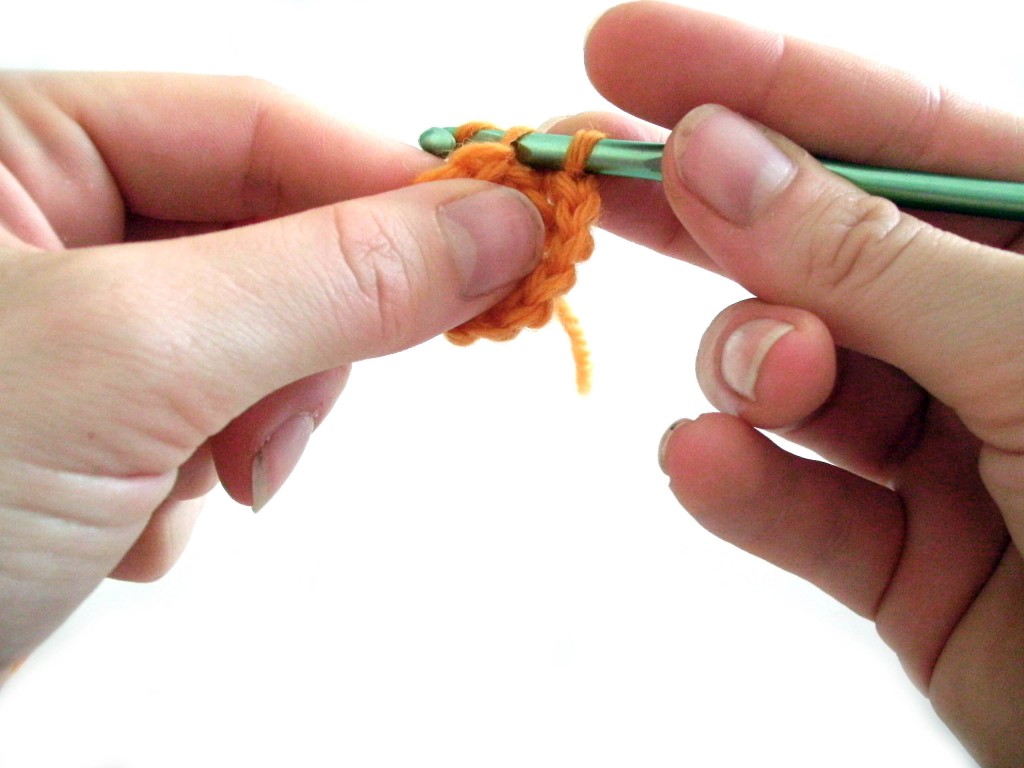
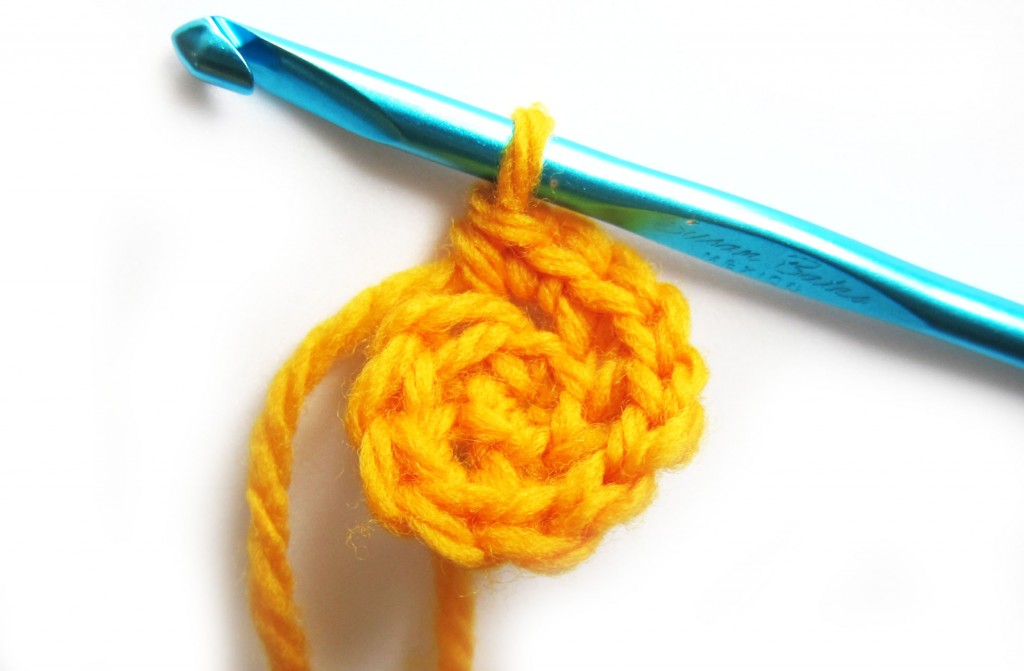
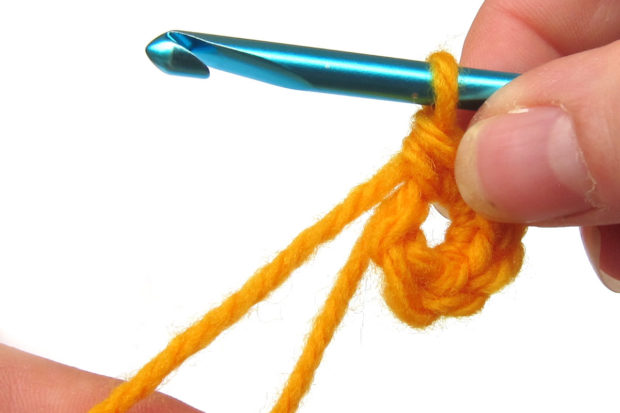
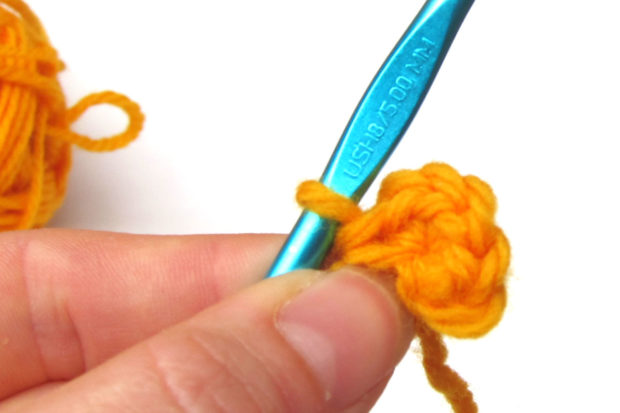
Stitch into the Back
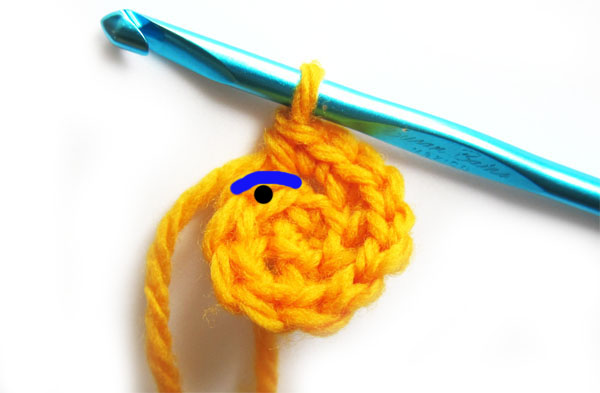
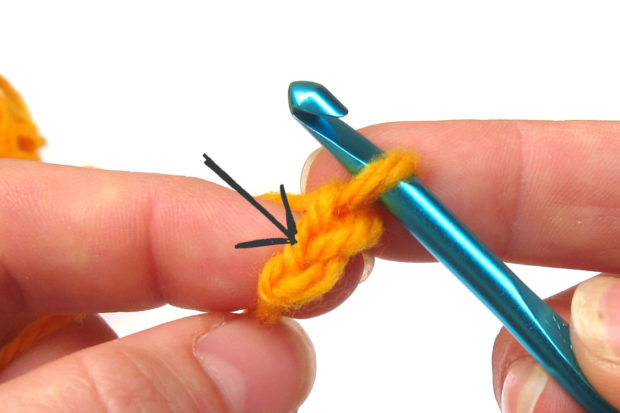
All stitches in this pattern (that are worked in the round) are worked through the back loop only, unless otherwise directed. Look at this picture.
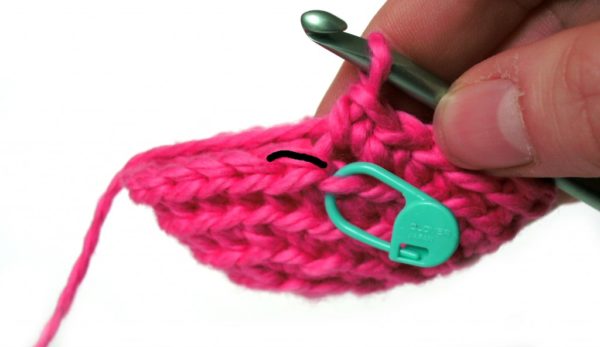
See how one loop is highlighted in black? This is the back loop, and it’s what you’ll stitch into. Stitching into the back loop creates ridges on the right side of the piece.
Want to see crocheting through the back loop in action? Check out this blog post. It talks all about why Stacey crochets through the back loop and even has a handy dandy video showing how to find that loop. 🙂
Abbreviations
- ch: chain
- sc: single crochet
- sc2tog: single crochet 2 stitches together
- st(s): stitch(es)
Ready? Let’s jump in!
Body
With black yarn, ch 2 (I like to start with a sloppy slip knot. This video shows how. And this video shows how to chain.)
Round 1 sc 6 in 2nd ch from hook (6) This post will help you find that second chain from the hook.
Round 2-3 sc in each st (6) This video will help you if you find it tricky to start the second round.
Round 4 sc twice in each st. (12)
Round 5 [sc twice in next st, sc in next st.] 6 times (18)
Round 6 [sc twice in next st, sc in next 2 sts.] 6 times (24)
Round 7 [sc twice in next st, sc in next 3 sts.] 6 times (30)
Rounds 8-11 With yellow yarn, single crochet in each st. (30) This video will help make that color change cleanly.
Round 12 With black yarn, single crochet in each st. (30)
Round 13 [sc2tog, sc in next 3 sts.] 6 times (24)
Round 14 [sc2tog, sc in next 2 sts.] 6 times (18)
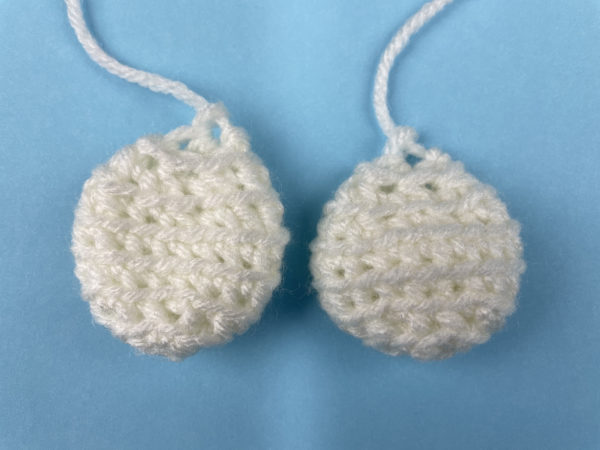
Wings
Make 2
With white yarn, chain 2.
Round 1 sc 6 in 2nd ch from hook (6)
Round 2 sc twice in each st. (12)
Round 3 [sc twice in next st, sc in next st.] 6 times (18)
Round 4-5 sc in each st. (18)
Round 6 [sc2tog, sc in next st.] 6 times (12)
Round 7 [sc2tog, sc in next 2 sts.] 6 times (6)
Fasten off with long tail.
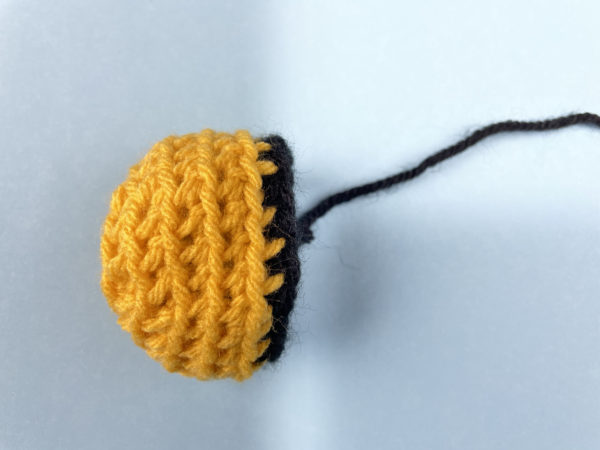
Head
With yellow yarn, chain 2.
Round 1 sc 6 in 2nd ch from hook (6)
Round 2 sc twice in each st. (12)
Round 3 [sc twice in next st, sc in next st.] 6 times (18)
Round 4 [sc twice in next st, sc in next 2 sts.] 6 times (24)
Round 5-6 sc in each st. (24)
Round 7 With black yarn [sc2tog, sc in next 2 sts.] 6 times (18)
Fasten off with long tail.
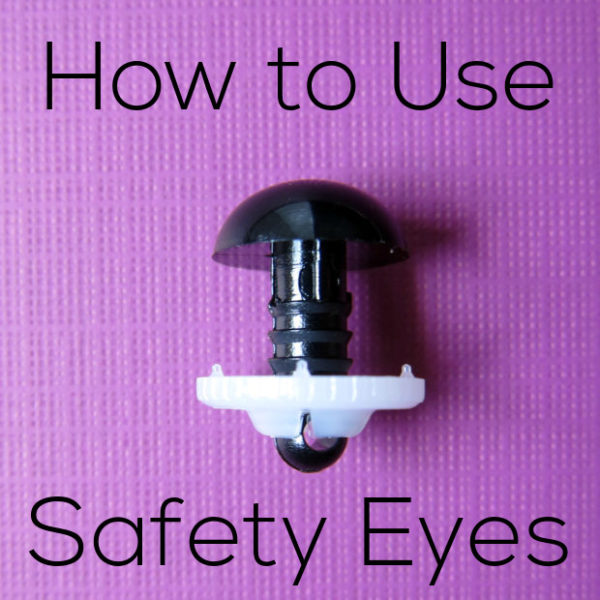
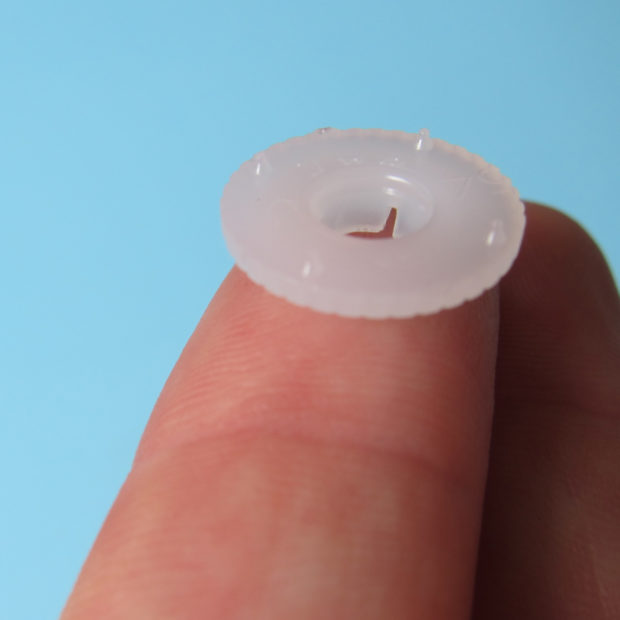
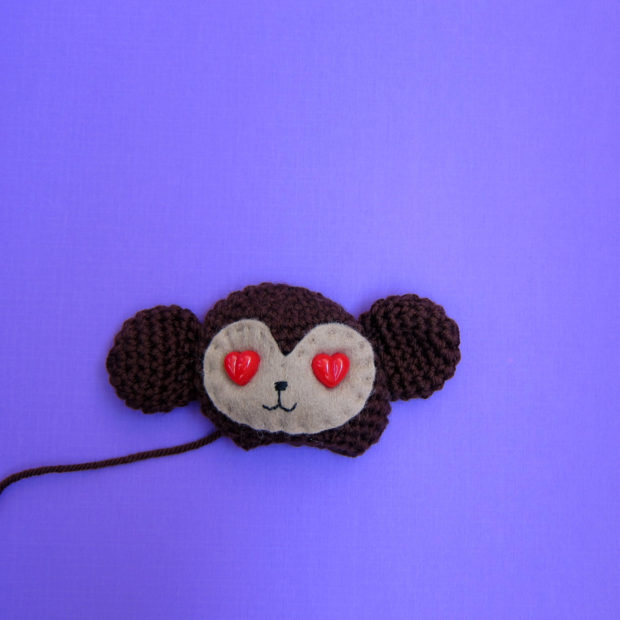
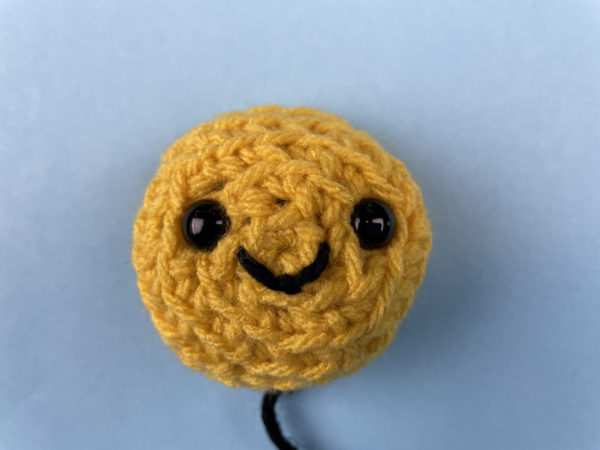
Insert two safety eyes into round 3 of the face and embroider a little mouth.
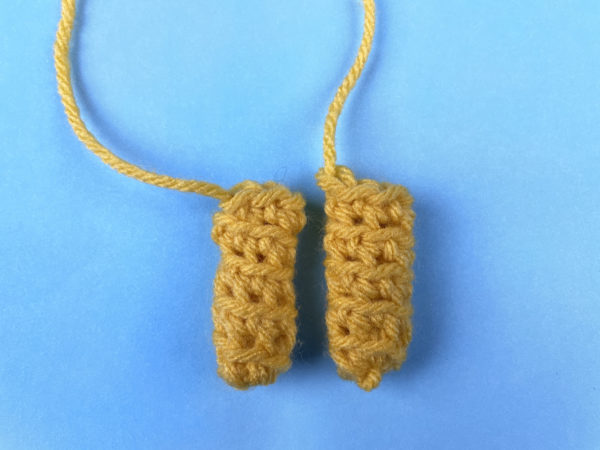
Antennae
Make 2.
With yellow yarn, ch 2.
Round 1 sc 6 in 2nd ch from hook (6)
Round 2-6 sc in each st (6)
Fasten off with a long tail. (This post has some tips for crocheting skinny pieces like those antennae.)
Time to start putting the pieces together!
Stuff the head and the body and attach. This post shows you how to attach the head to the body and keep a shapely neck.
Flatten wings in half and attach one wing to each side of the body, in the black stripe just behind the head. This video shows how to attach a flattened piece.
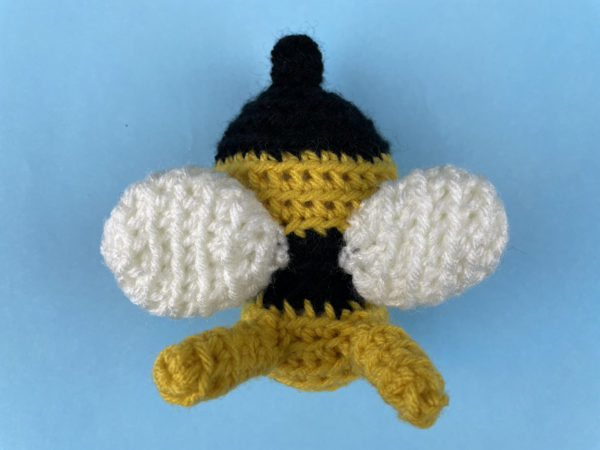
Attach the antennae to the top of the head, just behind each eye, using whipstitch. This post shows how to attach with whipstitch.
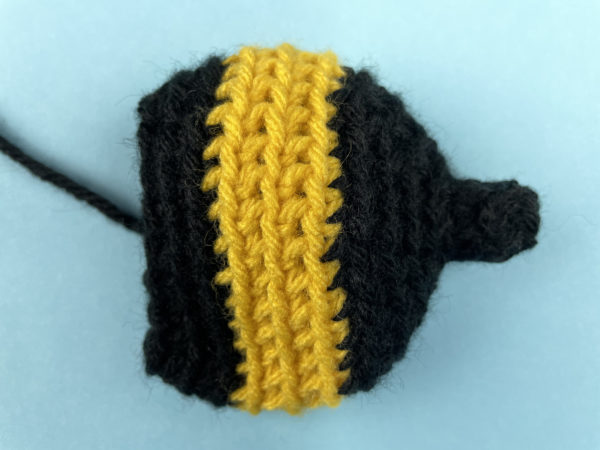
Finished!
Here’s a side view so you can see that cute stinger!
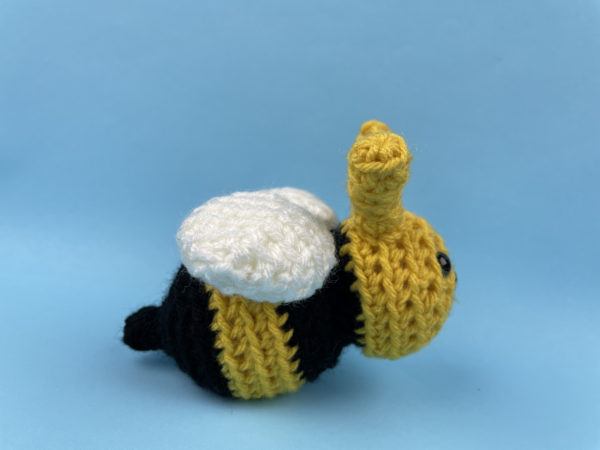
I’m so glad he doesn’t sting. 🙂
Congratulations! Please post a photo over in the Shiny Happy People group! We’d love to see the adorable bumblebees you make with this free crochet bee pattern!
Happy stitching!