It’s a brand new class covering everything you need to know to do GIANT applique.
How to enlarge any applique pattern to any size you like – including an easy formula
How to work with that giant pattern
What to do when the pattern pieces are bigger than the biggest fusible adhesive you can buy
What to do when your applique is way bigger than your ironing board
You’ll get general information that you can use for any applique of any size for any project – but you’ll also get all the pattern pieces and instructions to make four fun projects.
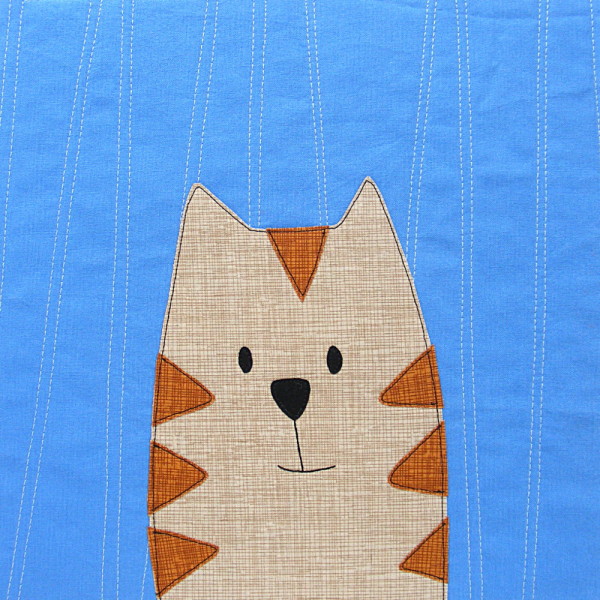
Make a BIG poster.
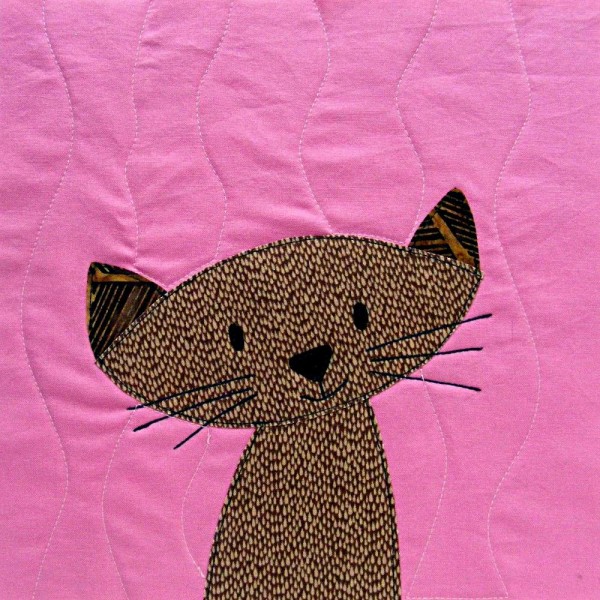
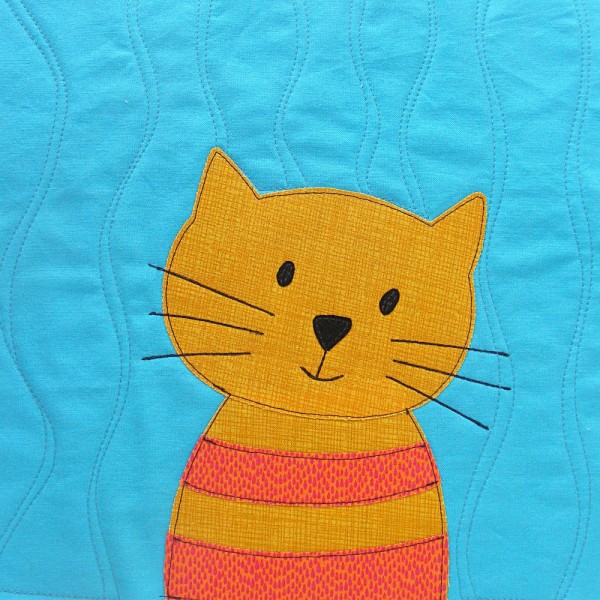
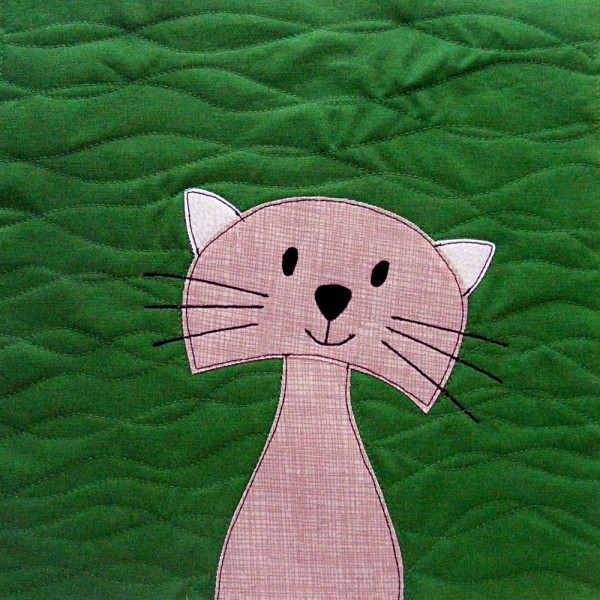
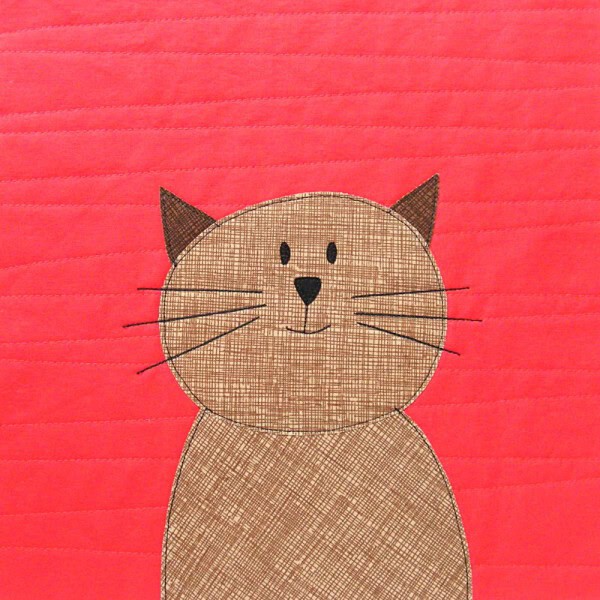
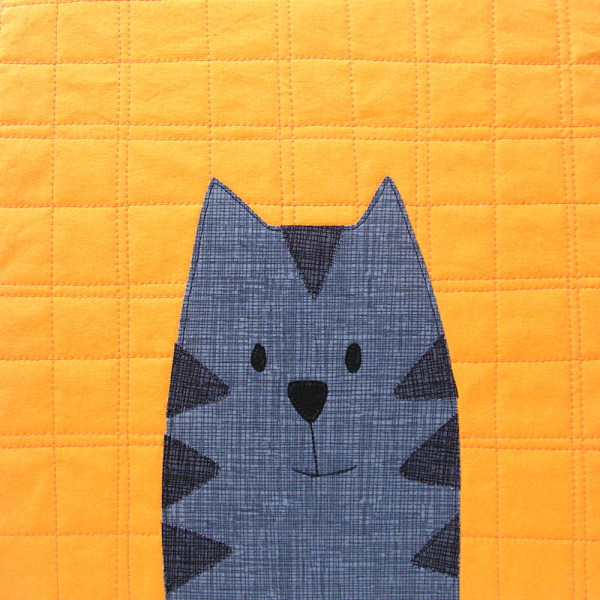
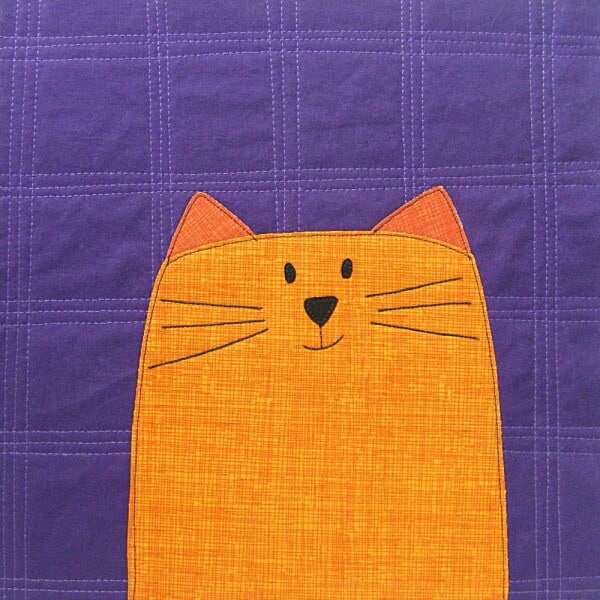
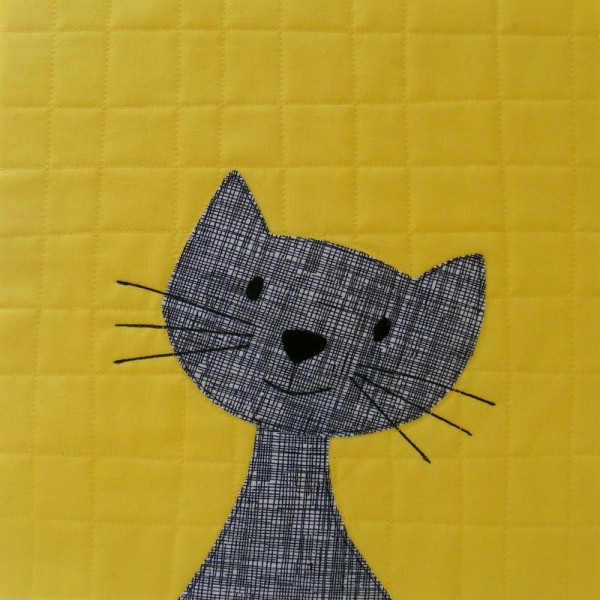
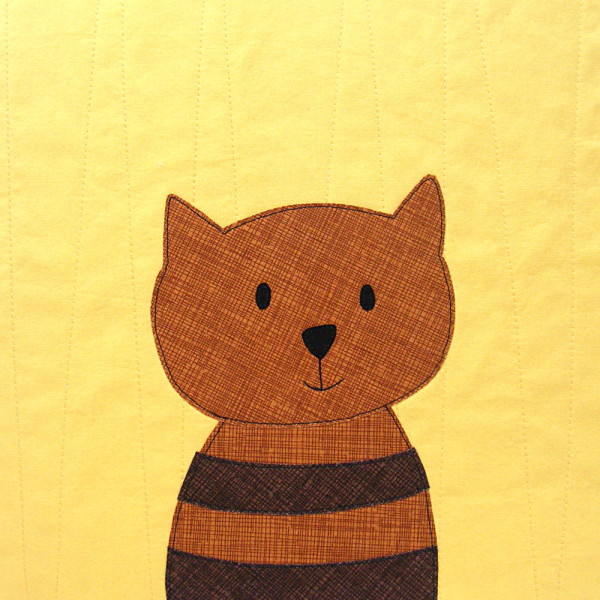
You’ll get the giant cat pattern, the alphabet, and the instructions to make a big poster.
I made this reminder to hang in my new studio – but you can make anything you like! This would be a great project for a new baby. Make a baby quilt, then enlarge your favorite block from the quilt to make a matching poster with baby’s name and birth date!
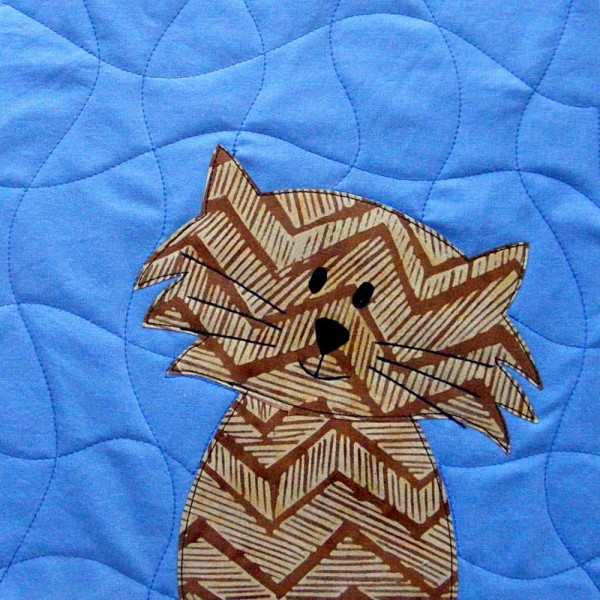
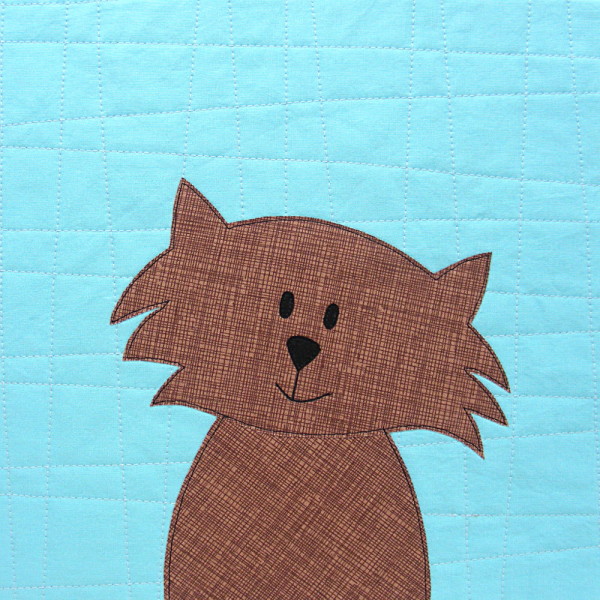
Make a BIG pillow.
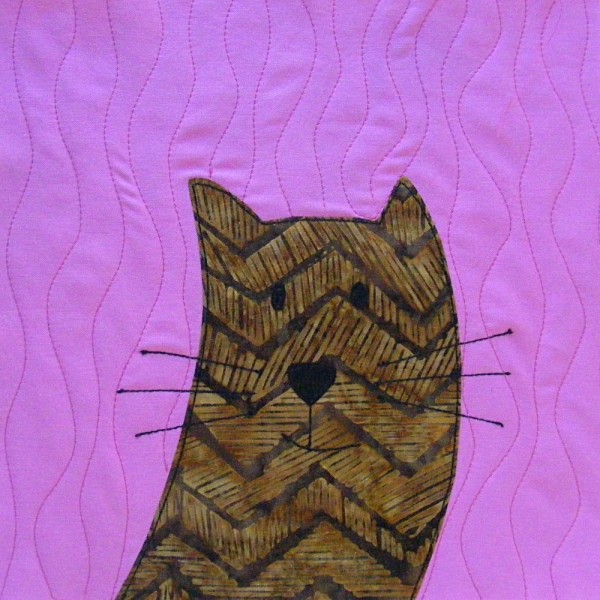
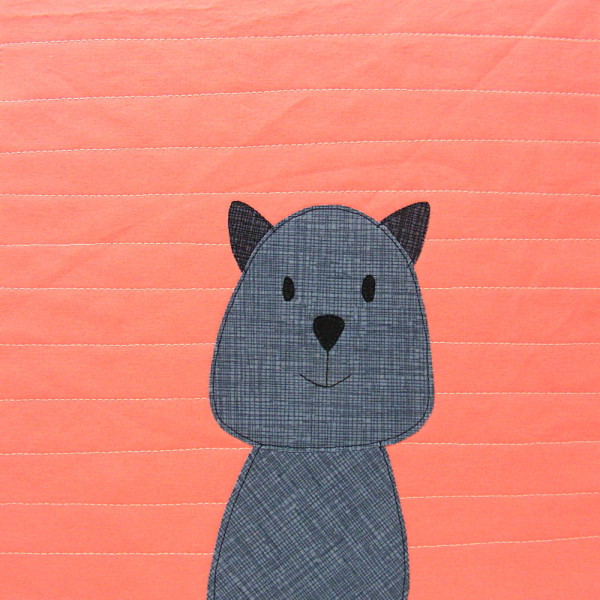
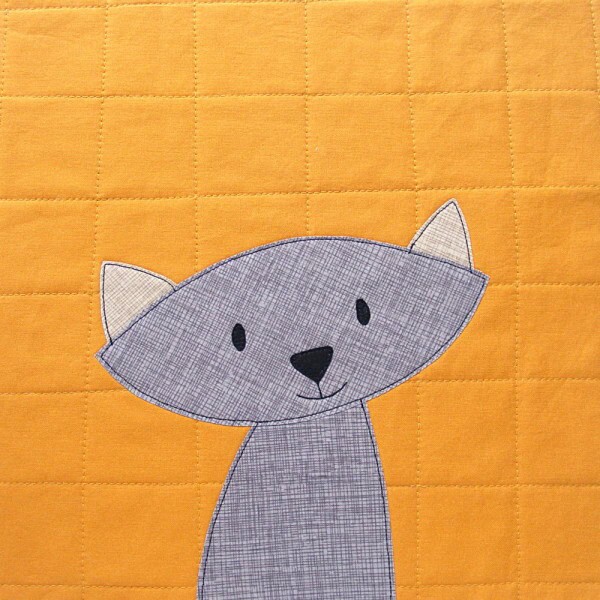
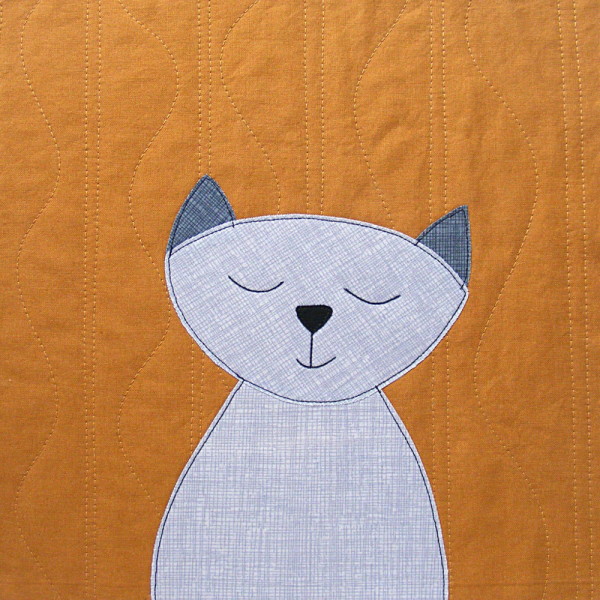
You’ll get the giant fox pattern plus all the instructions to make a big pillow. Mine is 26 inches square – but the class includes instructions to enlarge to any size you like. Make a big floor pillow to match one of the blocks in your favorite applique quilt!
Make a BIG bunny baby quilt.
This bunny quilt is fast and easy. You can make it in a day! The corner bunnies are “normal” 10 inch blocks and the center medallion is a whopping 30 inches square. The class includes instructions for easy peasy Quilt As You Go construction. You could easily adapt the pattern to work with any applique design in your stash, to match any nursery theme – but you’ll get the bunny pattern in both sizes.
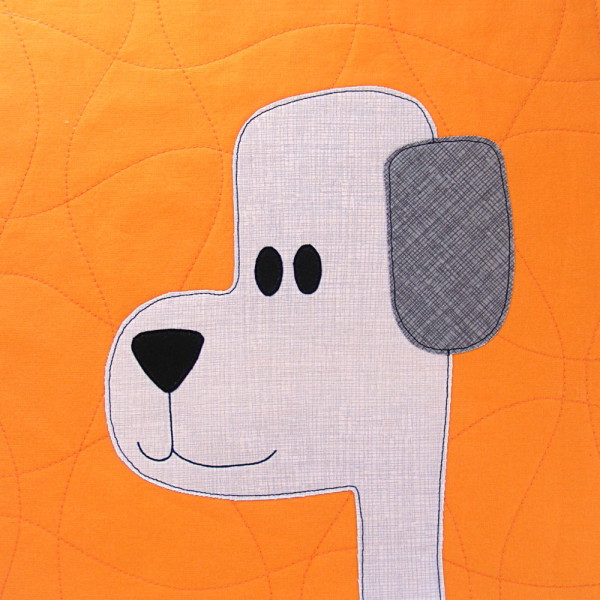
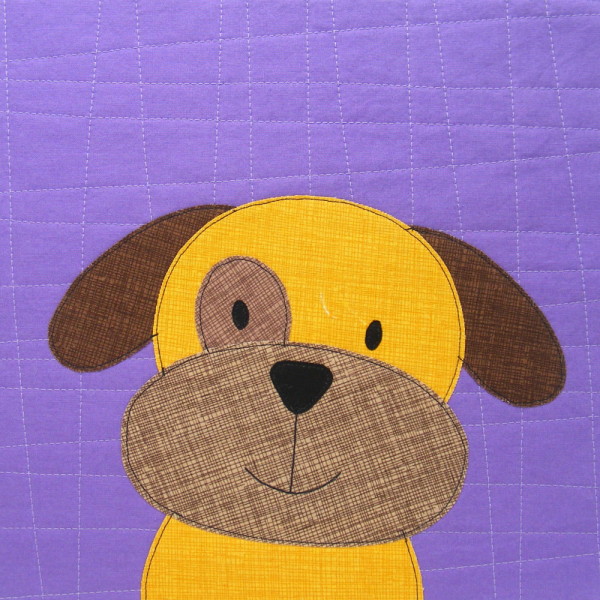
Make a BIG napping quilt.
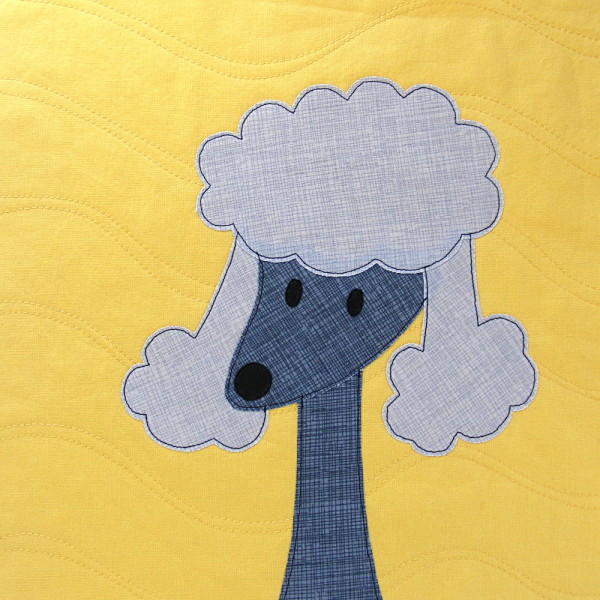
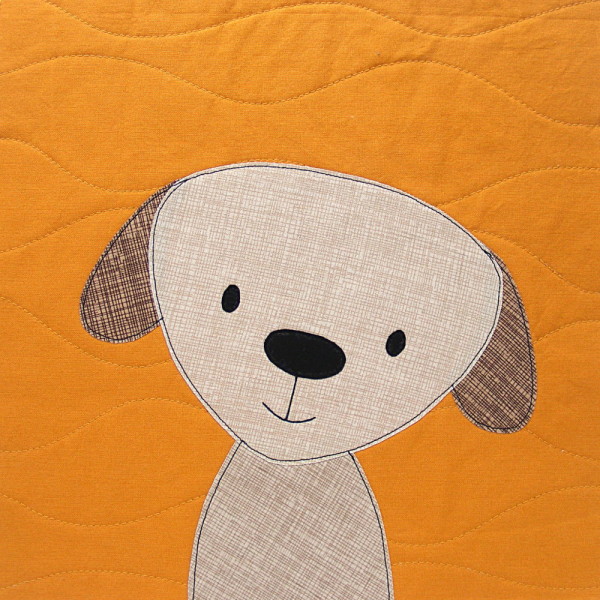
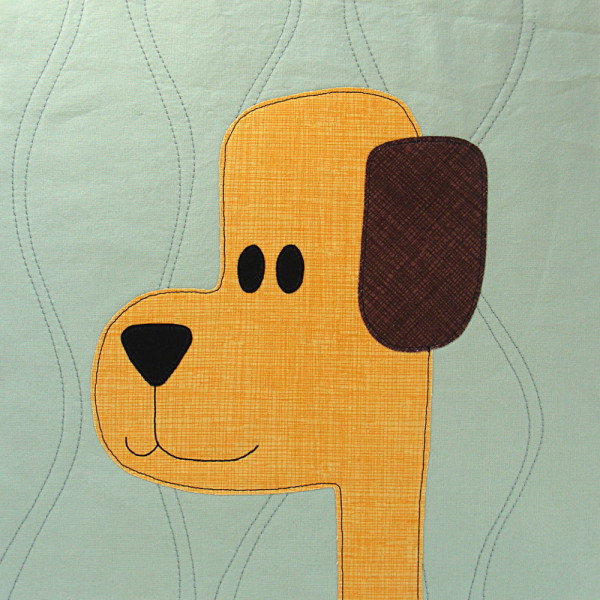
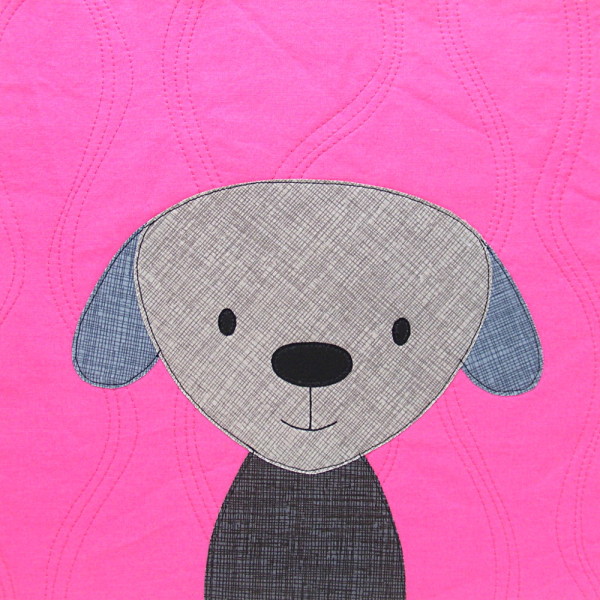
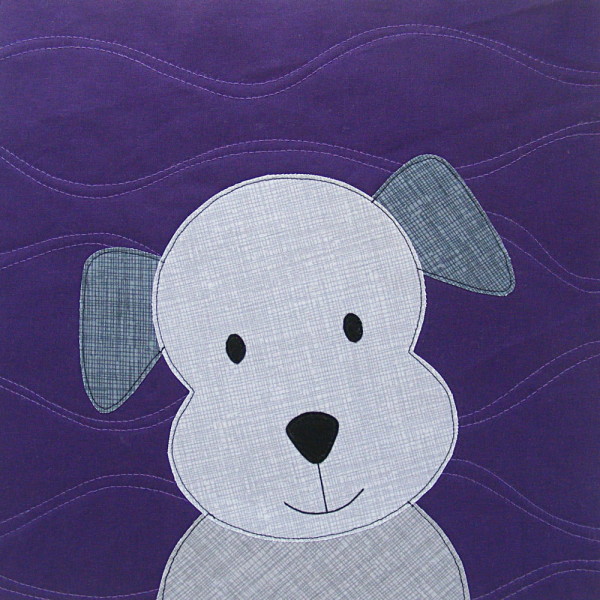
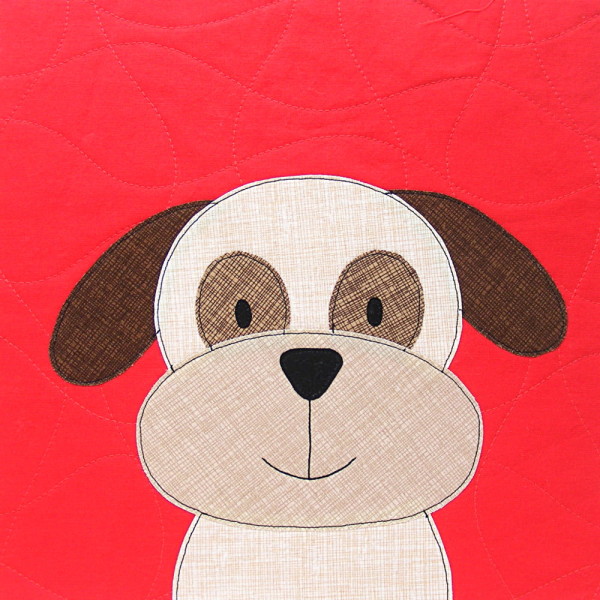
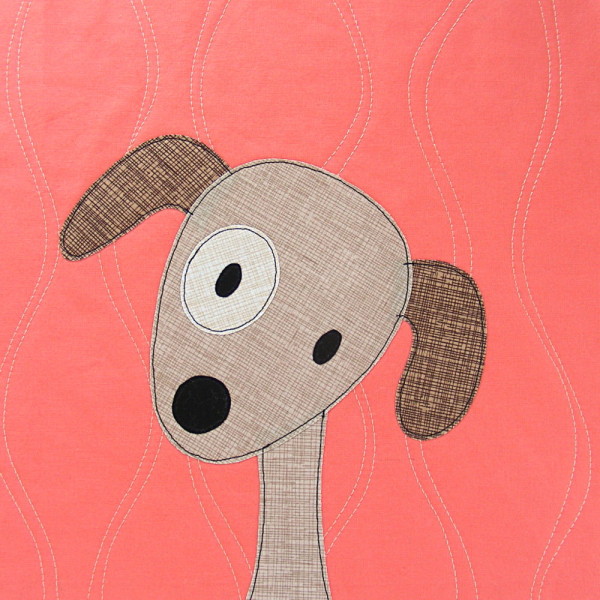
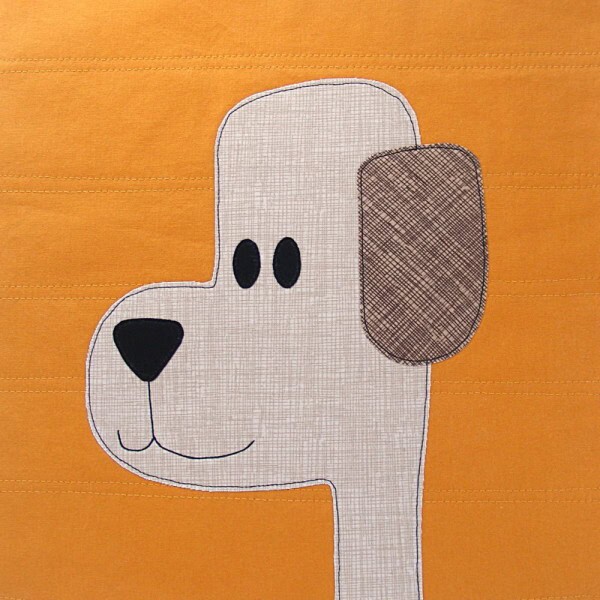
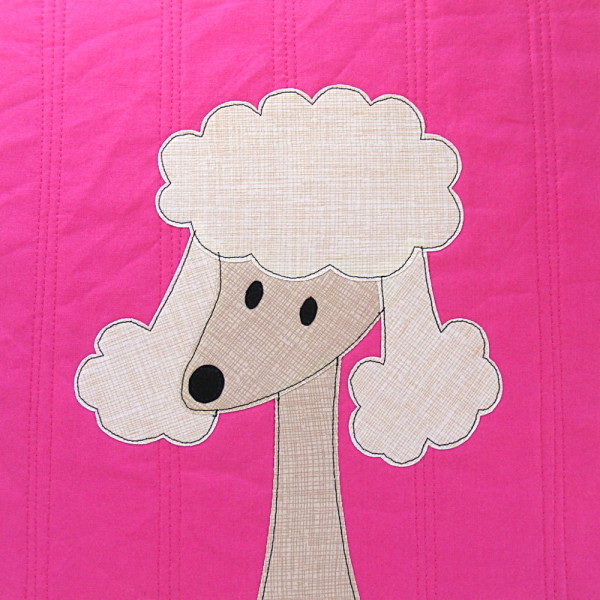
Whoa! Look at that giant version of my Augie Dog! It’s way WAY bigger than the original. 🙂
You’ll get the full-sized puppy pattern plus complete instructions to make a 50 x 60 inch napping-size quilt – my favorite size for curling up on the couch. Using Quilt As You Go doesn’t make much sense for a quilt made of one HUGE block, so I include a video with tips for quilting it.
Of course, the class includes instructions to enlarge any block to size for a quilt like this. I’ve already had one reader suggest a quilt with a single “doll” from the Paper Dolls quilt, enlarged to be the same size as your child or grandchild. What a brilliant idea!
By the end of the class you’ll be able to adapt ANY applique design to ANY size you like – and add huge fun to all your favorite patterns. 🙂
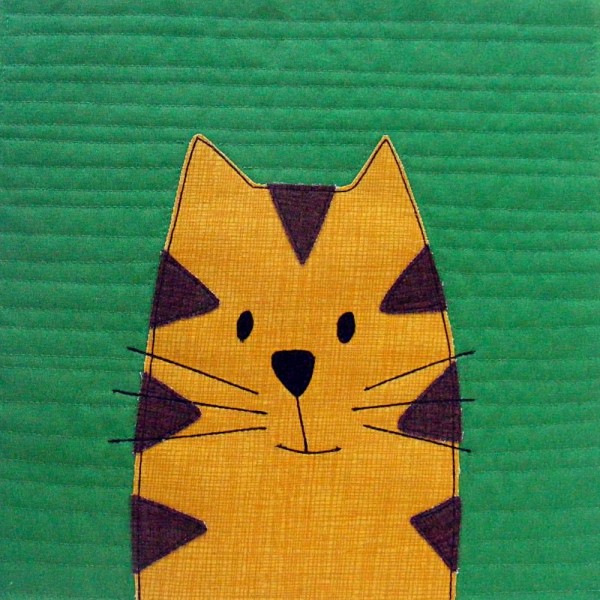
When I made the first cat quilt for my daughter Jo, she asked for cuddle fleece on the back. Until then I had only used it for stuffed animals, but she thought it would make an exceptionally cuddly quilt.
She was right.
After sleeping under it the first night she came to me and very seriously said, “Mommy. You should never use anything else on the back of your quilts.”
She was right again. 🙂
Wonderfully – I’ve found that it’s no harder to work with than a woven fabric on the back!
Note – I’ve heard from a few people with Brother machines that they do NOT like pulling the cuddle fleece through. We think it might be that the Brother feed dogs are less “grabby” than other manufacturers? Just be aware – if you have a Brother machine you may need to give it some extra help to get it to move through the machine.
A lot of people have asked me whether they have to do anything special to use cuddle fleece on the back of their quilts.
Do they need to use a special needle?
Do they needle to use a particular thread?
Do they have to use a walking foot?
Can I show actually doing some of the quilting?
Can I show what it looks like from the back?
I can show you all of that!
I’ve made a bunch of these now and I’ve found that I don’t really need to treat it any different from using a woven fabric background. In fact – I think it’s even less likely to get tiny folds or puckers in it. 🙂
A note about the fluff. . .
By the time I get to the backing/quilting/binding step of a project I’m always super excited to finish – and I don’t take the time to tumble the backing in the dryer to get rid of the fluff on those cut edges. 😛 If you’re more patient than me. . .
Cut the backing to size
Toss it in the dryer on air dry for 15-20 minutes. That will pull almost all of the fuzz off the edges and catch it in the lint trap.
Proceed as normal – baste, quilt and bind wearing whatever you want and not worrying about getting too messy. 🙂
Cuddle fleece makes an extra cuddly quilt with (in my opinion) the perfect weight. And it washes and wears beautifully!
Here are all my posts about layering and basting your quilt, and the final round of quilting.
Here are all my posts about hand quilting and Big Stitch quilting. I don’t use these techniques with fusible applique or Quilt As You Go, but I LOVE using Big Stitch Quilting with my cheater fabric.
I think a lot of the questions come from people who just can’t believe how easy it is. Like, there’s this nagging feeling that they must be missing an important, fussy step. For example – trimming the excess batting out of all the seam allowances. I can’t imagine anything more tedious or less fun and I’ve had several people ask if they have to do that. *shudders at the thought*
It really is dead simple and super easy. Have fun with it!
I usually follow these steps to make any of my Quilt As You Go applique quilts. . .
cut quilt blocks (and batting) 11 inches square
quilt the blocks
applique the blocks
outline stitch the applique
trim quilt blocks 10 1/2 inches square
sew the quilt blocks together
press seams open
baste to backing
quilt
bind
I’ve had several requests for more information about step 5 – specifically a video showing how to square and trim quilt blocks. It’s actually really easy – if you have the right tools.
Here’s how. . .
I don’t have very many rotary cutting rulers – but this is one that I really can’t imagine doing without. I highly recommend it if you do any quilting at all.
This is the exact ruler that I use to trim quilt blocks – the one you see in the video. It’s not inexpensive, but Joann’s always seems to have a good coupon and that can make a big difference. 🙂
For bigger quilt blocks (like the ones in this free Polaroid Quilt Block Tutorial) I use an even bigger ruler – one that’s a whopping 20 1/2 inches square! It’s a little unwieldy, so I only use it for the bigger blocks.
The Quilt As You Go lessons, videos and patterns are the most popular pages here at Shiny Happy World. That makes sense! It’s a super easy and fun way of quilting, and I don’t know of anyone else who does it quite the way I do.
Over time I’ve added a bunch of tutorials to answer questions, demonstrate specific steps, and make things as easy as possible. It’s time for one page to corral all those Quilt As You Go instructions!
If you want to work through these lessons in a systematic way, you can find them all here.
Every single lesson is free, and you can use any pattern to practice all your new skills!
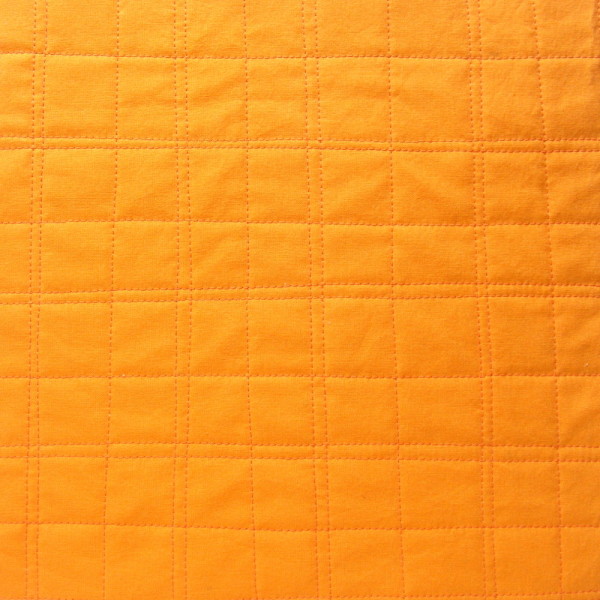
I’m currently rewriting all of my patterns to these cutting instructions. . .
Cut the blocks and batting 11 inches square (or even a smidge bigger – it doesn’t have to be exact). This will give you a little wiggle room and I like wiggle room.
For half blocks (like adding words to your quilt) cut the initial blocks 11 x 6 inches. After quilting and applique, trim to 10 1/2 x 5 1/2 inches. Finished blocks will be 10 x 5 inches – exactly half the size of a full block. (Quilt Block Sizes for Alternate Grid Layouts has lots more info about half blocks and double blocks.)
Quilting Patterns
I get a lot of questions about how I quilt my blocks. Here are some specific answers. . .
I don’t baste the batting to the block. I find that the cotton fabric clings just fine to the cotton batting and I don’t have problems with shifting.
I don’t mark any of my quilting patterns – I just jump in and start doodling on the machine and it’s lots of fun.
I don’t use a special needle or thread – just a universal 80/12 needle and regular all-purpose thread.
I do set my stitch length a little longer – a 3 on my machine. I like the look of the bigger stitches and it makes the quilting go faster. 🙂
I do use a walking foot. All the quilting patterns I currently use work fine with the feed dogs and walking foot engaged – through I think this method would also work very well for people learning free motion quilting. That will be me someday. 🙂
You can watch how I do it and see a gallery of quilting pattern ideas in the following videos. . .
Piecing or Applique?
You can use QAYG for piecing or applique – but I especially love it for applique. I quilt all my blocks first, and then I applique over the quilting.
A lot of people ask – don’t the quilting lines show through your applique when you do the quilting first?
I’ve done a lot of experimenting with that and I’ve gotten to a place where that almost never ever happens. Here’s what to do. . .
Use 100% cotton fabric. The worst show through I’ve had is when I’ve accidentally used a piece of mystery fabric that turned out to have synthetic content. 🙁
Iron your quilted block nice and smooth and let it cool without moving before adding your applique. It’s an extra step, but it only takes a few seconds and it makes a big difference.
If you’re really worried about it, you can do the quilting after you applique. I give tips on that for lots of different patterns in these videos.
I usually outline all my pieces with all-purpose black thread and a simple straight stitch. I love the slightly cartoony look and I think it works well with the style of my applique designs.
Of course, you can use any decorative stitching you choose if that’s the look you want! I’m more likely to stick with the straight stitch and use a thicker thread if I want a heavier line. Read more about playing with different thread weights here.
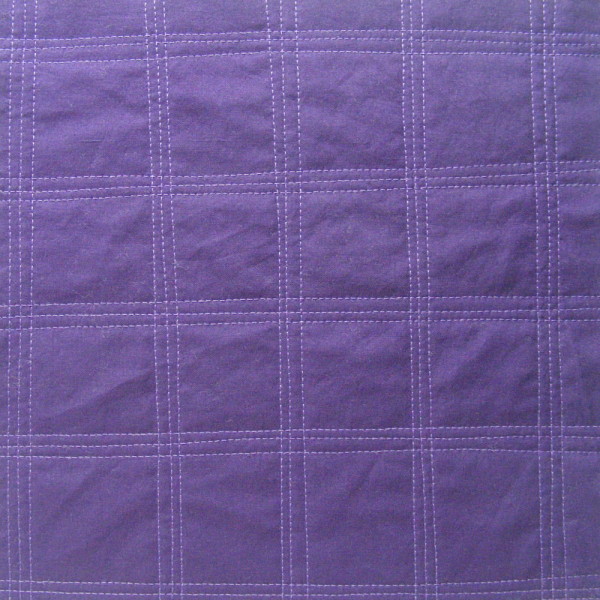
I press my seams open to eliminate bulk. You do NOT need to trim the batting out of the seam allowance. That would very quickly turn this into a not-fun technique. 😛
Baste your finished quilt top to your back using whatever method you like. I have had nightmare experiences with spray basting, so I stick to pins. You can see how I baste a quilt here.
Quilt the top to the backing just along the major seam lines. Sometimes I stitch in the ditch using a straight stitch, sometimes I stitch 1/4″ to each side of my major seams. Sometimes I use a zigzag or decorative stitch to quilt those seams. All of those options work equally well.
In these Quilt As You Go videos I showed the lines I was stitching on paper. I did this so you could get a bird’s-eye overview of the whole block, and also so you could see how to quilt around the applique, in case you choose to do things in that order. (I like to do my quilting first, then applique over it – but you can do it either way.)
But I’ve had several people ask for a video showing exactly how I sew these patterns at the machine. They want to know. . .
What kind of needle are you using?
How are you basting the block? Pins? Spray baste?
Are you using special thread?
What stitch length are you using?
What are you using to mark the lines?
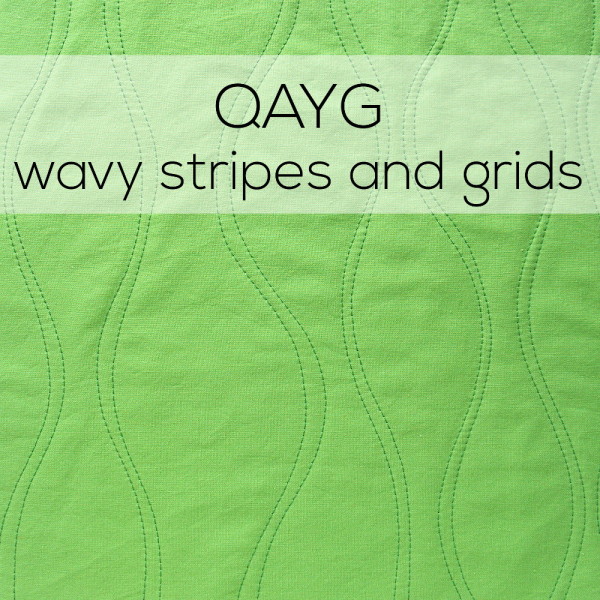
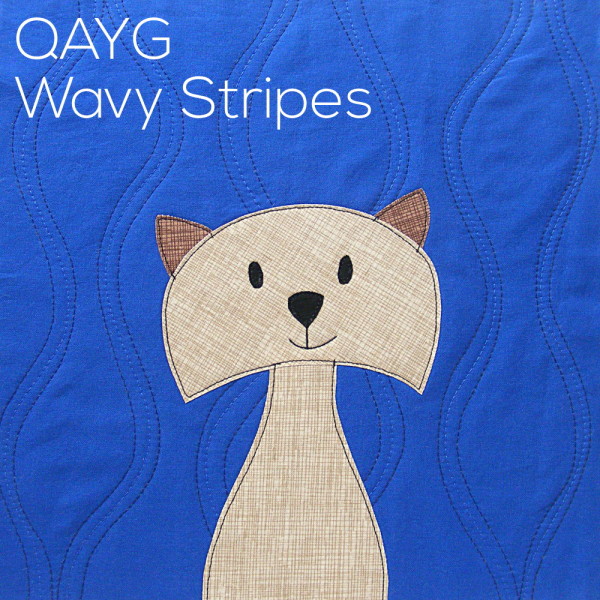
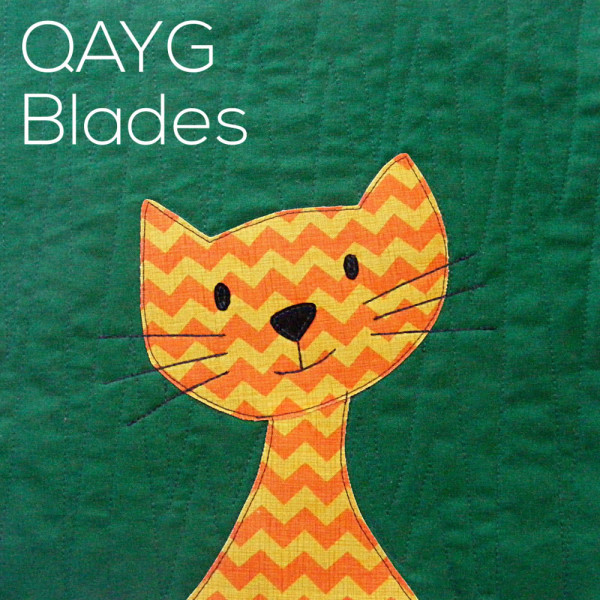
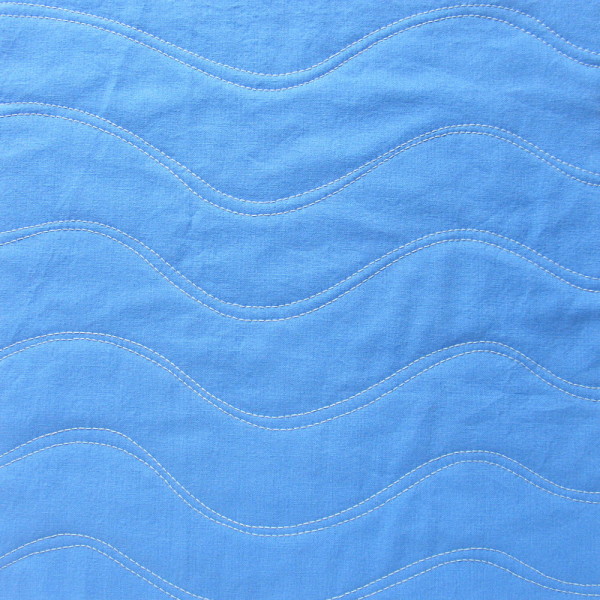
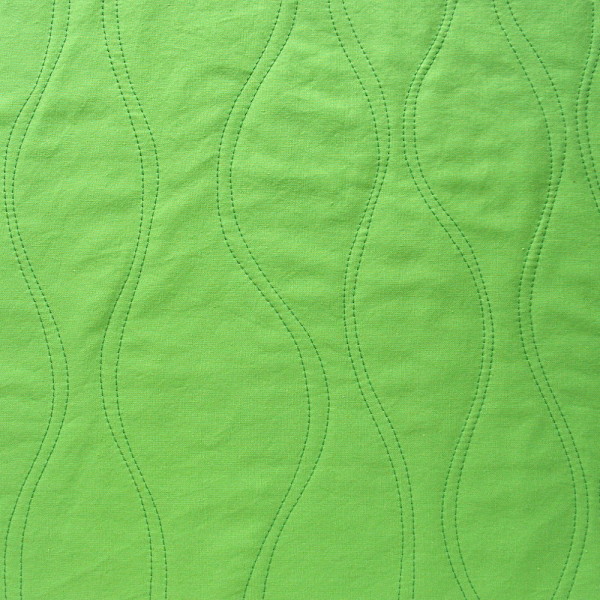
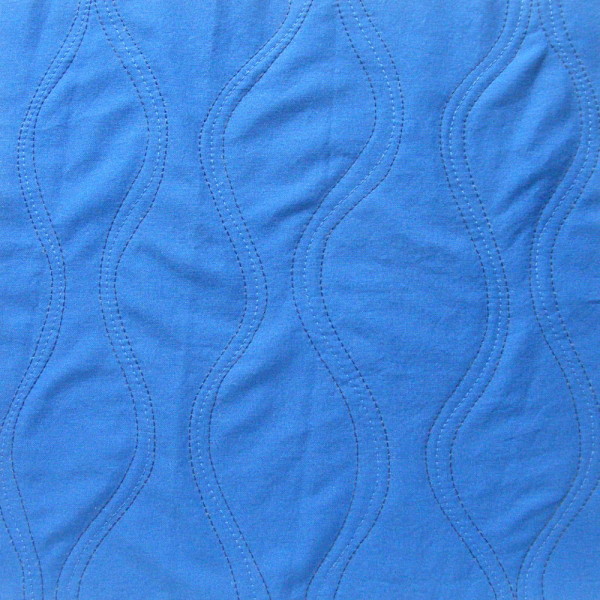
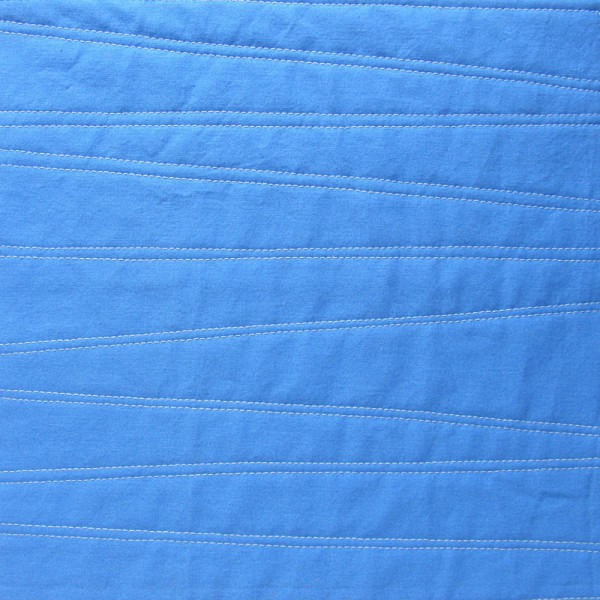
So here’s a video with all those answers! This one shows how I do Quilt As You Go with wavy lines – all the wavy stripes and grids that I love so much.
In the video I promised to show a gallery of quilt as you go designs – a menu of sorts that you can refer to when you’re looking for ideas. Here that is. If you click on any image you can see it a little bigger.
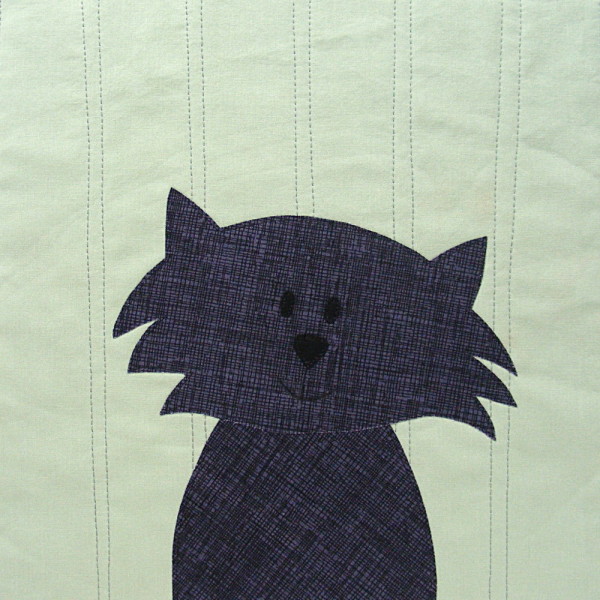
I almost always quilt my blocks before I applique. Some of these blocks are shown after the applique is added, but I did the quilting first. You can do it in any order you like, but if you quilt after you applique you have to go around the shapes.
Ready? Jump in and have fun! Quilt as you go makes your quilting super fun and easy.
But I’ve had several people ask for a video showing exactly how I sew these patterns at the machine. They want to know. . .
What kind of needle are you using?
How are you basting the block? Pins? Spray baste?
Are you using special thread?
What stitch length are you using?
What are you using to mark the lines?
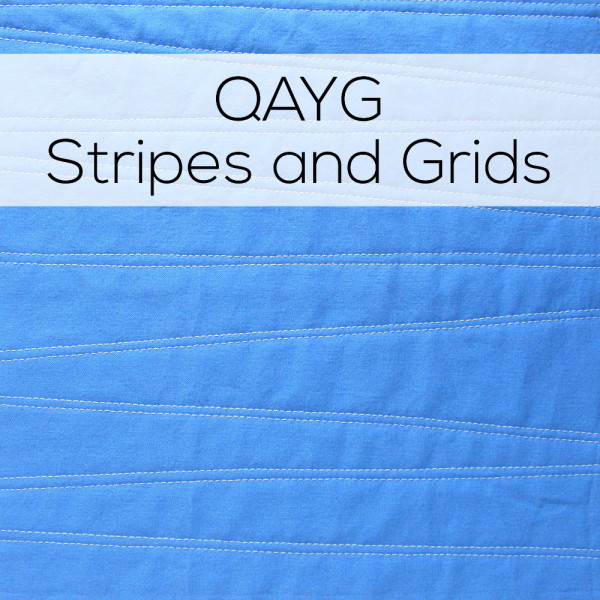
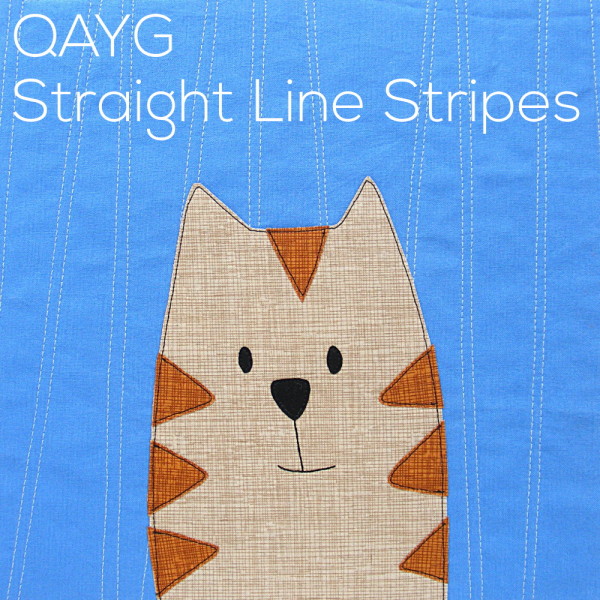
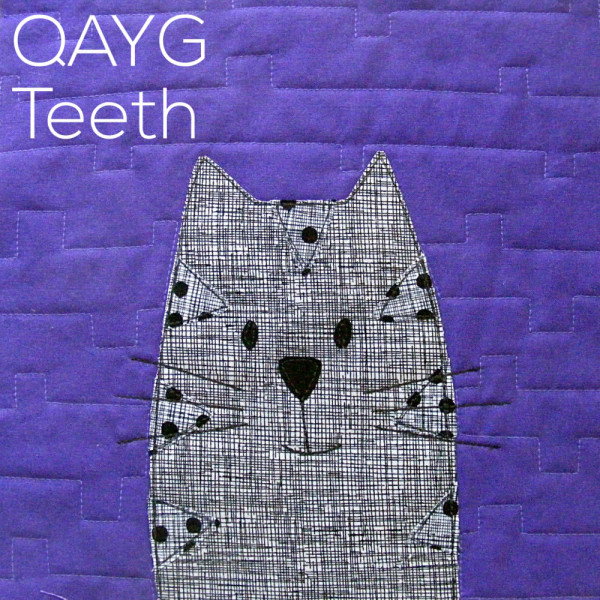
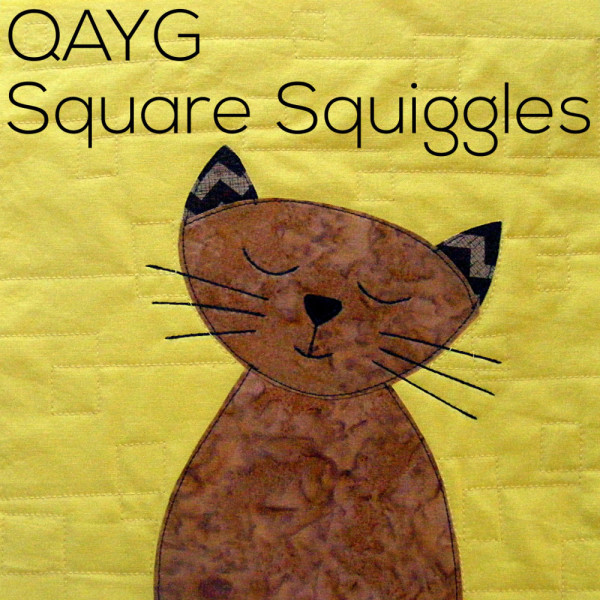
So here’s a video with all those answers! This one shows how I do Quilt As You Go with straight lines – all the basic stripes and grids that I love so much.
In the video I promised to show a gallery of quilt as you go designs – a menu of sorts that you can refer to when you’re looking for ideas. Here that is. If you click on any image you can see it a little bigger.
I almost always quilt my blocks before I applique. Some of these blocks are shown after the applique is added, but I did the quilting first. You can do it in any order you like, but if you quilt after you applique you have to go around the shapes. I show more about how to do that in this gallery of QAYG videos.
Ready? Jump in and have fun! Quilt as You Go stripes and grids are super fun and easy. 🙂
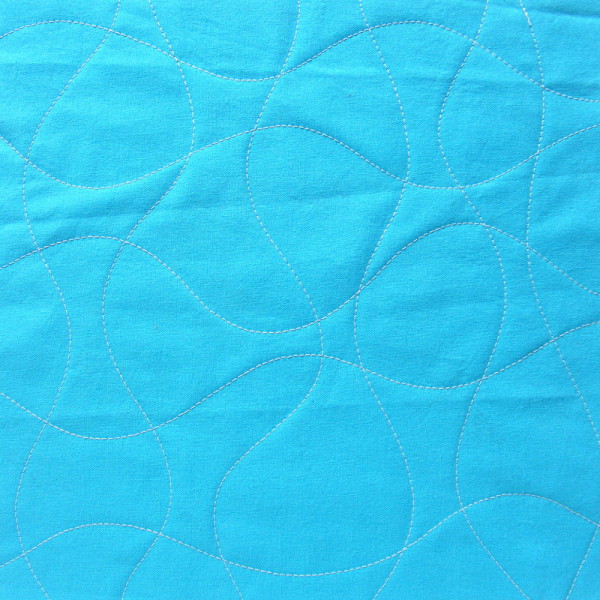
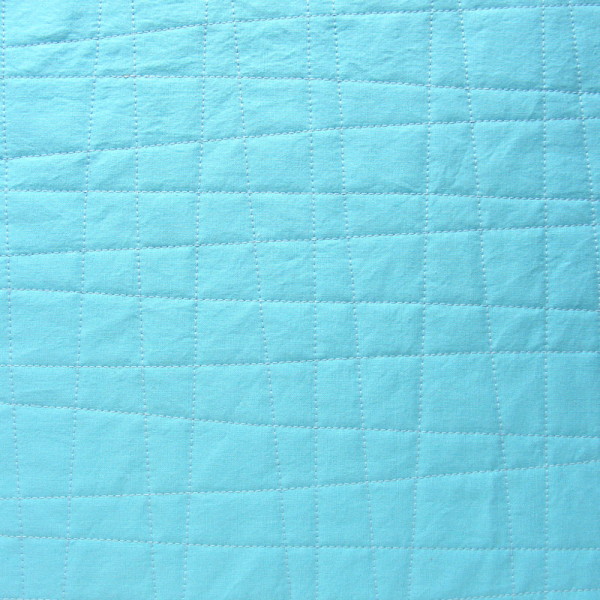
I HAD to use the post-washing version of this quilt for the video image. Look at all the crinkle! I would never have done quilting that dense without using the Quilt As You Go method. There would have been too much swearing and back pain. 😛
But with Quilt As You Go, look what I was able to do! The machine quilting on the final version of this quilt – the part where I was quilting the whole quilt, not individual blocks – took exactly 30 minutes. I can do anything for 30 minutes! And quilting the individual blocks was so much fun!
Enough gushing about the general technique. Here’s the video showing how to attach the backing to your quilt. It’s pretty much exactly like layering and basting a regular quilt, only you don’t have to worry about the batting. I tried to answer in this video a lot of questions people had after watching the first QAYG video. Really – it is so, SO easy and fun!
2. The cuddle fleece I used on the back is exactly what I carry in my shop. It’s no longer available, but there’s info here about a good substitute I found. I include yardage info for different sizes in the pattern, and also in this post about choosing fabric for the quilt. You could use other soft and cuddly fabrics too – but I know for sure that this wears really well. I wouldn’t use polar fleece. Even the no-pill stuff will pill eventually and you don’t want the back of a quilt you worked so hard on (and that is sure to be well-loved) to look yucky in a few months or even a year.
Quilt As You Go (QAYG) is a technique that’s been around for a long time – but I’ve never tried it until now. There are a few different techniques floating around the internet – including a really common one that uses bias tape and is VERY fussy and irritating, in my opinion. I’ve been playing around with the method for a couple of months now and this is the way I like to do it. 🙂
The video has more detail, but here it is in a nutshell. . .
The hardest part of machine quilting is any time you change direction. That’s pretty limiting. There are plenty of times when a grid or a series of parallel lines is just perfect for a quilt I’m making, but sometimes I want the background quilting to be a little more fun. This is especially the case with my applique quilts, where what I really want to do is quilt around each face and then do something fun to add texture to the background.
That’s when QAYG is perfect.
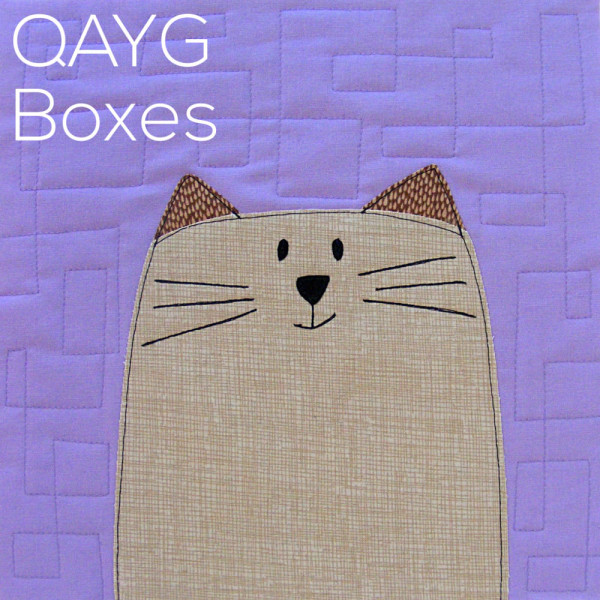
You layer a piece of batting with each block and then quilt just that block in the machine. It’s small and easy to spin around in all kinds of fun patterns. Whee!
You join all the blocks together after they’re quilted, and then just do some easy grid quilting in the final big quilt.
So here’s the first video in the series. . .
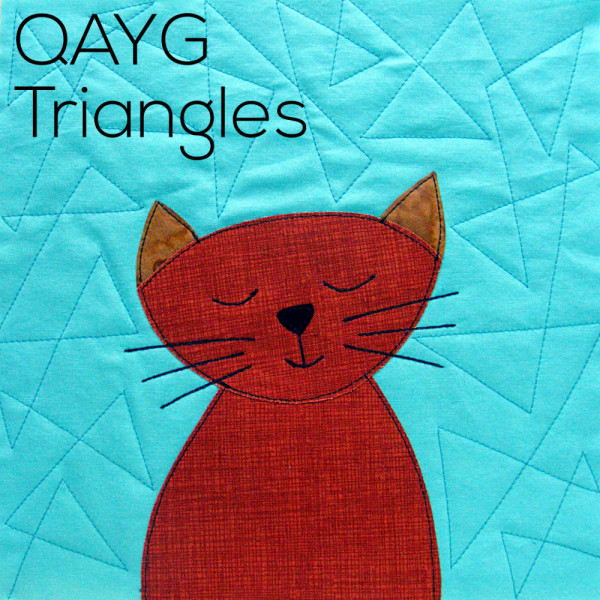
See how easy that is? There’s still some machine quilting, but it’s the easiest kind. And the rest of it opens up a whole new world of easy peasy zigzags and triangles and wobbly waves.
I know some of you already do all that stuff with free-motion quilting. I tried that once and it was a disaster. I’ll try it again someday when I have the magical Bernina Stitch Regulator – I’ve tried that at a show and it does make it super easy. But in the meantime – this is the method I use.
So think of my QAYG method as giving you the look of free-motion quilting without having to learn that tricky technique.
Happy quilting!
If you want to learn more about how I do Quilt As You Go, there’s a much longer post with WAY more detail and lots of links to additional info and tutorials.