How to Make a Fabric Bookmark

There are a lot of tutorials out there for fabric bookmarks, but I’m very. . . picky. . . about my bookmarks. I’m a book collector, you see. My husband is a writer. We met when we worked together at an independent bookstore. I spent twenty years selling children’s books. Almost all of the art in our house is by children’s book illustrators. We are book people.

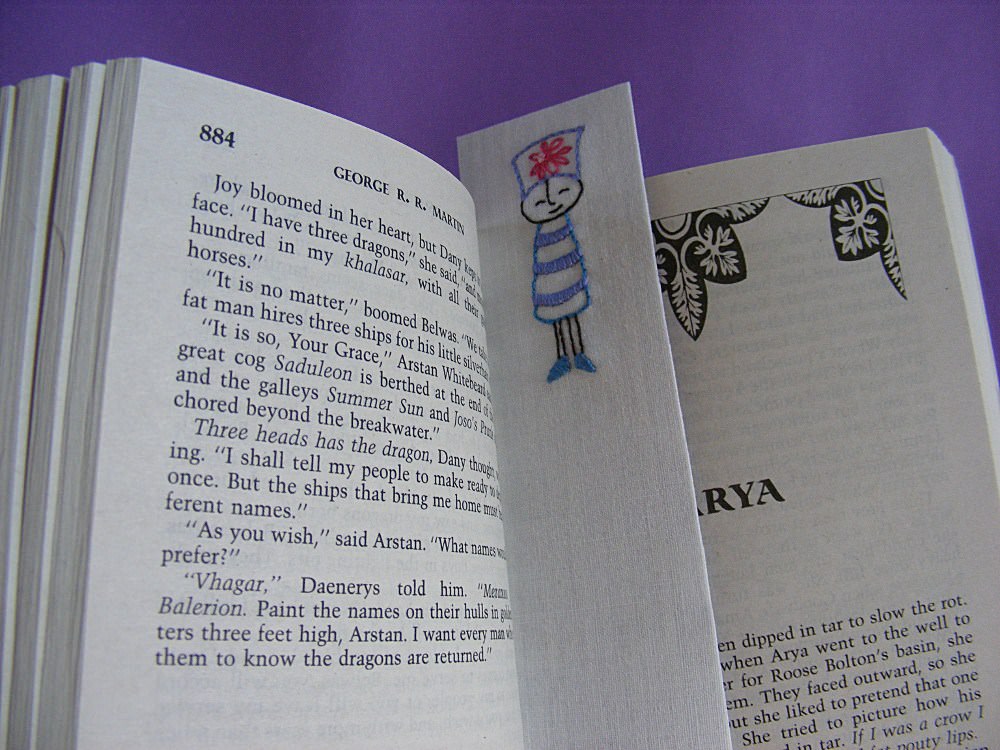
I like a bookmark that’s not so tall that it hangs way out of the top of a standard paperback. And I definitely want a bookmark to be THIN. Nothing that will damage the spine please! (Lots of fabric bookmarks are way too thick.)

So here’s a quick and easy tutorial showing you how to make my kind of bookmark.

Materials to make a fabric bookmark with an embroidered motif.

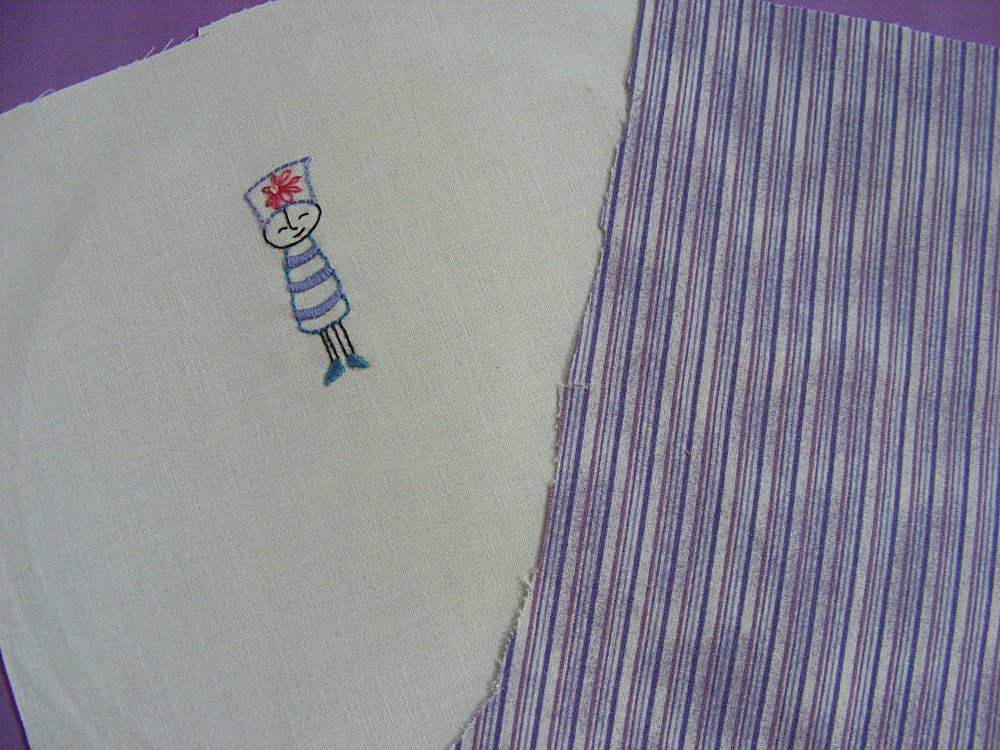
You’ll need two pieces of fabric – one for the front and one for the back of your bookmark. I, of course, am partial to a bit of embroidery on the front, but you could just use any amazing fabric that you love.

If you’re going to have embroidery, do it now before you assemble the bookmark.

bookmark from Davis- Kidd Booksellers

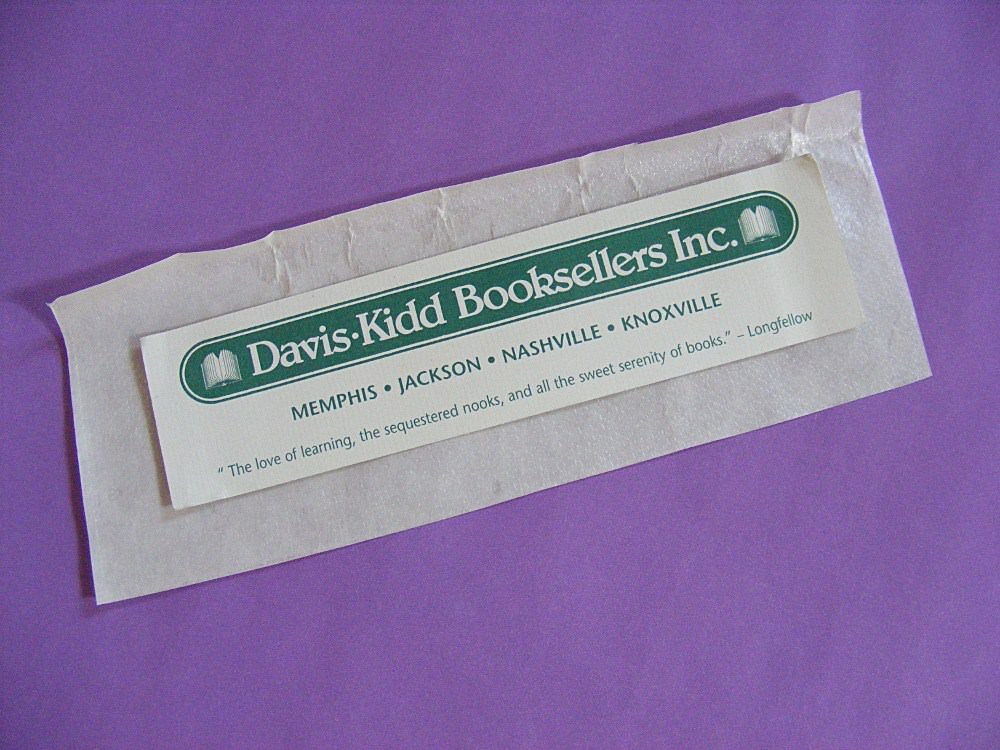
Grab a bookmark you like the dimension of (this one is 1 5/8 x 7) and some super-strong, paper-backed fusible adhesive. I use Heat and Bond Ultra Hold. Do NOT try to sew through that stuff! It will gum up your needle like crazy. I keep mine separate from all my other fusibles – just in case.

Cut out a piece of adhesive about 1/2 inch bigger than your bookmark all the way around. It doesn’t have to be neat.

The bookmark in the photo is just a guide for the dimensions. You’re not going to glue it inside or anything.

Making a fabric bookmark using fusible adhesive

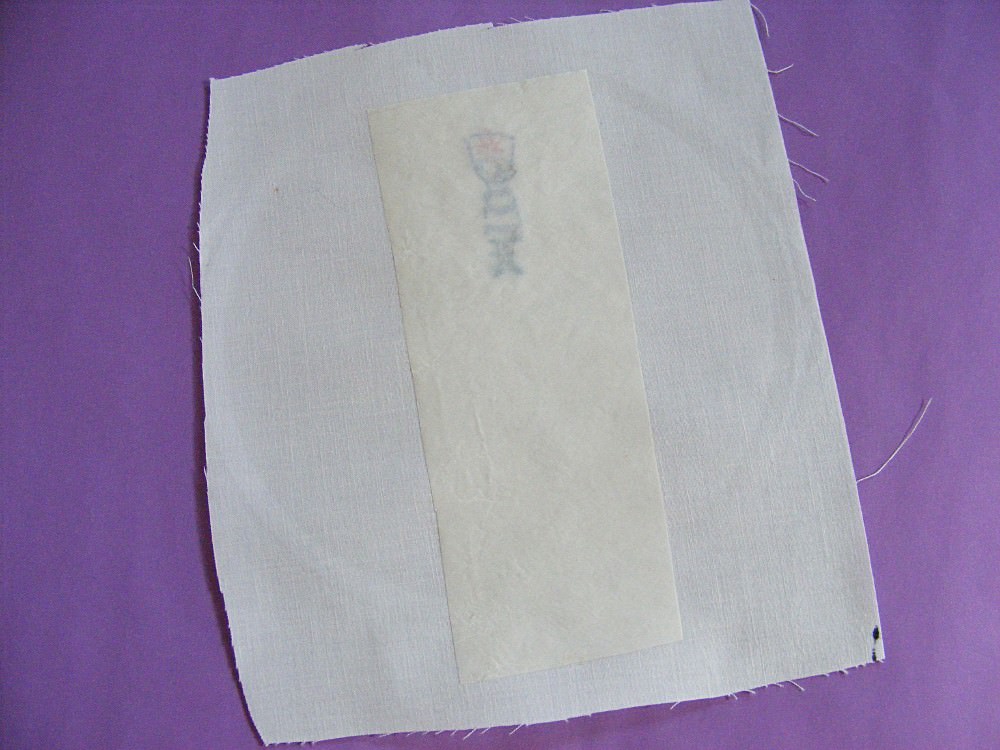
Lay it adhesive-side down over the back of your embroidered piece. (Never iron the front of your embroidery! There’s more info here about how to iron your embroidery without smooshing the stitches.) Follow the manufacturer’s instructions to fuse it in place.

purple striped fabric

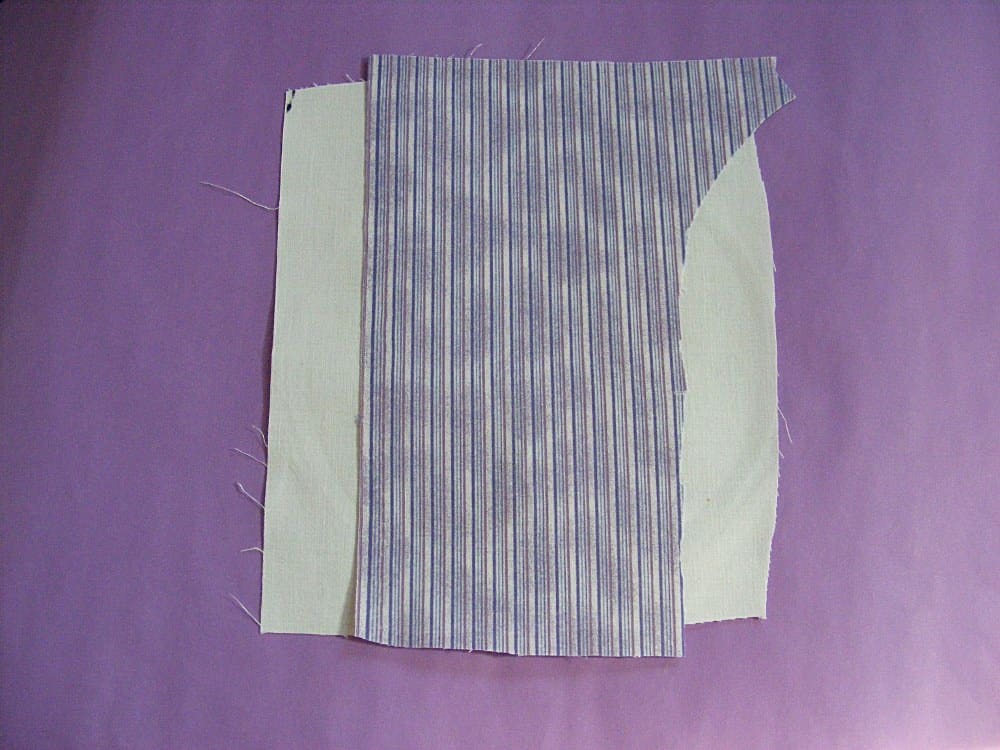
Let it cool. Peel off the paper and lay your bookmark backing right side up over it. Fuse in place. Now the bookmark front and back will be glued together.

finished fabric bookmark made with an easy tutorial from Shiny Happy World

Flip it over so you can see the front. Trim to the size you want it. This is super easy with a rotary cutter and a ruler, but you can do it with scissors too.

Embroidered lady wearing a hat - motif from the book How to Embroider Almost Everything

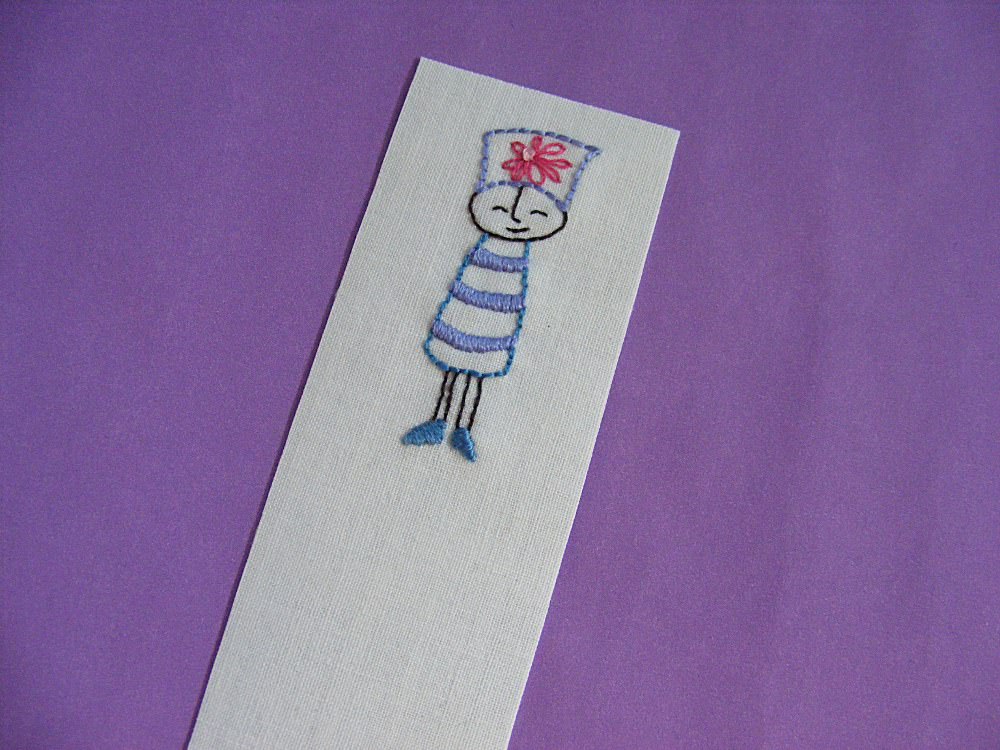
You’re done! The adhesive will add quite a bit of stiffness to the fabric bookmark. You could make it even stiffer by using two layers of adhesive with a sturdy interfacing between them, but I’m ok with some bend to my bookmark. And the adhesive does a really great job of keeping the edges from fraying – so you can skip the time (and bulk) of adding a hem.

I think including a handmade bookmark with a book makes it a really nice gift. And it takes no time at all! The lady took me about an hour to stitch (it would have been faster if I hadn’t added all the satin stitching) and making the bookmark takes all of five minutes.

Looking for the pattern for that lady? It’s in my book How to Embroider Almost Everything.

Happy stitching!

Come Visit Me at Made By Joel

Made by Joel Embroidery

Hey everyone! I’ve got a guest post over at Made by Joel – one of my very favorite blogs!

For those of you who don’t know about Joel – he’s an awesome Dad who make The Most Amazing Toys for his kids. Simple things out of everyday materials that have LOADS of play value. Scroll through his archives and order his book, Made to Play!. It looks fabulous!

Anyway – Joel does these terrific coloring pages – really great lines drawings that just beg to be embroidered. So I stitched one up and wrote up a post on how to do it.

There’s a lot of info you’ve already seen on my site about how to transfer the pattern and what some of the basic stitches are. But I also include some information about my thought processes as I made the design decisions about what stitches to use where, where to add color, and what color thread to use. I think it would be useful to anyone who wants to learn more about making their own embroidery design decisions.

Check it out!

Best,
Wendi

Free Cat Embroidery Pattern

Sly Cat - a free embroidery pattern from Shiny Happy World

Want to learn the basics of hand embroidery with an easy online workshop – totally free?

Sign up for Embroidery 101 here. You’ll learn how to get started, the tools and supplies you’ll need, the four most basic stitches, how to transfer your pattern and how to display your work.

If you already know the basics – sign up for Embroidery 201. It’s also free! You’ll learn how to stitch on specialty fabrics like felt and stretchy T-shirts. Plus you’ll learn lots and lots and LOTS more stitches – all my favorites!

Here’s a free cat embroidery pattern for you to play with!

My daughter has been drawing cat faces all over the place.

It’s her new favorite doodle.

She drew one recently in chalk on a slate stone in our yard and I loved the effect – so that’s what I was going for with this simple line drawing.

The image is just under 6 inches square. It would be cute on a tote bag or T-shirt – or a towel. It also fits perfectly into a 7″ hoop.

This is a great pattern for beginners. You only need one stitch and there’s nothing too fussy or detailed about it.

I stitched it in a pale (chalky) color on a dark background and with a slightly thicker thread than I usually use.

Here’s how to do it. . .

Download the pattern here.

Transfer the pattern to your fabric. I always use Sulky Sticky Fabri-solvy to transfer all my patterns – it’s especially awesome for dark fabrics like this. You can see it in action here.

(If you use an iron-on transfer method, remember that you’ll need to reverse that pattern image.)

Stitch your design. I used backstitch for all the stitching, and a full 6 strands of DMC #519 on a dark grey fabric.

Soak out the stabilizer and iron it dry.

Finish it up however you like! You can use this free cat embroidery pattern on a T-shirt, tote bag, pillow cover, and more.

Happy stitching!

Free Embroidery Pattern – Vroom Vroom!

Vroom Vroom - free embroidery pattern

Want to play with a free embroidery pattern? Here’s one that’s great for beginners.

It’s super easy – just a bunch of backstitching and one lone French knot – which you can replace with a tiny straight stitch.

I colored the image in with colored pencils before stitching, but you could certainly fill with the fancy stitch of your choice.

If I were doing this again I would probably do all the outlining in DMC #3371 – I love that whimsical cartoony look. But I already showed you all an example of that here and I wanted to let you see the different look you get by outlining with matching thread.

Remember – one of the great things about embroidery is that you get the image – but you can make it look however you like with your choice of color and stitches.

Here’s how to do it. . .

Download the free pattern here.

Transfer your pattern to whatever fabric you’re using. My favorite method is using Sulky Sticky Fabri-solvy – there’s a video here that shows how it works.

If you want to make yours look like the image on the cover, here are the thread colors and stitches I used.

  • Car – backstitch with 4 strands of DMC #311
  • Tires and tailpipe – backstitch with 4 strands of DMC #310
  • Exhaust cloud – backstitch with 4 strands of DMC #317
  • Bird eye – French knot with 2 strands of DMC #3371
  • Bird – backstitch with 4 strands of DMC #166
  • Hat – backstitch with 4 strands of DMC #801
  • Bird beak – backstitch with 4 strands of DMC #900

Remember – if you enlarge or reduce the pattern, you may meed to use more or fewer strands of thread.

Here’s another fun version made by my daughter when she was (I think) 8 years old.

Vroom Vroom - a free embroidery pattern from Shiny Happy World

I love that crazy rainbow car!

Happy stitching!