Peanut Butter and Jelly Cupcakes Recipe

Peanut Butter and Jelly Cupcakes - recipe from Shiny Happy World

I know, right!

Peanut Butter & Jelly Cupcakes.

Jo loves taking these classic flavor combinations and turning them into cupcakes – and this one was a gem.

Start with delicious peanut butter cupcakes. (Scroll down for the recipe.)

Fill them with your classic Concord grape jam.

Whip up a batch of Jo’s Basic Buttercream Frosting and mix in 3/4 – 1 cup of grape jam.

Pipe it onto the cupcakes and enjoy. 🙂

I love how you get different flavors as you eat your way through this cupcake. Around the edges there’s no jam filling, and less jam frosting – so the dominant flavor is the slightly salty peanut butter cake.

As you get closer to the center you start getting more grape flavor from the jam filling – with an extra little burst of jam right in that center bite.

Delicious!

Peanut Butter Cupcakes

Makes 24 cupcakes
Ingredients
  • 1 cup creamy peanut butter
  • 1/2 cup unsalted butter, softened
  • 1 cup buttermilk
  • 2 eggs
  • 2 teaspoons vanilla
  • 2 1/2 cups all-purpose flour
  • 1 cup granulated sugar
  • 1/4 cup brown sugar
  • 2 teaspoons baking powder
  • 1 teaspoon baking soda
  • 1/4 teaspoon salt
Instructions
  1. Preheat oven to 350 degrees and line your cupcake pans.
  2. Sift together the flour, baking powder, baking soda and salt. Set aside.
  3. Cream together the butter and peanut butter.
  4. Add in the white and brown sugars and beat well.
  5. Add the eggs one at a time and beat until barely mixed.
  6. Add the vanilla and combine.
  7. Add 1/3 of the flour mix and stir until not quite mixed.
  8. Add half the buttermilk and repeat.
  9. Add half of the remaining flour mix and stir.
  10. Add the rest of the buttermilk and stire.
  11. Scrape down the sides of the bowl and add the last of the flour mix. Stir until barely combined – then scrape down the sides of the bowl again and stir by hand until combined.
  12. Divide into cupcake pans and bake 20-24 minutes.

Enjoy!

Best,
Wendi & Jo

How to Make Yogurt

I never thought so many people would be interested in my yogurt-making! I make my own yogurt (once a week, if you’re curious), and every time I mention it, I get requests for a tutorial. So… here it is!

It’s not hard to do! And for folks like me (who like plain yogurt, or even flavored yogurt without lots of sugar), making your own can be easier than finding the one you like in the store. Making your own yogurt is also cheaper than buying it, although not by as large of a margin as other homemade items (like bread, for example).

The Equipment

To make yogurt, all you need to do is add a culture (ie. friendly bacteria) to warm milk and keep it at 120 degrees (f) for 6-8 hours.

There are various pieces of equipment available to help you achieve the required temperature. You can use:

  • a crock pot
  • your oven (if the temperature setting goes low enough)
  • a yogurt maker

I use a Euro Cuisine Yogurt Maker, and I love it. It keeps the temperature just right (as well as the humidity) and it doesn’t use much energy to run.

Euro Cuisine Yogurt maker

It’s important to note that a ‘yogurt maker’ doesn’t ‘make’ the yogurt (in the way that you dump ingredients into a bread machine and get a finished loaf of bread), it just keeps the mixture you’ll make at the right temperature for it to turn into yogurt.

Some people balk at having a yogurt-making appliance, but I don’t have a crock pot and my attempts at using the oven have been unsuccessful. So, it works for me. You’ll have to find what works for you!

The culture

You also need some happy bacteria to start your yogurt. The easiest thing to do is buy a small plain yogurt from the store, and divide it up into ice-cube trays and freeze:

freezing yogurt for making

You can also find culture in powder form, but I haven’t personally tried that approach.

How to make yogurt

Step 1: Heat your milk to almost boiling

Heat the volume of milk that you want to become finished yogurt (which probably depends on the size of your vessel).

warming milk to make yogurt

If the milk boils a little, it’s okay. But, try to turn the heat off before it becomes a rolling boil.

Step 2: Let the milk cool

Now, let the milk cool to 120 degrees. Some folks use a thermometer, but I just stick my finger in and see if it feels like a nice bath temperature. If you skip this step, the too-hot milk will kill your bacteria.

Step 3: Add your culture

Whether you’re using the ‘ice cube’ method, fresh yogurt or powder, add the culture in and stir with a whisk. Use about 1 tablespoon (or two ice cubes) if using yogurt as a starter.

how to make yogurt

Pour the mixture into your vessel. I, personally, found the little jars that came with my yogurt maker too difficult to clean, so I use a glass storage bowl that fits inside my yogurt maker.

Step 4: Keep warm for 6-8 hours

Using a yogurt maker, this is easy. Turn it on and wait!

yogurt machine in use

Step 5: Refrigerate and enjoy!

When your yogurt is done, it should look like yogurt. You know, solid-ish stuff with some liquid on top:

finished yogurt

Draining the liquid is how you make Greek yogurt, but I like mine just this way. Refrigerate, and then enjoy!

Best,
Stacey

Making and canning tomato sauce… with a food mill!

What do you do with a Saturday in the middle of tomato season? Can some tomato sauce!

For today’s Craft School Saturday, I’ll show you my latest adventures in canning… yielding 7 quarts of yummy pasta sauce!

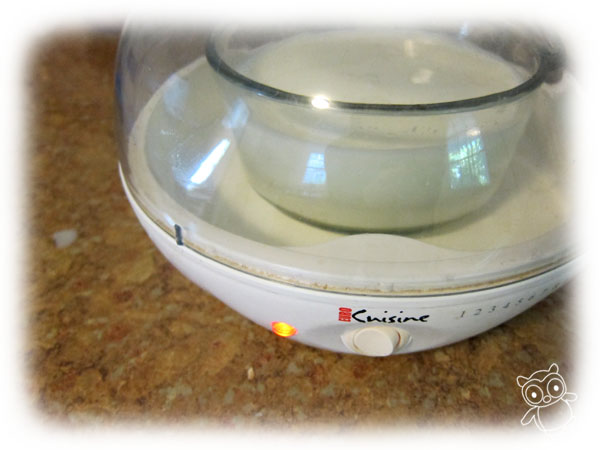
The old-school way of making sauce

Every year, I can tomato sauce (which, despite being called ‘canning’, it usually means putting stuff into glass jars). Since no one in my family cans, I learned everything I know about canning from the Ball Company’s Blue Book Guide to Preserving. (Although, I’m very happy to report that I’ve since taught my mom!)

Photo from last year’s canning
So, every year, I make tomato sauce, which requires the following steps: acquire large amounts of tomatoes, peel the skin off the tomatoes, boil the tomatoes down (adding spices) until it’s sauce, then put the sauce into jars and can. Previously, I’ve blanched the tomatoes and peeled the skin off each one… a very time consuming process.

This year’s innovation

You may recall that earlier this year, I was on the local news modeling for the book Craft Activism. Also on the show was the chef from an Italian restaurant. One of the perks of following a cooking segment is that you get to eat the food cooked during the show!

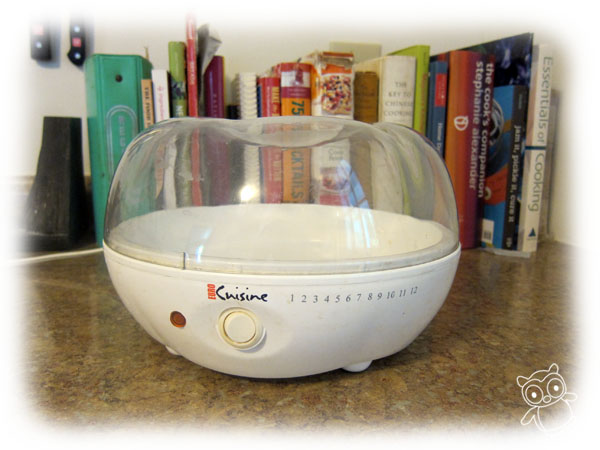
The chef told me that they make all of the sauce for their restaurant. I asked if he had any tips for speedy-sauce making, and he told me that they use a food mill. I had never heard of such a thing… but it’s changed my sauce-making life!

Food mills magically remove the skin and peels from the tomatoes, and leave behind a nice, smooth sauce. What an invention!

So this year… I got a food mill! What a great investment! It wasn’t very expensive and it really sped up the process!

Making the sauce

Warning: it’s messy… but pretty fun, too! My two bushels of tomatoes (about 50 lbs) made 7 quarts of sauce. This is less than my average crop, partially because I threw in some non-sauce tomatoes.

Step 1: get tomatoes

If you have a local farmer’s market, then that’s the place you’ll want to go to get your tomatoes. Ask if they have ‘seconds’, which is code for ‘tomatoes with a bump or bruise’. They’re too damaged to be sold at full price, but they’re great for sauce!

I bought 2 bushels. Ideally, you want ‘sauce’ tomatoes (a variety with more fleshy-bits on the inside), but some of the ones I got this year were heirlooms, and they worked just fine. Non-sauce varieties taste just as yummy, they just might need some extra boiling time (when making the sauce) because of their extra water content.

Step 2: Cut out icky parts and run through food mill

Cut out any severely bruised or moldy/icky parts of the tomato… you don’t want that in your sauce! Then, cut the tomatoes into quarters (or whatever size you need to so that they fit through your mill), and start cranking!

Oh yeah… and set up the food mill according to the instructions on the box… but you probably knew to do that!

Look at me go!

The food mill pours yummy sauce down one chute, and all the seeds and skin comes out another:

Man… this was WAY faster than blanching and peeling the skins!
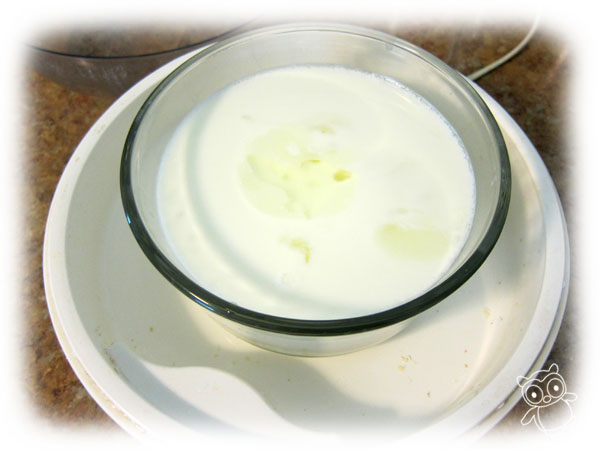
Step 3: make sauce

So, the next thing you do is take all that sauce that’s been pouring out of the sauce chute and put it in a pot on your stove… or, if you have as many tomatoes as me, a few pots:

Add in whatever you think would be yummy. I added (pre-sauteed) garlic and onions, plus some basil, oregano and salt.

Then, just keep cooking until it’s the consistency of sauce you buy in the store!

Step 4: put sauce into cans and process

Once you have your sauce, it’s time to can it! Basically, you pour the hot sauce into the jars (leaving a little room at the top), put the lid on, and then dunk the jar in boiling water for 15 minutes. (If you’re a newbie to canning, definitely read up on detailed instructions!)

Step 5: stare proudly at your sauce!

There’s nothing I love more than looking at my beautiful jars of sauce, all lined up and waiting for winter!

Aren’t they pretty?

Step 5: Hire a clean-up crew

Just kidding! Well… sorta. Your kitchen, if you’re at all like me, probably looks like a disaster zone by the end:

I’m not gonna lie… you’re going to have to break out your elbow grease. I recommend baking soda: cleans wonders! And really, isn’t it all worth it to have that beautiful sauce?

Have a happy Labor Day Weekend!

I hope you’ve enjoyed this peek into my sauce-making adventures, and that you have a fabulous weekend!