


Okay – here’s the scoop on how to gather! The video shows two methods – the traditional way (terrific for short pieces) and an easy way to gather fabric (especially good for long pieces).
Let’s talk about the “old-fashioned” way.
In a nutshell, you sew two rows of basting stitches, then draw up the bobbin threads, gathering the fabric as you go.
One the plus side – it’s easy to get the gathered fabric exactly the width you want it to be. On the minus side – it’s a huge, HUGE pain in the patootie to gather up fabric longer than a couple of feet. Which means that when I made this skirt. . .
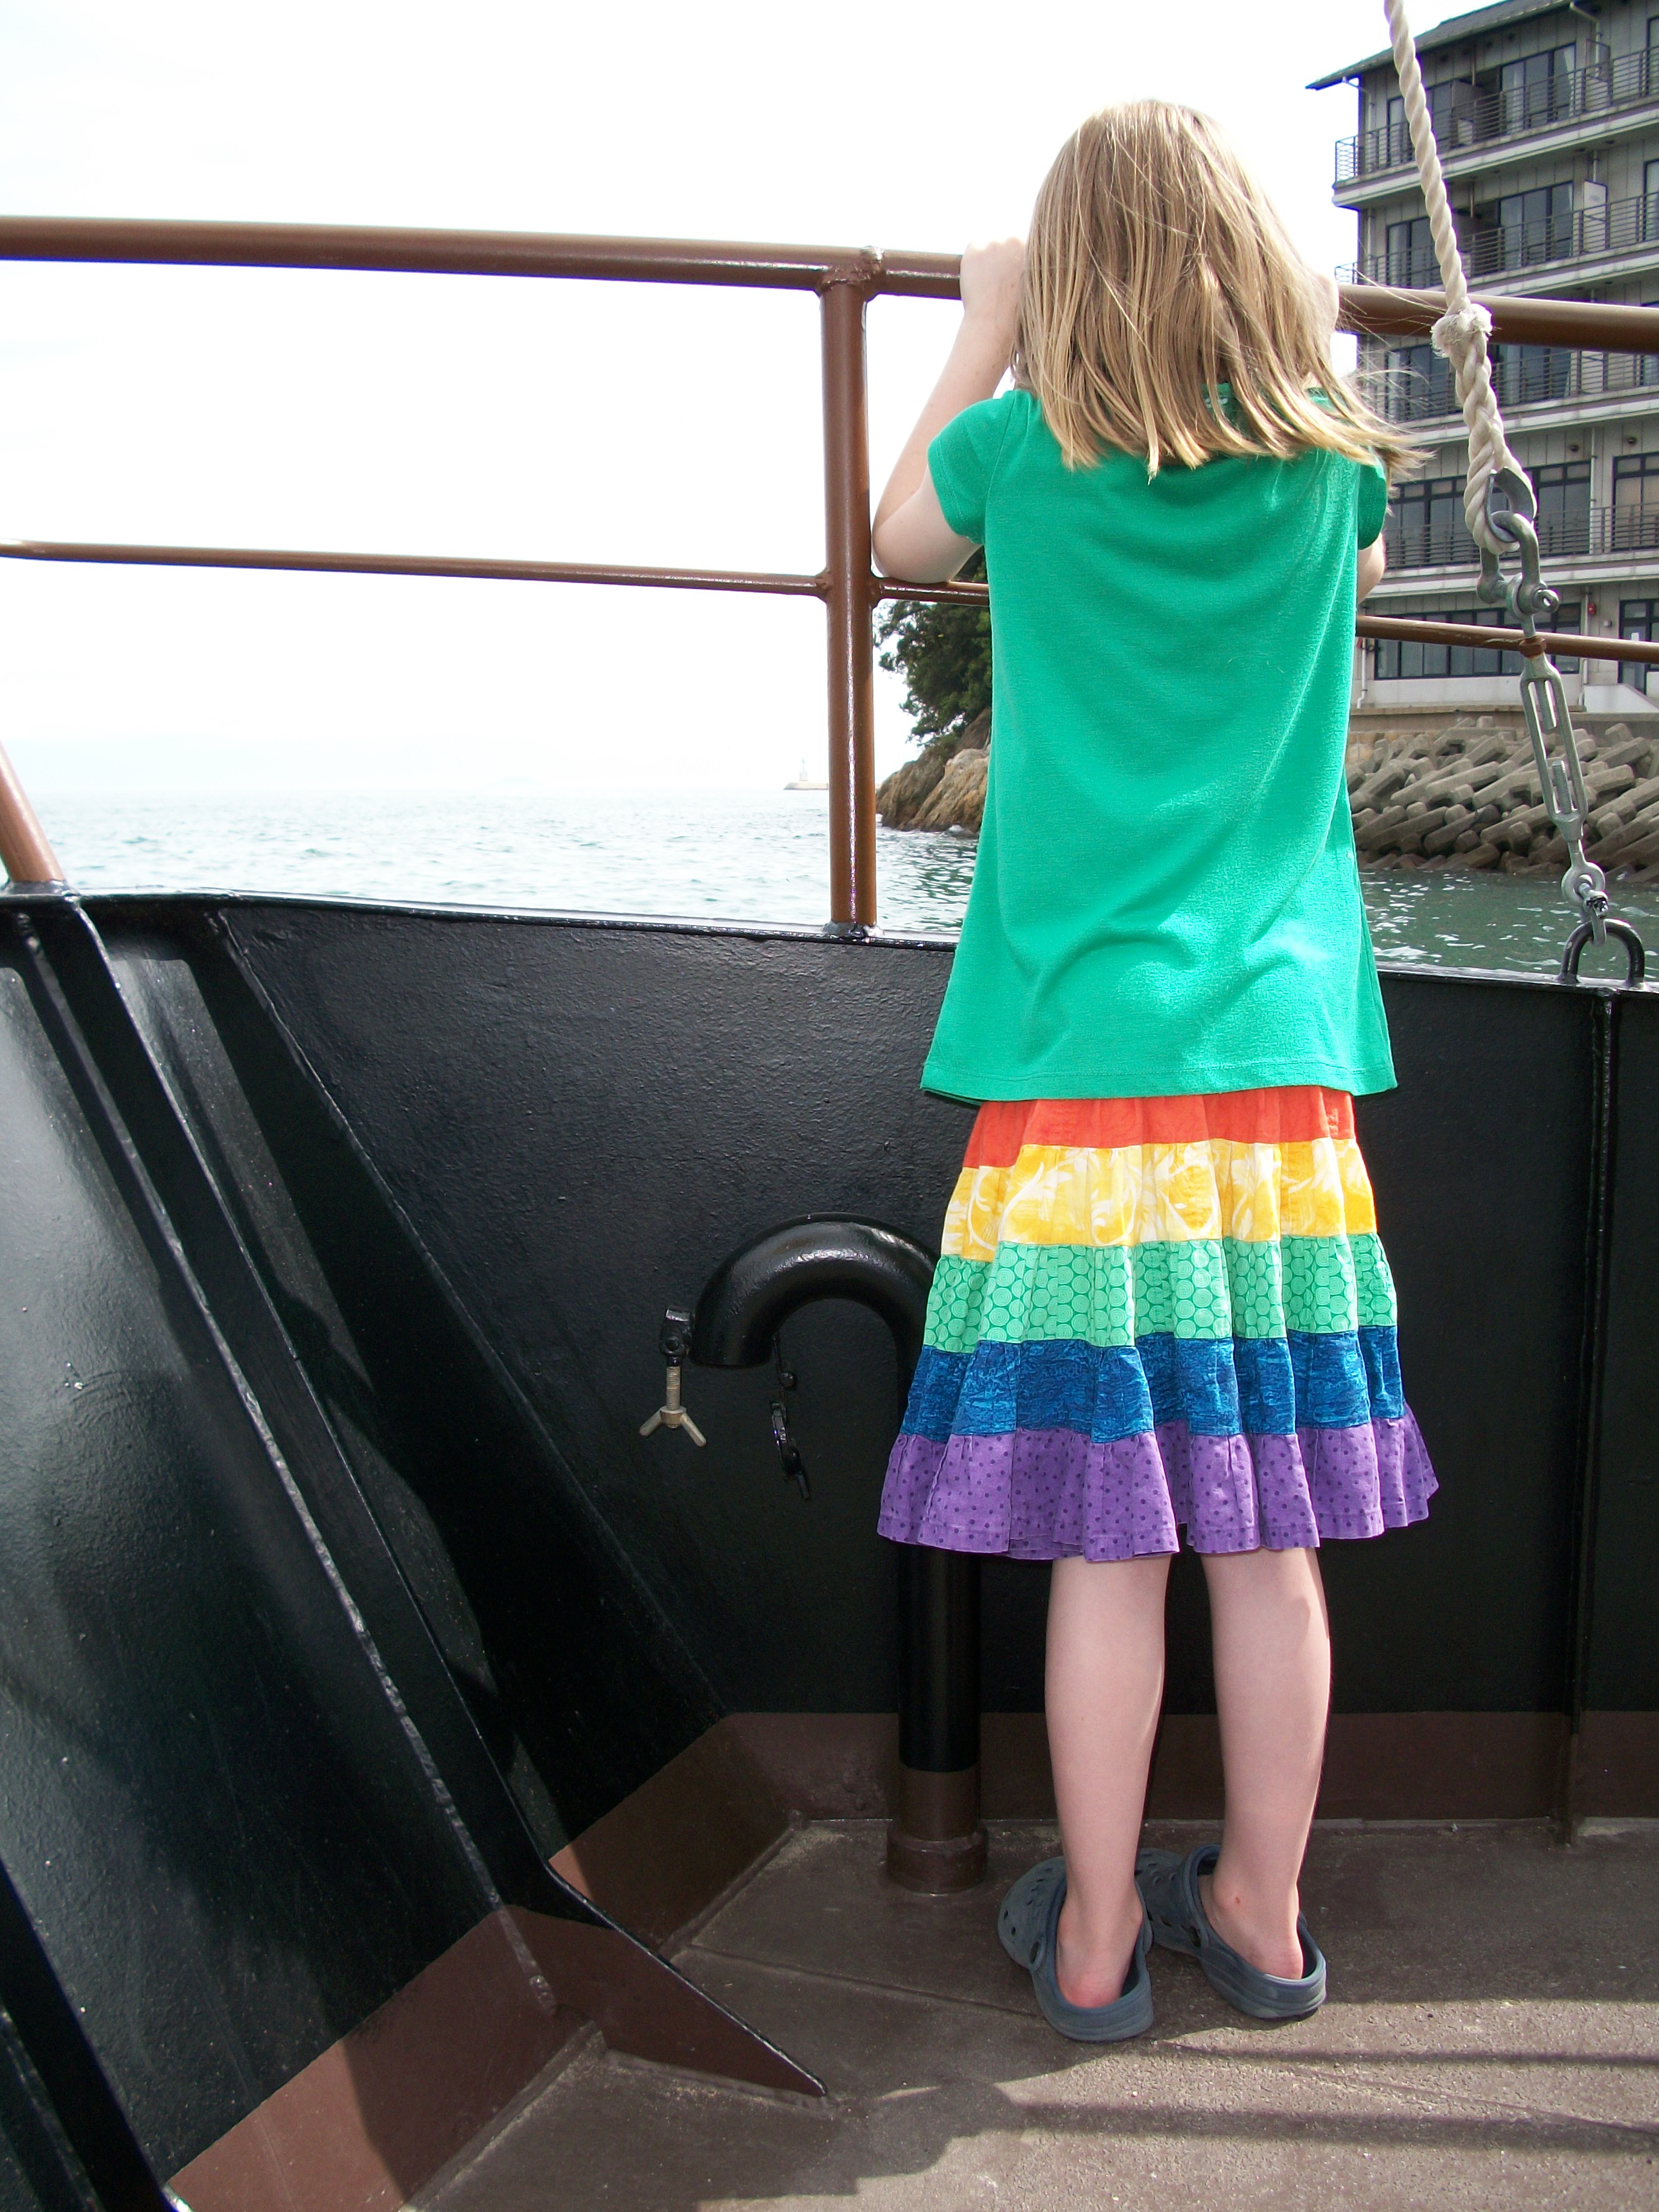
. . . it took a long time and a lot of swear words. (But Jo loved it so much that it was totally worth it! She wore it for YEARS and when she couldn’t wear it anymore she passed it on to a smaller friend who also wore it for YEARS.)
The second method I show is an easy way to gather fabric – especially if you’re working with really long pieces. This method uses a magical gathering foot that probably doesn’t come with your machine. On the plus side – it’s super easy. On the minus side – you have to pay for the special foot (though it’s not too expensive) and in order to figure out what setting to use to get it gathered the amount you want – you have to do math.
That’s right – math.
I didn’t go over this in the video because I was afraid if I started tossing out numbers and percentage calculations I would sound like the teacher in Charlie Brown. So I’m doing it here in writing so you can actually look at the formulas and say, “Hey – that’s really not bad at all!”
Here goes. In the video I show you how to do a sample gather on a 10 inch strip of fabric. With my machine set at 2.5 (regular sewing stitch length), the finished, gathered strip ended up 9.5 inches long. 9.5 divided by 10 is .95 – so that means the finished gathered strip was 95% of the starting length. (See why I use a 10 inch strip? I didn’t even have to use my calculator for that!)
When I sewed a 10 inch strip using a stitch length of 6 (the longest setting on my machine) the finished length was 8 inches. 8 divided by 10 is .8, so that means the finished gathered strip was 80% of the starting length.
I forgot to show this in the video, but you can also adjust the amount of gathering by adjusting the tension. Less tension = more gathers. So if I need more than 80% gathering, and I can’t make my stitches longer than 6, I start adjusting the tension. With a stitch length of 6, and tension at 2 (I usually sew at 4), then the finished strip is 6.5 inches – or 65% of the starting length.
Now here’s where it gets fun. Say I’m making an apron. The width of the skirt panel is 23 inches. I want to fit it into a 15″ section of the waistband. Where the heck do I set my stitch length and tension to gather the top of the skirt?
Easy peasy.
Take your desired (gathered) width and divide it by the current (ungathered) width. That will give you the % change you need. So 15″ divided by 23″ equals .65 or 65%. Hey! That’s exactly what I got when I set my stitch length at 6 and my tension at 2!
See how that works?
I tested out lots of strips of regular woven cotton fabric at various length and tension settings and wrote it all down. That’s a fabric I use a lot and it gives me a good starting point whenever I do this – so I don’t have to start from scratch with all of that trial and error. I look up what I did to get the % change I want for whatever project I’m working on. I test it once with the actual fabric I’ll be using, and then I make a small adjustment if I need to. I hardly ever have to make a change if I’m using another woven cotton, but if I’m switching to something a lot heavier or lighter (like a corduroy or a chiffon) I will almost always need to adjust.
Does this seem like a lot of work? Let’s look back at that rainbow skirt, shall we? Each strip was 1 1/2 times longer than the one above it. If I made it for her today the red strip would be 30″. The orange strip would be 45″. The yellow strip would be 68″. The green strip would be 102″. The blue strip would be 153″. And the purple strip would be 230.” That’s over 19 FEET LONG! Now imagine pulling up those bobbin threads for 19 feet – keeping all your gathers even – and without breaking the thread. The trial and error involved in making that chart doesn’t look too bad now, does it? And think of it this way – make the chart once and use it over and over again for as long as you have your machine.
Want to practice gathering fabric on a small project? This outfit for Dress Up Bunch Dolls gathers fabric two ways.

The skirt uses the gathering method shown in this post. The top uses elastic to gather the fabric. Practice both!
Happy sewing!


Hi Wendi, my english is not so good but just to let you know that I’ve stitchered your Sly Cat!How much fun I had to do it, thank you a lot!
If you want take a look you can find it on my blog!
Bye
Alessia from Italy
congrats for this great tutorial! althought my english is very poor, I’ll be able to follow all your video. Maybe tomorrow I`ll try to make some gather stuff. thanks for teaching!
thank you for the tutorial. explained some concepts very well.
there is a picture here ( http://4.bp.blogspot.com/-UbYkQaA7WW8/TadfBidQkCI/AAAAAAAAFkY/-21Uq6fKAjQ/s800/DSC03542.jpg ) that shows how to gather using a regular sewing foot.. it works wonderfully.
picture from ( http://theadventuresofroryandjess.blogspot.com/2011/04/sincerest-form-of-flattery-guest-erin.html )
your idea of measuring the ruffle length is excellent. i did it by trial and error, just settled on the perfect-to-me amount of gathering by adjusting the tension a bit lower, to get approximately 2x gathers.(means, 2 inches of gathered fabric to attach to one inch of flat fabric.) i have made several dresses this way, some are here: http://liz1611.blogspot.com/2010/06/spring-clothing.html
Thanks everyone! Jaya – I’ve seen the method you linked to (it uses elastic thread in the bobbin) but I’ve never tried it. It’s usually shown with shirred-top dresses which I wore as a child and HATED because I thought they were crazy-itchy. I never even thought of using the technique just to gather. Probably because that elastic thread isn’t cheap and I’m thrifty. 🙂
There’s another method that I didn’t show, involving zigzag stitching over a cord. I HAVE tried that method, but I won’t do it again unless I invest in a couching foot. If you go off course and sew even one stitch into (instead of over) the cord – you have to start all over again. Not fun.
I have a gathering foot that I used once to make a pettiskirt, but now I hardly ever use it because I didn’t know how to make it the length I want. Now I’m definitely going to give it a go. It seems I have the same machine as you do, so maybe I can even use your measurements directly. I will test first, of course. Thank you so much for this – just what I needed! 😉
Good luck Astrid!
Hi Wendi, do you by chance have a video on how to sew a band onto a sleeve? I am just learning to sew clothing and I took on a project, I felt I could do, because I have years of quilting experience. Not the same. Anyway, I am trying to make a jacket and so far have succeeded to making the sleeve, but stuck on sewing the band to the sleeve. The interfacing on this band is on the entire band, not half of it. Thank you.
Sorry – I don’t. I’m not really the person you should go to for tutorials on sewing clothing – I’m definitely NOT an expert. It seems like the focus on both Craftsy and Kollabora is very much garment sewing – I’ll bet you can find a good tutorial on one of those sites. Good luck!
Wendi, Awesome Lesson!! Thank You so much 😊! I can Hardly wait to try this on some of the Dress Up Bunch clothes patterns I just bought!! Just wish I’d had these patterns and your videos when my kids were little 😉. Oh well, grandkids and nieces and nephews kids will Love them 😊😊. I’m having Such Fun in my “senior” years 😉😉! I might even be keeping a doll or two myself- with a few sets of clothes of course! 😃😃
You won’t be the first grown-up to keep one of the Dress Up Bunch dolls for herself. 🙂