Alrighty, folks! Remember, we’re in the middle of dyeing a fabulously long colorway?

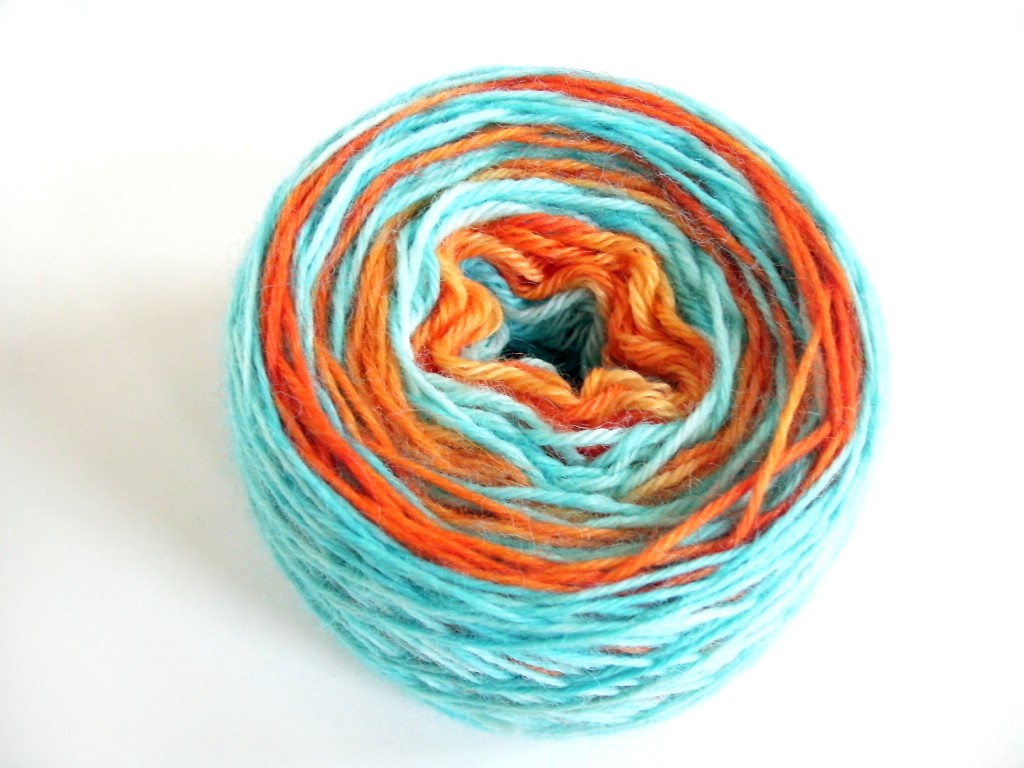
If you missed it, check out yesterday’s post to catch up. I’m in the middle of showing you how to get a fab yarn like this:
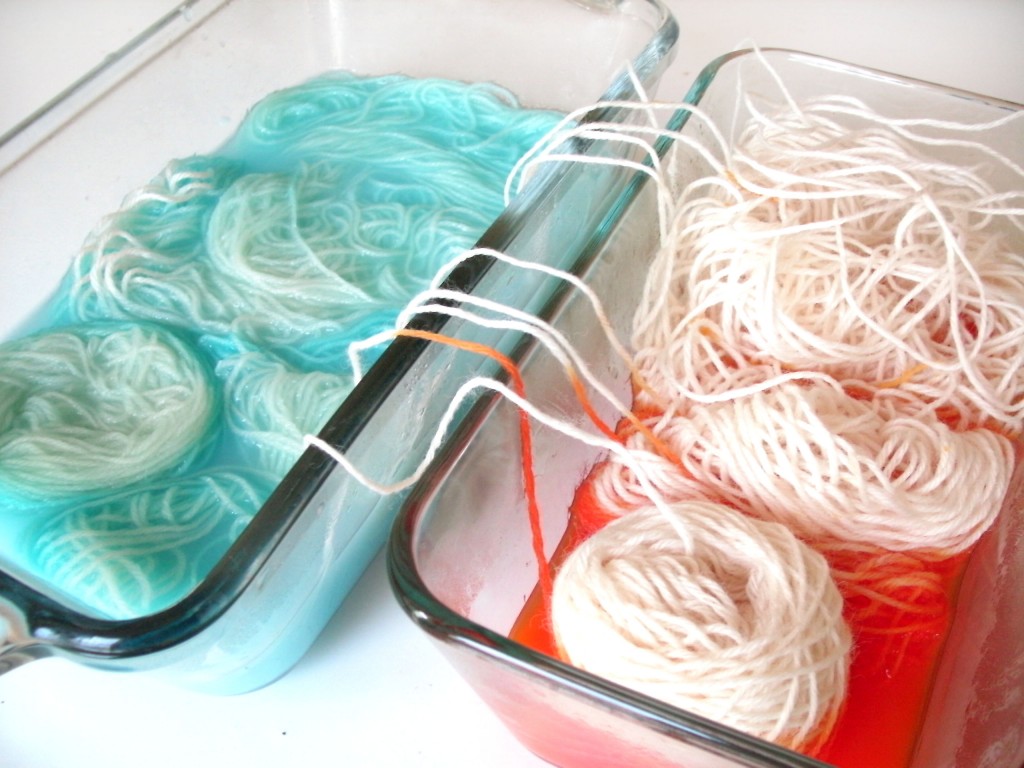
And we left off with our yarn in bowls, like this:
Okay, so let’s keep going!
Step 5: Completely dye each section
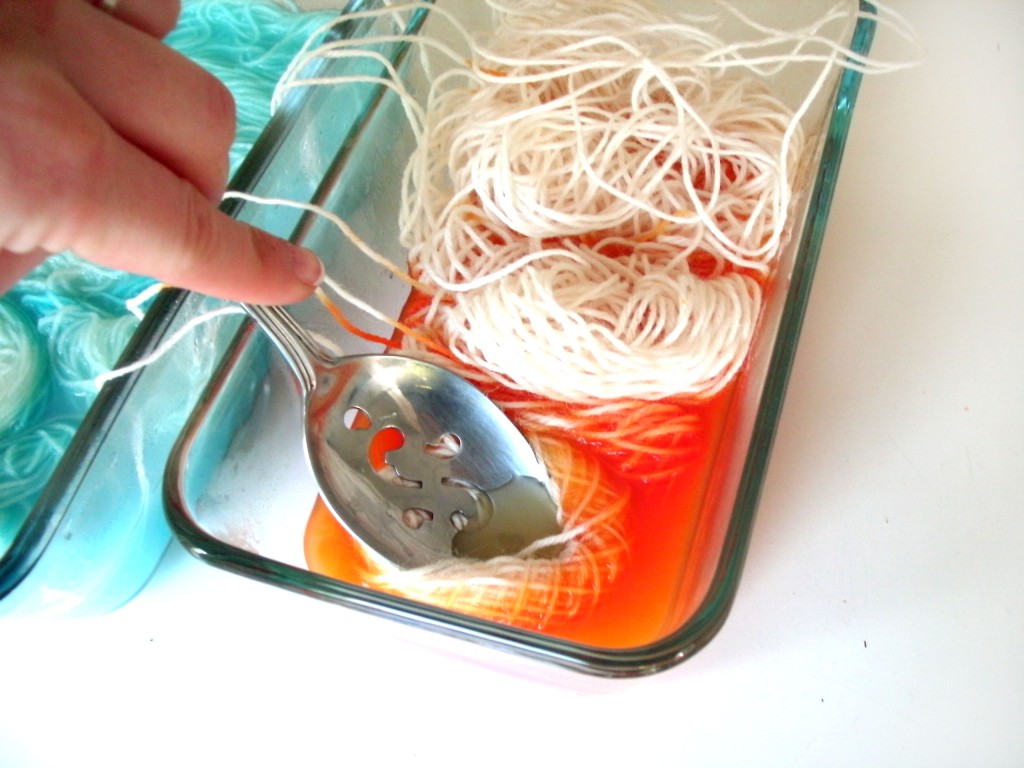
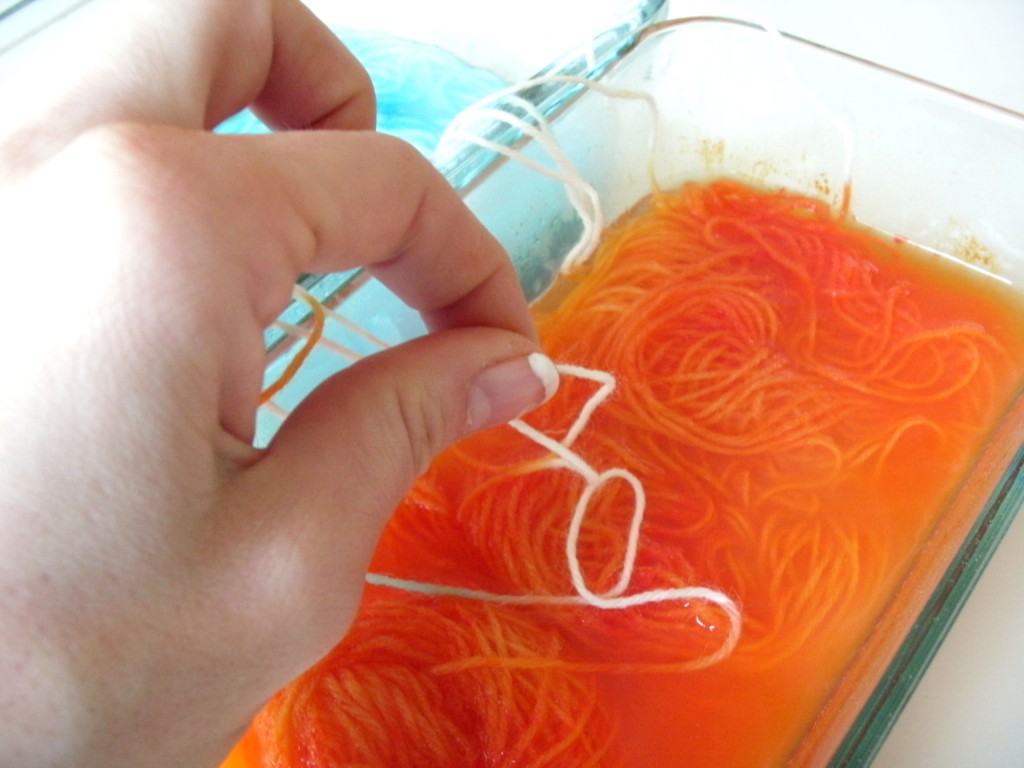
When you’re dyeing lots of pieces, you want to make sure each part soaks up the color. You might need to use a spoon (or your finger, if you don’t mind an orange finger) to press the yarn into the water:
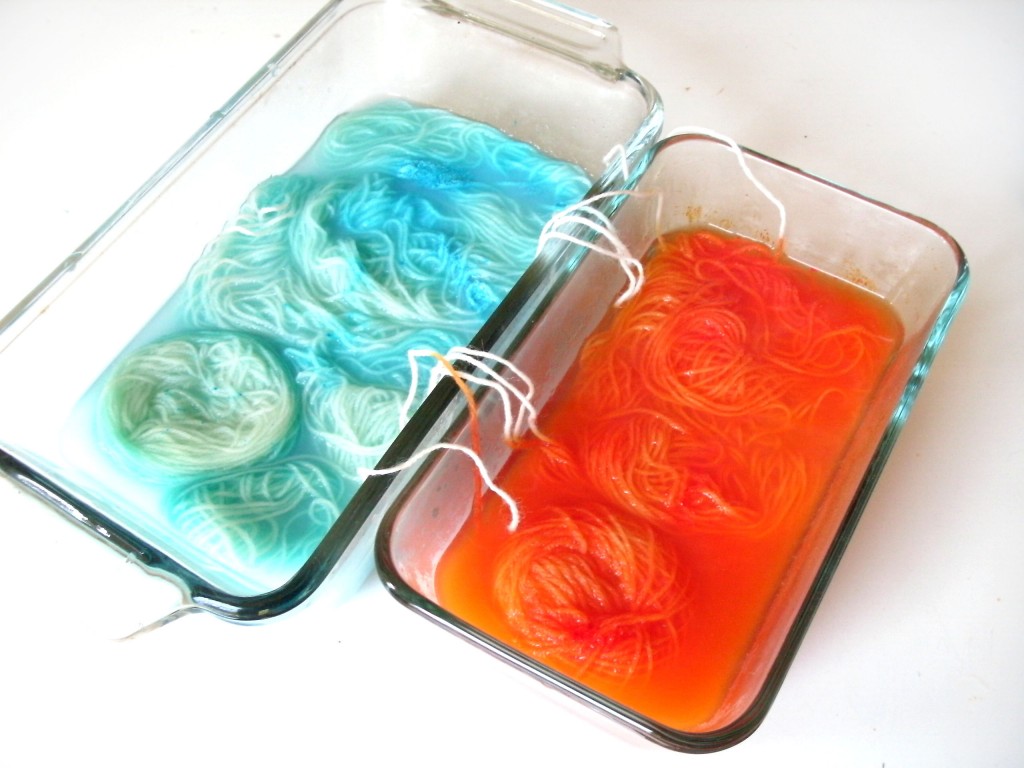
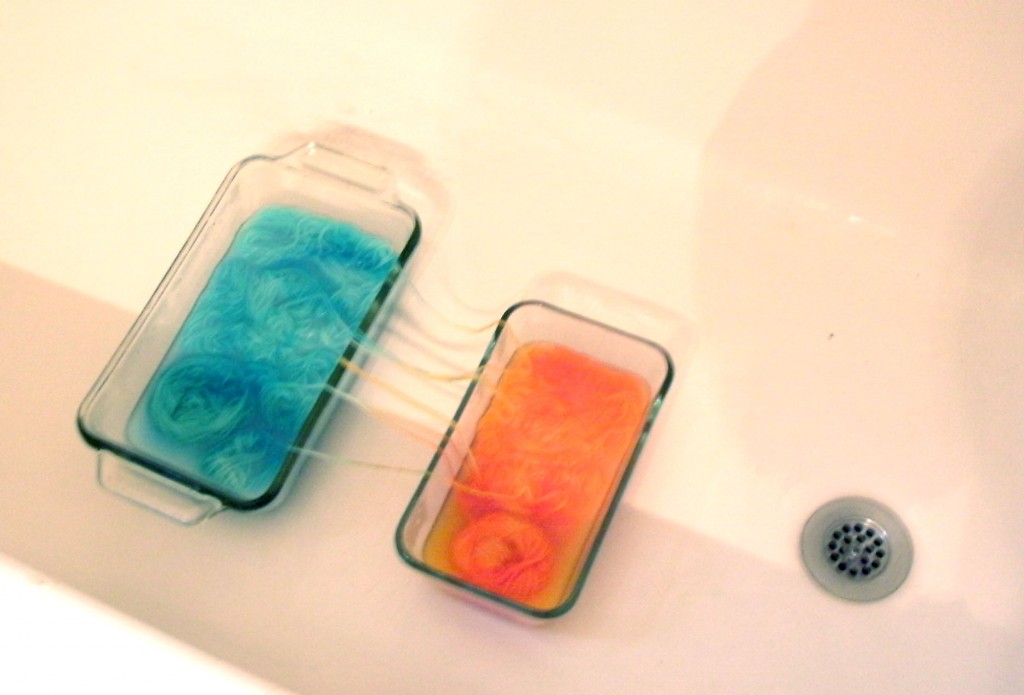
Here’s where we are:
Notice that there are little bits of white yarn between the bowls? If you leave those, you’ll have white between each stripe. So, to get rid of those, gently dunk each bit into a color:
Step 6: Rinse
(from here on, the photos get a little crappy… since I had to re-locate to the bathroom. Sorry!)
Now you need to rinse and squeeze water out of your yarn. This is harder than it looks… you can not just dump all your yarn out, or you’ll end up with a tangled mess!
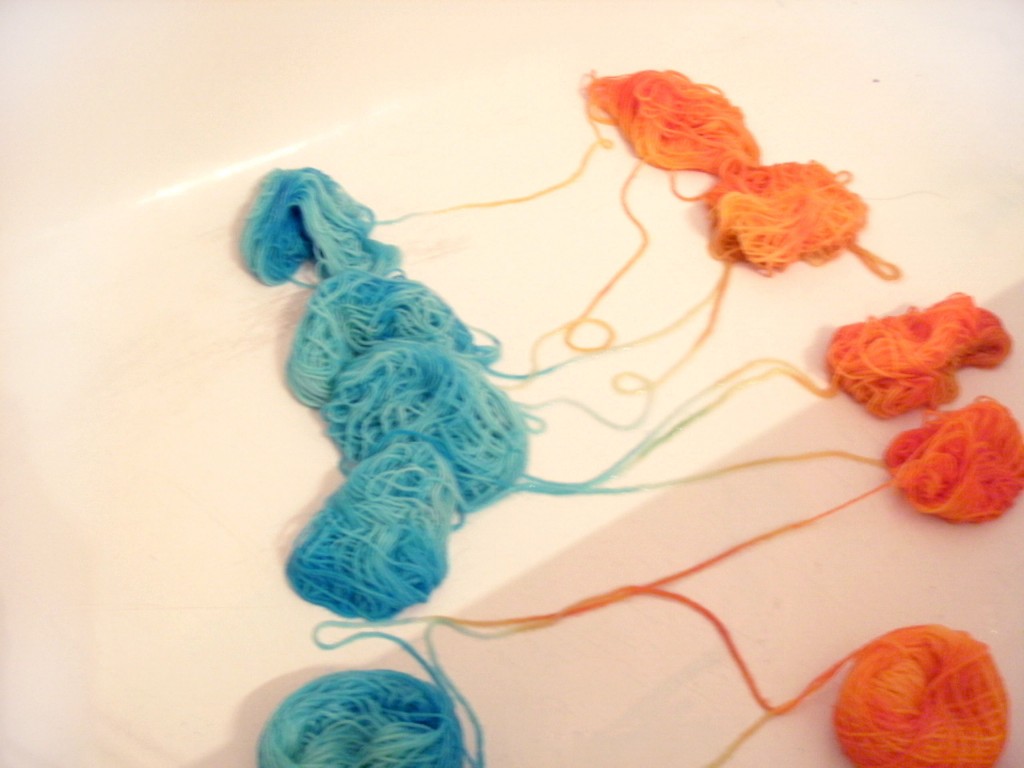
You need to lift out each section gently (this is the time-consuming part I warned you about!) and place in the tub (since it’s still soaking wet):
Remember, the goal is to avoid tangles!
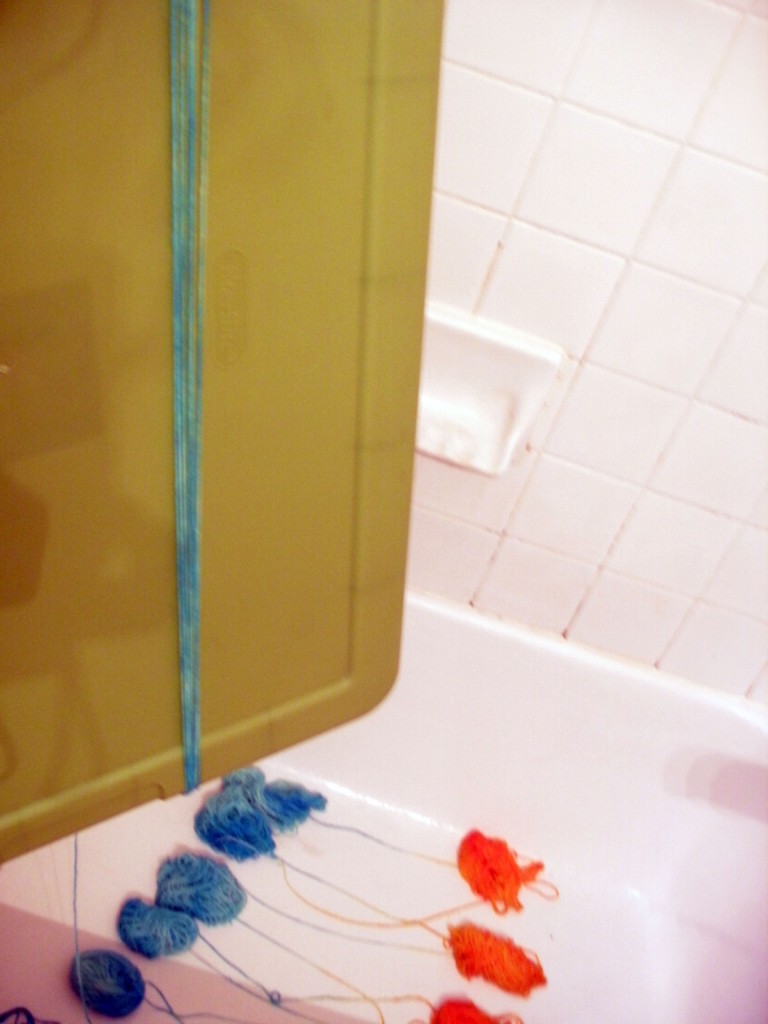
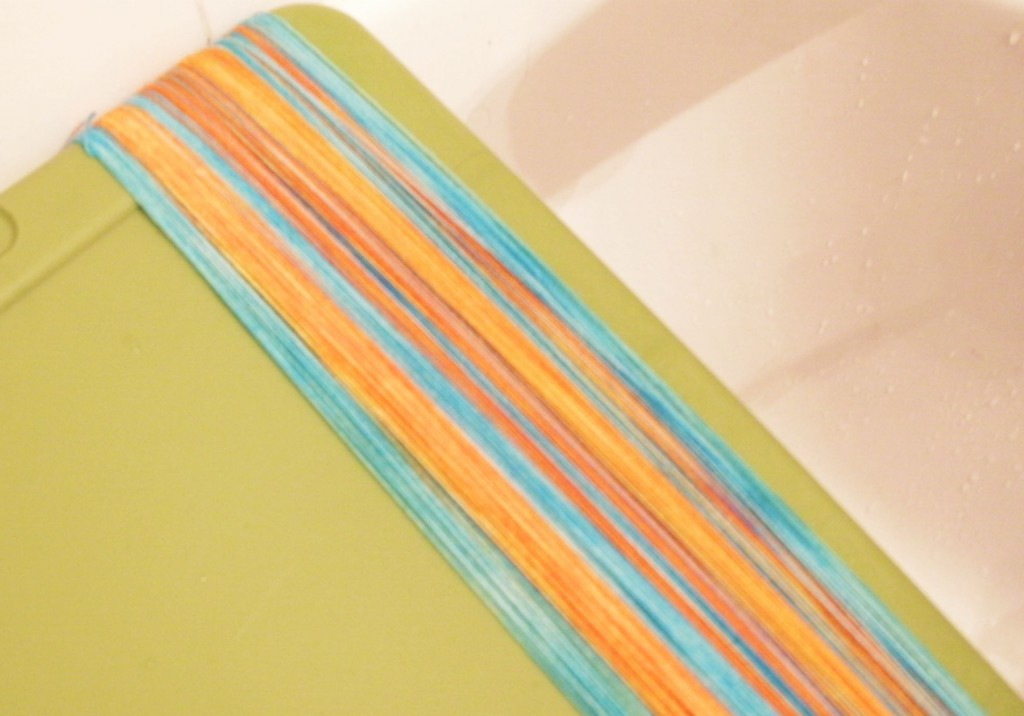
Now, begin at the start (the center of your first ball), and wind your yarn around something large (I’m using the lid of a storage container). As you wind, you can squeeze the extra water out with your fingers.
If you’ve been careful, one ball should go right to the center of the next ball… and tangles will be avoided.
Avoid the temptation of using a ball-winder, here… the yarn needs to be in a skein to dry completely.
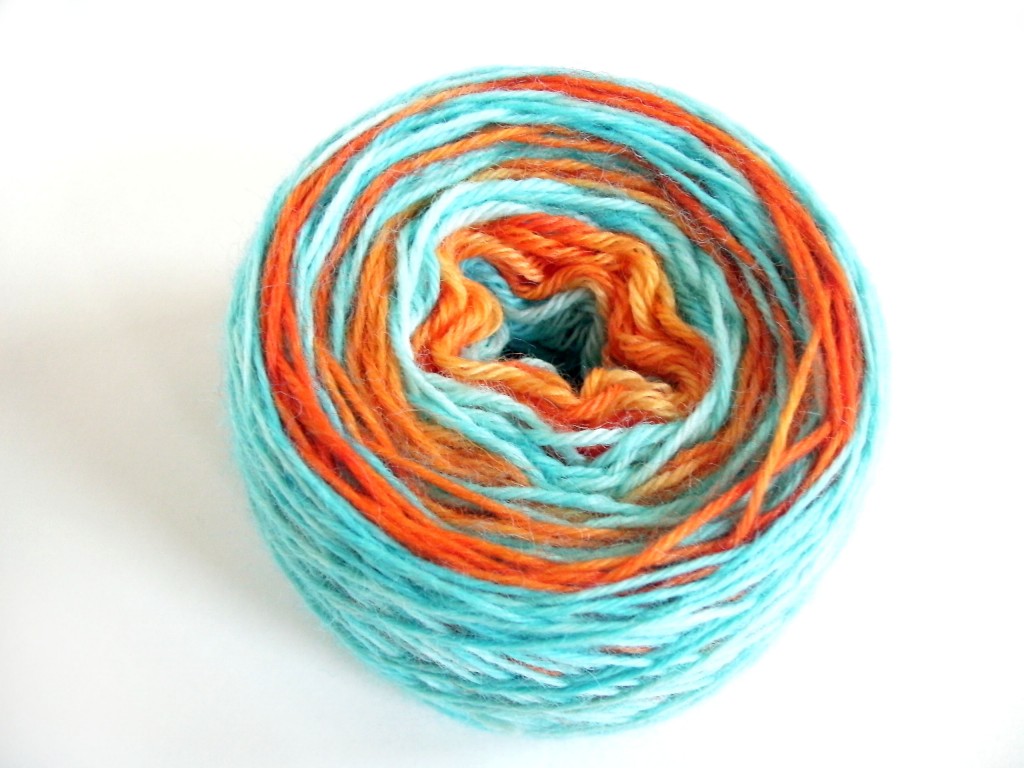
When dry, you can wind it up:
Are you going to give it a try?
Isn’t it fabulous? Don’t forget that we’re all going to be flashing our Kool-Aid projects on this Sunday’s blog post… so I want to see what you come up with!
Best,
Stacey


Stacey, I love all your yarn-dyeing tutorials! When I get my yarn stash used up, I’m going to buy some of the non-dyed yarn from Knit Picks and give this a try. THANK YOU!!!
The contrast between the orange and the blue is wonderful, very much your aesthetic too. Also, good call on mentioning to let the yarn completely dry before winding it, I only made that rash mistake once!
Thank you for this tutorial! I just have one question: How would you clean the dyed yarn?
I hand-wash most of my yarns (due to the fact that I use 100% wool), so I actually haven’t tried machine washing. But, I think the color stays tight!