


 Here’s a little gift from me.
A free pattern for an apron you can make entirely from scraps!
That’s right – a stash-busting project that comes together really easily and makes a great hostess or holiday gift. If you can sew a straight line, you can make this apron. The pattern has links to videos teaching all the skills you’ll need – including how to sew a straight line. 🙂
The pattern includes sizes for kids and grown-ups – so it’s totally versatile. Make a mother-daughter set! Package it up with some gardening tools and seeds, or some cooking utensils and a couple of your favorite recipes for a nice, personal gift. Have fun with it!
Materials
- scraps of fabric for apron and tie
- rectangle of fabric for the lining - amount depends on measurements
- sewing machine
- thread
- basic sewing tools
Step 1
Calculate the dimensions of your apron.
Measure all the way around the waist, and measure from the waist down to the desired length (usually anywhere from mid-thigh to the knee, depending on the look you prefer).
Length ____________ Waist _____________
You’re going to piece your apron front from 3 inch strips of fabric, so divide the total width of your apron (the waist measurement) by 2 1/2. That will tell you how many strips wide your apron top will be. If you don’t get an even number (and you probably won’t) round up.
Number of strips____________
From your scrap fabric, start cutting 3 inch wide strips. They can be any length you like I usually just go with the length of my scraps. Try to have a variety of long and short strips. Rotary cutting tools are ideal for this - learn how to use them here.
Start joining the strips together into longer strips. I usually join a few together until I have a strip longer than the length of my apron. Then I trim it to the desired length and start attaching more strips to what I cut off. Keep joining strips and cutting to the desired length until you have the desired number of strips. For my 8 year old daughter that was 8 strips, each 15 inches long.
Step 2
Now play with the layout of your strips. For this one I made sure to spread out the larger solid bits so they’re not touching each other. You may have a greater range of lights and darks that you’re trying to keep balanced - it will depend on your fabric selection. Just keep rearranging the strips until it feels balanced and happy.
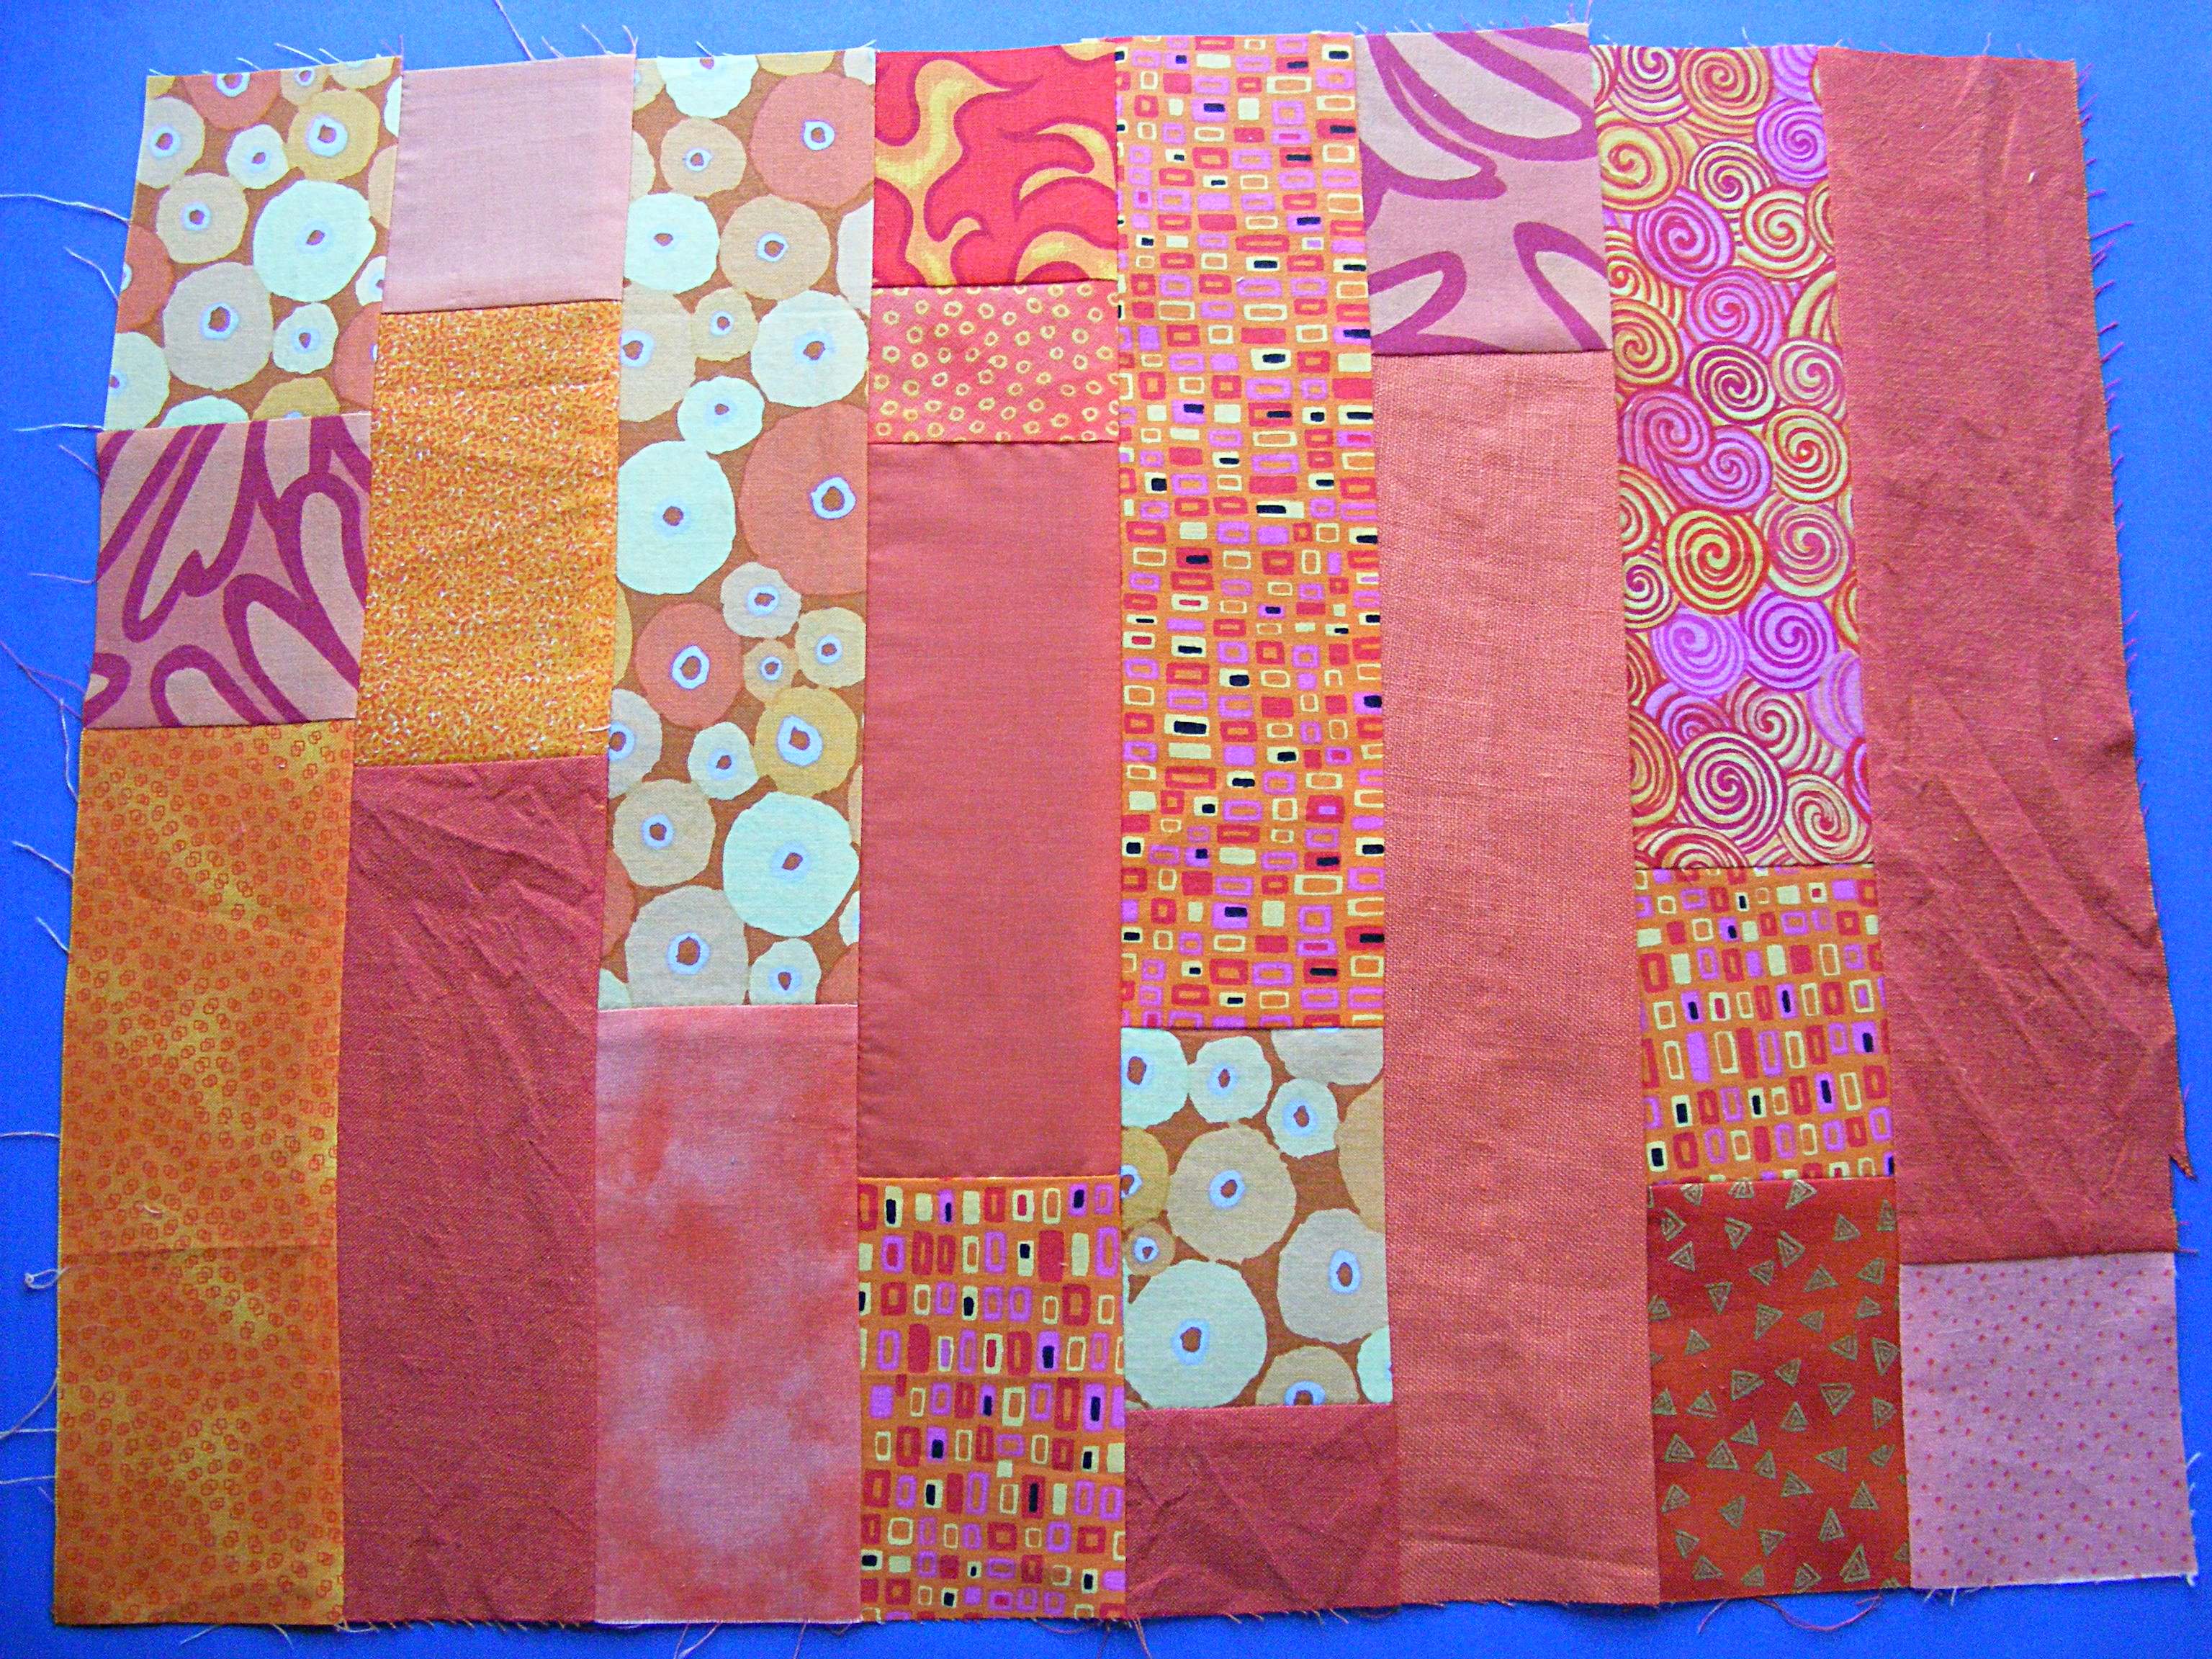
This is the fun part so take your time and play a while. When you’re satisfied, sew the strips together using 1/4 inch seam allowance. Press everything nice and flat.
Step 3
You’ll want to cover up all those seam allowances. Basically, we’re going to make a quilt without the batting. Lay the backing fabric face down. Lay the patchwork rectangle face up over the backing fabric. Smooth it all out.
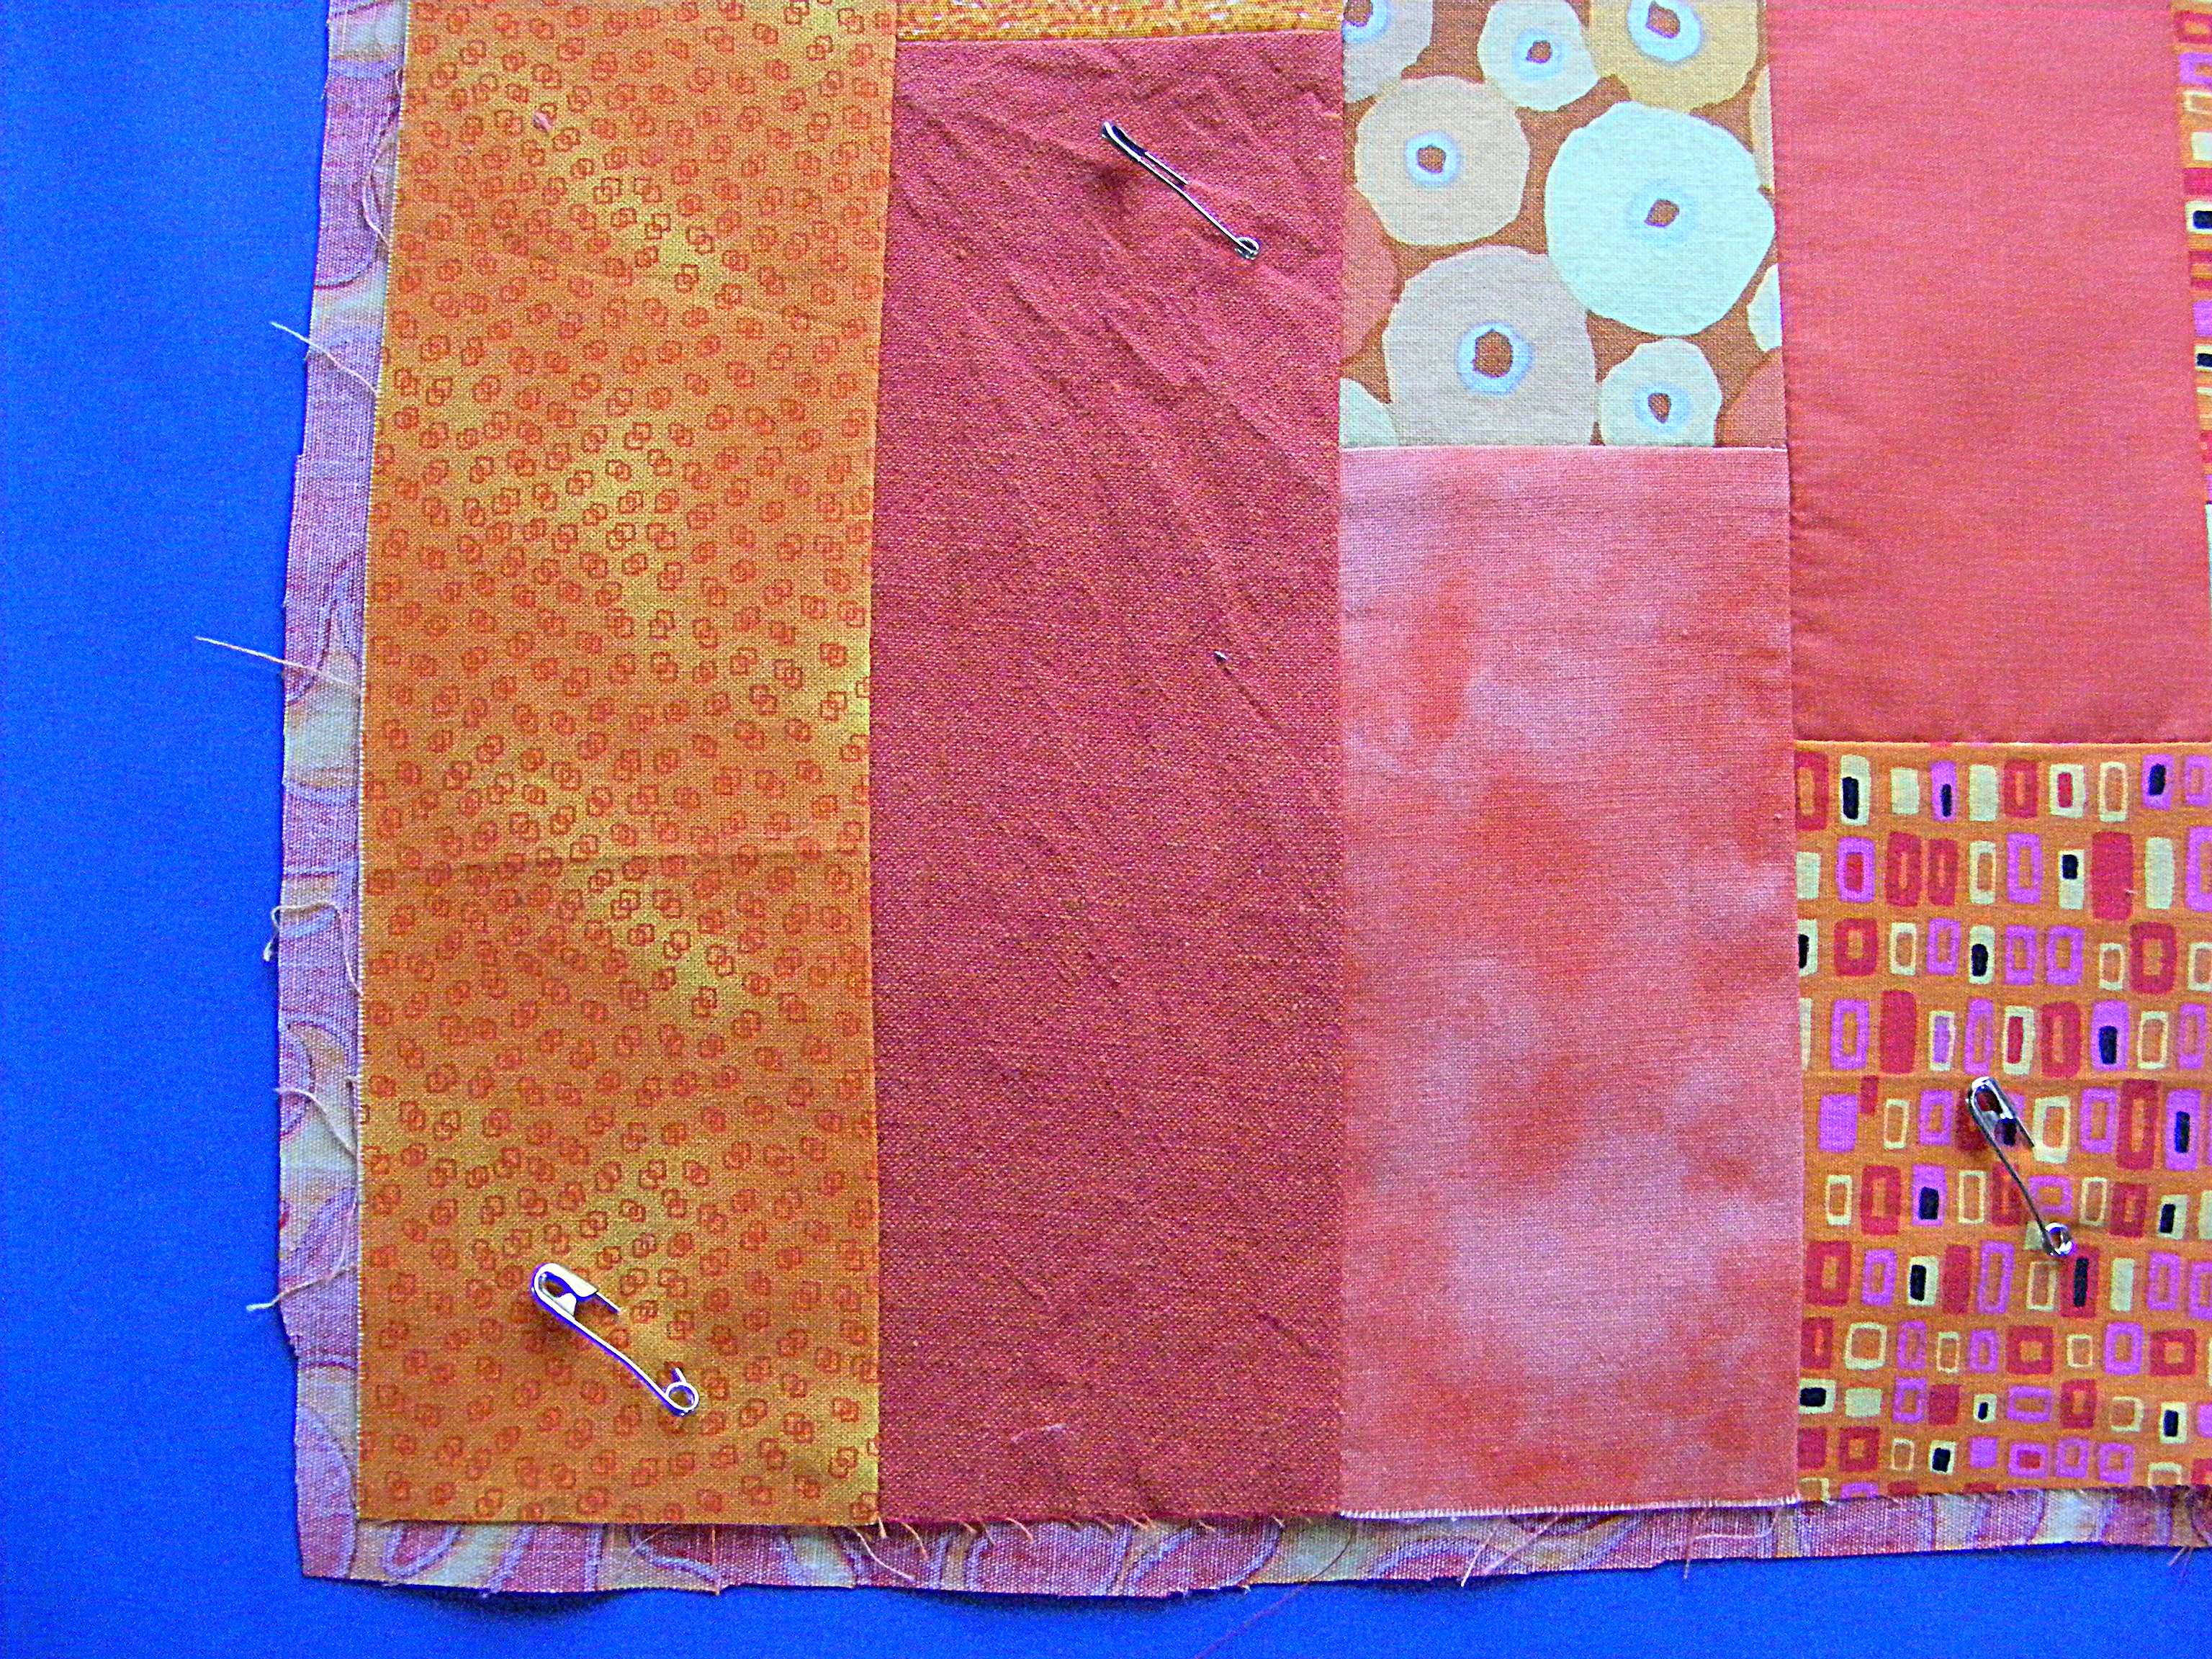
Trim the backing fabric to size - making sure it’s slightly bigger than the patchwork fabric all the way around.
Pin the two layers together.
Step 4
Stitch the two layers together by stitching as exactly as possible over your seam lines. This is called “stitching in the ditch.”
Also stitch the layers together 1/4 inch from the edge along both sides and the bottom. This will help you with a cheater pants hemming technique. No measuring!
Step 5
Now trim the backing so it’s even with the patchwork top all the way around.
Step 6
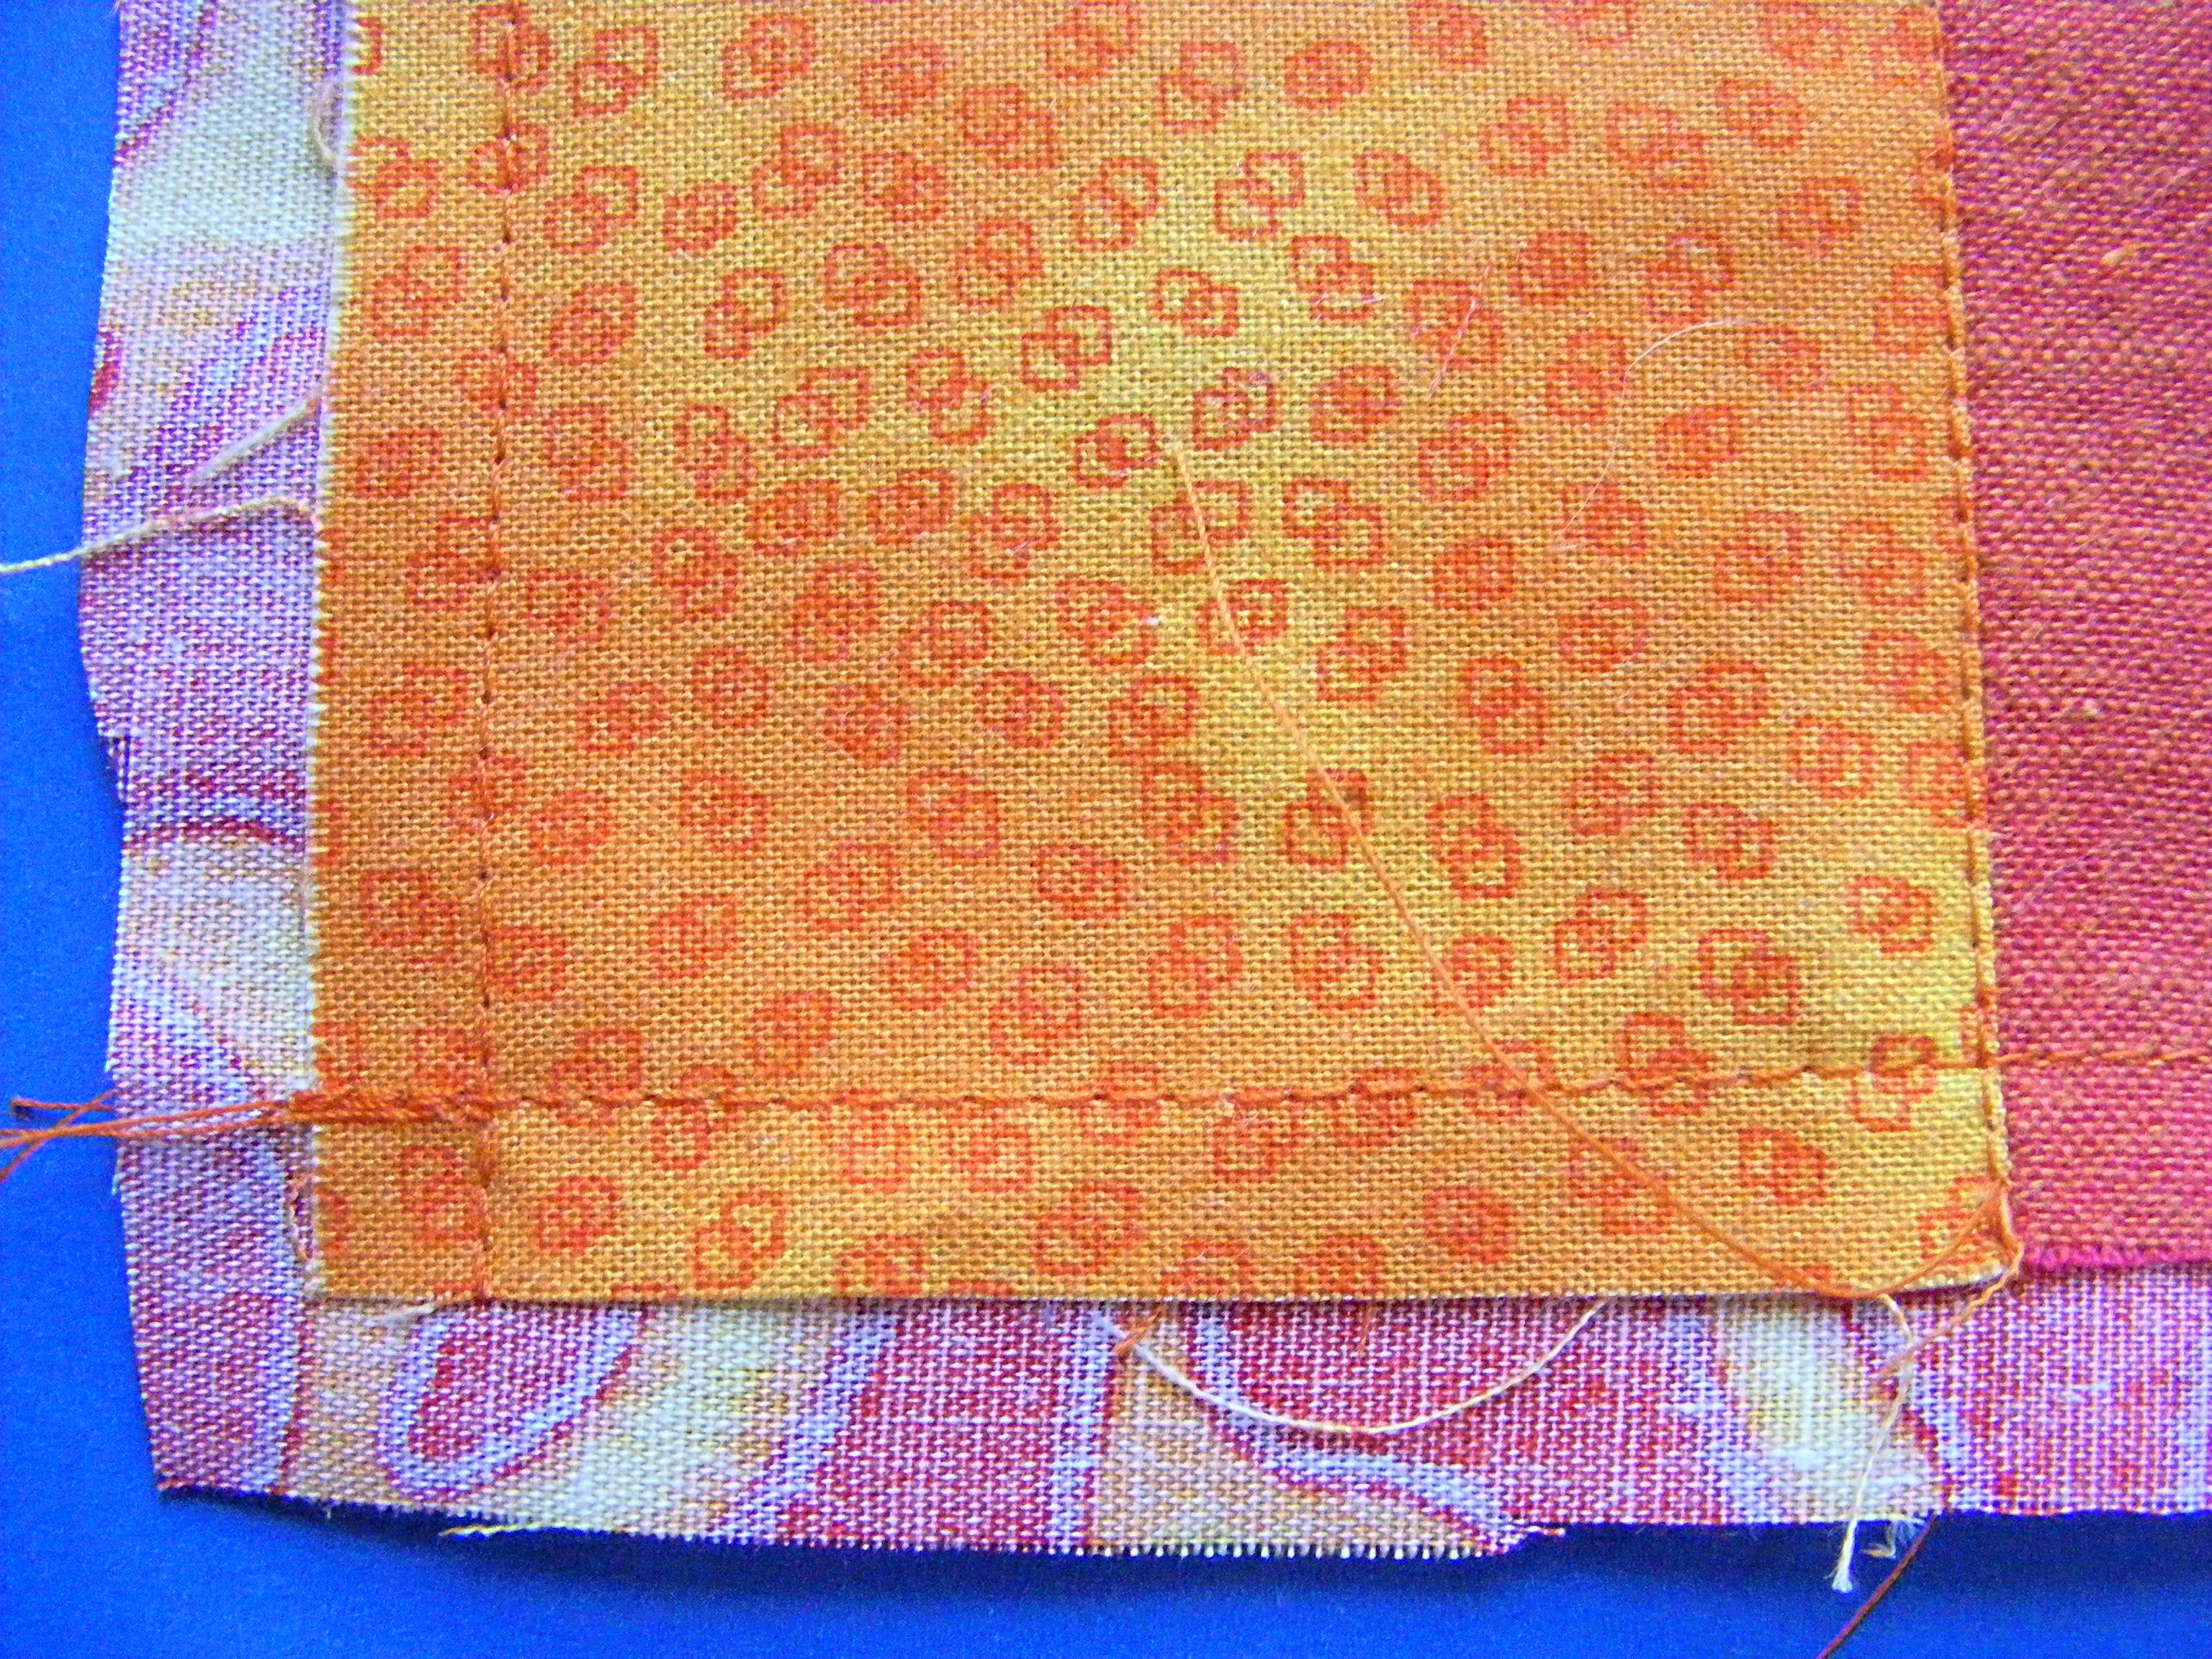
Hem each side of the main apron piece. Turn the edge under 1/4 inch. Press.
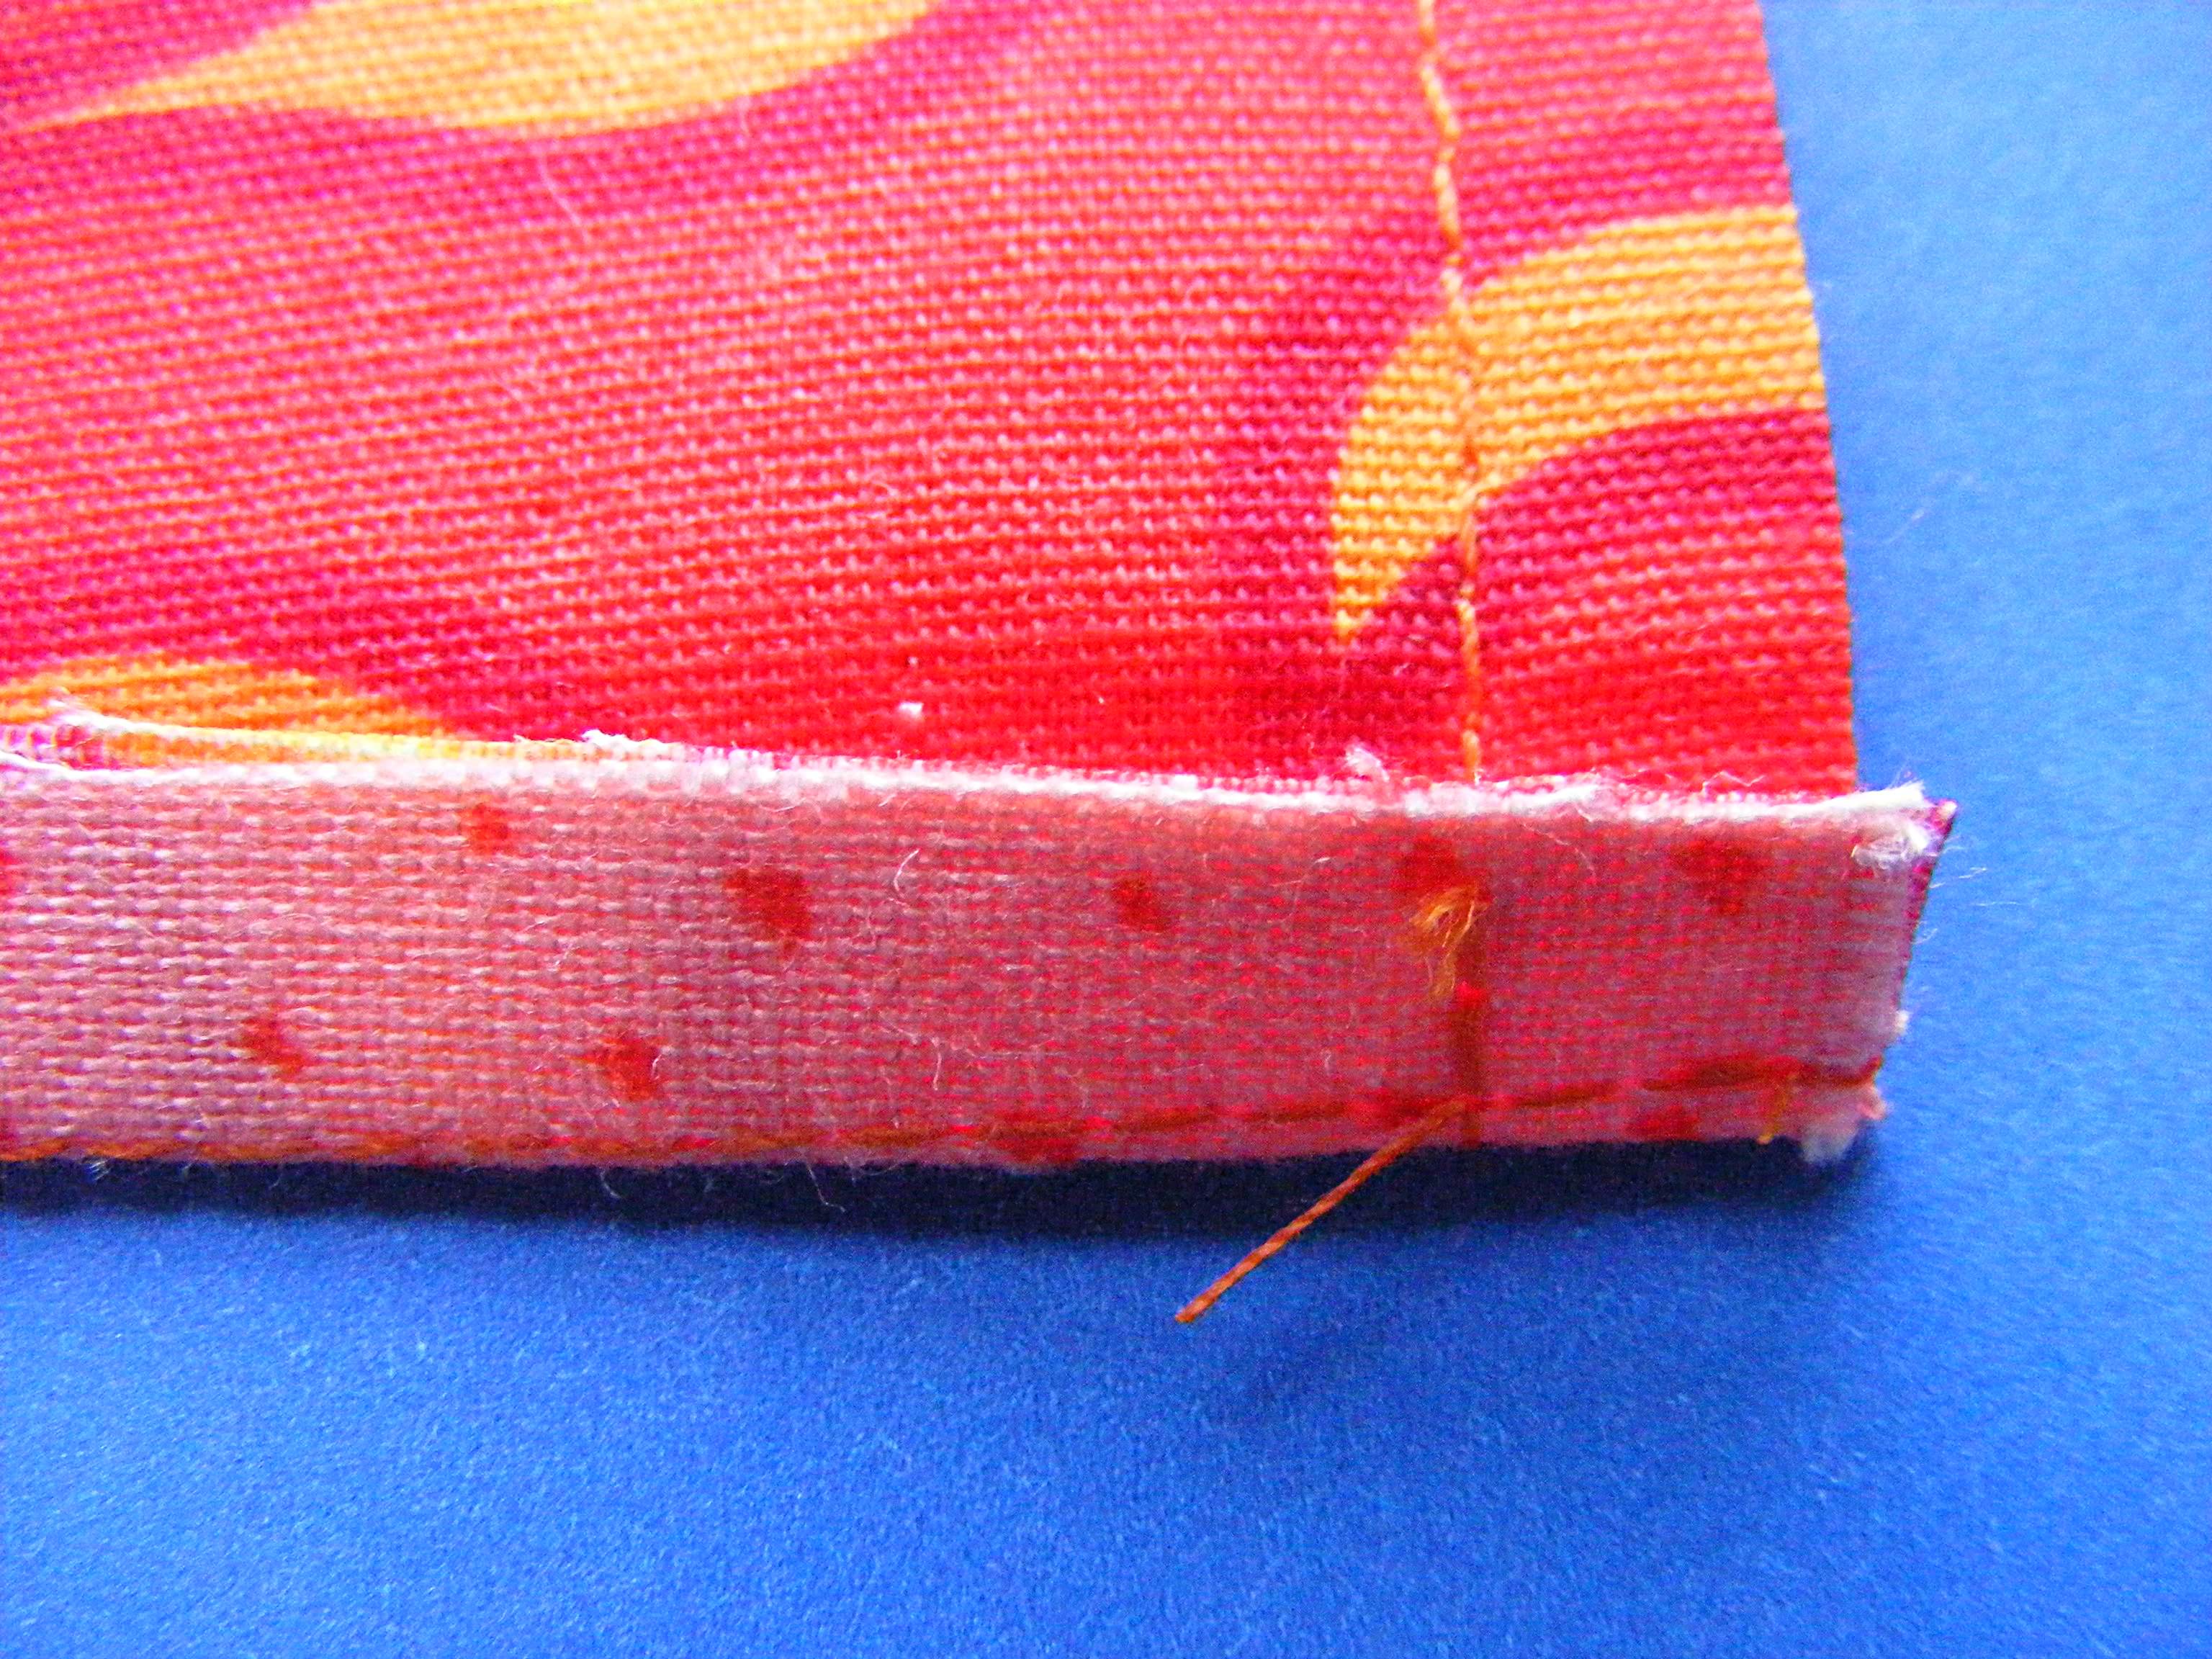
These hemming photos show the apron with the back side facing up.
See how I folded it right on the stitching line? That makes it soooooo easy to hem without measuring!
Step 7
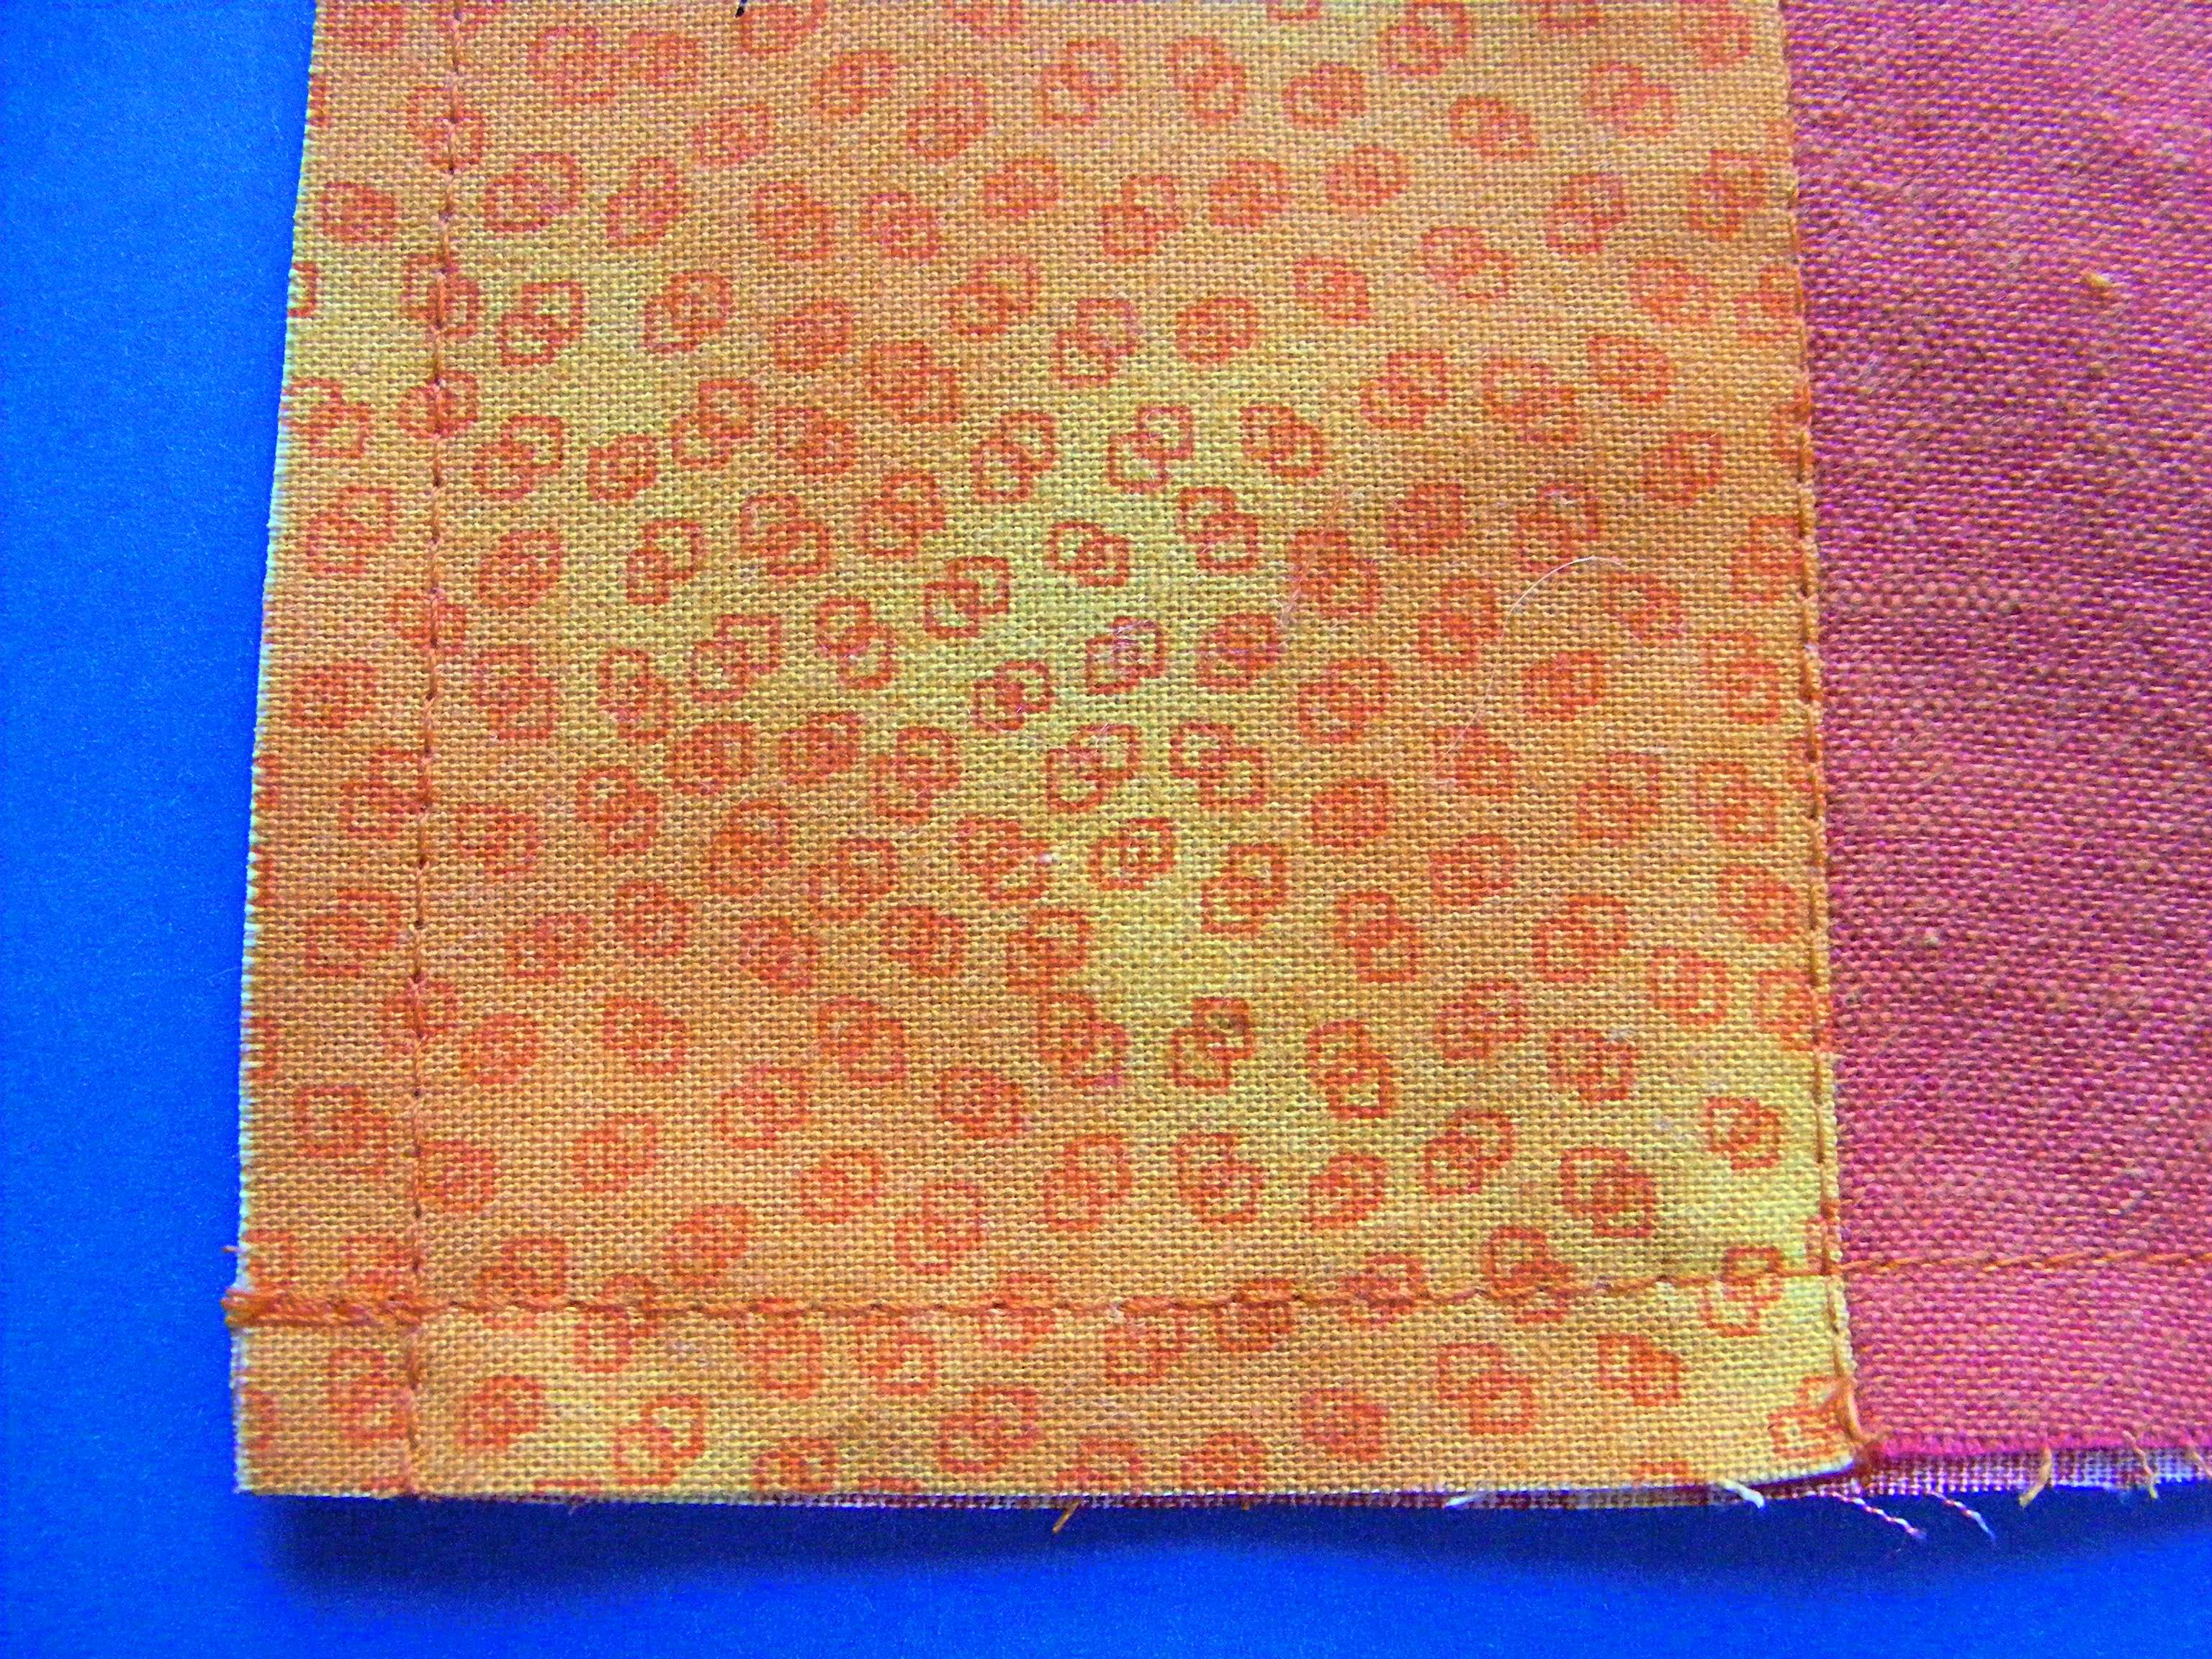
Turn under another quarter inch. Press.
Stitch down very close to the folded edge of the fabric.
Repeat with the second side.
If you need a refresher on how to hem, watch this video.
Step 8
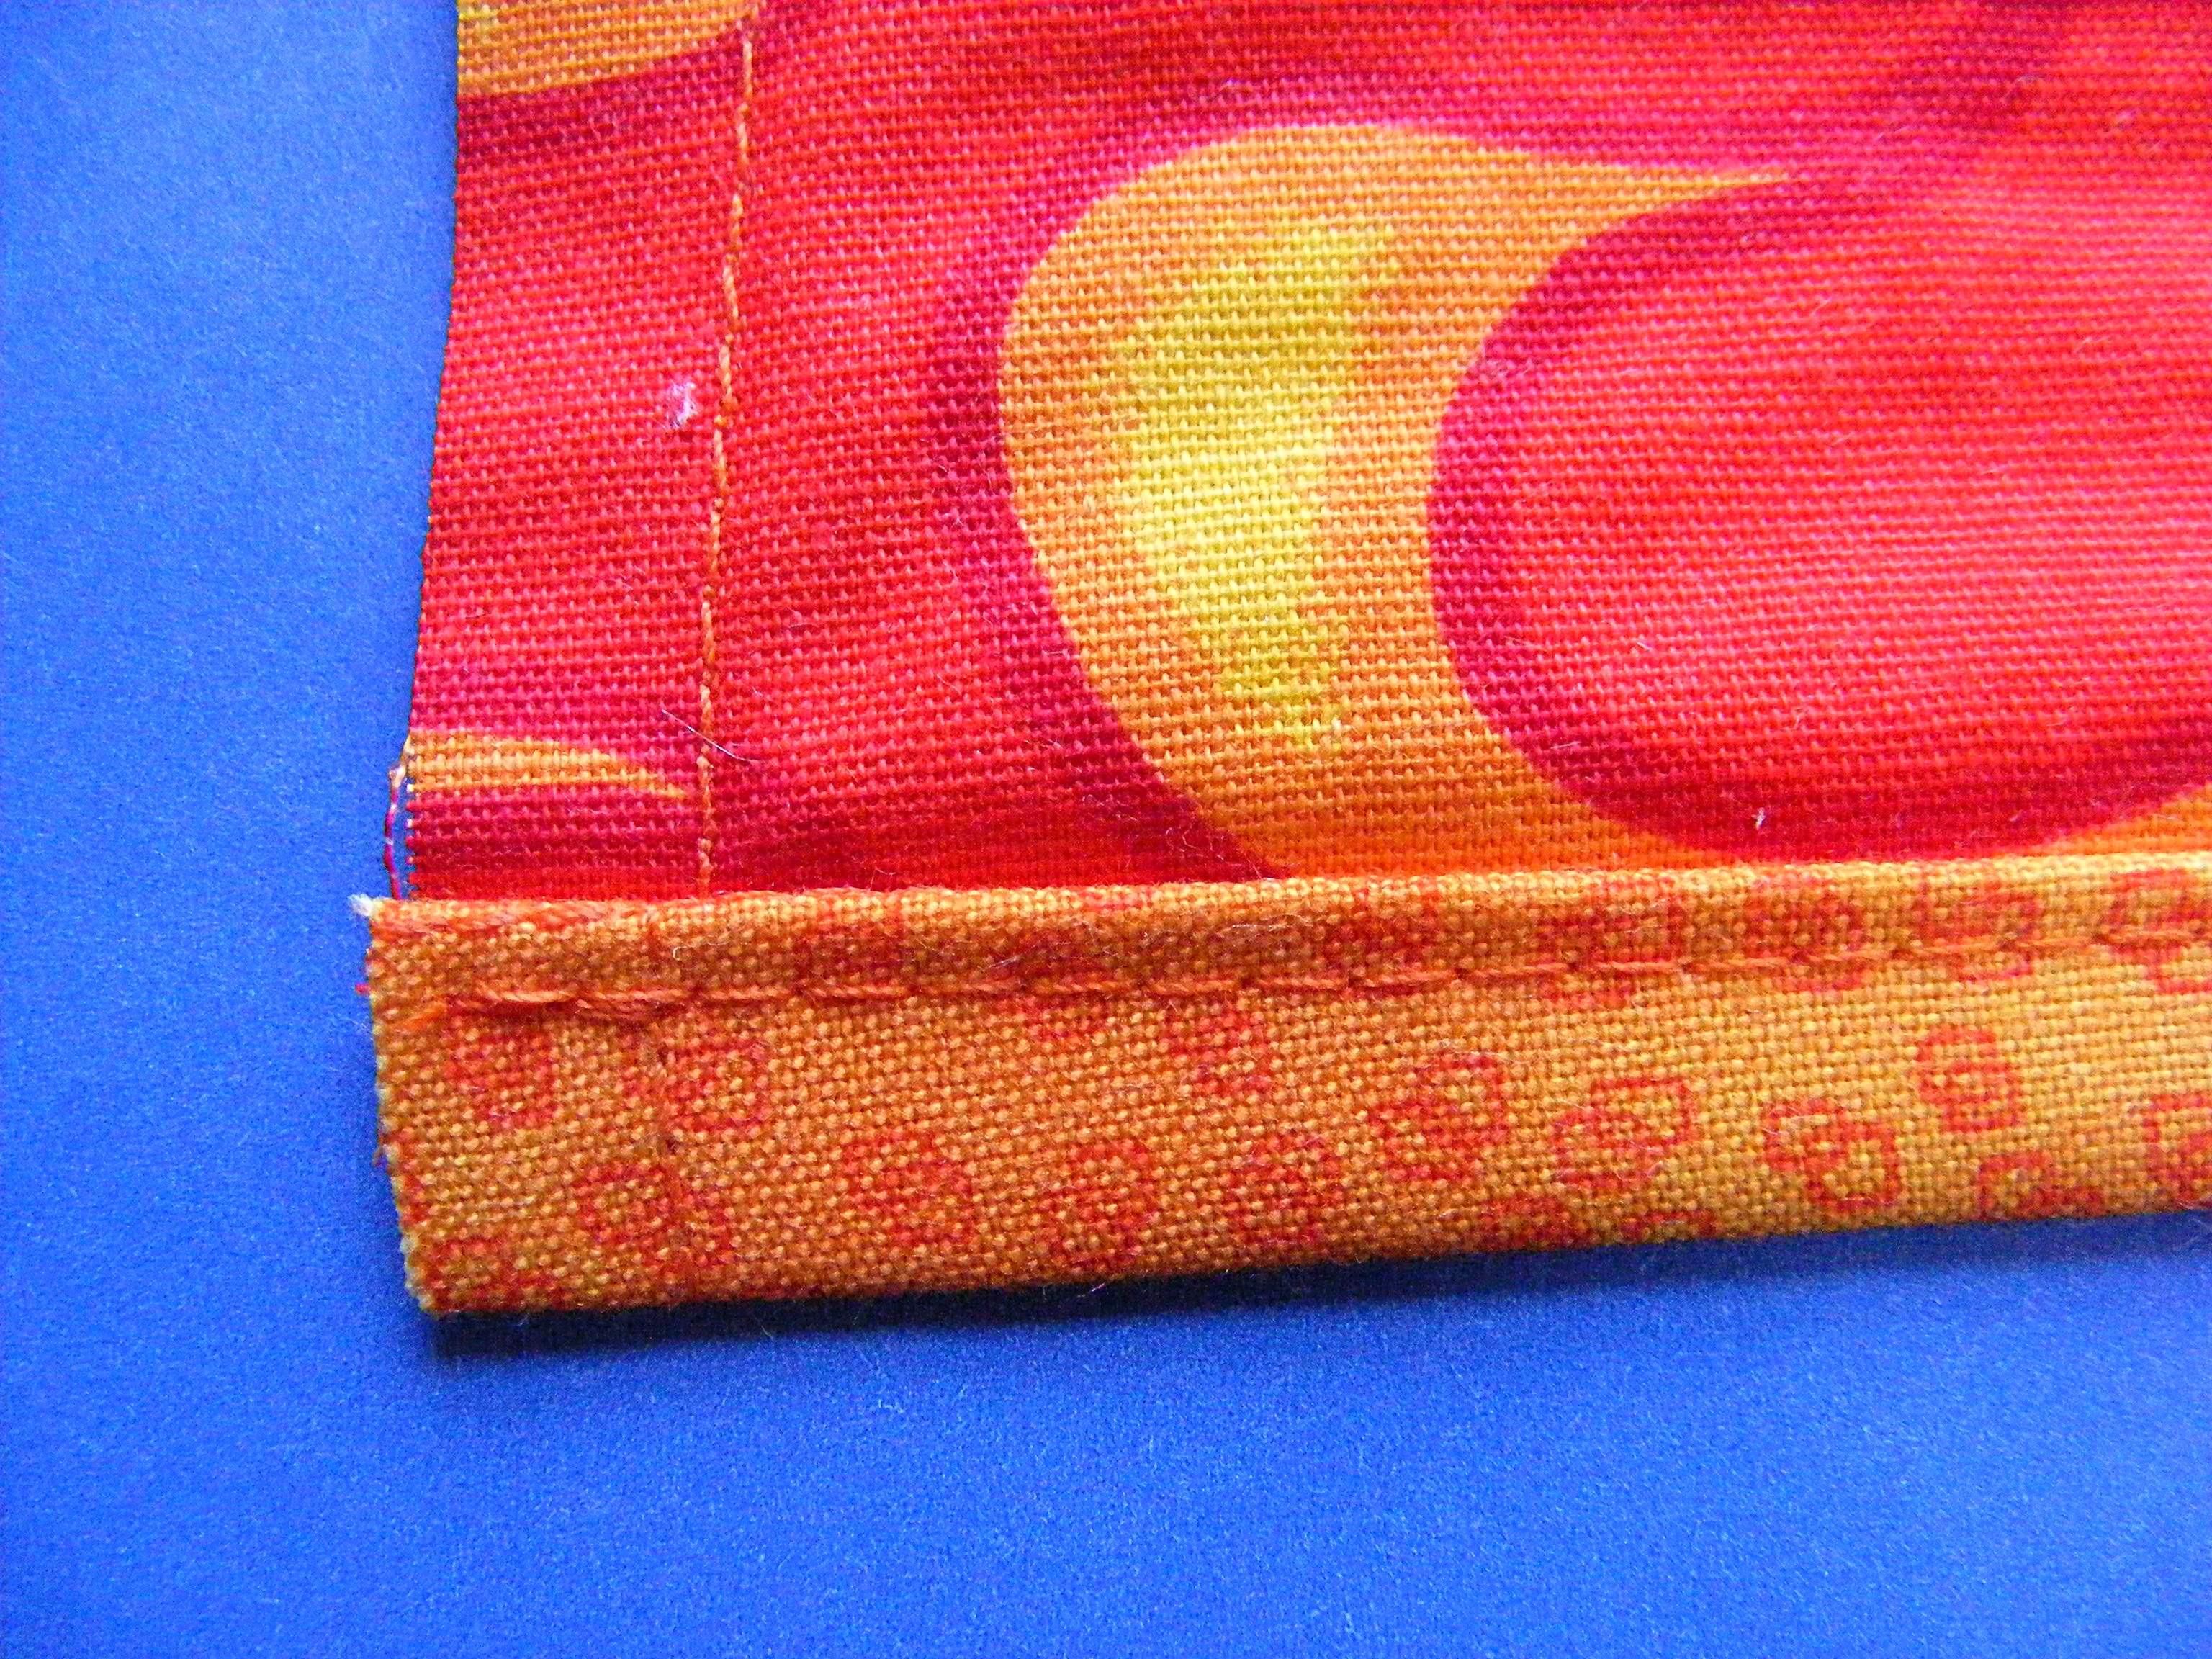
Now repeat with the bottom hem. Turn the bottom edge up 1/4 inch. Press.
The corners can get a little bulky here - so trim away an itty bit off the corner, from stitching line to stitching line.
Step 9
Turn the bottom edge under a second 1/4 inch. Press.
Stitch it down very close to the folded edge of the fabric.
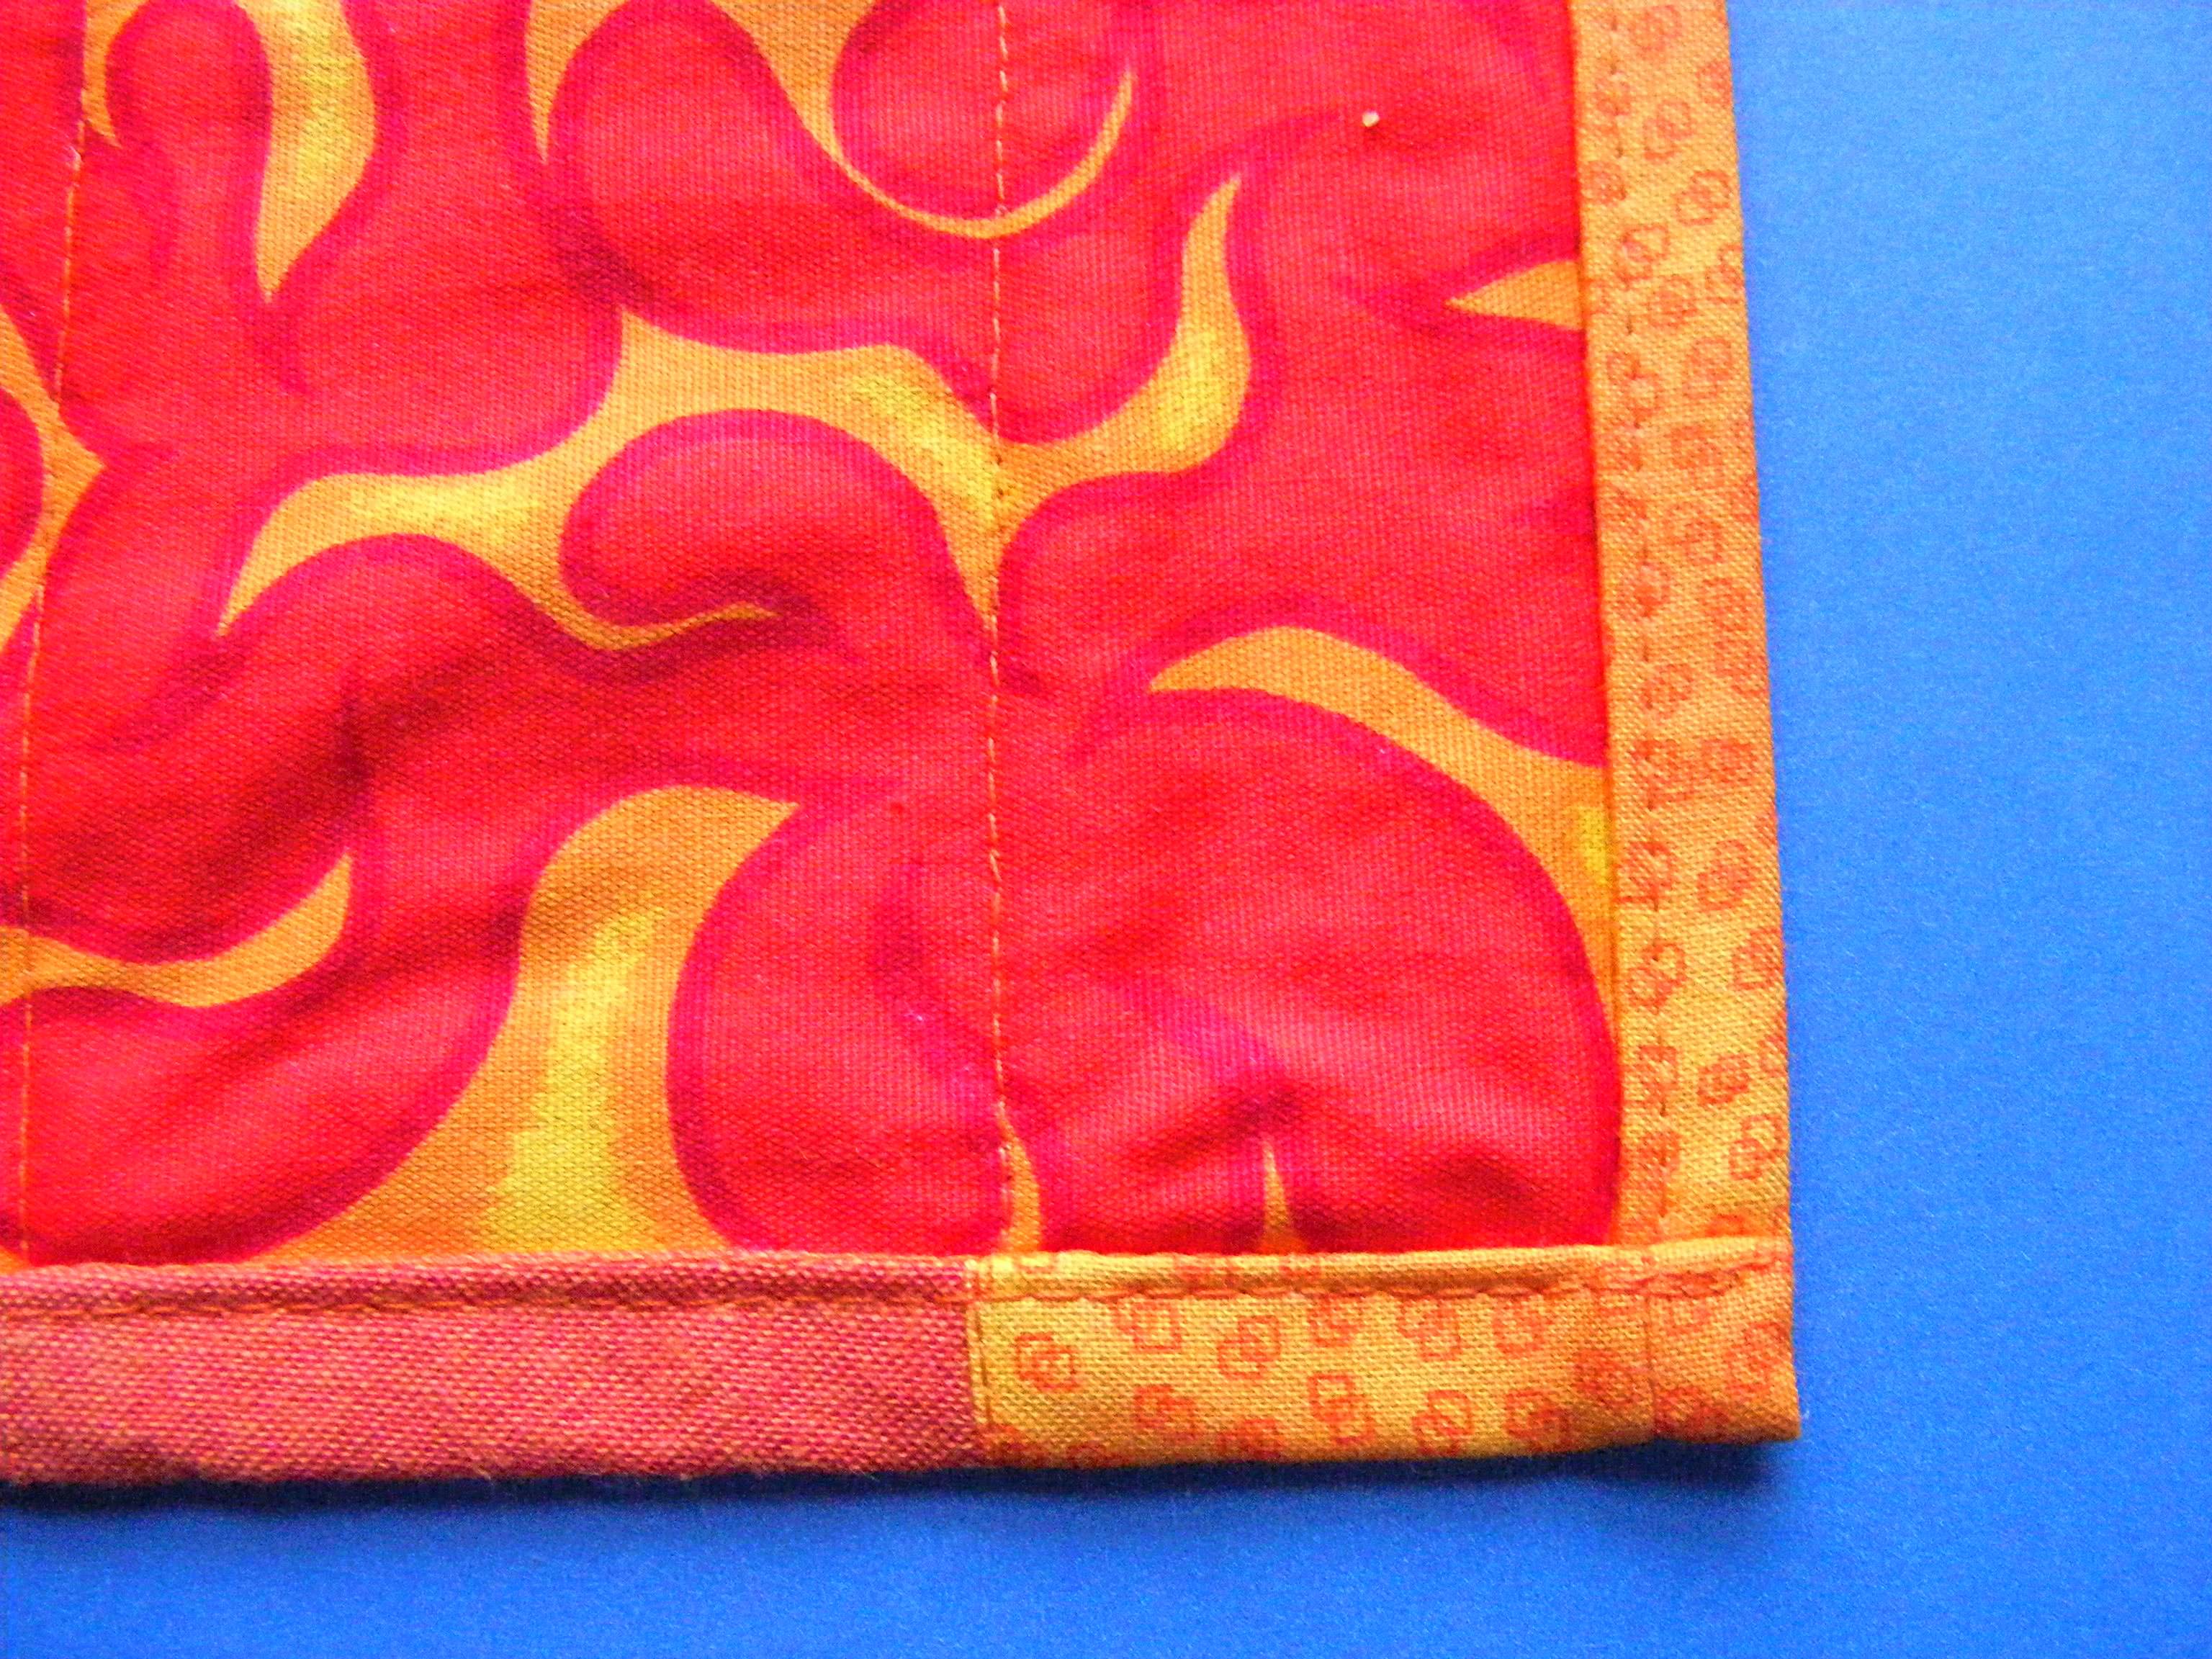
The hems will give the back of your apron a nice frame around the bottom and sides.
Step 10
Time to make your apron tie. On a scrappy apron like this I especially like to make my tie out of scraps of fabric too. Cut enough 3 inch strips so that when joined together they are the desired length.
For a girl’s apron that ties in the back, you’ll need a total length of 58 inches. To double-wrap and tie in the front you’ll need 84 inches.
For a woman’s apron that ties in the back you’ll need 72 inches. To tie it in the front you’ll need 96 inches.
Join your strips together on the diagonal so you don’t get thick, bumpy bits in your tie. You can see how in this video.
Step 11
That video also shows how to fold the strip into double-fold tape. In a nutshell. . .
- Fold it in half the long way.
- Press.
- Fold each long edge into the center.
- Press.
- Refold the center.
- Press.
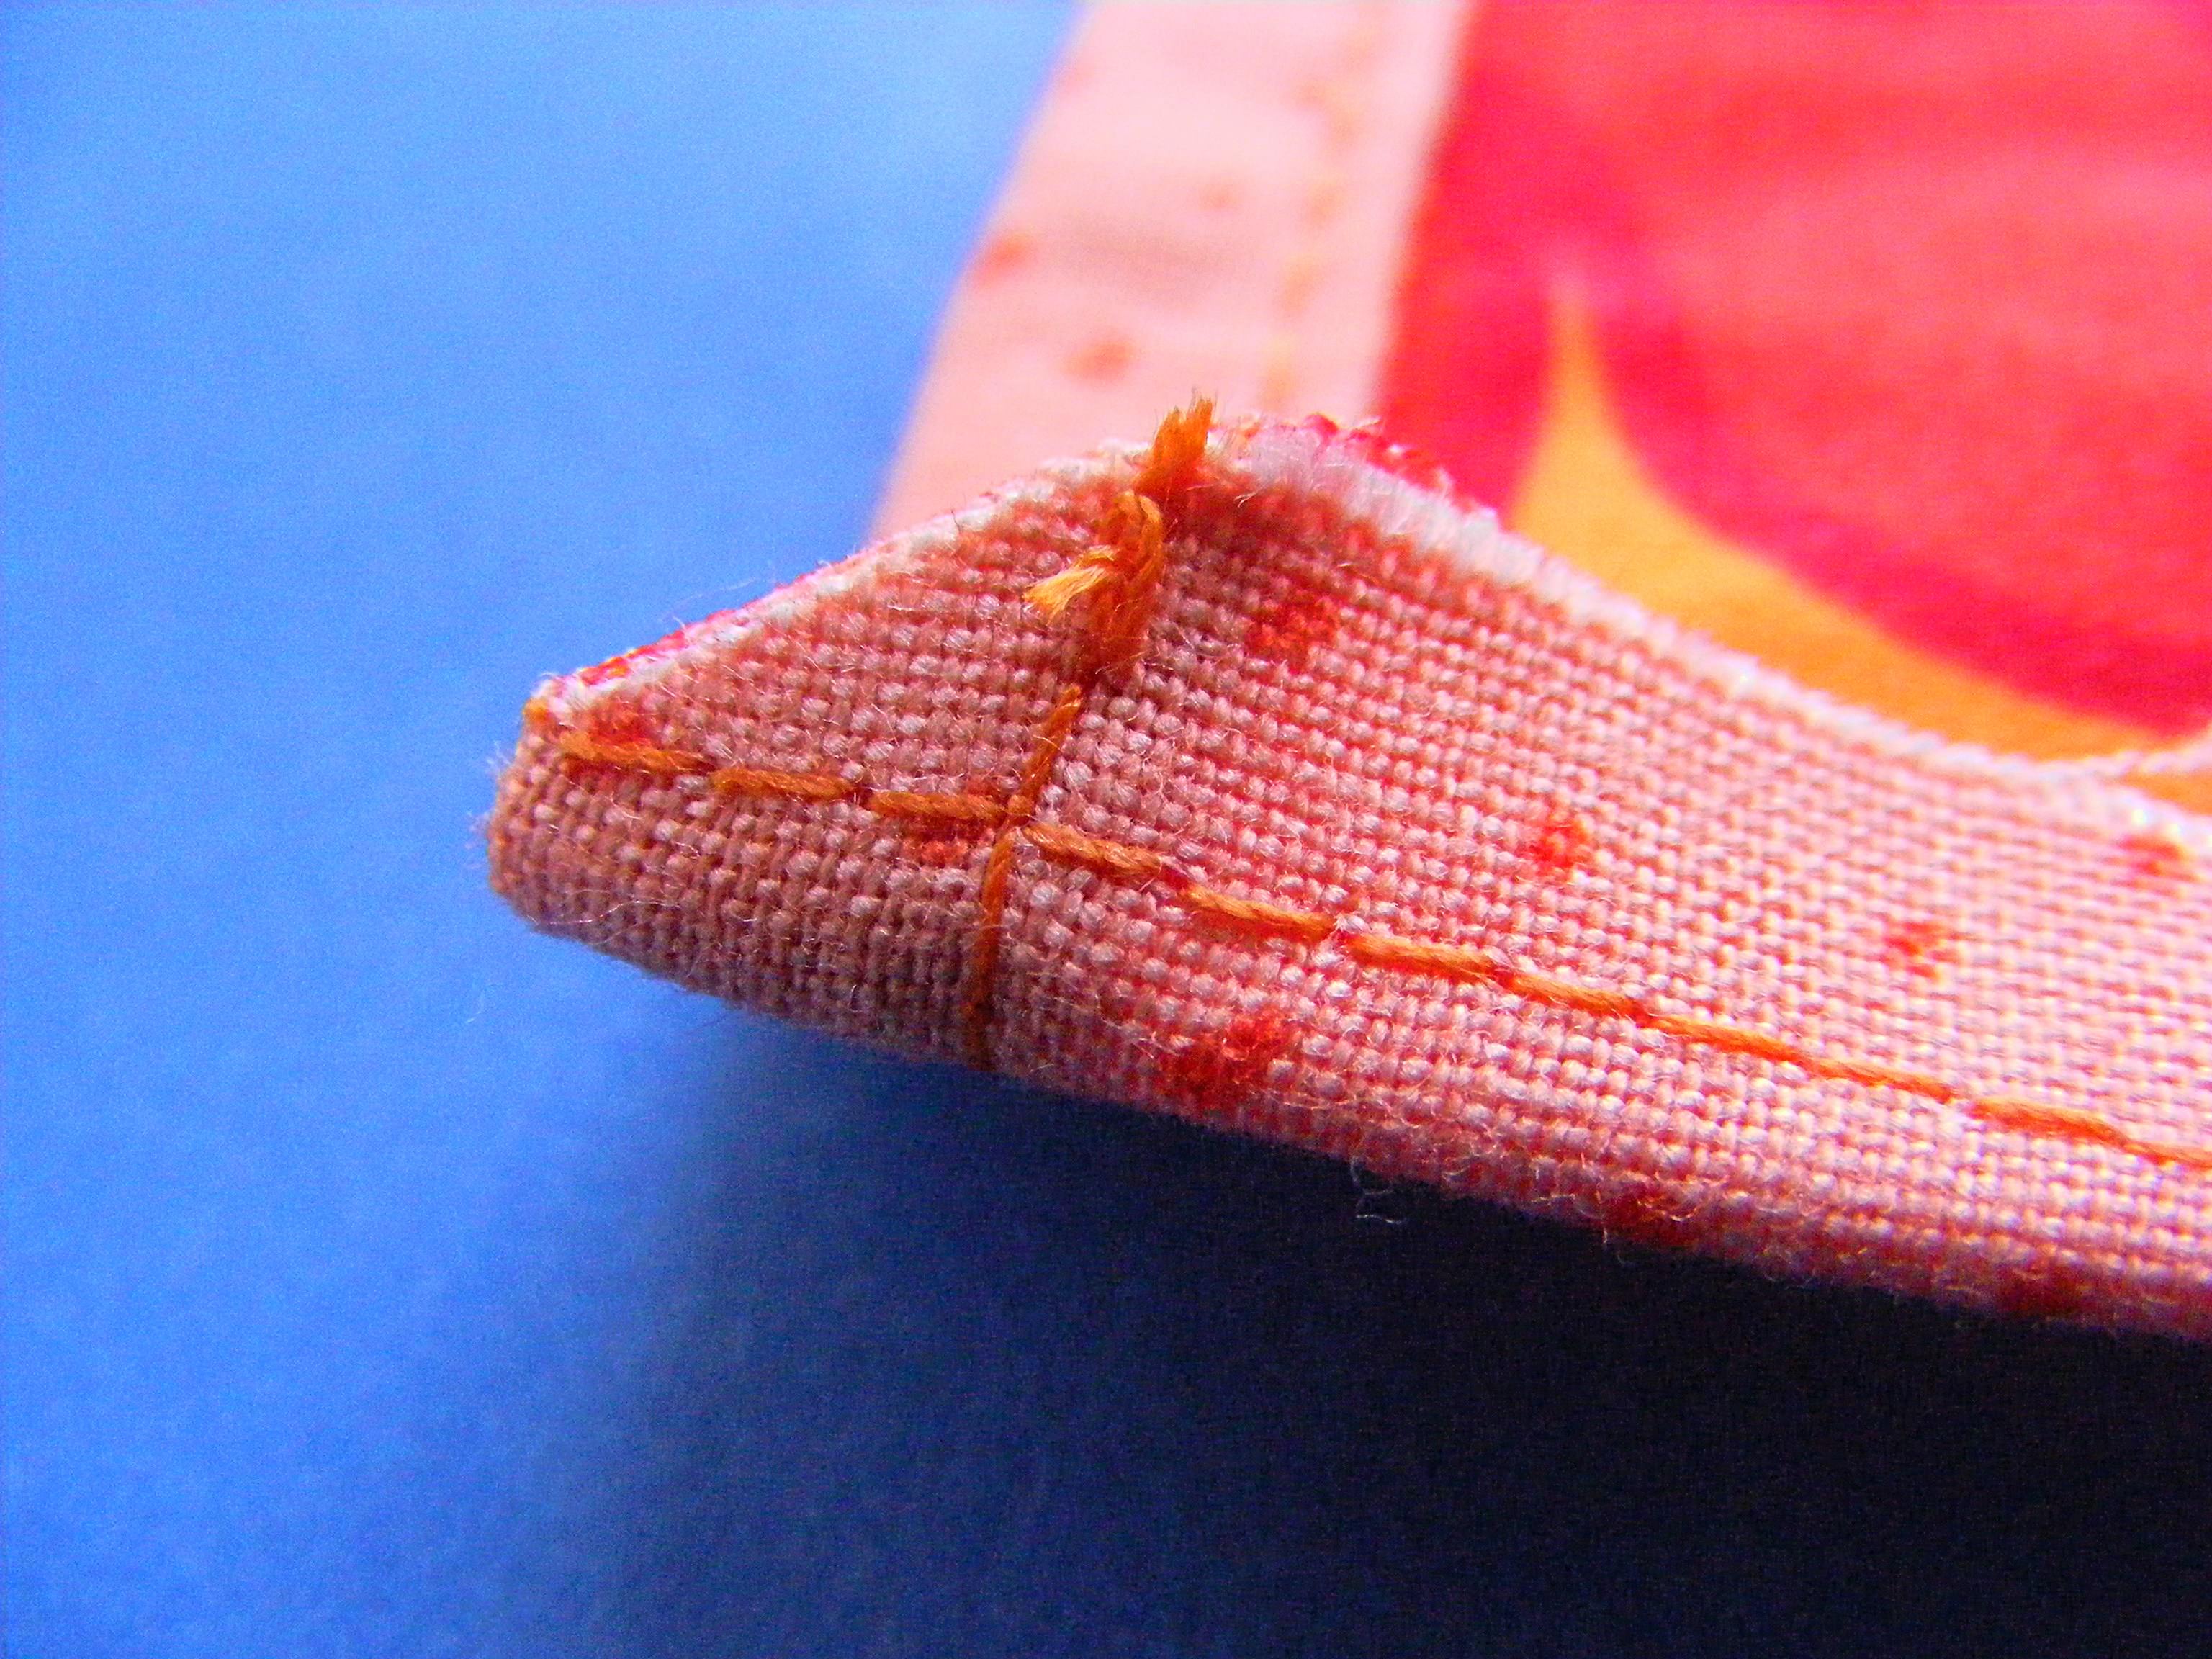
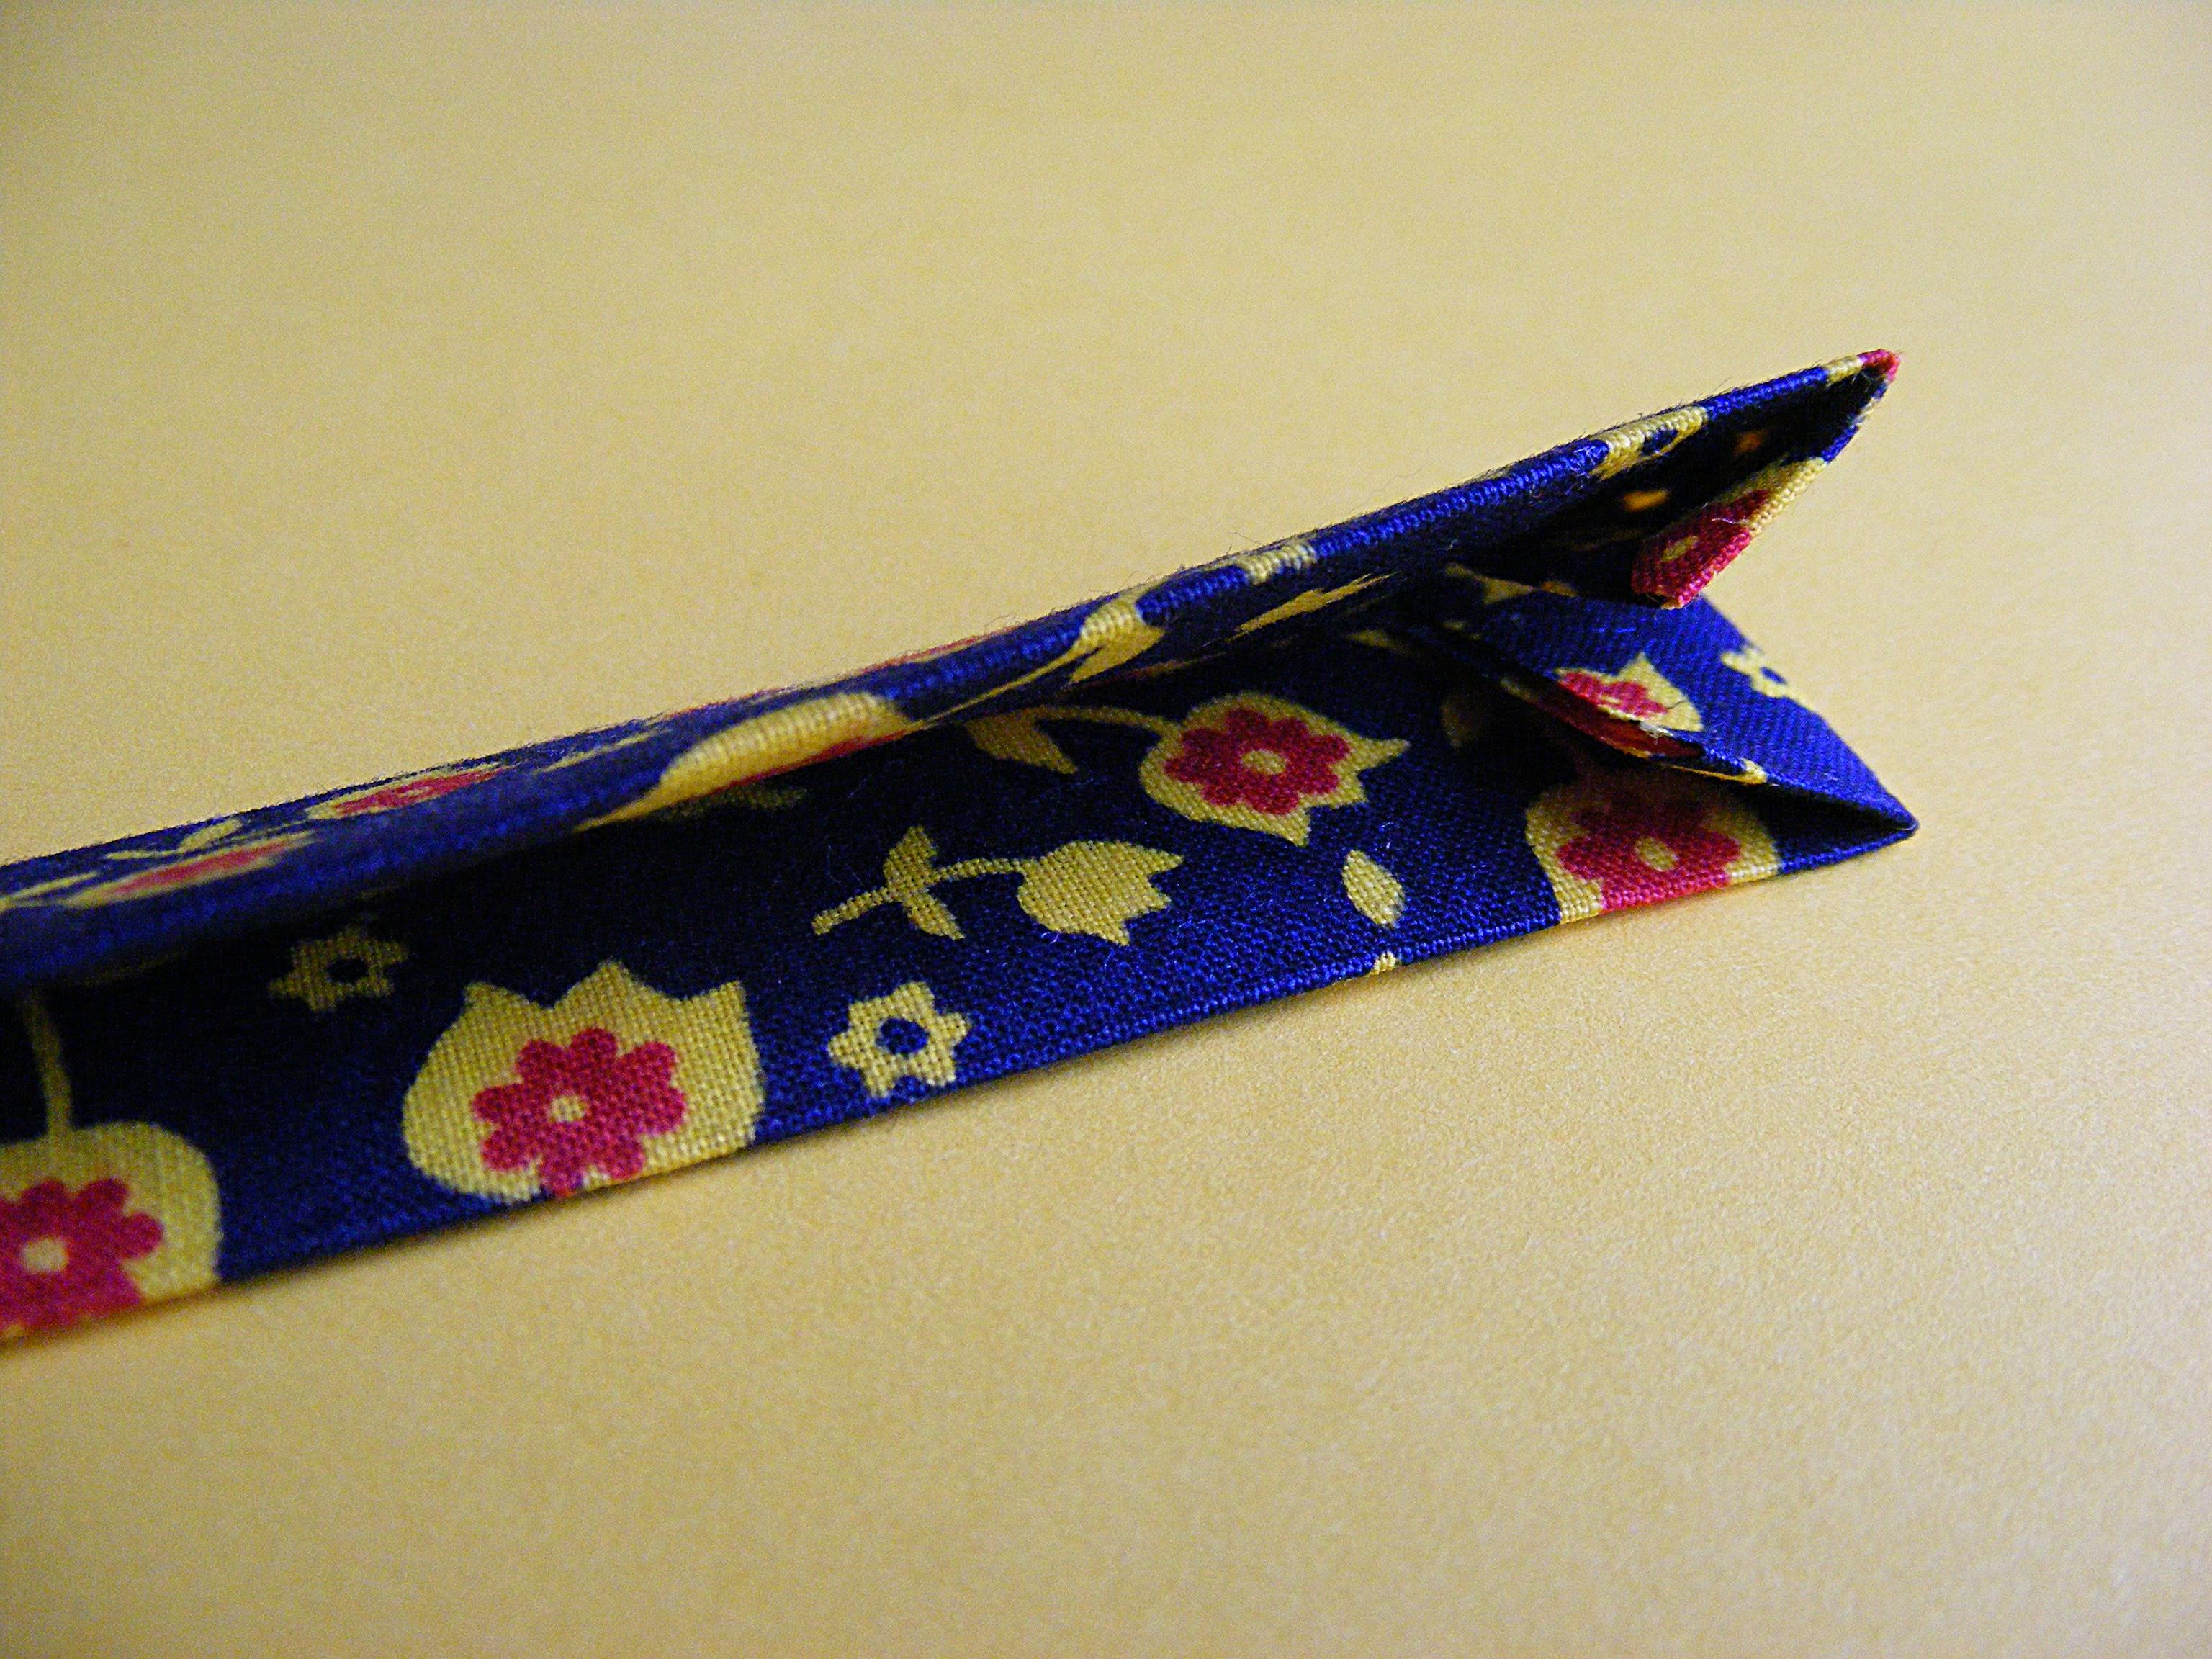
- Open up the center fold and turn the short end under 1/4 inch.
- Refold and press. Now you’ll have a neat end to your tie.
Yes – the fabric in the photos is changing here. 🙂 These instructions are exactly the same as for finishing the Easy Apron pattern. There’s a free tutorial for that here.
Step 12
Gather up the top edge of the apron until it’s the desired width, usually a little more than half of the total waist measurement.

This isn’t rocket science, so don’t tear out your hair (or your stitches) if you end up a little longer or shorter than you wanted. A little bit of variation won’t look bad. 🙂
There’s a video here showing two methods for gathering fabric.
Step 13
Fold your double-fold tape over the raw, gathered edge of the top of your apron. If you pin the center of your tie to the center of your apron piece and work your way out from that center point, it’s very easy to get everything even with no measuring.
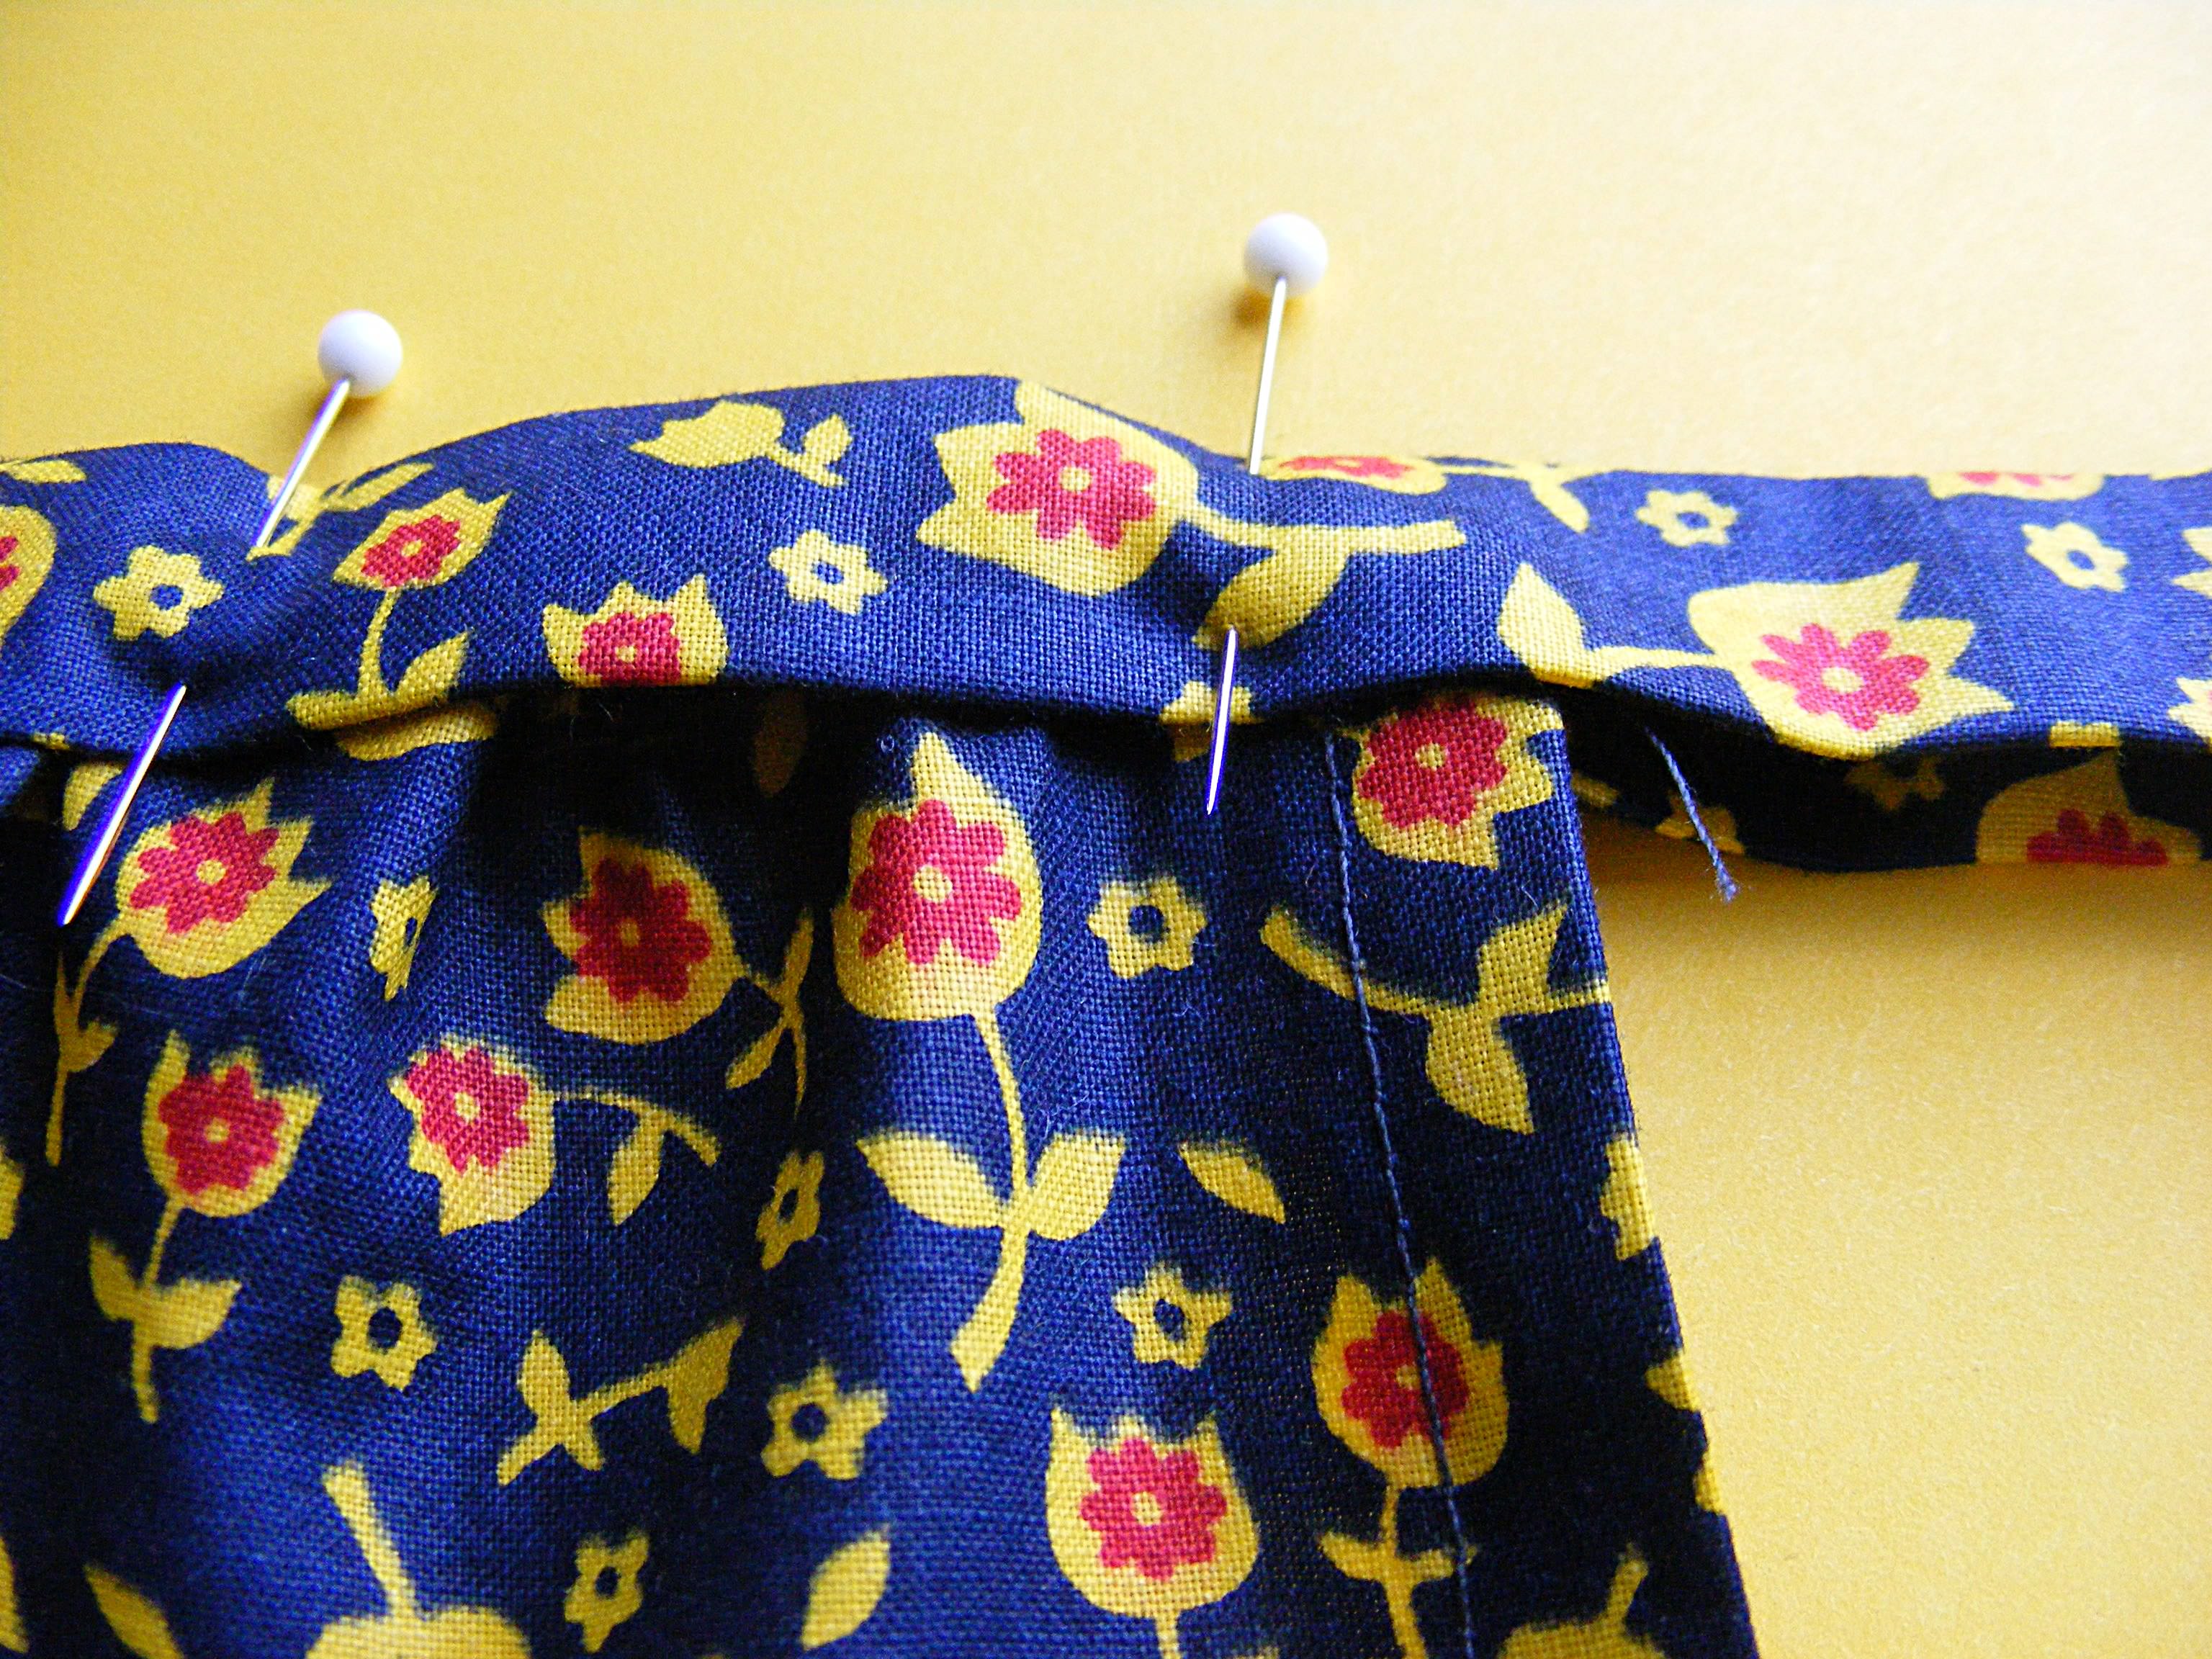
Pin the double-fold tape in place.
Step 14
Stitch the folded edges together, the whole length of the waistband/tie.
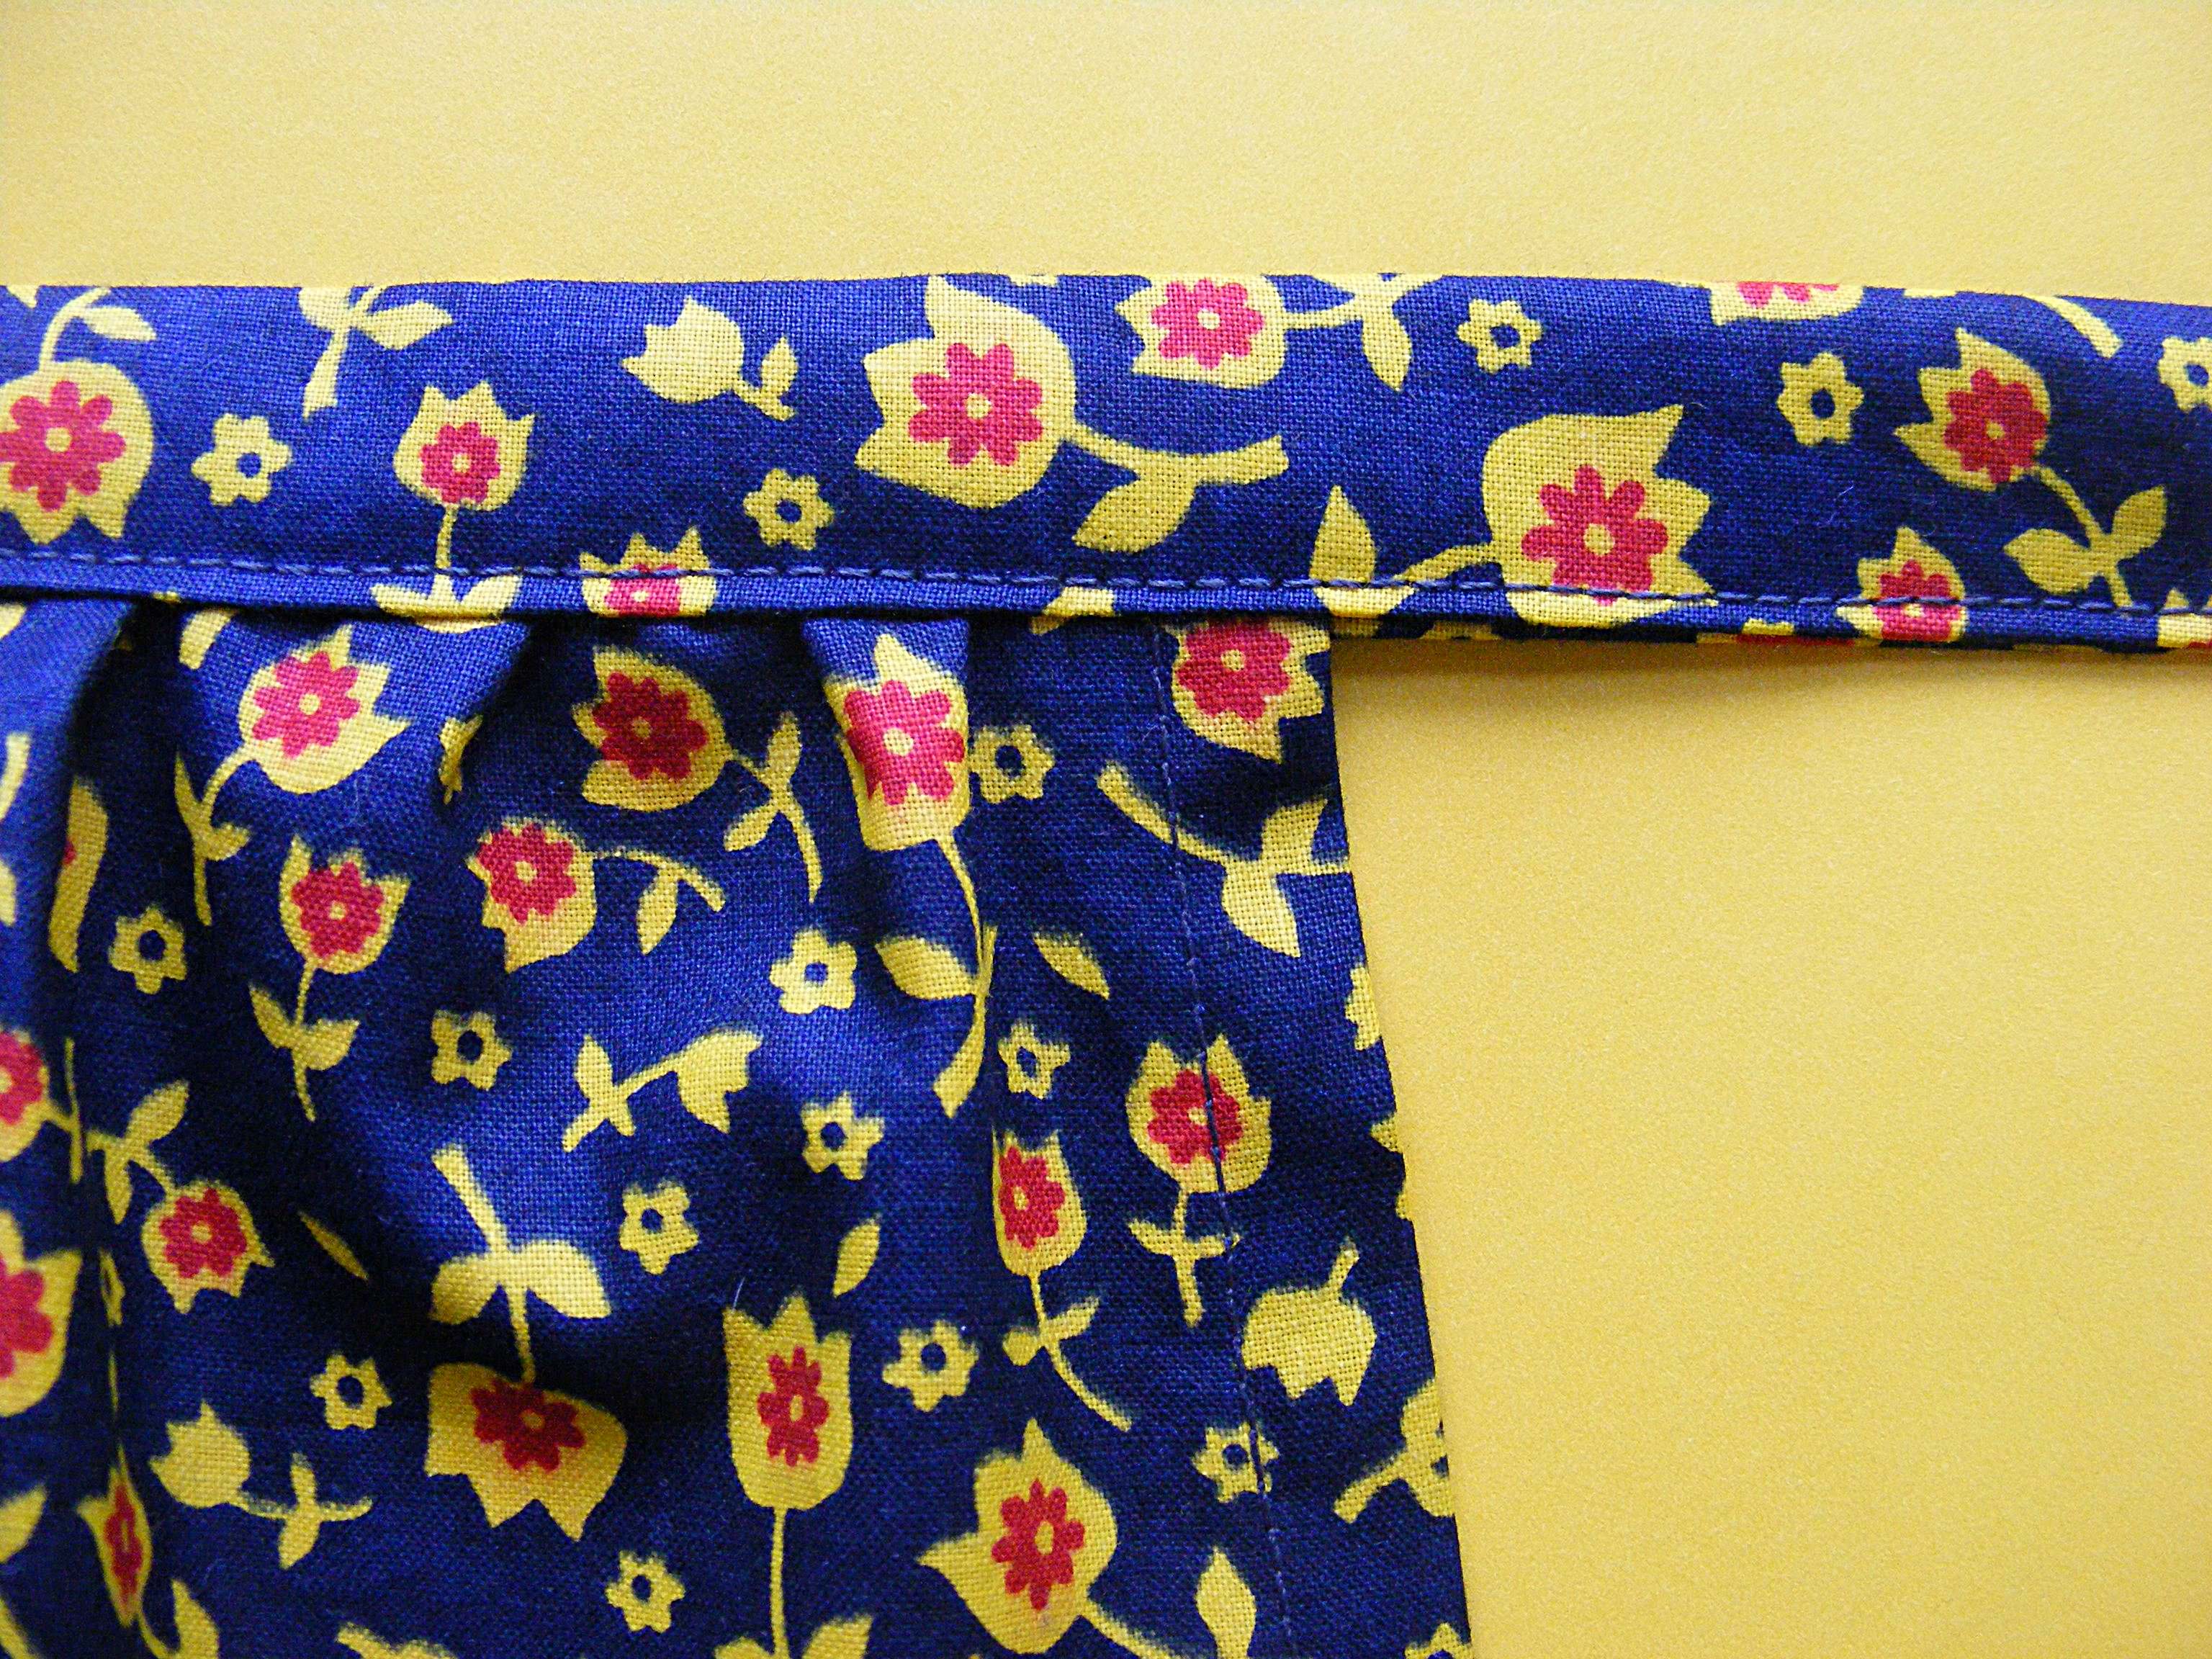
Start at one end. Stitch the short end together. Turn the corner and stitch all the way down the length of the tie, enclosing the gathered edge of the apron top in the fold. Sew slowly, making sure that you are catching the back fold of the tape in your stitching. Turn the corner and stitch the other short edge.
Finished!
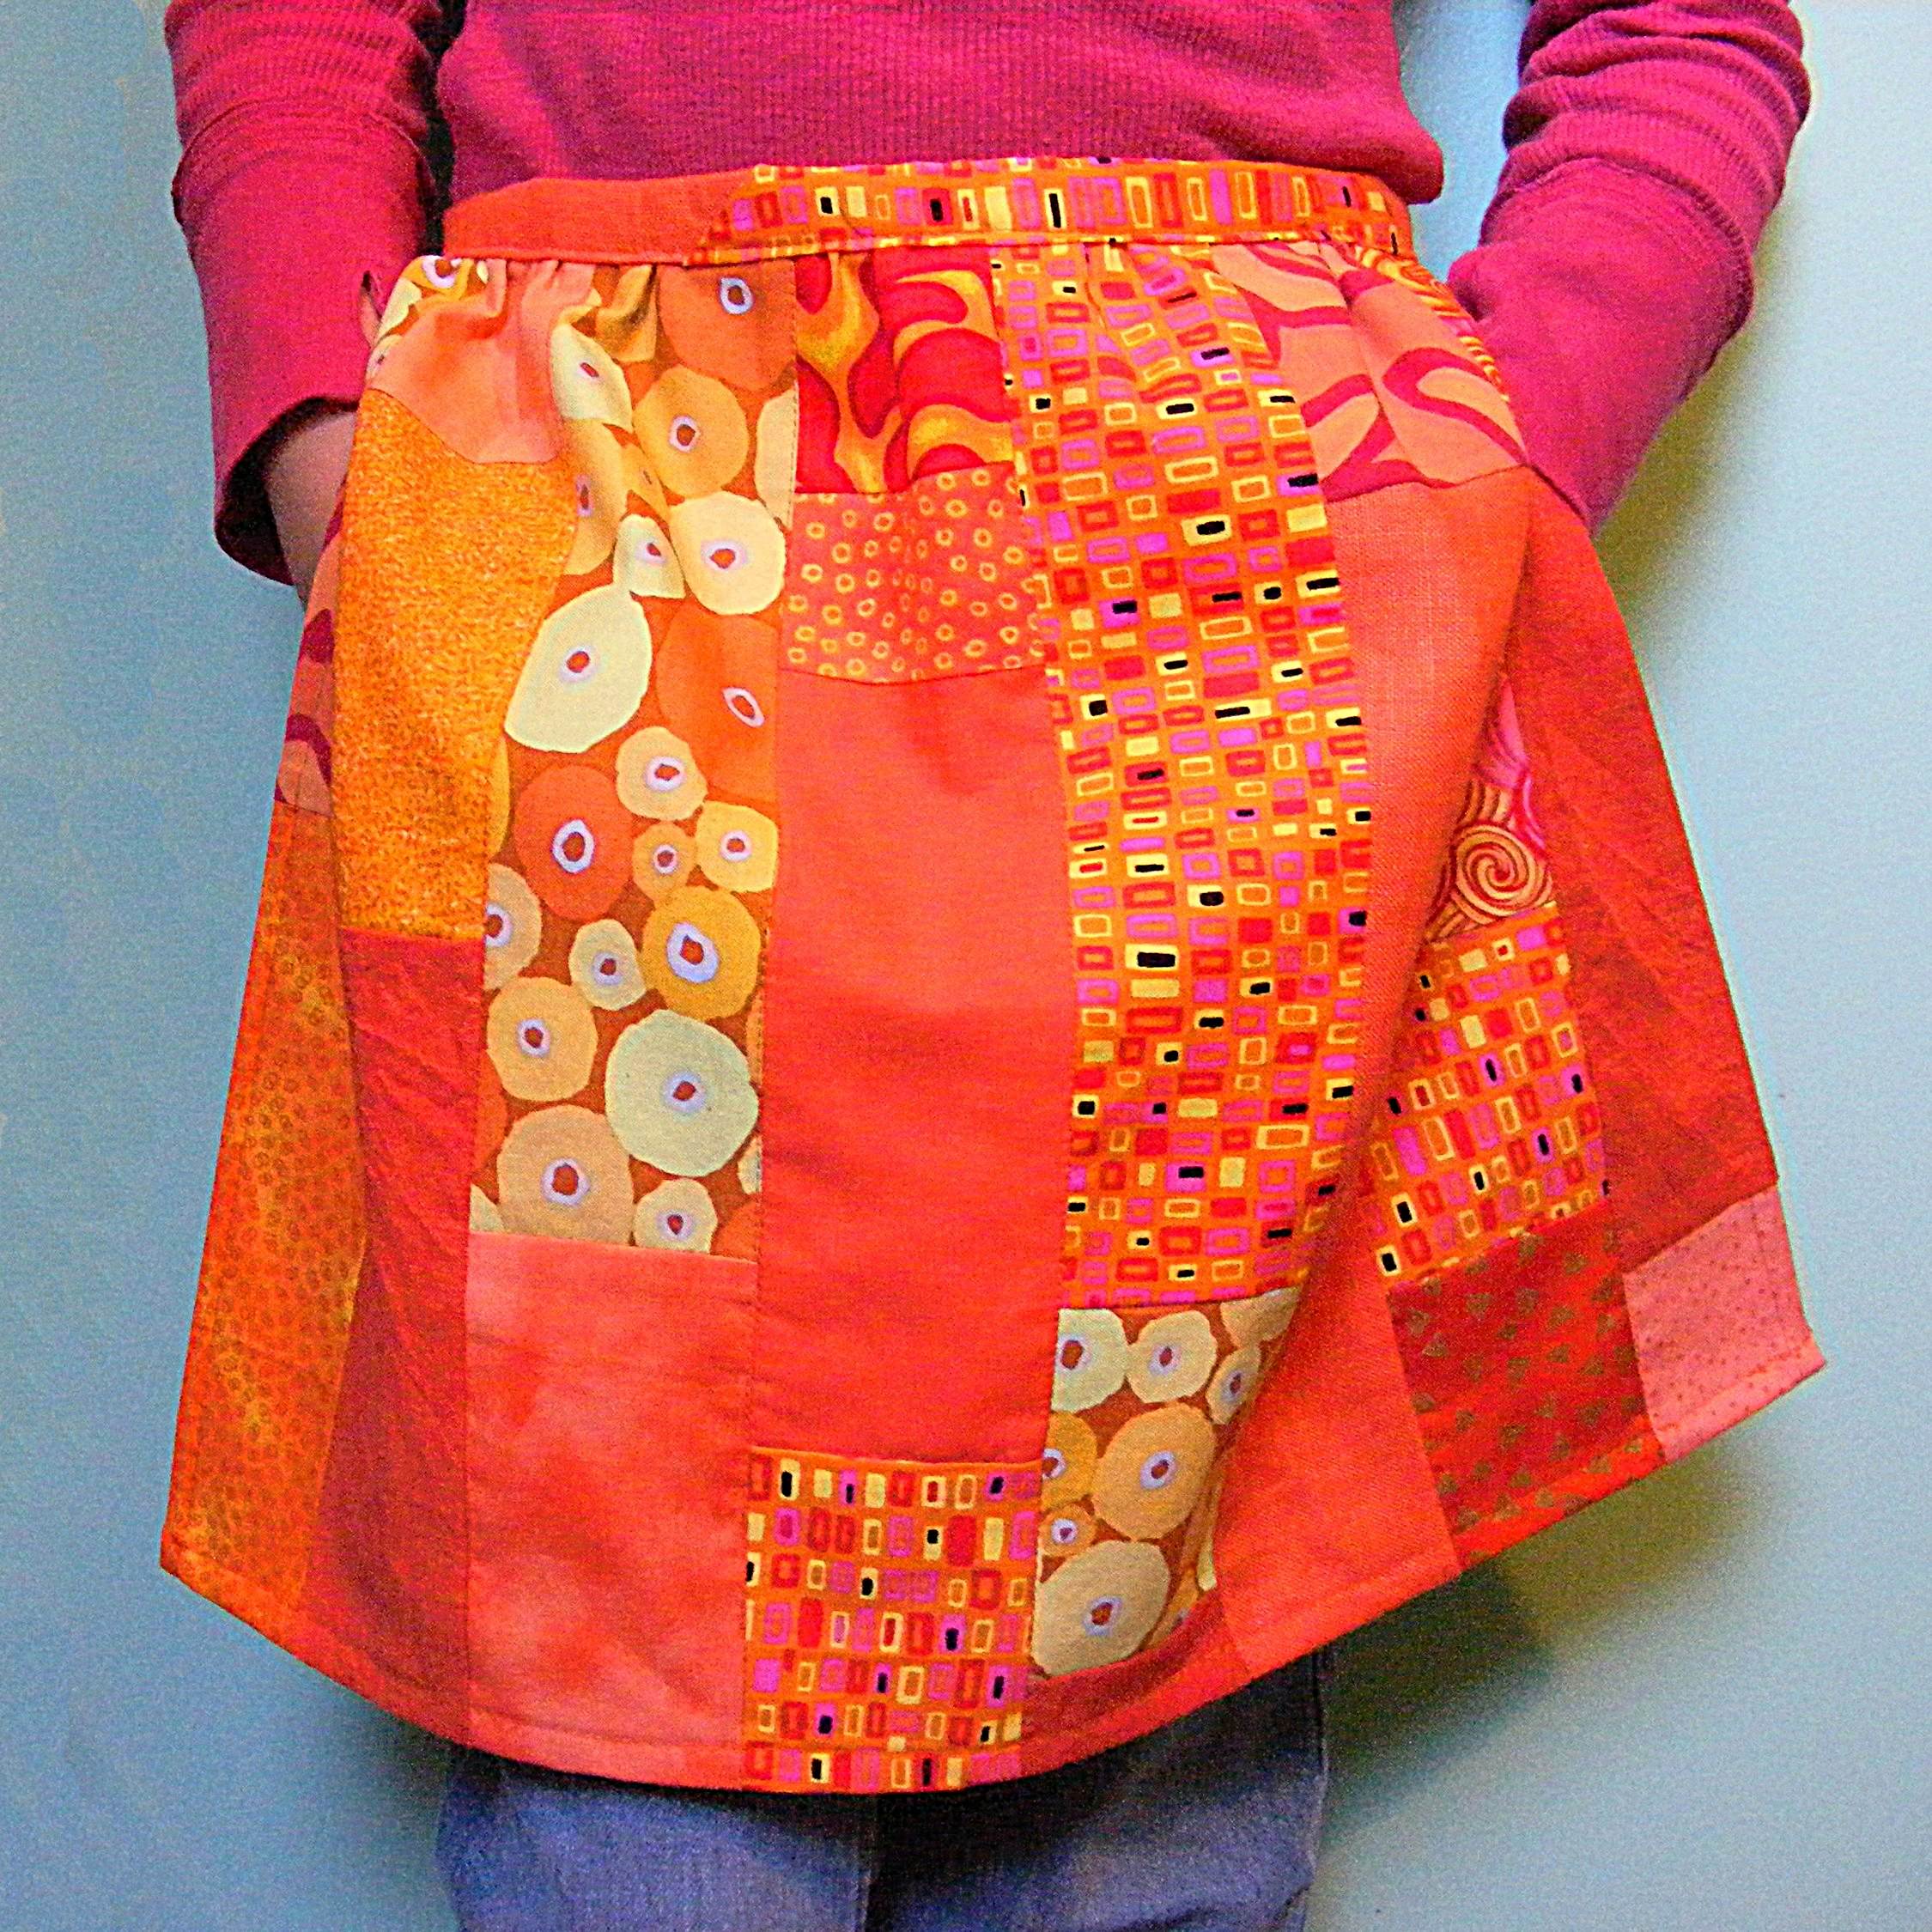
You’re done! Step back and admire your awesome thriftiness. I bet you have more scraps hidden away somewhere. You should make aprons for everyone you know!
Happy sewing!
Best,
Wendi![]()
Pingback: My Top 100 Free Sewing Patterns - Stitch and Sew
Pingback: 13 proyectos de costura de cocina para principiantes: ¡ideas bonitas y prácticas! -