


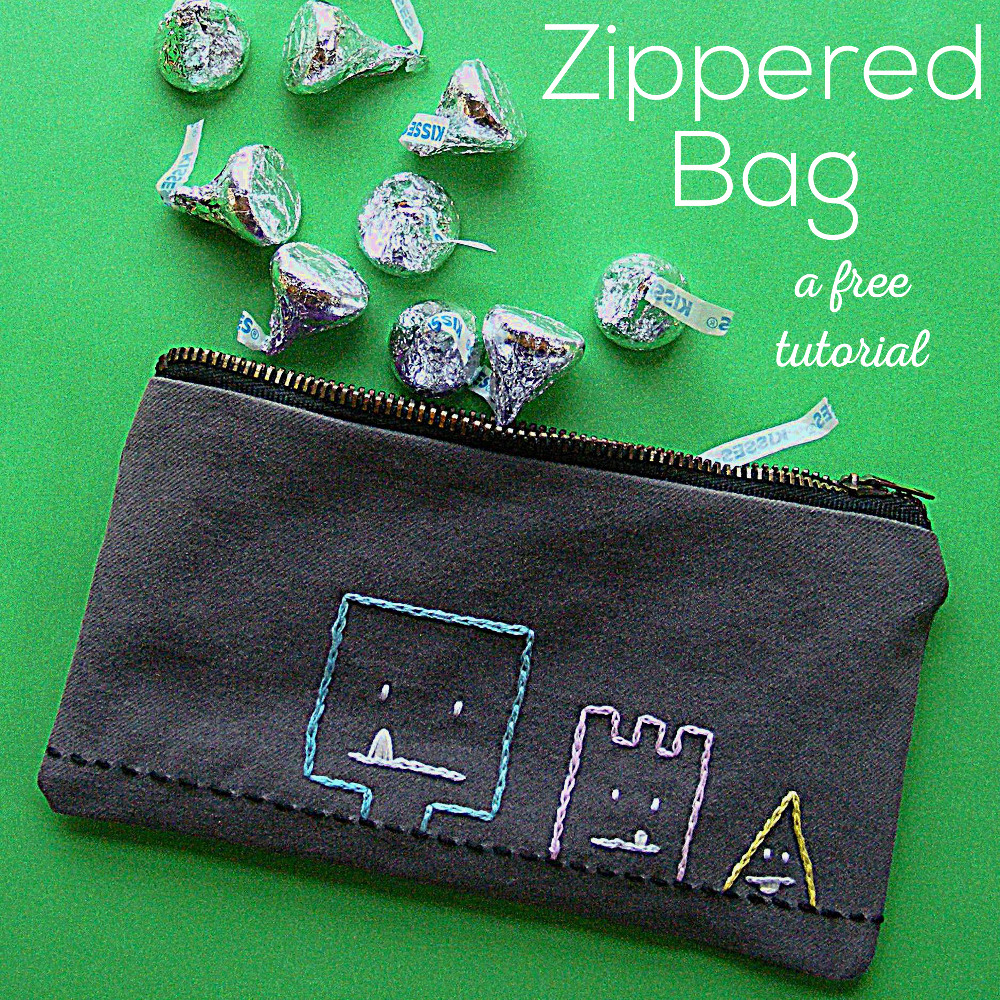
Let’s learn to make an easy zippered bag!
I cut up a lot of old clothes to reuse the fabric.
I can’t stand to throw anything away, and I end up turning a lot of the zippers into handy-dandy zippered bags like this one.
Make them in grown-up fabrics to hold make-up, money, membership cards, etc.
Make them in kid-friendly fabrics to hold candy, money, colored pencils and a little notebook, tiny toys, rocks, etc.
(Why does everything I make end up holding rocks?)
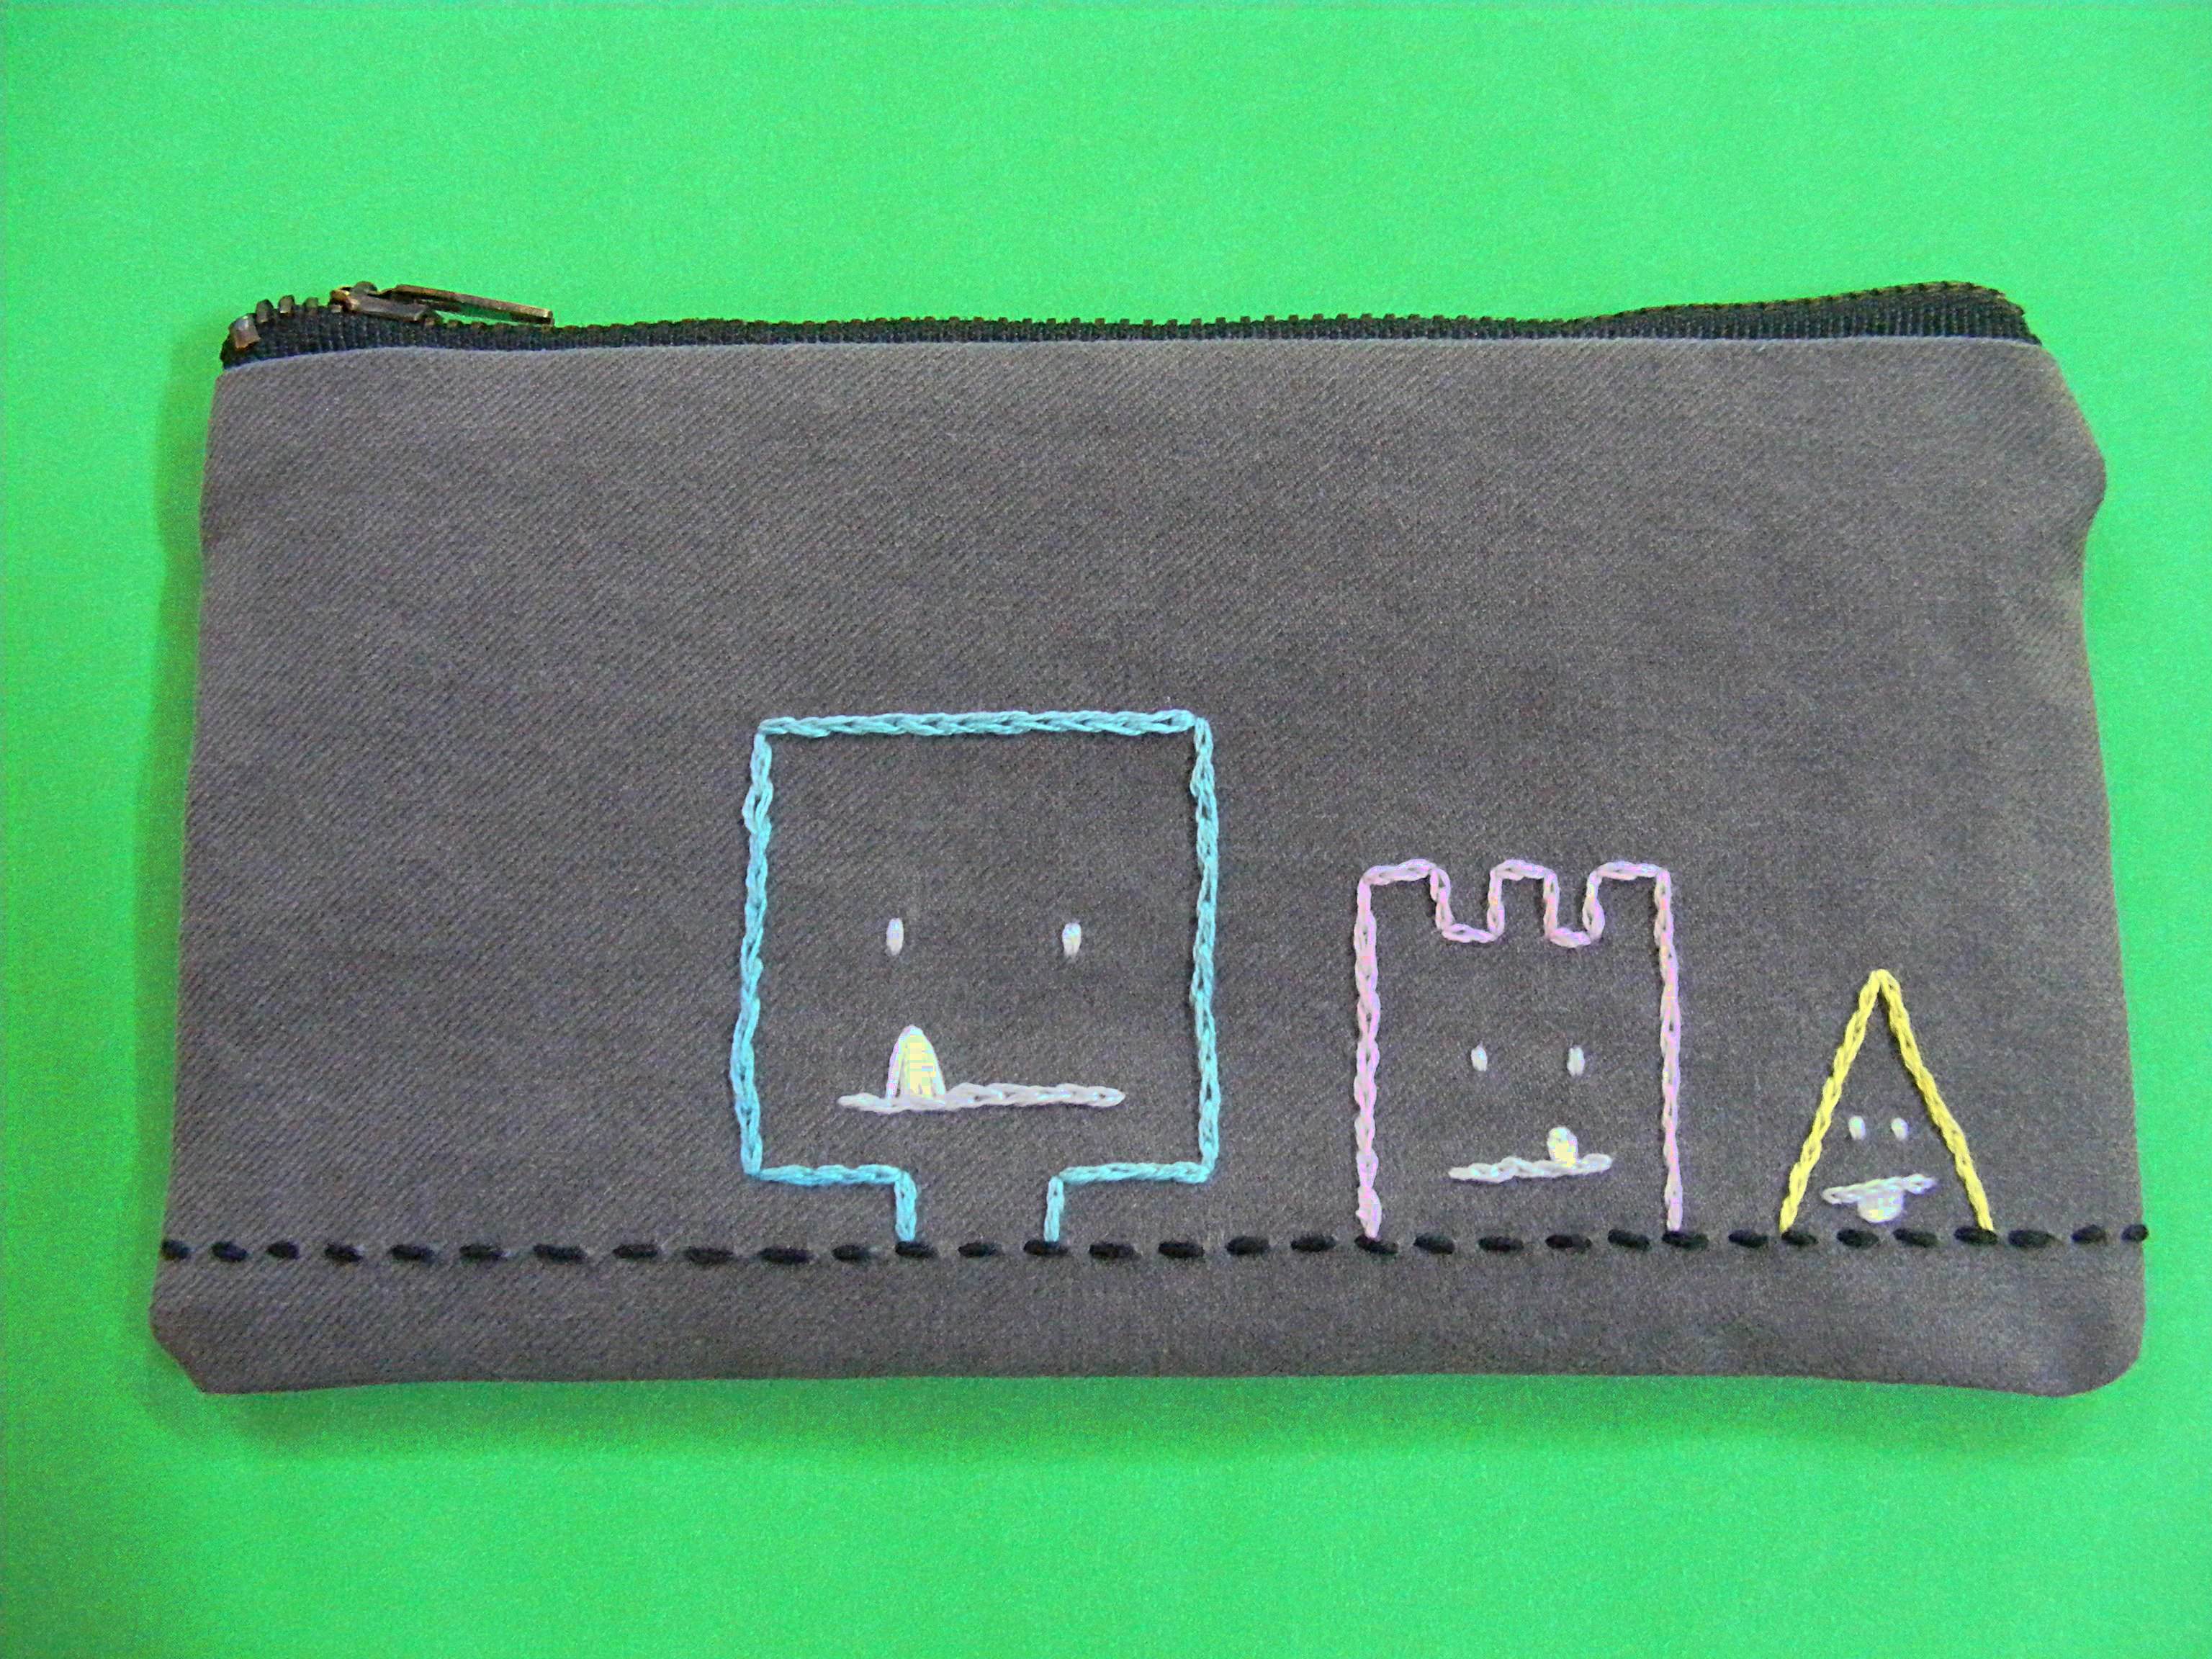
Anyway. . . make it in a plain fabric and fancy it up with some applique or embroidery. I chose three monsters from the Monster Mash embroidery pattern to stitch on this one. Or make it in a stunning fabric that sings on its own.
Make one zippered bag according to the pattern and you’ll have the skills to make as many as you want – in any size and shape you need. And as if that wasn’t enough – it’s a great project for launching into the brave new world of ZIPPERS!
If you’ve been nervous about trying zippers this is a great first project using them.
And did I mention it’s lined?
Materials
- scraps of fabric for the outside and the lining
- 7 inch zipper
- embroidery thread for embellishing (optional)
- sewing machine with a zipper foot, thread, basic sewing tools
Step 1
Cut two rectangles – each 8″ x 4 1/2″ for the outside of the bag.
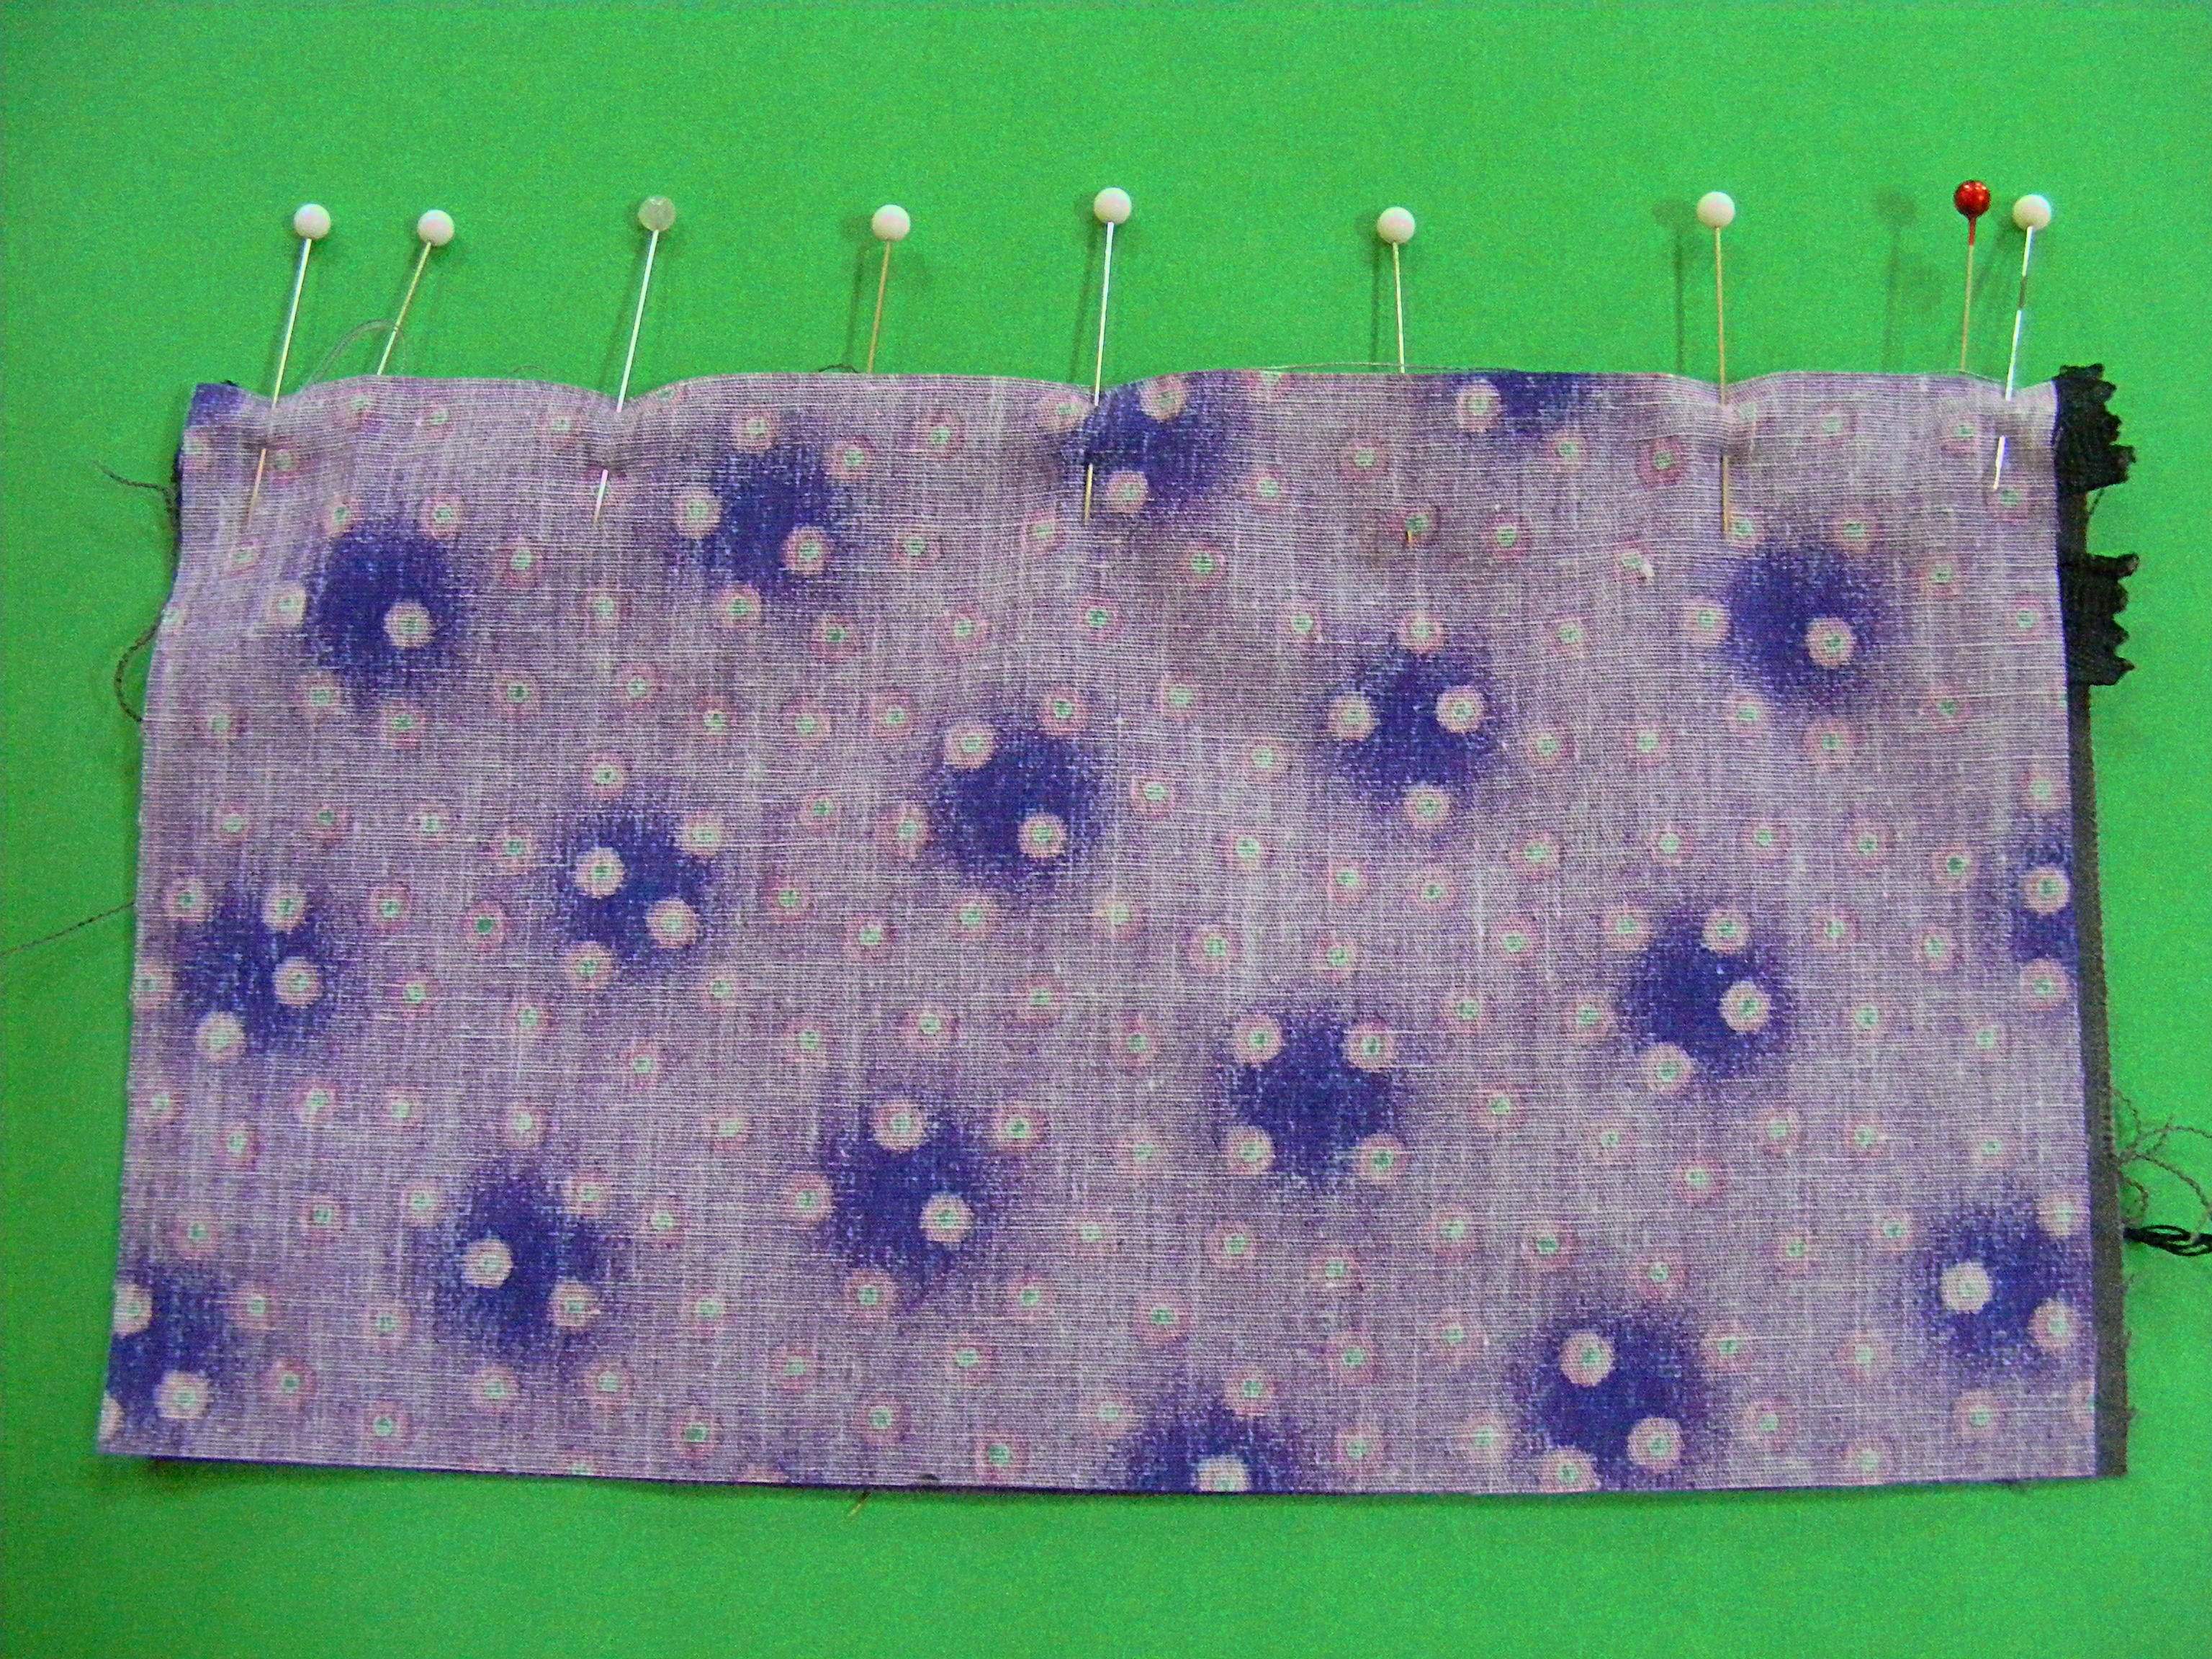
Cut two more identical rectangles from your lining fabric.
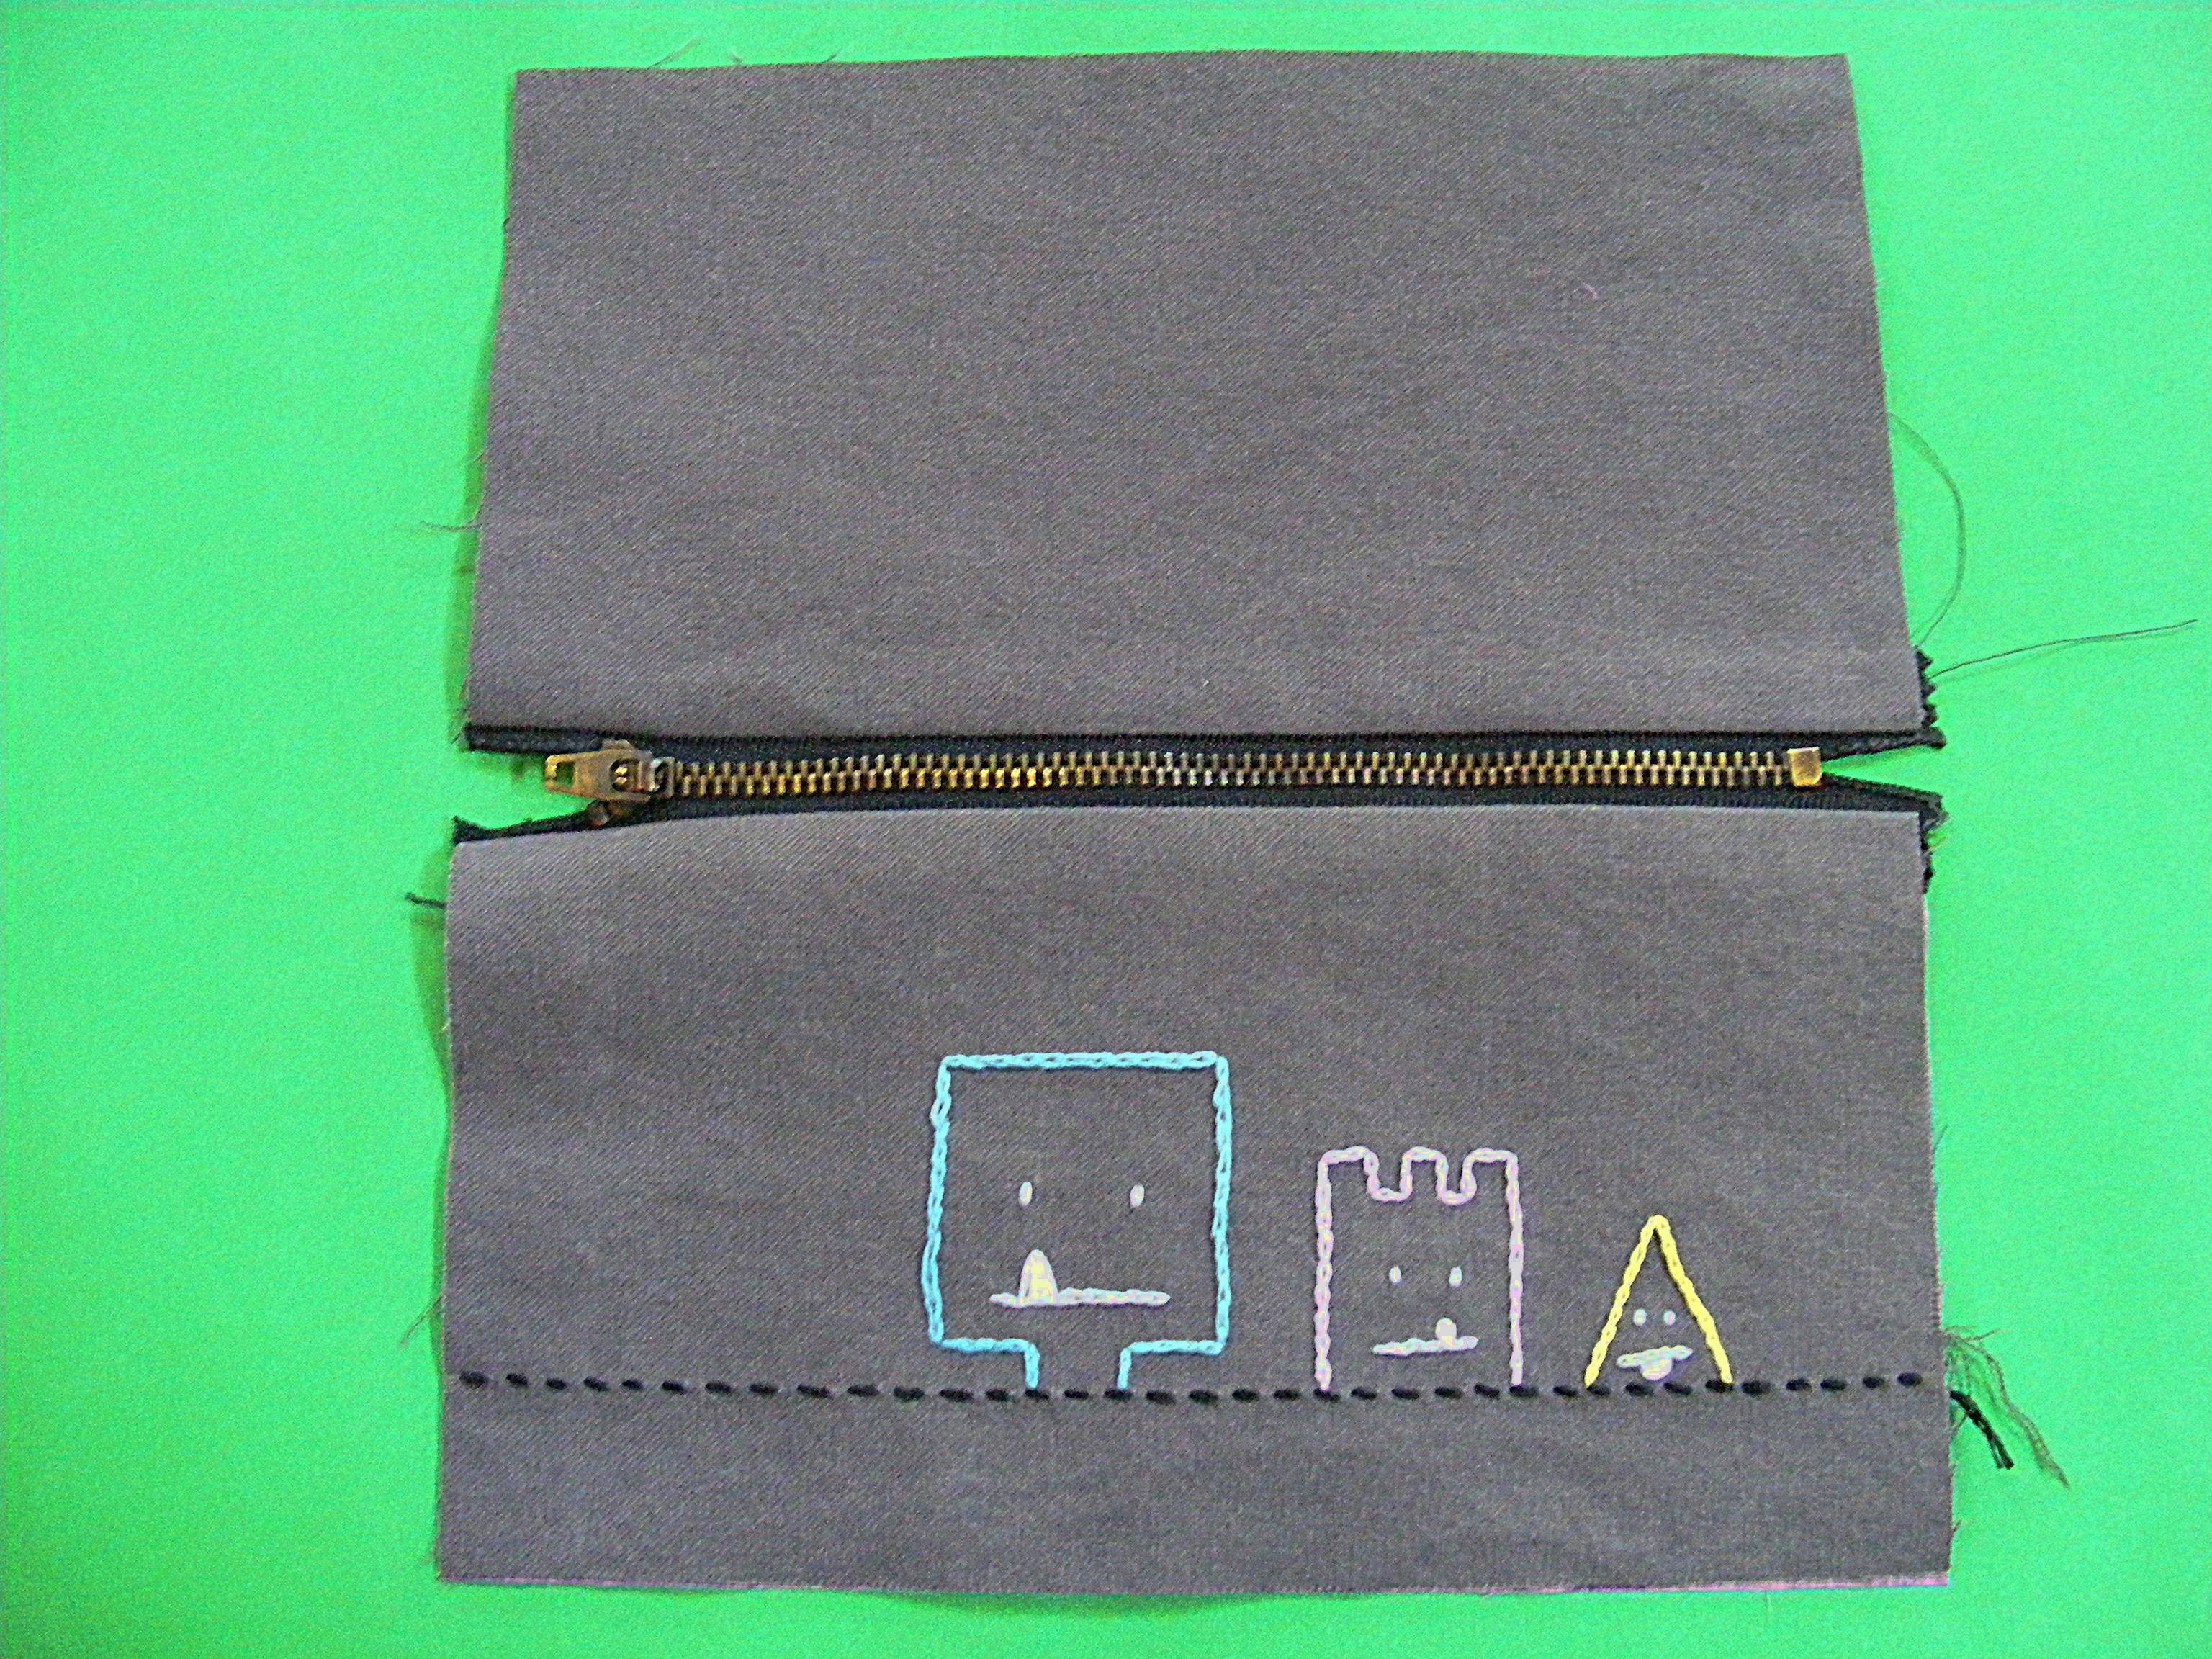
If you want to add embroidery, applique or some other decoration to the front of the pouch, now is the time to do it. I chose three monsters from the Monster Mash embroidery pattern and stitched them to the front rectangle.
Step 2
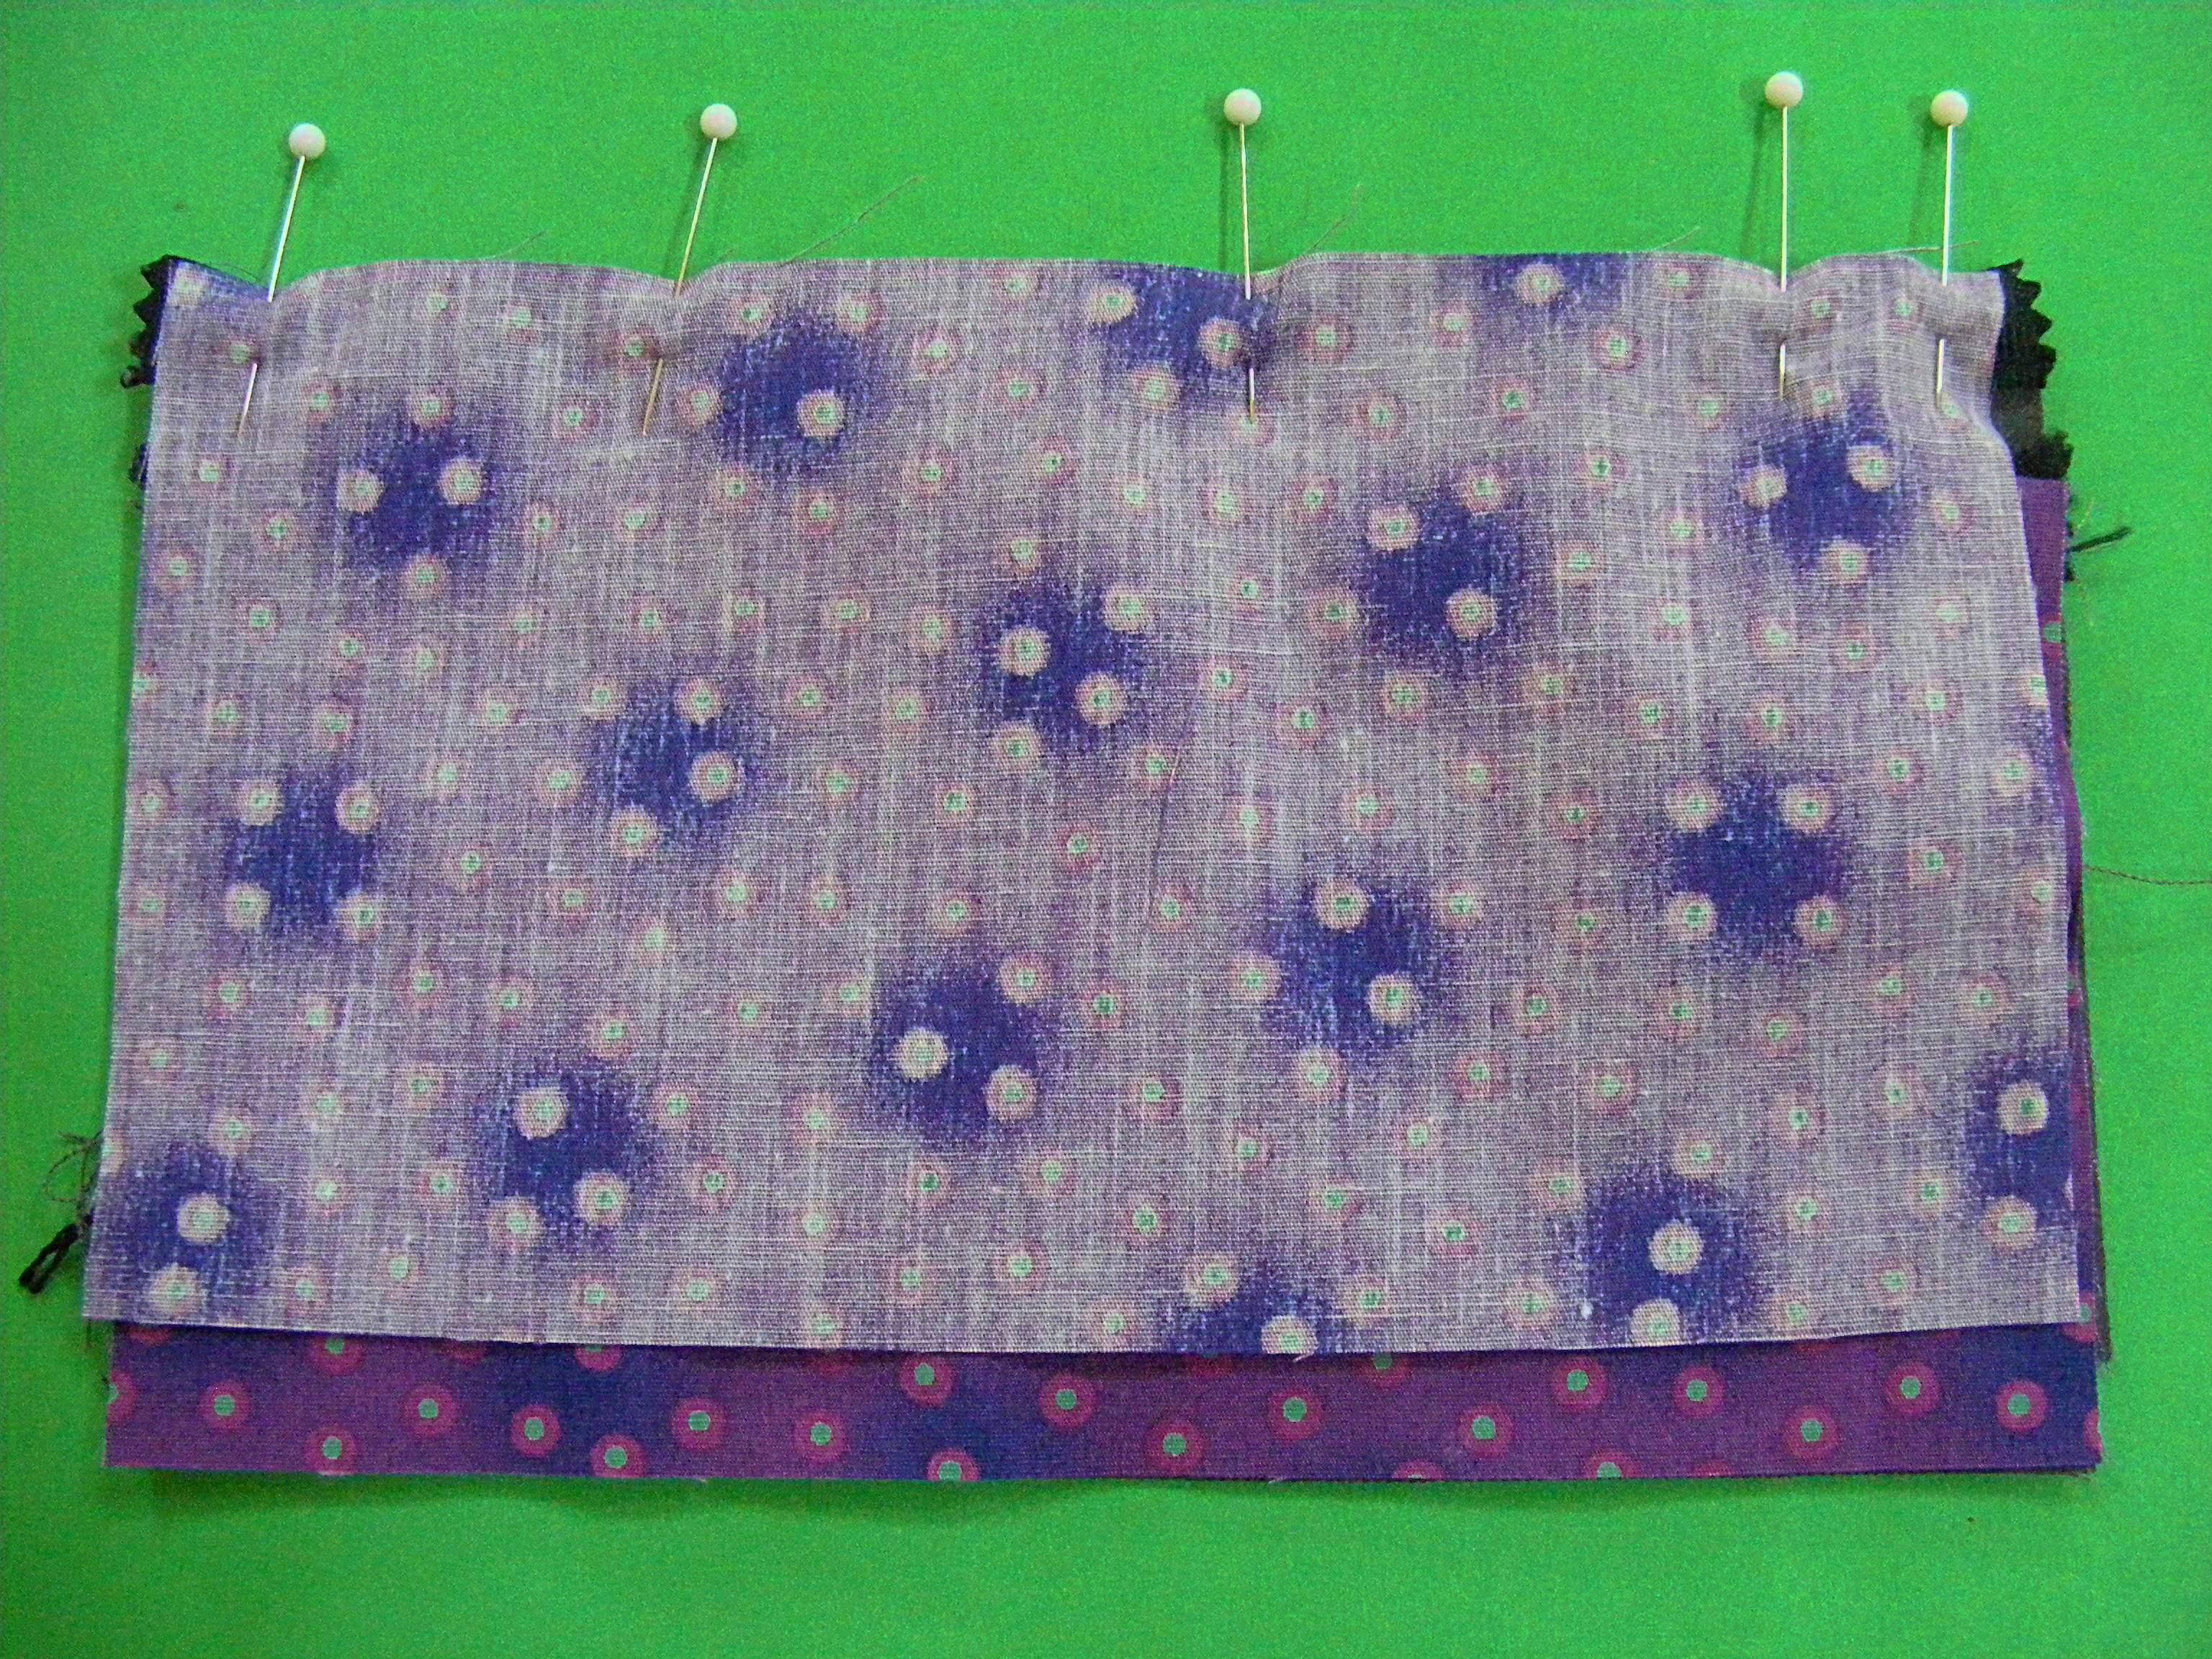
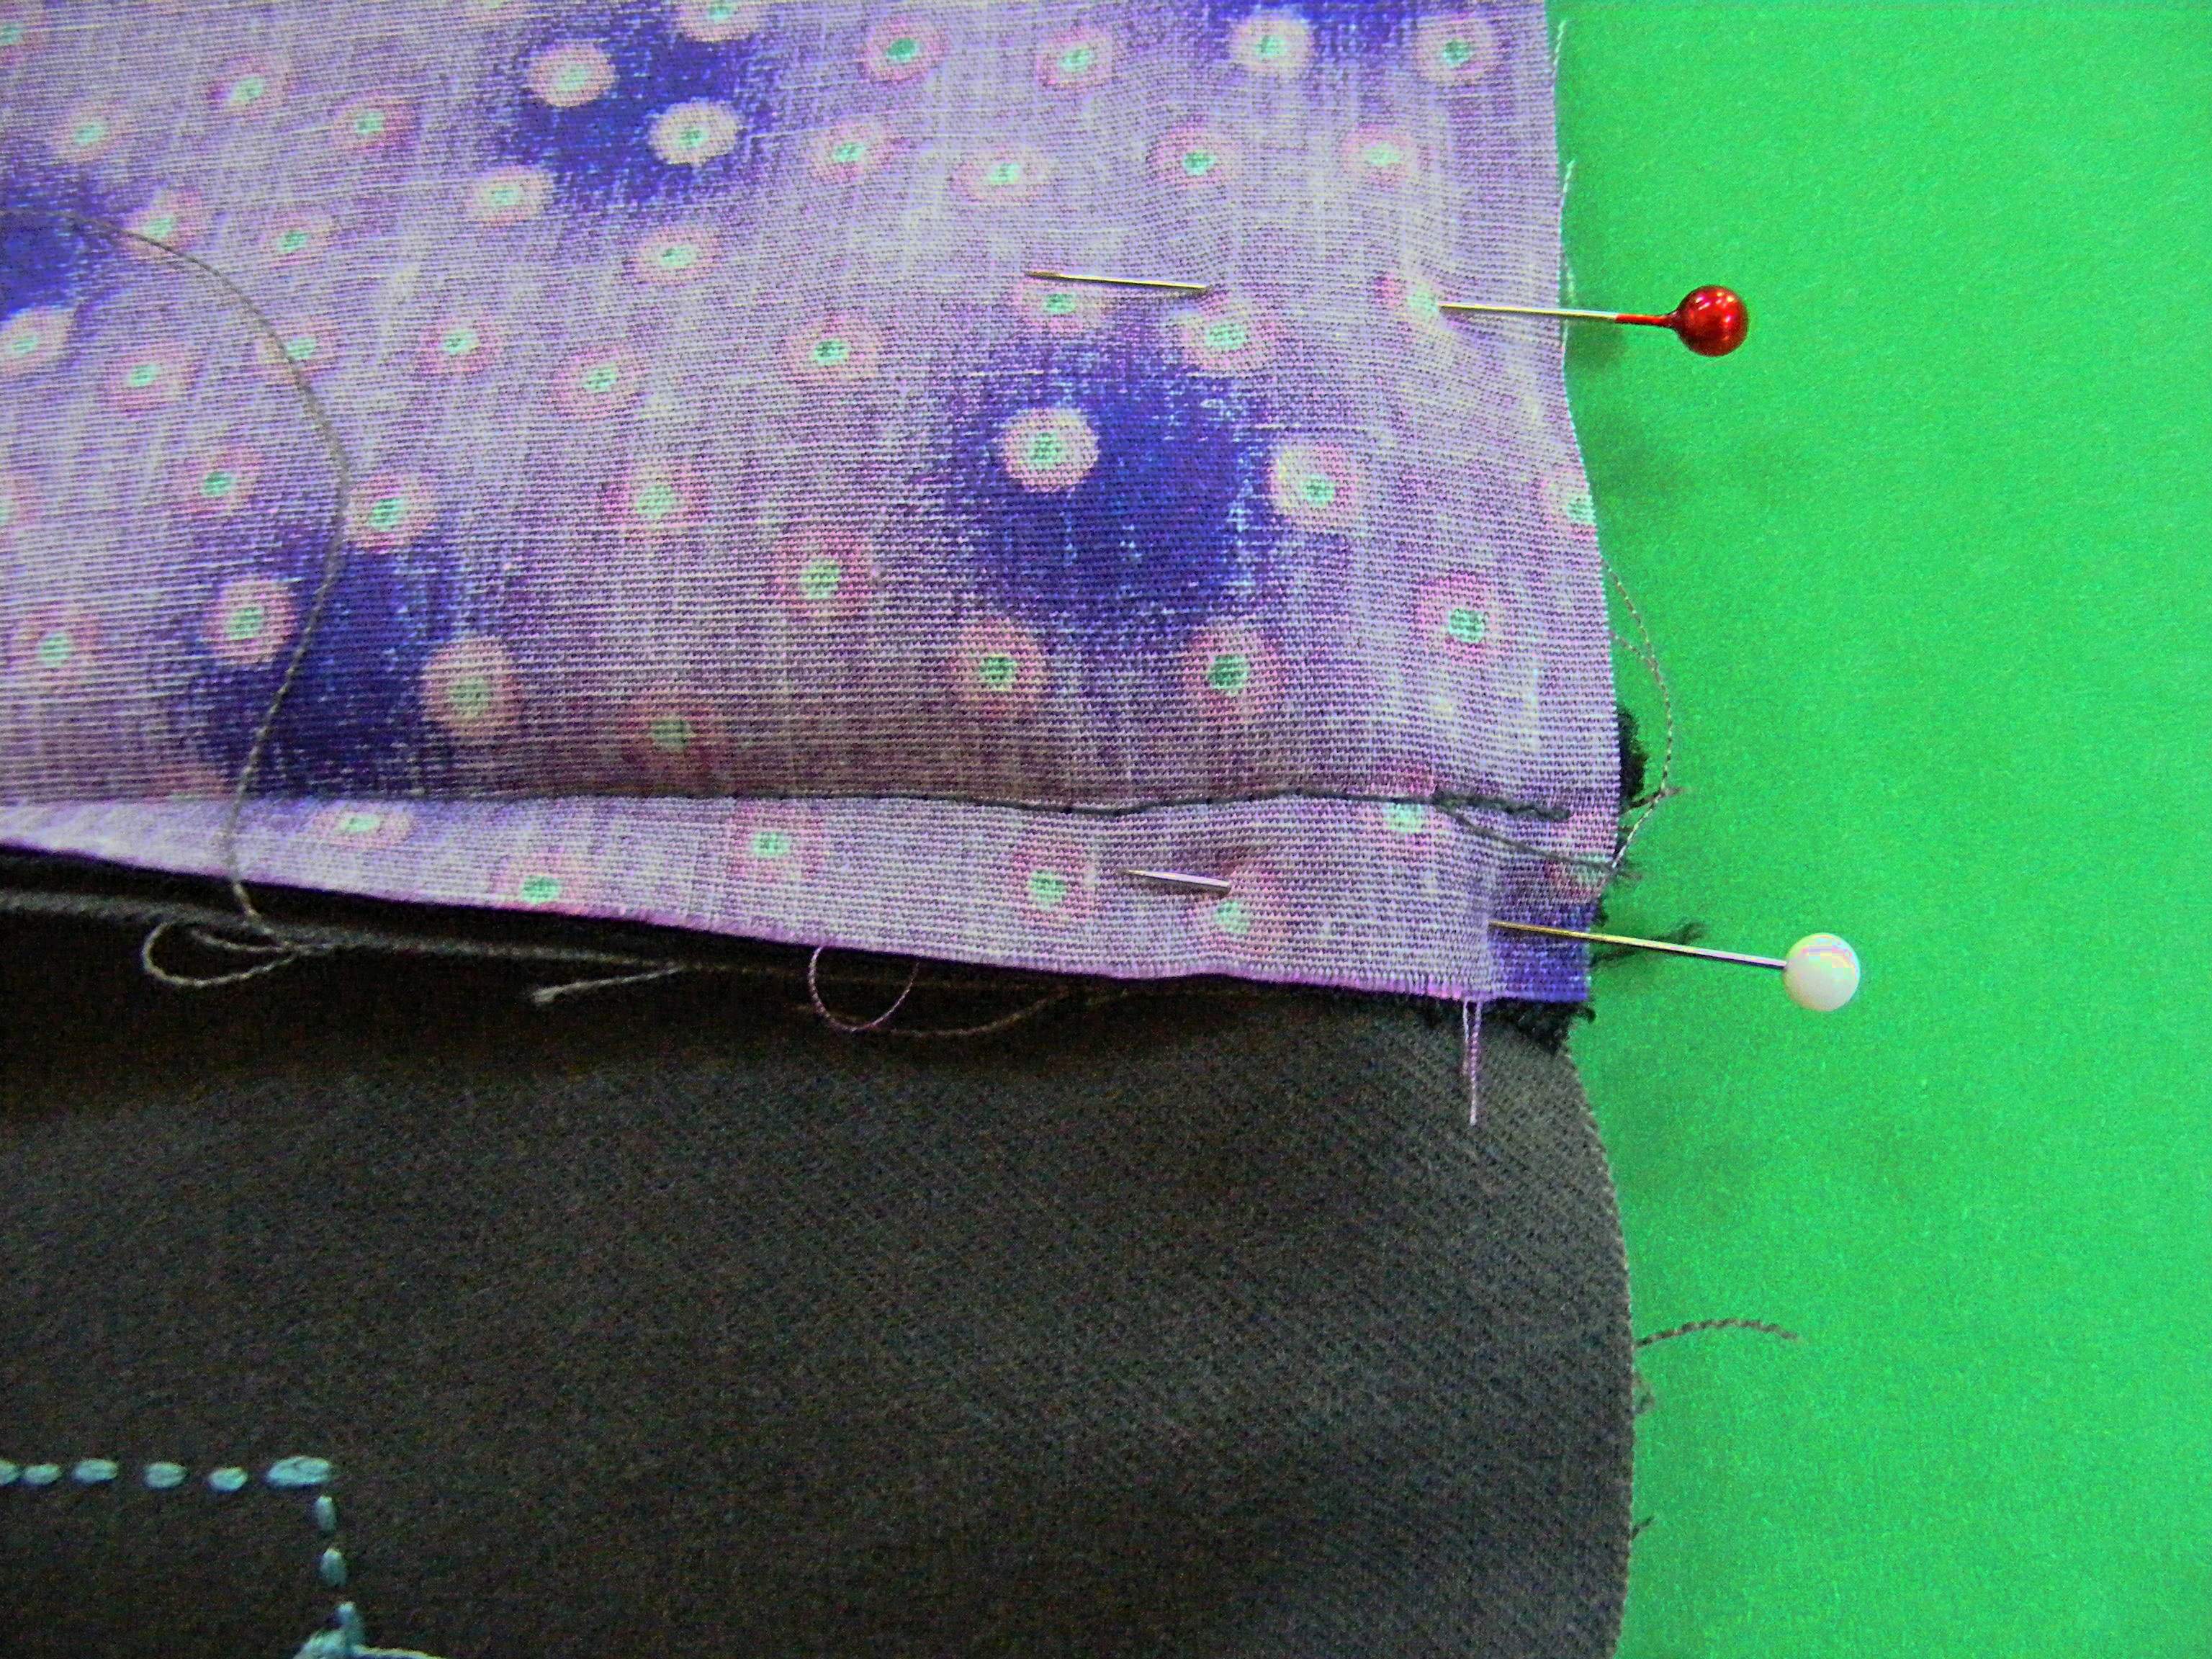
Lay the rectangle that will be the front of the pouch right side up. Lay your zipper right side down on top of it.
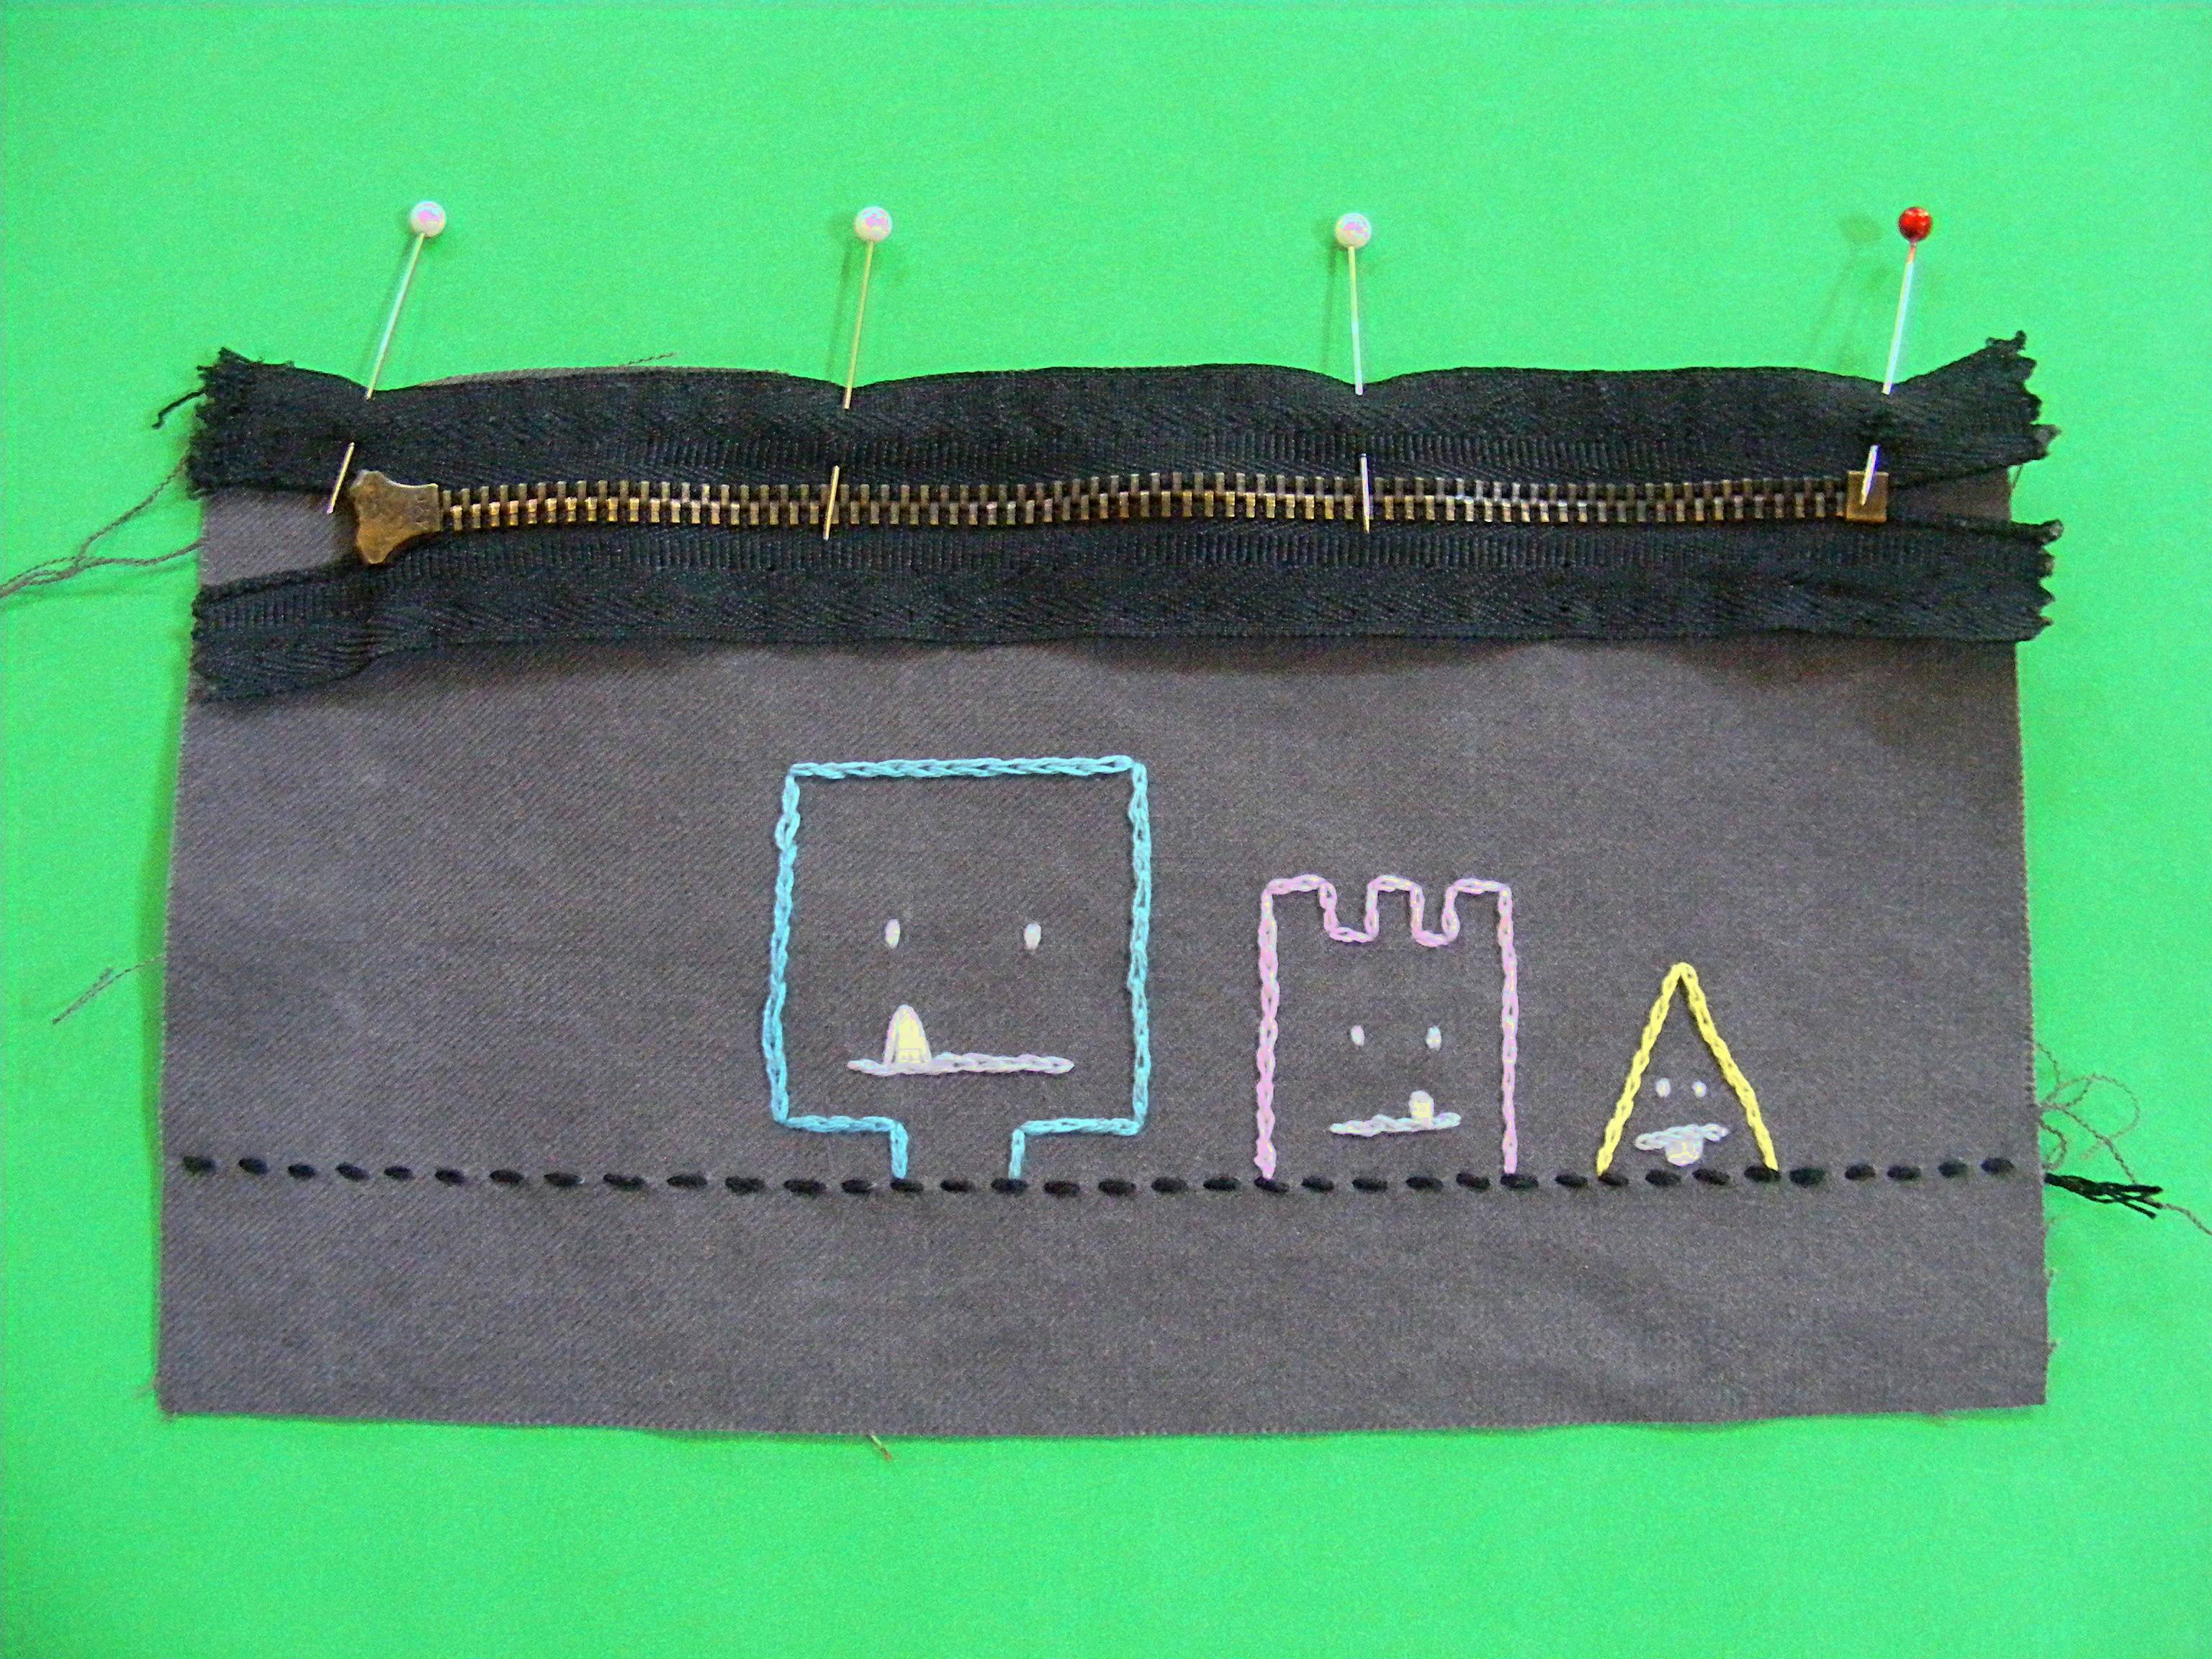
Pin along the top edge.
Step 3
Now lay one of the lining pieces face down over the front piece, with the zipper sandwiched between the two layers. Pin so that all three edges are lined up at the top.
After you get the hang of this you can combine steps 2 and 3, but it’s helpful for beginners to do them as two separate steps.
Step 4
Put your zipper foot into your machine and sew the three layers together as close to the teeth of the zipper as your zipper foot will allow.
Watch this video first if you’ve never worked with zippers before.
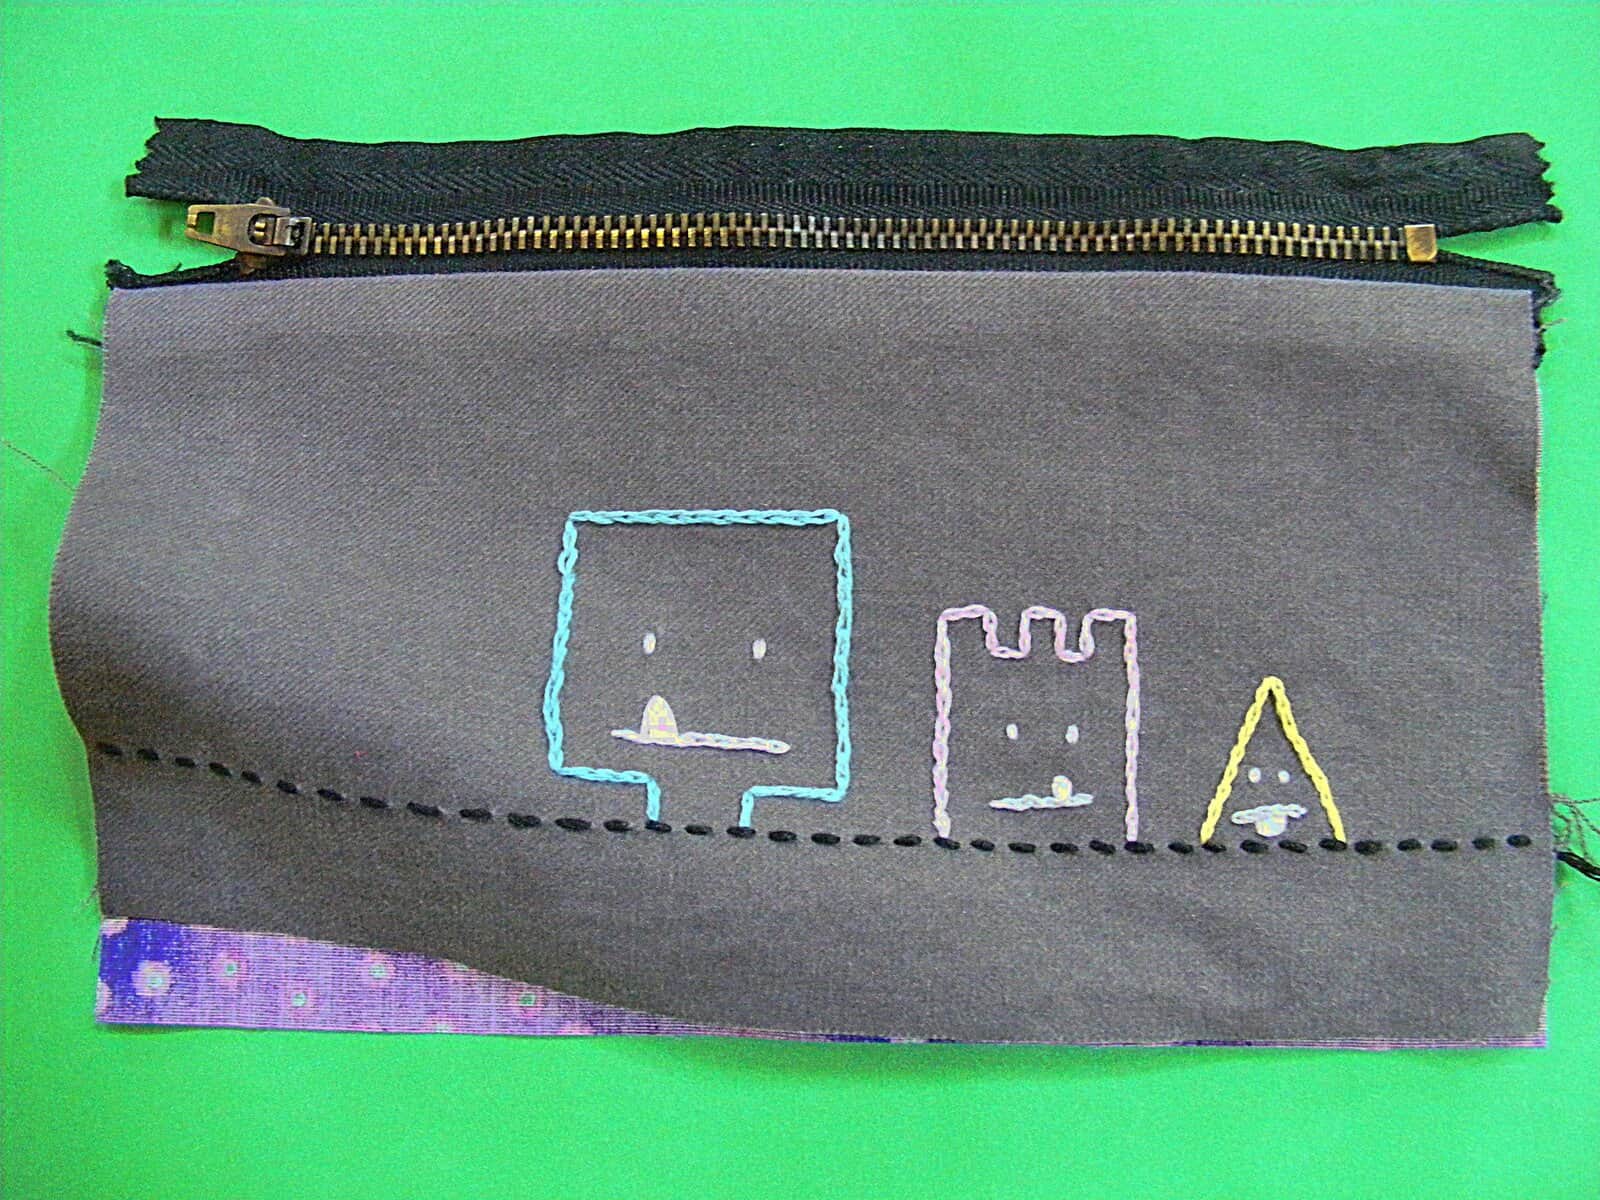
Flip the pieces right side out so it looks like the photo.
Step 5
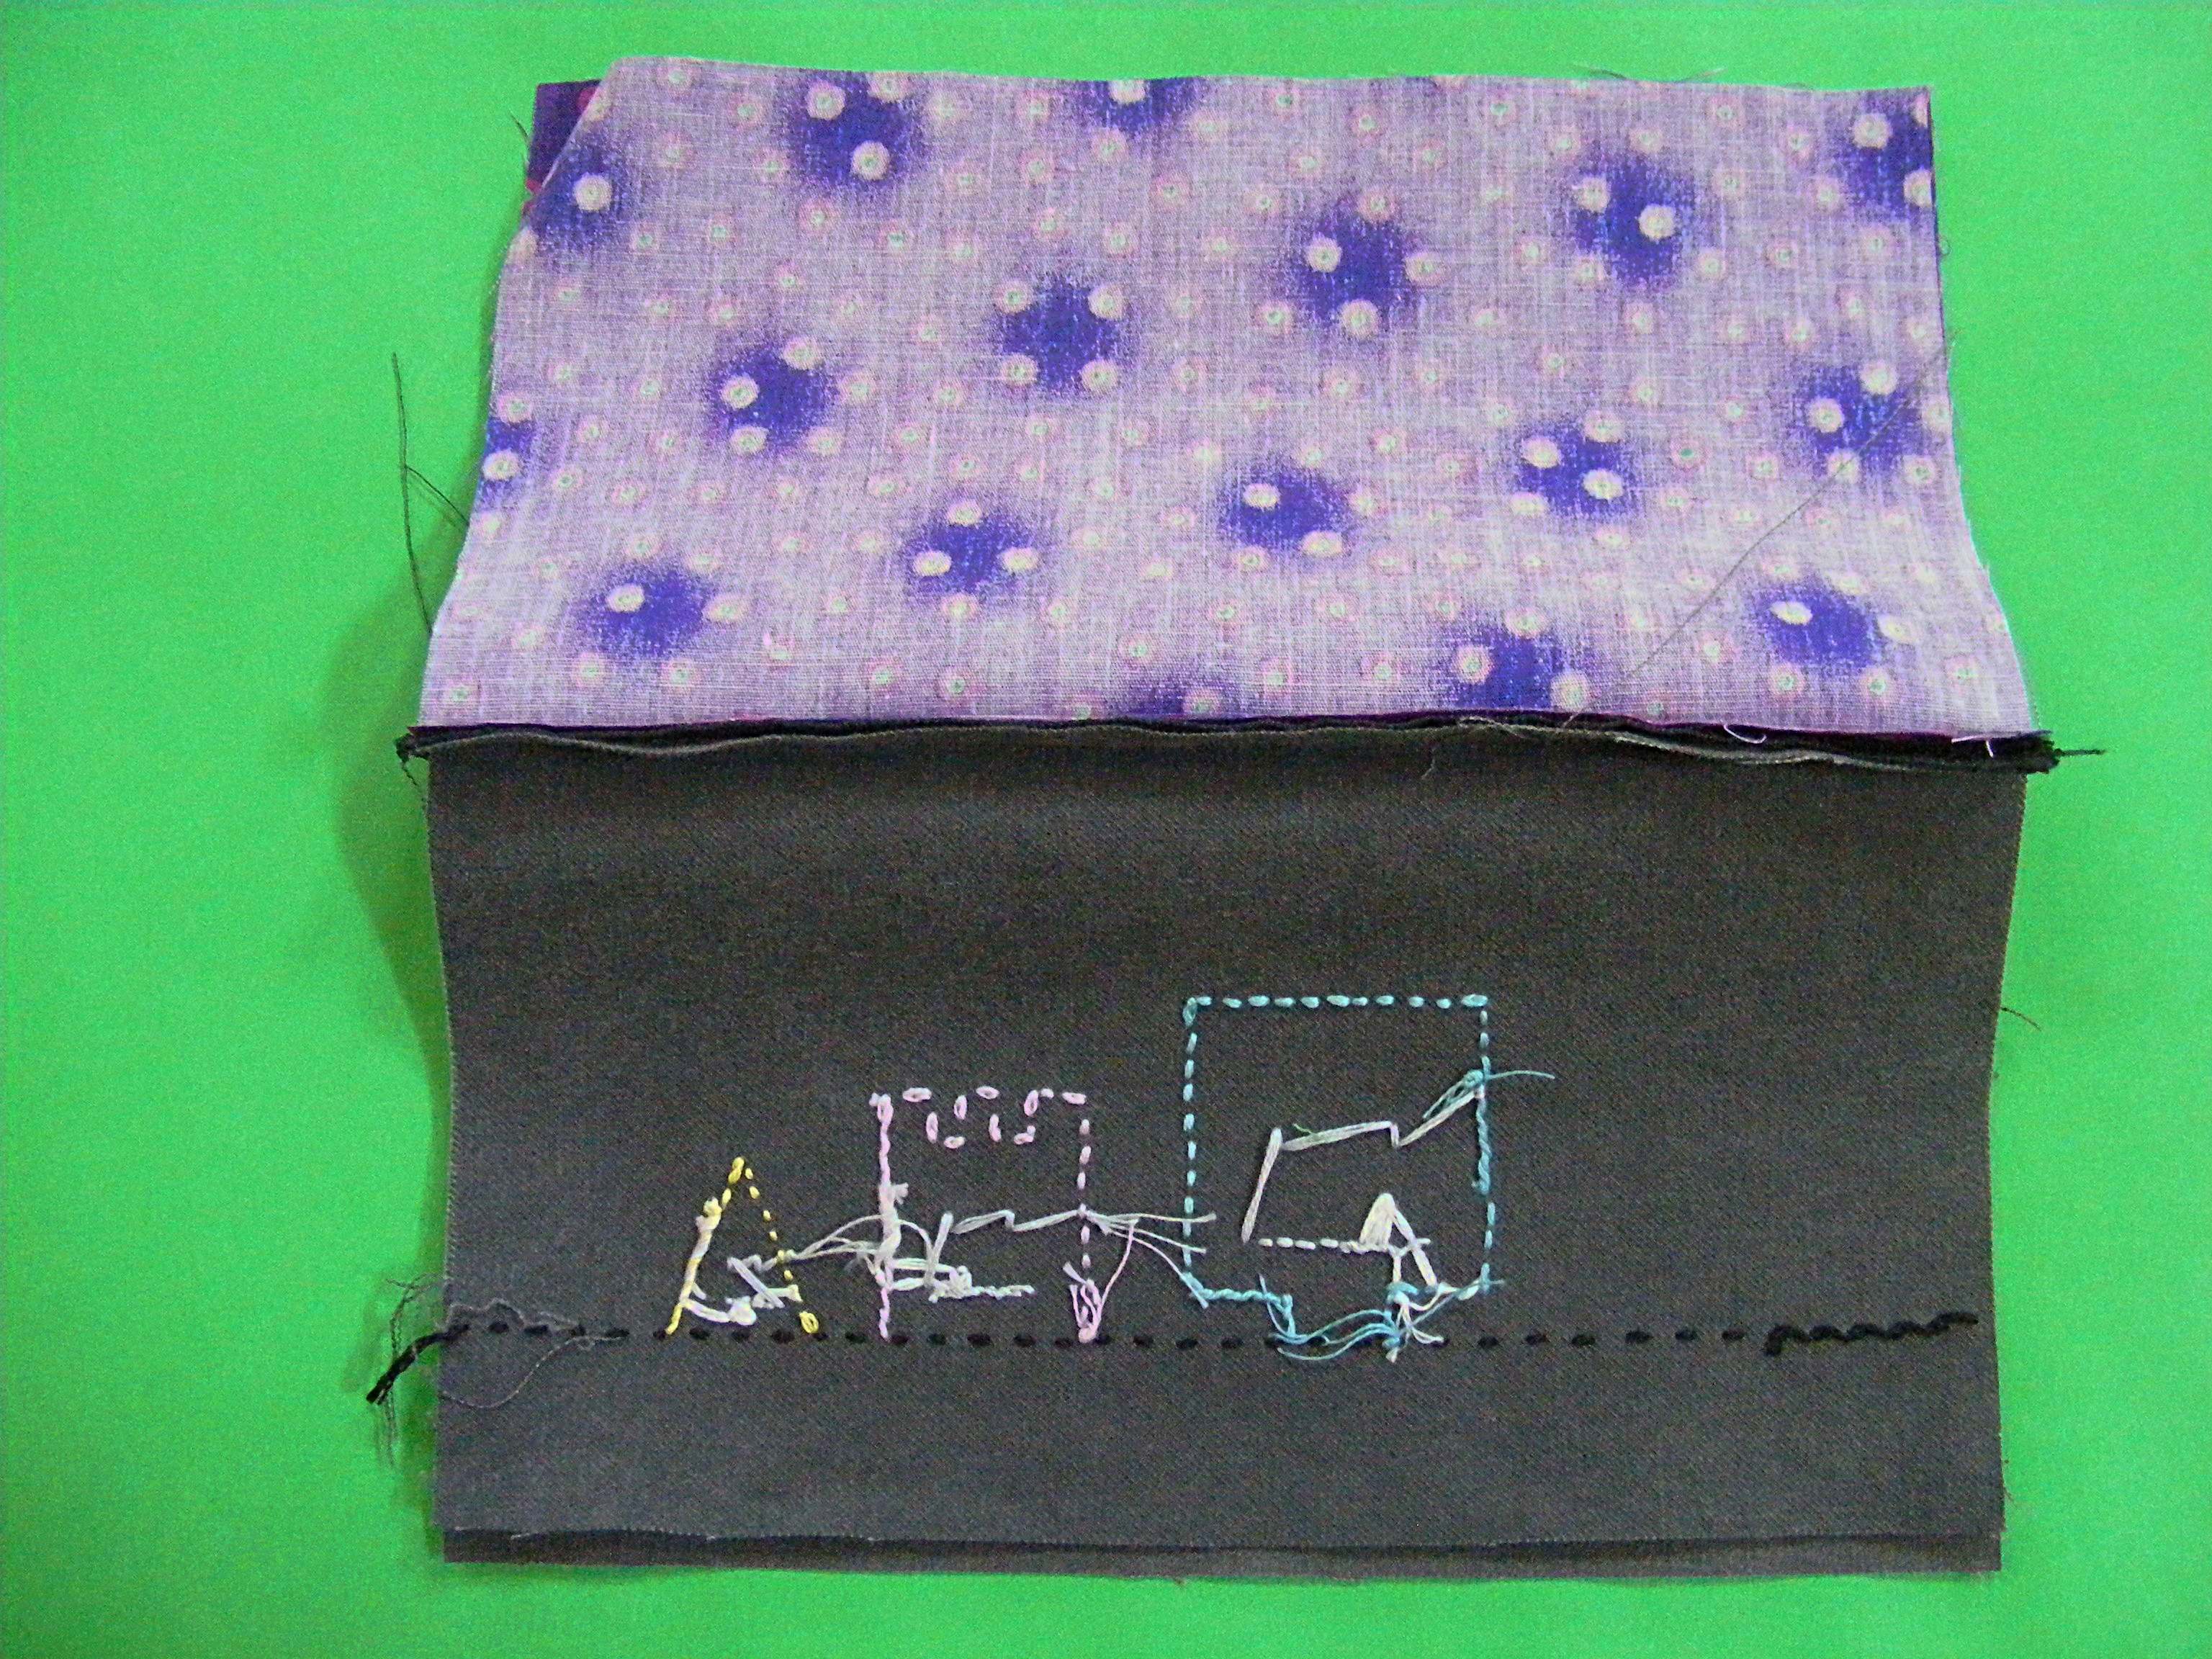
Repeat for the other side of the zipper.
Lay the outer rectangle face up. Lay the zipper (with the other outer and lining pieces sewn to it) face down. Lay the lining piece face down.
Pin all along the top edge and sew.
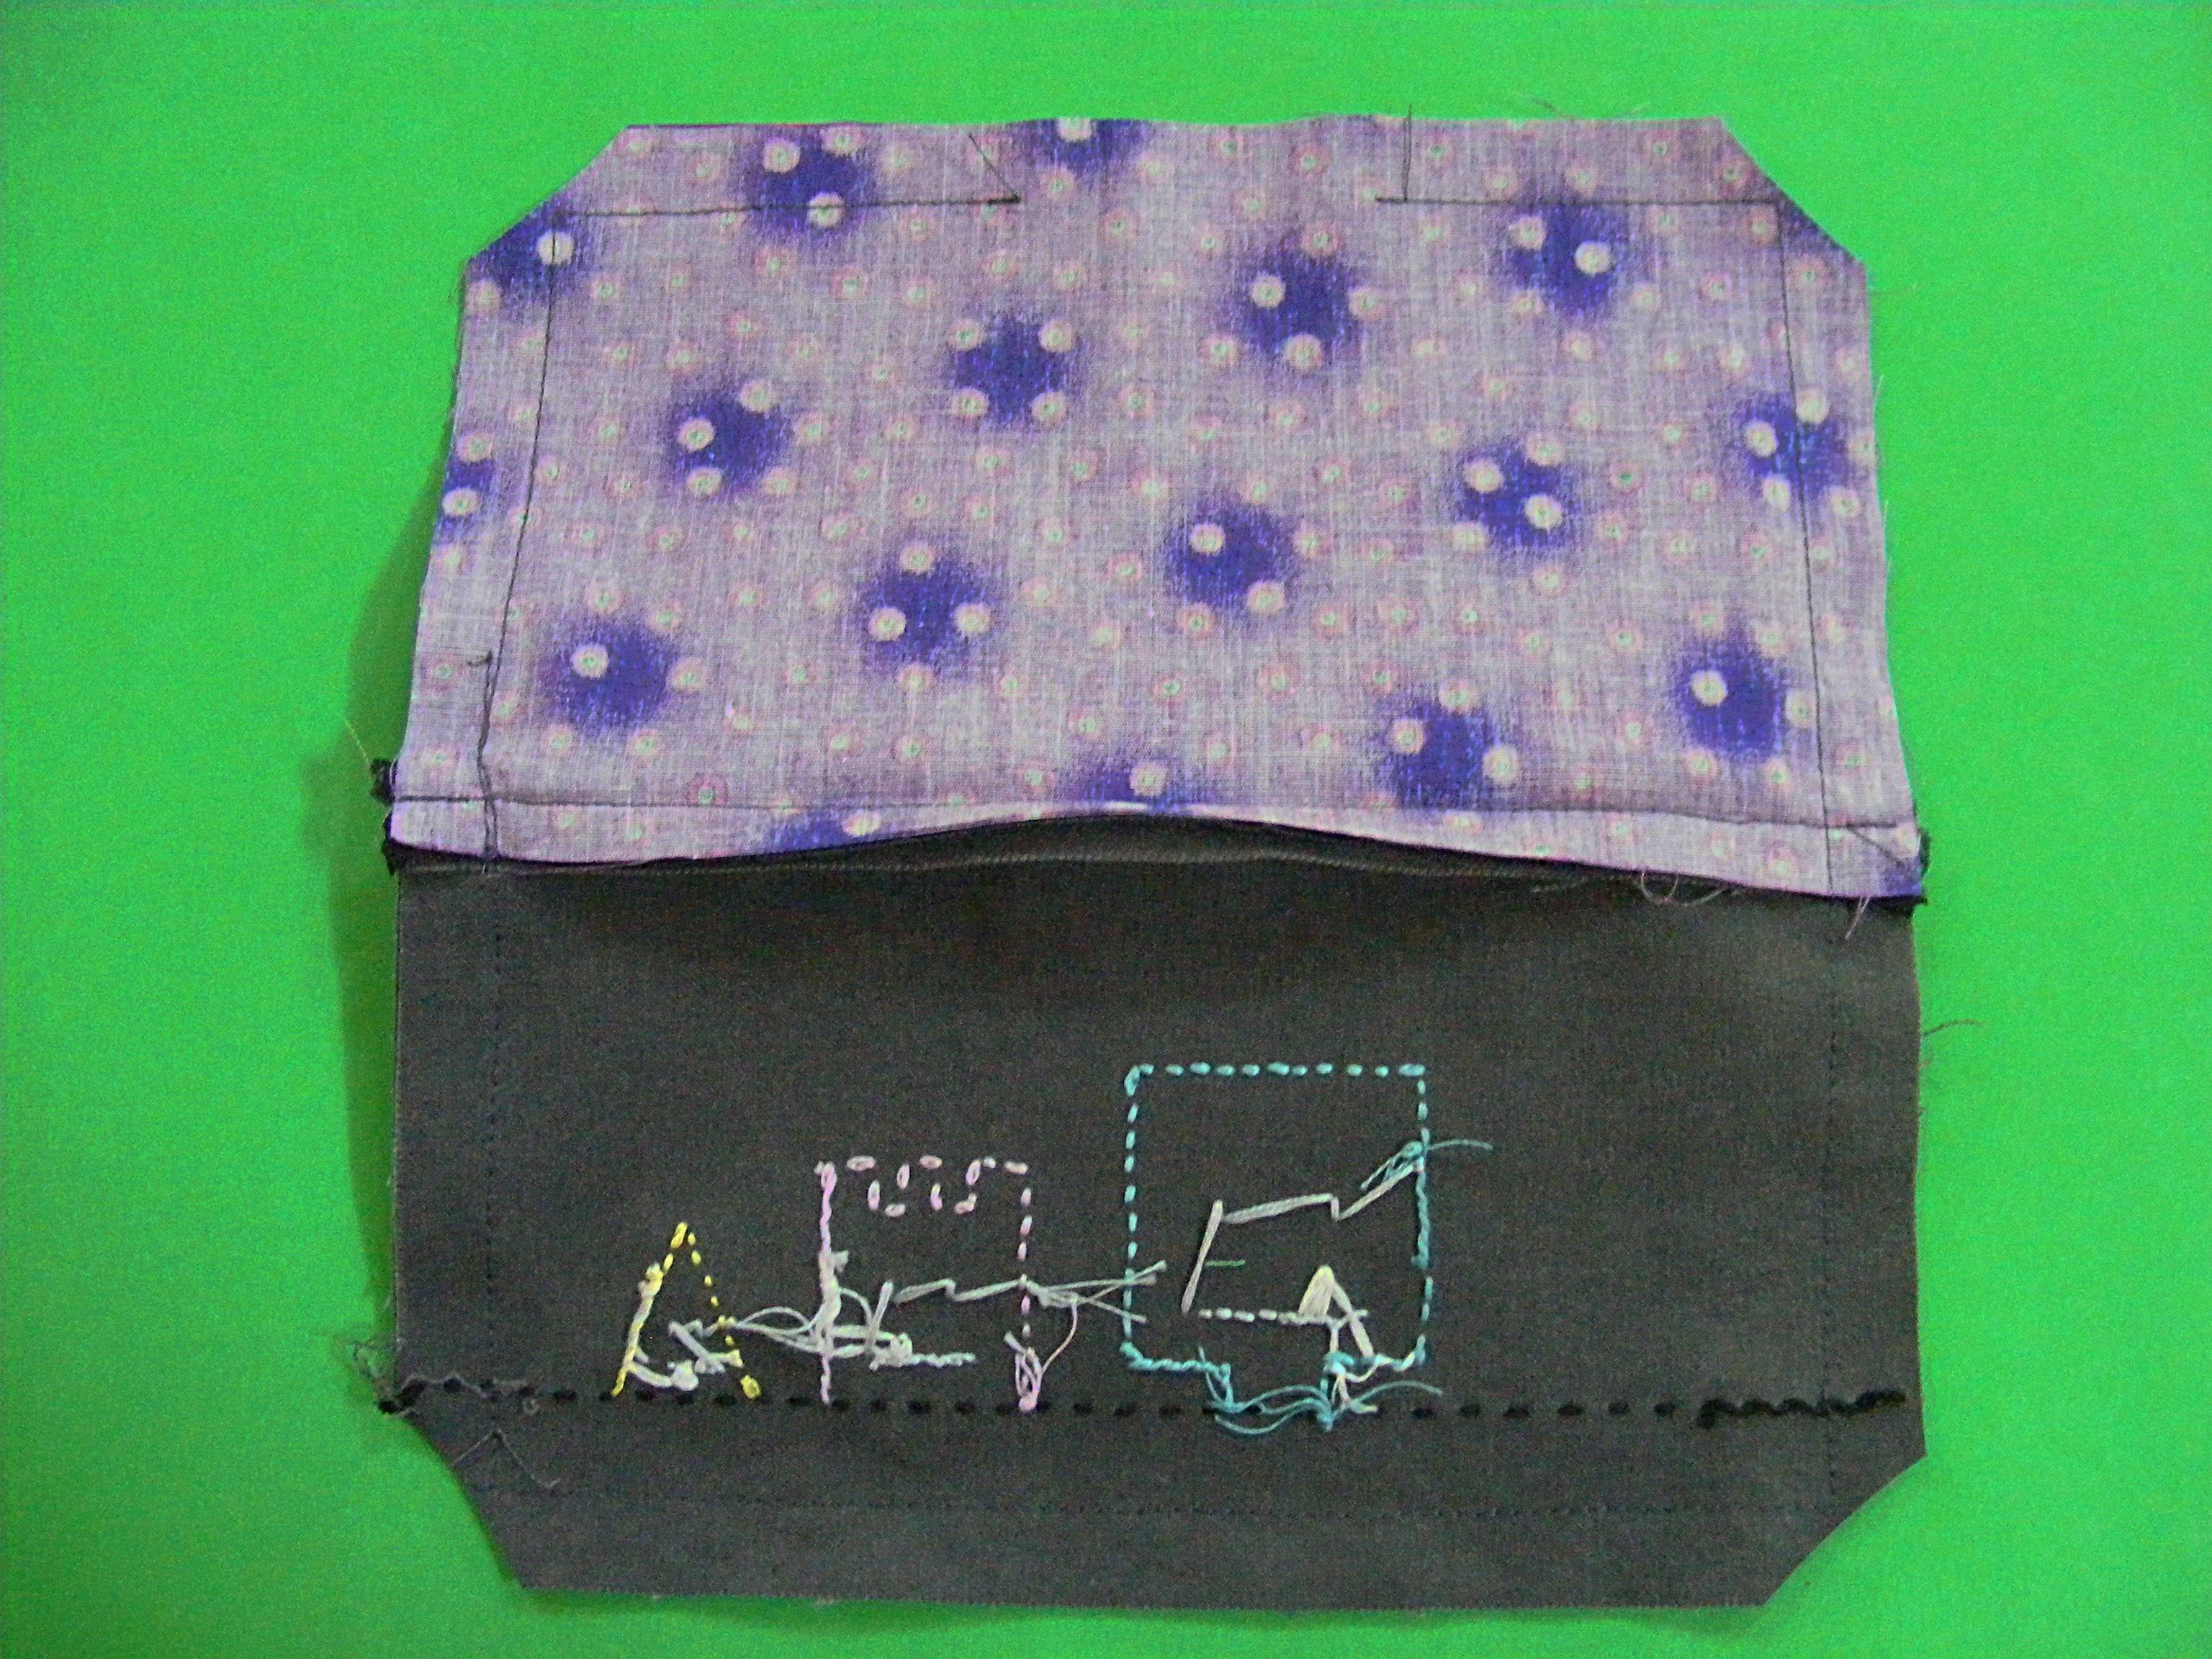
Step 6
Now when you flip everything right side out it will look like this.
If you turn it over you should see the right sides of both lining pieces.
Press the seams on either side of the zipper flat.
Step 7
Now unzip the zipper about halfway. If you skip this step you will be VERY unhappy – so please do it now.
Flip things around so that the right sides of the outer fabric are facing each other, and the right sides of the lining pieces are facing each other.
Step 8
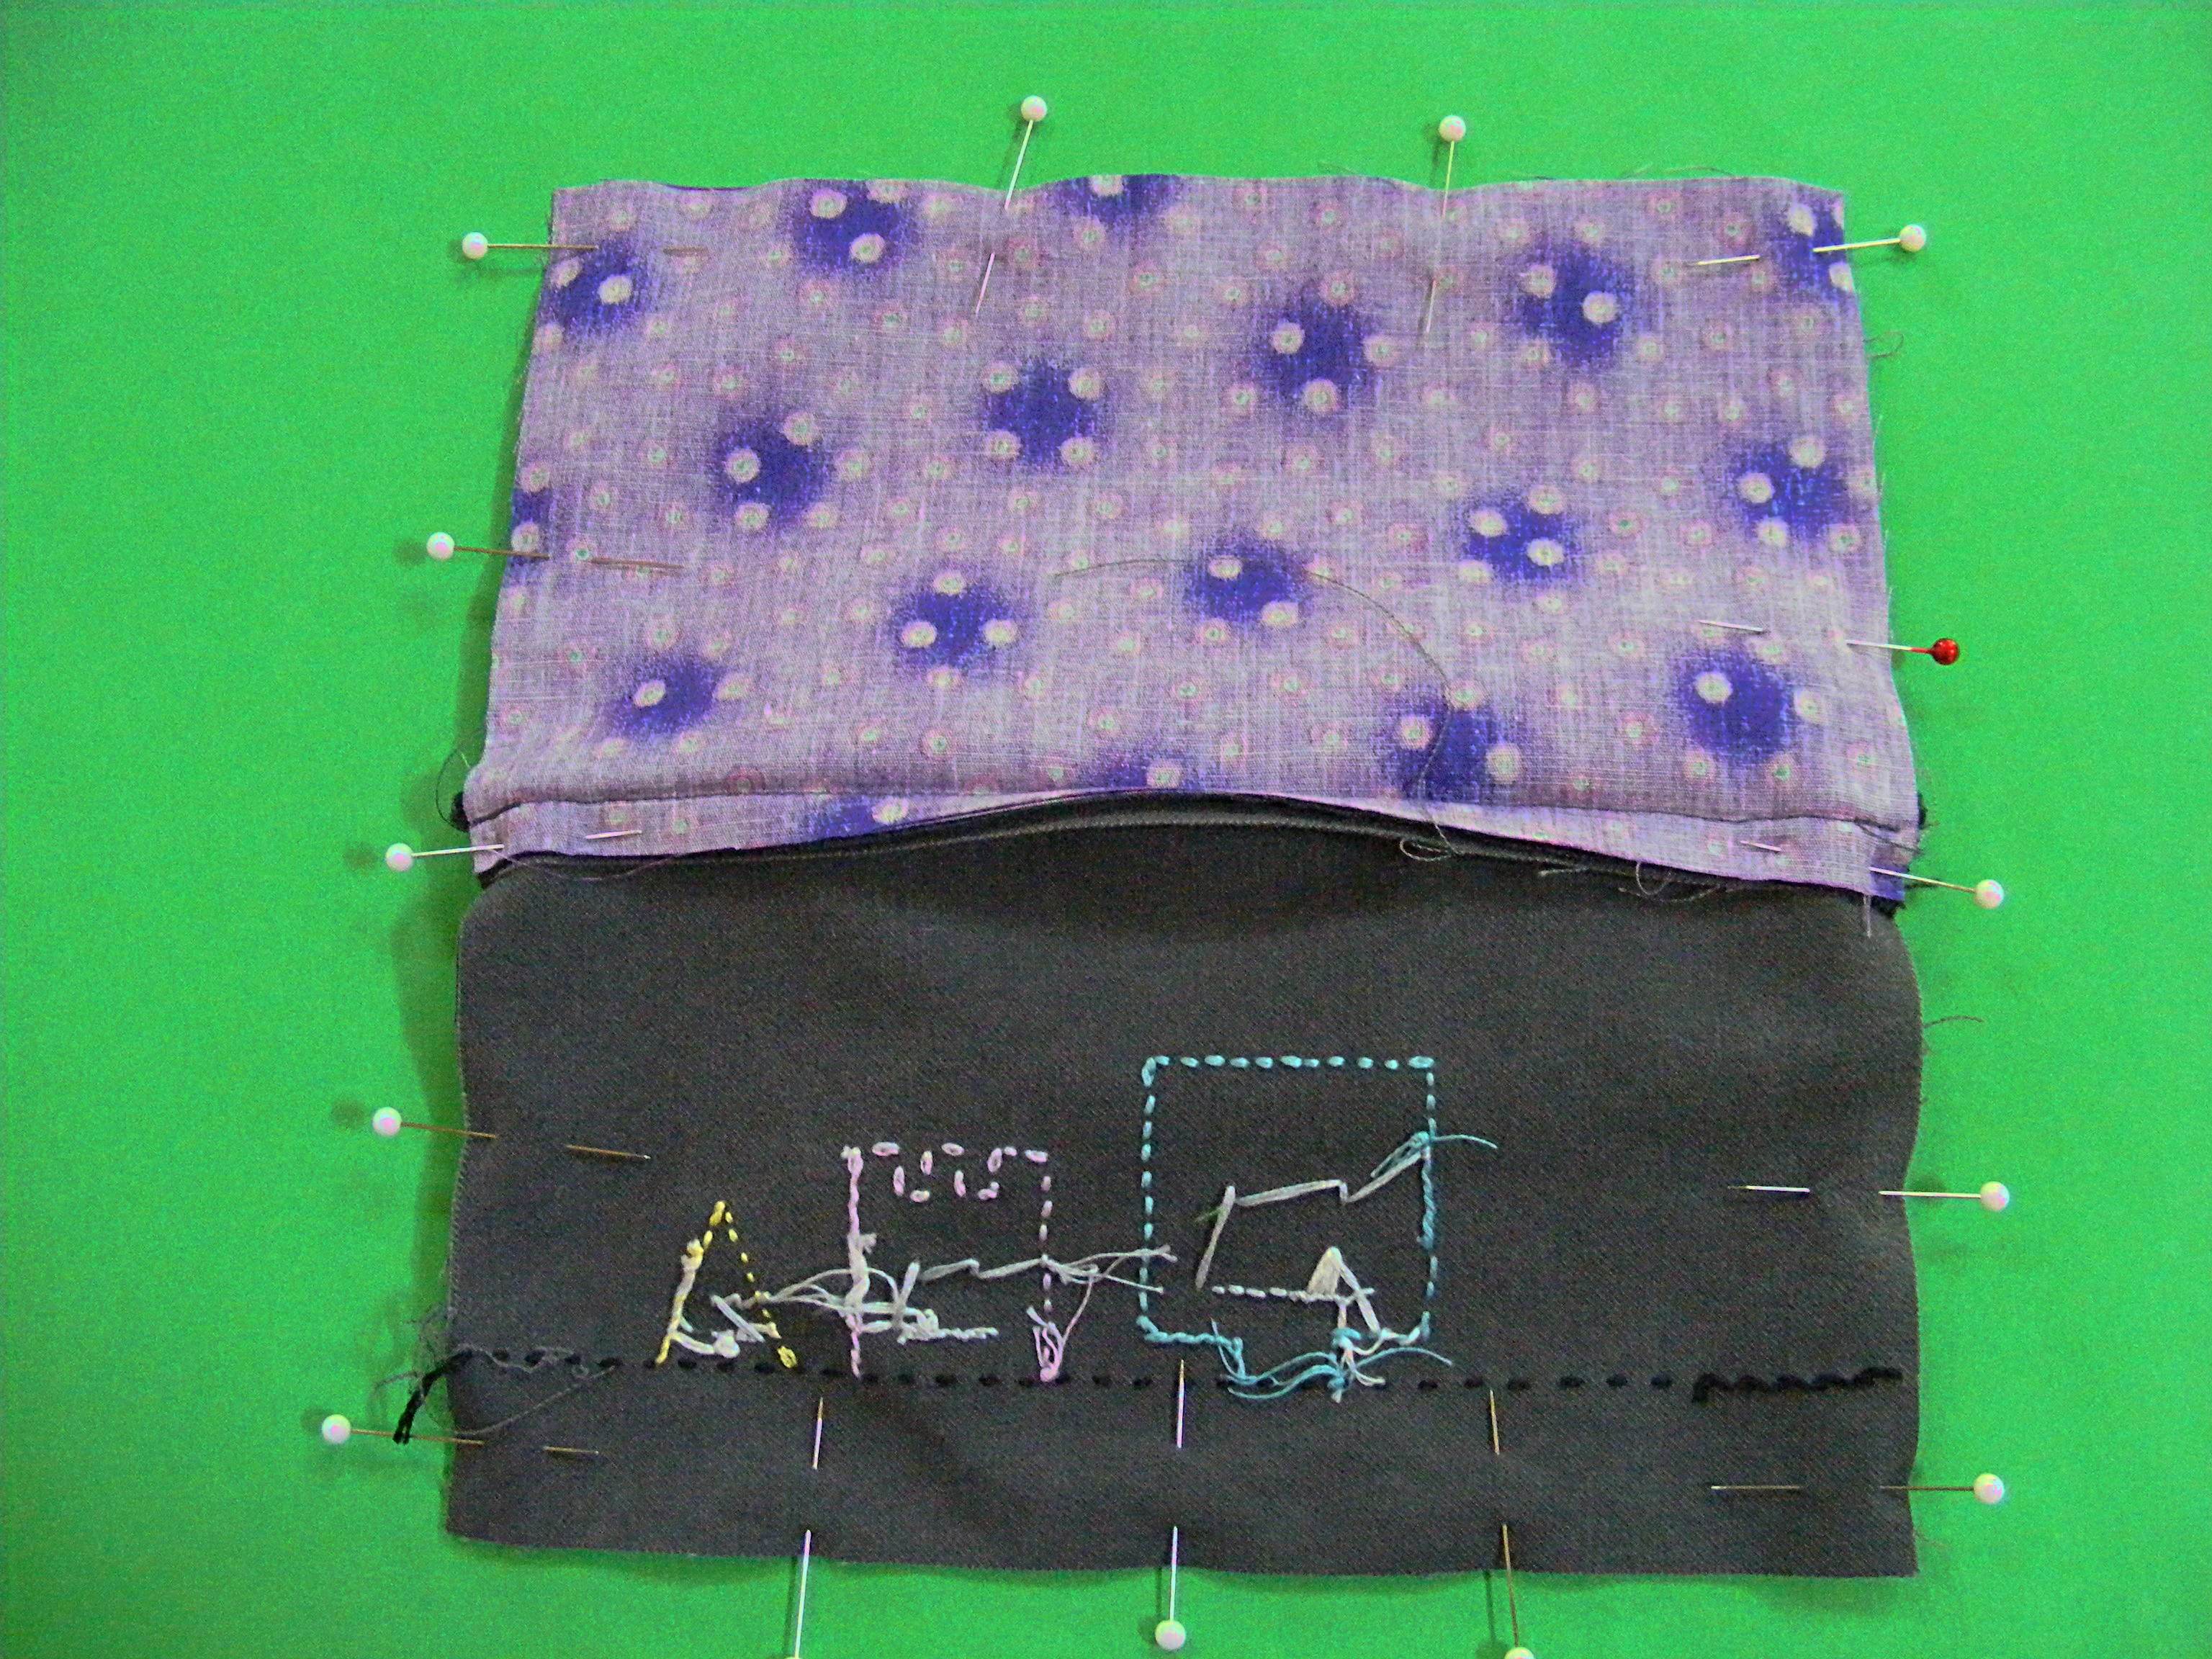
Pin all the way around the outside edge. You’ll want to leave a 3 inch opening in the lining seam so you can turn everything right side out.
Pay special attention to which way your seam allowance is facing. You want to flip it toward the main fabric.
This will make the teeth of the zipper inside tend to point toward the lining fabric and that is very important. Check those teeth before you sew. Are they pointing toward the lining? Good!
Step 9
Using 1/2 inch seam allowance, stitch all the way around the edge, leaving a 3 inch opening in the lining seam.
Remember to backstitch at the beginning and end of all your stitching.
Clip your corners close to, but not into, your stitching.
Step 10
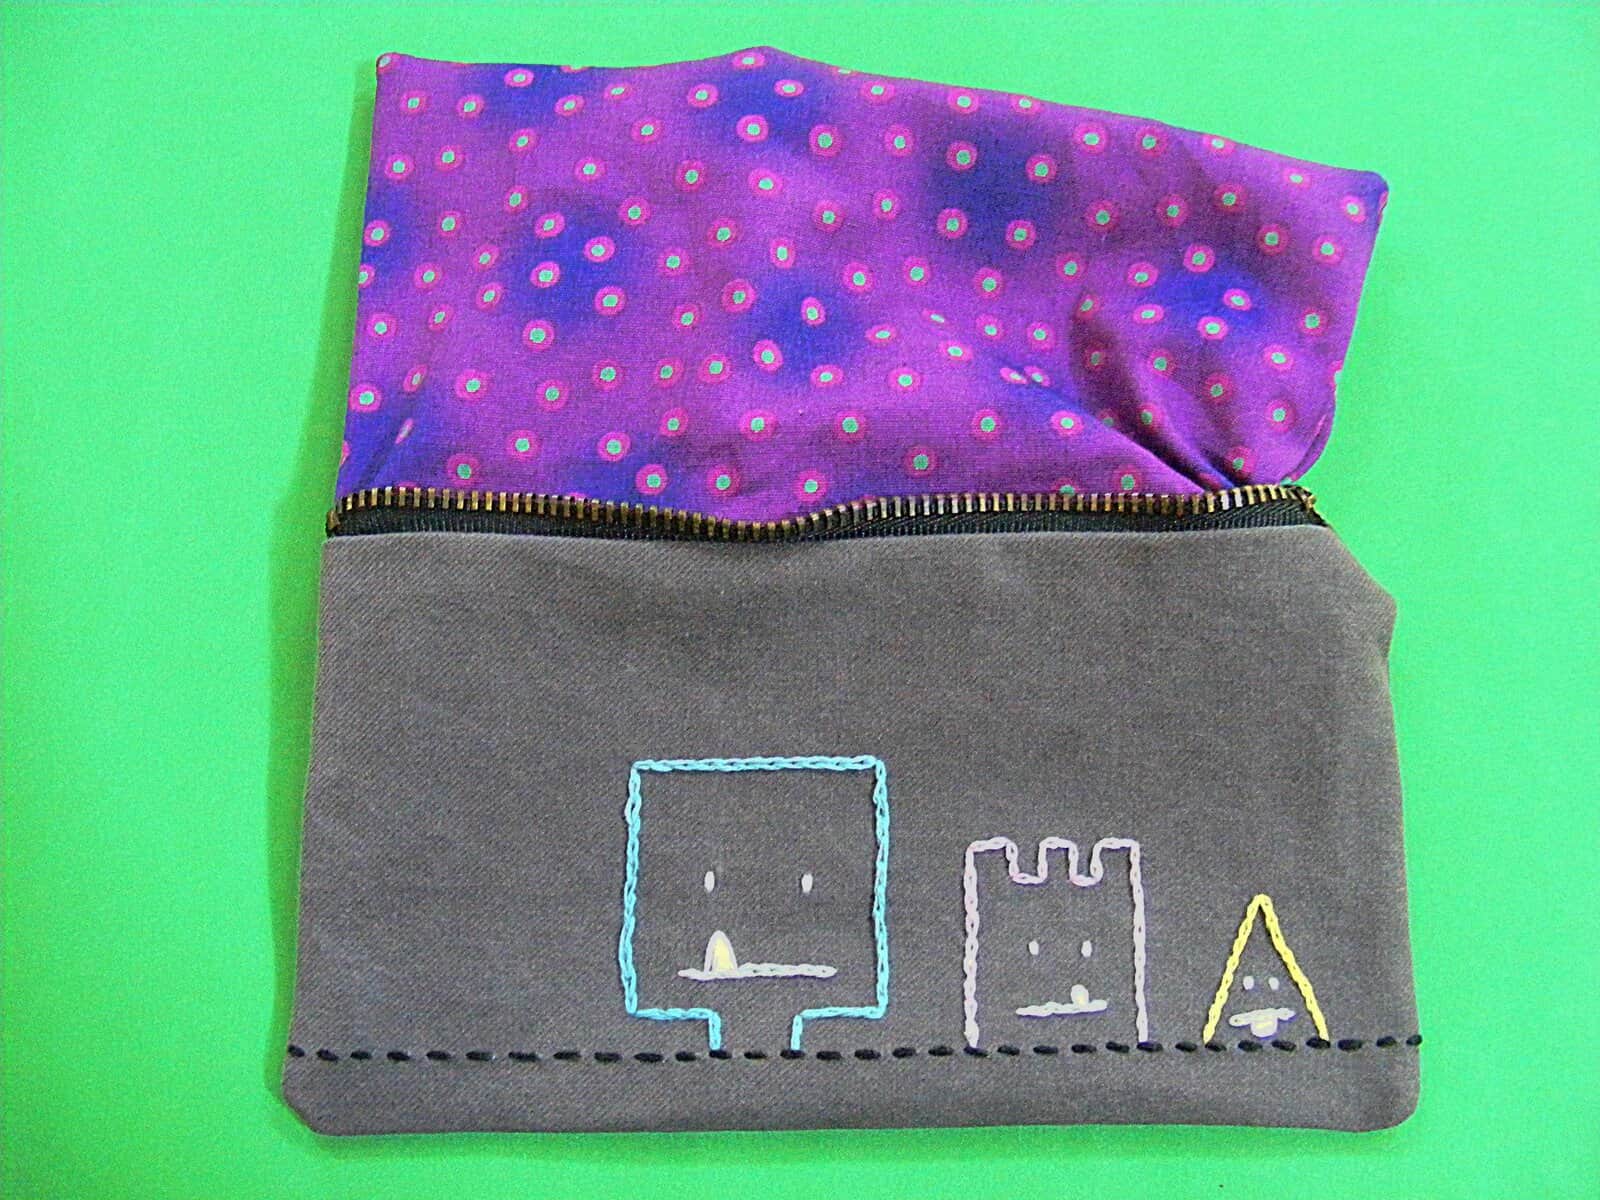
Ready for some magic? Turn the whole thing right side out through the opening you left in the lining. (See why you had to unzip that zipper?)
Ta daa!
Use a stick or other tool to poke your corners out nice and smooth. Press everything flat. If you added embroidery be sure to press around it, otherwise you will squish it and then you will be sad.
Step 11
Sew up the opening you used for turning. I used the ladder stitch but beginners might opt for whipstitch instead. (Those links go to videos teaching how to do both stitches.)
Tuck the lining inside the zippered bag.
Finished!
Now that you’ve made one you can make as many as you want, in any sizes you want. Just remember to cut your fabric rectangles to match the length of the entire zipper tape – not just the toothed part. Using a 1/2 inch seam allowance will usually butt your side seams right up to the top and bottom of the zipper teeth, but double-check to make sure.
Happy stitching!
I save clothes for the fabric and zippers and buttons too! I love making little bags like yours!
🙂
Thank you so much for this tutorial and including the links to the videos for the tricky parts. I’ve been wanting to get over my fear of zippers for years and this post finally did the trick. My little zipper pouch came out great and I can’t wait to try again. I posted my version on y blog – it was a Pinterest Challenge and your pin was my inspiration.