Want to learn how to make adorable crocheted stuffed animals with an easy online workshop – totally free?
Sign up for Let’s Make Amigurumi here. You’ll learn how to get started, the tools and supplies you’ll need, and how to make an easy amigurumi from start to finish using simple crochet stitches.
It’s a fun, inexpensive, and totally portable craft. You can do it!
![]()
Before I start chatting about today’s tip, I want to thank everyone for making the FreshStitches Celebration Sale such a success! Deals were had far and wide… and the most popular pattern snagged was… you guessed it! The Choose Your Own Dragon Adventure pattern! Looks like we might have some more folks joining in on the CAL… yay!
Okay, back to the business at hand. On Tuesday, I talked about how to strand your yarn as you changed colors for long color changes (like for the dragon’s tummy).
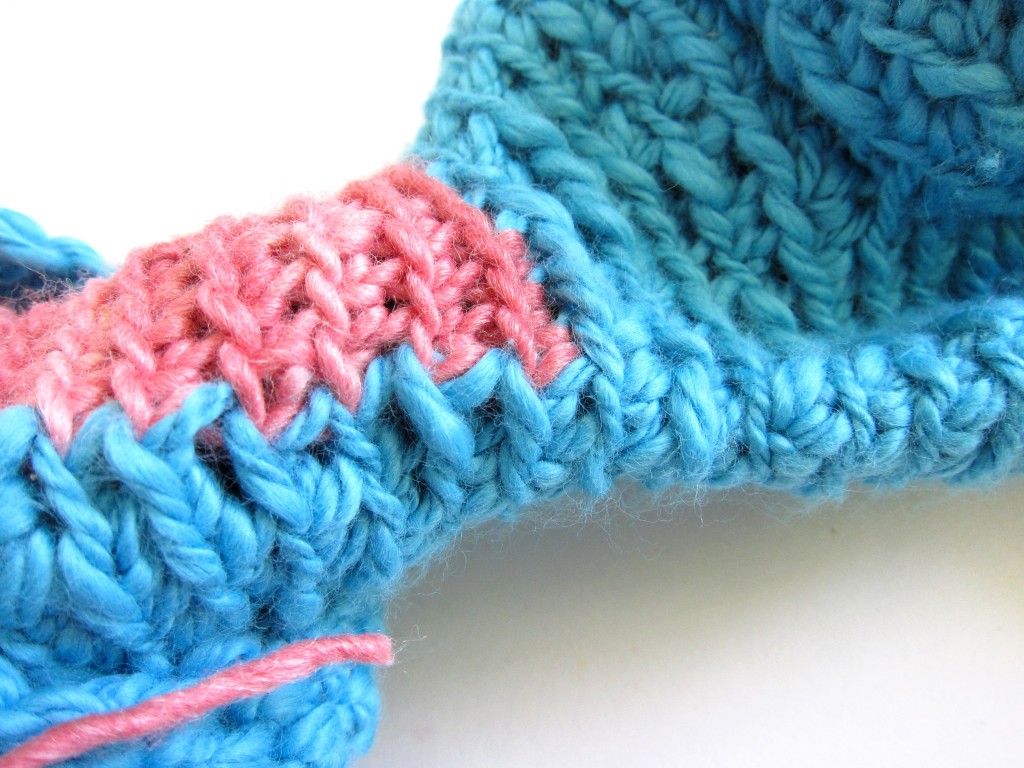
Have you done that, yet? Good! Now, we can’t just leave it like that for two reasons. One, the stranding prevents the fabric on the tummy from stretching when you stuff the body, so you won’t get a nice, plush look. Two, the looseness of the stranding has probably left you with some goosey looking color changes:
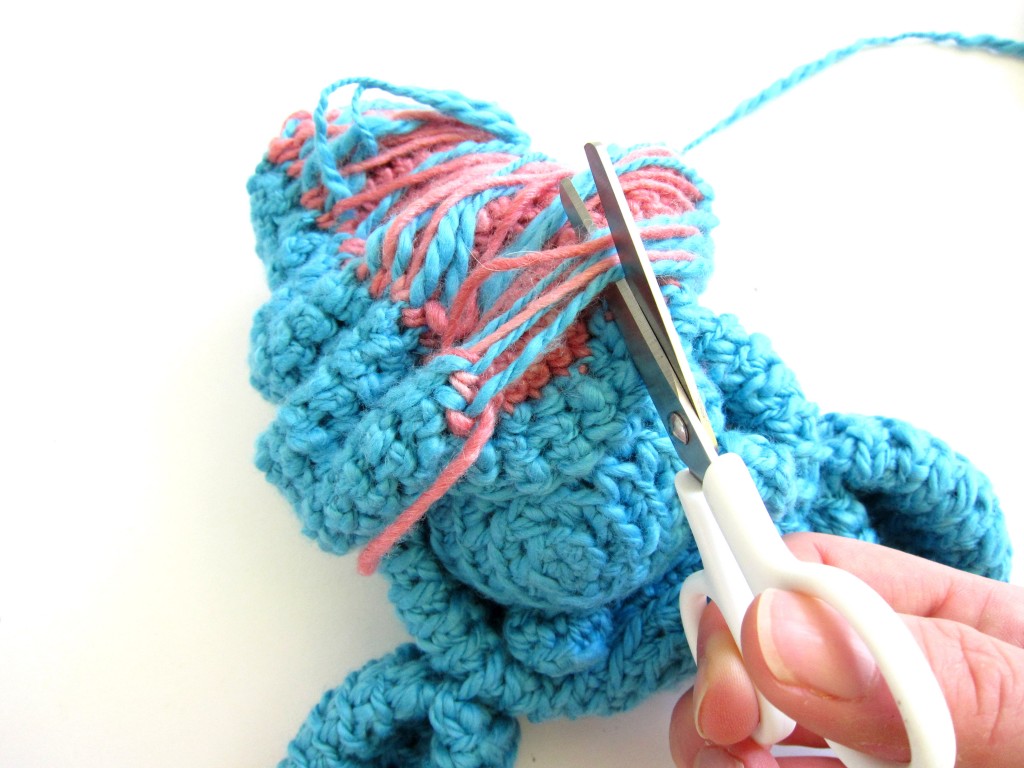
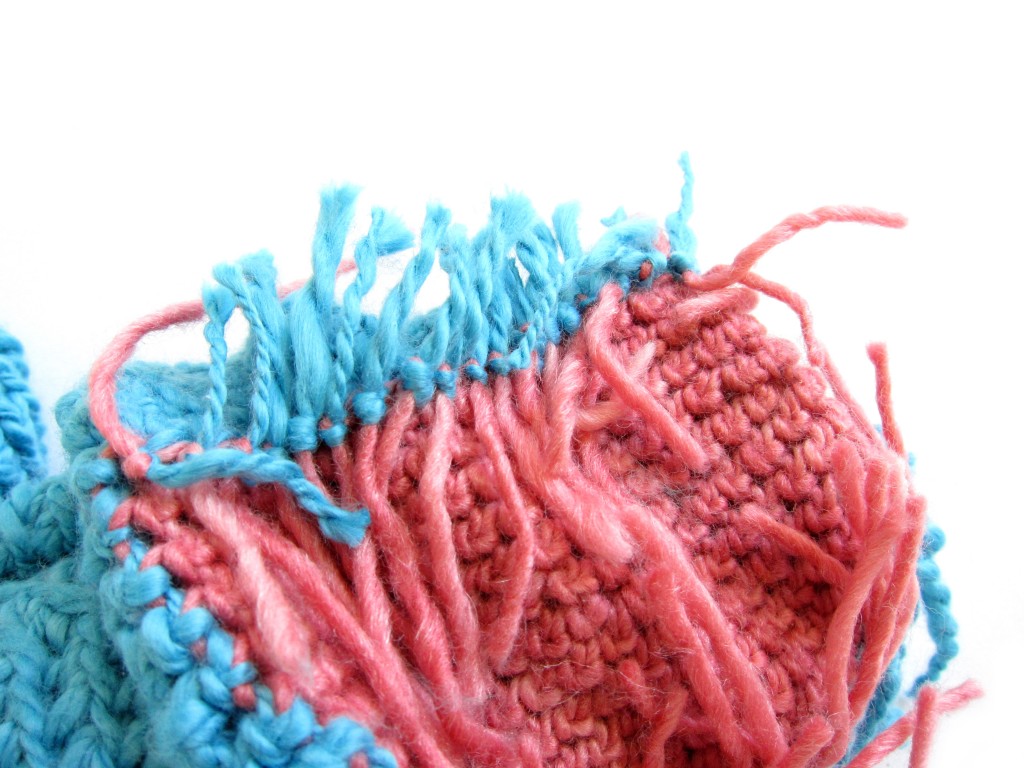
Look familiar? We’d like those to look a little neater. So, what we’re going to do is cut the strands down the center:
Now you can see why it was important to make those strands at least 3″ long, right?
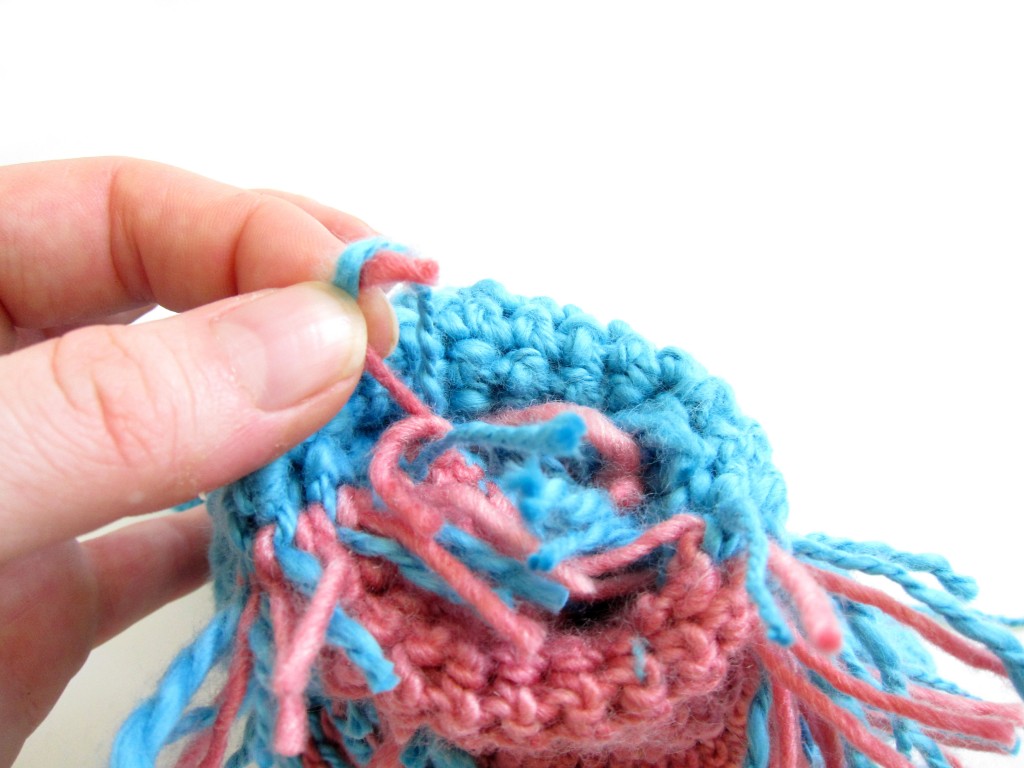
For the next step, we’re going to tie together (using a simple square not) each color-change pair: one MC tail and one CC tail:
When you’ve tied off all of the tails, the inside of your dragon will look like this:
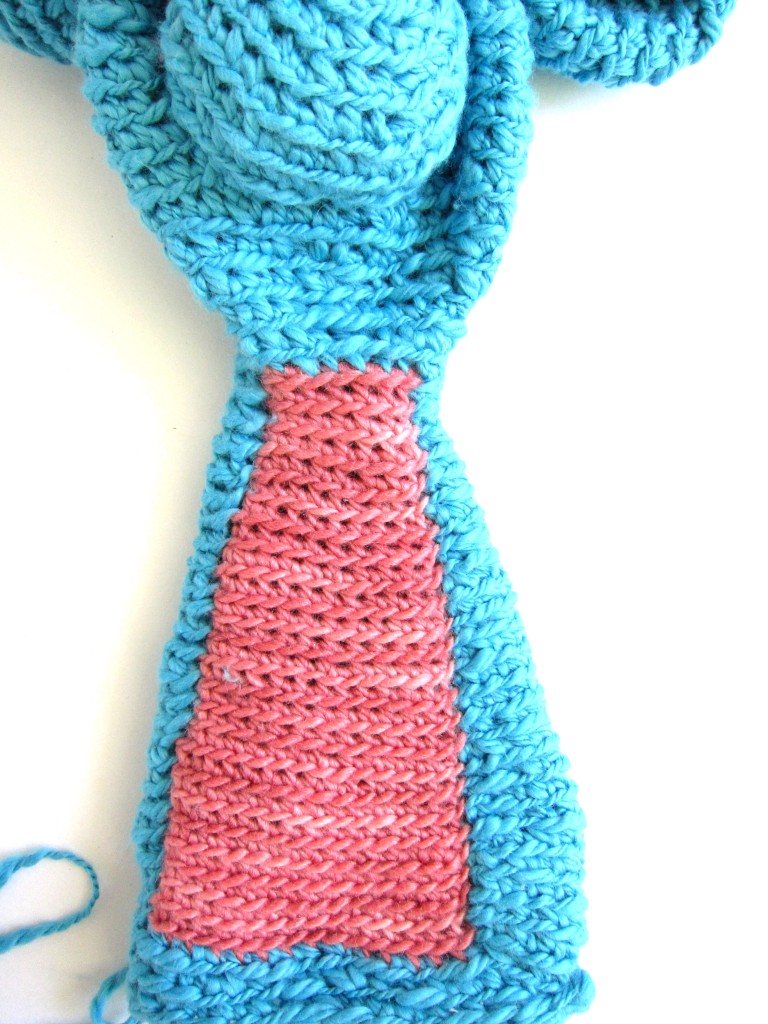
And the outside will be beautiful and tidy!
Yay!
Happy stitching!


I think the important bit of info is that you leave the strands of color AT LEAST 3 ” long or more! Glad to see that I was doing it correctly, because it does not look very good on the outside before you tie off the colors on the inside.
Hi Nancy-
Yes, that is important! I made sure to emphasize that point in the previous post, which detailed how to do the stranding!
Stacey, do you have any tips for making the strands at least 3″ long? As I work, I have trouble doing that, as my strands seem to draw in shorter, especially at the parts where I’m decreasing stitches. I’ve tied off 1/2″ pieces, but it’s not very easy or very much fun! Thank you for your wonderful patterns!
That’s a great question, Mary! One tip is to crochet with the piece inside out. This will force the strands to be on the outside of the work, making it hard for them to get too short!
Thanks, Stacey! I tried the technique on my Beagle head and it worked beautifully!
Oh, good! So happy to hear it!