


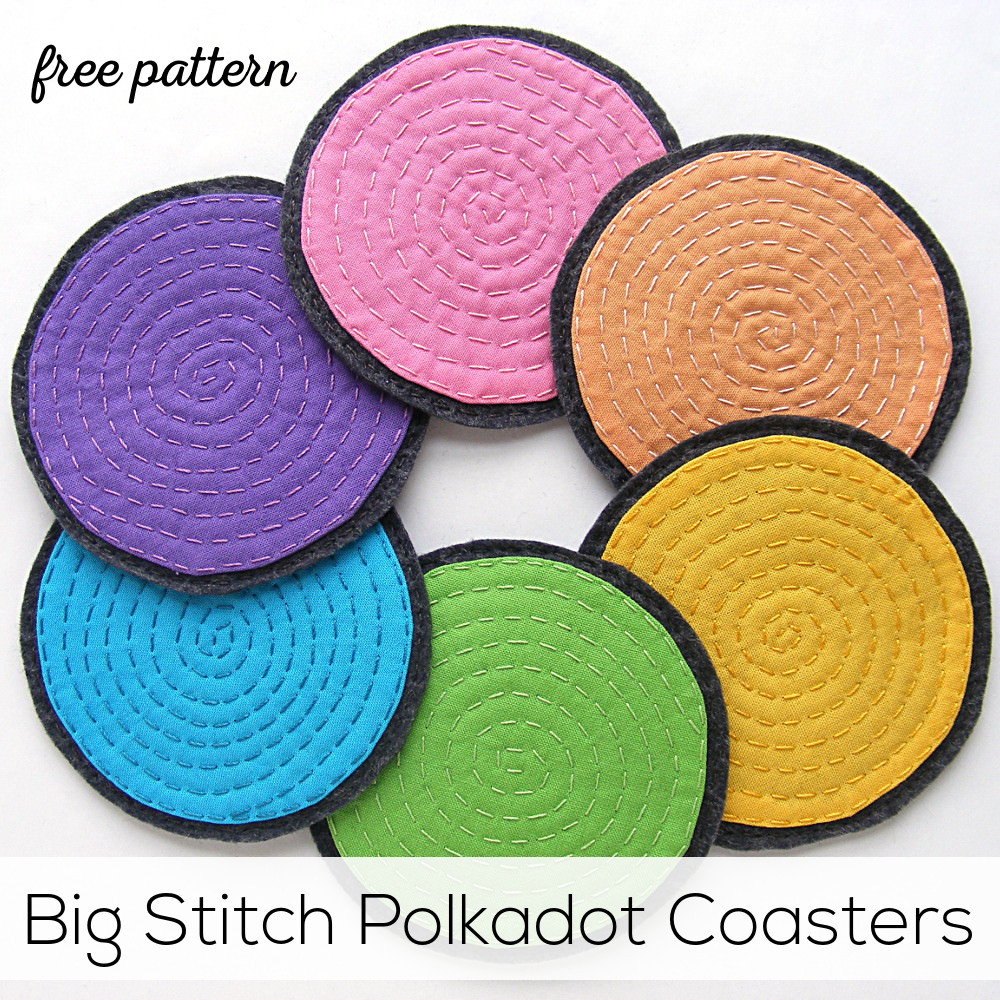
Practice your running stitch with these big stitch felt coasters.
This project is all about those big stitches!
It’s simple, fun and easy.
It’s all hand-sewn – perfect for stitching while you binge-watch your favorite show. 🙂
My friends at Sulky were watching my progress on this big-stitched lap-sized quilt. . .

(It’s a WIP from my Big Stitches and Patchy Patchwork class.)
They knew I was using Sulky Petites 12 wt. thread for all the big stitch quilting, and they knew this was a BIG project. They asked me if I’d consider designing a smaller project for people who just wanted to give big stitch quilting a try.
Of course I would!
I loooooove stitching in spirals and I had been kicking around the idea of making some round coasters. This is what came out of it!
Materials
- 2 9×12 sheets of wool-blend felt (I used the color licorice)
- scraps of fabric (I recommend solids so your stitches really show up well.)
- Sulky Soft & Sheer
- 12 wt. Sulky Petites
Other Tools and Supplies
- fabric glue stick
- #8 embroidery needle
- pinking shears (optional)
Step 1
Trace a circle onto the Sulky Soft & Sheer. You can trace a jar lid or a roll of tape – anything coaster-sized.
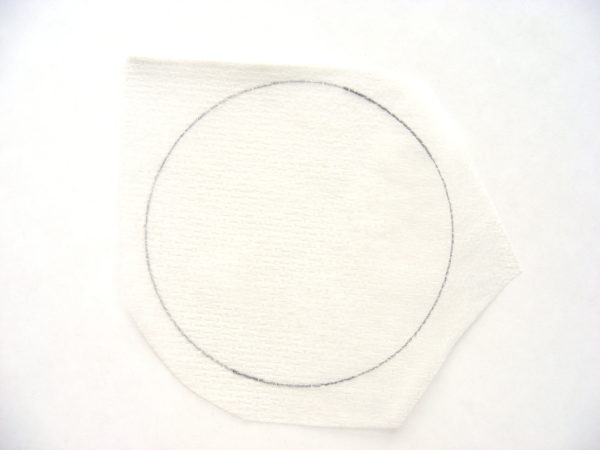
I forgot to measure my circle before I shipped the finished coasters. I think it was about 3 ¼ inches?
Step 2
Roughly cut around the circle, leaving at least ¼ inch of stabilizer all around the circle. Layer with a scrap of fabric, right sides together, and sew directly on the traced line.
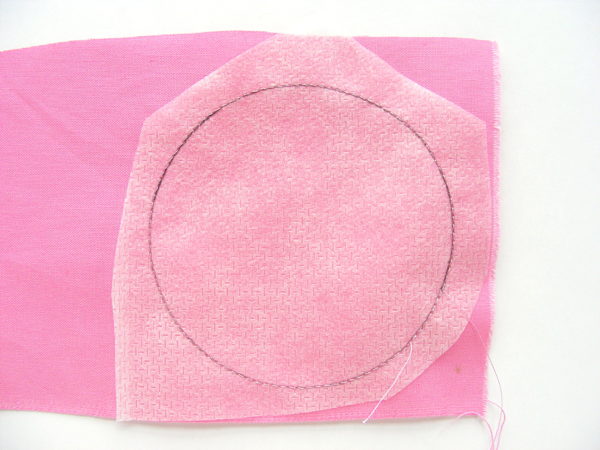
Sew all the way around the circle.
Step 3
Trim around the edge, leaving a narrow seam allowance.
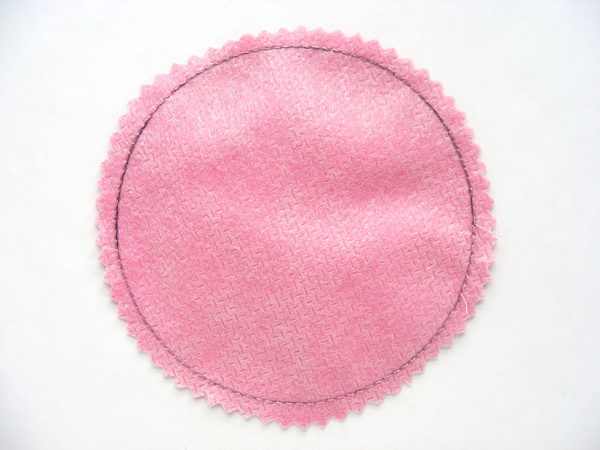
I like to use pinking shears so I don’t have to trim notches to remove bulk.
Step 4
Pull the layers apart and cut a small slit in the center of the Sulky Soft & Sheer.
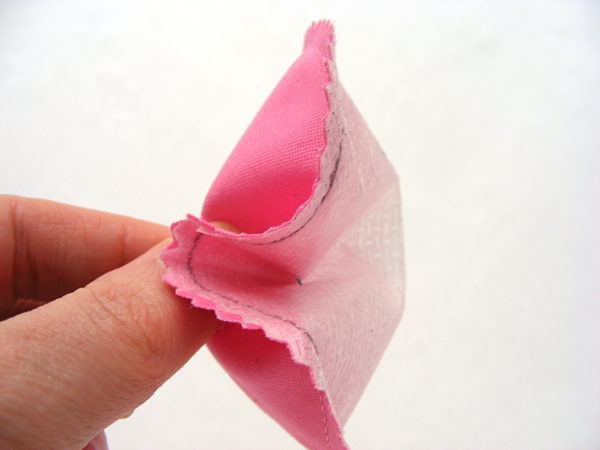
Step 5
Turn the dot right side out through the slit.
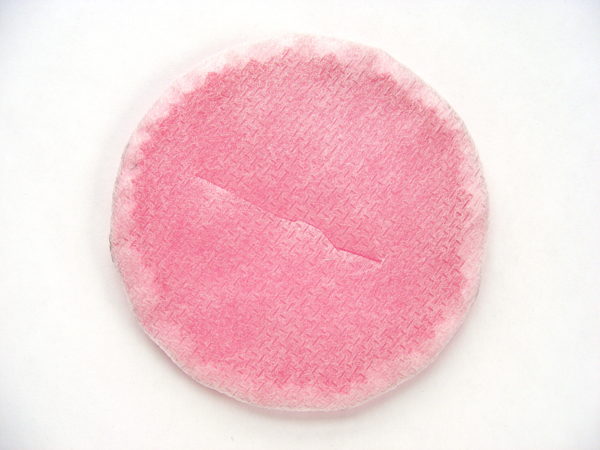
Smooth the curved edge and press it flat.
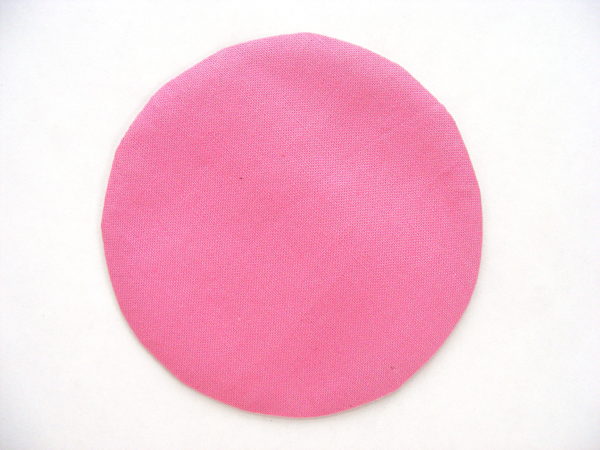
See? A nice, neat circle with perfectly turned edges.
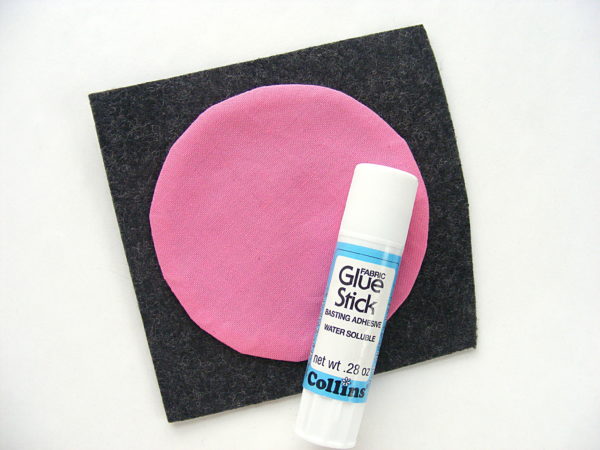
Step 6
Glue the circle to a scrap of felt using fabric glue stick.
Step 7
Using running stitch and a single strand of Sulky Petites 12 wt. Thread, sew the circle to the felt all the way around the edge.
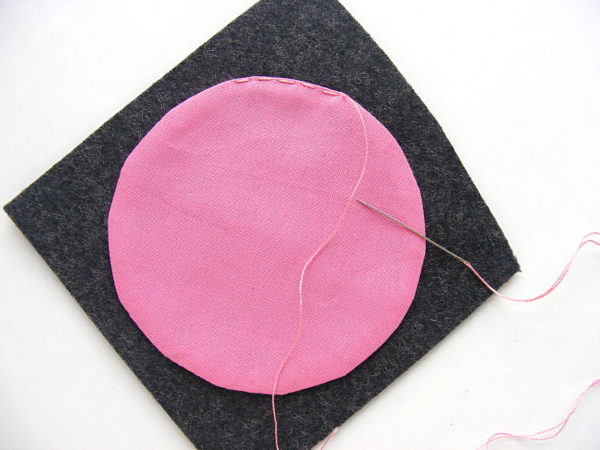
There’s a video here showing how to embroider running stitch.
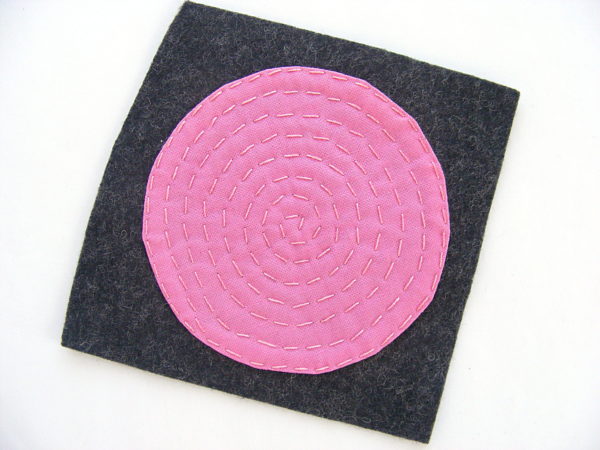
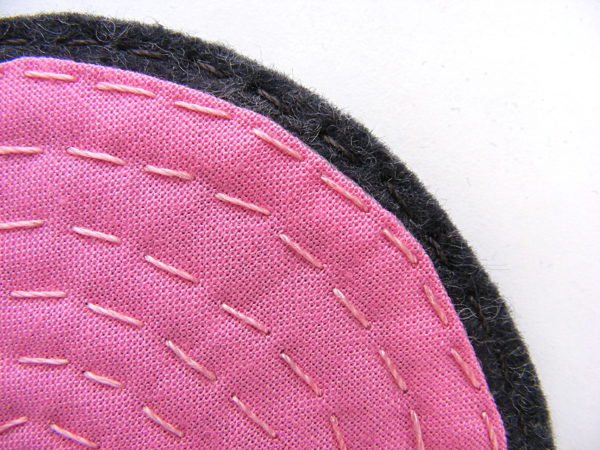
Step 8
Once you get all the way around the outside edge, start spiraling in to the center of the circle.
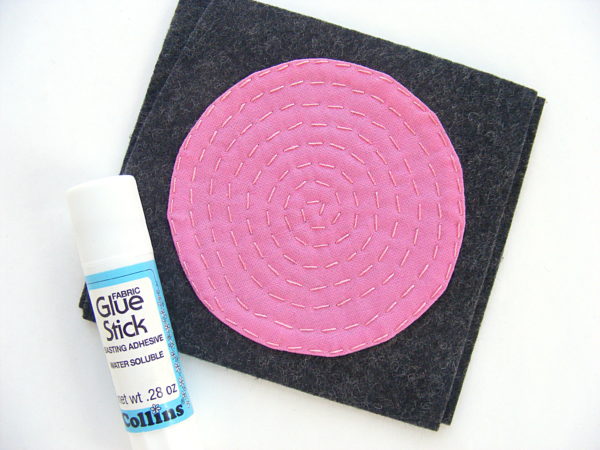
Step 9
Using a glue stick, glue a second layer of felt to the back of the first.
Step 10
Cut out the final coaster circle through both layers of felt at the same time for a perfectly even edge.
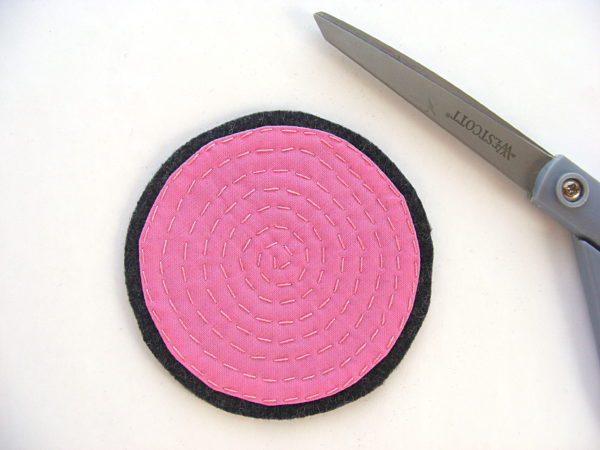
Cut just a little bit beyond the edge of the fabric dot so that you can see the felt color around the edge.
Step 11
Using running stitch and a single strand of Sulky Petites 12 wt. Thread to match the felt, sew the felt edges together.
Finished! Now make more in every color of the rainbow.
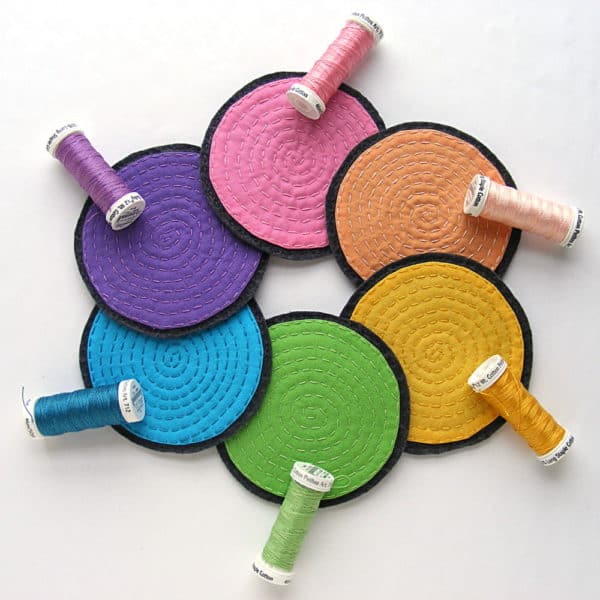
Pretty, pretty big stitch felt coasters!
Happy stitching!

Just want to say thank you! Enjoy you & your work… your attitude is great!
Pingback: Handmade Holidays: Gifts for Cooks & Foodies | Sew Mama Sew
There’s nothing at the tutorial link.
I fixed it. 🙂
Add a little gold knob and you’ve got Christmas balls. A set would make great and quick hostess gifts. 💖🌞🌵😷
Thank you so much for this pattern! did you do the initial circle on the machine? The stitches look so perfect!
Yes – the stitching I did to make the polkadot was on the machine. Everything else is stitched by hand.
Such a fun way to practice the running stitch, and your coasters turned out so pretty! I’m featuring your tutorial in a Crafts on Display post tomorrow. I hope you enjoy it, and keep up the amazing work! https://craftsondisplay.com/sewing/colorful-felt-coasters-166778/
Thanks so much for sharing!