


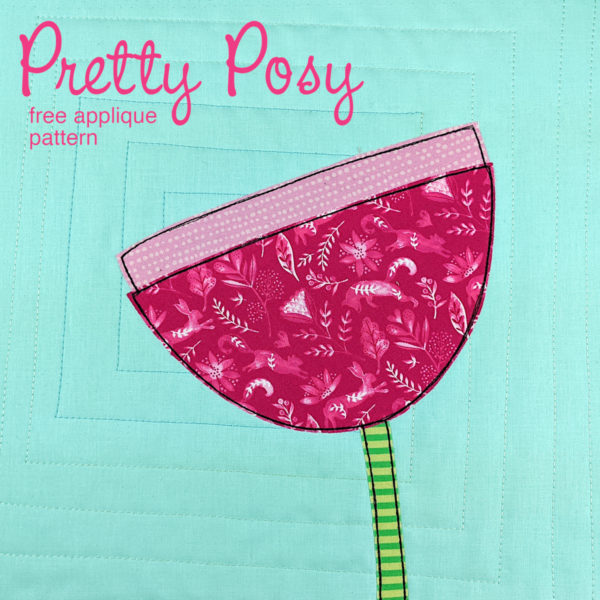
This flower is super simple to make – just three easy pieces. And it mixes in perfectly with the other flowers in the Wild Flowers pattern.
Download the pattern here.
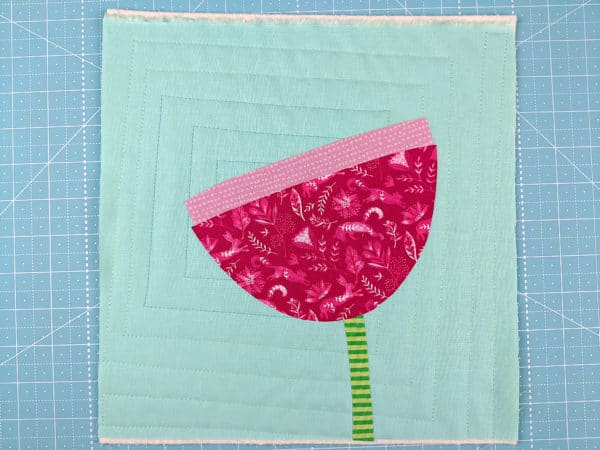
Cut your background fabric 11 inches square. Cut your batting 11 inches square. Layer the background fabric and the batting and quilt them together. You can find my favorite straight line quilting designs here. You can find my favorite wavy line quilting designs here.
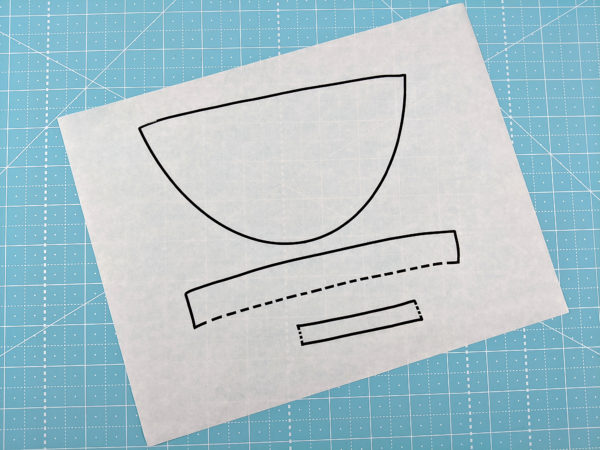
Print or trace the pattern onto the paper side of paper-backed fusible adhesive. I like to use Heat & Bond Lite.
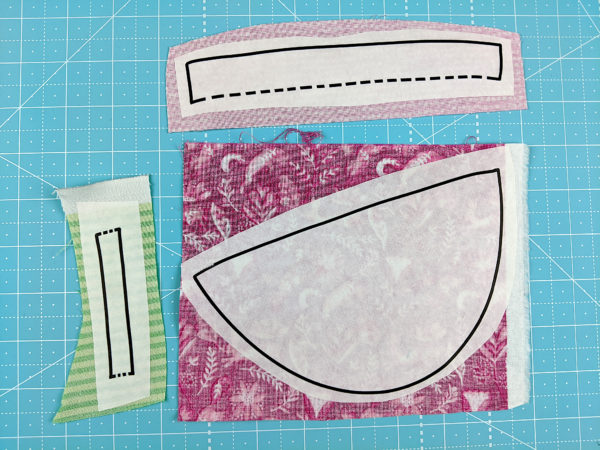
Roughly cut out all the pieces and fuse them to the wrong side of the fabric.
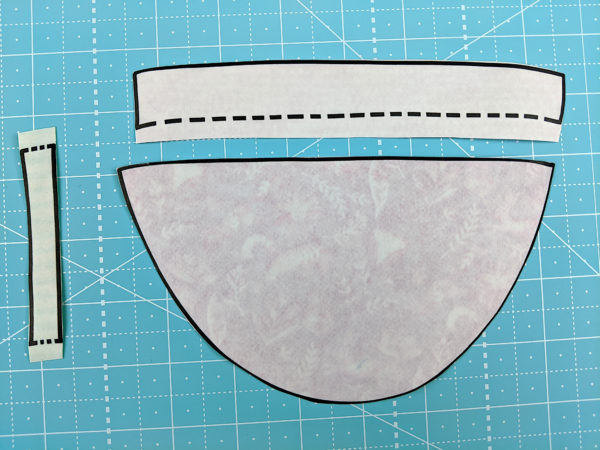
Cut out all the pieces neatly. Cut directly on all the solid lines. Leave a little extra seam allowance wherever there’s a dotted line.
Peel off the paper backing and fuse the pieces onto your block. Tuck the seam allowance at all the dotted lines behind the adjoining pieces.
Outline all the pieces. I like to use black thread and a simple straight stitch for a fun cartoony look.
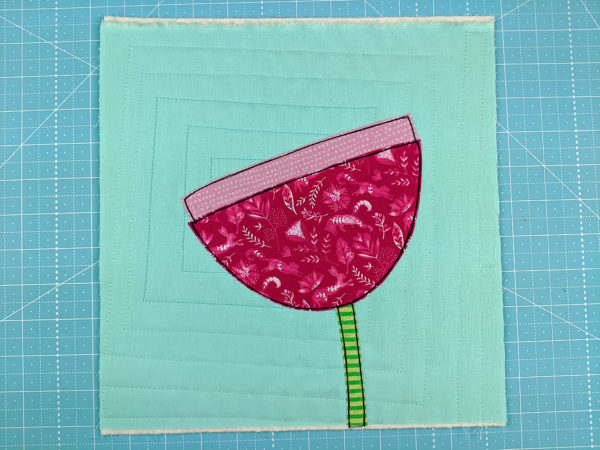
Finished!
A lot of the fun of this pattern is in the fabrics you choose. You can also play around with the angle of the stem, and the flower at the top of the stem.
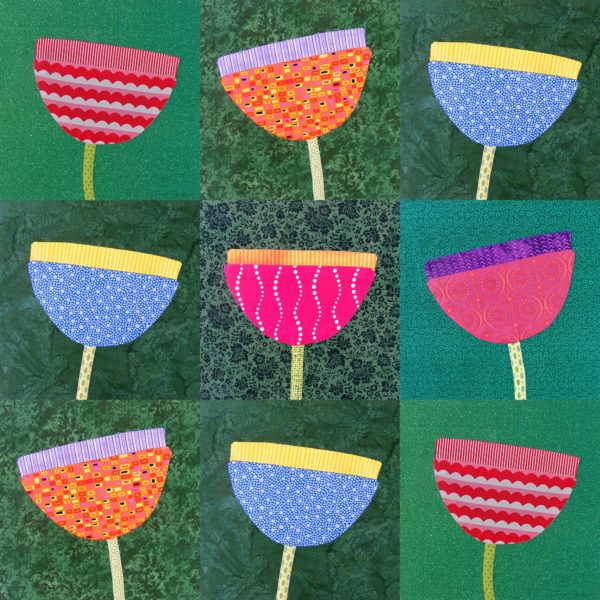
Want more flowers? You need the Wild Flowers applique quilt pattern. 🙂
Have fun with it!

