Mollie from Wild Olive knows how excited I am about her new book, Stitch Love: Sweet Creatures Big and Small. I’ve got it in my hot little hands right now and there will be a full review coming in a couple of weeks after I have a chance to make a project from it. In a nutshell – it’s exactly as fabulous as I thought it would be!
In the meantime, I jumped at the chance to be a part of this Valentine’s Day blog hop in celebration of the new book. Mollie is giving away a few special patterns that are like the patterns you’ll find in the book – but completely new and getting ready for Valentine’s Day. And a few bloggers got to play with them first!
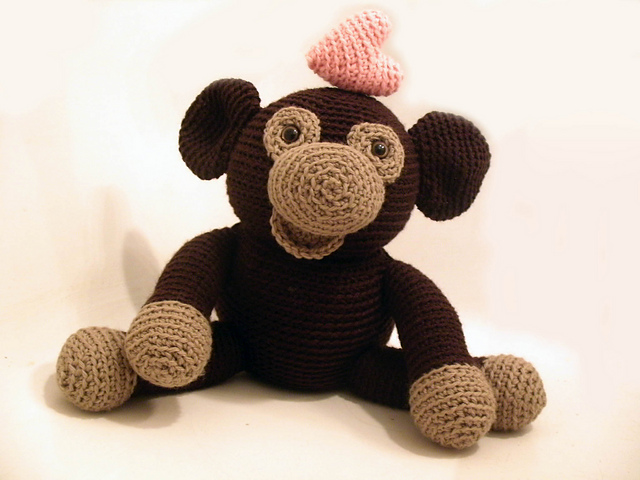
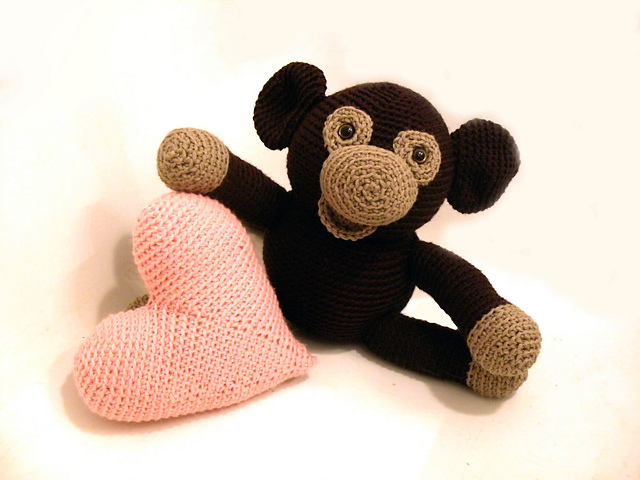
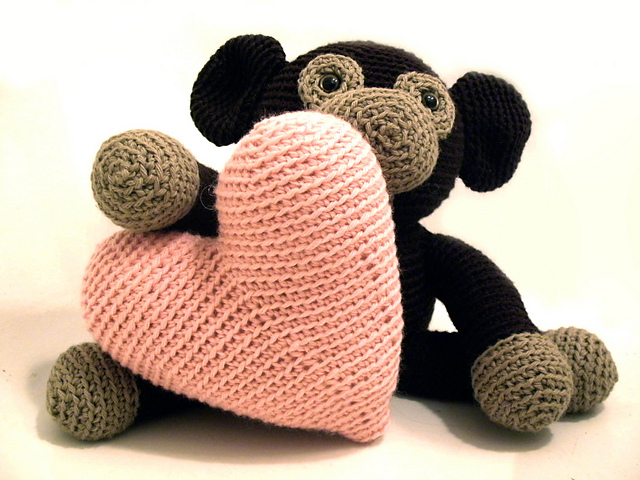
I chose this little otter/ferret. 🙂

Mollie thinks of him as a ferret – I think of him as an otter. My way I get to make a terrible otter pun. 🙂
I immediately saw that envelope as a 3D pocket, with the whole thing appliqued in felt – so that’s what I did!
I started by tracing the body pieces on a scrap of The Magical Embroidery Stuff (aka Sulky Sticky Fabri-solvy).

I love it so much! You stick it to the felt, stitch right through it, then cut out the pieces and rinse the stuff away.

Magic! (You can read more about here.)
Then I layered those pieces on a piece of pretty fabric. (This is Dream in Pink from Timeless Treasures.)

Tuck a bit of the ears and tail behind the body, and then whipstitch all around each piece. A tiny dab of fabric glue on the back of each piece holds them in place while you stitch. No irritating pins to grab your thread!
Now add the envelope. I traced it as one piece so I could fold it into a little pocket. Flat it looked like this. . .

And then I folded it and stuck it on the otter like this. . .

Stitch all the way around the outside edge of the envelope.

Next I added his paws so it looks like he’s holding the envelope instead of having it float in front of him. 🙂

Just cut them out, stick them in place, and stitch them down. They’re tiny. 🙂
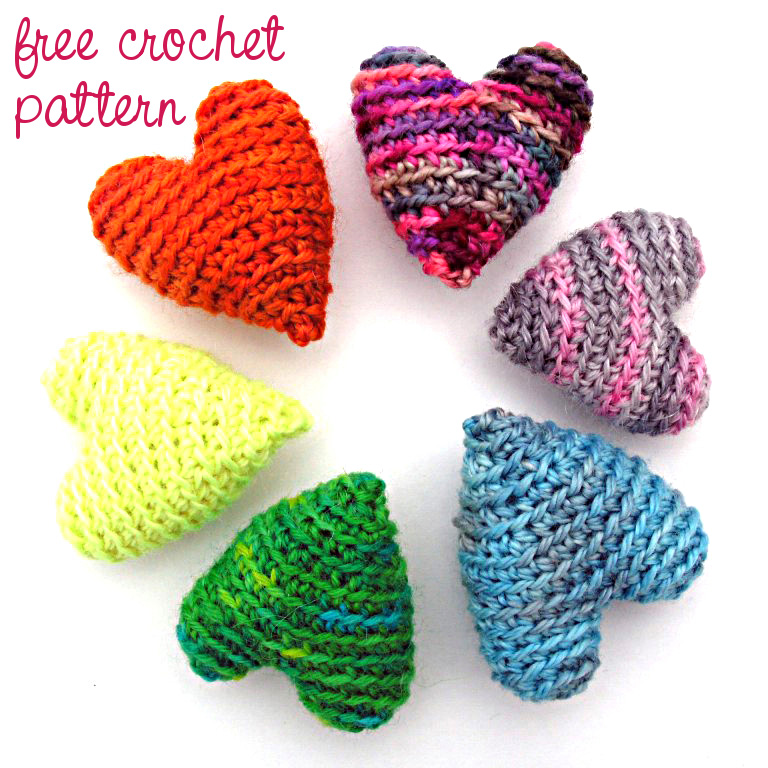
I cut out two hearts and whipstitched them together around the edge to add some pretty detail – and make them stiff enough to easily tuck into the envelope.
Hoop it up in a tiny hoop (here’s how I do it with no glue) and you have this. . .

Download the pattern here so you can make your own!
Different bloggers will be giving away cute little critters like this one all week long! Here’s the schedule. . .
Monday: Shiny Happy World (That’s me!) & Wild Olive
Tuesday: Little Dear Tracks
Wednesday: Lark Crafts
Thursday: Hugs Are Fun
Friday: Feeling Stitchy
Saturday: Pretty By Hand, nanaCompany & Wild Olive
If you make one and post about it on social media, use the hashtag #stitchlovebloghop. 🙂
Oh – and did you like how I sneakily changed an embroidery pattern into an applique pattern? I do that all the time. It means if you buy Mollie’s new book of embroidery patterns, you’re also getting a book full of cute applique patterns. That’s a good deal! I have a tutorial with more info here.
Happy Valentine’s Day! And happy stitching!
Best,
Wendi