


A lot of people have pulled the little mouse from the Noisy Farm quilt pattern to use in other quilts – but not everyone wants to buy a pattern with twelve different farm animals just for the little mouse!
I’ve been getting a lot of requests lately for the mouse as his own little pattern.
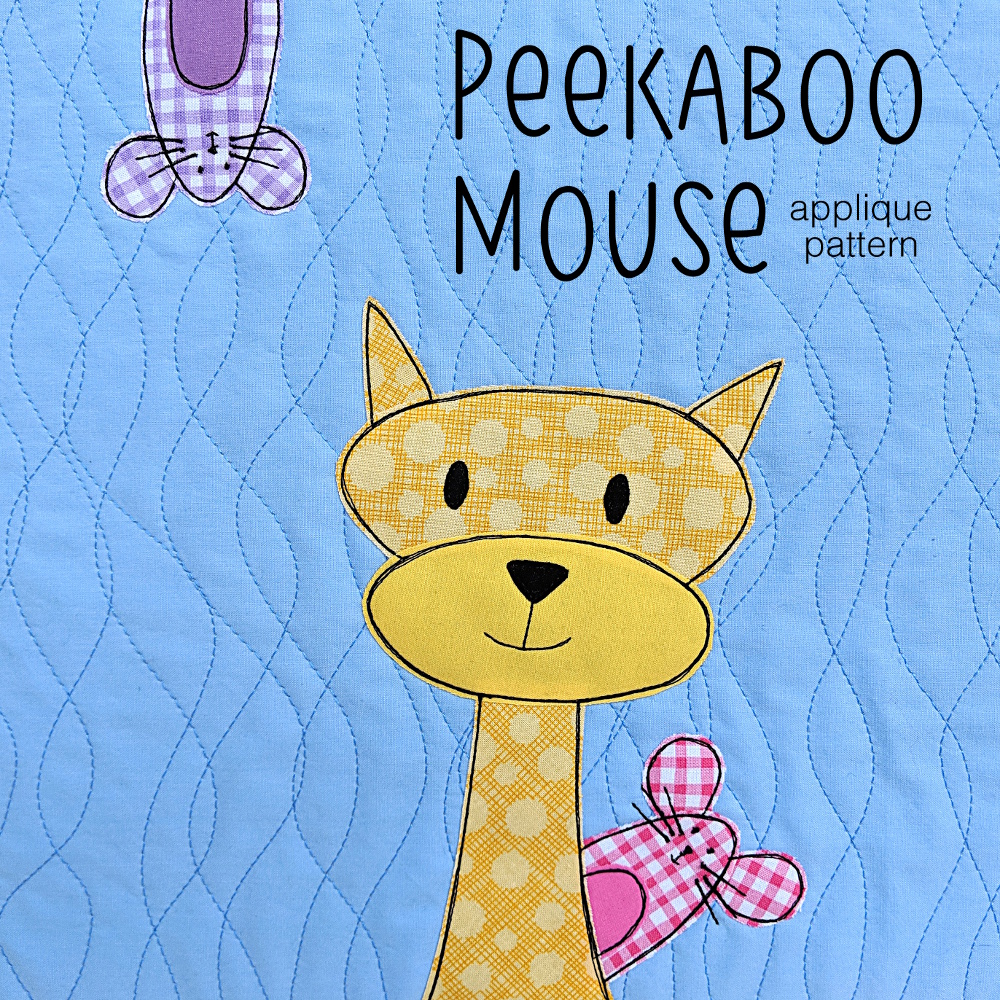
You can use it on its own – that mouse would be adorable peeking out of a pocket. Or you can use it combined with other quilt patterns, as shown in the image above.
Important note – the pattern only includes the mouse – not the cat. The cat is just there to show the two ways you can use the mouse pattern in your quilt blocks.
I didn’t just write up the pattern – I also recorded some new video tutorials especially for this little guy!
This is the first pattern I’ve ever done where I also include a link to download an SVG file of the pattern pieces – for those who have cutting machines like Cricut and Silhouette.
This video shows what to do with that file (for a Cricut Maker) once you’ve downloaded it. Heads up – it’s a long one.
If you don’t use a cutting machine, that’s fine. The pattern includes the regular pattern pieces for printing or tracing and cutting by hand.
Once you’ve got all your pieces cut, here’s how to assemble the little guy. I show how to put him on the edge of the block, and also how to make him peek out from behind another applique critter.
Finally – there’s the outlining. I know a lot of people will see that face and think NO WAY. I don’t like hand-stitching and that’s too small to do on the machine.
Not so!
Of course you can stitch the face by hand, but you can do every bit of it on the machine – no fancy embroidery features needed. Here’s how I do it on mine, just using regular straight stitch.
That’s it!
Get the pattern here and start adding adorable little mice to all your projects. 🙂
Happy stitching!

Thank you so much for sharing your pattern. I can’t wait to try and work on it. You have such a great patterns to choose from. I do enjoy watching your sewing lessons. You have been a great help to teach me how to make some cute quilts.
We had to get this, thanks so much for offering this as a stand-alone! I have a feeling Mousie is gonna do a whole lot more photo bombing now!
Thank you so much for everything you do! Even though I had never made a quilt, I had to purchase your Craftsy video with the woodland animals! Since then, you have inspired me to make the puppies quilt for my granddaughter, the cats for my daughter, the wildflowers for my daughter-in-law, and finally the houses with the Santa signs in a quilted tree skirt! I have finally worked my way back to the woodland animals and would love to use my new cricut maker to cut out the animals. Can you tell me what software you use to convert your pdf pattern to a svg file? I already purchased the woodland critters pattern, just want to know how to put the animals in layers like you did with this adorable mouse! Again, thanks for sharing so much valuable “how to” knowledge and for doing it in such a user-friendly way! 😃
I designed the mouse as an SVG, so I haven’t tried any converting yet, but someone on Facebook the other day said they used Cloudconvert and it worked really well. Have fun!
I am now adding mice to my first ever quilt of woodland critters ( plus some extras of yours..) But I have a very simple old Singer without the cutting and knotting features. What do I do on the face without the machine knotting? Should I take one stitch forward and backward each time to secure it instead of knotting? I don’t want to do it by hand unless it’s the only way not to ruin the mouse face. Thanks……
That’s exactly what I would do. You can also reduce your stitch length to zero and take a few stitches in place to knot it. That works at both the beginning and end of your stitching, but some machines are really a hassle to change the stitch length. Some people leave long thread tails, and thread the front ones onto a needle to pull them through to the back, then knot the front and bobbin threads together. It all depends on your machine settings, how the finished quilt will be used, and your tolerance for tedious, fussy work. 🙂
Thanks so much. So my old Singer has a simple dial that really was no problem to dial to 0 stitch length. The only problem I had was that on the mouse the stitch length dots were too small to be noticed, so I enhanced all the eyes and noses on the mice with a dot of permanent Sharpie. Hope it stays on through washes.