How I designed 10 monsters (without getting bored)!

Do you want to know the question I’m asked most often?

No kidding. Almost everyone asks me this. It was actually the only downside that my husband brought up when I began designing. “Aren’t you going to run out?”

In fact, the inverse is true: the more I design, the more ideas I get!

The key: flourish in the constraints

Do you watch Project Runway? Most of the time, the participating clothing designers are given difficult constraints: like designing a garment using $250 of candy.

And what challenge to contestants usually say is hardest? The one with the least constraints. While you might think it’s freeing to be able to do whatever you want… it’s actually debilitating. How do you know what to do? What criteria do you use to make your choices?

In my designs, I set a lot of constraints:

  • The yarns must be commercially available and easily substituted.
  • There can be no more than one technically complicated stitch (for example, the loop or bobble stitch)
  • Overall, the design must be accessible to a crocheter who has accomplished one simple amigurumi, and is open to learning a new skill.
  • Any new technique that I use must be accompanied by a video/descriptive blog post to assist my customers.

Why do I do this? I began placing these constraints so that my customer would receive the best possible pattern. With these constraints in place, my customers are guaranteed that:

  • they won’t get lost in a pattern due to insufficient photos/videos/help.
  • the quality of the finished product isn’t dependent on non-quantifiable artistic skills (because I have none!). If they follow the directions (attach to round 25), then their finished product will look lovely!
  • the pattern is accessible to their skill level and fun (uh… no color changes with a loop stitch and attaching felt pieces at the same time!)

This makes customers happy. But, over time, I discovered… the constraints make my designing happy!

The tale of 10 monsters

A few months ago, I was asked by Knitting Fever (the distributor of Ella Rae Classic, a yarn I frequently use in my designs) to design 10 monsters for distribution on their site.

Now… you get to ask that gem of a question: how do you design 10 monsters without getting bored?!? And, how do you come up with 10 different monsters?

I’m not going to fib… the number 10 even had me a little worried. After all, I’ve taught a course on designing your own monsters (which included patterns for about 7 monsters), and I couldn’t repeat any of those!

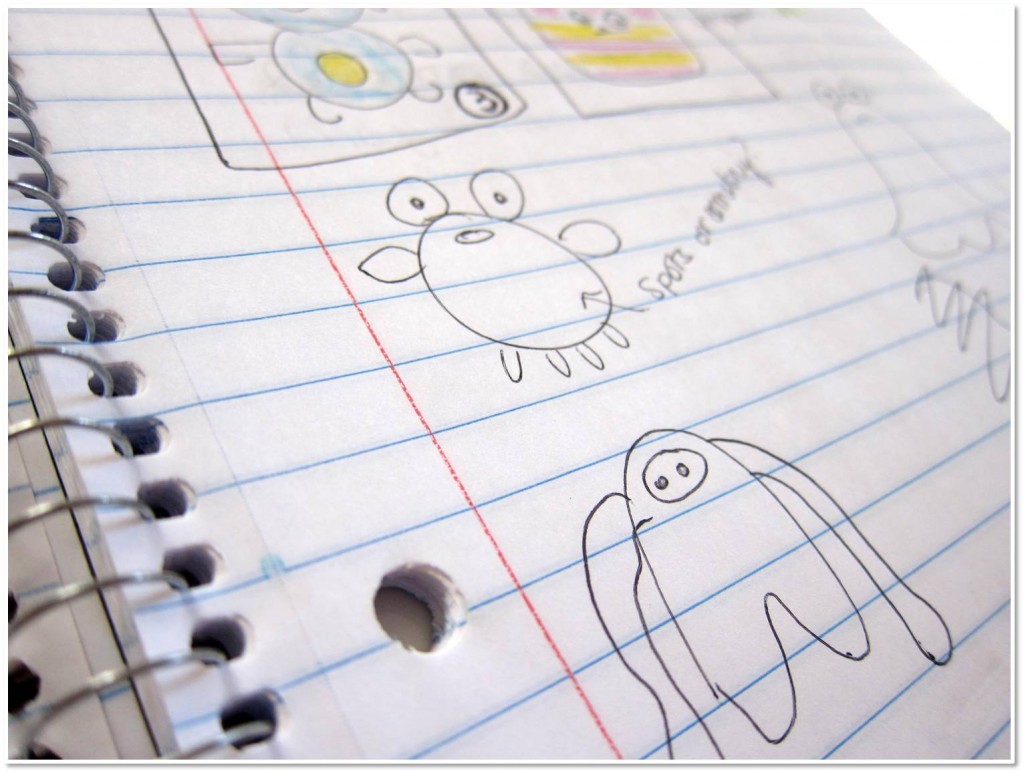
I started sketching…

As I was sketching, I knew it was not only important that I didn’t feel bored with my monsters, but that a customer would really want to crochet all 10… and love every minute of it! That meant that every monster needed a purpose: a novel shape or technique. And what’s that? More constraints!

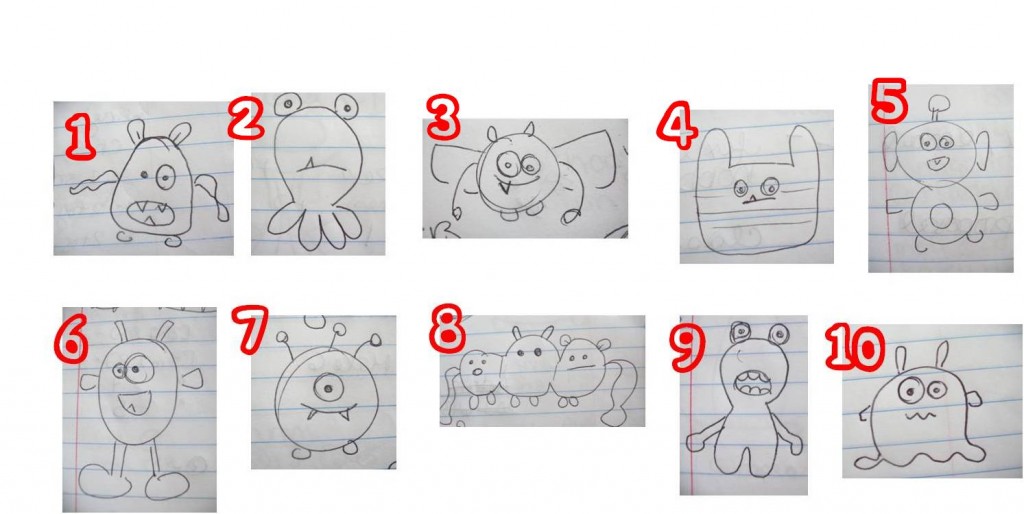
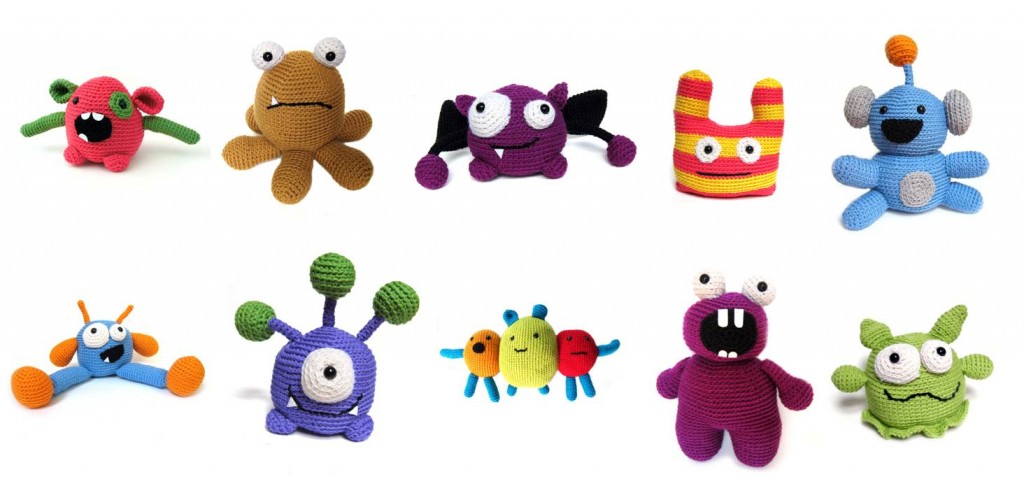
In the end, I came up with 10 that I really loved:

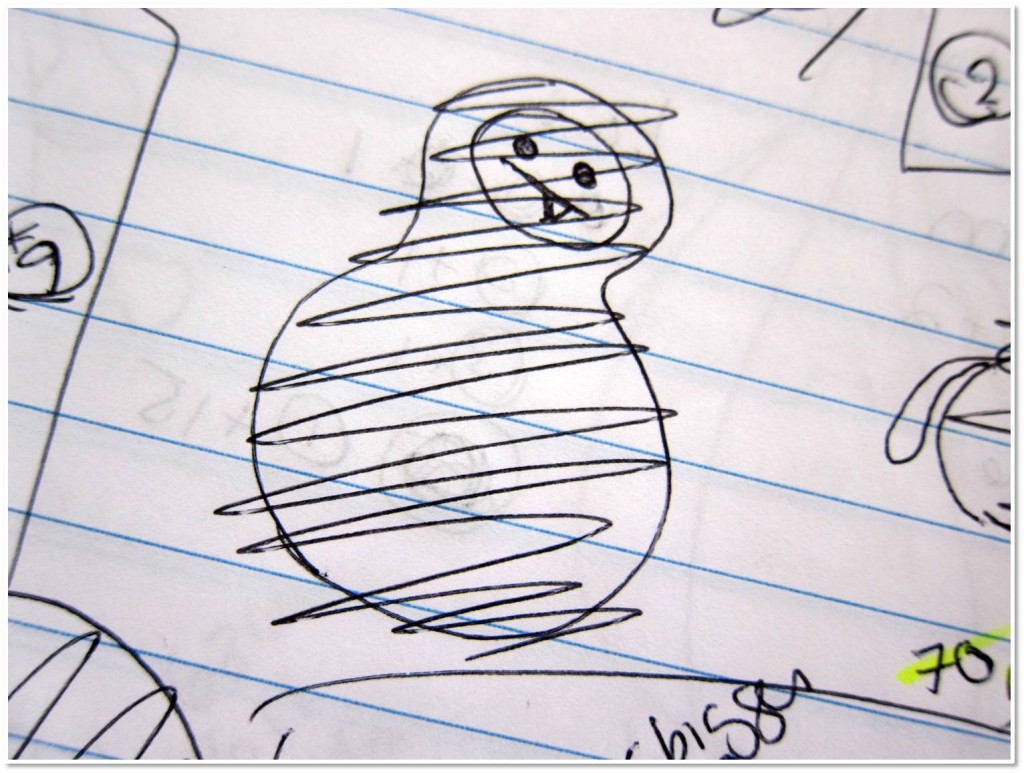
And some that didn’t make the cut:

Among the winners were some great techniques, shapes and skills that I new customers would be excited about:

  • Legs that are joined as you crochet, instead of the usual stitch-them-on-afterwards
  • A ruffle!
  • Stripes that make use of stranding as you change colors
  • A fun rectangular-shape that uses working the bottom side of the foundation chain to begin
  • A monster that begins with a long chain: and not the standard circle
  • Funny antennae that make use of pipe cleaners for structure
  • Crocheted-on mouths with (simple triangle) felt teeth

All of these features (at least I hoped!) would make the crocheting exciting, but also teach the crocheter a skill that they could apply to other animals. Don’t like the mouth on a pattern? Now you’ll know how to crochet a smile and stick on a felt tooth!

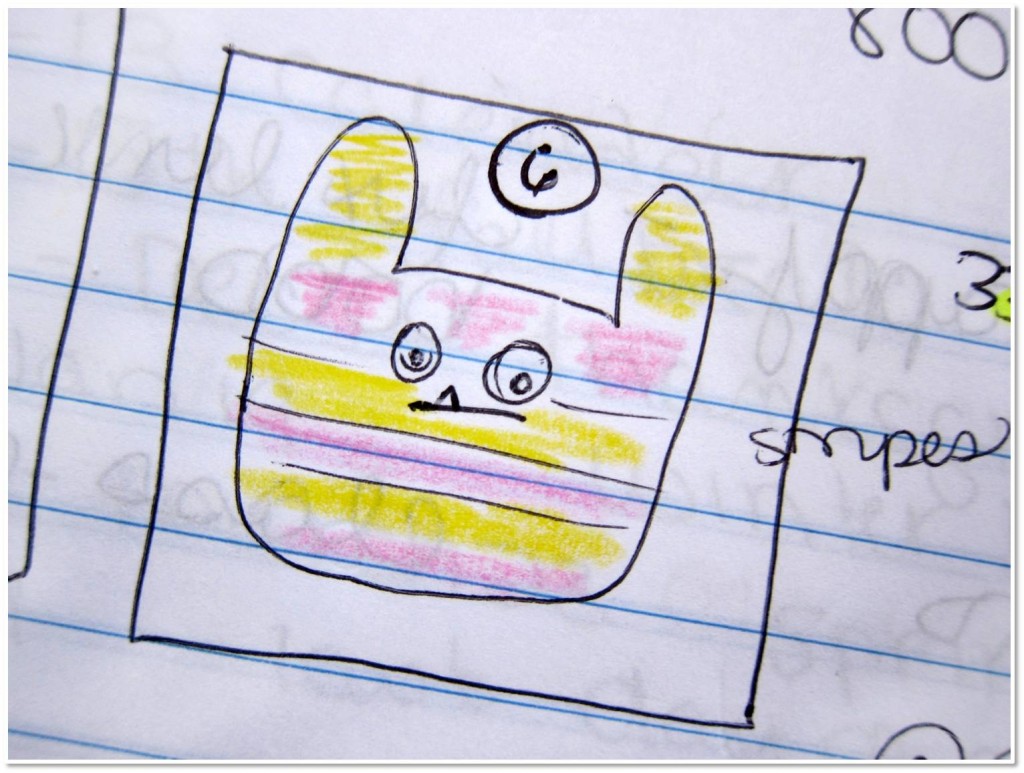
Once I had my faves, I colored in my sketches so I could figure out which colors of yarn I’d like to use:

So does this mean that I could design another 10 monsters? I don’t know… maybe! But I can say that what helped me is coming up with specific goals (aka constraints) that I wanted each design to accomplish.

The finished monsters

Here’s the whole gang… do you like them?

I hope you do!

And you can have them all!

All 10 of these patterns are available as free downloads from Knitting Fever! Isn’t that awesome?

I really hope that you grab them and enjoy the process of crocheting these fun monsters!

Thanks for stopping by and reading!

If you want to see more great finished items… make sure to visit Tami’s Amis blog, the organizer of this great FO Friday theme!

I hope you have an awesome and craft-filled weekend!

How to crochet a pirate owl!

Have I told you how awesome my customers are? I don’t mean to brag but… I’m pretty sure that my customers are the sweetest and most creative crocheters around!

Just this week, Adriana was featured on Martingale’s blog for crocheting all 18 critters from Crocheted Softies!

And today’s Tip Tuesday post? Brought to you by the super-creative mind of Casey from Plus 3 Crochet! Love!

So, there. That proves it. My customers rock. Thank you guys, for being such rock stars!

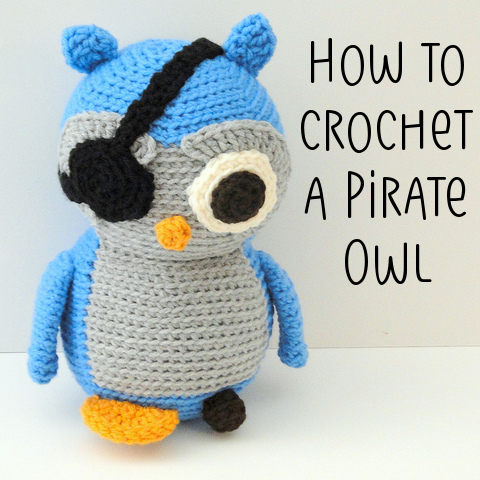
How to crochet a pirate owl

Casey took the Nelson the Owl pattern and came up with a few tweeks to turn it into an adorable Pirate Owl!

And she’s sweet enough to share how to do it! Follow these instructions, and you can have your own pirate!

Peg Leg

Instead of making two feet, you’ll want to make one foot, and one peg leg.

Instructions for Peg Leg

With black, ch 2.
Rnd 1: Sc 6 times in 2nd ch from hook. (6)
Rnd 2: Sc twice in each st. (12)
Rnds 3-4: Sc in each st. (12)
Fasten off with long tail. Stuff, and attach.

Eye Patch

To make an eye patch, you’ll make one eye circle in your usual color (shown here in white, but is orange in the original Nelson pattern) and one in black. Then, you’ll crochet a strap.

Instructions for Eye Patch Strap

With black, ch as many stitches as it takes to fit from one side of the eye circle, around the head to the other side.
Row 1: Turn, sc in 2nd ch from hook and each st across.
Rows 2-3: Ch 1, turn, sc in each st across.
Fasten off and attach to head.

Enjoy your pirate owl!

It’s that easy!

Thanks so much, Casey, for sharing how to make a pirate owl! I’ll bet some of you out there will come up with ideas for applying these tips to make some other great pirate-animals!

Yarn Bombing + Free Crochet Flower Pattern!

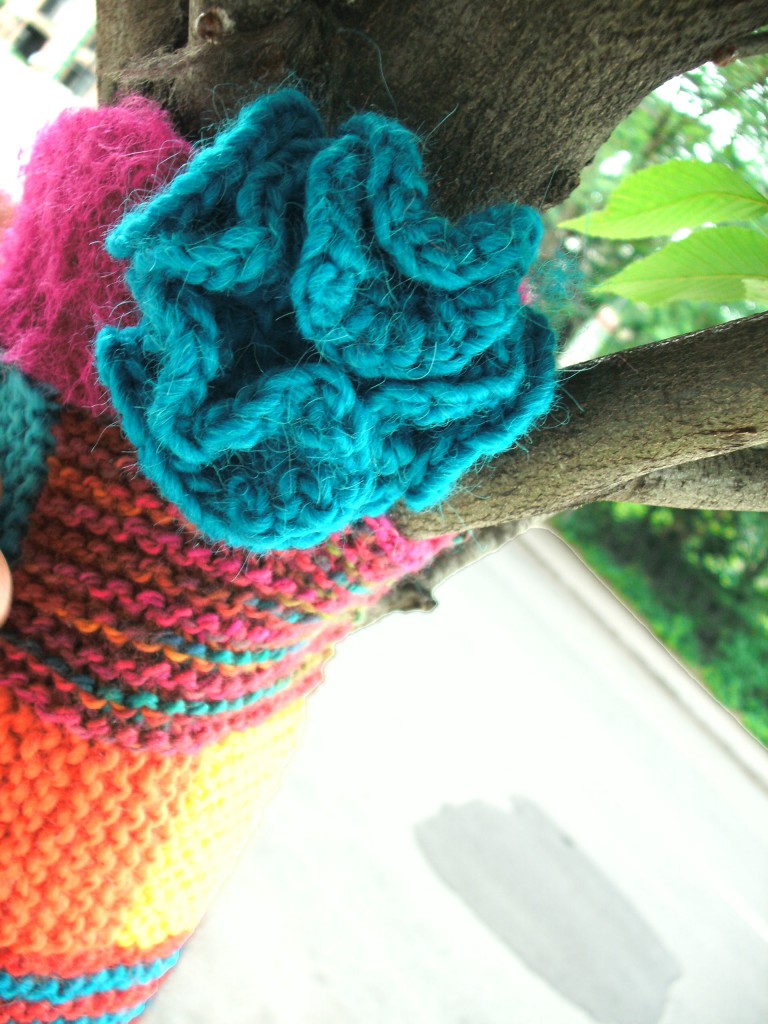
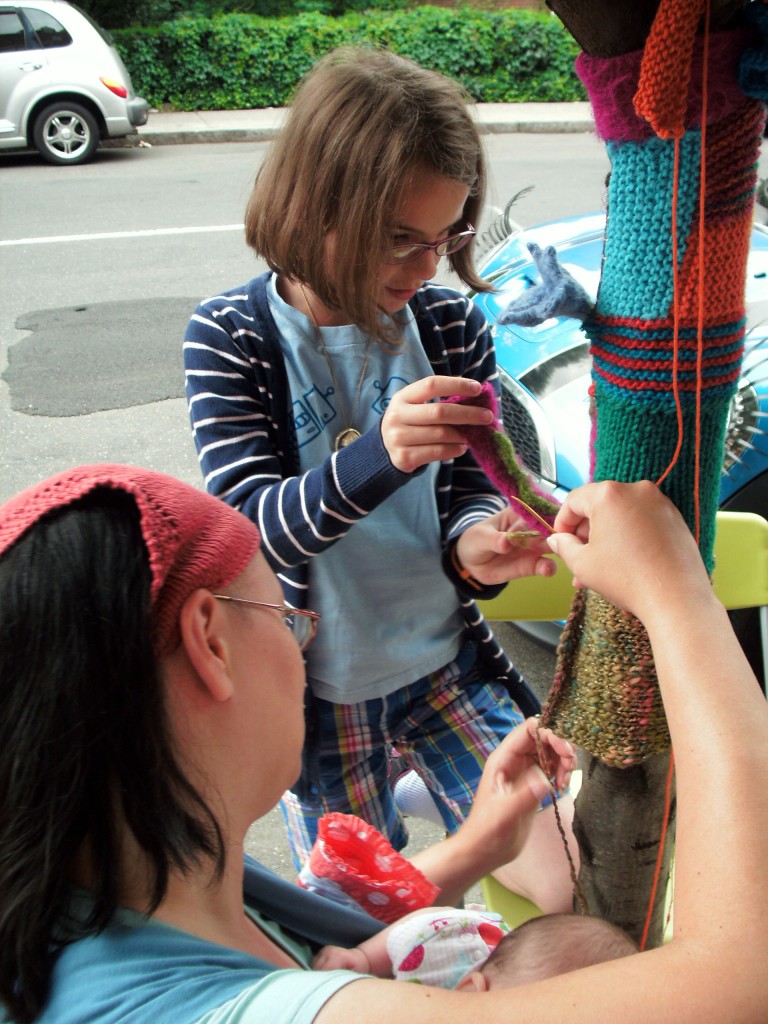
Did you know that this week is World Wide Knit in Public week? To kick off the week, my LYS had a yarn-bombing event to decorate the parking meters and trees in front of the shop.

Want to know what makes a yarn-bombing party ROCK (besides kettle corn)? Adorable crocheted flowers! I’ll share some easy patterns for crocheted flowers with you… they’re so easy, even newbie crocheters were making their own!

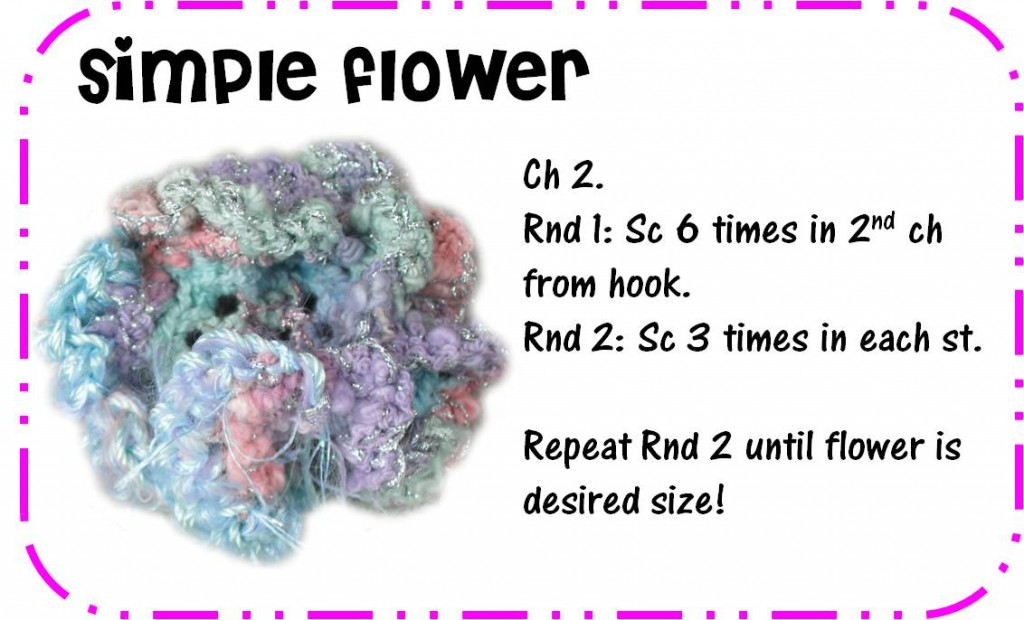
Easy Crochet Flower

New to crocheting? Want to make a cute flower that’s easy to sew on to any project? This flower’s the one! Grab any yarn and an (approximately) appropriate sized hook, and you’re good to go!

Check out this video for a quickie lesson on Single Crochet.

When you’re done, fasten off and add the flower to whatever you’d like!

Dangling Crochet Flower

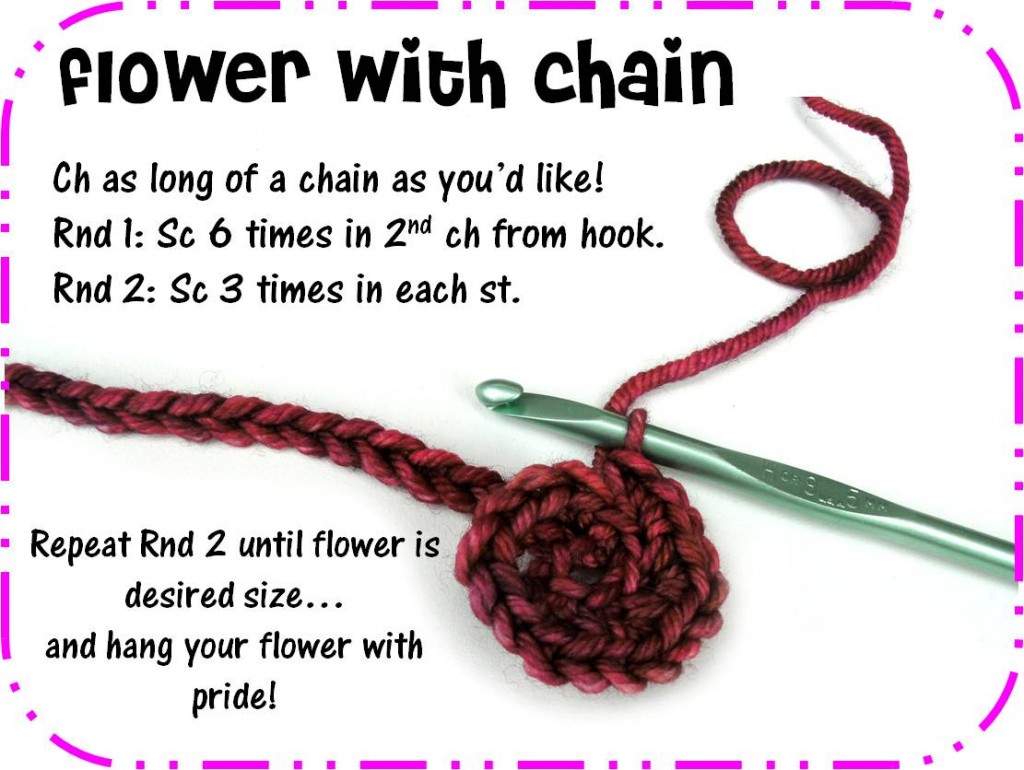
Want a flower that will hang from the trees? (A yarn-bombing essential) Modify your easy flower pattern just a little…

Then use the chain to attach/hang your flower as you please!

Deluxe Crochet Flower

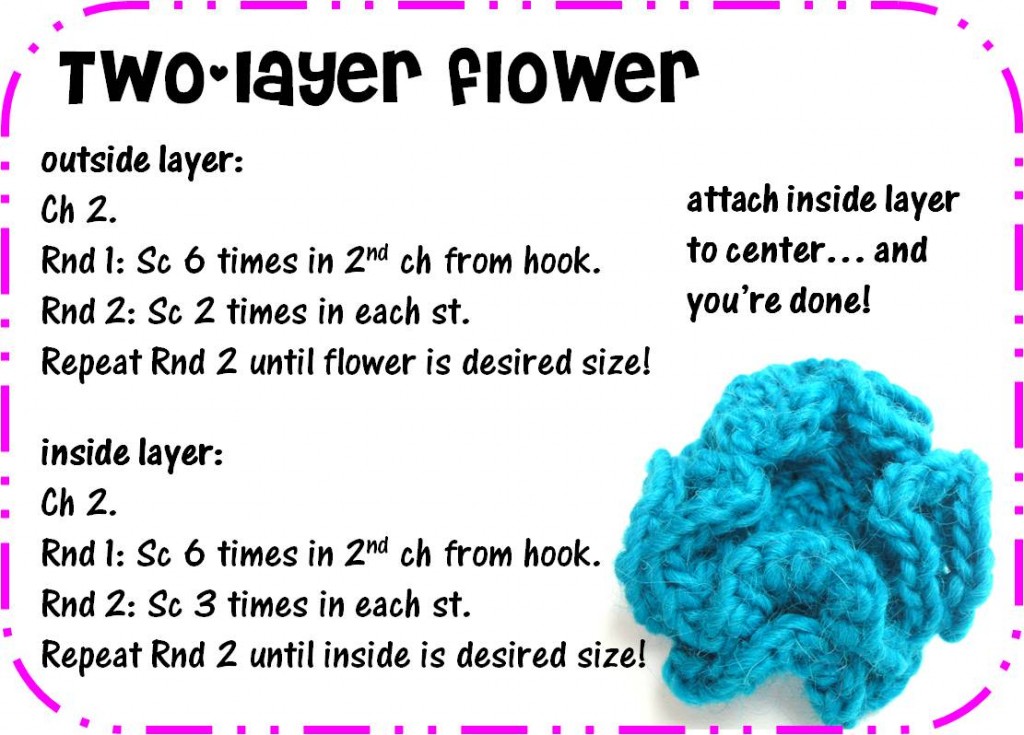
Ready for a flower with a little more pizzaz? Give this two-layer flower a try!

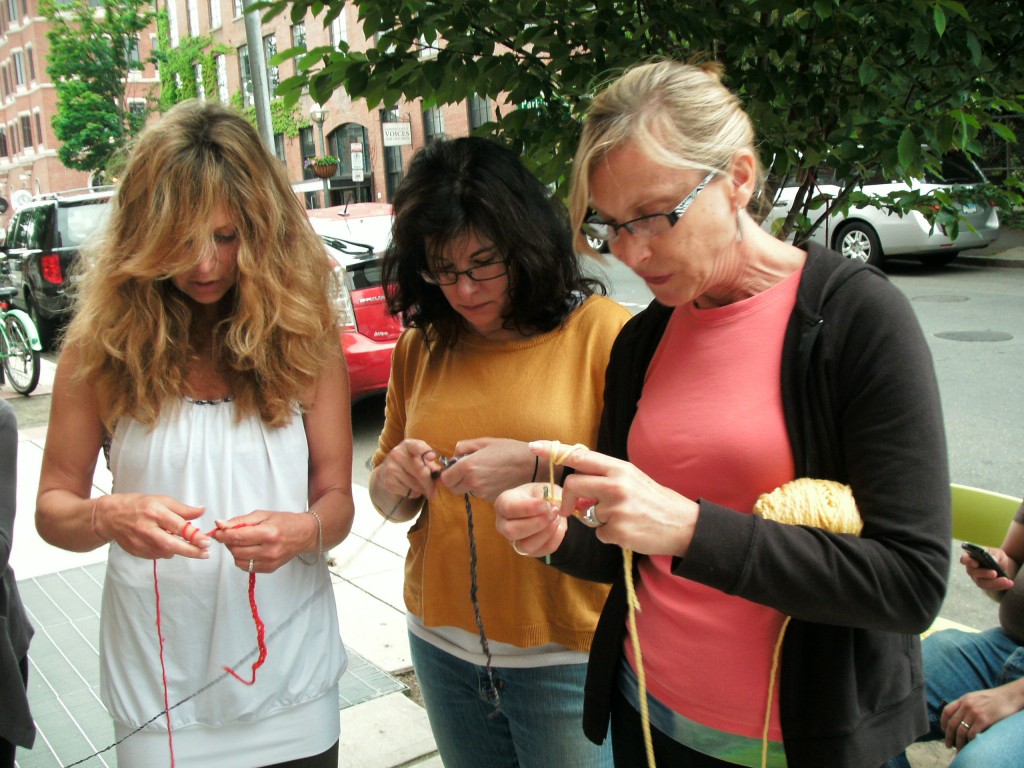
We had a fabulous time knitting and crocheting and decorating our surroundings in celebration of World Wide Knit in Public Week!

The best part was releasing a whole bunch of new crocheters into the world..

With these easy flower patterns, you can be a crocheter, too!

Designing a Banana Slug: a peek into the process

Right now, I’m in Santa Cruz, CA… tagging along with the hubby who has a conference to attend at the University of California, Santa Cruz.

In case you didn’t know, the UCSC mascot is a banana slug:

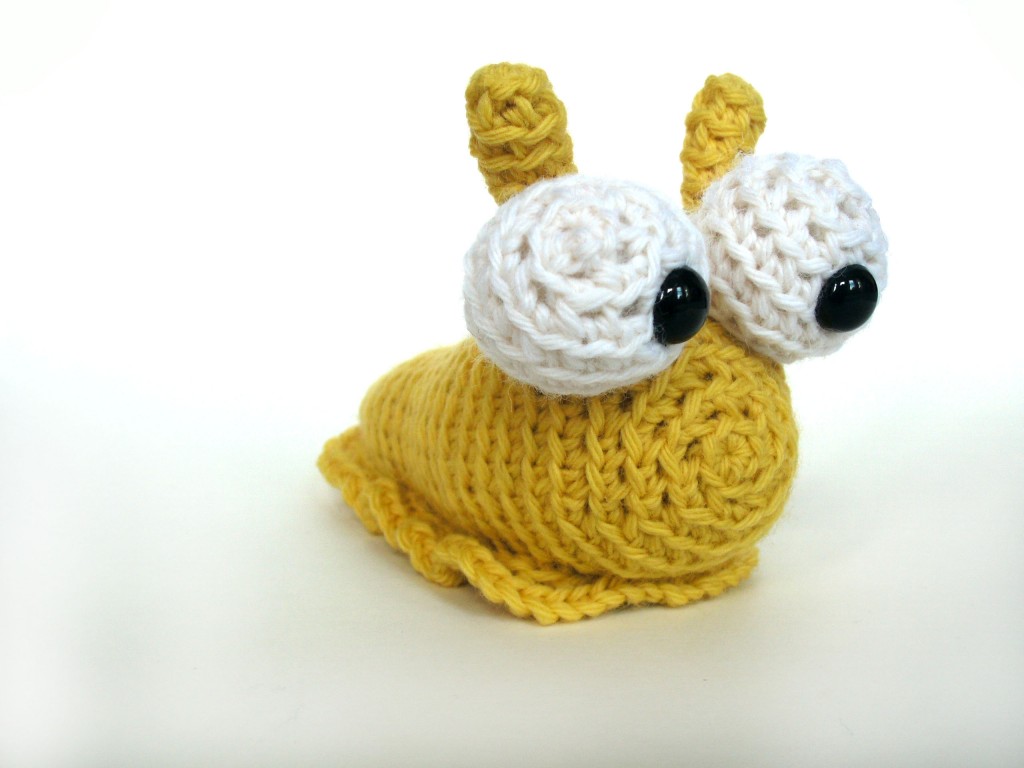
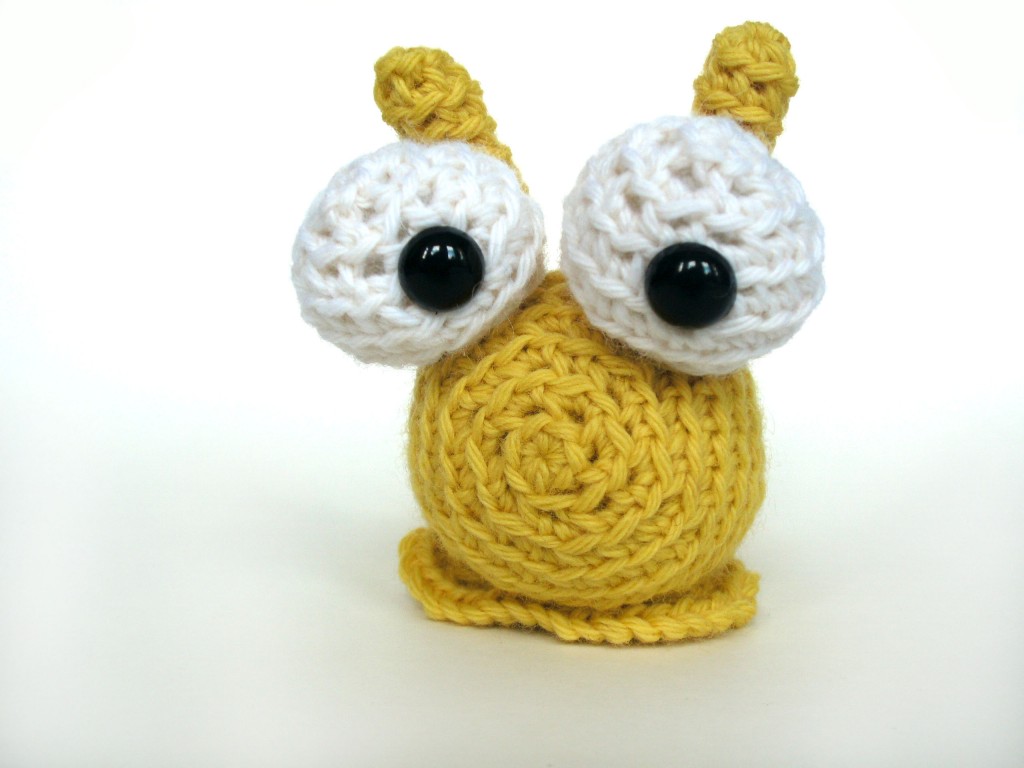
It’s not a fierce mascot, but a darn cute one. I, personally, am a lover of snails and slugs, so I just couldn’t help but to design a crocheted banana slug for the occasion:

How did I design a banana slug… you may wonder? Here’s how it went:

The sketch

When I’m designing a plushie, I want to make sure that I’m not copying anyone else’s design… and that my design is different enough from existing designs so that it’s clearly my own.

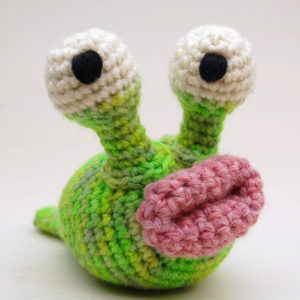
In the case of slugs, there is one undisputed queen of crocheted slugs, and that’s Cheezombie.

image from Cheezombie’s Etsy Shop
Cheezombie’s slug is characterized by a big mouth, eyes on stalks and a distinctive tail shape.

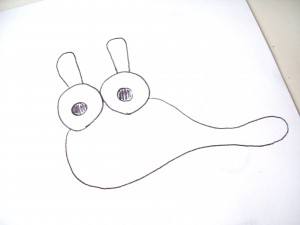
Fortunately, the sketch I had in my head of a slug was quite different:

My idea for a slug had no mouth, buggy eyes and separate antennae. Different and adorable- it was time to get crocheting!

As an aside: I don’t always sketch before I start crocheting. In this case, I had an idea in my head and got straight to work. I just drew this sketch for you to see… I’m so terrible at drawing that making a sketch rarely contributes much!

Starting to crochet

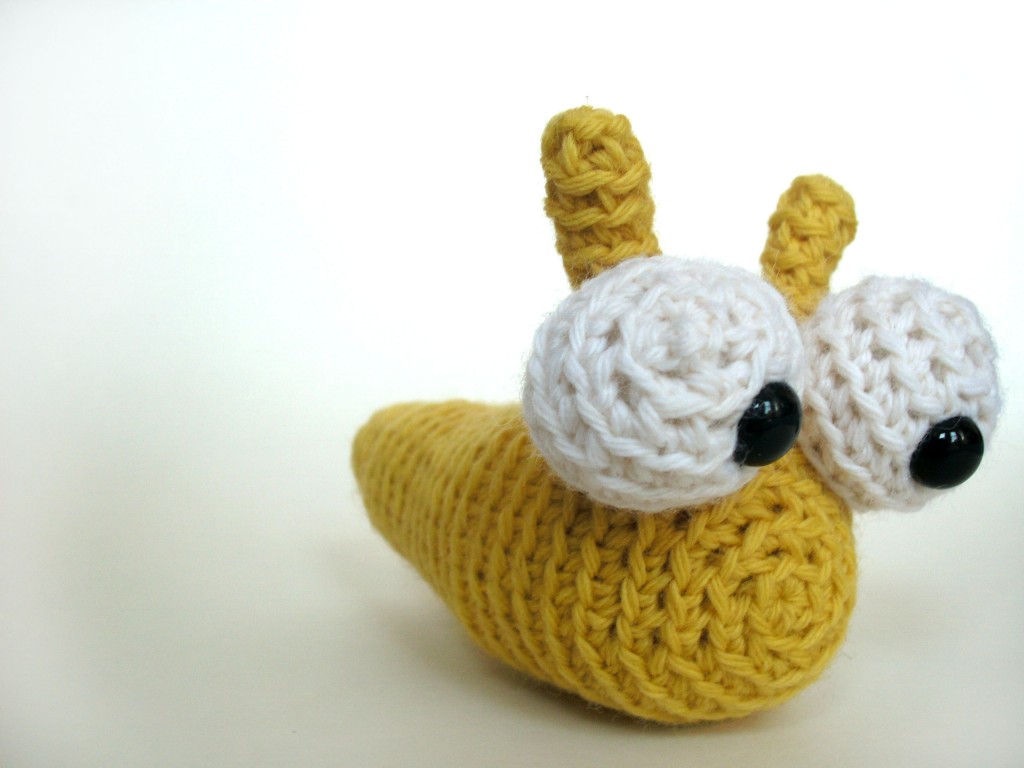
I started crocheting the pieces according to the idea I had in my head… and came up with a guy who was pretty cute:

He was cute… but had two problems:

  1. He was a bit front-heavy, meaning that he’d topple forward unless positioned very carefully.
  2. He just didn’t look… well, slug-y enough!

What to do?

Then it hit me… he needed a foot-ruffle!

The finished slug

I added a foot ruffle, and was very pleased with the result!

The ruffle allows him to sit nicely without toppling, and added that extra slug-i-ness I was looking for!

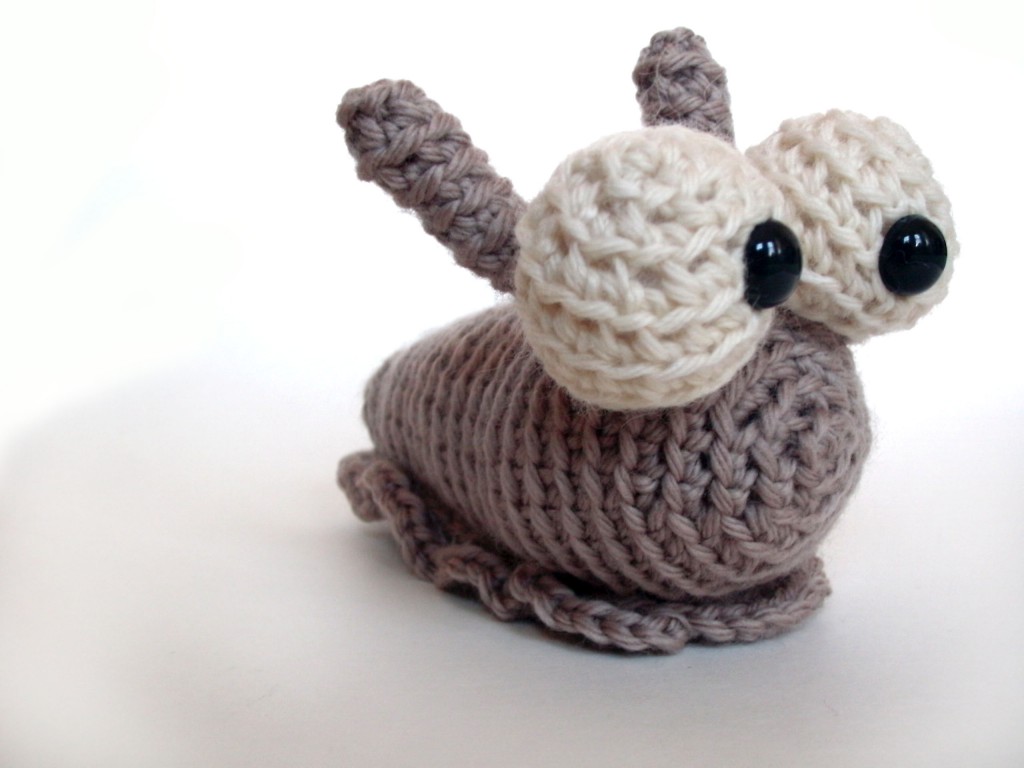
I loved him so much, that I made a ‘normal’ slug color as well:

Look out for the pattern!

That was a little peek into my process: a little sketching (sometimes), then crocheting and adjusting until it comes out right!

Get the pattern here.

Best,
Stacey

Crocheting in Rounds: free download

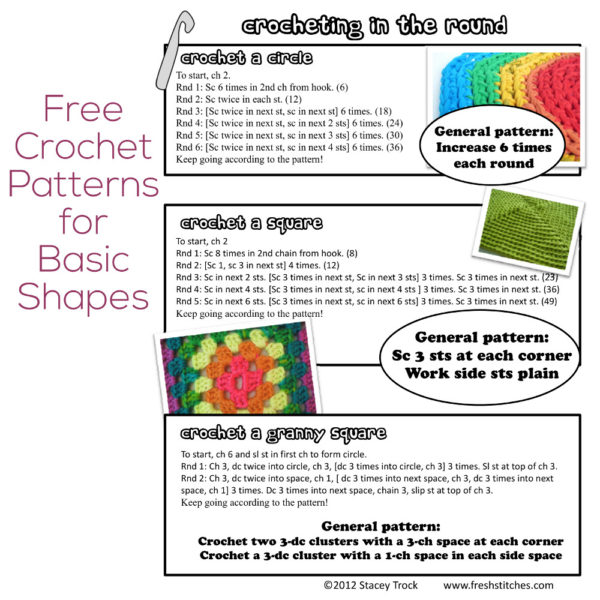
Crochet in the Round - free patterns for basic shapes from Shiny Happy World

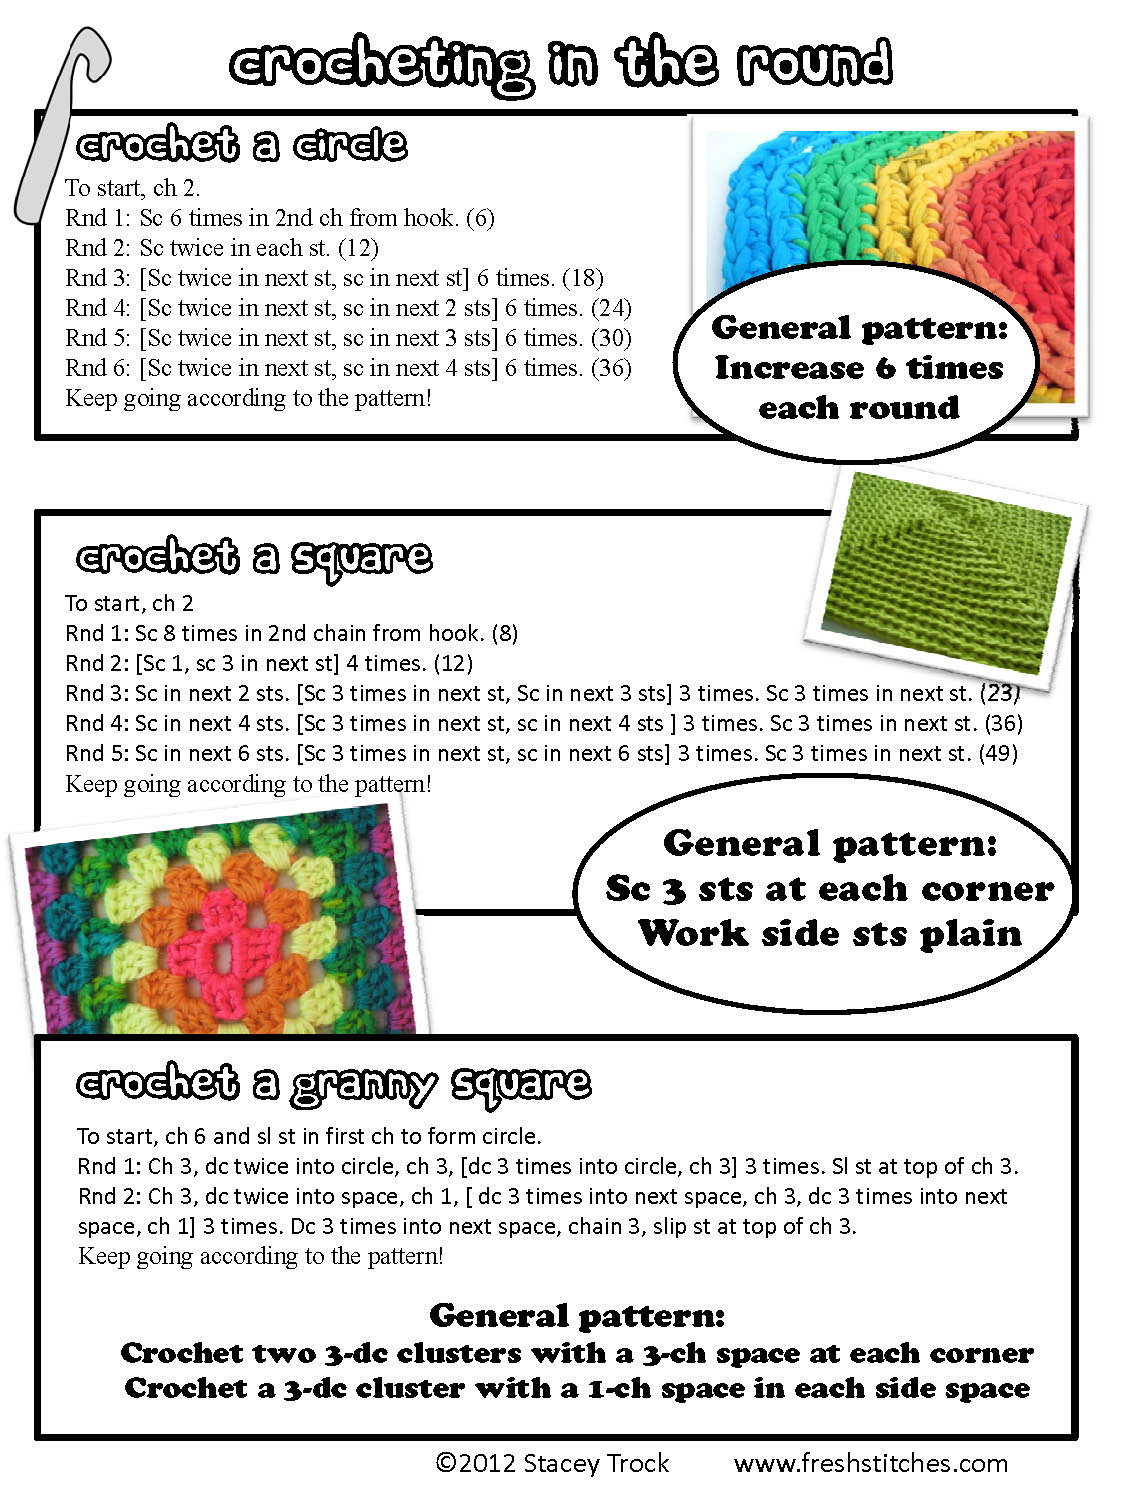
I love crocheting in the round! It’s easy to crochet circles… but also squares! I’ve put together this easy reference guide to get you started crocheting circles, squares and granny squares:

Download the pdf version of the guide by clicking here.
What can you actually do with these patterns? Lots! Here are a few ideas:

  • Crochet a hat. Make a circle, and continue increasing until the circumference of the circle is about the circumference of your head. Work plain rounds until it’s long enough to be a hat!
  • Crochet an awesome rainbow rug. Pick a super-bulky yarn (or fabric strips) in bright colors. Crochet a circle, changing colors every few rounds. Continue until it’s the size you want!
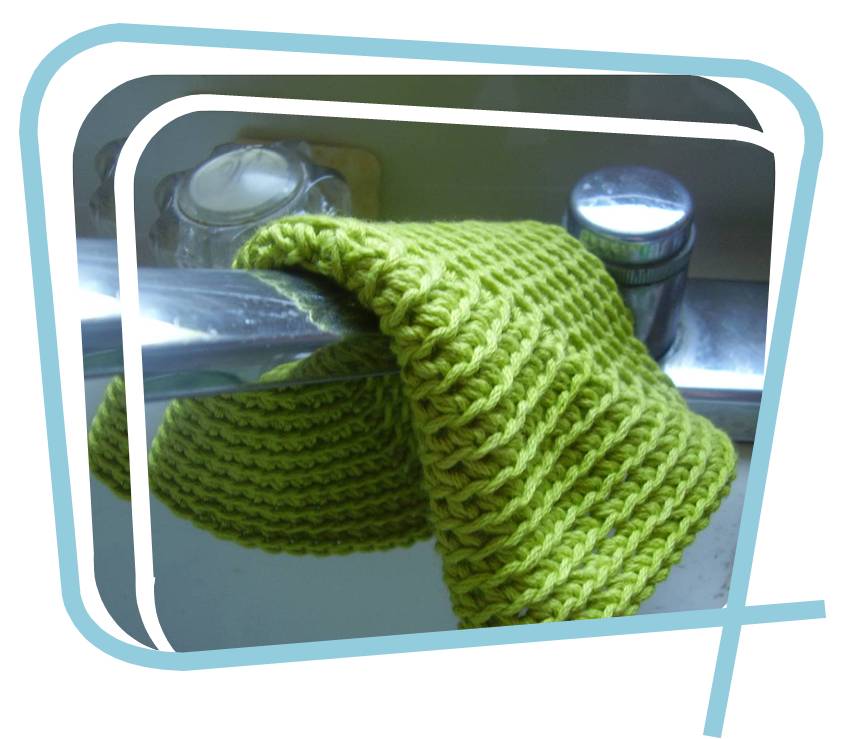
  • Crochet a washcloth. Pick a cotton yarn. Crochet a square, and keep going until it’s a handy washcloth size.
  • Make a pillow. Use either the square or granny square patterns to make 2 equal-sized squares. Stick a pillow insert between the two squares, sew up around the edges- and you have a great pillow!
  • Crochet an afghan. Work the granny square pattern until it’s the size you like for a blanket.

These are just a couple of ideas… the possibilities are endless!

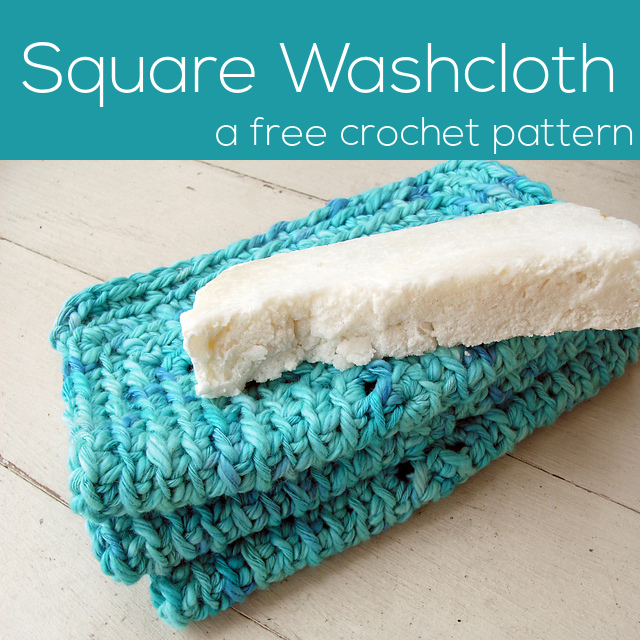
Free Pattern: crocheted square washcloth!

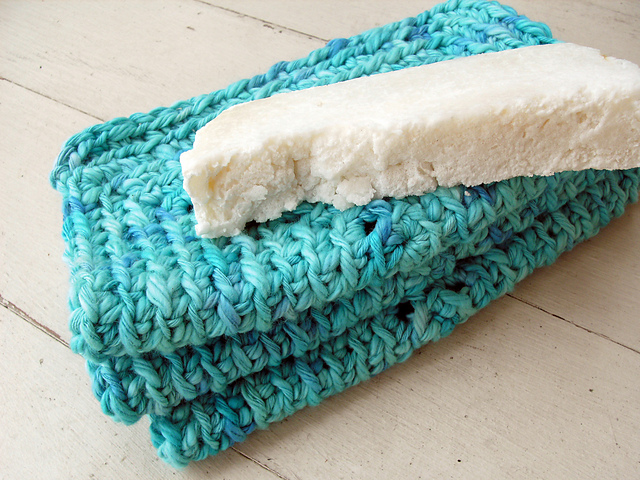
stack of blue/green crochet washcloths

Who doesn’t love crocheted washcloths? This pattern is worked in the round, so you can make the washcloth as large as you’d like without too much advance planning!

crochet washclothsYou’ll need:

  • yarn Cotton works best, I’ve used a worsted weight yarn to make the washcloths pictured
  • a hook Use the hook size recommended on the yarn’s ball band. I use a size H for worsted weight yarn
  • a stitch marker (optional) (for marking the start of the round)

Of course, you can use any size yarn that you’d like, as long as you use a crochet hook to suit. For the washcloths pictured (which are about 8″ square), about 50-60 yards was used.

The Pattern

abbreviations
sc: single crochet
st(s): stitch(es)

pattern notes
If you’d like to get the ‘ridges’ that are shown in the sample washcloths, then crochet through the back loop only. For a ‘more traditional’ look, crochet through both loops. This decision is purely stylistic, and you’ll have a great washcloth either way.

The general pattern is that you’ll sc 3 times in each corner stitch. The row-by-row pattern is written out below. For this pattern, each round will finish a stitch or two short of what you may expect. It’s done this way so that the written pattern is less complicated. Just roll with it for a round or two, and you’ll quickly discover the general pattern… and can continue on your own!

To start, ch 2
Round 1: Sc 8 times in 2nd chain from hook (8)
Round 2: * Sc 1, sc 3 in next st. Repeat from * 3 times. (16)
Round 3: Sc in next 2 sts. * Sc 3 times in next st, Sc in next 3 sts. Repeat from * 2 times. Sc 3 times in next st, sc in next st. (24)
Round 4: Sc in next 3 sts. * Sc 3 times in next st, sc in next 5 sts. Repeat from * 2 times. Sc 3 times in next st, sc in next 2 sts. (32)
Round 5: Sc in next 4 sts. * Sc 3 times in next st, sc in next 7 sts. Repeat from * 2 times. Sc 3 times in next st, sc in next 3 sts. (40)
Round 6: Sc in next 5 sts. * Sc 3 times in next st, sc in next 9 sts. Repeat from * 2 times. Sc 3 times in next st, sc in next 4 sts. (48)

Keep working this pattern until your washcloth is the size you want! The general pattern is to single crochet three times in each corner stitch… and to keep going! Easy!

washclothBest,
Stacey
Stacey from FreshStitches

Save