So these are the new curtains I made for my studio. I love them! And I thought I’d show you how to make them. They’re so easy.
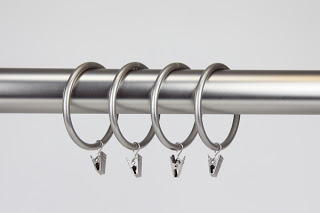
I’m pretty particular about curtains. I hate the ones that actually block light. 🙂 I’ve made lined curtains once – for Jo’s nursery when she was a baby. They were total blackout curtains and they were totally unnecessary. I love natural light and the only reason I have curtains is to block glare. So I like curtains that are light colored, not too heavy, and that open and close really easily. I do not like curtains that have the rod threaded through a pocket at the top. They are difficult to slide open and closed – and they never seem to open all the way. I love rings like this.
They slide really easily over the curtain rod. And because they clip on – really all you have to do is make a large rectangle. Easy peasy.
First – you need to measure the inside dimensions of your window and figure out how wide you want the contrasting band at the bottom. Mine is 5 inches, but you might need to adjust that to be proportional to your window.
Now calculate the size of your pieces.
For the main part of the curtain, make it roughly 1 1/2 times the width of the window. My window is 3 feet across and my fabric was 45 inches – close enough!
Calculate the length of the main piece. It should be the inside height of the window – 5 inches (for the lower band) + 1/2 inch for the seam allowance where the main part joins the bottom band + 1 inch for the top hem.
For the bottom band, it should be the same width as the main piece. The height should be twice the height of the finished band + 1 inch for the seam allowance where it joins the main piece.
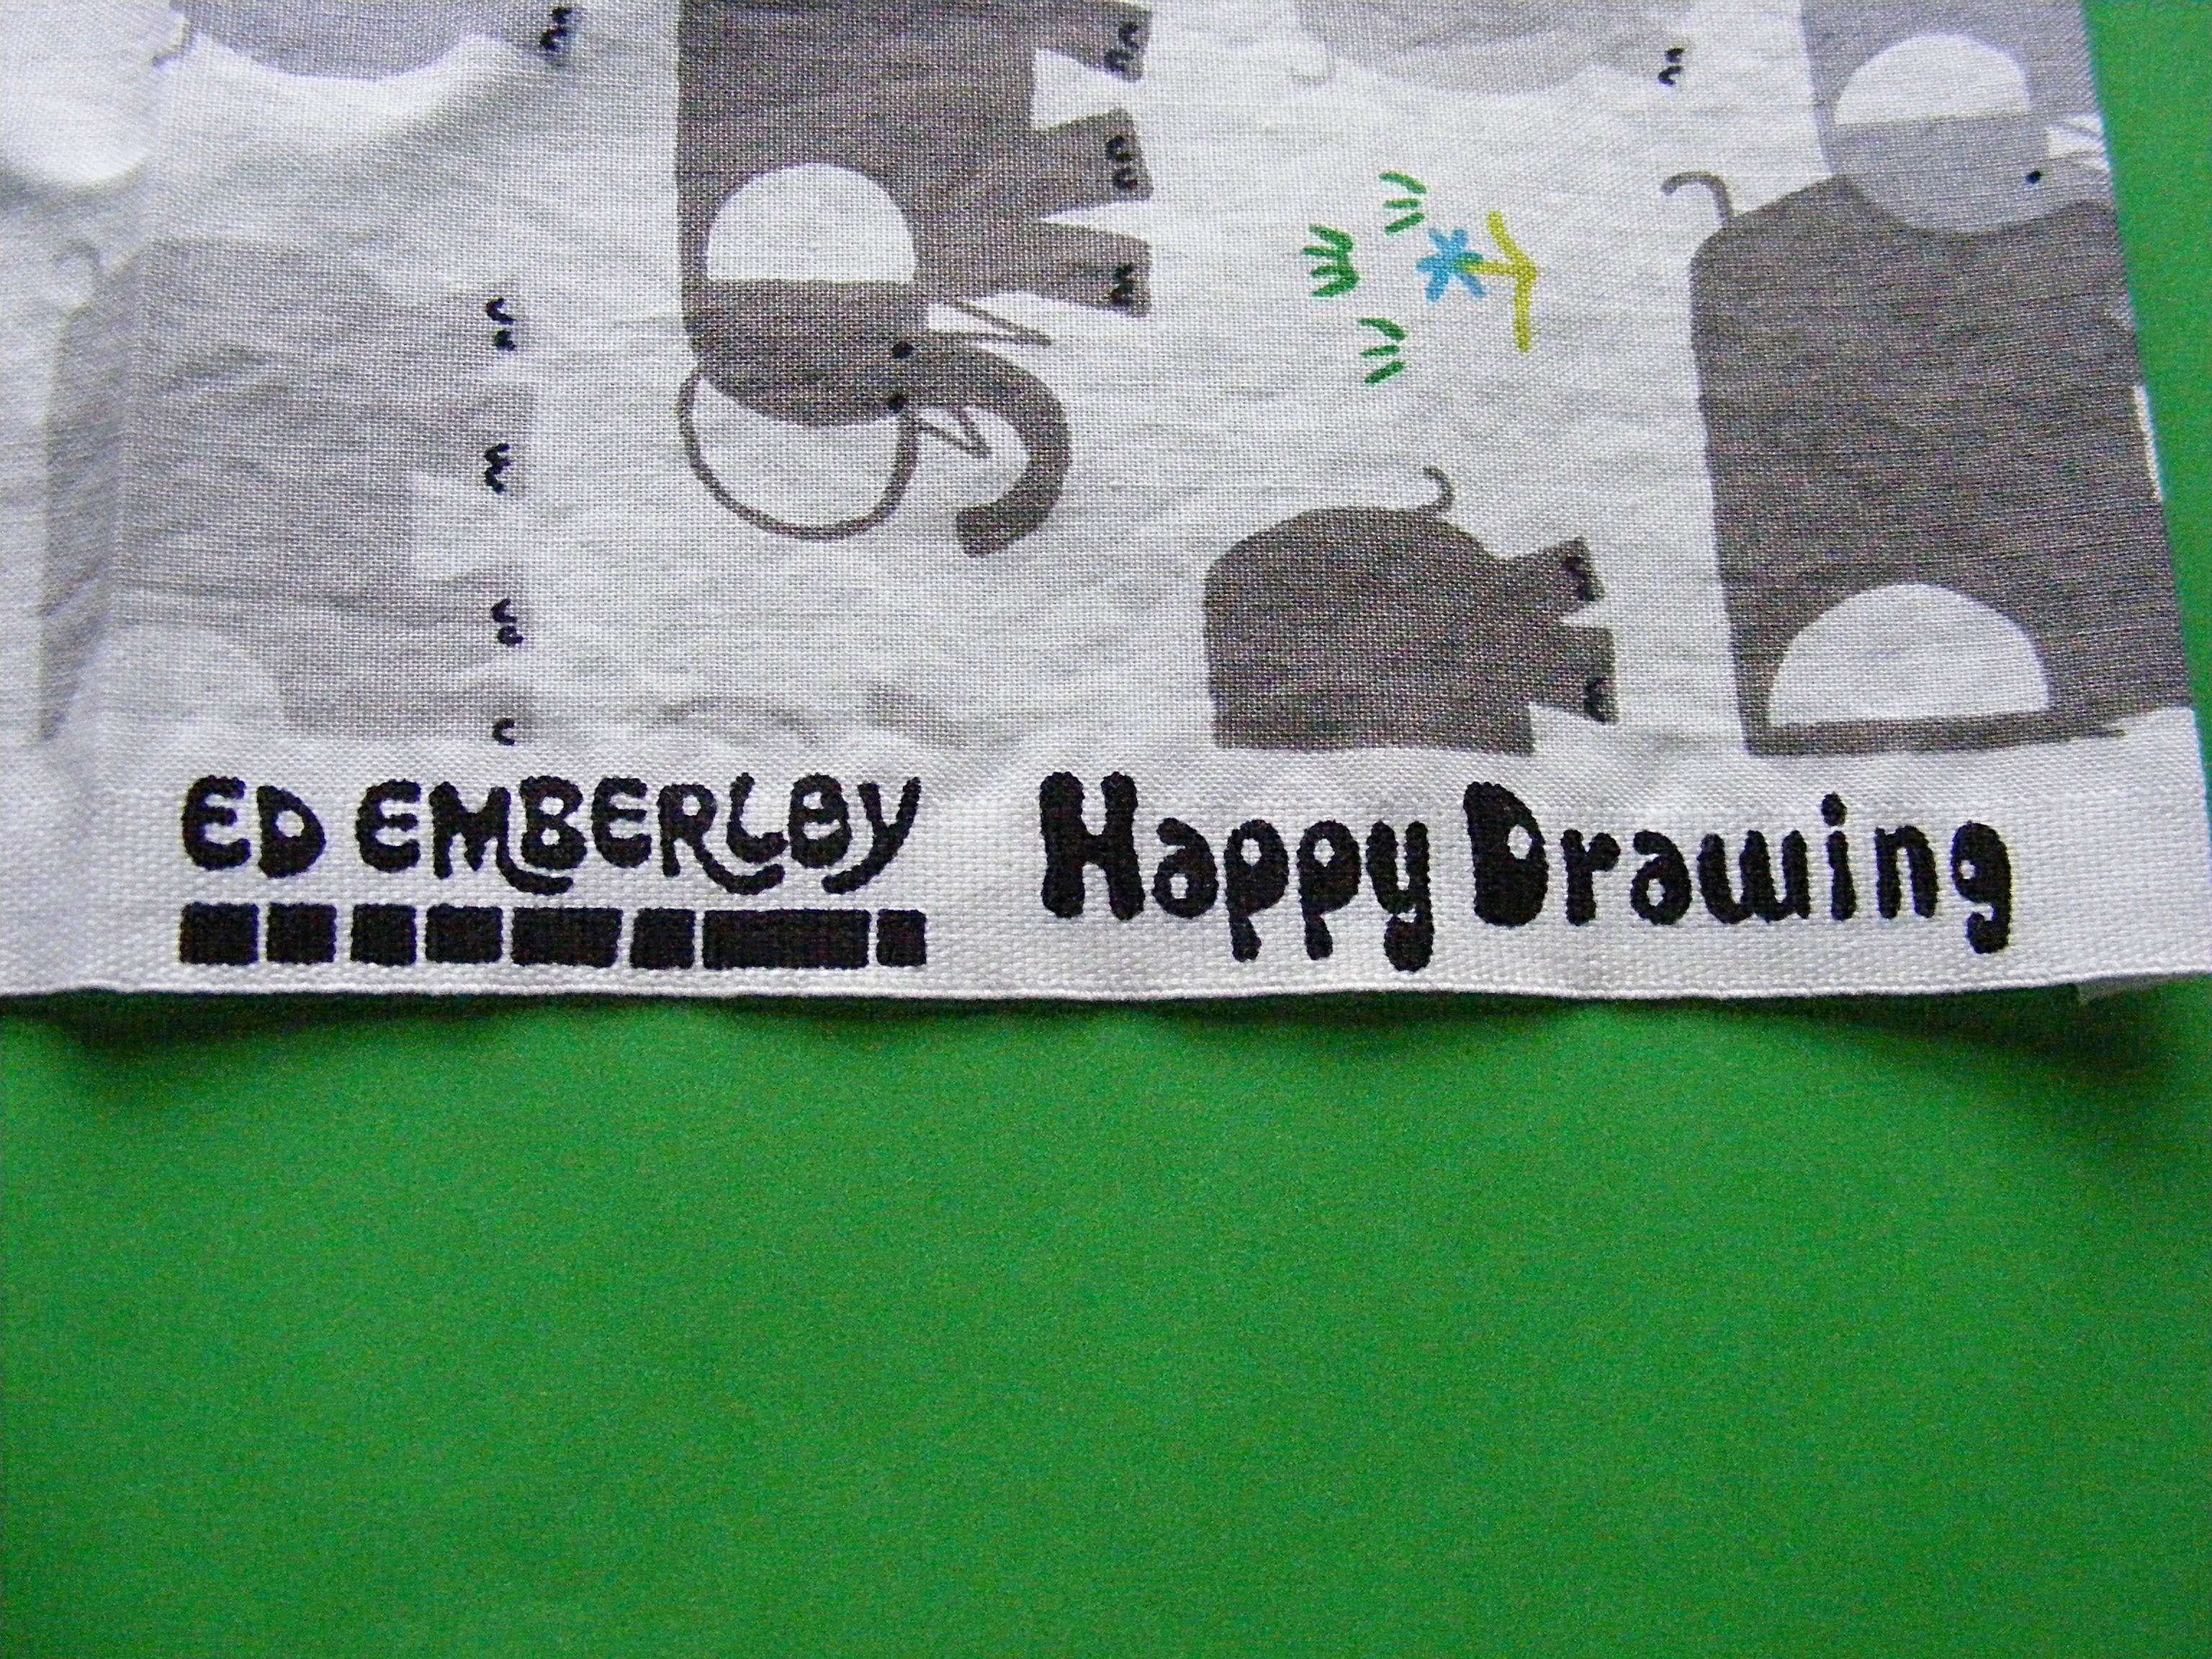
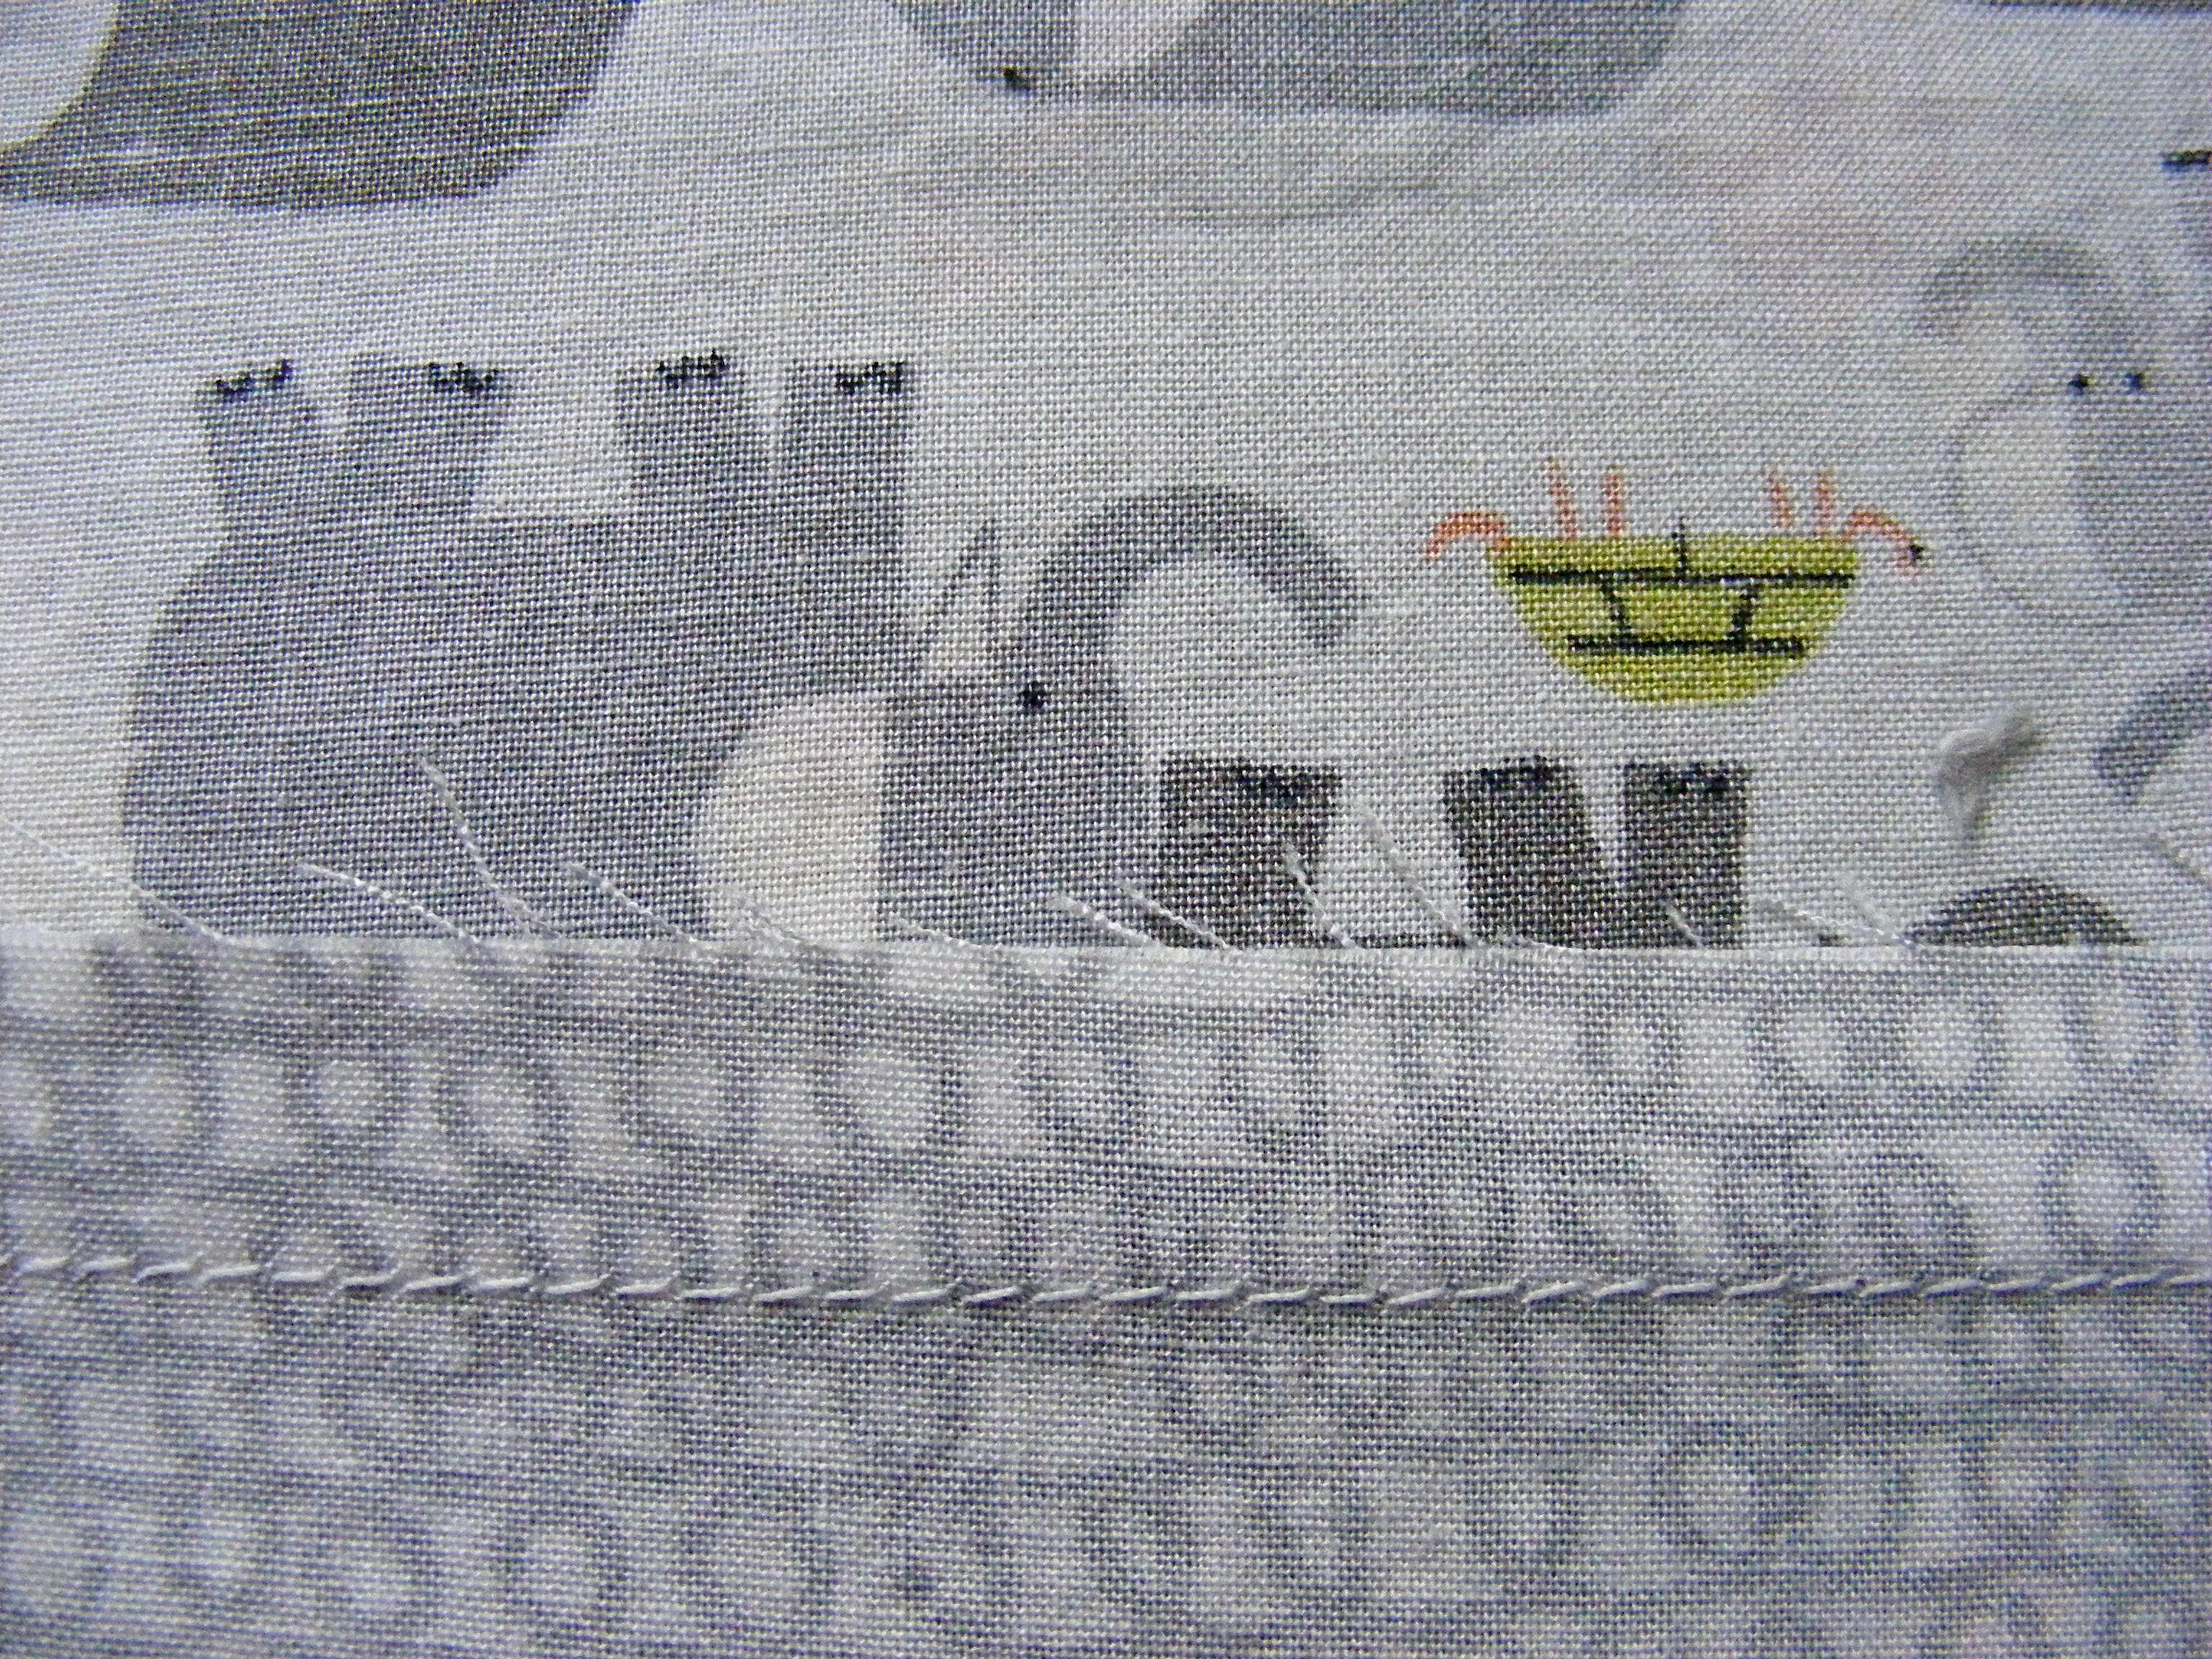
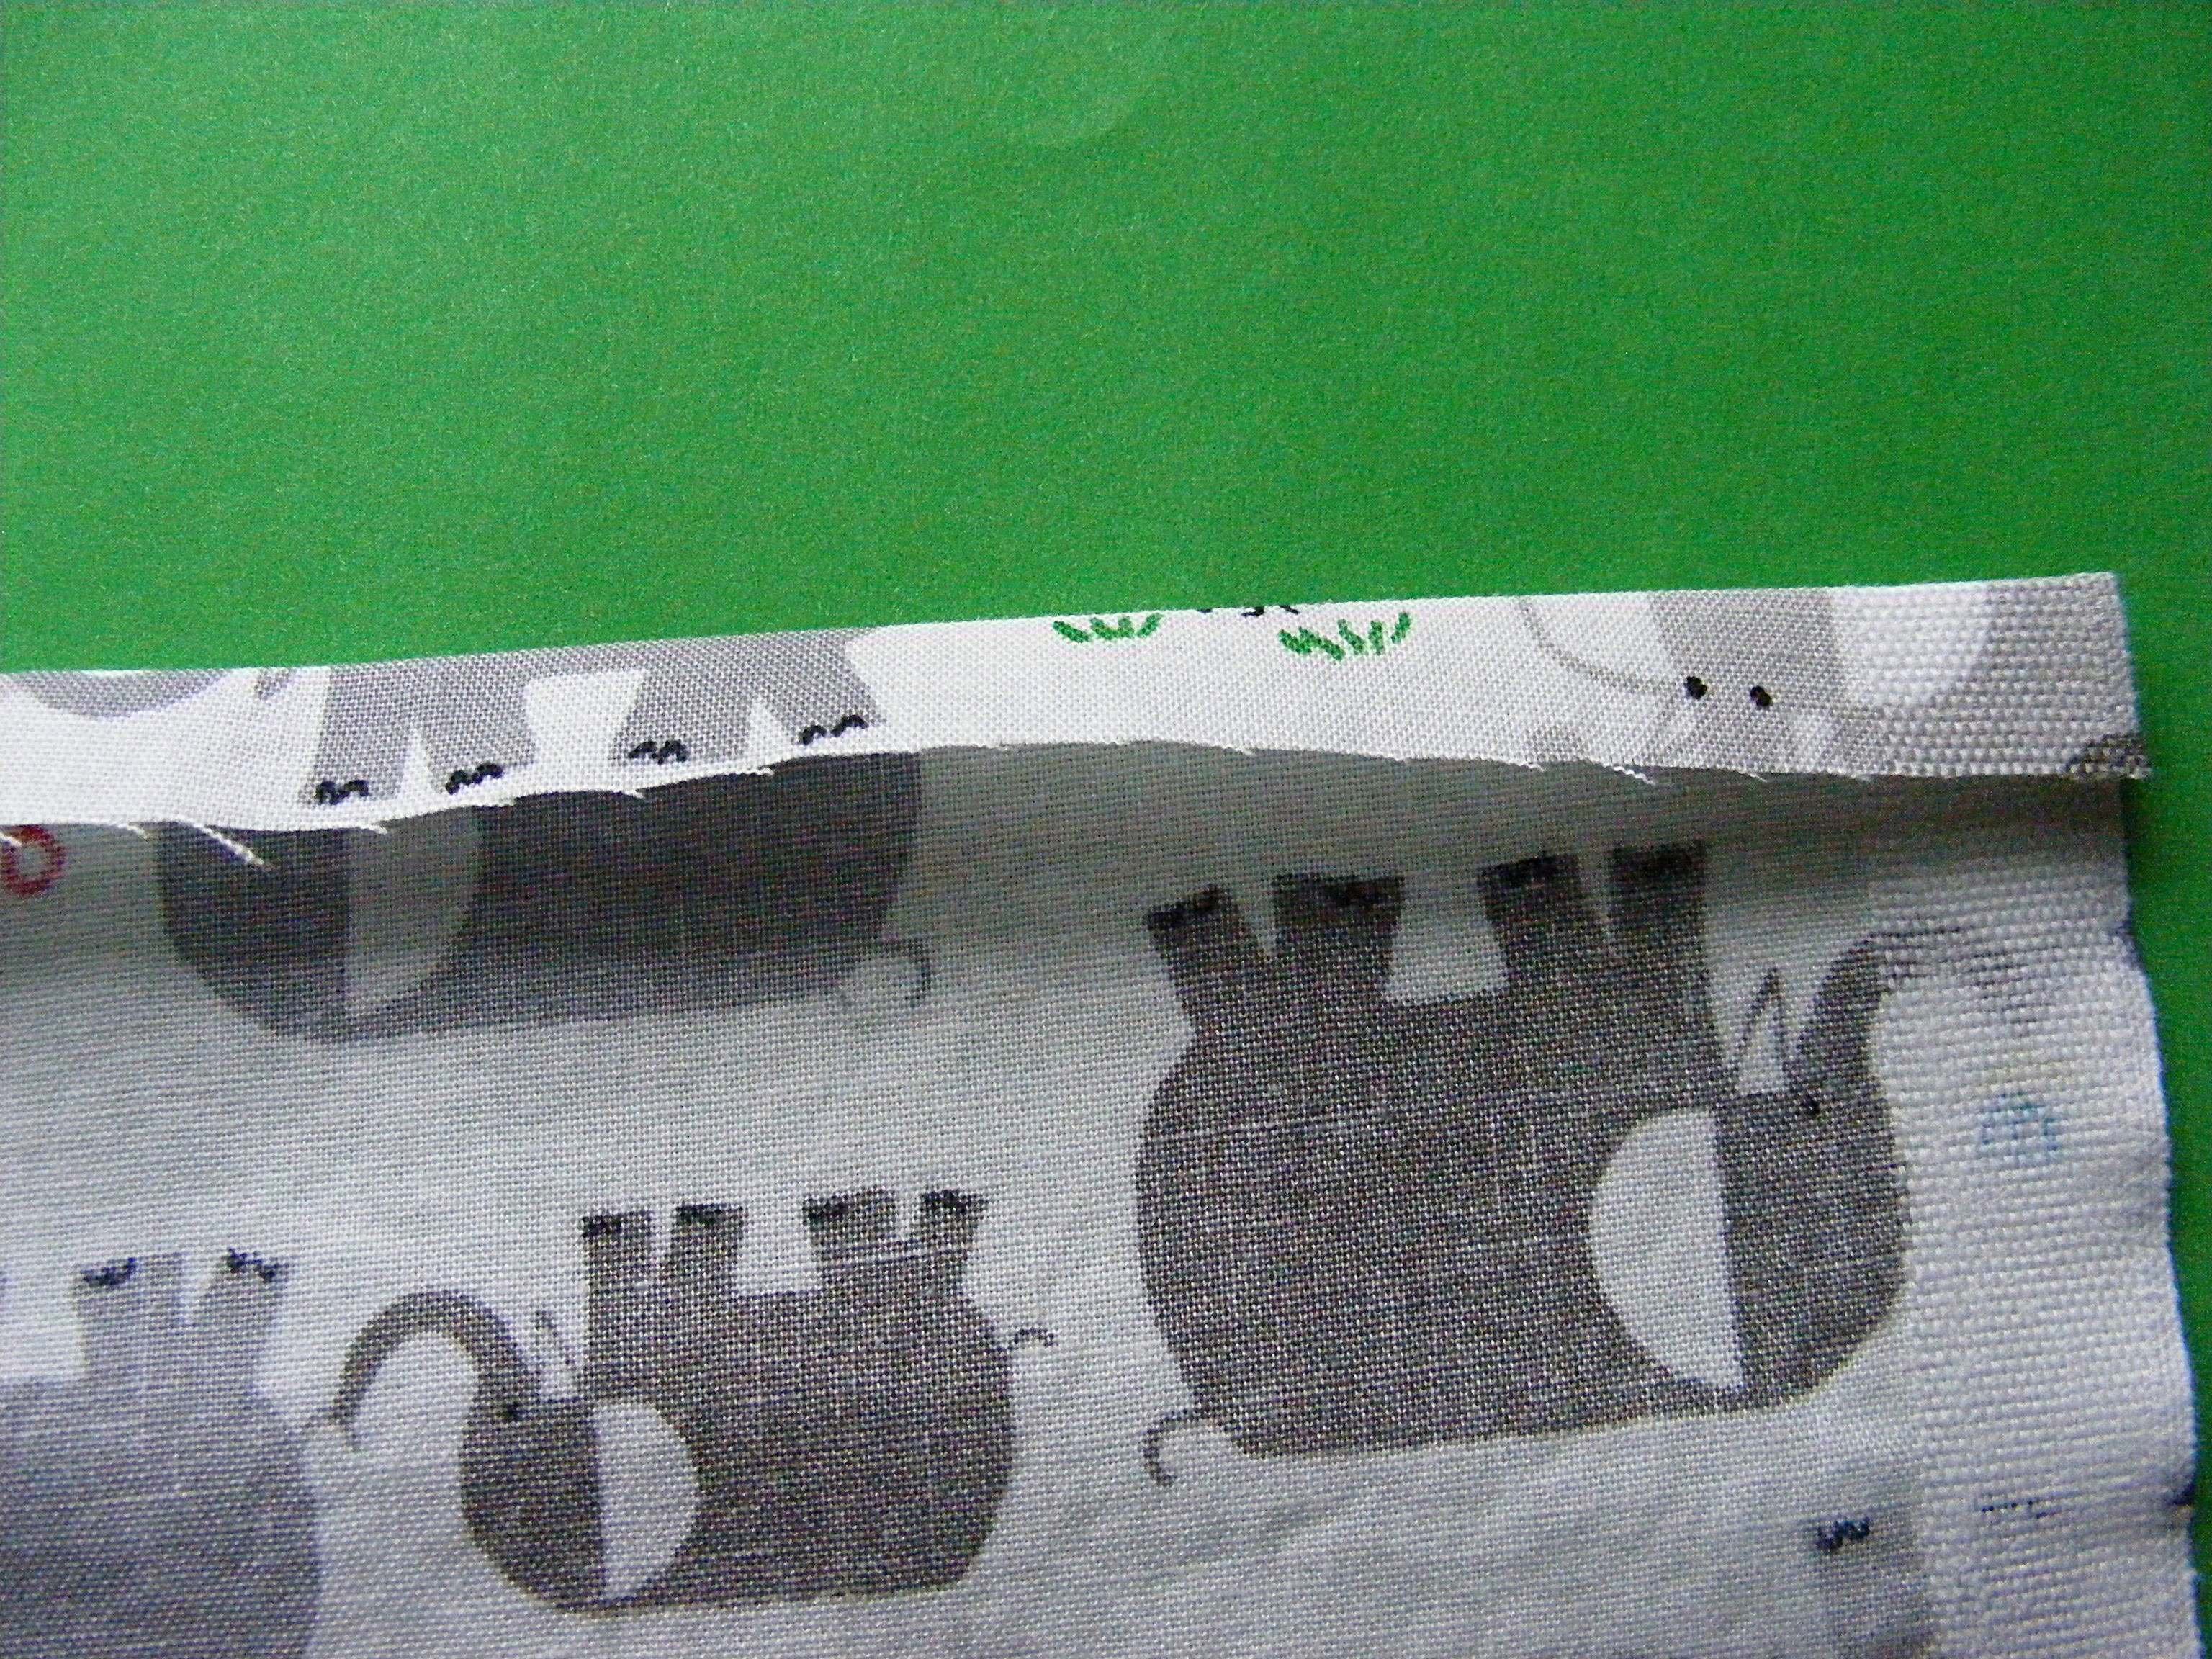
One more note. . . most people would want to cut off the selvedge edges and hem the sides. I happen to love selvedges – especially when they’re this cute. (I love this collection!)
Update – a couple of people have asked and you can still get the Happy Drawing fabric here. There are also lots of Etsy shops that still have it in stock too.
🙂 Plus I think it’s totally ok for the curtains in my sewing room to have visible selvedges. But if you want finished sides – do that now.
Ready? Time to put it all together.
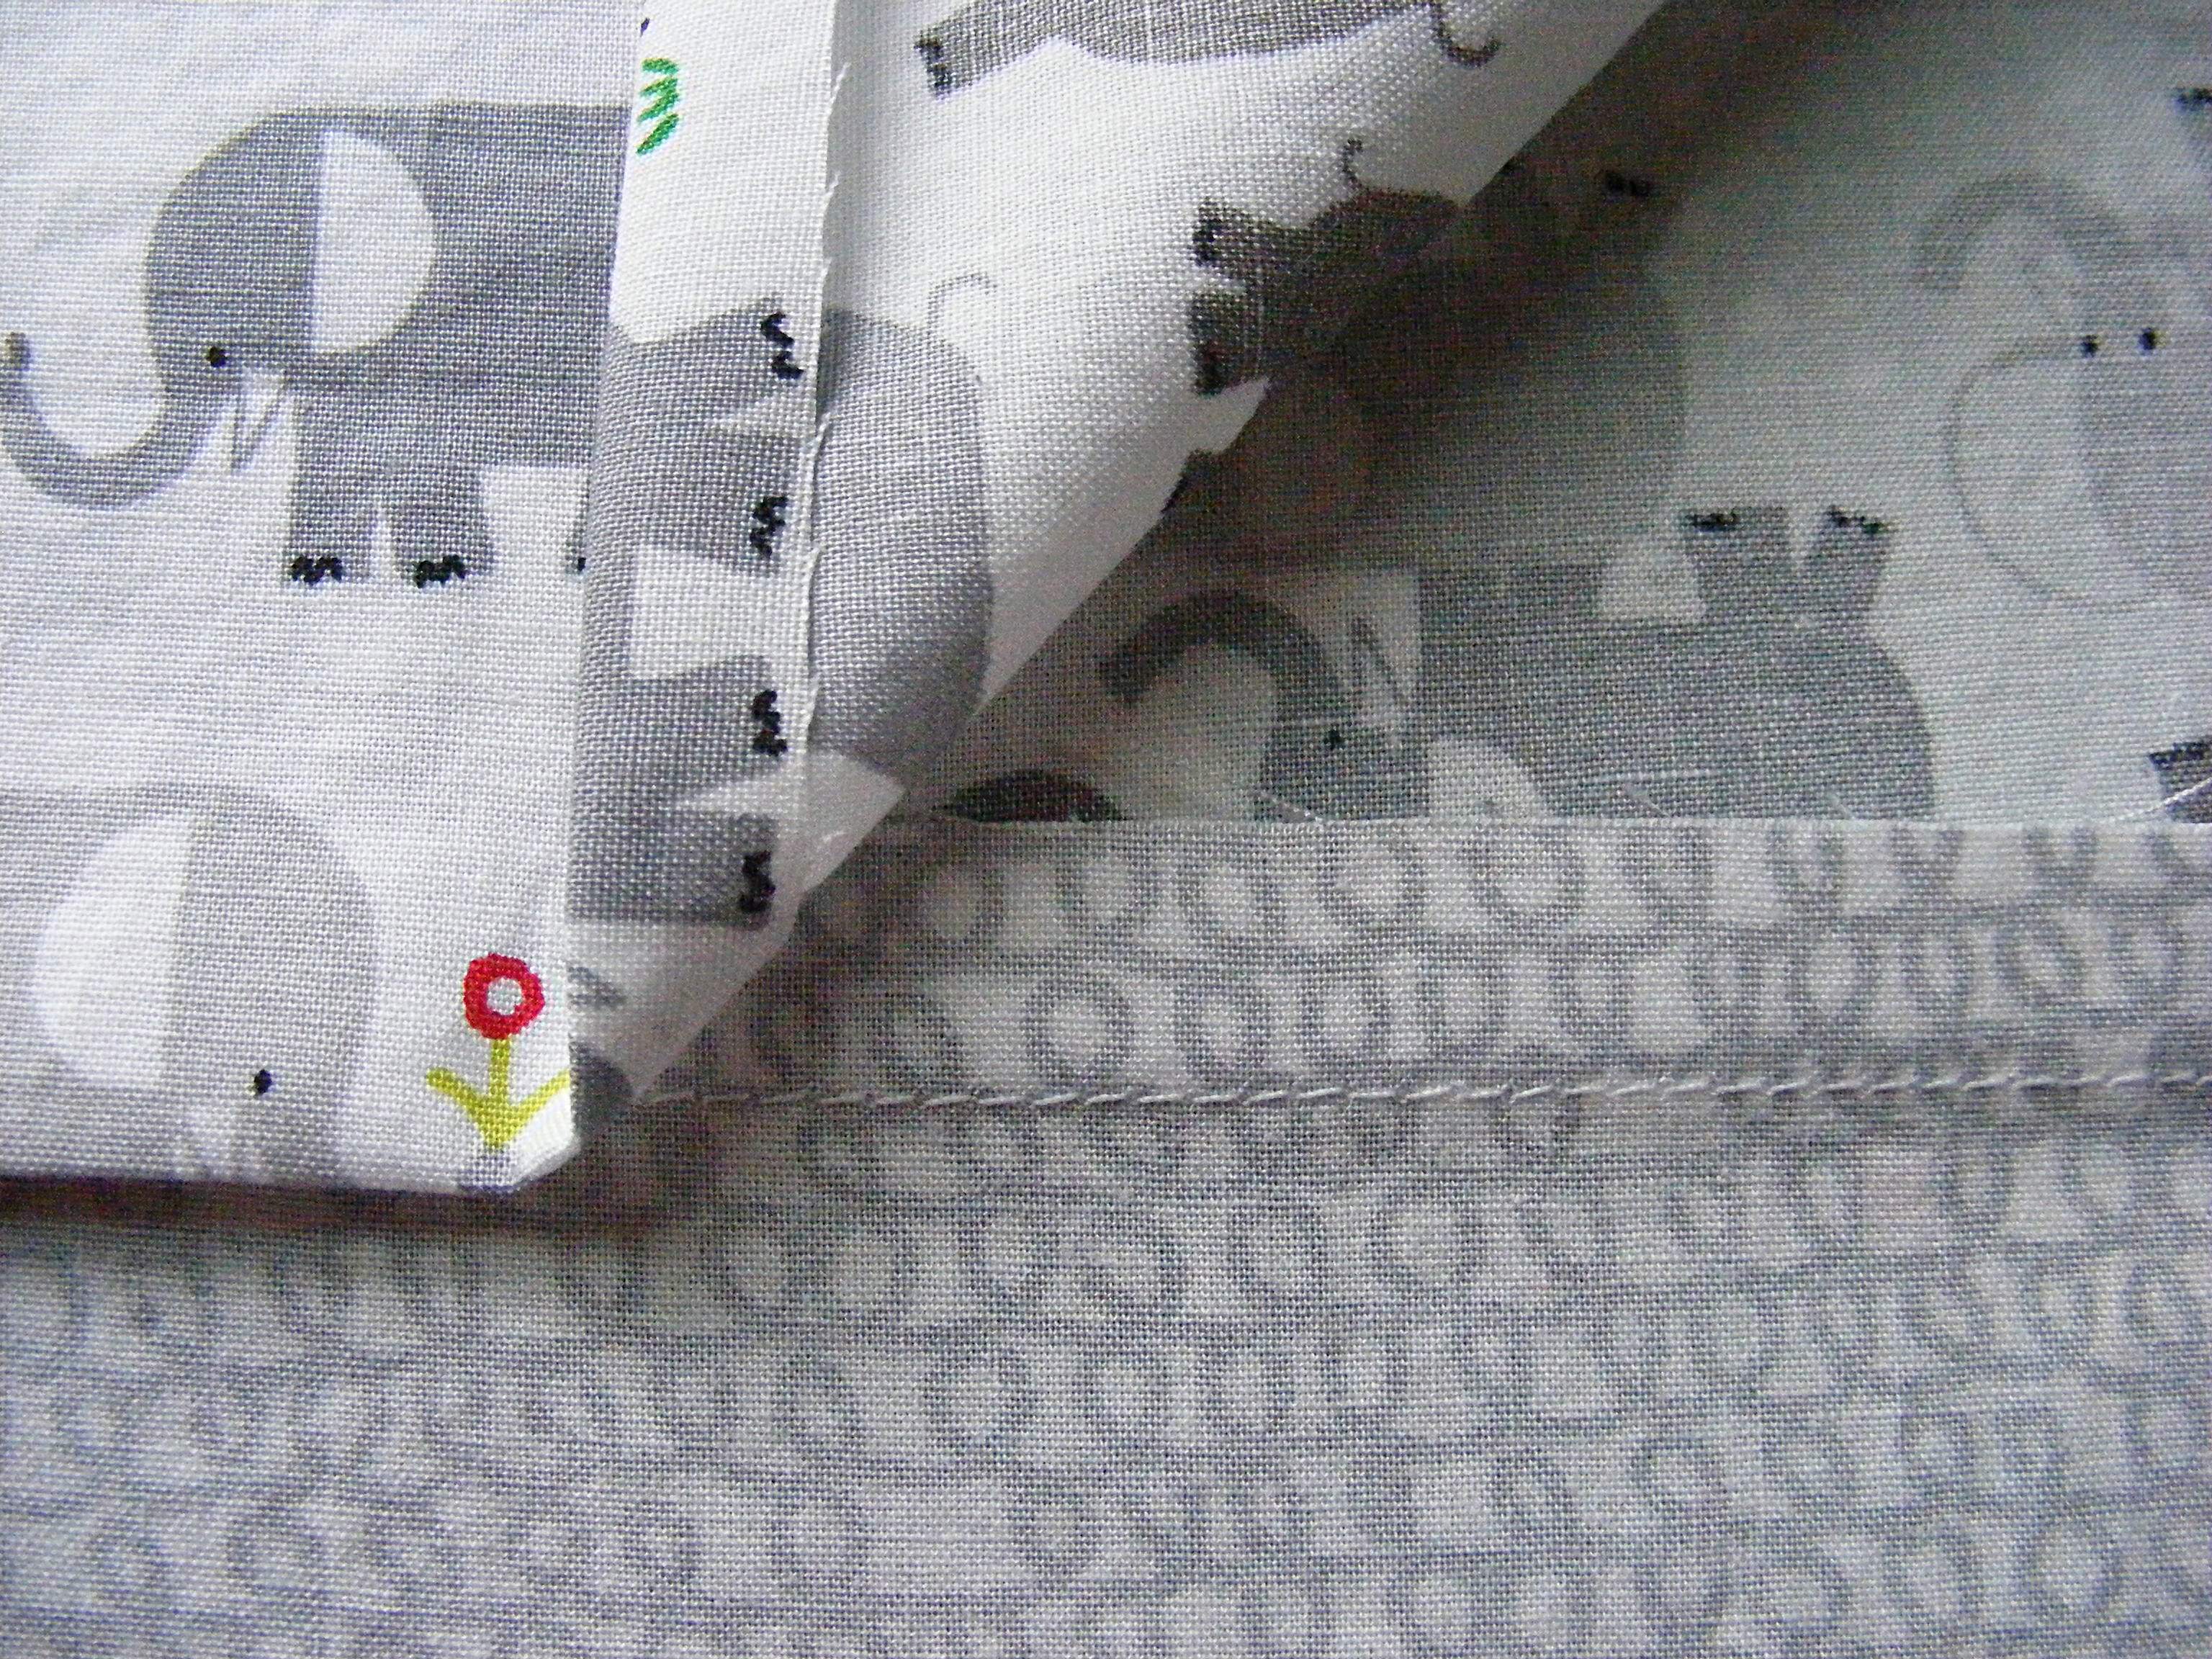
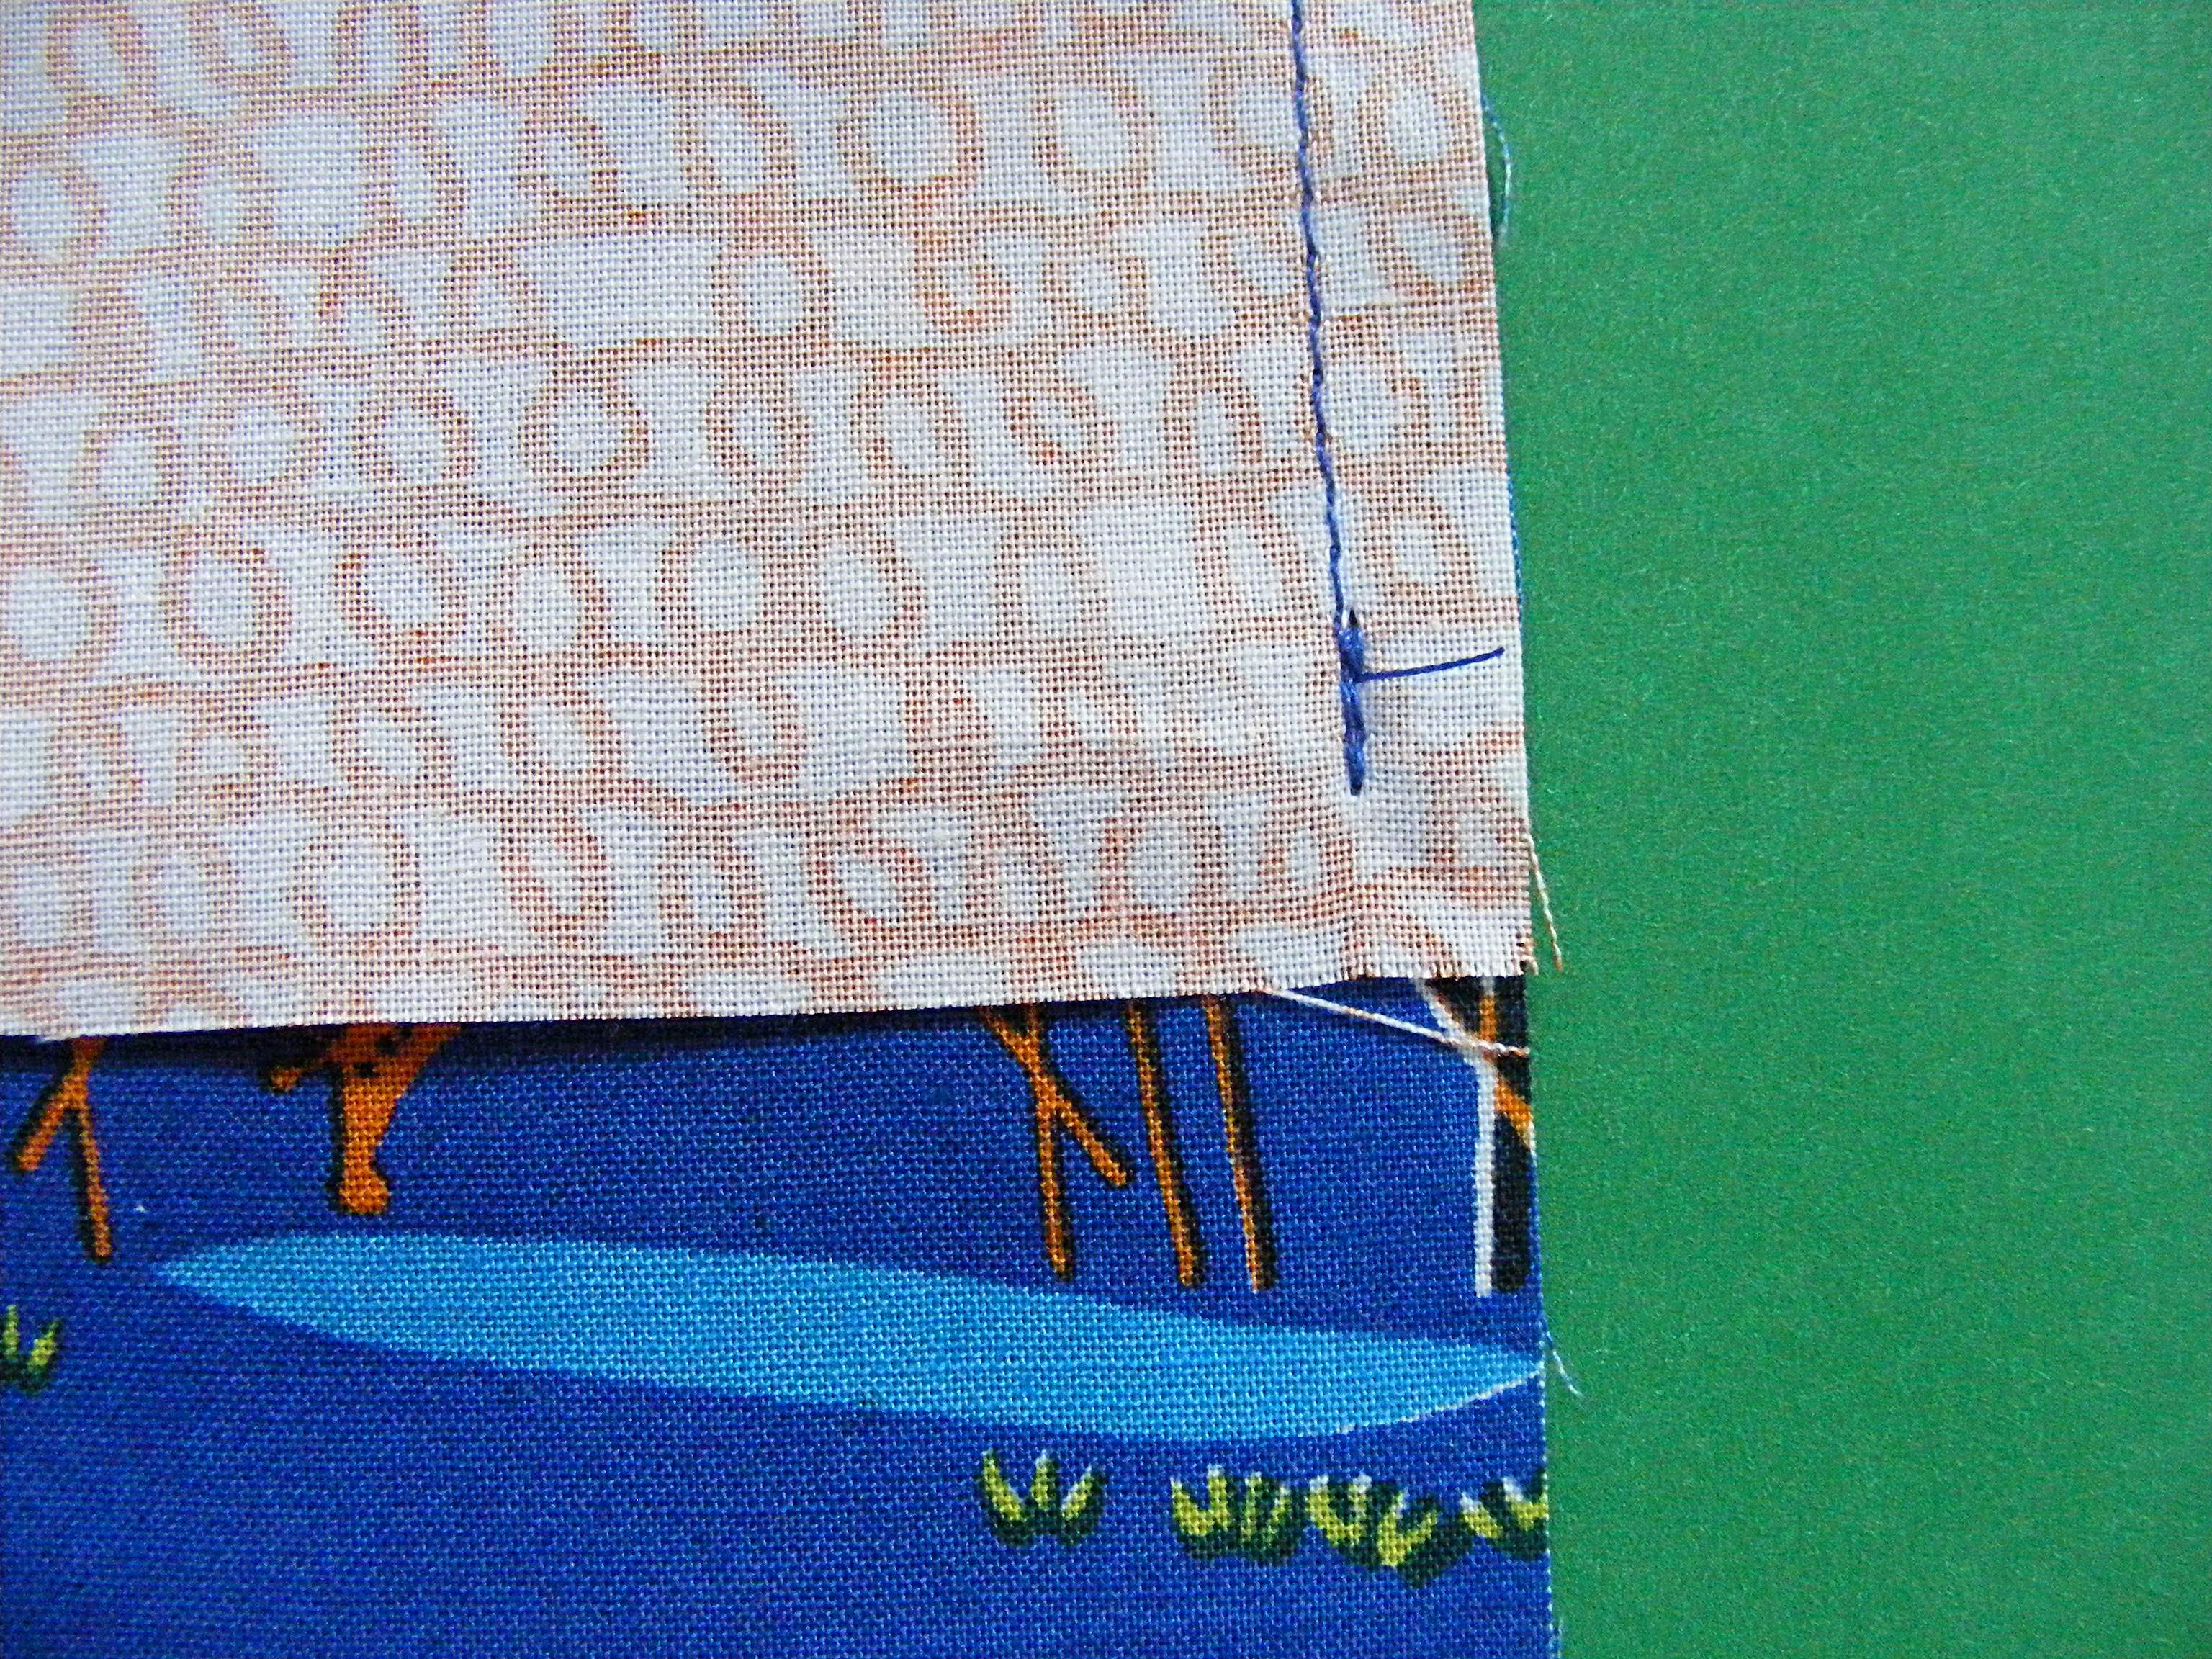
Turn the top edge down 1/2 inch and press. Now turn it down another 1/2 inch and press again. Stitch the top hem in place.
Fold the bottom band in half the long way and press a nice crease in it.
Sew the top edge of the band to the bottom edge of the curtain using 1/2 inch seam allowance. Press the seam allowance towards the contrasting band.
Now turn under 3/8 inch on the other end of the band and press.
That way, when you refold the band in half along that center crease line, the bottom fold comes just a smidge past the seam joining the main curtain to the contrasting band. Like this.
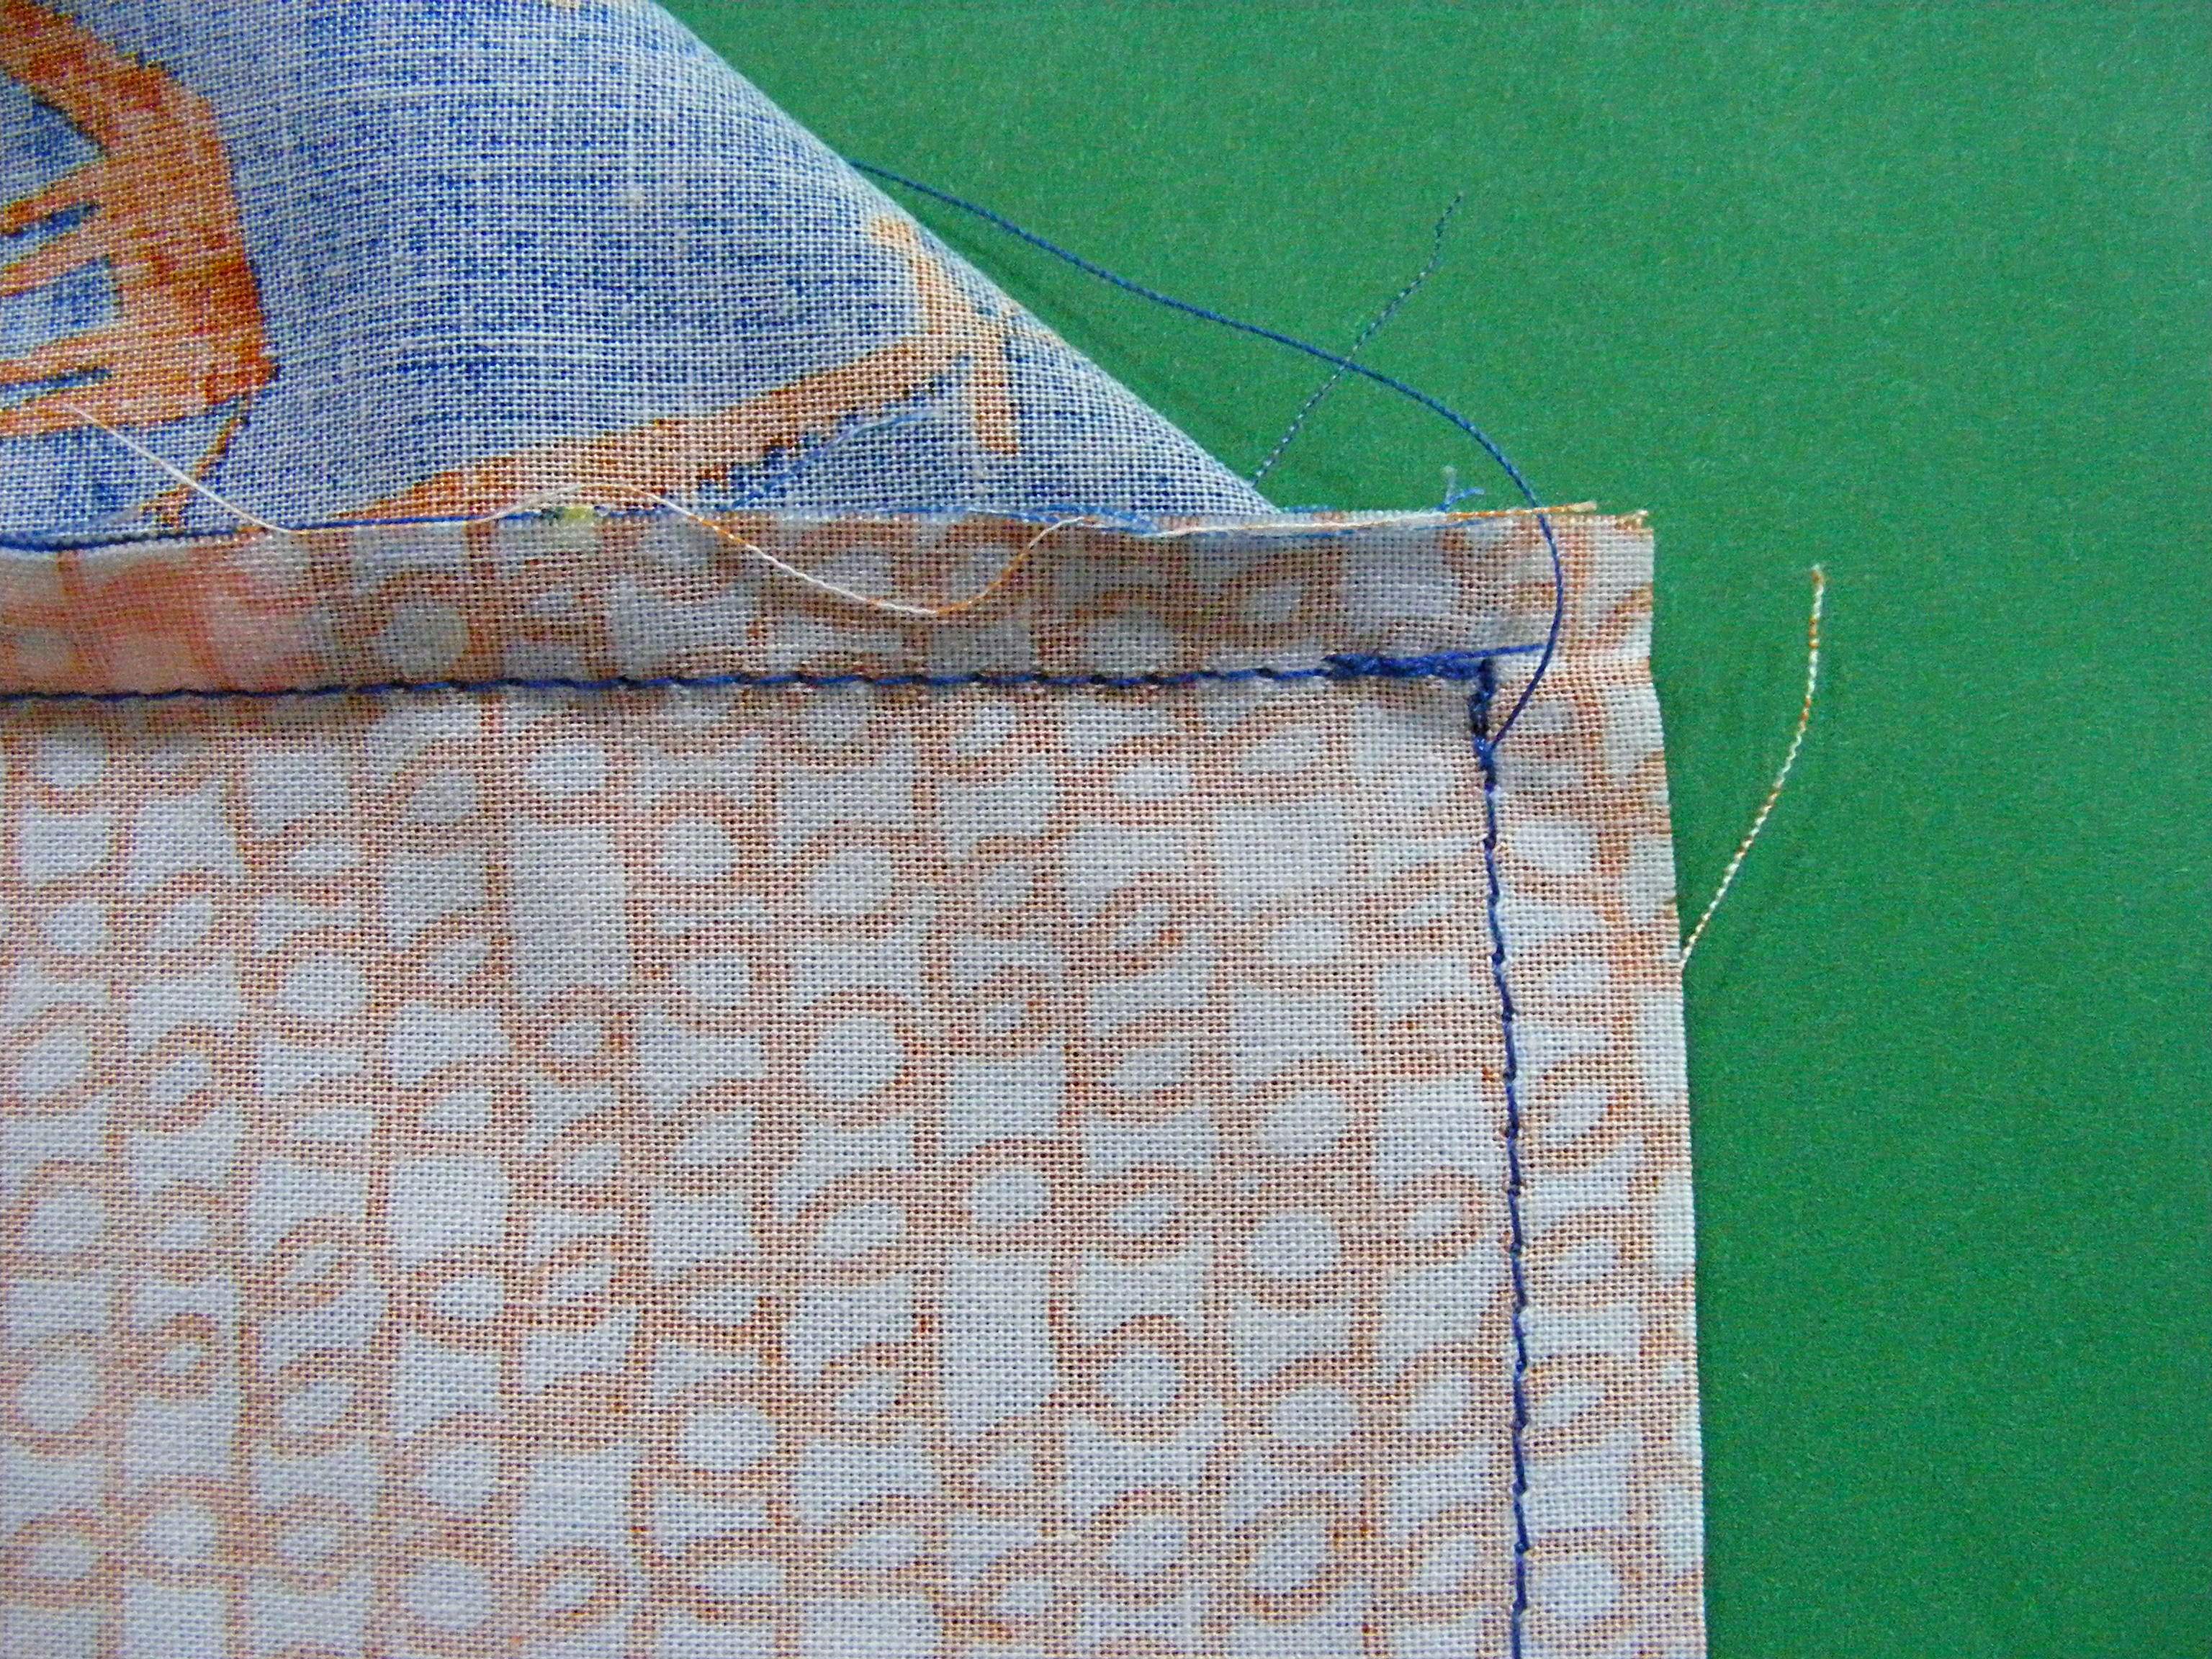
Now pin it in place. Flip the whole thing over and stitch right over the seam line joining the main curtain to the contrasting band. That’s called stitching in the ditch.
And here’s what it looks like from the back.
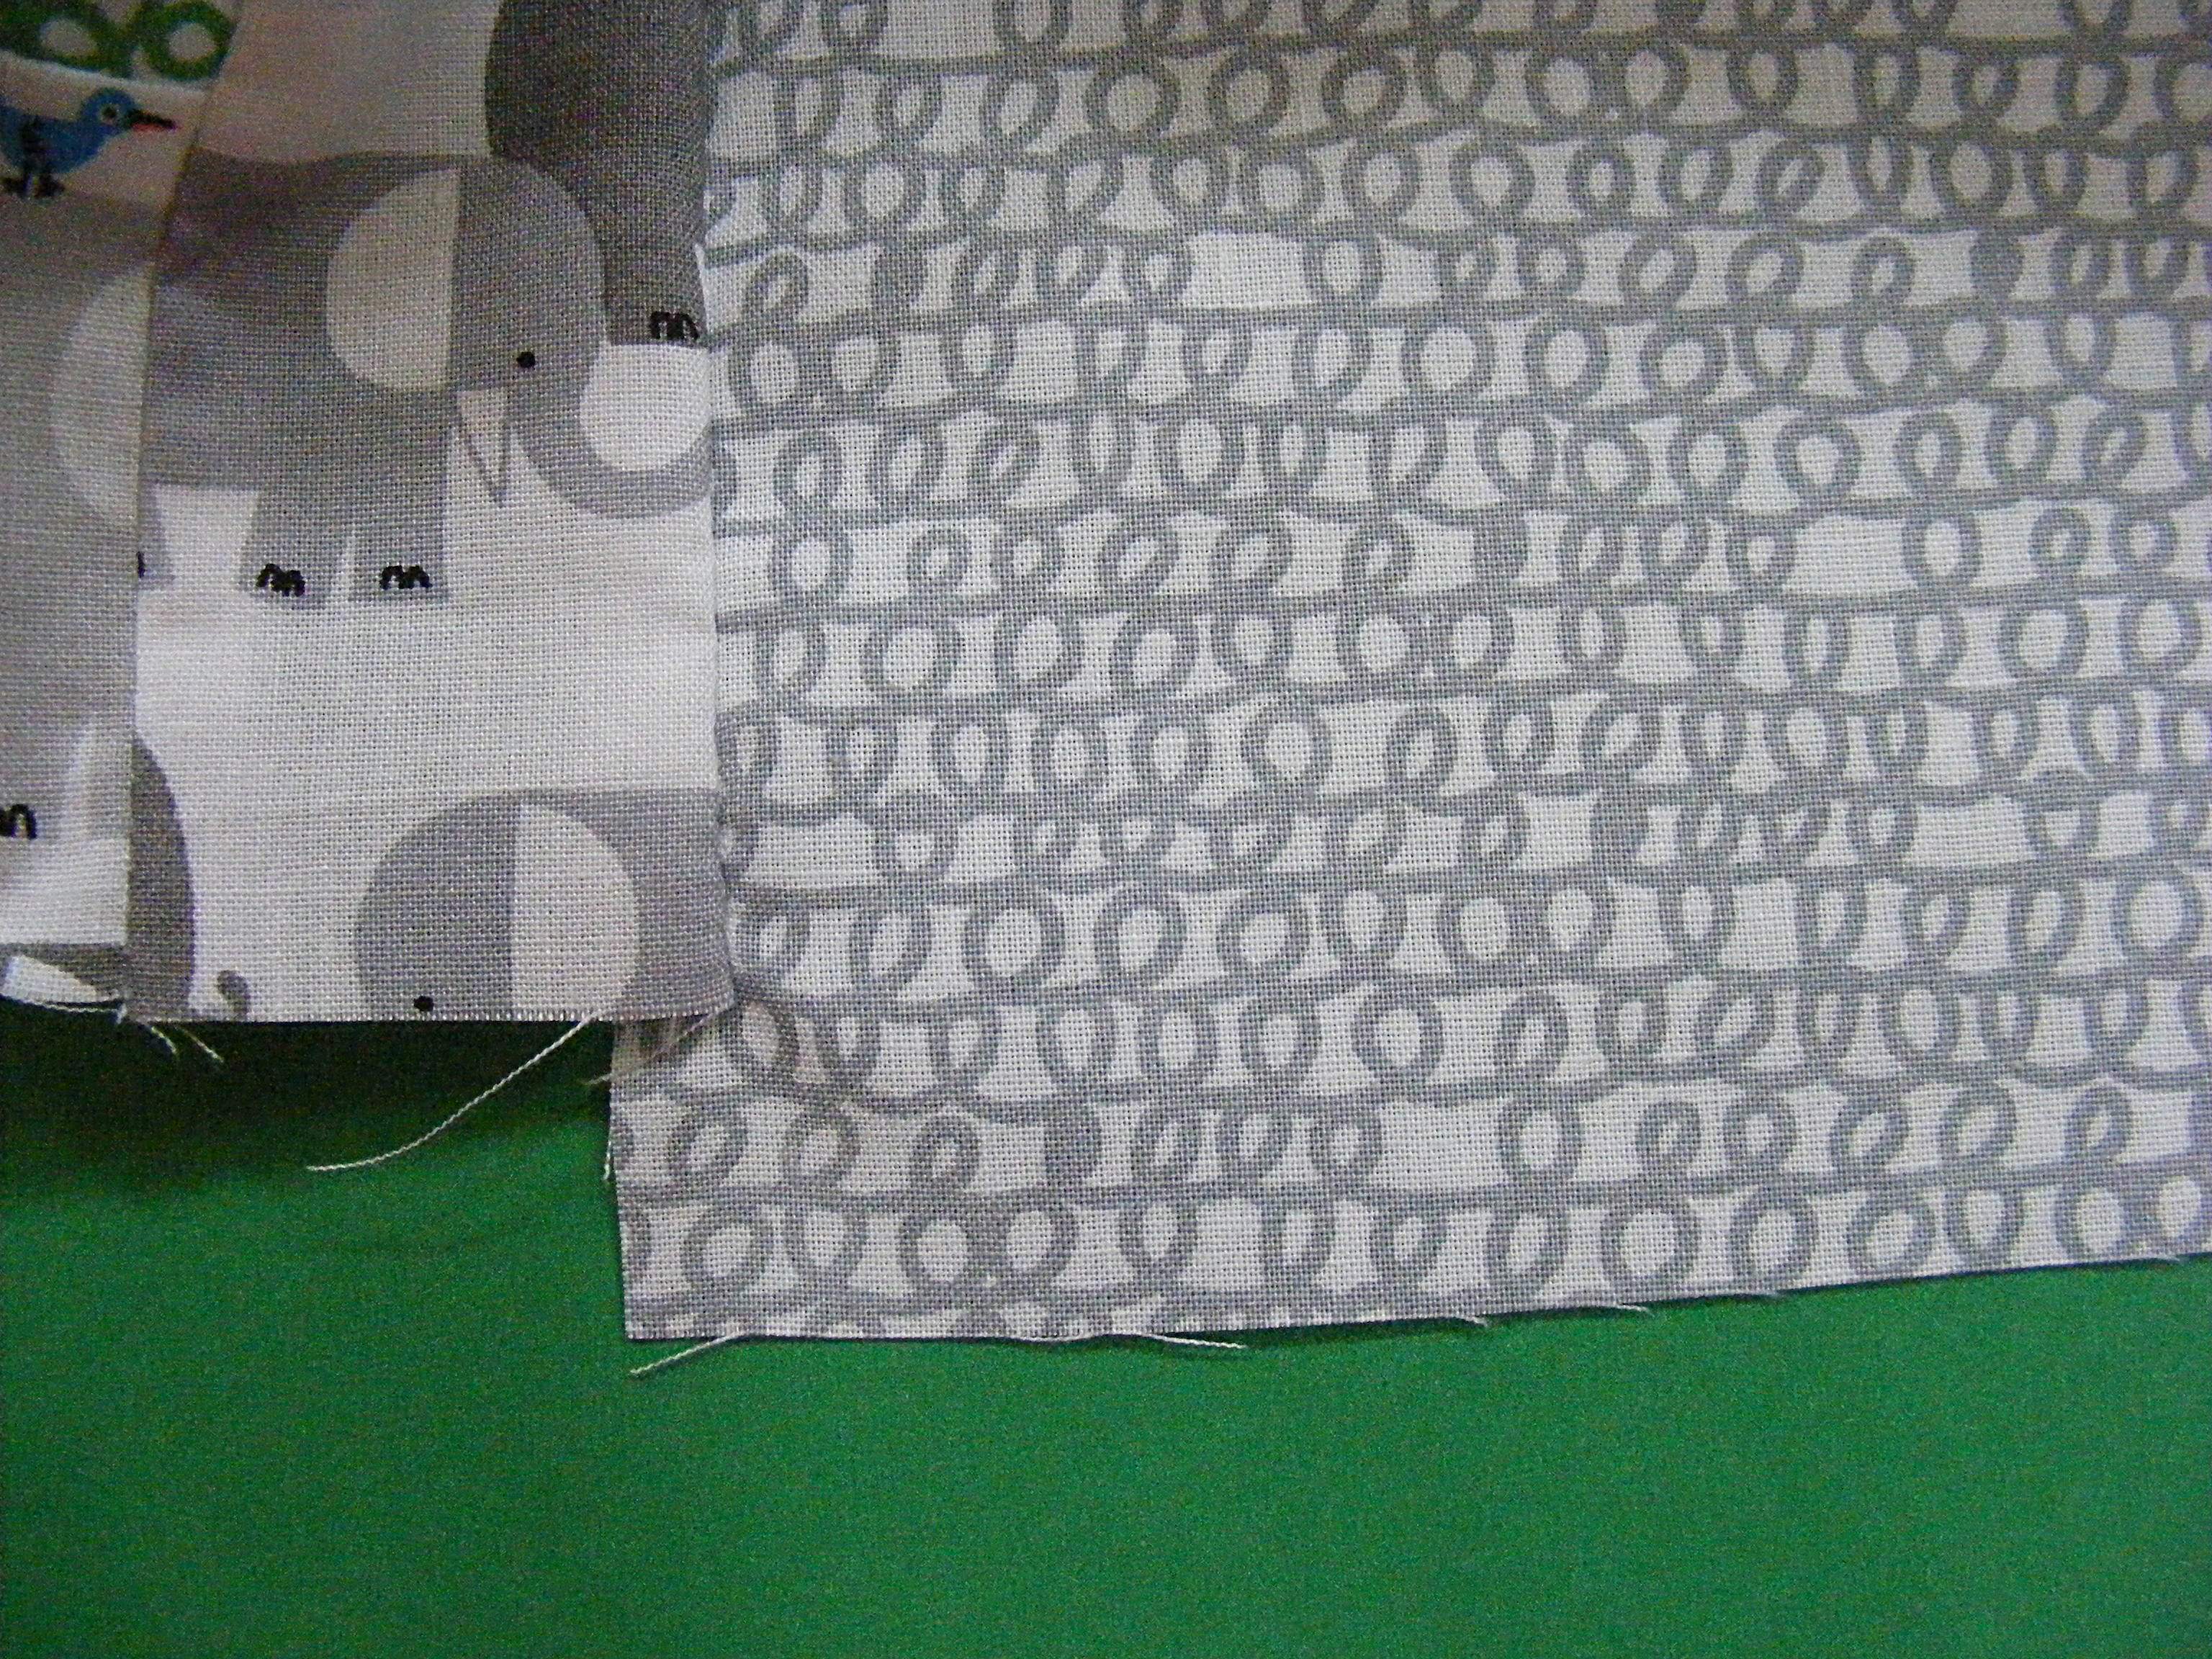
And see? All the seam allowance messiness is buried – hidden in the folded bottom band. Neat!
Give the whole thing one more good pressing and clip it to your curtain rings. Done!
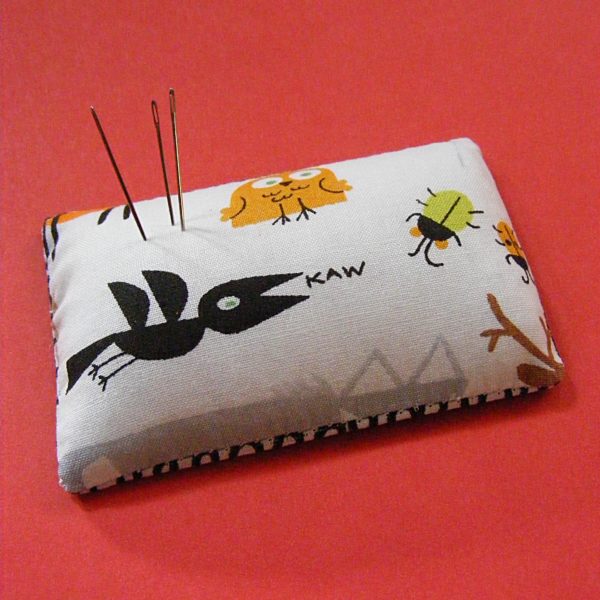
Give any old pincushion a good squeeze and you know what you’ll find buried in the middle?
A bunch of needles.
Seriously.
Tons of them!
Unlike pins, there are no heads to keep them from disappearing into the middle of the cushion – never to be seen again. I’ve tried leaving a bit of thread through the eye of the needle, but that just makes it messy and doesn’t help much.
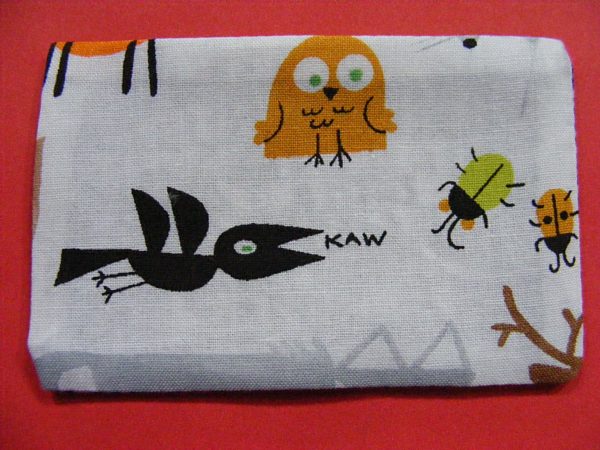
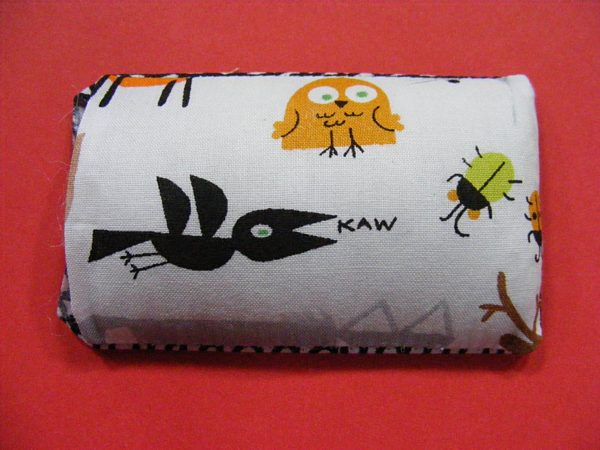
So I invented a needle cushion. 🙂 It’s shallow – so the needles can’t disappear inside. It has a hard surface on the bottom so it stays flat, and so the needles can’t poke through and scratch the table underneath.
I LOVE my new needle cushion! I need to make a couple more – including one to hold sewing machine needles. I usually have a stretch needle, a heavy duty needle, a fine needle and/or a standard needle sitting on the table next to my machine at any given time.
And they’re super easy to make. I’m not even going to do a PDF for this one because there are just a couple of steps. Ready?
First – cut two fabric rectangles 4 inches wide and 2 3/4 inches tall. Put them right sides together. Using 1/4 inch seam allowance, sew it up around three sides. Trim off the corners close to, but not into, the seam allowance.
Turn it right side out. Turn the raw edges in 1/4 inch and press so you have a nice crease to follow when you do the hand stitching to close it up after stuffing.
Slide an old credit card or gift card into the sleeve. Best use of a credit card ever. 🙂
Now – pack a few pinches of stuffing in on top of the credit card. Use a chopstick or other pointy tool to get it neatly into the corners.
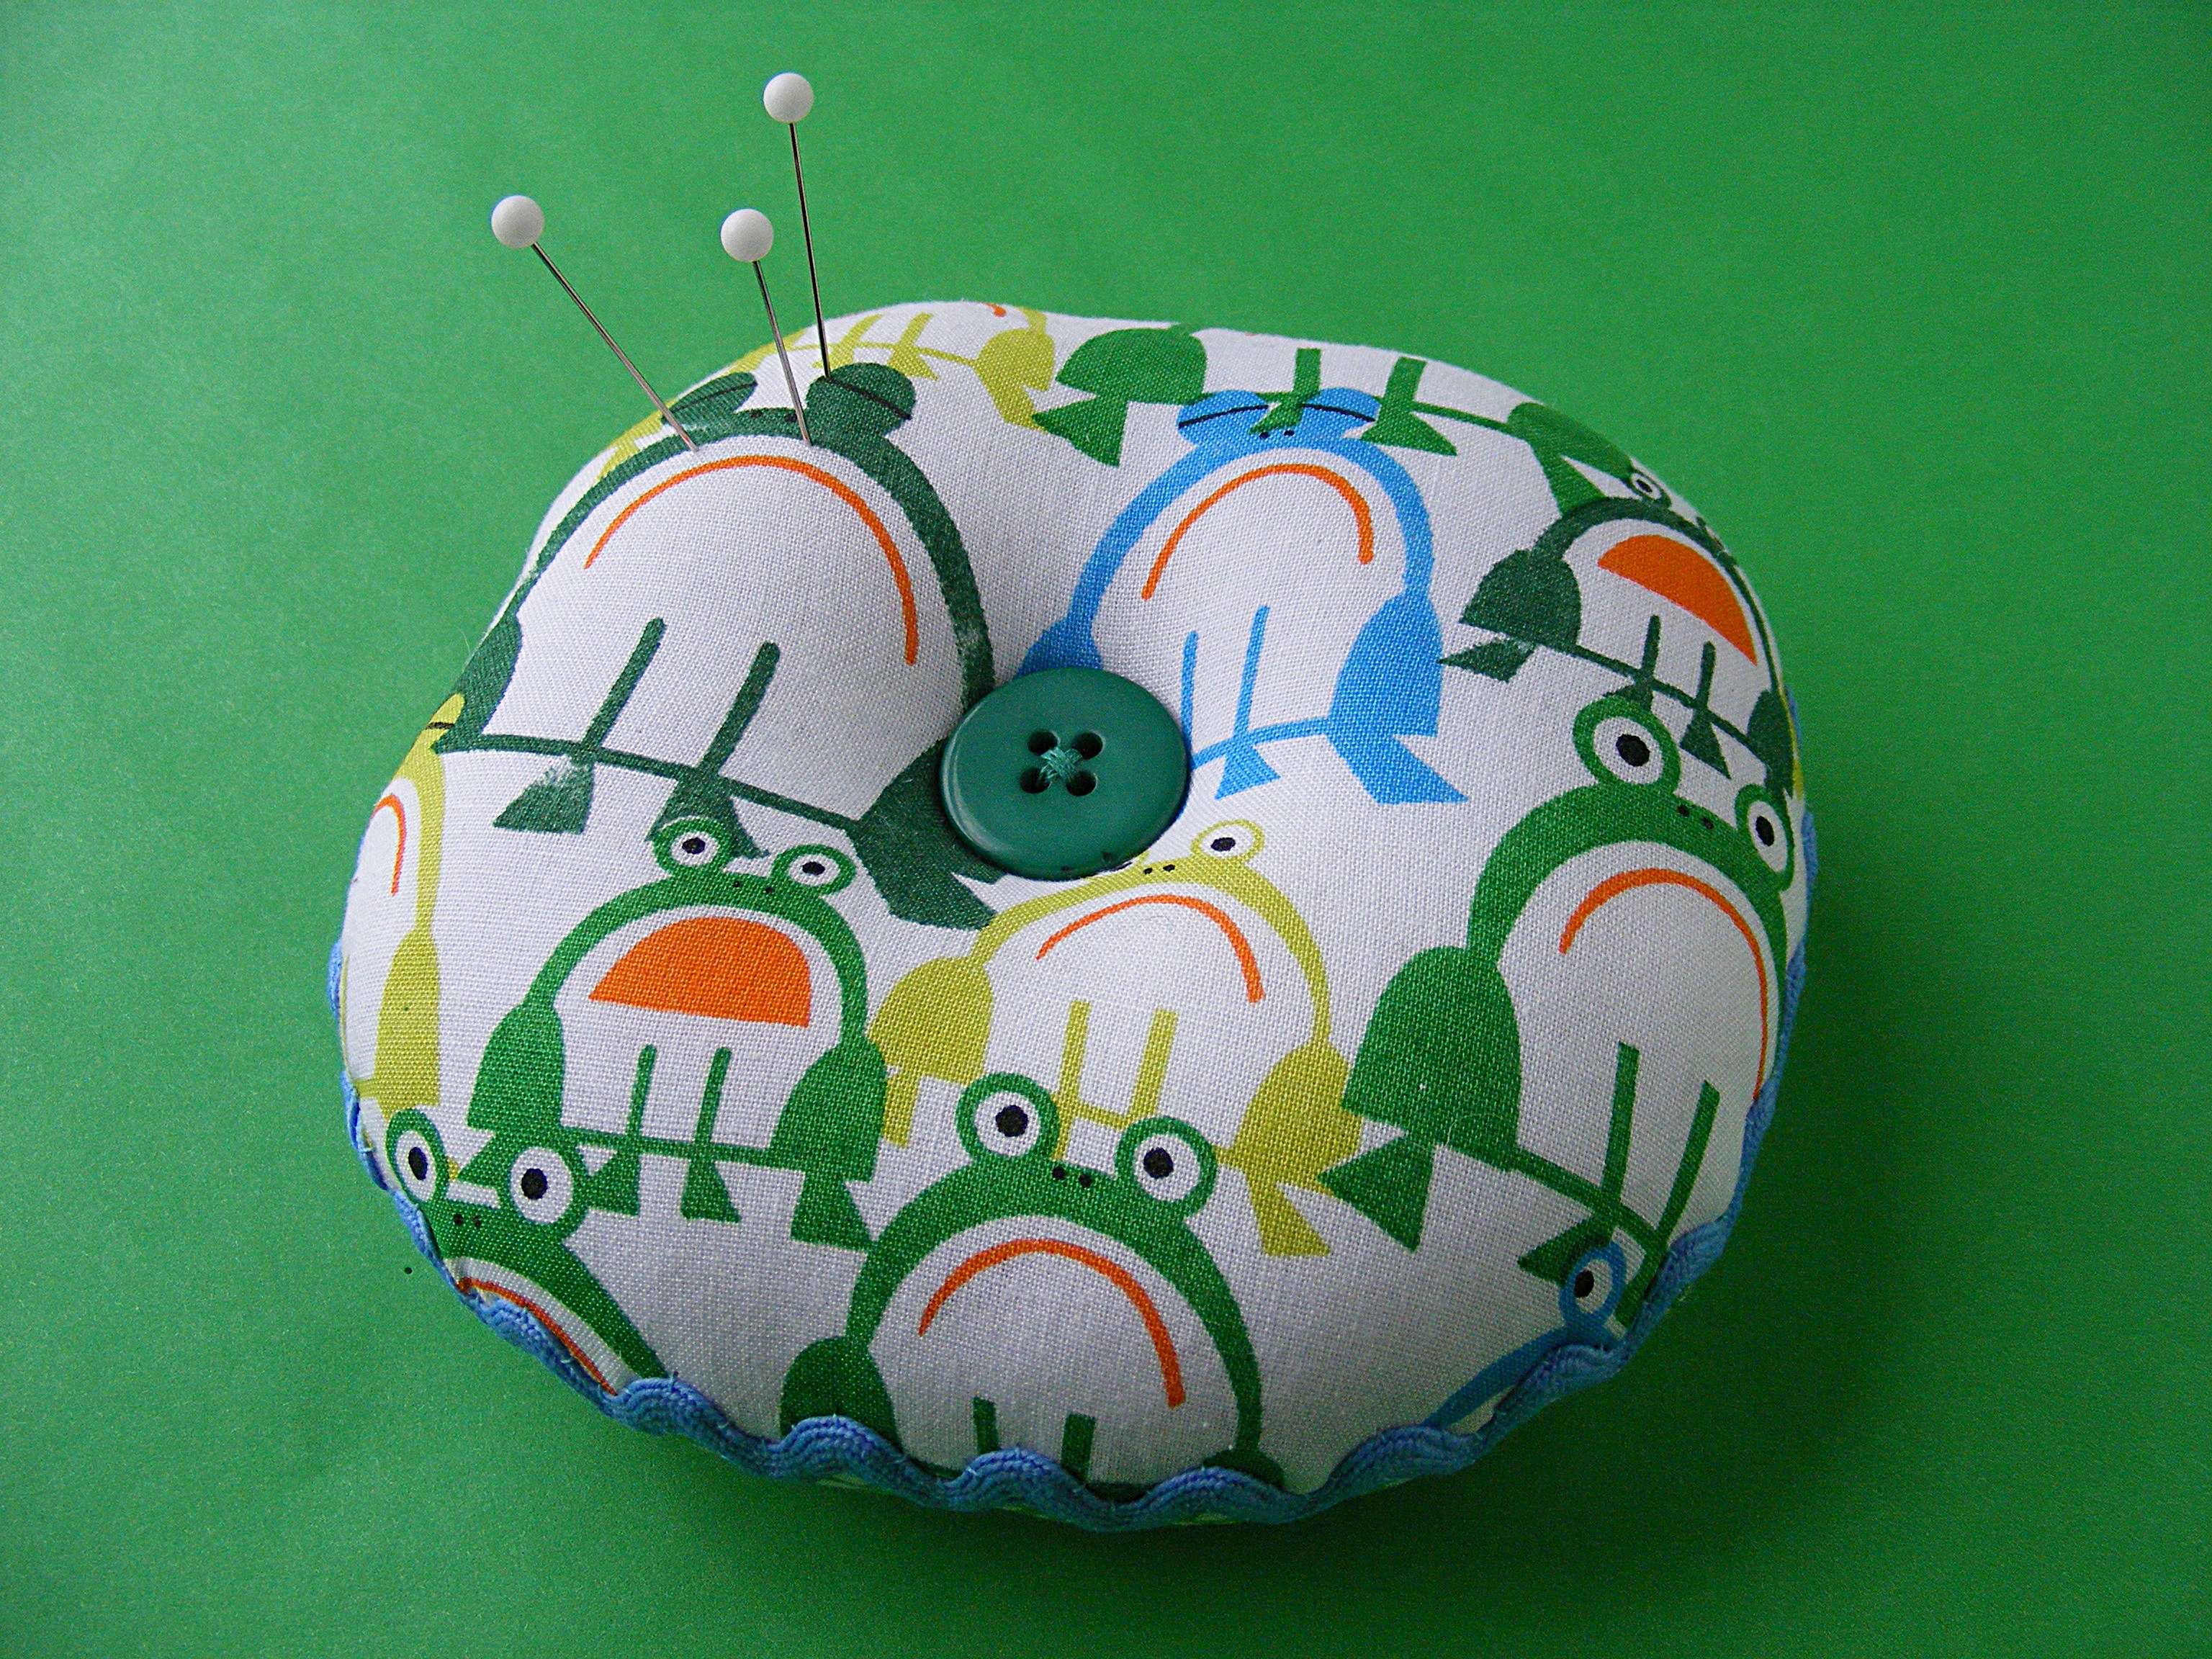
The button dimples on the top and bottom make it sit nice and flat.
The two colors for the top and bottom are fun.
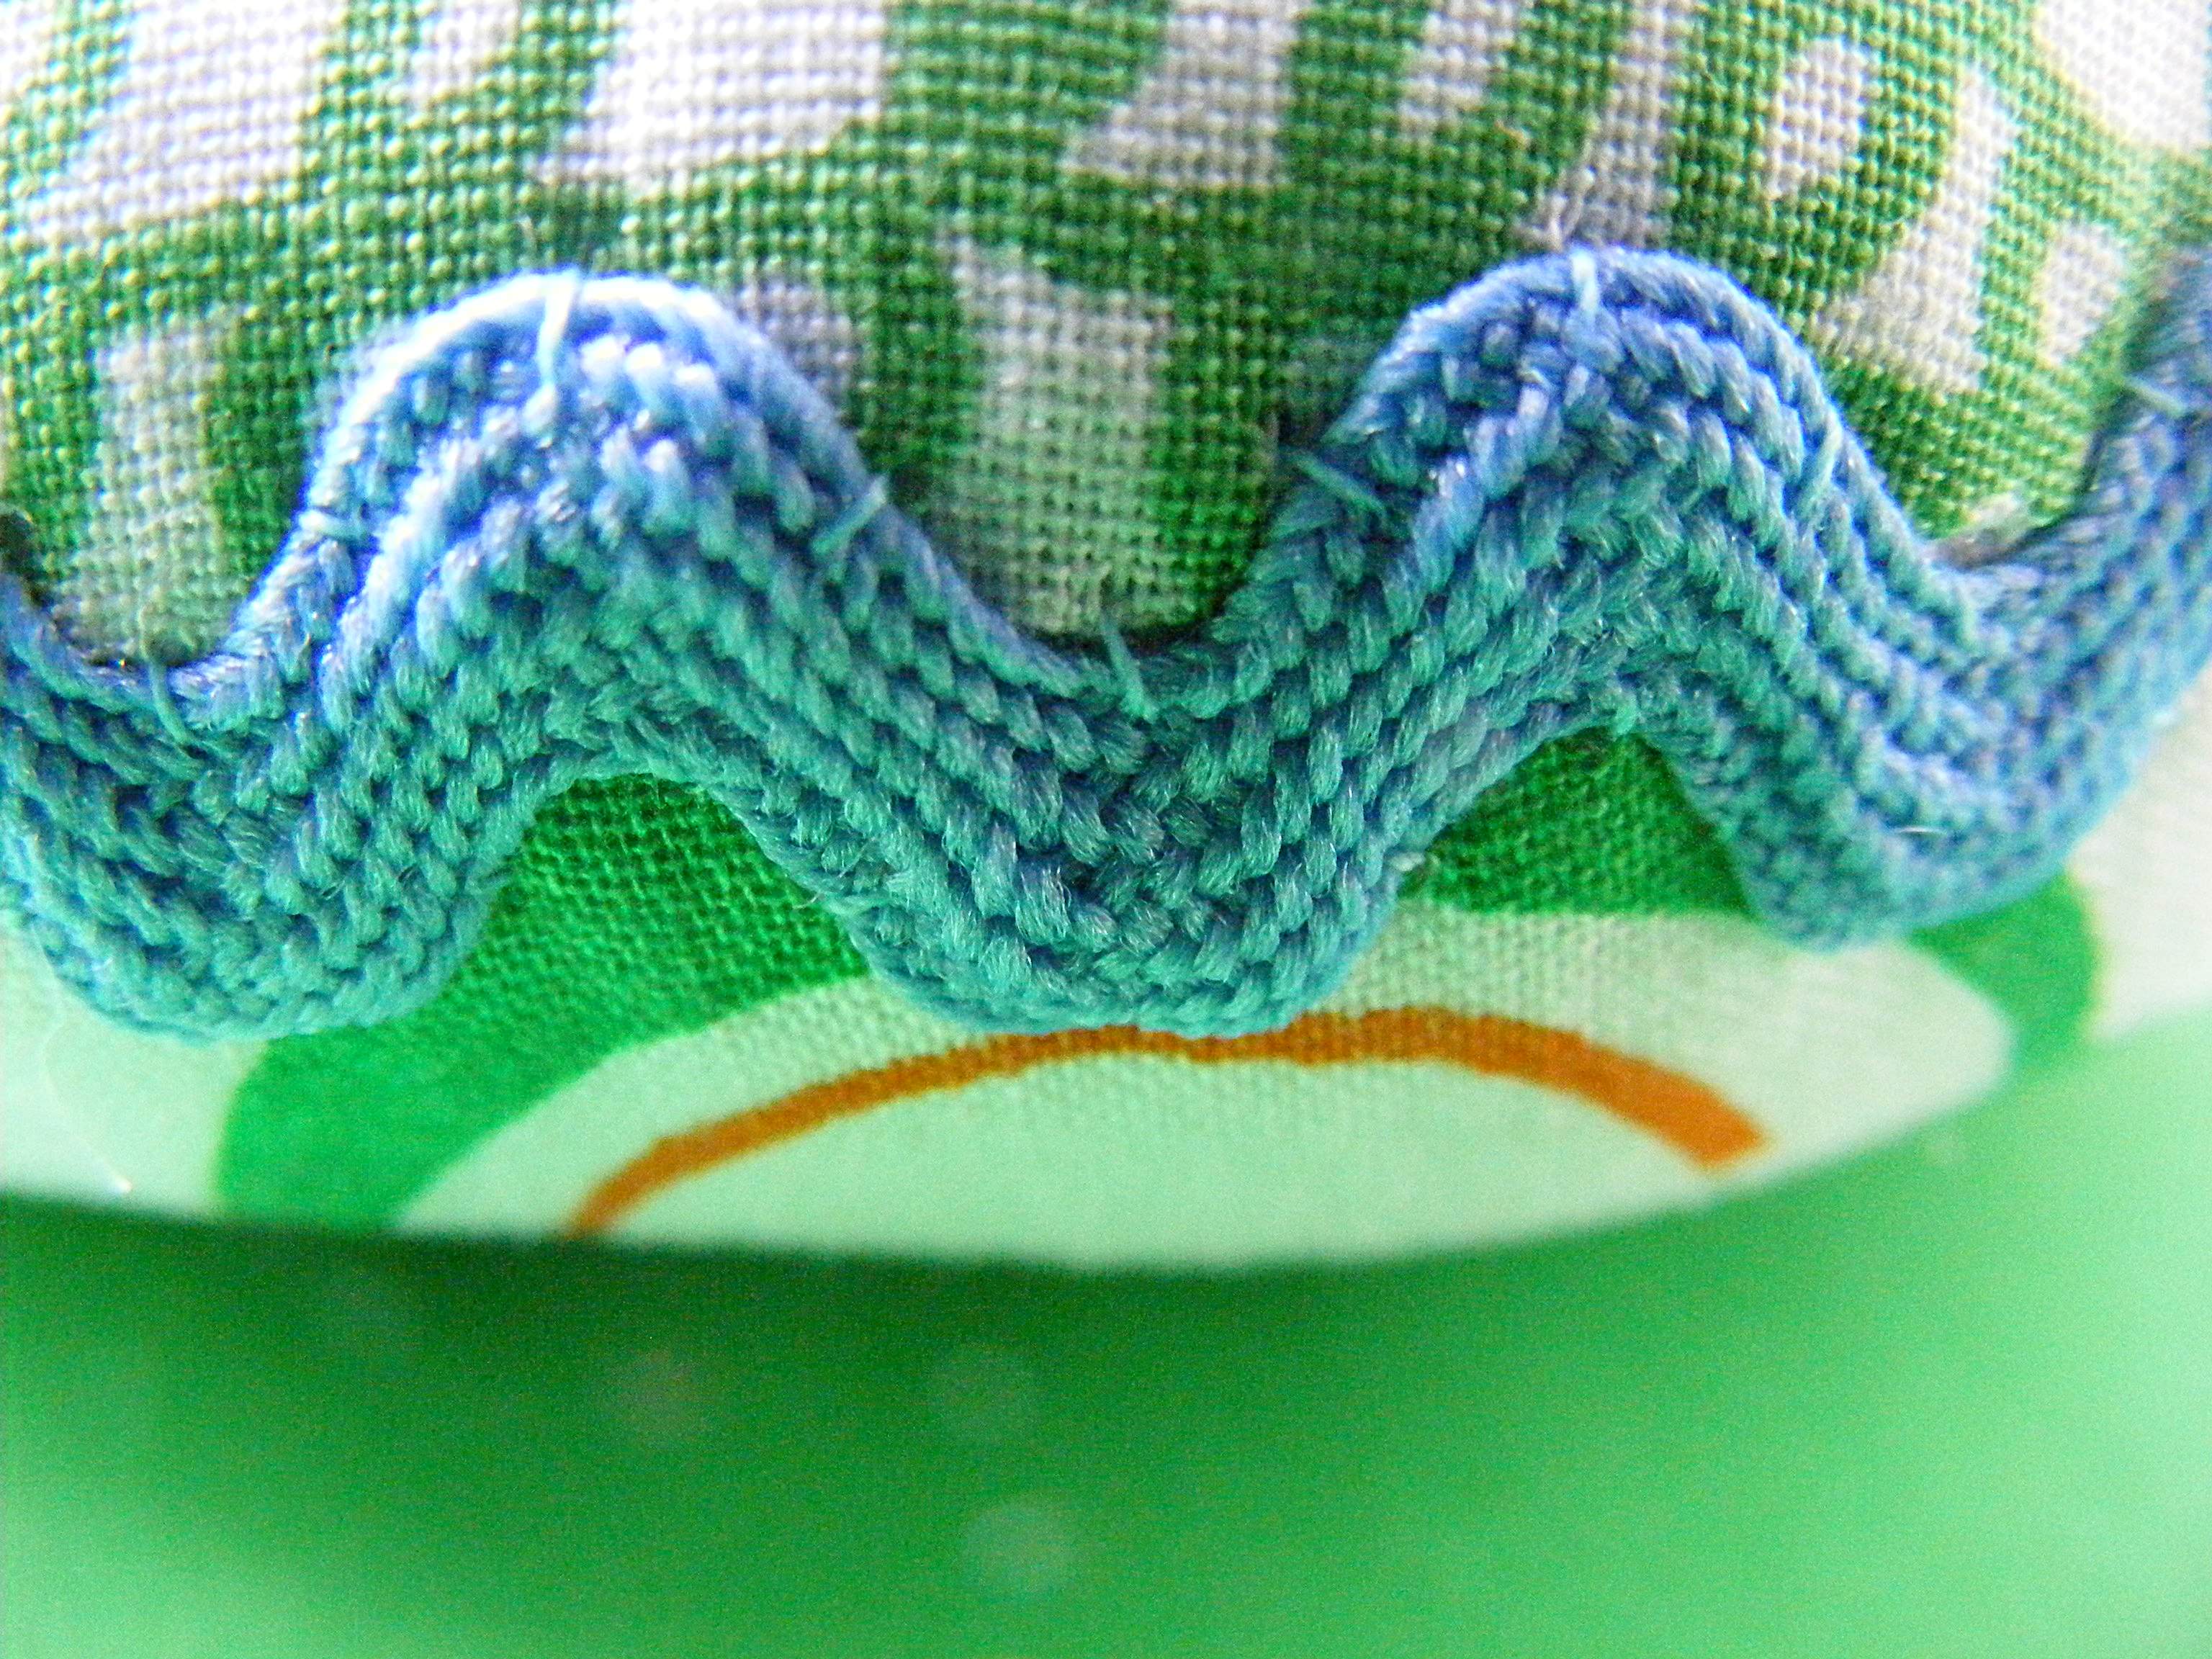
And the rickrack around the seam?
Rickrack always makes me smile. 🙂
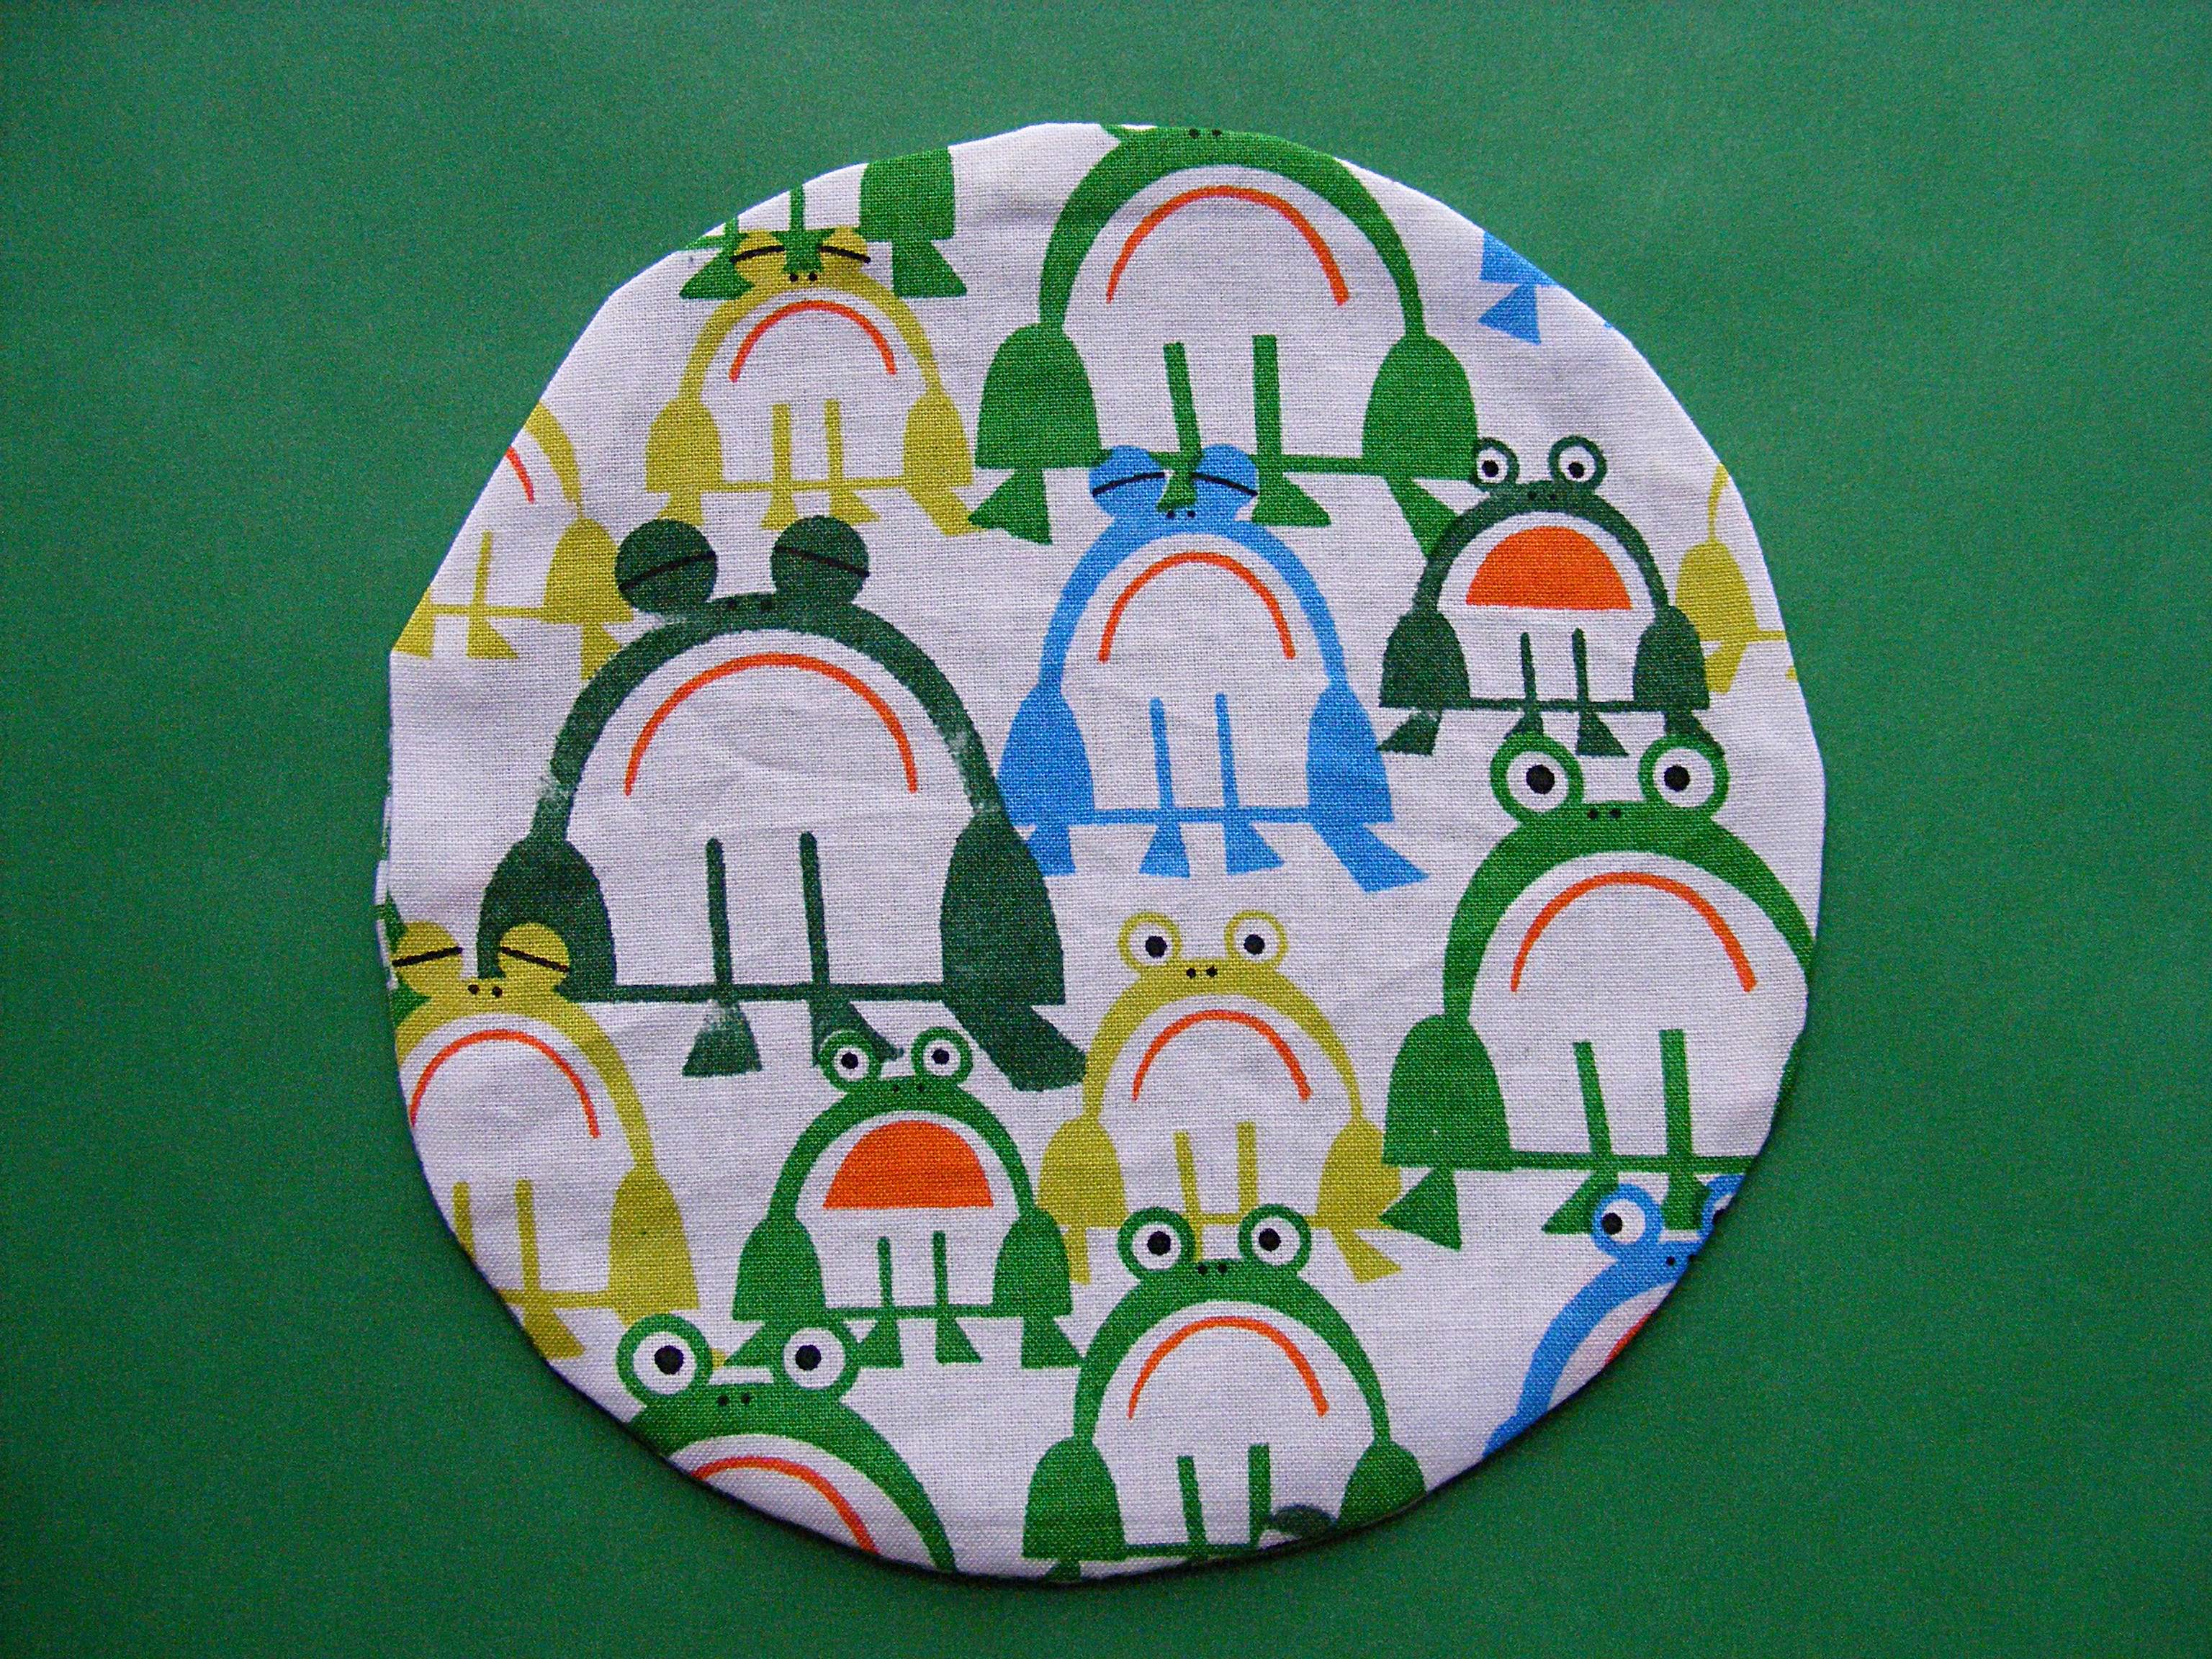
I’m love the Ed Emberley Happy Drawing collection from Cloud 9 Fabrics – it’s making my sewing room an even happier place. And you know I’m all about the happy. 🙂 This uses the frogs on one side, and the green scribbles on the other.
It’s an easy pattern – the hardest thing is packing in enough stuffing to make it really firm.
Here’s how to make it. . .
Materials
two scraps of fabric, at least 6 inches square
approx. 17 inches of rickrack (get the big or jumbo size – they’re easiest to work with)
lots and lots of stuffing
two buttons (I used 3/4″ and 5/8″)
sewing machine, thread, basic sewing tools
Step 1
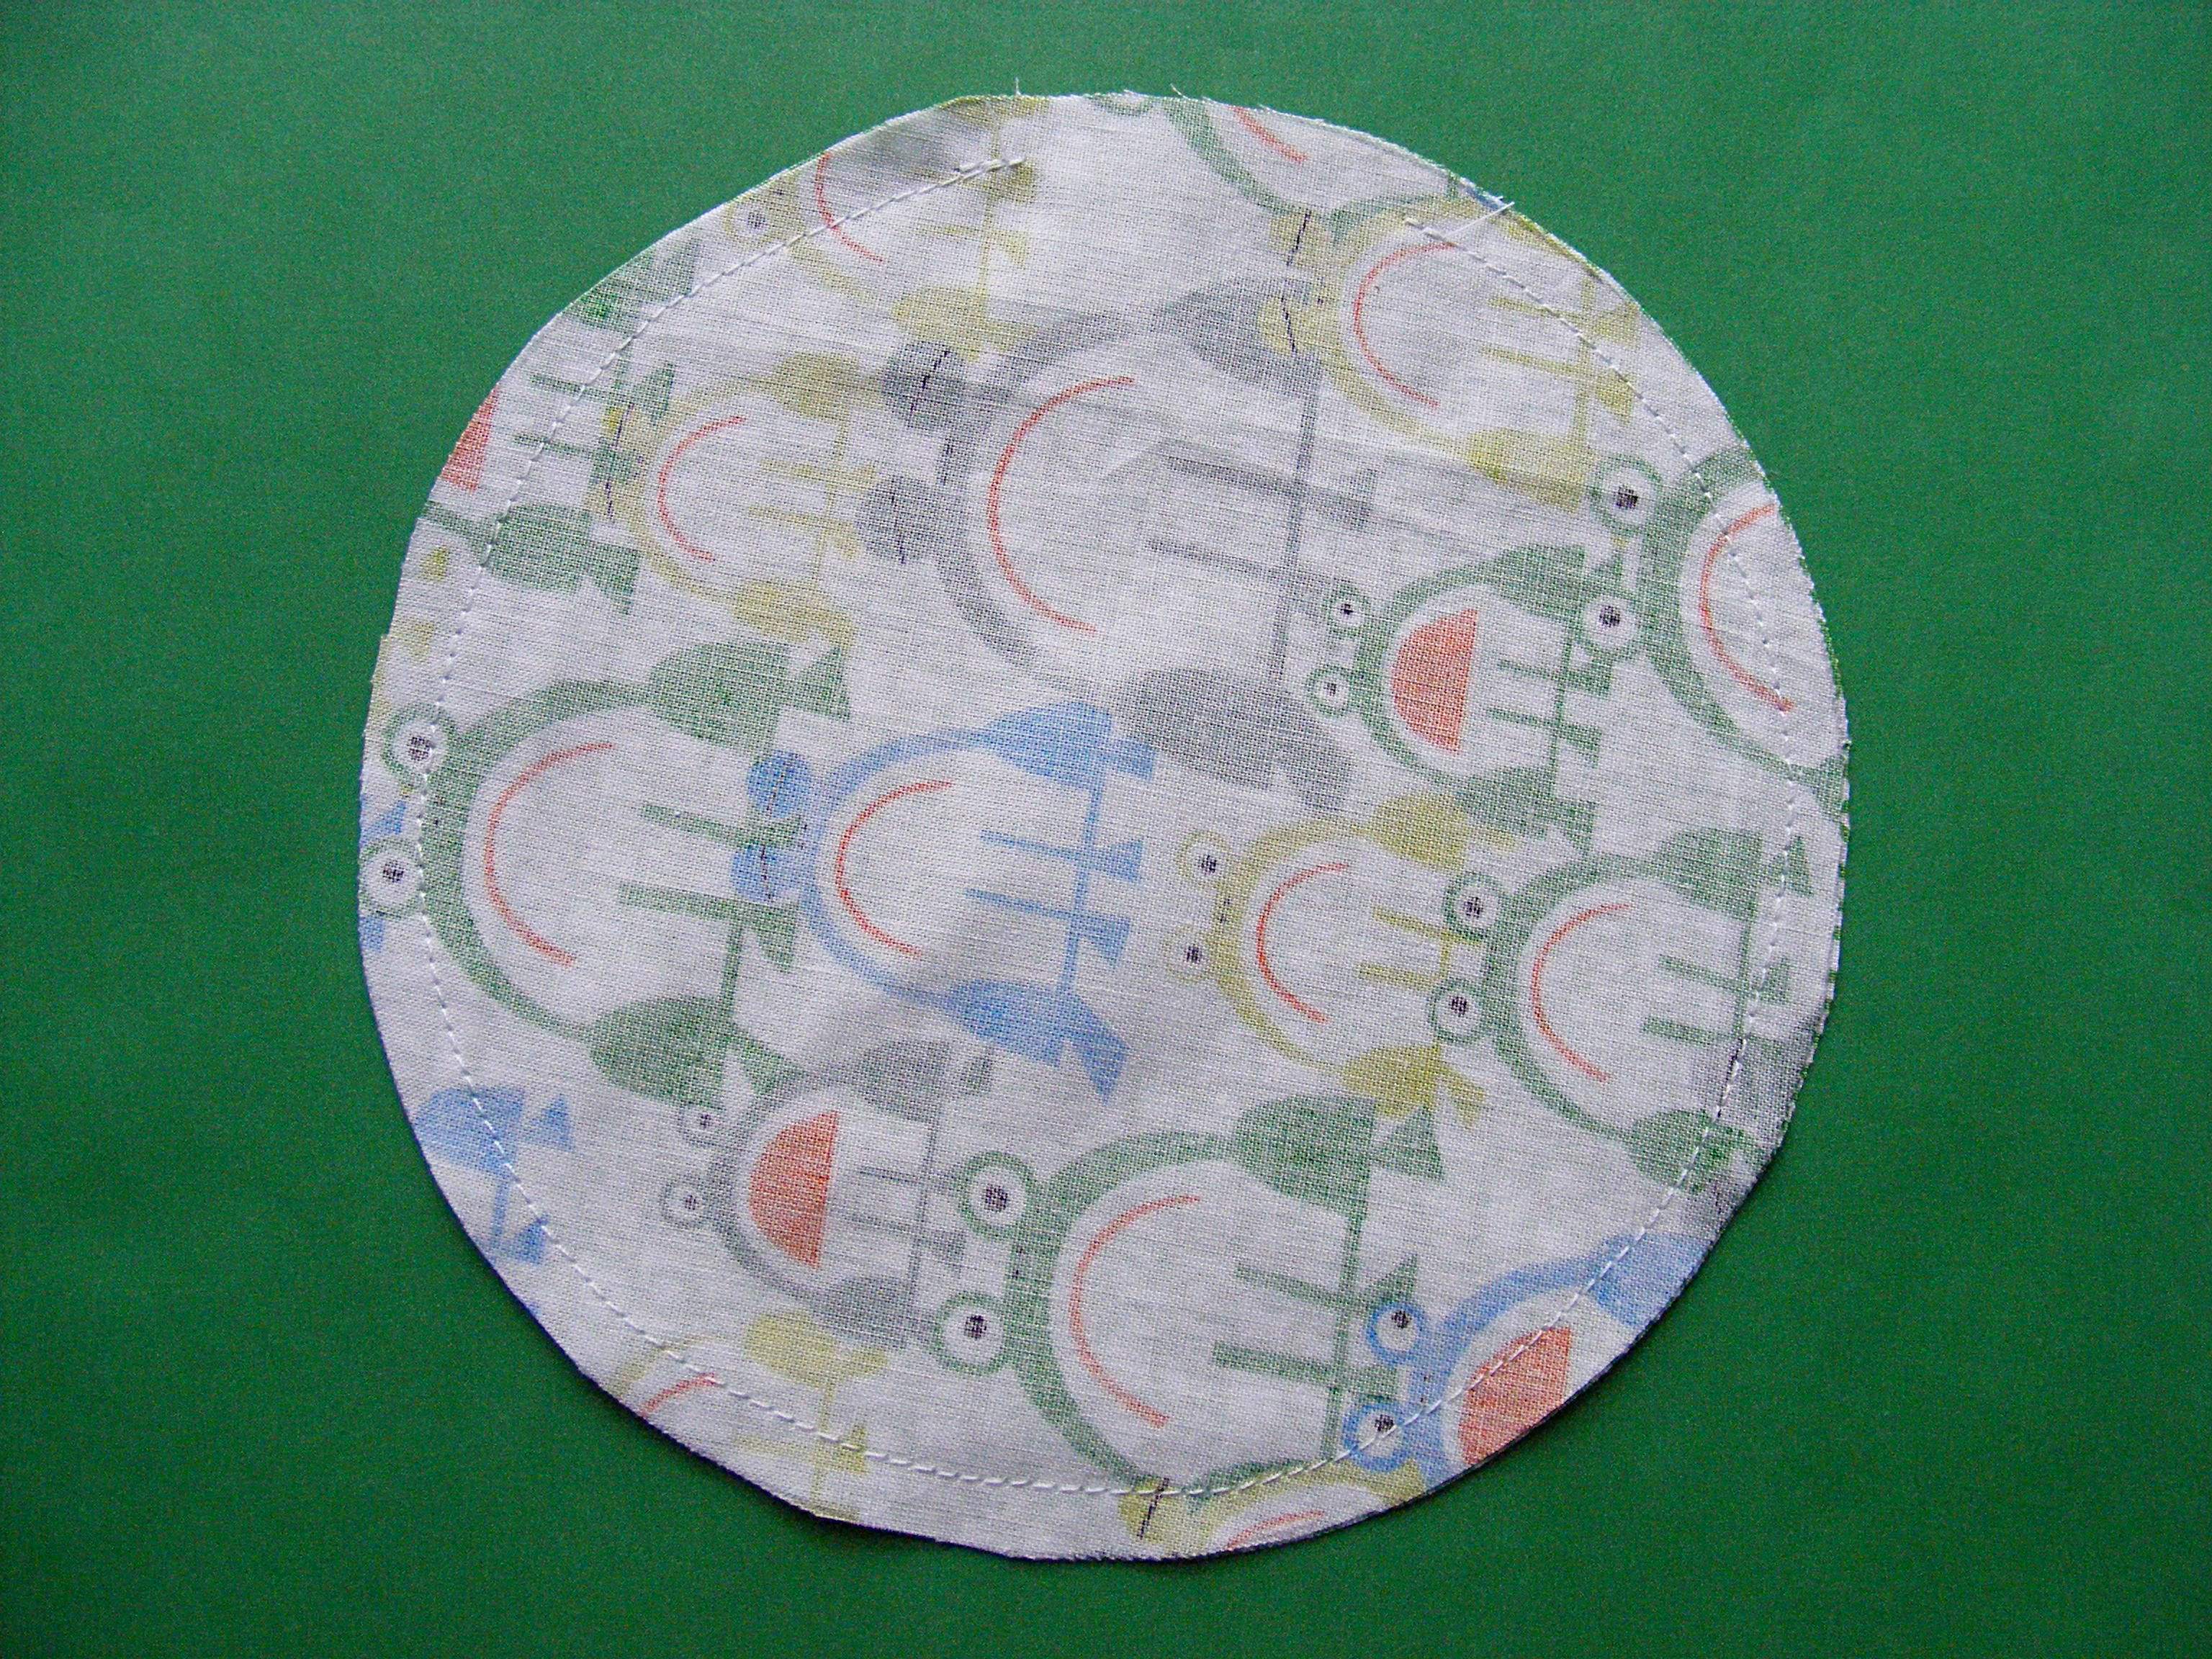
Cut one circle from each fabric. The circles should be about 6 inches in diameter. You can measure it with a compass or do what I did – trace around a dessert plate. 🙂
Step 2
Put the two circles right sides together and sew almost all the way around the edge. Use 1/4 inch seam allowance and leave a few inches open for stuffing.
Don’t forget to backstitch at the beginning and end of your stitching.
Step 3
Turn it right side out. Press the raw edges around the stuffing opening flat. This will really help you when you’re ready to sew up the stuffing opening.
Step 4
Fold your disk into fourths to find the exact center and mark it with a small marker on the top AND bottom.
Stuff the heck out of it. I’m not kidding here – the best pincushions are REALLY hard. It gives the pincushion weight AND makes the pins slide in and out with no resistance. A loosely-stuffed pincushion tends to “grab” the pins. Stuff. Stuff. Stuff until you can’t get any more stuffing in.
Sew it closed using whipstitch. You’re going to cover up the seam line with rickrack so there’s no need to get fancy with ladder stitching.
Step 5
Hand sew the rickrack over the seam.
I take a tiny stitch at the top of each peak, the bottom of each valley, and midway up and down each hill. I do that on the top and bottom edge of the band of rickrack. Trim off the frayed ends of the rick rack and hit them with a dab of Fray-check or clear nail polish.
Step 6
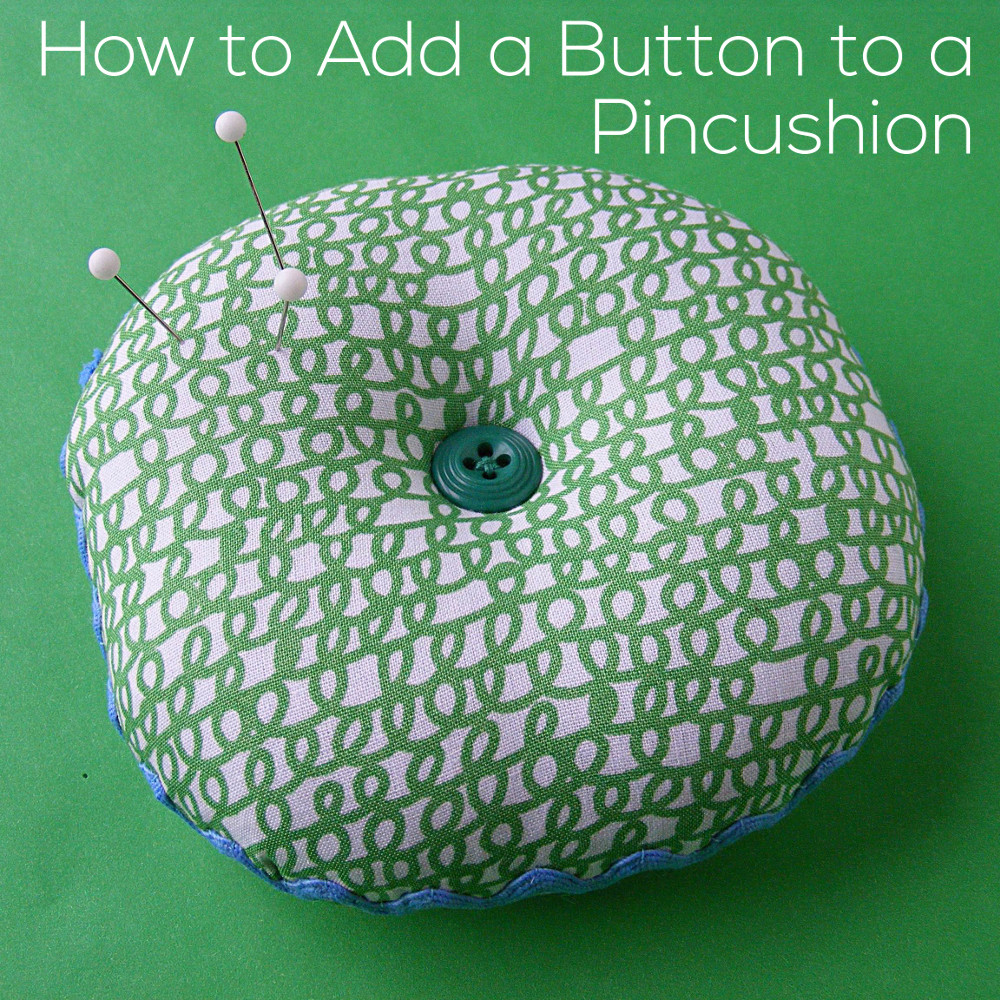
Using the center marks you made in step 4, sew buttons to the top and bottom of the pincushion – pulling tight to make the pincushion dimple in at the center on both sides. This is the trickiest step of the whole project – watch this video to see how to do it without swearing.
Finished! Stick in some pins and put it to work. Then make another. I keep one at my sewing machine, one at my cutting table, and one at my ironing board. You can NEVER have enough cute pincushions. 🙂
You could even make yourself a pincushion to match your other sewing room accessories. Here are links to the free patterns for all those other projects. . .
This is my favorite pincushion style. For the best results you want to stuff it REALLY hard – but that makes that nice dimpled button in the center a bit tricky. And how do you knot it off? I don’t want to see the knot anywhere.
a new shipping tote (which always hangs in my sewing room waiting to be filled with your lovely orders)
a new lap quilt for those chilly mornings
Michelle at Cloud 9 was kind enough to send me some early cuts of the fabric and I’ve been sewing away with it. (If you’re also following along on Facebook you’ve seen photos of some of the work in progress.)
Now I’m starting to finish layout on some of the patterns – so be prepared for a slew of patterns to help you make stuff for your sewing room. All stitched up in Ed Emberley awesomeness.
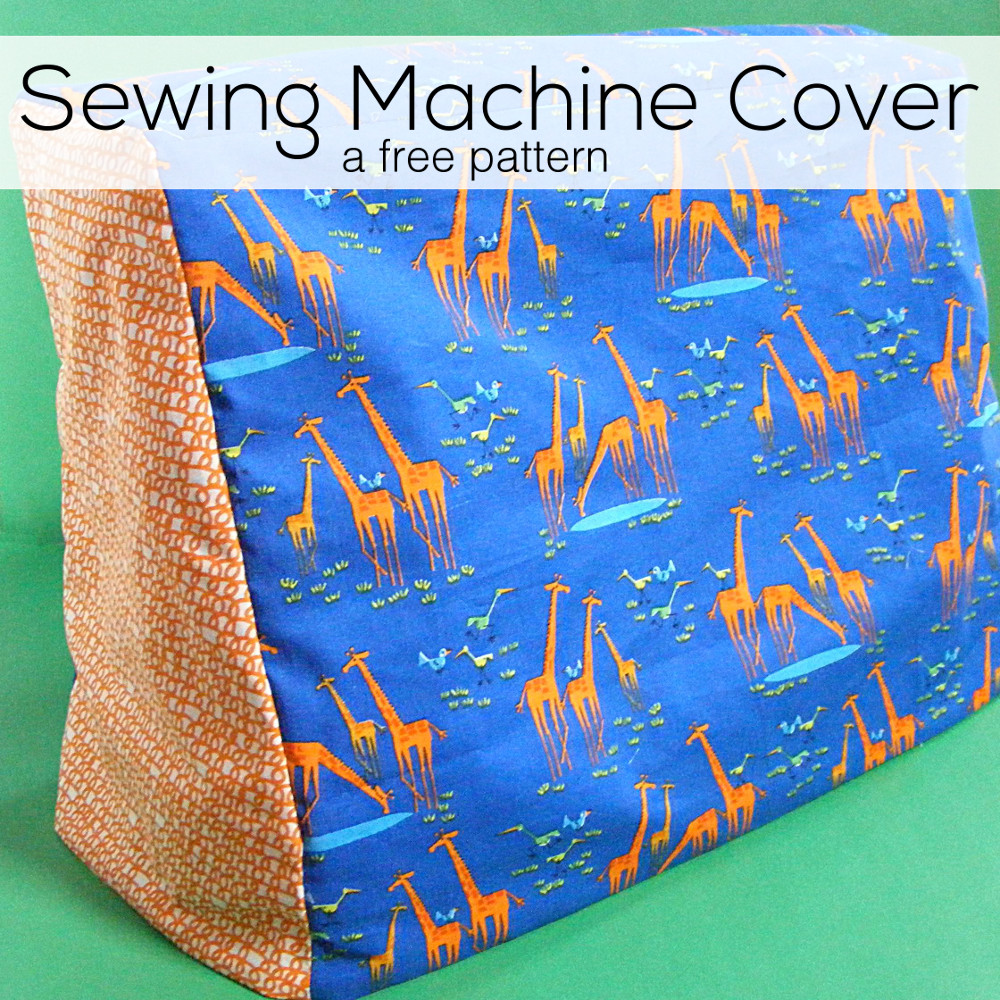
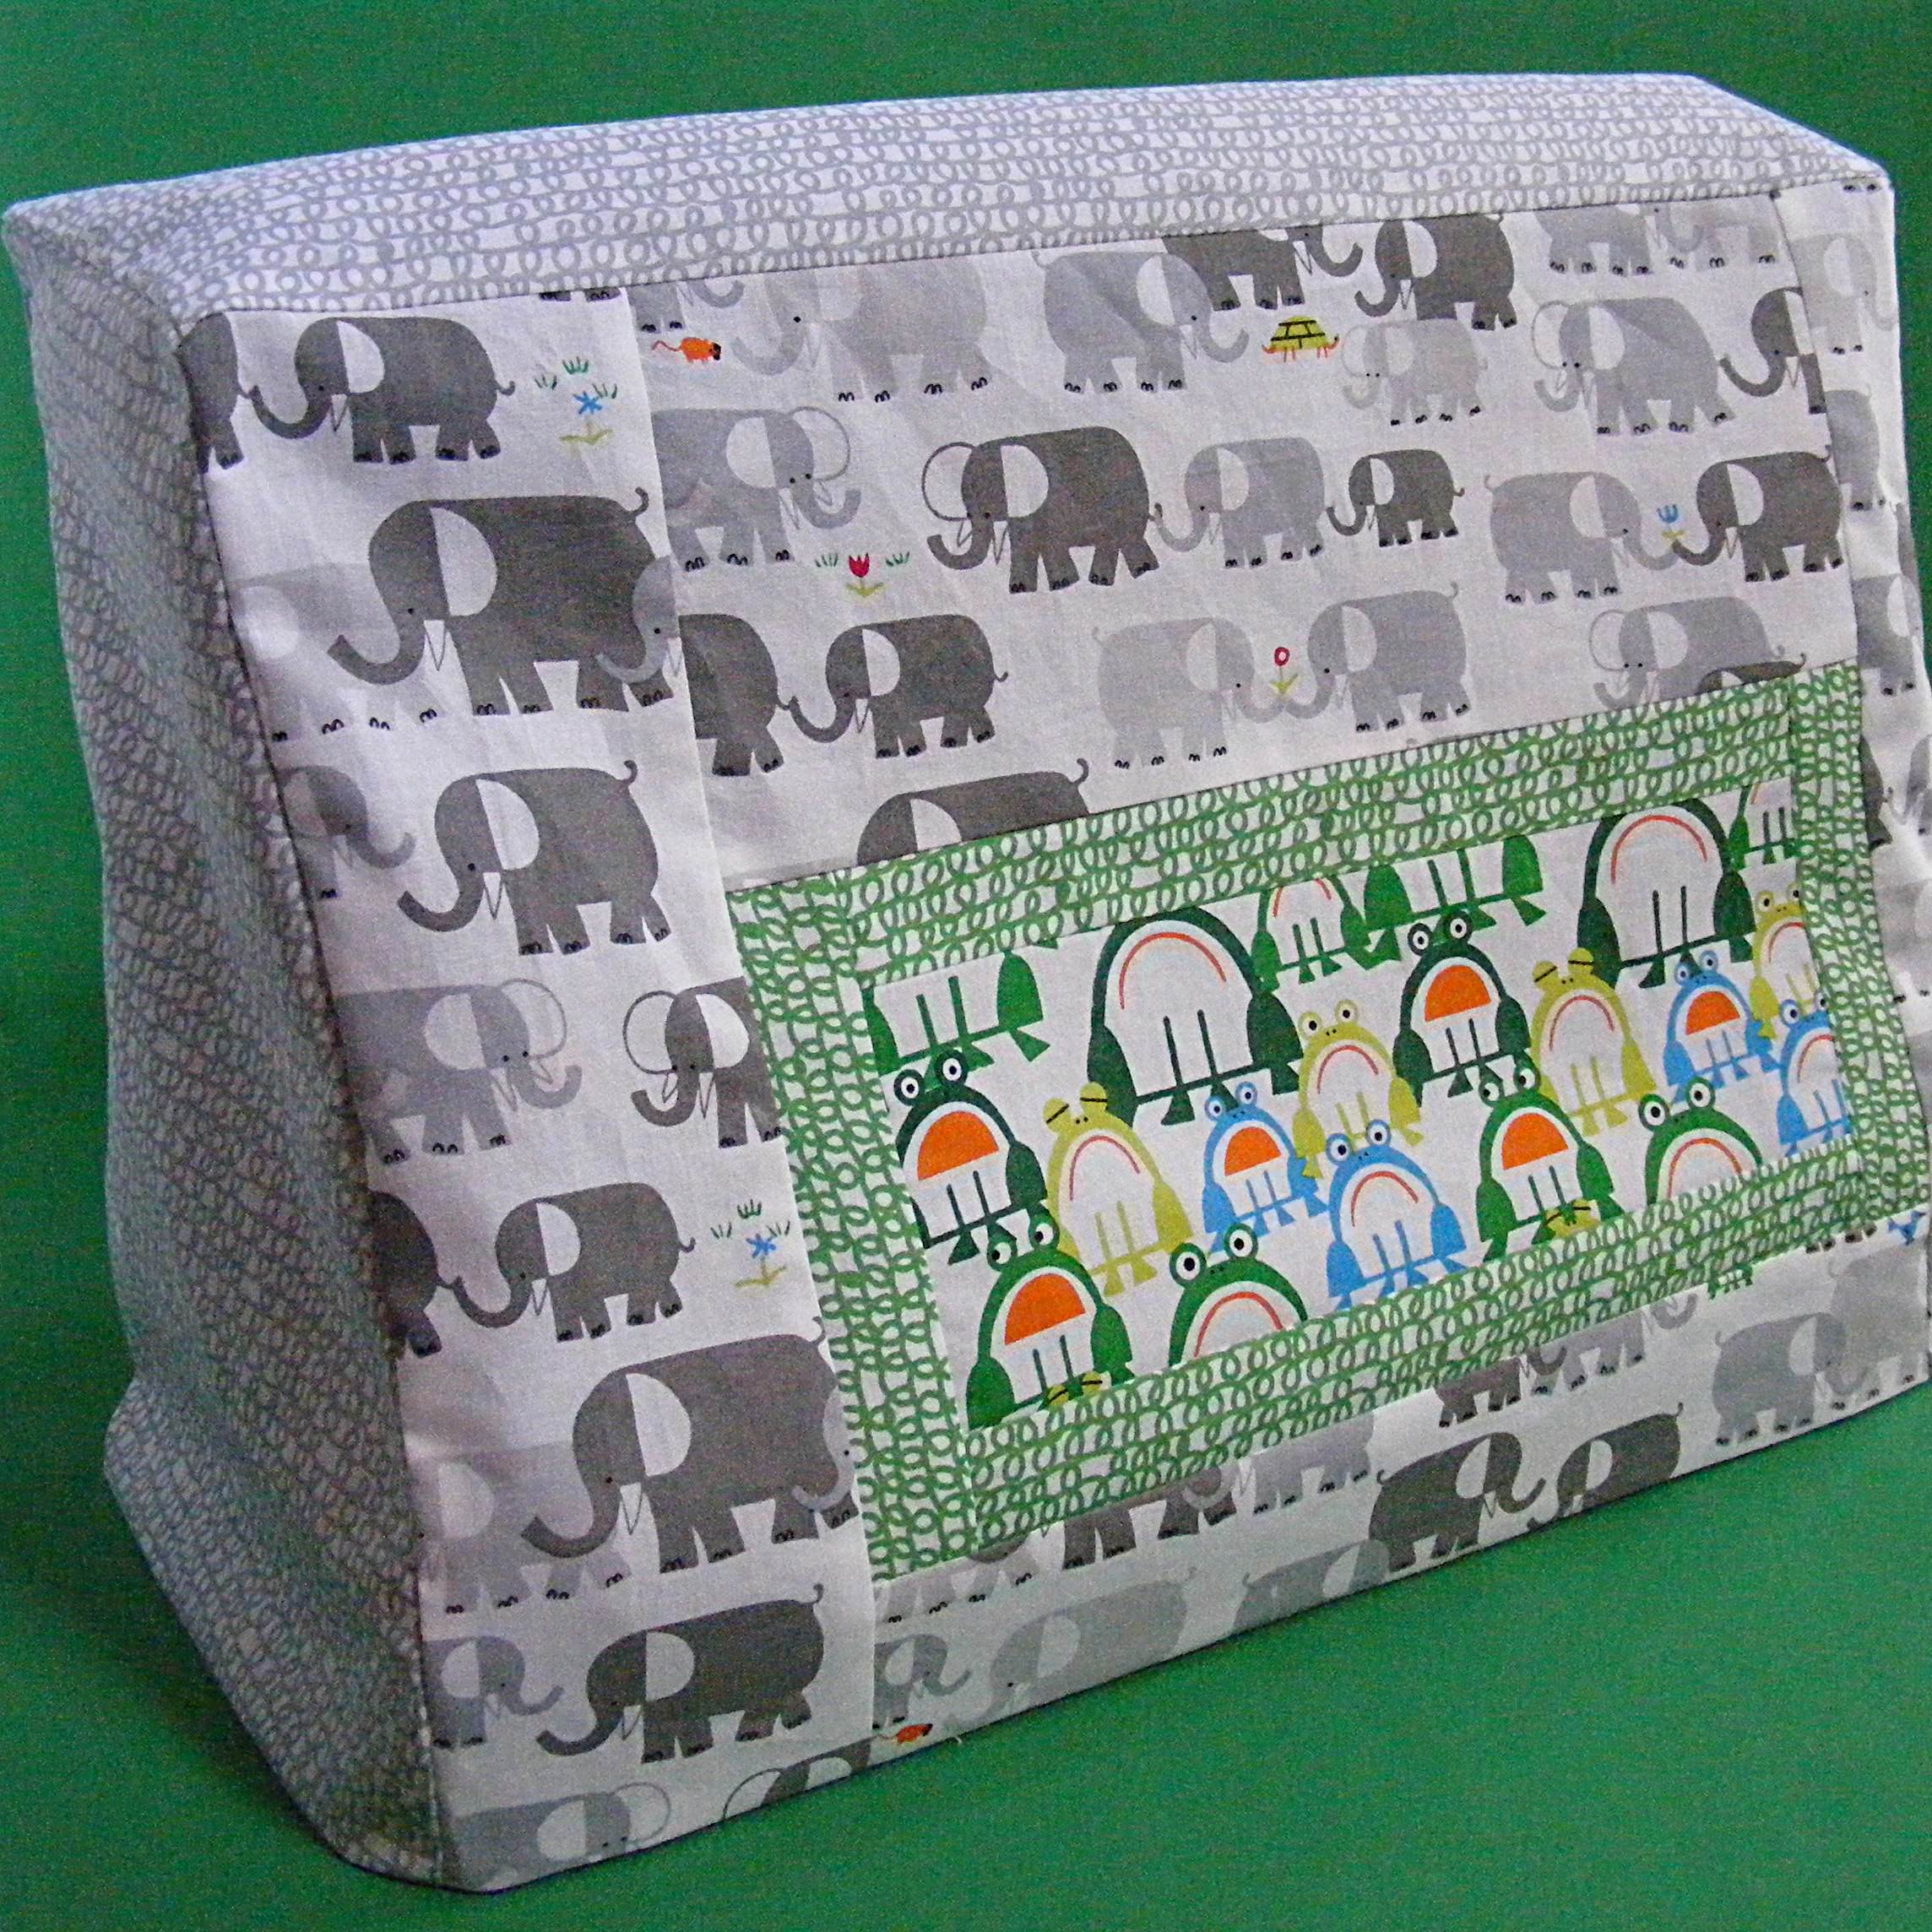
First up – a reversible sewing machine cover. Why reversible? Well – I wanted to make it in the giraffes fabric, but I also wanted to show you how you could use the basic pattern and really have fun with the front panel. You can piece it, applique it, embroider it, bedazzle it – play with it any way you like. (My daughter just got a Bedazzler. I have rhinestones on the brain.)
Making it reversible also gives the cover some heft without having to use interfacing. Nice! Plus it allows me to change my mind about which color I want to see. Here’s the reverse.
See? A totally different look. 🙂
Anyway – most sewing machine cover patterns are essentially boxes, but I show you how to make this slightly fitted. See how the top is a bit narrower than the bottom? It’s an easy extra step that makes the whole thing look nicer. Totally worth doing and still easy enough to be a beginner pattern.
Ready to make your own?
Materials you’ll need
depends on your design, but roughly 1/2 yard fabric for front and back, and 1/4 yard fabric for the sides
sewing machine, thread, basic sewing tools
Step 1
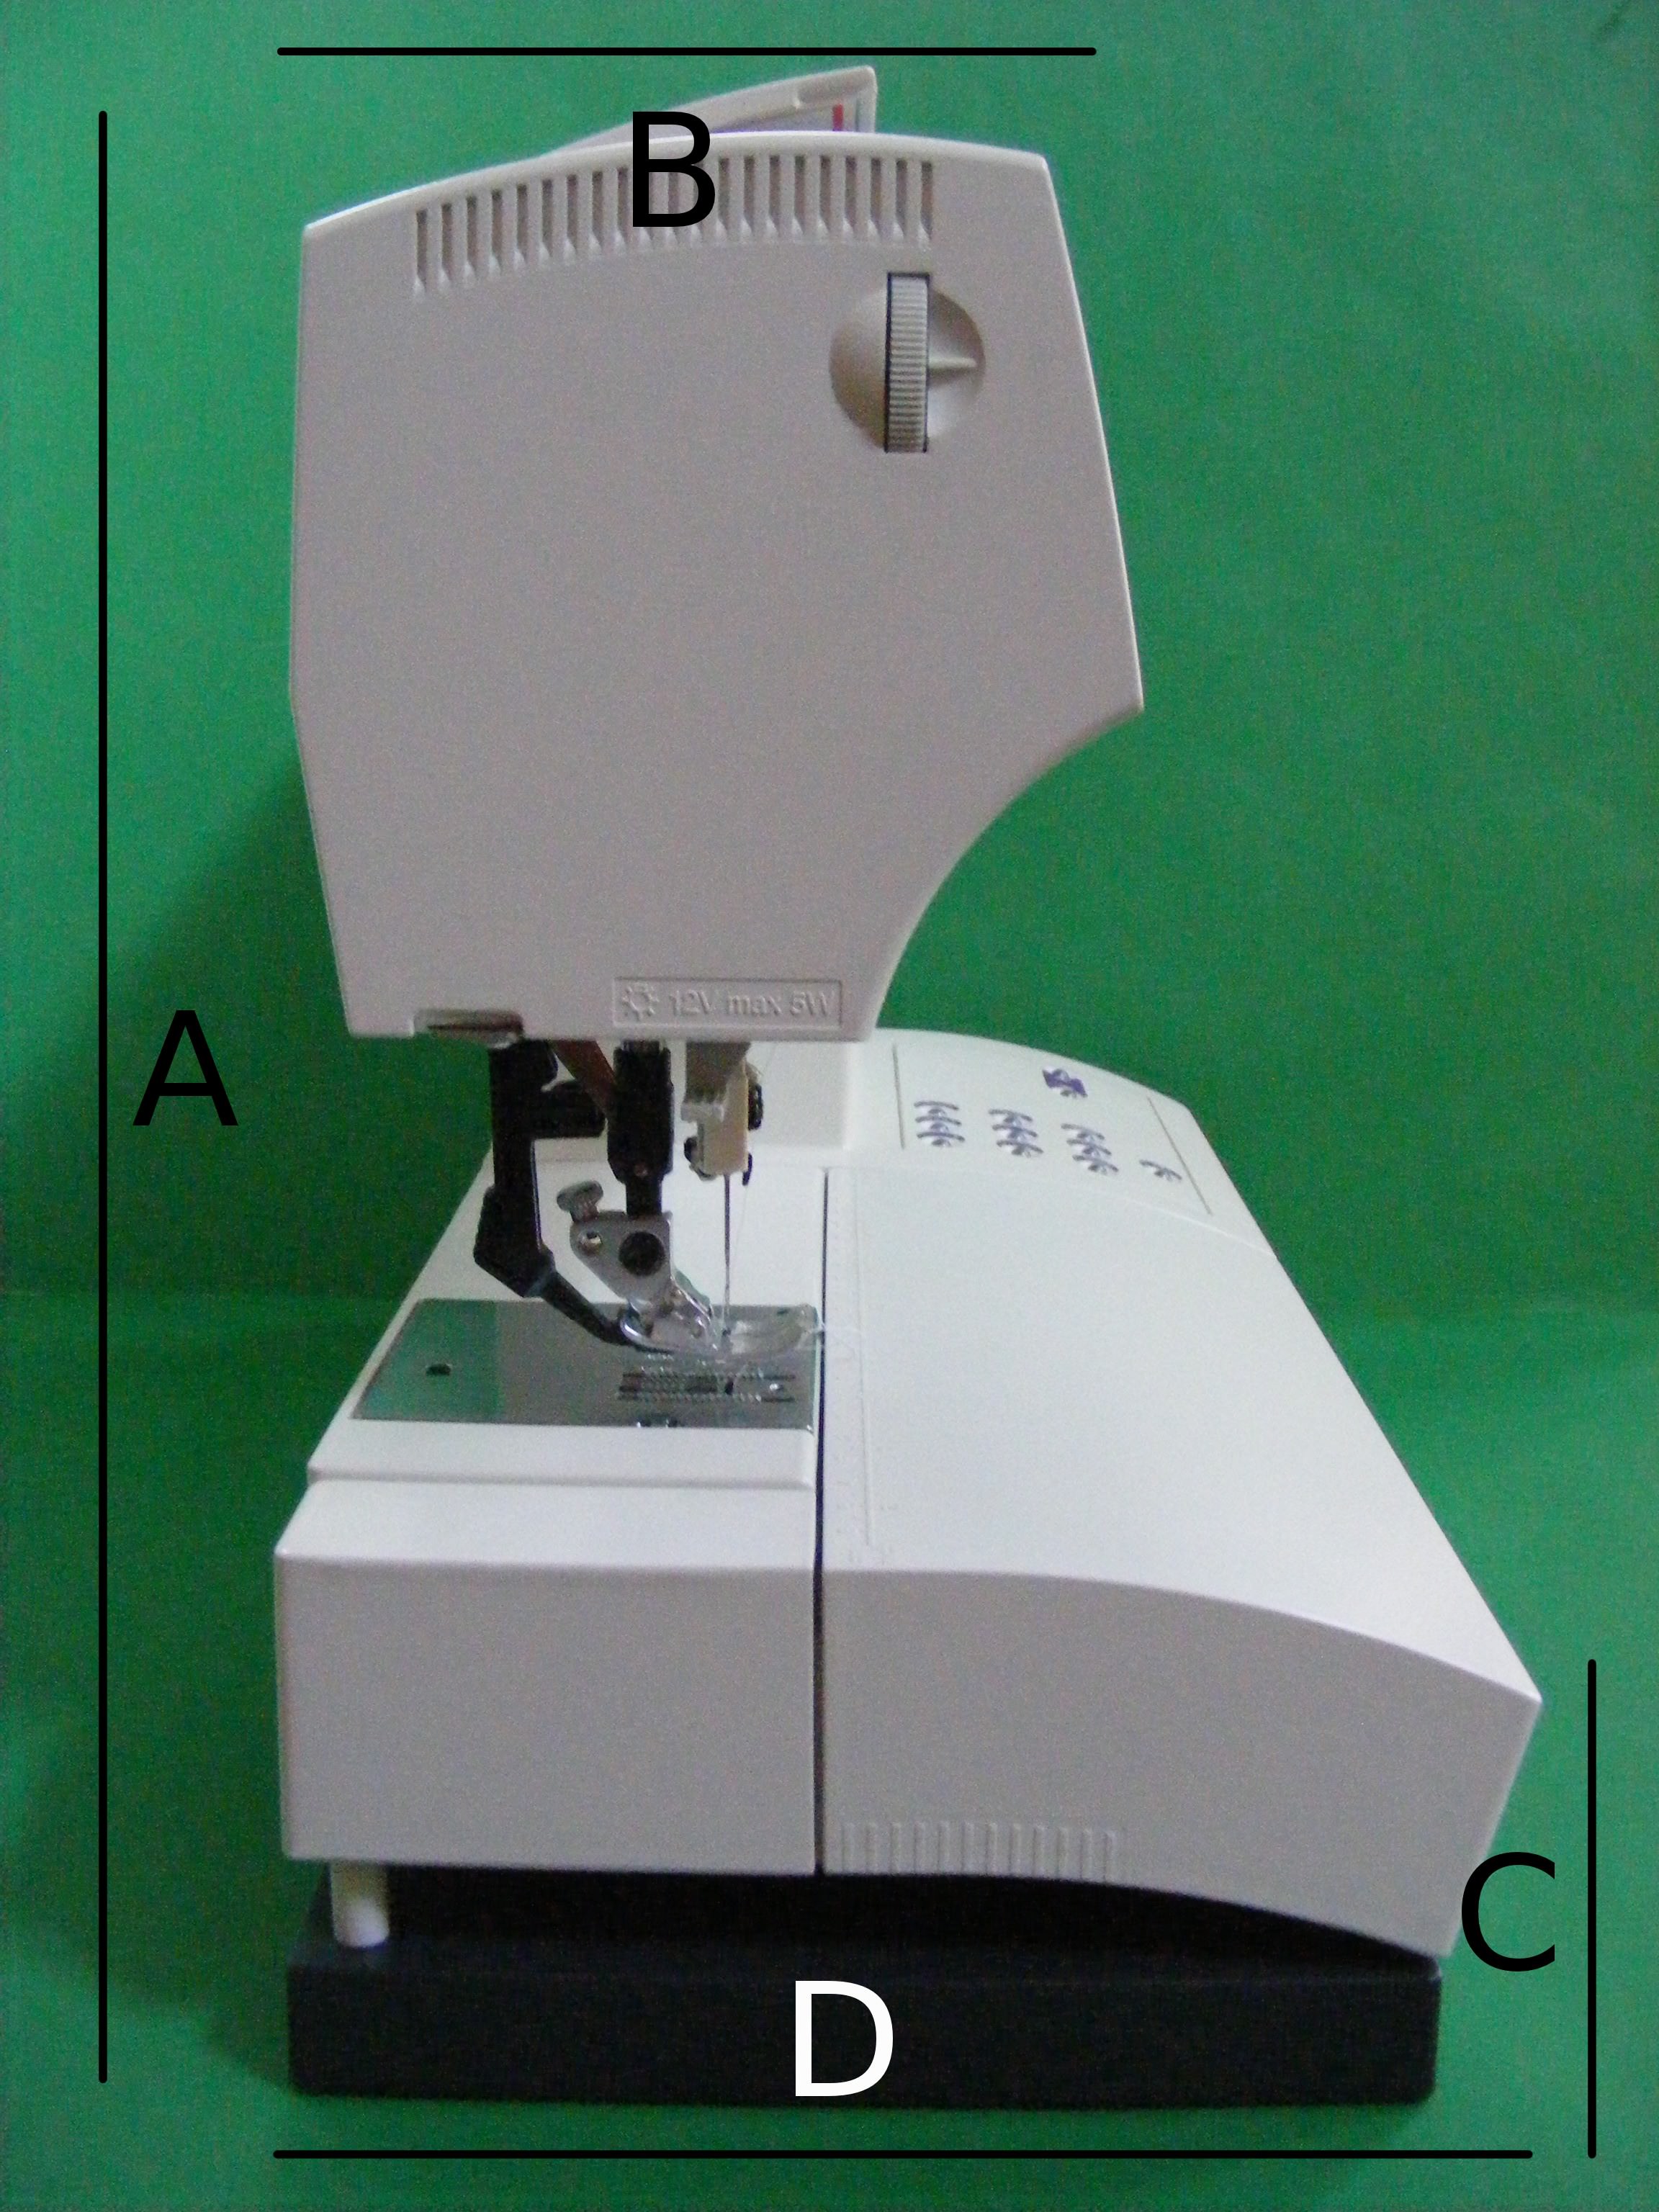
Measure your machine.
A __________ total height B __________ depth of the top C __________ height of the front D __________ depth of the bottom
E __________ total width (Not labeled – but be sure to include the wheel that controls the presser foot)
Step 2
Calculate the size of your pattern pieces.
Front and Back Pieces = E + 1 inch (seam allowance and ease) x A + 1 inch (seam allowance and ease)
Top Piece = E + 1 inch x B + 1 inch
Sides = A + 1 inch x D + 1 inch (you’ll cut the angle out of the front later)
Now you have some decisions to make. . .
You can cut your fabric to the dimensions in step 2 and skip ahead to step 8.
You can get fancy with any of these pieces. I’m going to go on and give you instructions for piecing the front panel, but you can really do anything you like. Piece it. Applique on it. Embroider it. Bedazzle it. Just make sure that when you’re done, the finished dimensions of your creation are what you calculated in step 2.
Whatever you choose, you’ll need a front, a back, a top and two sides for each version of your cover. Remember – this is a reversible cover so you’re really making two. Make them coordinate or make them wildly different. It’s totally up to you.
If you want to piece your cover like my elephants and frogs, move on to step 3. If you’re using solid fabric or doing your own thing, skip ahead to step 8.
Step 3
I’m going to have to give you some general directions here, because the measurements of individual pieces will vary from machine to machine.
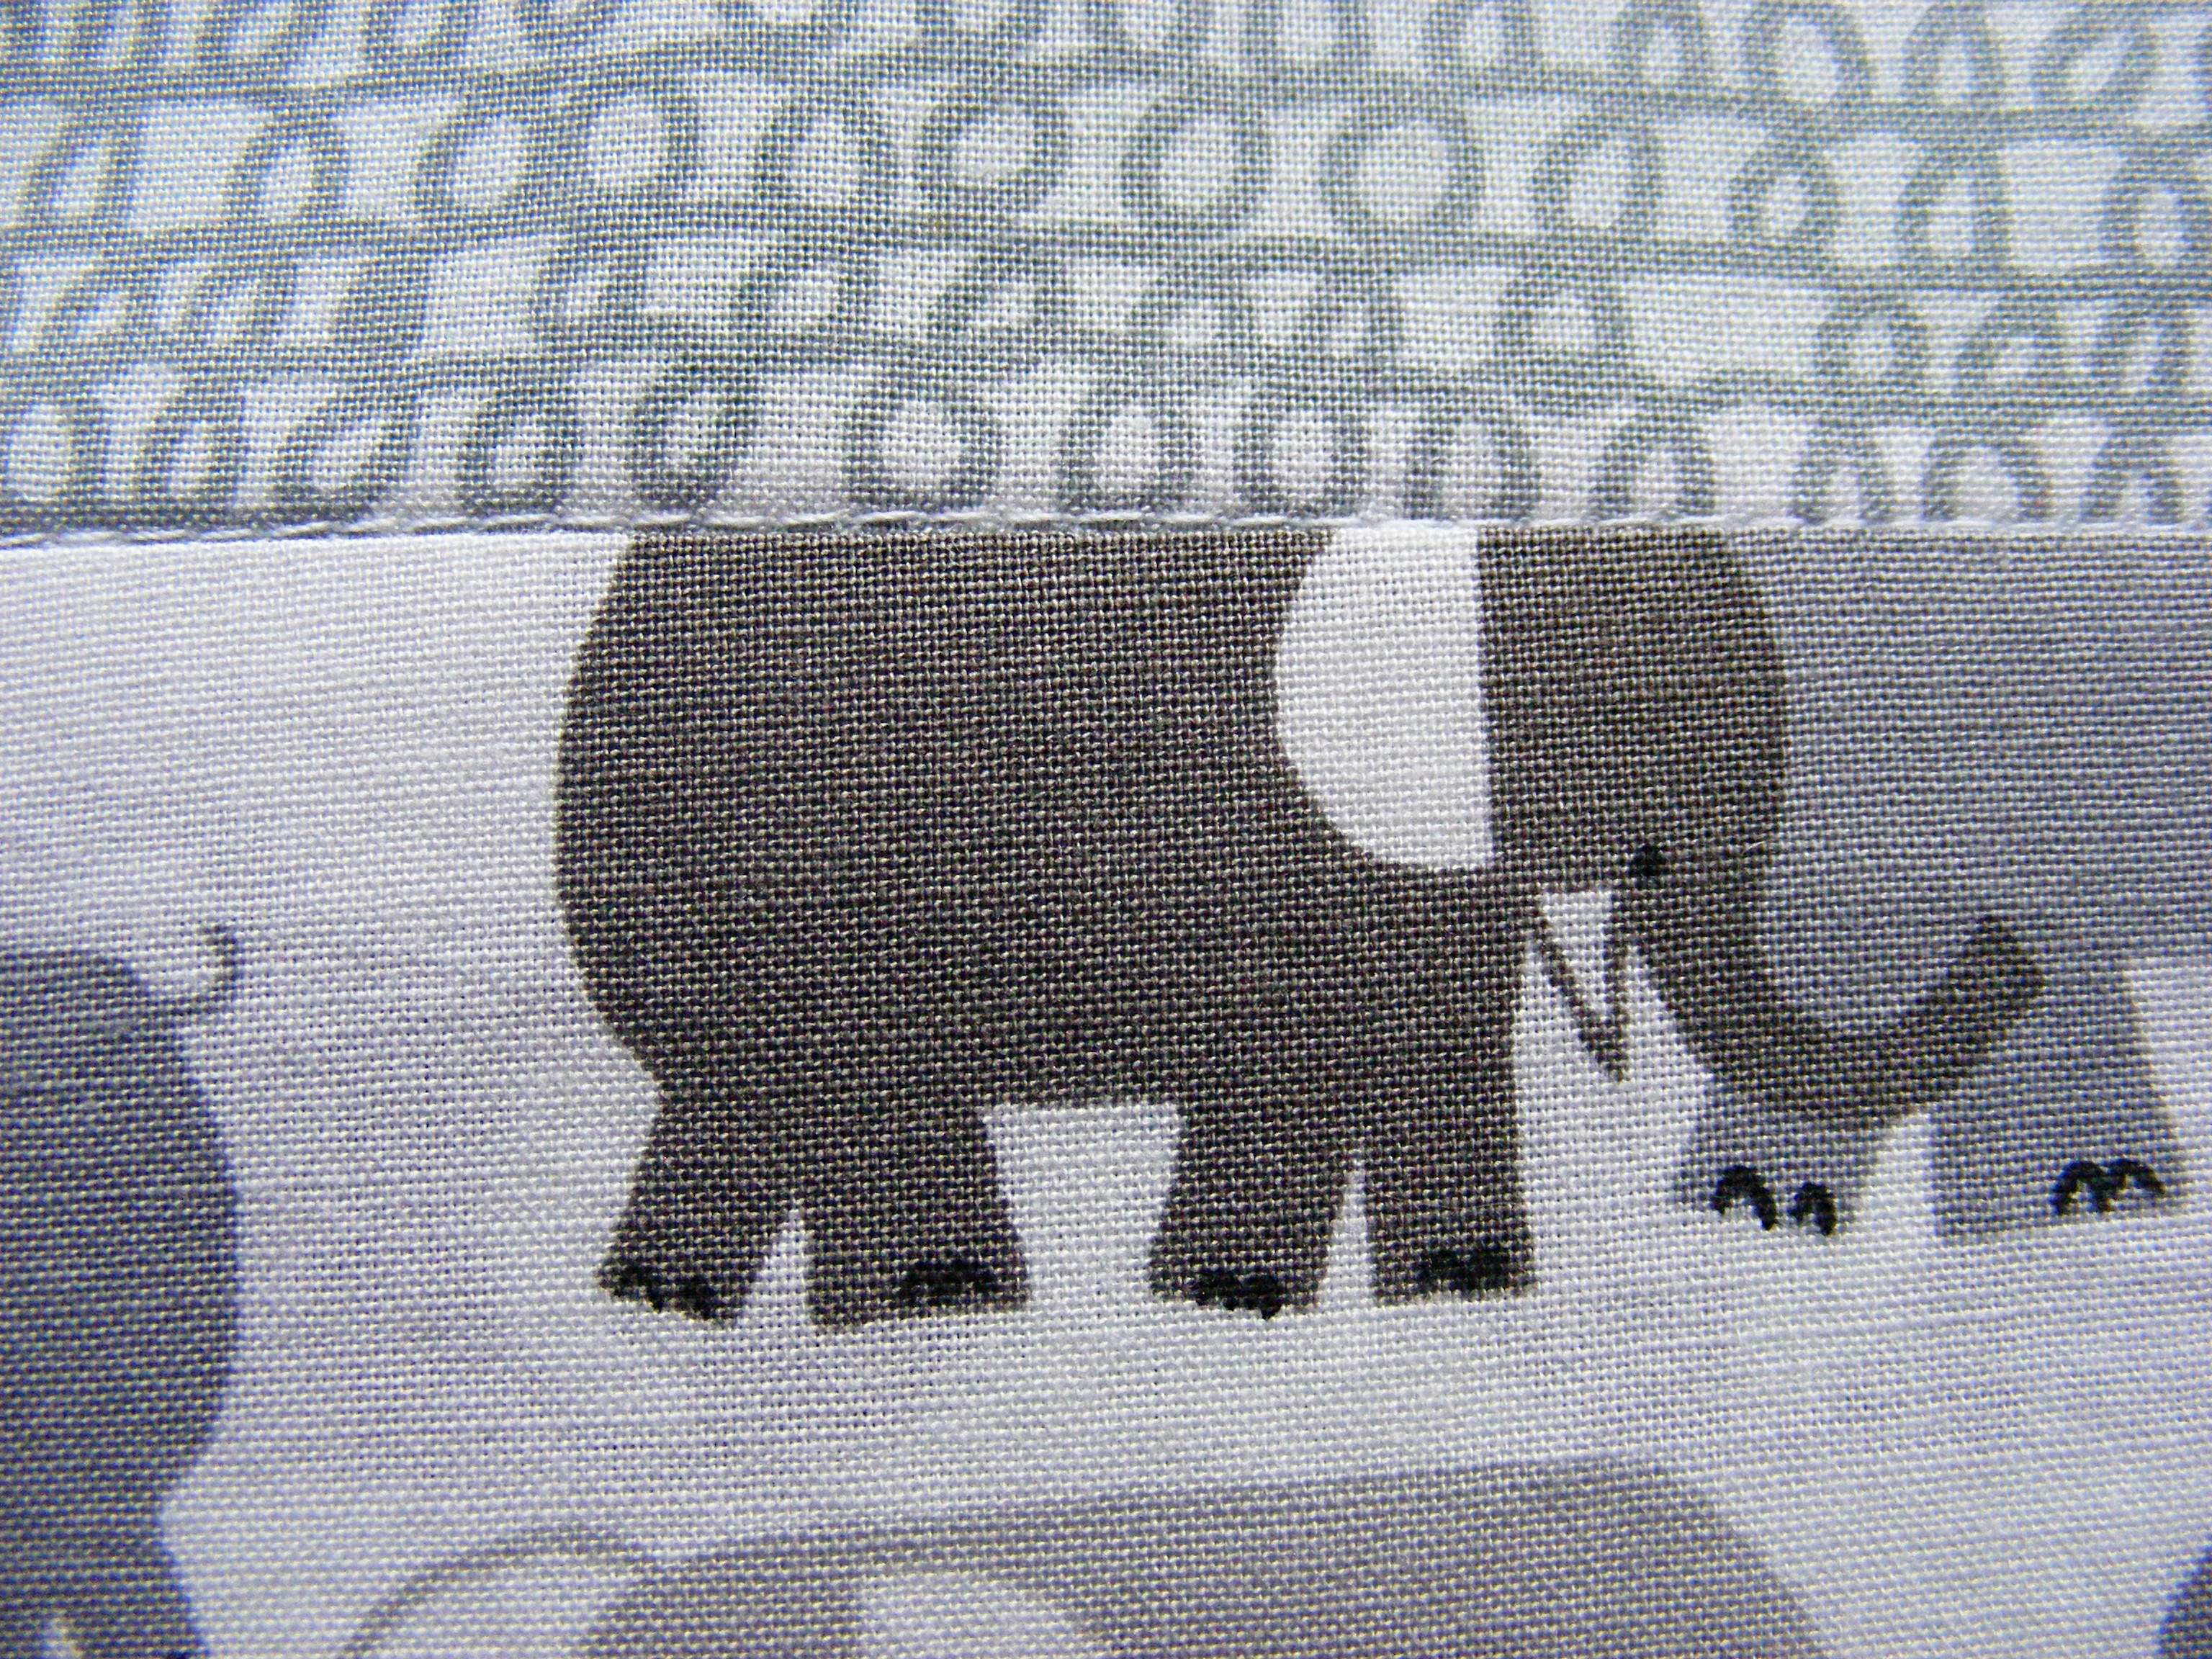
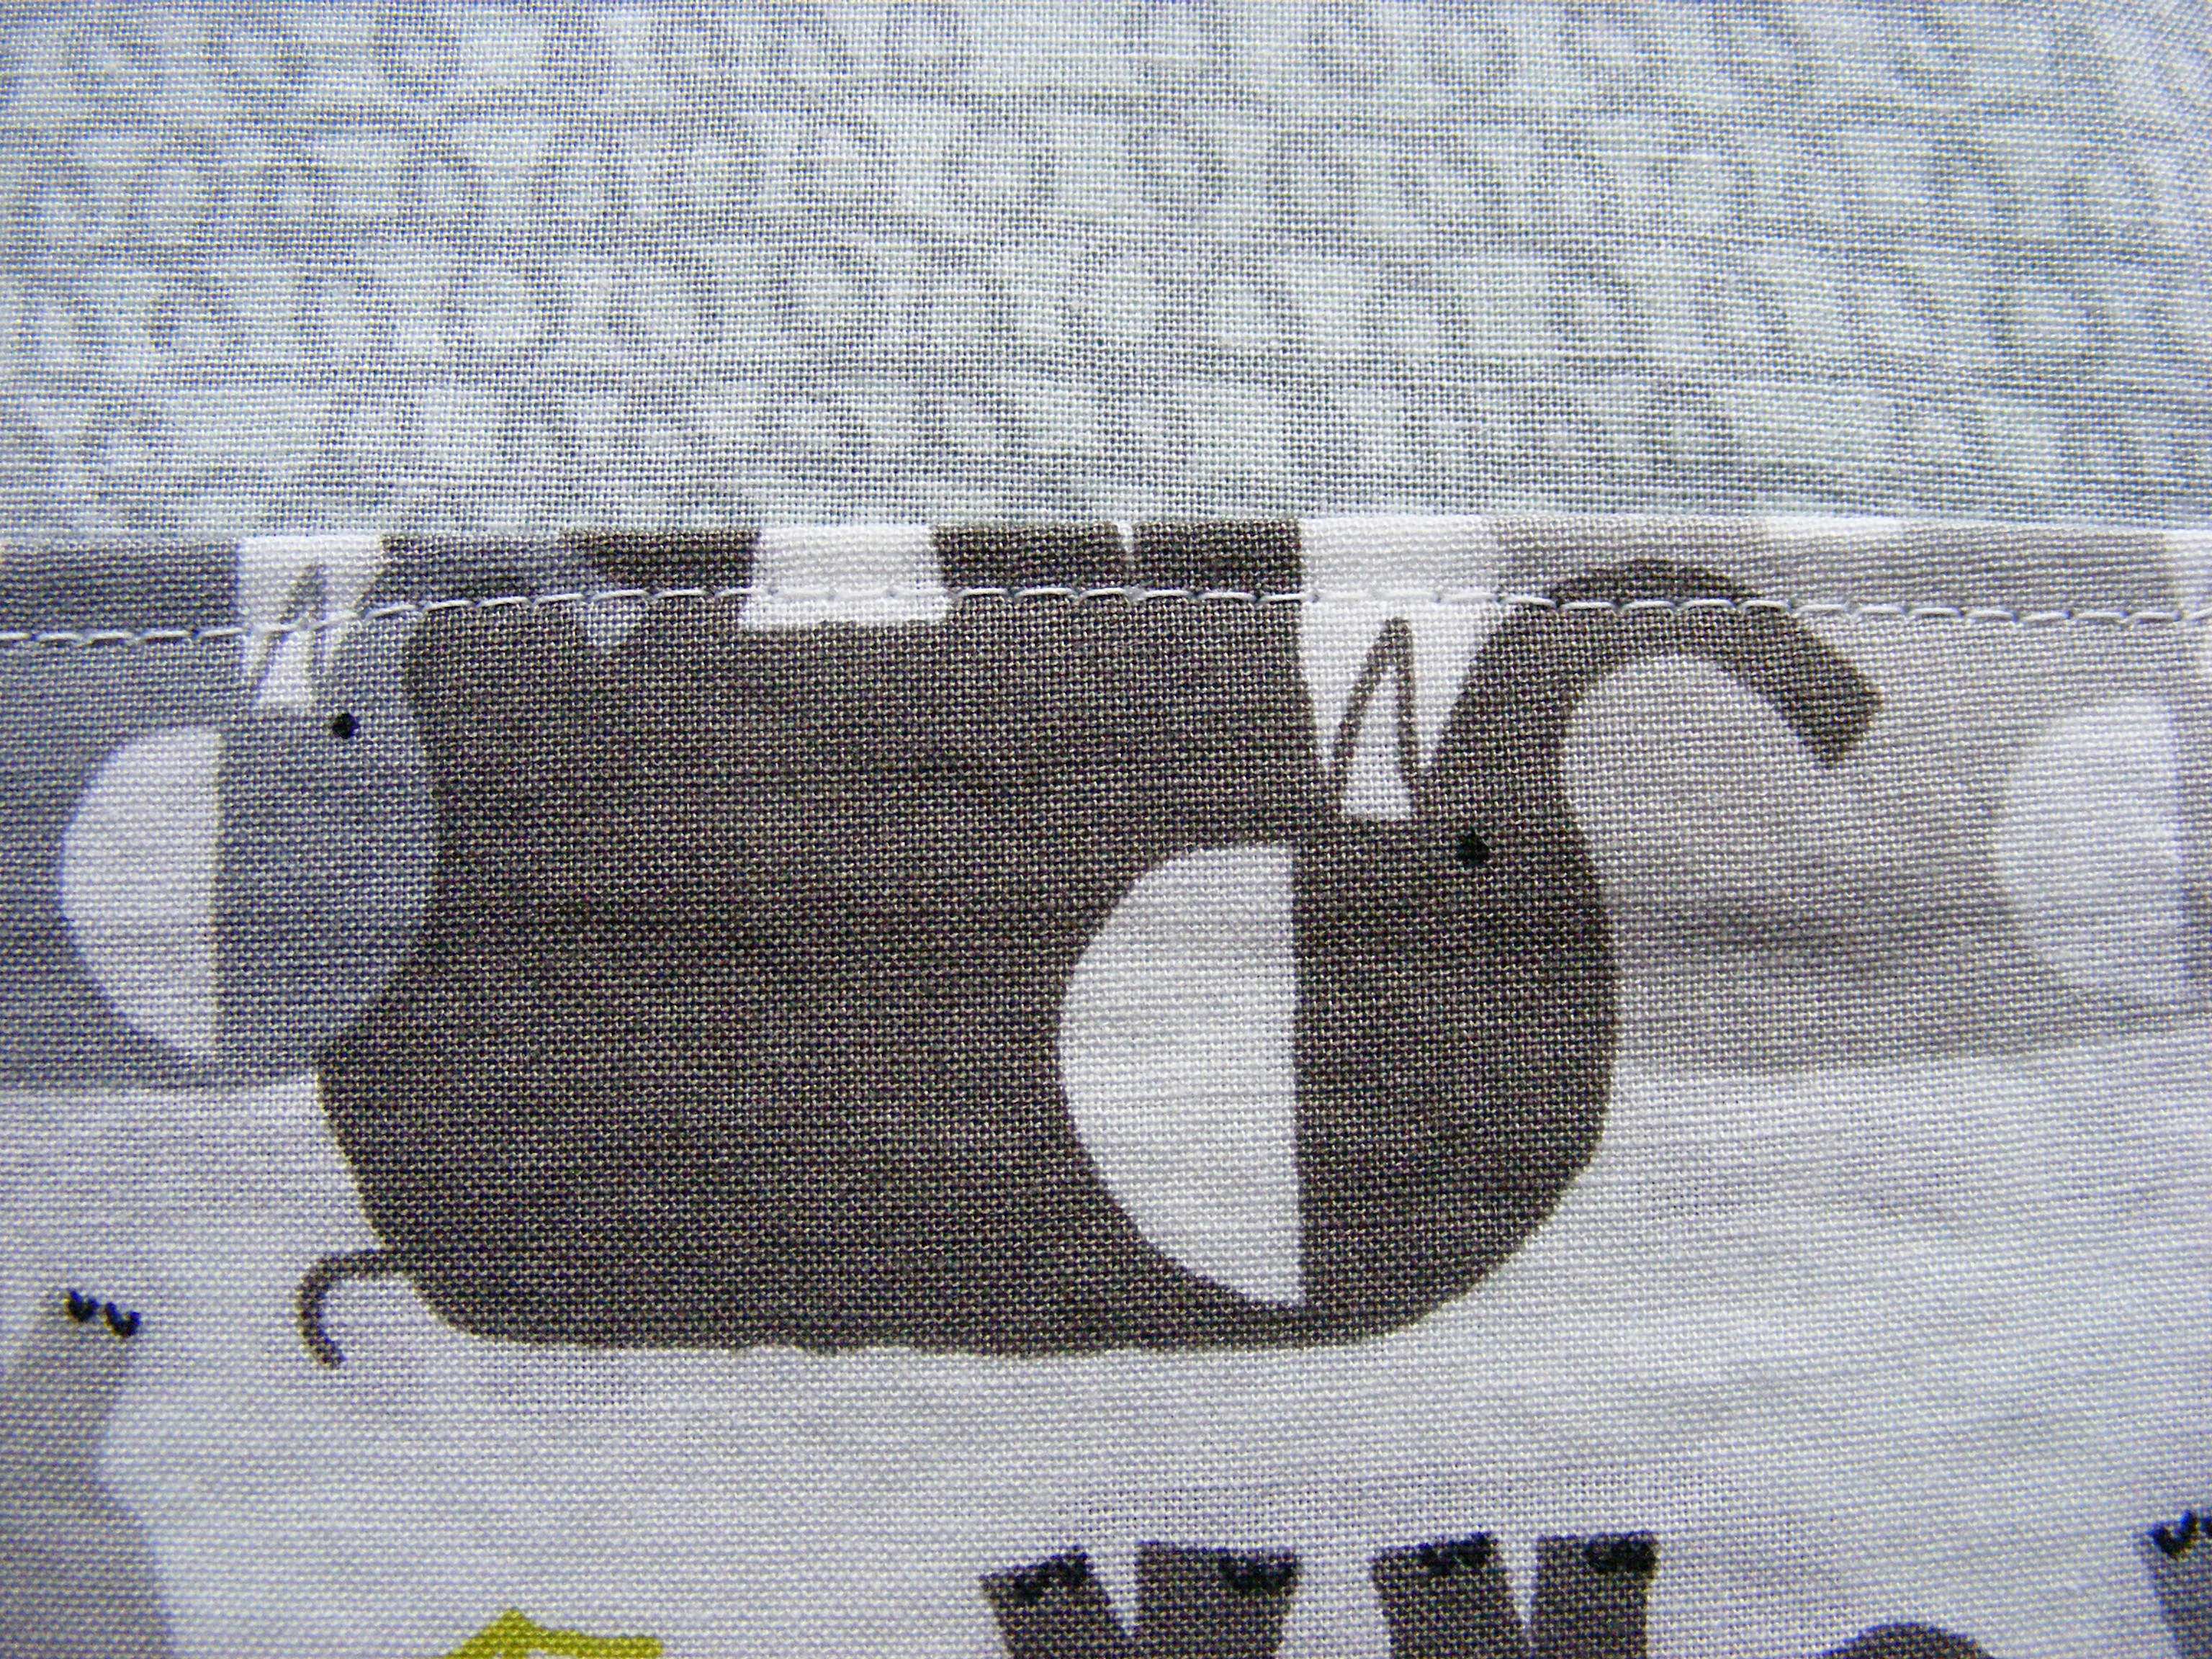
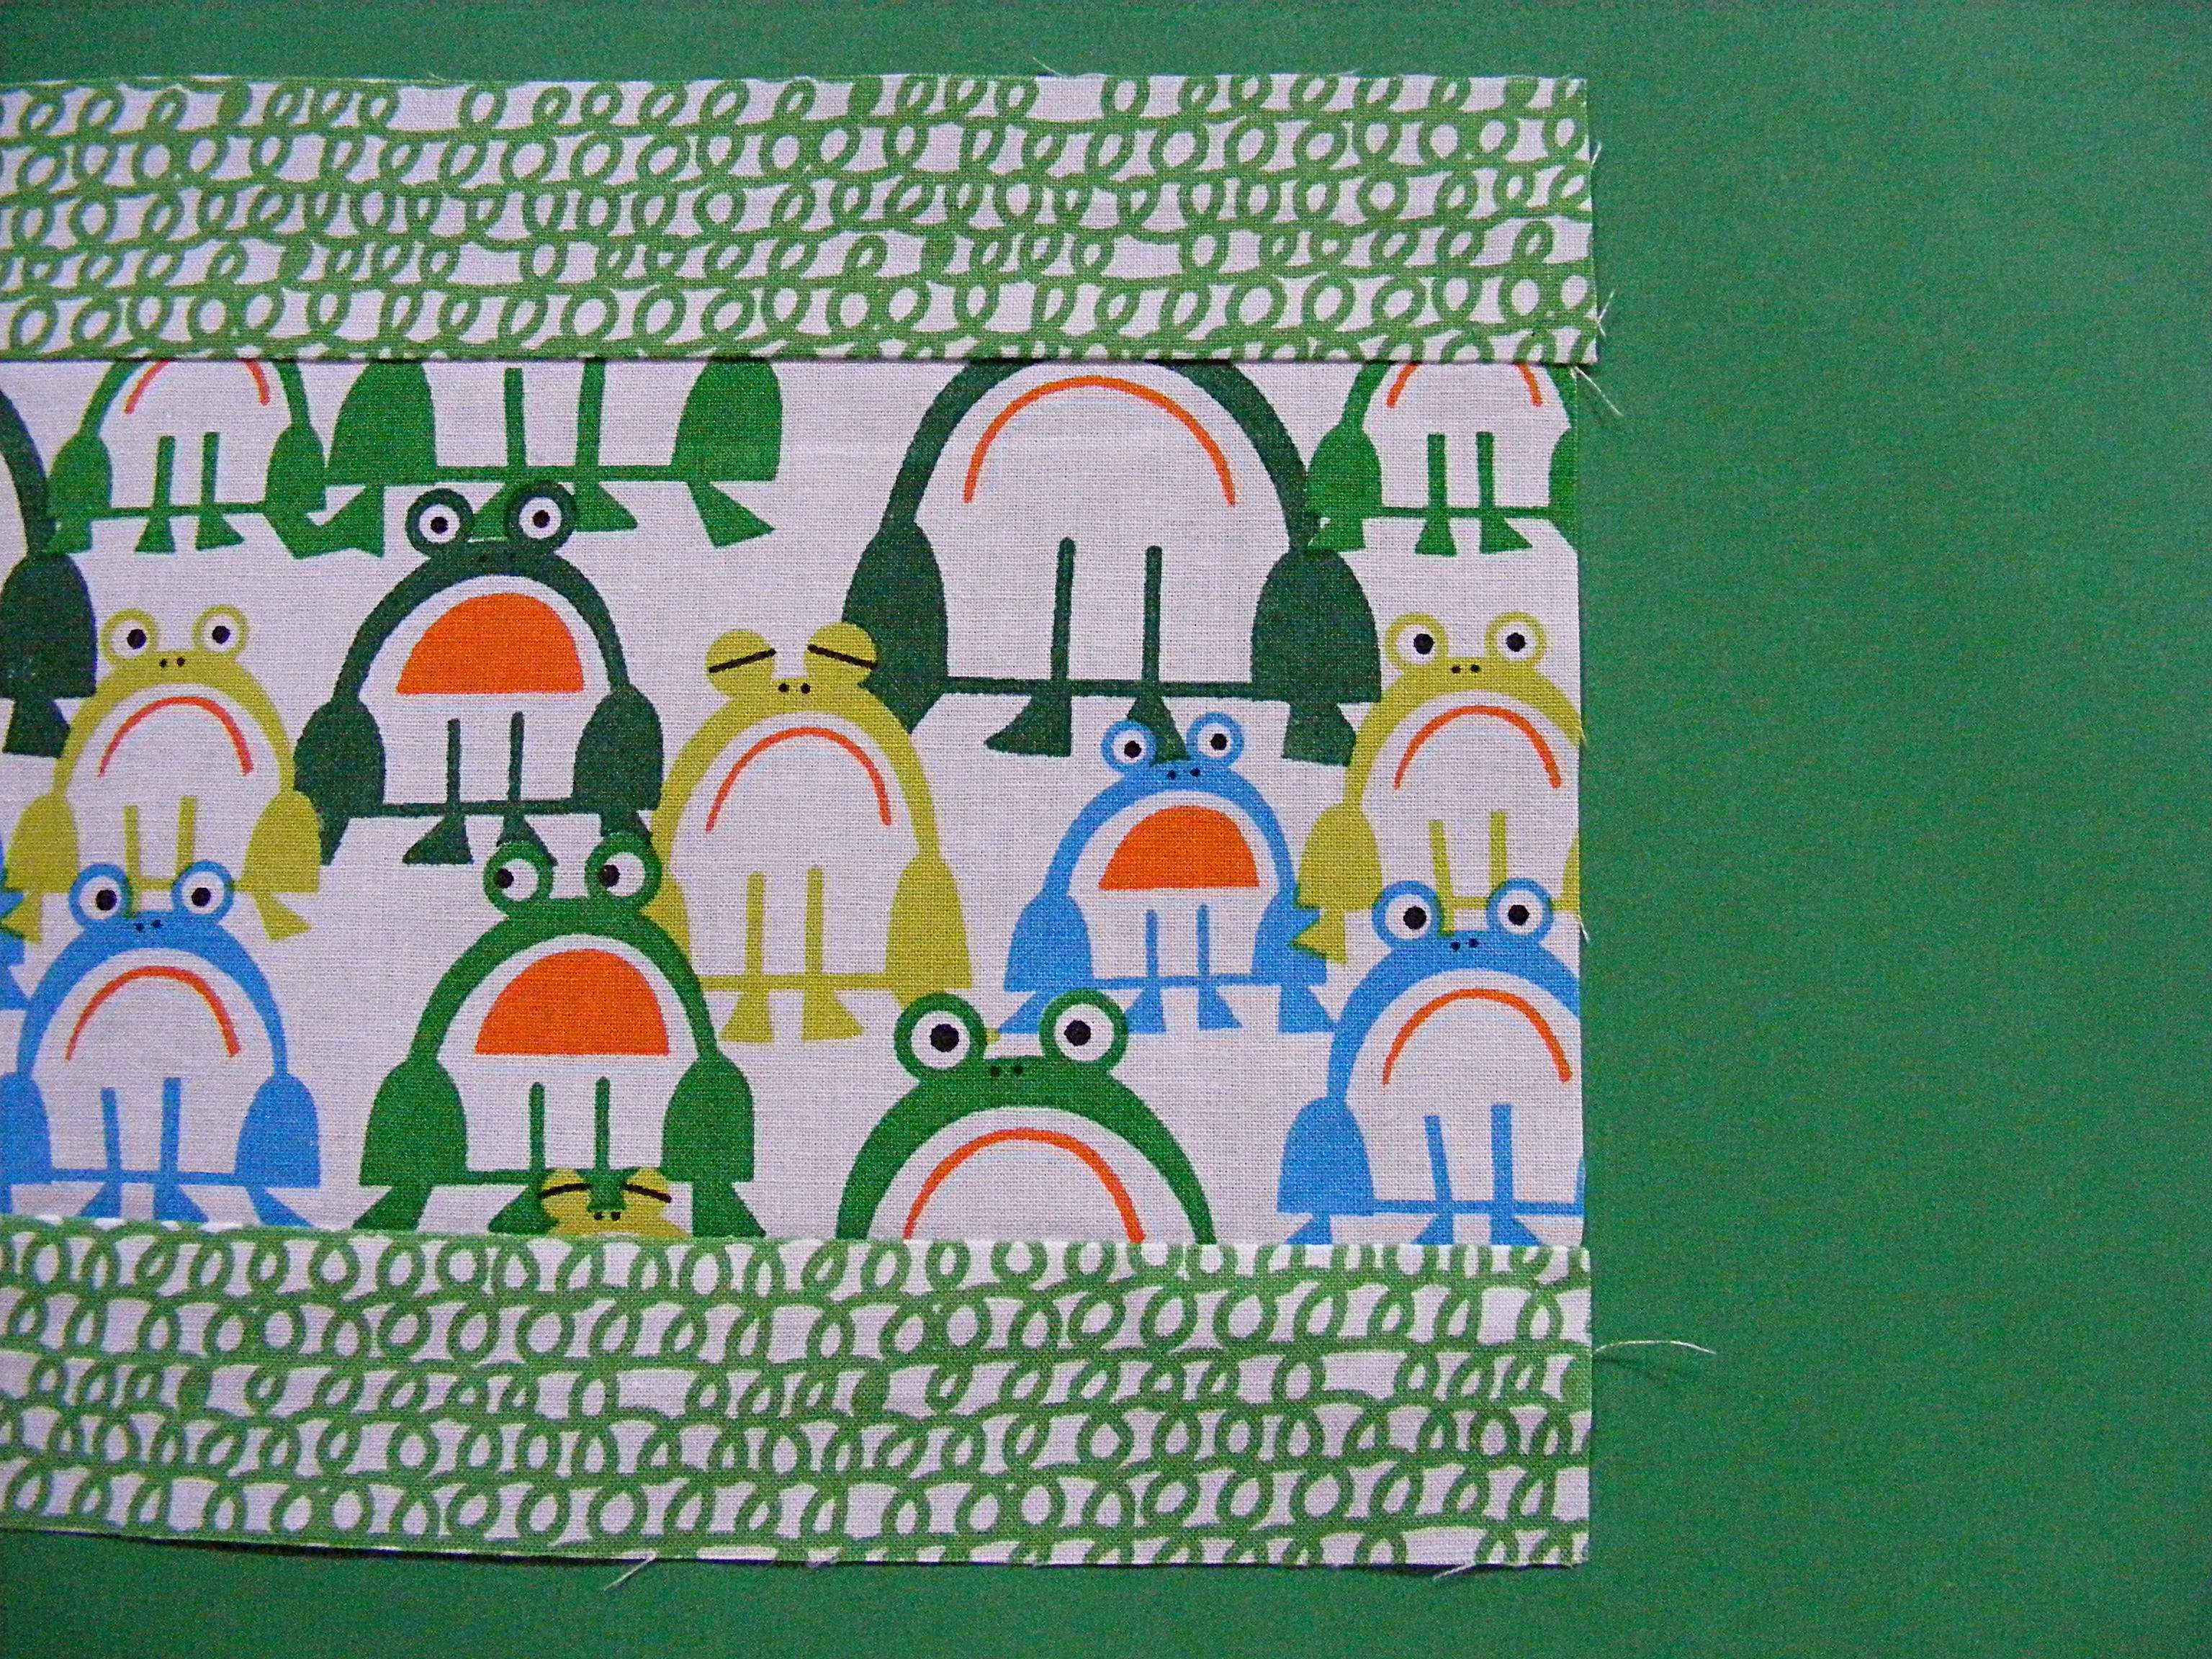
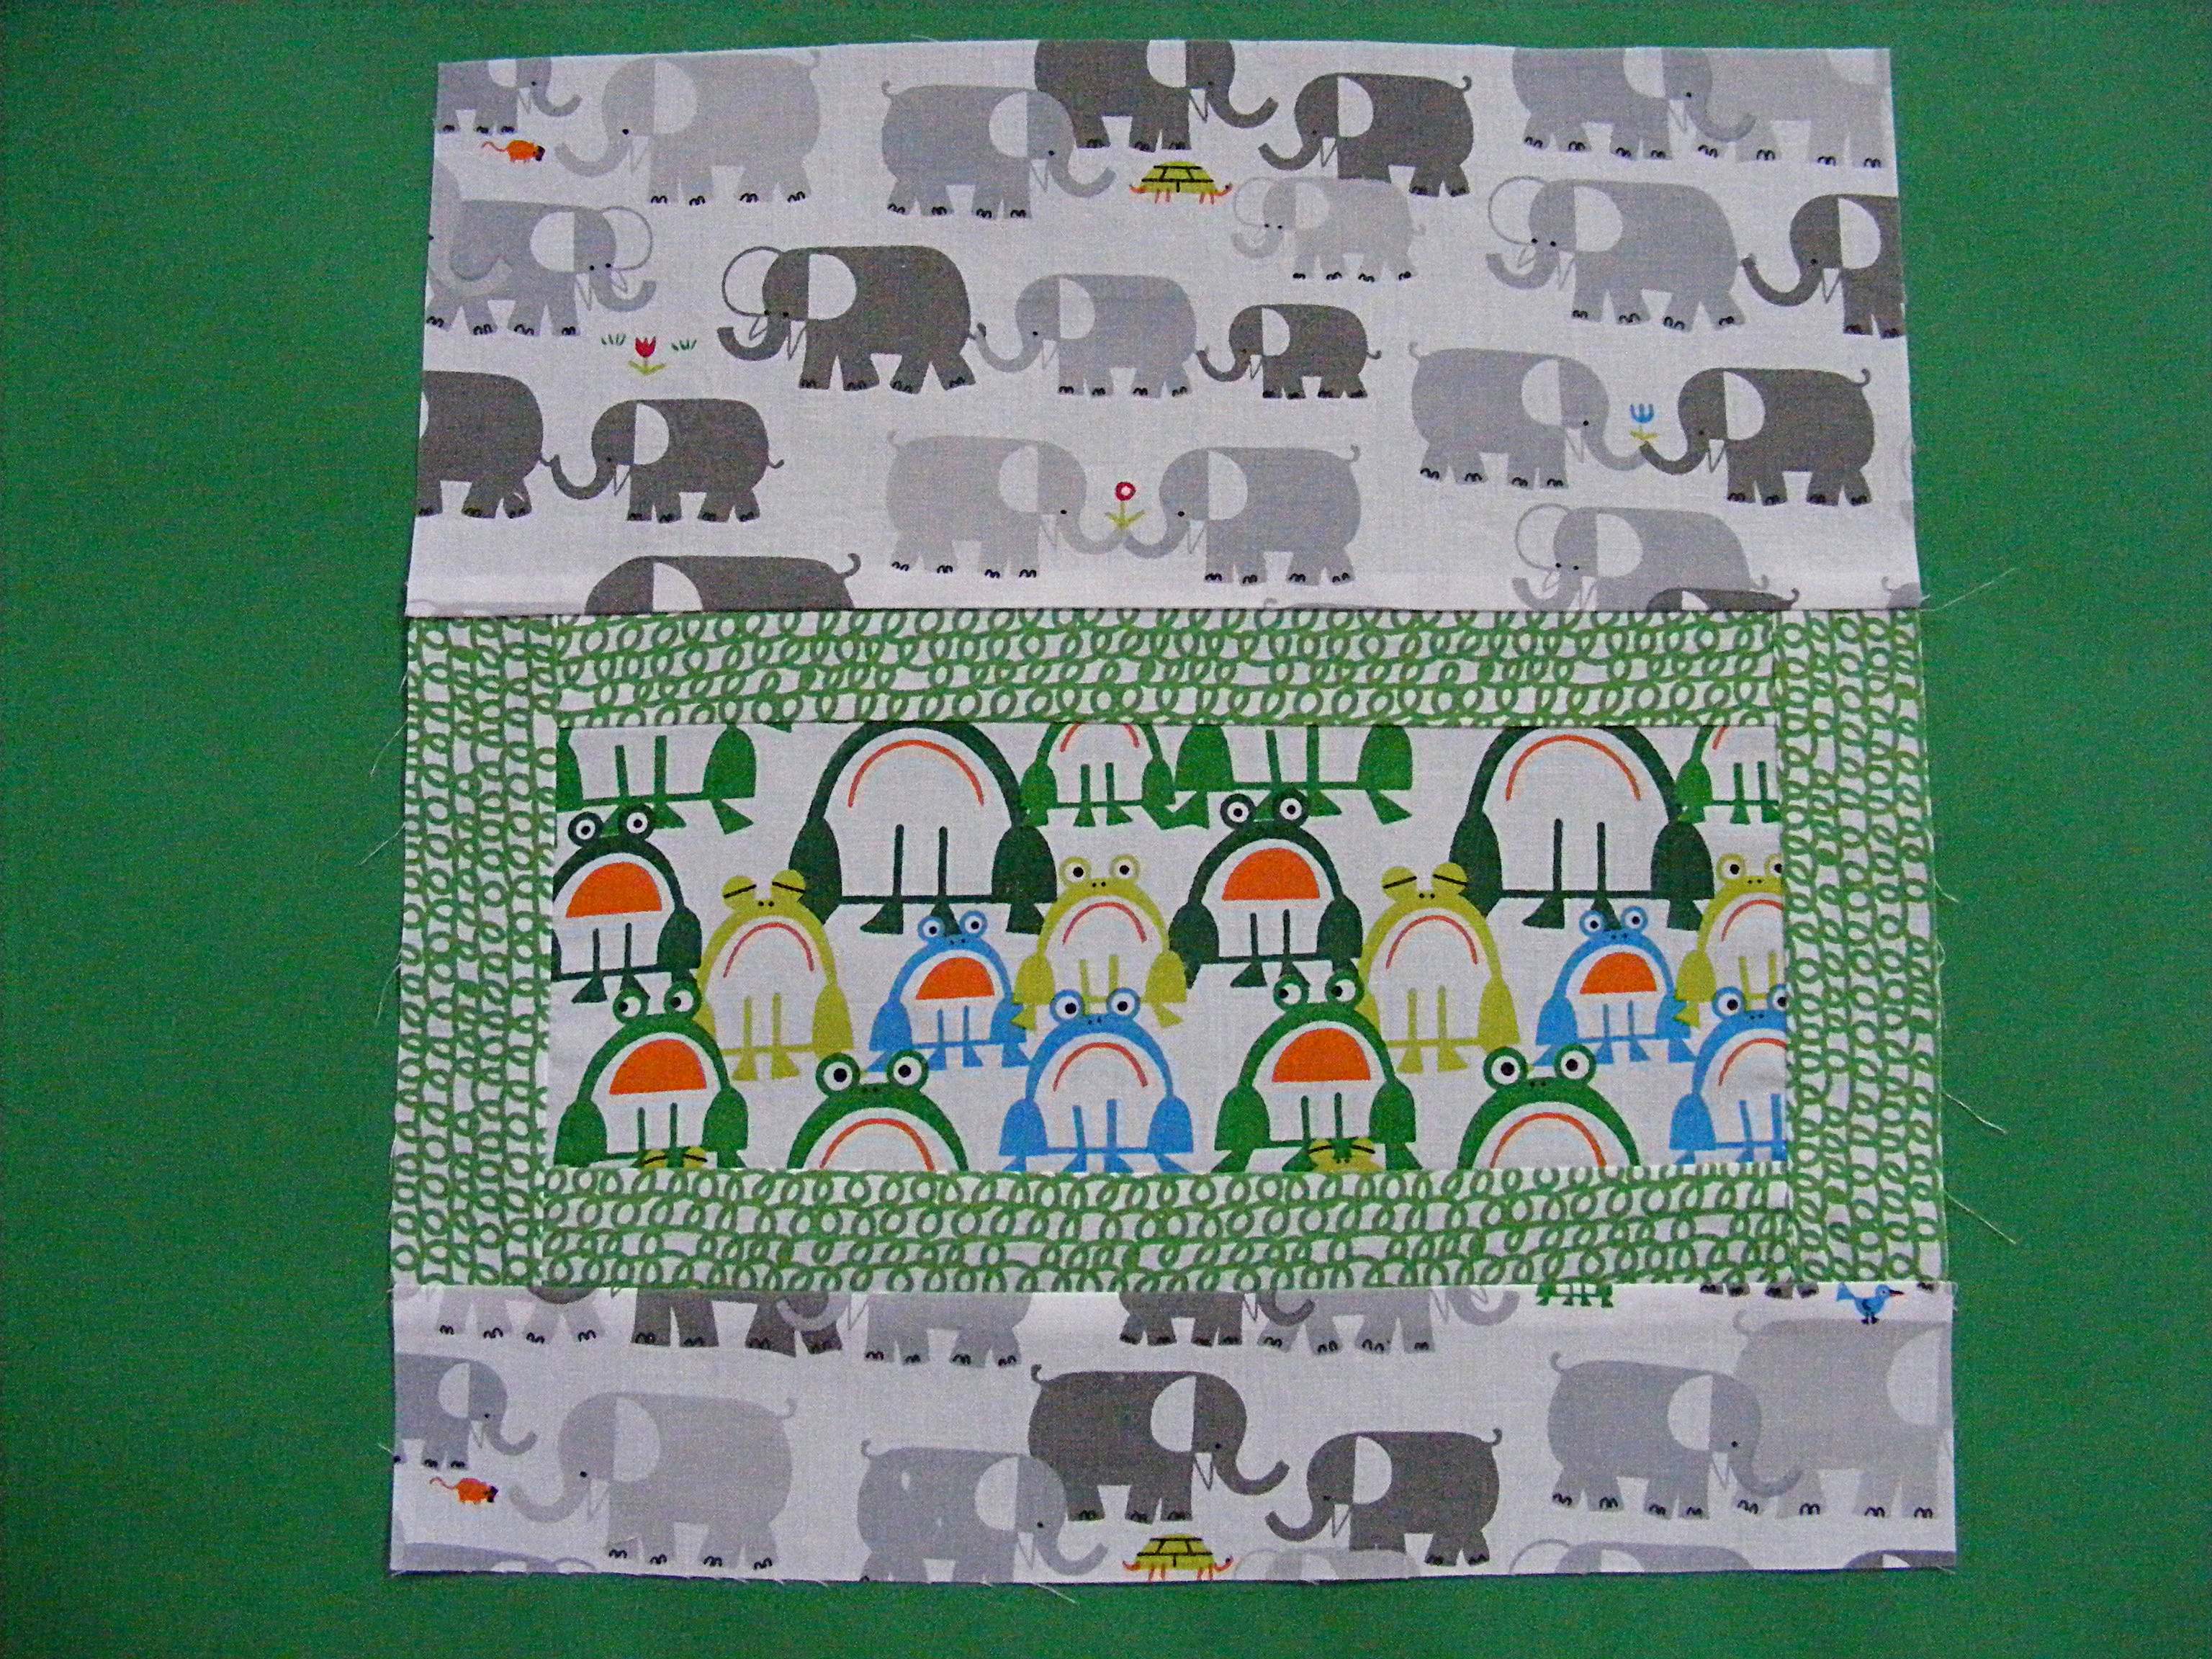
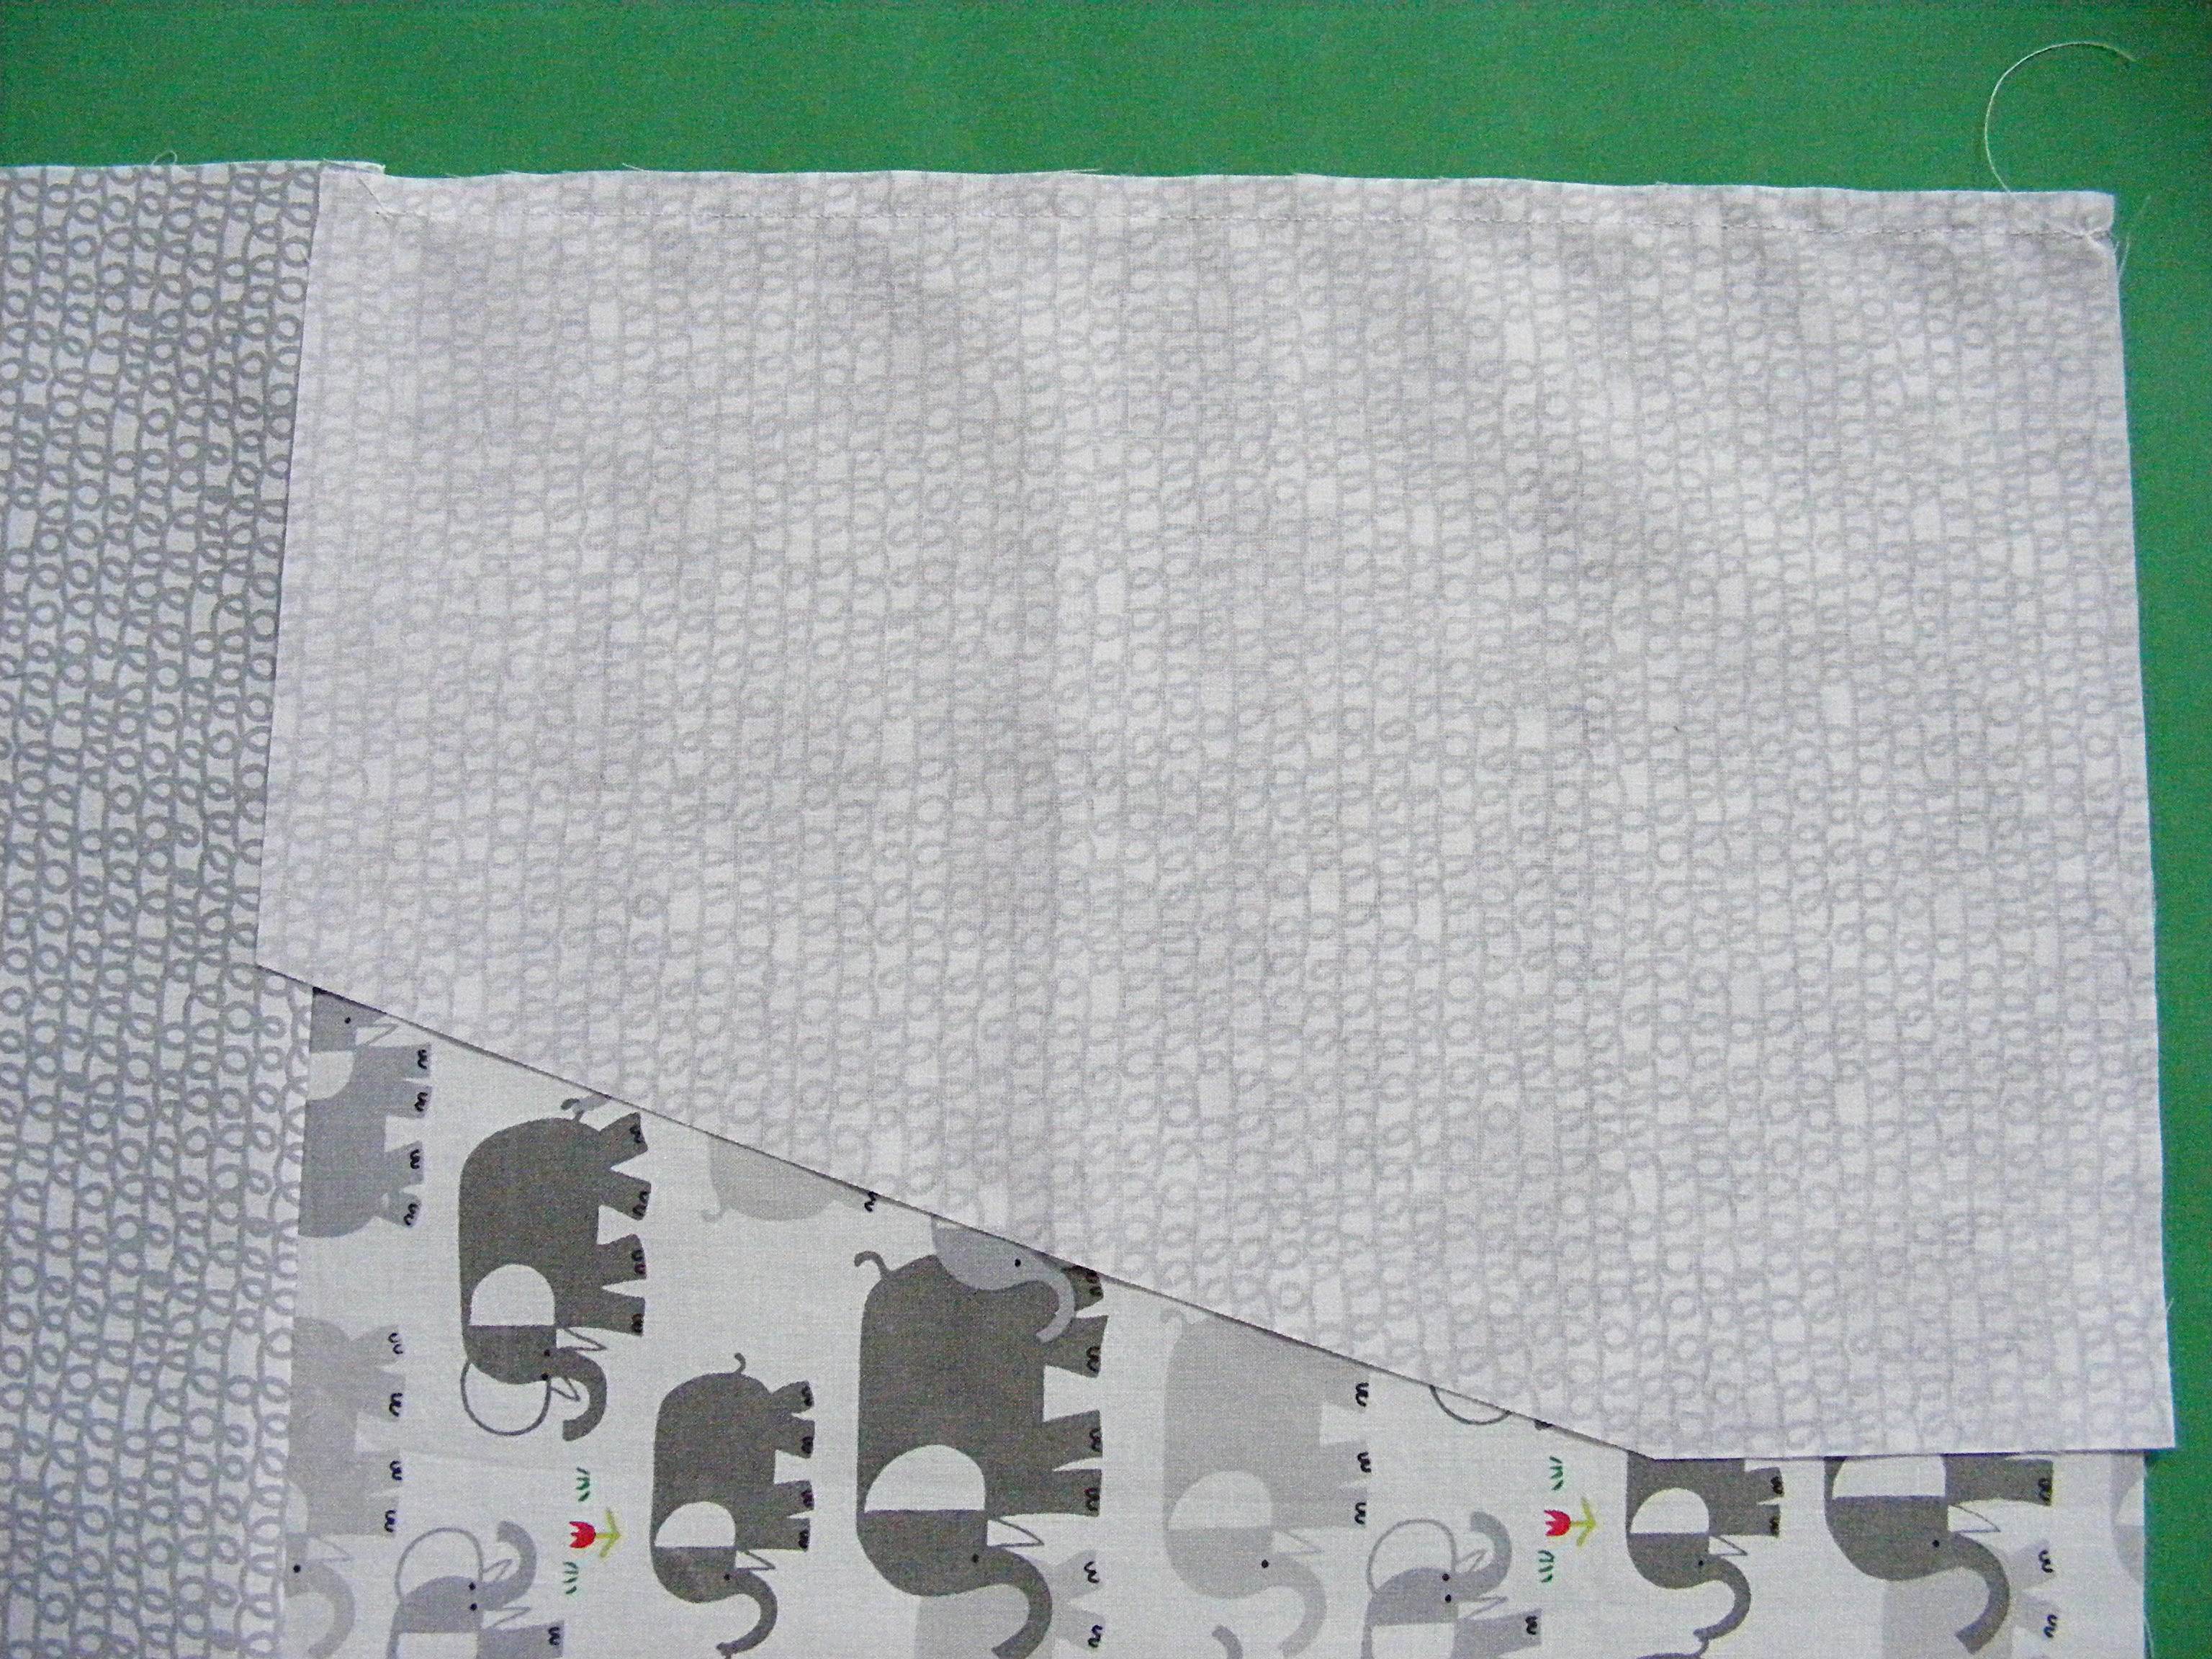
If you look at the finished pattern cover you’ll see a froggy rectangle surrounded by a thin frame of green scribbles, surrounded by elephants. Cut your inner rectangle (the froggy piece) 10 inches wide and 4 inches tall.
Cut 2 strips of frame fabric 10 inches long and 1 1/2 inches wide. Cut 2 more strips of frame fabric 6 inches long and 1 1/2 inches wide. Don’t cut the final (elephant) pieces yet.
Step 4
Sew the long framing strips to the top and bottom of the center rectangle. Use 1/4 inch seam allowance.
Press your seam allowance toward the darker color.
Step 5
Sew the short framing strips to the sides.
If your seam allowances in step 4 were exactly 1/4 inch, the strips should fit perfectly. If not, trim off the extra bits to even things up.
Press seam allowances to the darker color.
Step 6
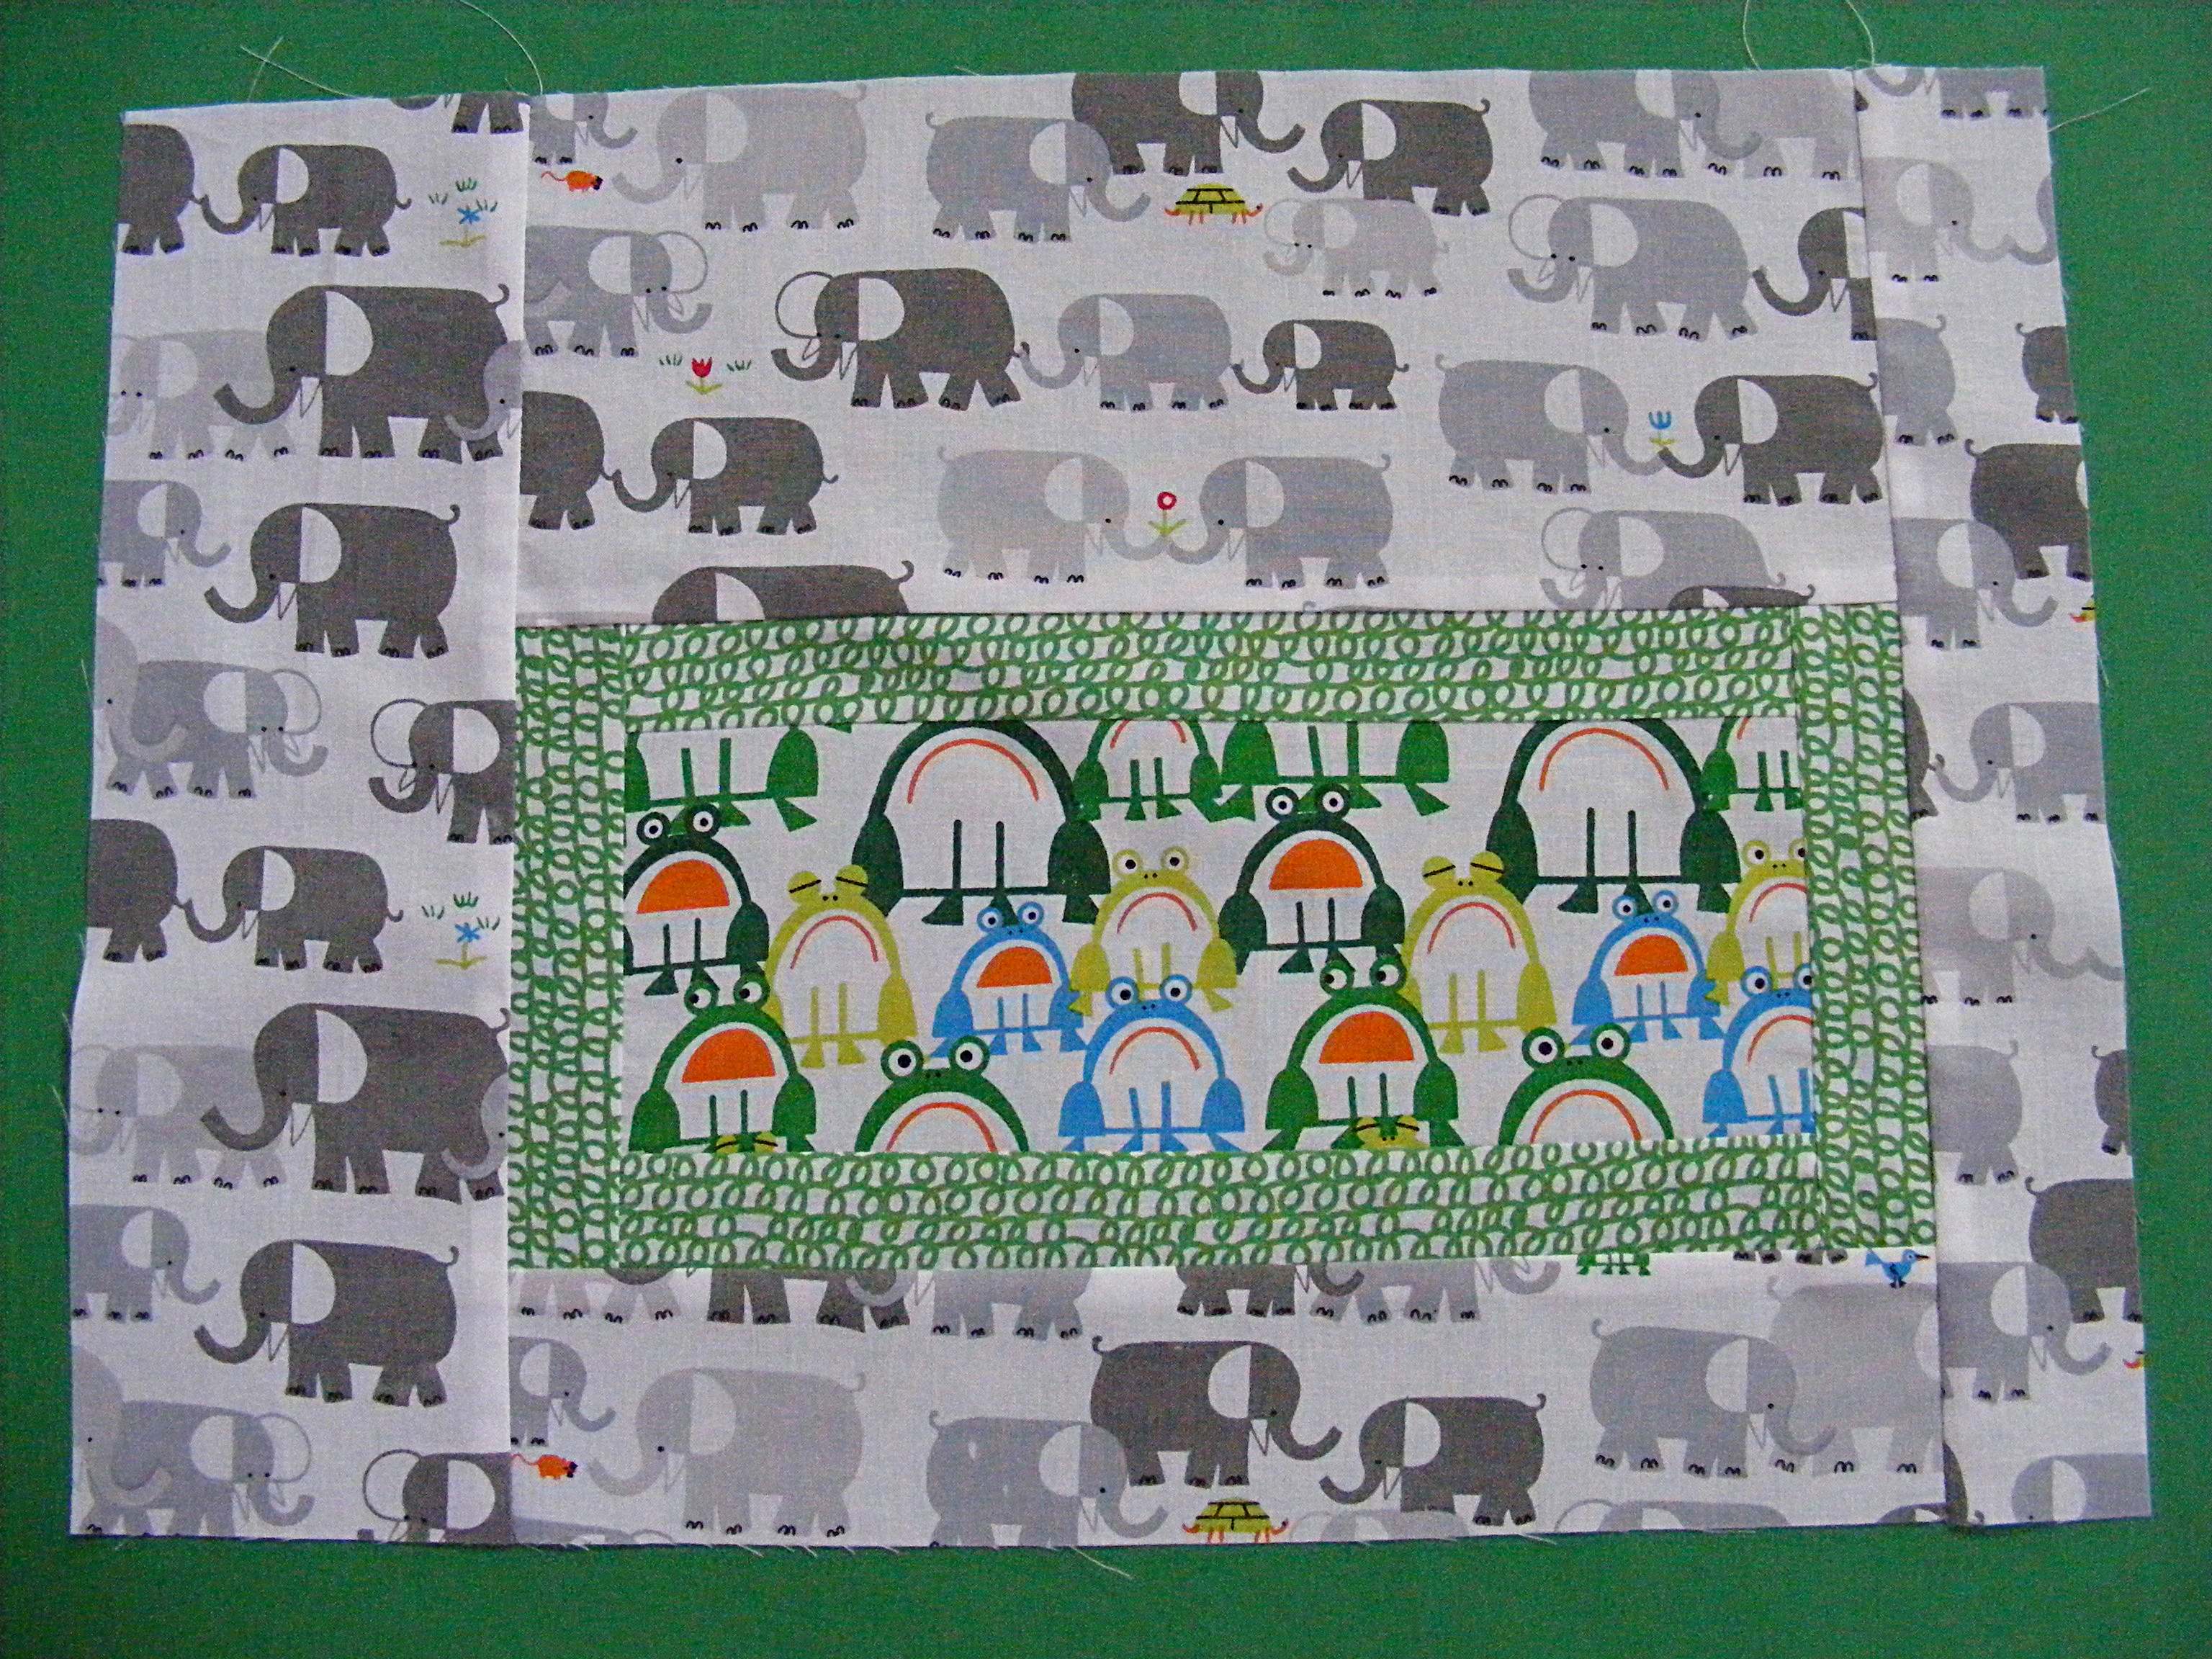
Now you’re going to need to do a little math to make this fit your machine. Add strips to the top and bottom of your inner rectangle to make it equal the total height of your machine + 1 inch for seam allowance and ease.
Notice that I didn’t add the same amount to the top and the bottom. I wanted the inset panel to sit a little lower than the center of the front.
Step 7
Now add strips to the sides to make the total width equal to the width of your machine + 1 inch for seam allowance and ease.
Again – I didn’t add the same width to each side. I wanted the inner panel to sit toward the lower right corner. Play with this and have fun.
You might want to add extra-wide strips in steps 6 and 7 and then cut it down to size, playing with the placement of the panel.
Step 8
One more piece to prep and then you’re ready to put it all together.
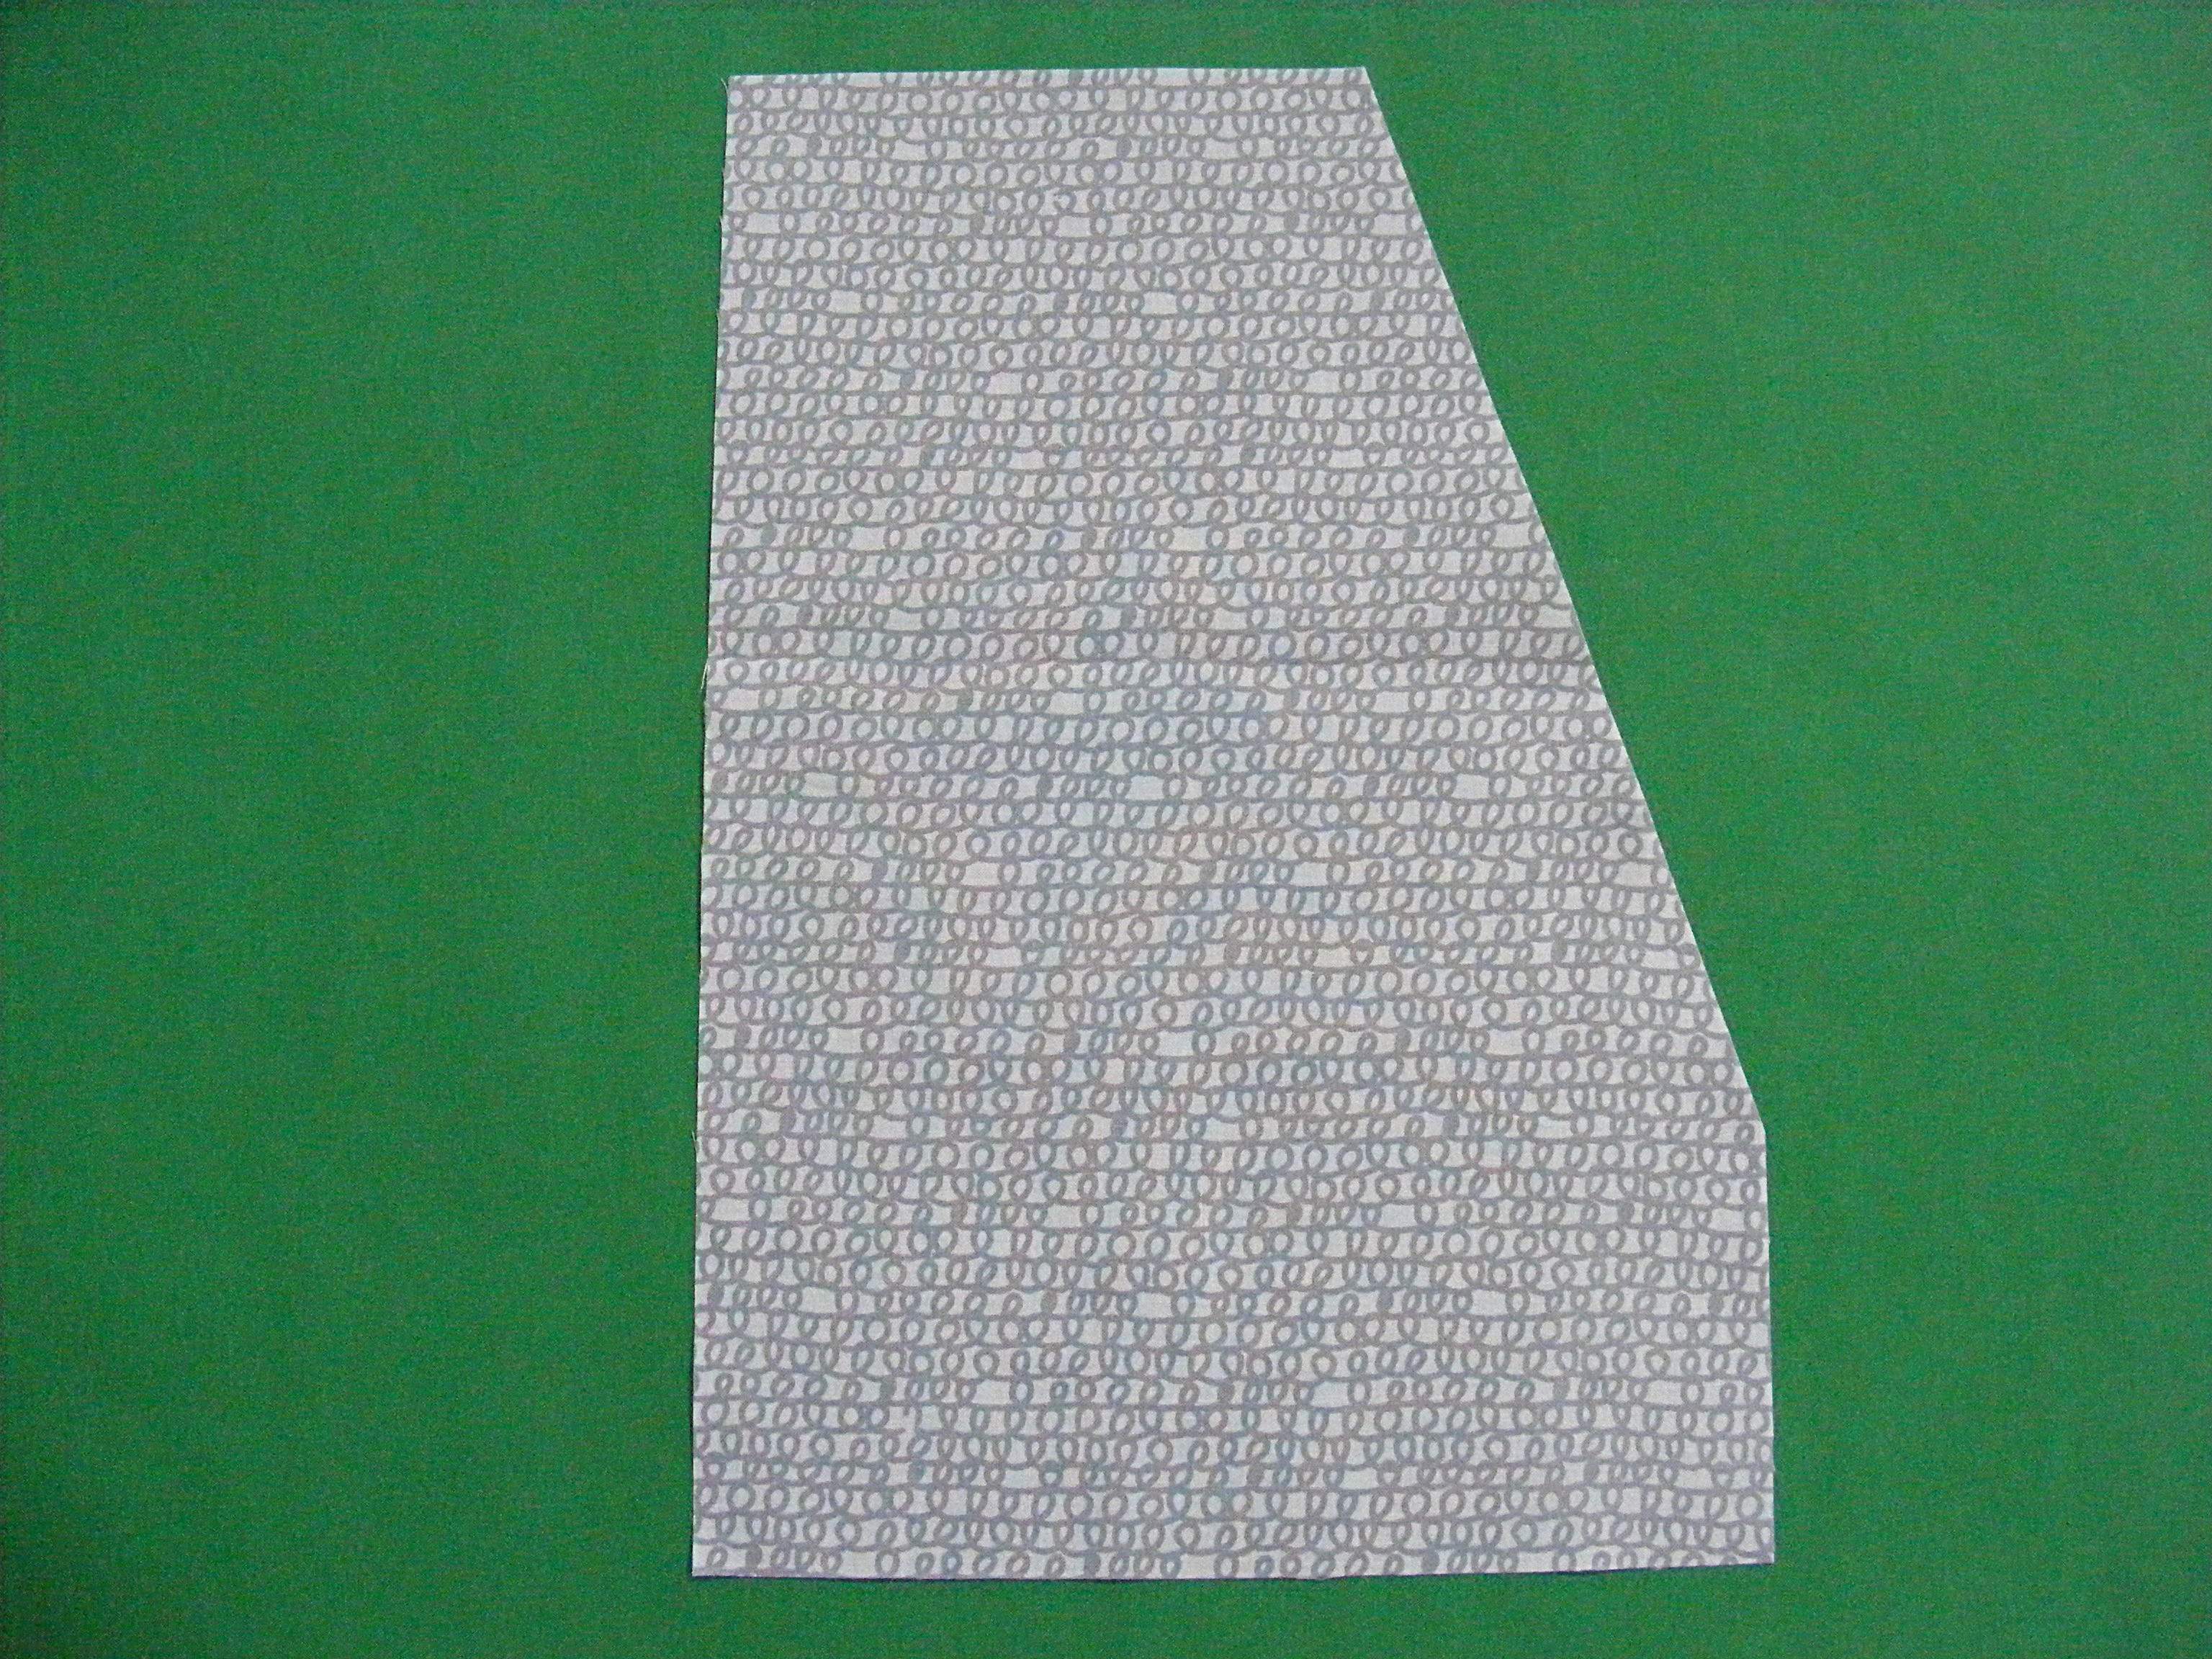
Put the side pieces face to face. From the top left corner measure over the depth of the top of your machine (B) + 1 inch.
From the lower right corner, measure up the height of the front of your machine (C) + 1 inch.
Connect those two points and cut the resulting triangle out of the top right corner of your side pieces.
Step 9
Using 1/4 inch seam allowance, sew the front and back pieces to the top piece. If your fabric only works in one direction (like these elephants) make sure you’re sewing the top of the panel to the top piece, so that the elephants are right side up on the finished cover.
Press seam allowances toward the darker color.
Step 10
Lay the side panel face down on the back panel, so that the long edge of the side panel is lined up with the short edge of the back panel.
Step 11
Using 1/4 inch seam allowance, sew the side panel to the back panel. Stop sewing 1/4 inch from the end of the side panel (this will be at the seam between the back and top panels). Backstitch and remove from the machine.
(I changed fabrics here because the colors worked better for showing the stitching line.)
Step 12
Flip your fabrics around so that the short edge of the side panels is lined up with the short (raw) edge of the top panel.
Start sewing where the previous stitching left off. Stop sewing 1/4 inch from the edge, just as you did in step 11.
Basically, you’re avoiding stitching in the seam allowances. This will let you get nice crisp points when you turn the whole thing right side out.
Step 13
Repeat steps 11 and 12 at the corners as you stitch across the top, along the angled front piece, and down the short bit at the bottom.
Your side panel will end up a little longer than your front panel (the amount of extra fabric depends on the angle that you cut into the side panel in step 8). Just use a pair of scissors to trim off the excess on the side panel and even things up.
Step 14
Repeat steps 10 – 13 for the other side panel.
Boom! You’re done with the outside of your cover.
Now repeat steps 9 – 14 to make another cover.
Everything should be finished on both covers except the bottom edge.
Step 15
Turn the inside cover right side out. Turn the outside cover inside out. Put the inside cover inside the outside cover so that their right sides are facing each other. Make sure the front panels are facing each other.
Line up the raw edges of the two covers, matching the seams all the way around. Pin.
Using 1/4 inch seam allowance, sew the two covers together at the bottom edge, almost all the way around. Leave about 4 inches open so you can turn everything right side out.
Step 16
Turn the whole thing right side out and flip things around so that the inner cover is the liner of the outer cover. Work at the bottom seam allowance and press it nice and flat.
Either hand sew the opening closed or topstitch all the way around the bottom edge to close it and stabilize the edge.
Step 17
Put it on your machine. Admire it. Reverse the cover and admire it some more. You’re awesome!
Here are handy links to all the posts about quilting tools and supplies.
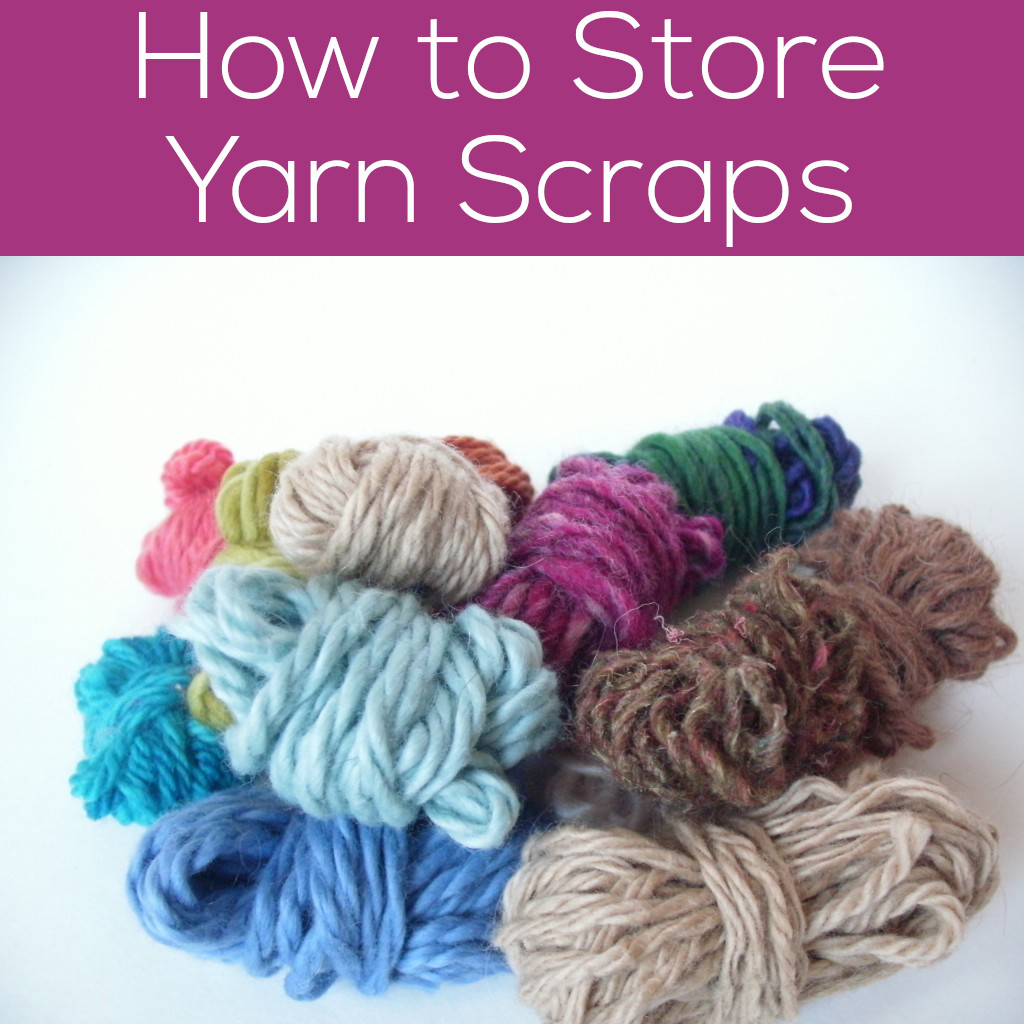
After you knit or crochet your first project, you’re immediately faced with an organizational problem: weird bits of leftover yarn. The more projects you do, the more these scraps build up.
And, if you don’t organize your scraps well, they have a habit of tangling themselves together into one giant knot. Not good.
So, even though it may seem a little obsessive… I wind each one of my leftover yarn bits into a nice little ball, and tuck them into my ‘scrap box’.
The Box
My box is just an ordinary copy-paper-turned-shipping box that I got in the mail one day. It’s sturdy, has a lid, and fits nicely on a shelf on my yarn bookshelf. Nothing fancy.
The big leftovers
My favorite kind of scrap yarn is the ‘big leftover’. You know what I mean… it’s a quarter to a half of a skein of some yummy yarn left over from a project. Since these guys are pretty substantial in size, I wind them with my ball winder. I make sure to tuck the end in the ball so that there’s no danger of them becoming unraveled.
Little Bits
Little leftover bits of yarn are trickier… I’m not even sure why I keep them. Maybe one day, I’ll just need 10 yards of bright orange for some project or another…
I just wind these guys around 2 fingers (it’s much too little amount for the winder), and then tie them around the center. Just like the big leftovers, you’ll want to make sure the ends are fastened so they don’t get the chance to become a giant knot in your scrap box.
What to do with the scraps…
Hmm… for now, mine live happily together (and neat) in their box. Sometimes I grab a ball if I need a little bit of a color… but no serious plans yet.
So, tell me… how do you organize your scraps? Any plans for them?
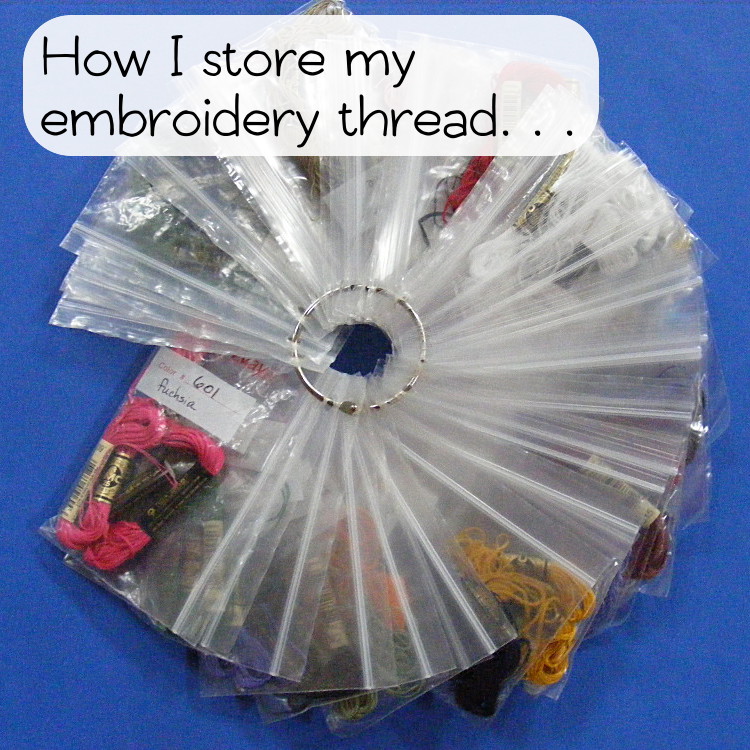
Way back in March I wrote a newsletter post and then a blog post about how I organize my embroidery thread. I had tried a few different methods – but none really gave me exactly what I was looking for so I asked you all for your advice. Wendi from Sew Cat Sew had a genius approach I had never tried before – and I pounced, with a tiny variation of my own because I couldn’t find the exact product she mentioned at any of the sewing or craft stores in my area.
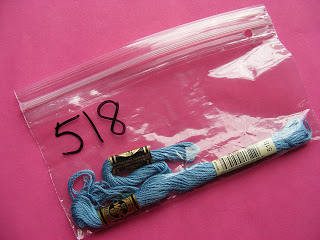
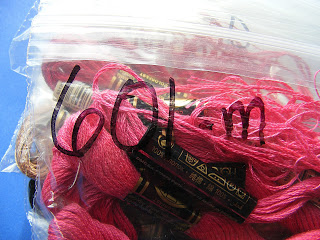
Each color thread goes in its own ziploc bag.
I couldn’t find the special bags Wendi used, so I just used snack-sized ziplocs from the grocery store. I punch a hole in the bag with a regular hole punch, then I write the DMC # on the bag with a fat Sharpie.
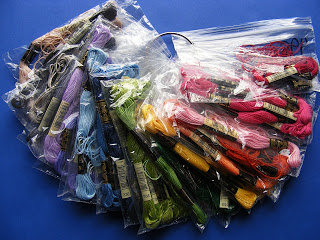
I put all the same colors together onto a binder ring (available at any office supply store). I have separate rings for red, orange, yellow, green, blue, purple, brown, white and off-white, black and gray. I dump all the bundles into a pretty basket. Easy peasy.
When I choose all the threads for a project, I pull them off their rings and create one ring with everything I need for that project. This makes it super-portable, which I love.
I realized I was constantly pulling off the same colors over and over again, so I took a good hard look at my enormous thread collection and created a ring with all my favorite lights, mediums, darks, and neutrals. Now I start here and only pull from the other rings when I need something outside my normal range.
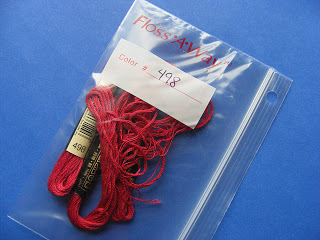
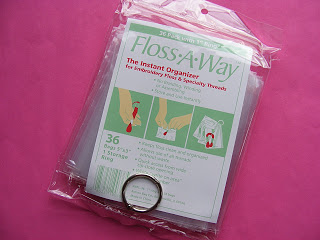
There was still one slightly annoying problem. Even though I wrote big, and with a nice fat black marker, the numbers on the baggies were sometimes difficult to read at a glance – especially if there were threads visible behind the number, which is usually the case when they’re all ringed together.
So I went back to Wendi’s note and found the baggies she used. Floss-A-Way. They have a handy little white area to write on. The bags are smaller (and therefore easier to schlepp around). And the holes are already punched. Handy!