Too tight foundation row?

For some amigurumi pieces, you’ll need to crochet a foundation row, instead of working straight out from a circle. An example is when I was crocheting the leg of Gordon the Flamingo.

Sometimes, when you begin with a foundation chain, the stitches in the chain can be too small, making the top of the leg look a little anemic.

foundation chains are too tight

But don’t worry… there’s an easy solution!

If your foundation rows tend to be a little tight, all you need to do is go up a hook size when you crochet the first chains! For example, my pattern called for a size H hook, so I would use a size I to crochet the foundation chain. Then, continue as usual (with your normal sized hook). And, as you can see below, the top of the leg flows nicely into the rest of the animal… no chain-induced restriction!

This tip will also work wonderfully on blankets, or any other piece where the chain row tends to get tight.

Here are handy links to all the crochet troubleshooting posts. . .

Return to the main table of contents for Let’s Learn to Crochet Amigurumi.

Happy stitching!

Crocheting through front, back and both loops

Have you ever wondered about the difference between crocheting through the front, back and both loops? I’ll show you the different fabrics you’ll get using these various techniques!

Working in the Round

When working in the round, you crochet without turning the piece. This means that the right side is facing you for all rounds.

bothRound

The above photo shows an example of working through both loops. Doing so creates a fabric that is slightly thicker than working through one loop alone, with no notable ‘ridges’ on the work.

The fabric also contains noticeable little holes, so when this technique is used in making amigurumi, you’ll usually uses a smaller hook size than is required for the yarn so that the stuffing does not show.

backround

The above photo shows an example of working through the back loop only. Doing so creates a thinner than working through both loops. It also creates little ‘ridges’ on the front of the work that I really like. (you’ll notice that almost all FreshStitches patterns are worked through the back loops only). This technique does not leave very noticeable holes in the fabric, meaning that amigurumi can be made without a very small hook size. You will notice that the back of the fabric looks identical to the back of the sample that is worked through both loops.

frontRound

The above photo shows an example of working through the front loop only. Doing so creates a fabric of equal thickness to working through the back loop only. The front of the work looks similar to working through both loops. There are ridges created on the back of the work.

Working in Rows

When you work in rows, you’ll turn your work after every row. This means that you will see both the right and wrong sides of the stitches on alternate rows. The look is the same if you choose to work joined rounds while turning your work.

bothRow

The above photo shows an example of working through both loops. Doing so creates a fabric that is slightly thicker than working through one loop alone, with no notable ‘ridges’ on the work.

backRow

The above photo shows an example of working through the back loop only. Doing this technique in rows creates a ripple effect, and a very thick fabric.

frontRow

The above photo shows an example of working through the front loop only. You will notice ridges every other row in the fabric. This is the technique used in FreshStitches patterns, as the look matches most closely the look of working through the back loop in the round.

Which technique is your favorite?

Tips and Techniques for felting

bearfelt

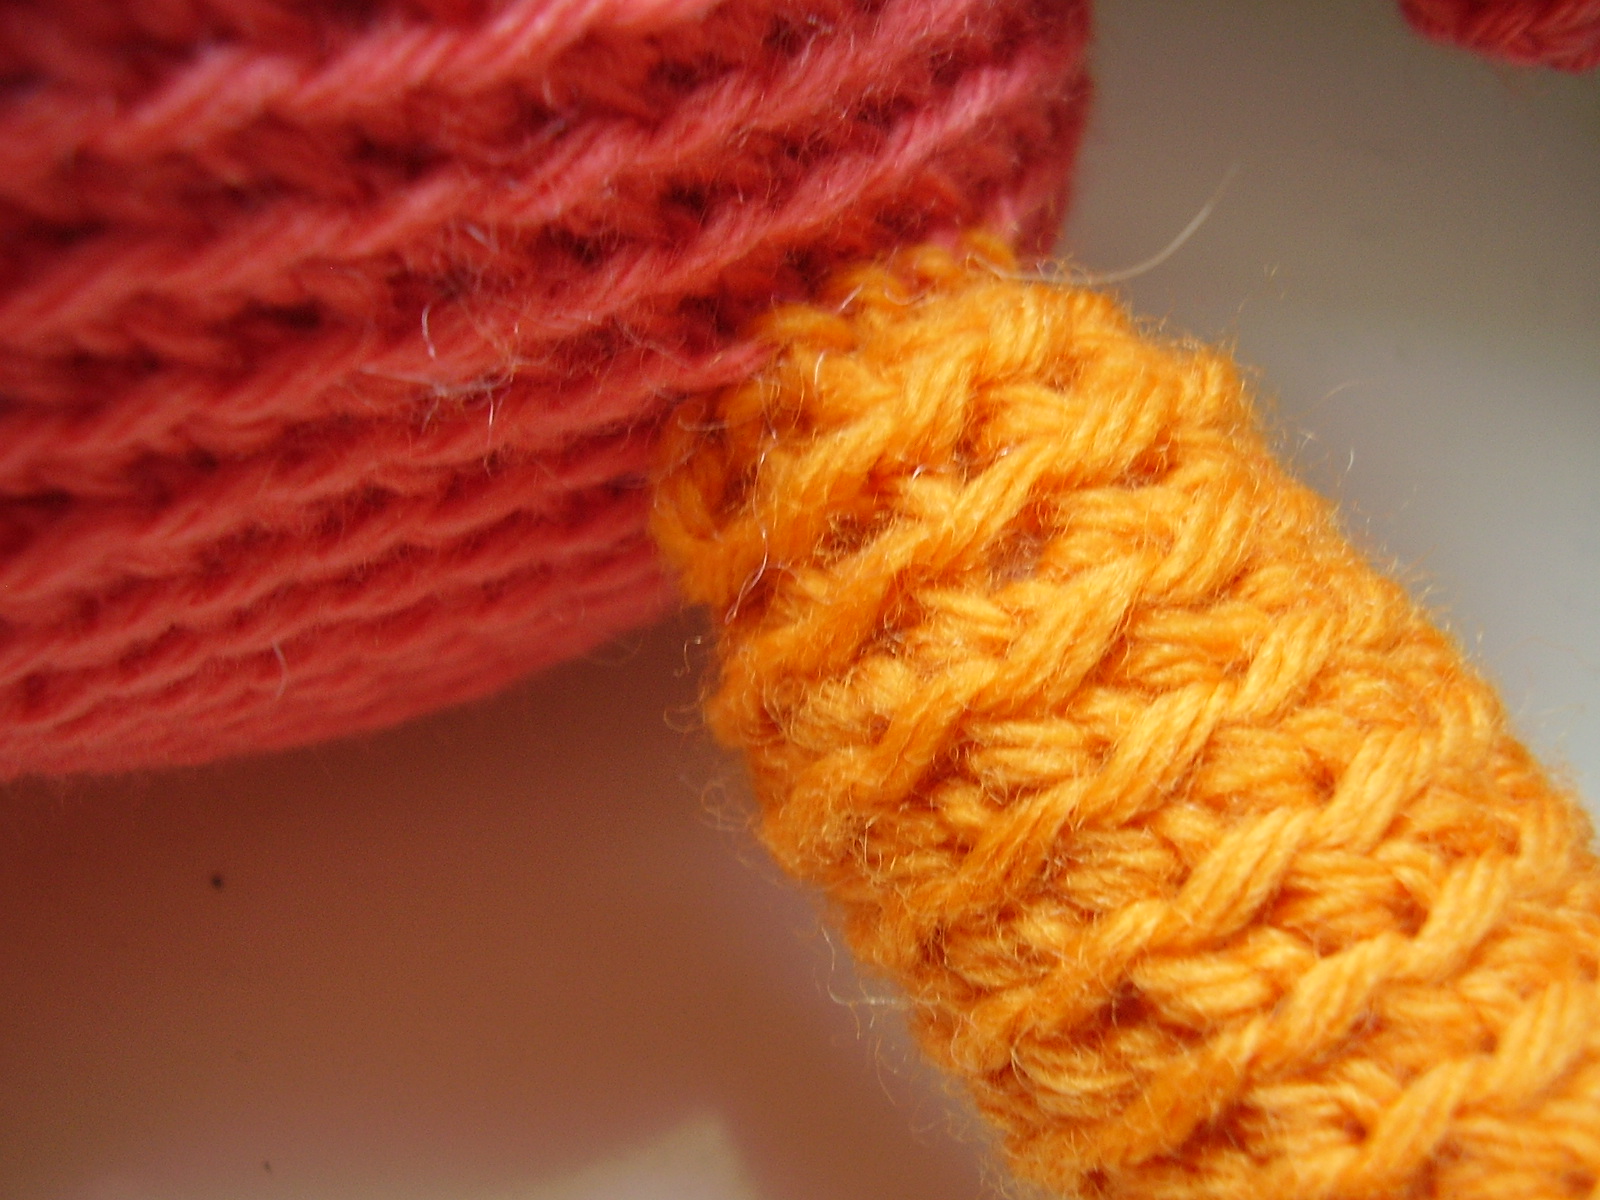
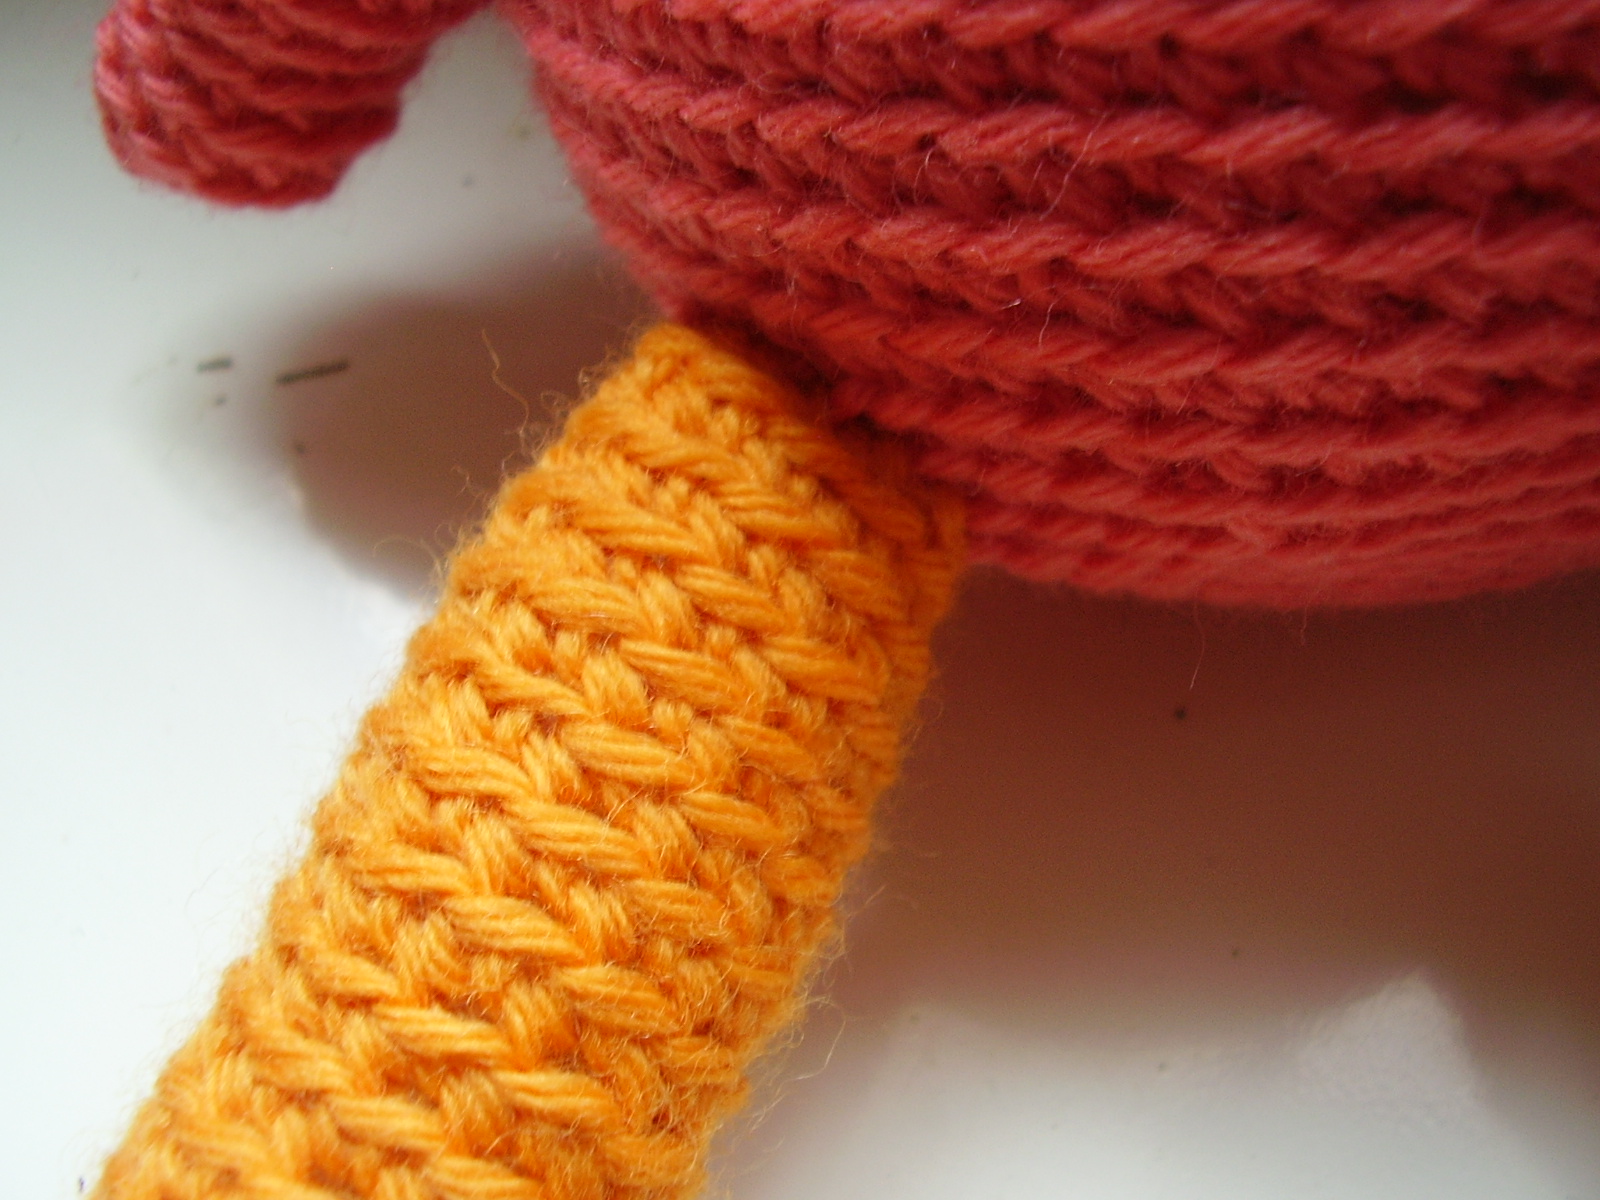
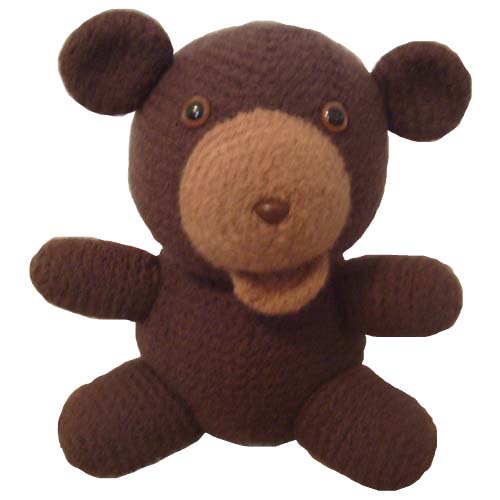
One of my newest patterns is Gerry the Felted Bear! We have become quite taken with felting, so in this blog post, we’ll review all the important stuff you need to know. But trust me, it’s easy!

Selecting yarn for a felted project

All of our FreshStitches patterns are made using worsted weight yarn. You’ll notice that most of our cover models are made from Ella Rae, a 100% wool yarn. For most of our patterns, any worsted weight yarn will work – so many of our customers use acrylics (such as Red Heart classic), or their favorite yarn. But when you make a felted animal, you need to take a little more care to select a yarn because you need to pick a yarn that will felt!

It’s important to select a yarn that is made from 100% animal wool. Acrylics won’t work here! Also, select a wool that doesn’t say ‘superwash’. A wool will say ‘superwash’ if it is a wool that can be put in the washing machine. It means that the wool has gone through a special process that removes the fiber that makes it felt – you don’t want to use that for a felted animal!

Here’s an easy way to check if your yarn will felt – if it says ‘100% wool’, and the label says ‘hand wash with cold water only’, then there is a good chance that it will felt!

Different brands felt differently, so you may want to do a test swatch. Also, different colors felt differently. For example, white yarn sometimes doesn’t felt very well: the bleaching process occasionally removes the felting ability of the fiber. That said, many whites do felt, so try a test to find out if yours does!

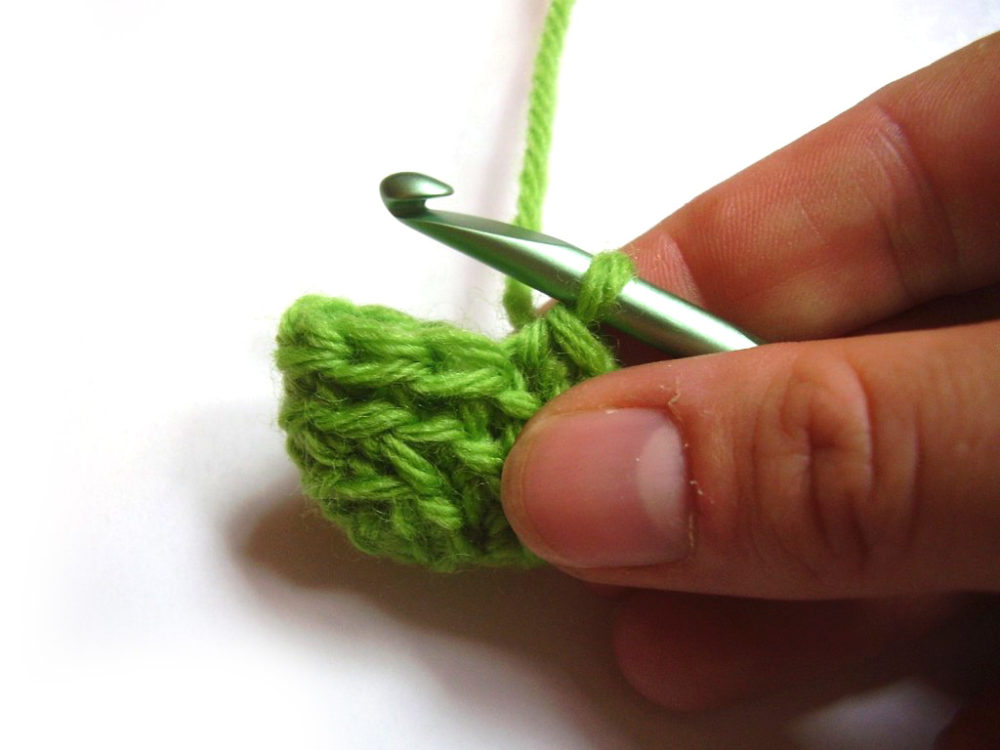
Okay, so you’ve picked your yarn, and you went ahead and crocheted your amigurumi. Now it’s time to felt! The three crucial ingredients to the felting process are: heat, water and agitation. Here, we’ll talk about three ways to achieve a great felting job.

felting in the washing machine

You’ve probably heard stories of someone putting a hand-knit sweater in the washing machine, and it comes out super-tiny… that’s because it felted! No surprise, then, that the washing machine is the easiest way to felt a stuffed animal. It doesn’t matter if you have a top- or front-loading washing machine: both will work. (You’ll read lots of places where it’s claimed that front-loading washing machines don’t work – but I live in an apartment, and my laundromat only has front loaders, and I’ve never had a problem). If you have a European super-energy efficient washing machine, then you may want to use another method, because super-energy efficient often means that there isn’t enough water to get the felting to work.

So, you have a washing machine. Toss your crochet in, put a tiny bit of detergent in (like, 1 tablespoon), turn the machine to the hottest setting, and let it go! With stuffed animals, you want the yarn to felt as much as possible, so there is no worry about over-felting. If the piece doesn’t felt as much as you’d like, just throw it in for another cycle.

felting in the dryer

If you don’t have a washing machine that will work, you may want to use the dryer. The dryer is hot and spins stuff around, so it’ll felt the yarn just fine!

Soak your crocheted pieces in water, and toss them into the machine. If the pieces are too dry, the dryer will dry them, without completely felting them… so wet is good! Same as above, if the piece doesn’t felt as much as you’d like, just re-wet the pieces, and throw them in for another cycle.

felting by hand

Finally, you can felt by hand. I’m not going to fib – it’s tiring. I have often attempted to felt by hand, and then I get tired and decide to throw the pieces in the washing machine instead! But, if you’re energetic, give it a try.

Fill a tub with hot water- as hot as you can stand. You may want to put on some rubber gloves if it allows you to use hotter water. Toss in a little bit of soap or detergent, and scrub away! You want to agitate the fabric as much as you can – rub it together, twist it, beat it. The difficult part is sustaining the scrubbing long enough to felt the piece, and also to felt evenly around the entire piece.

Give it a try!

So, there you have it! Lots of ways to felt! After you are done felting, stuff your pieces with newspaper to allow them to dry in a nice shape. Once they’re dry, you’re ready to assemble according to the directions in the pattern.
Happy felting!

How to work small pieces in the round

Most amigurumi crocheters have run into a classic problem: crocheting in the round on a tiny piece is annoying! Well, I have a tip that I think will help out.

tips for crocheting a small piece in the round

What do I mean by ‘crocheting on a tiny piece’? I’m not just talking about crocheting with thread! Even if you are working with a worsted weight yarn, some pieces (like the horns on Jackie the cow) have a small circumference. This means, as you are working in the round, you have to rotate the work almost every stitch just to keep going, and it seems like there isn’t enough room for your fingers!

tips for crocheting a small piece in the round


The solution to this problem is to fold your piece in half (as pictured above)! Let’s say you are working on a piece with 12 stitches on each round. Smoosh the piece in half, and you’ll have a piece with 6 stitches on each side.

Now, you can hold the piece (without worrying about sticking your fingers in the middle!), and crochet away… you’ll only have to turn the piece twice per round, a definite improvement!

So, next time you’re crocheting a little piece in the round, give this tip a try!

Here are handy links to all the crochet troubleshooting posts. . .

Return to the main table of contents for Let’s Learn to Crochet Amigurumi.

Happy stitching!