Last week I sewed owls with 20 kids in the Harry Potter Camp I taught, and it reminded me to write up a post with some tips on sewing with kids. I’ve taught a LOT of kids sewing classes, and I’ve learned a lot over the years. So here are my top 10 tips for sewing with kids, in no particular order.
1. Let them choose the fabric.
Nothing gets them more excited to start the project than to get to choose their own fabric. Nothing. And this is your first chance to let go of what YOU think the finished project should look like. They are guaranteed not to choose the fabrics you would have chosen. And that’s okay.
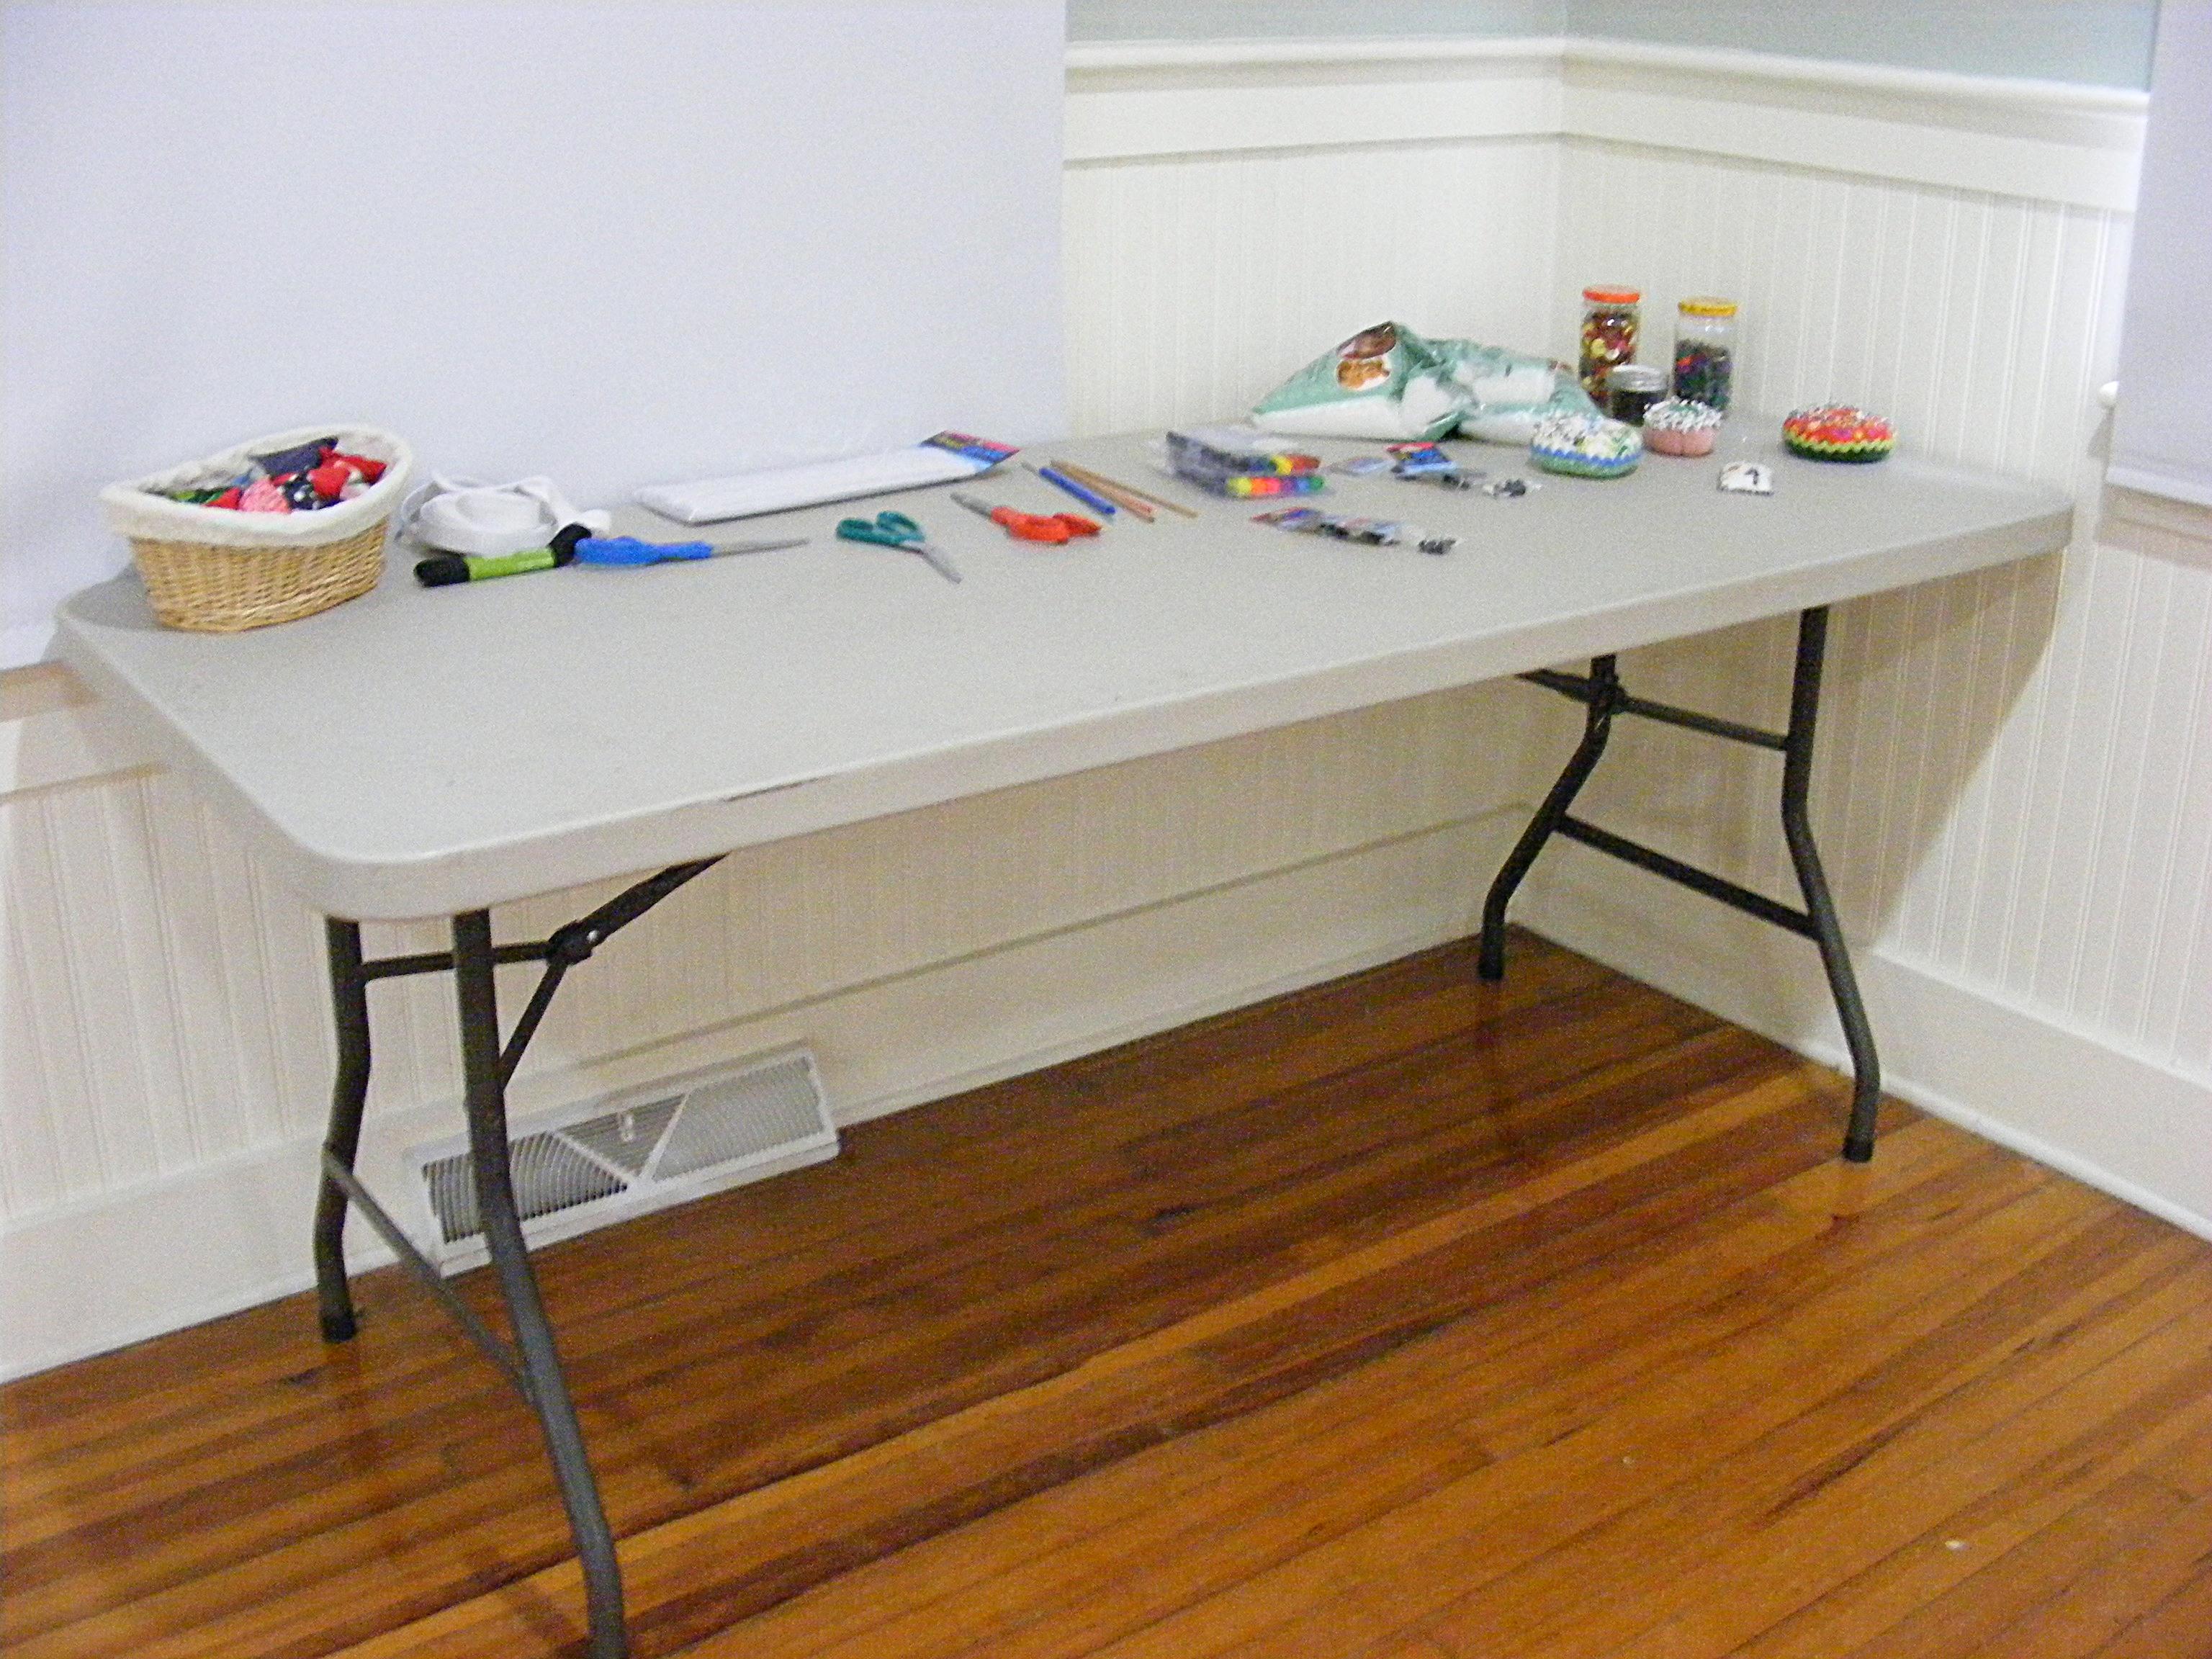
2. Prepare easy-to-trace pattern pieces by cutting them out of cereal boxes or manila folders.
Punch holes where they need to transfer markings (like for placement of eyes). Let the kids trace around the pattern pieces directly onto the fabric and THEN cut things out. It’s much easier for them to cut smoothly on a drawn line than to cut around a pattern piece pinned to fabric. Also – help them place the pattern piece efficiently on the fabric – otherwise you’ll end up with small holes cut exactly out of the middle of large pieces of fabric.
3. Draw the stitching lines on the fabric for kids.
Whether sewing by hand or on the machine, it’s almost impossible for them to follow an imaginary line. And when they’re sewing on the machine, every instinct is telling them to keep an eye on the needle – not on the ruler engraved into the throat plate. If you draw the lines for them they can watch the needle AND guide the line right into it.
4. Don’t force them to use the machine if they’re scared of it.
On less complicated pieces I’ll let them push the foot pedal while I steer. After a few tries with that they’re usually ready to sit at the machine themselves. If you do this you need to be very clear with them that when you say STOP they need to immediately take their foot all the way off the pedal. Immediately! Look them in the eye and make sure they understand.
5. If they are hand-sewing, try letting them use hand-quilting thread instead of all-purpose.
It doesn’t tangle as easily and it’s easier for them to thread a needle with the stiffer thread. I don’t tie the thread onto the needles and there’s usually a lot of re-threading until they get the hang of how to pull it through without pulling the needle off the thread.
6. Give them specific guidance.
For example, when stuffing softies they’ll be amazed at how much stuffing it takes. Look at the softie, see where the empty spots are, and tell them to add more stuffing here and here. Or tell them to add 6 more big handfuls and then bring it back to you.
7. For repetitive tasks, give them a mantra to repeat.
When I show kids how to whipstitch a stuffing opening closed, I’ll show them that it’s like a little mouth and they need to poke the needle “up through the bottom lip, up through the top lip, and pull, up through the bottom lip, up through the top lip, and pull.” Encourage them to say the steps out loud while they do it. Your class will be full of muttering kids, but for repeating multi-step processes, there’s nothing like it for helping them remember what to do and keeping them focused.
8. Let them do it themselves.
Their stitches will be crooked and their buttons will be loose and you’ll be astounded at the snarls of thread that can result – but they will be SO PROUD! The more they do themselves (and the more pride they feel) the more they’ll want to do it again. And the more they do it, the better they’ll get and all those beginner mistakes will start to disappear.
9. Let go of your own ideas of what the finished project should look like and follow their lead.
One kid in the Harry Potter Camp added a cape to his owl – which means that lots of kids wanted to add capes. So I showed them how to add capes. One very young child brought me a long, scraggly scrap of fabric that he wanted to attach as a cape. It was easily three times as long as the owl. Just as I was opening my mouth to suggest trimming it shorter, he started to tell me how great this super-long piece of fabric was because now it was a cape that the owl could use to whip around and knock down his enemies. In my eyes it looked awful – like he had just grabbed the first scrap that he came to. But he had a vision and he was so happy to have that vision realized.
10. Have fun!
When you’re sewing with kids, choose projects that are easy and simple – with not too many steps or pattern pieces. Happily, those are usually also the patterns that have lots of room for playing around with them.
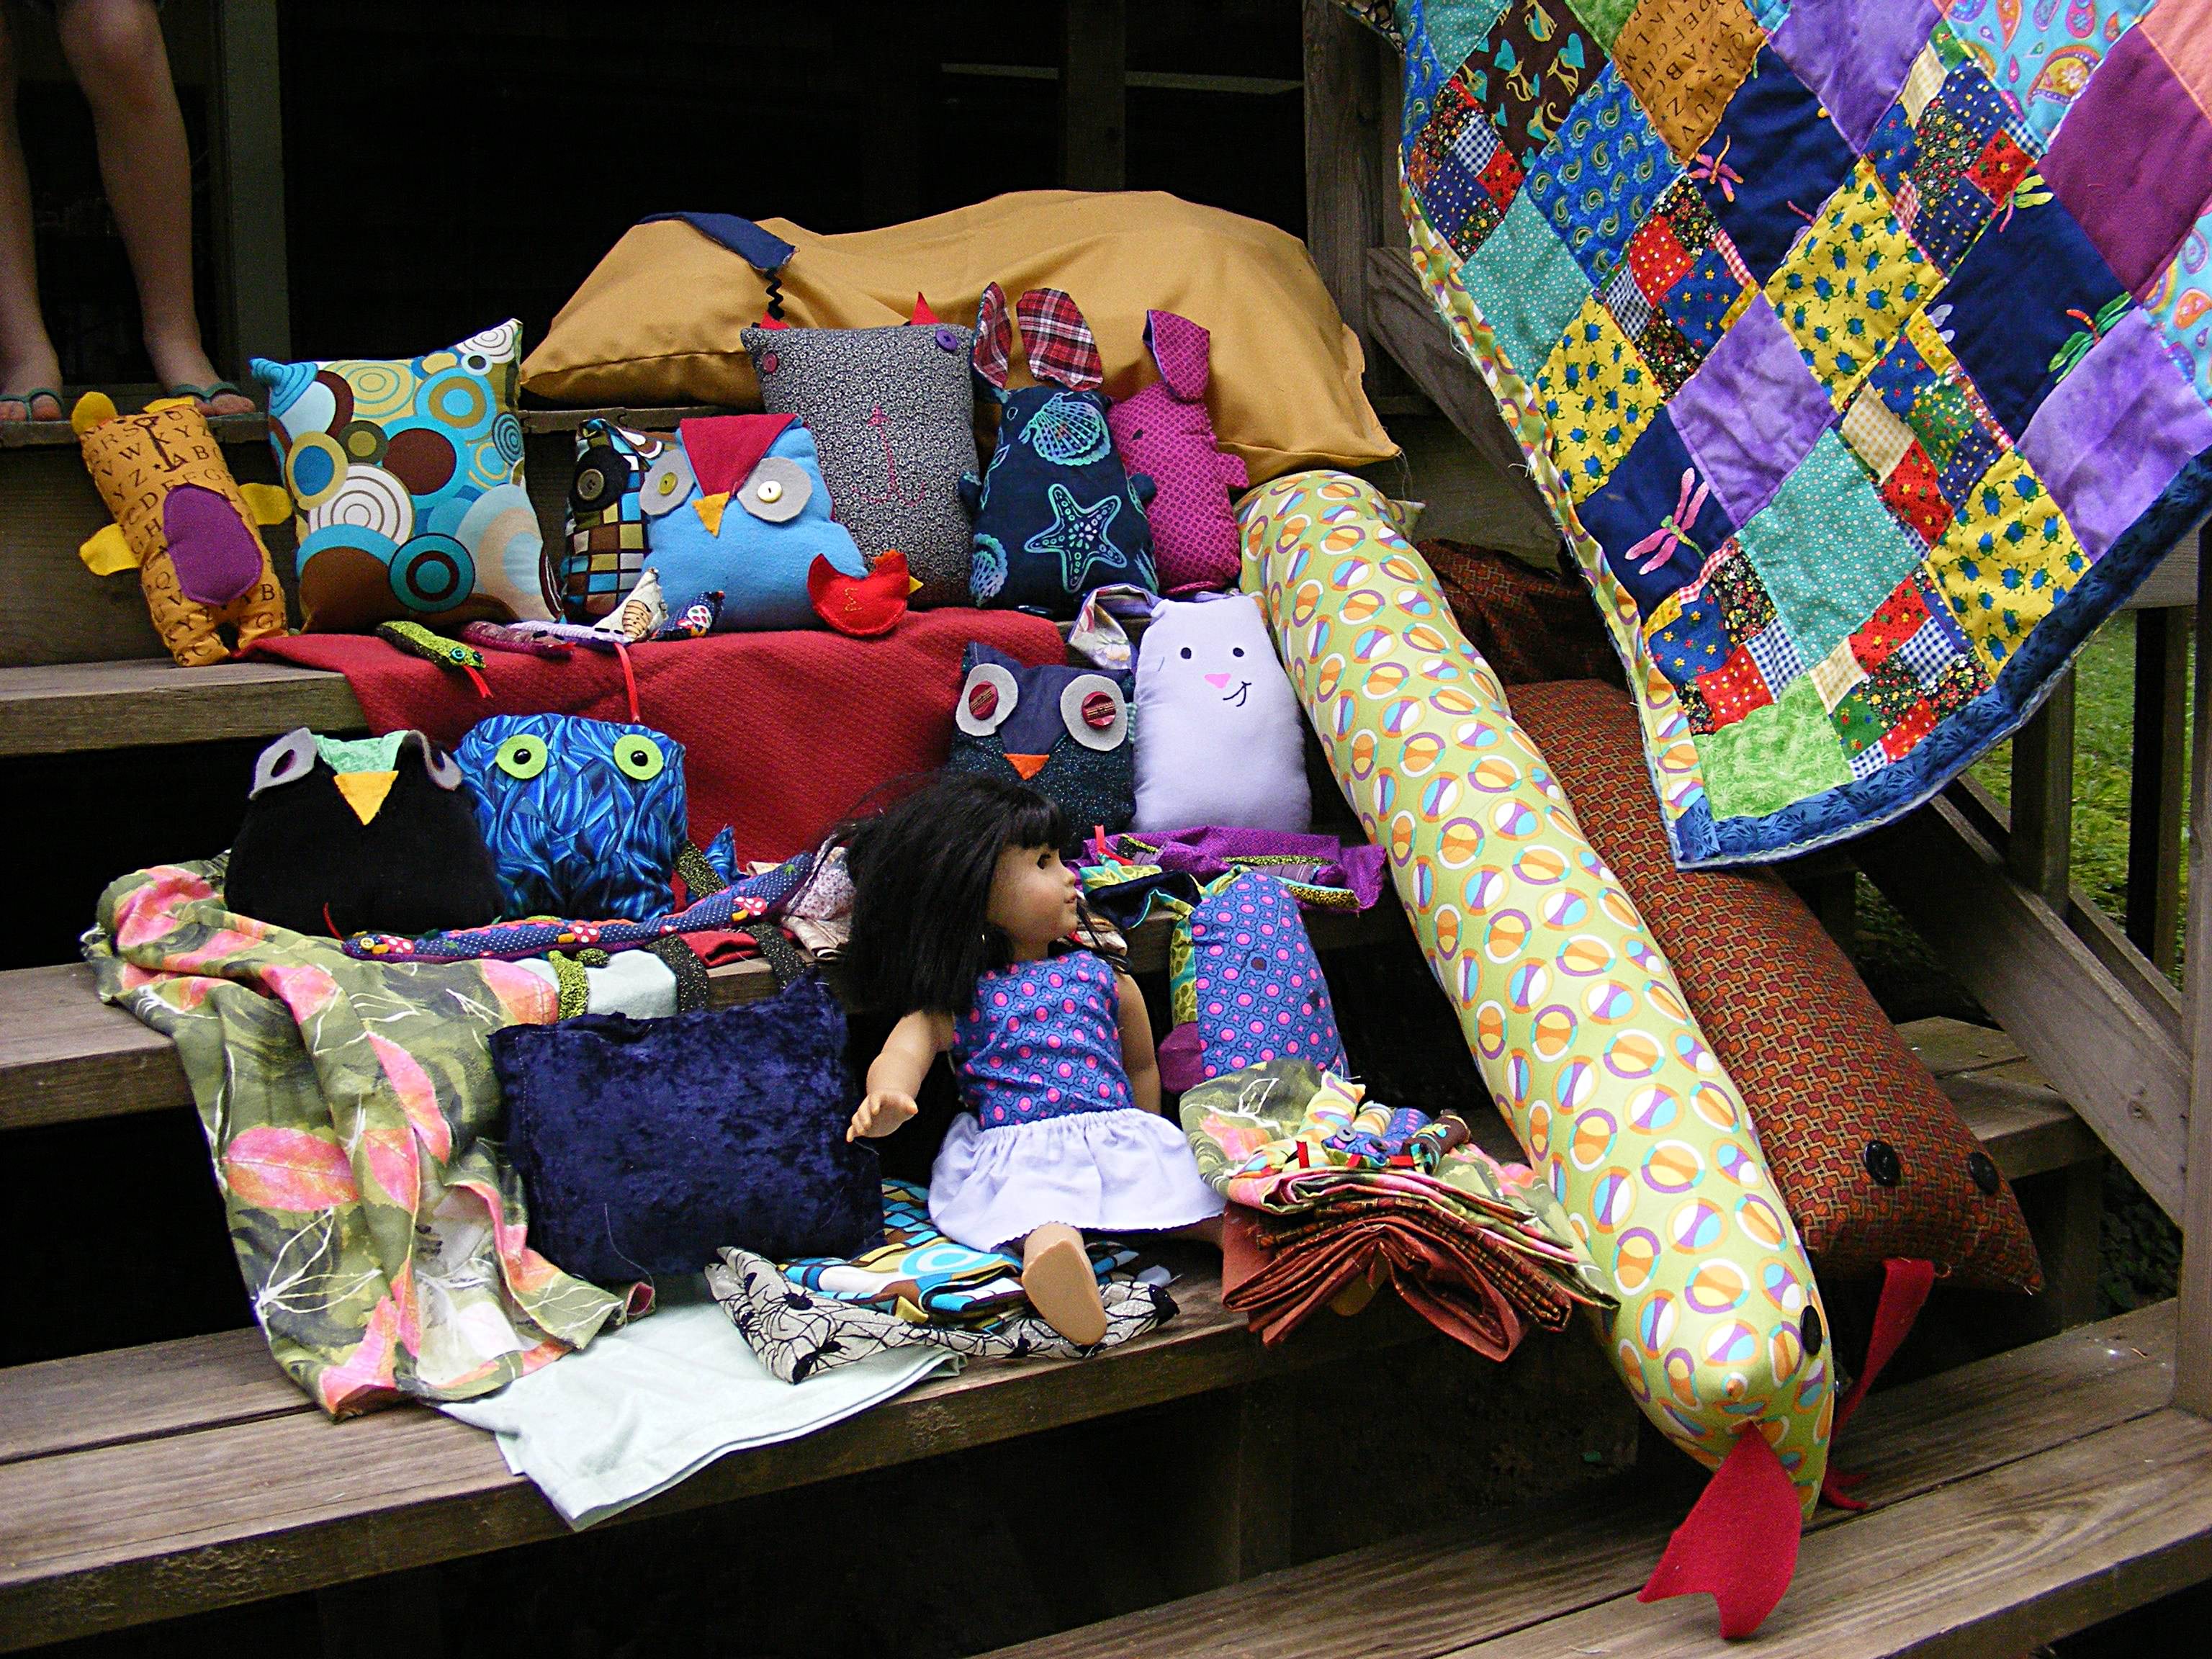
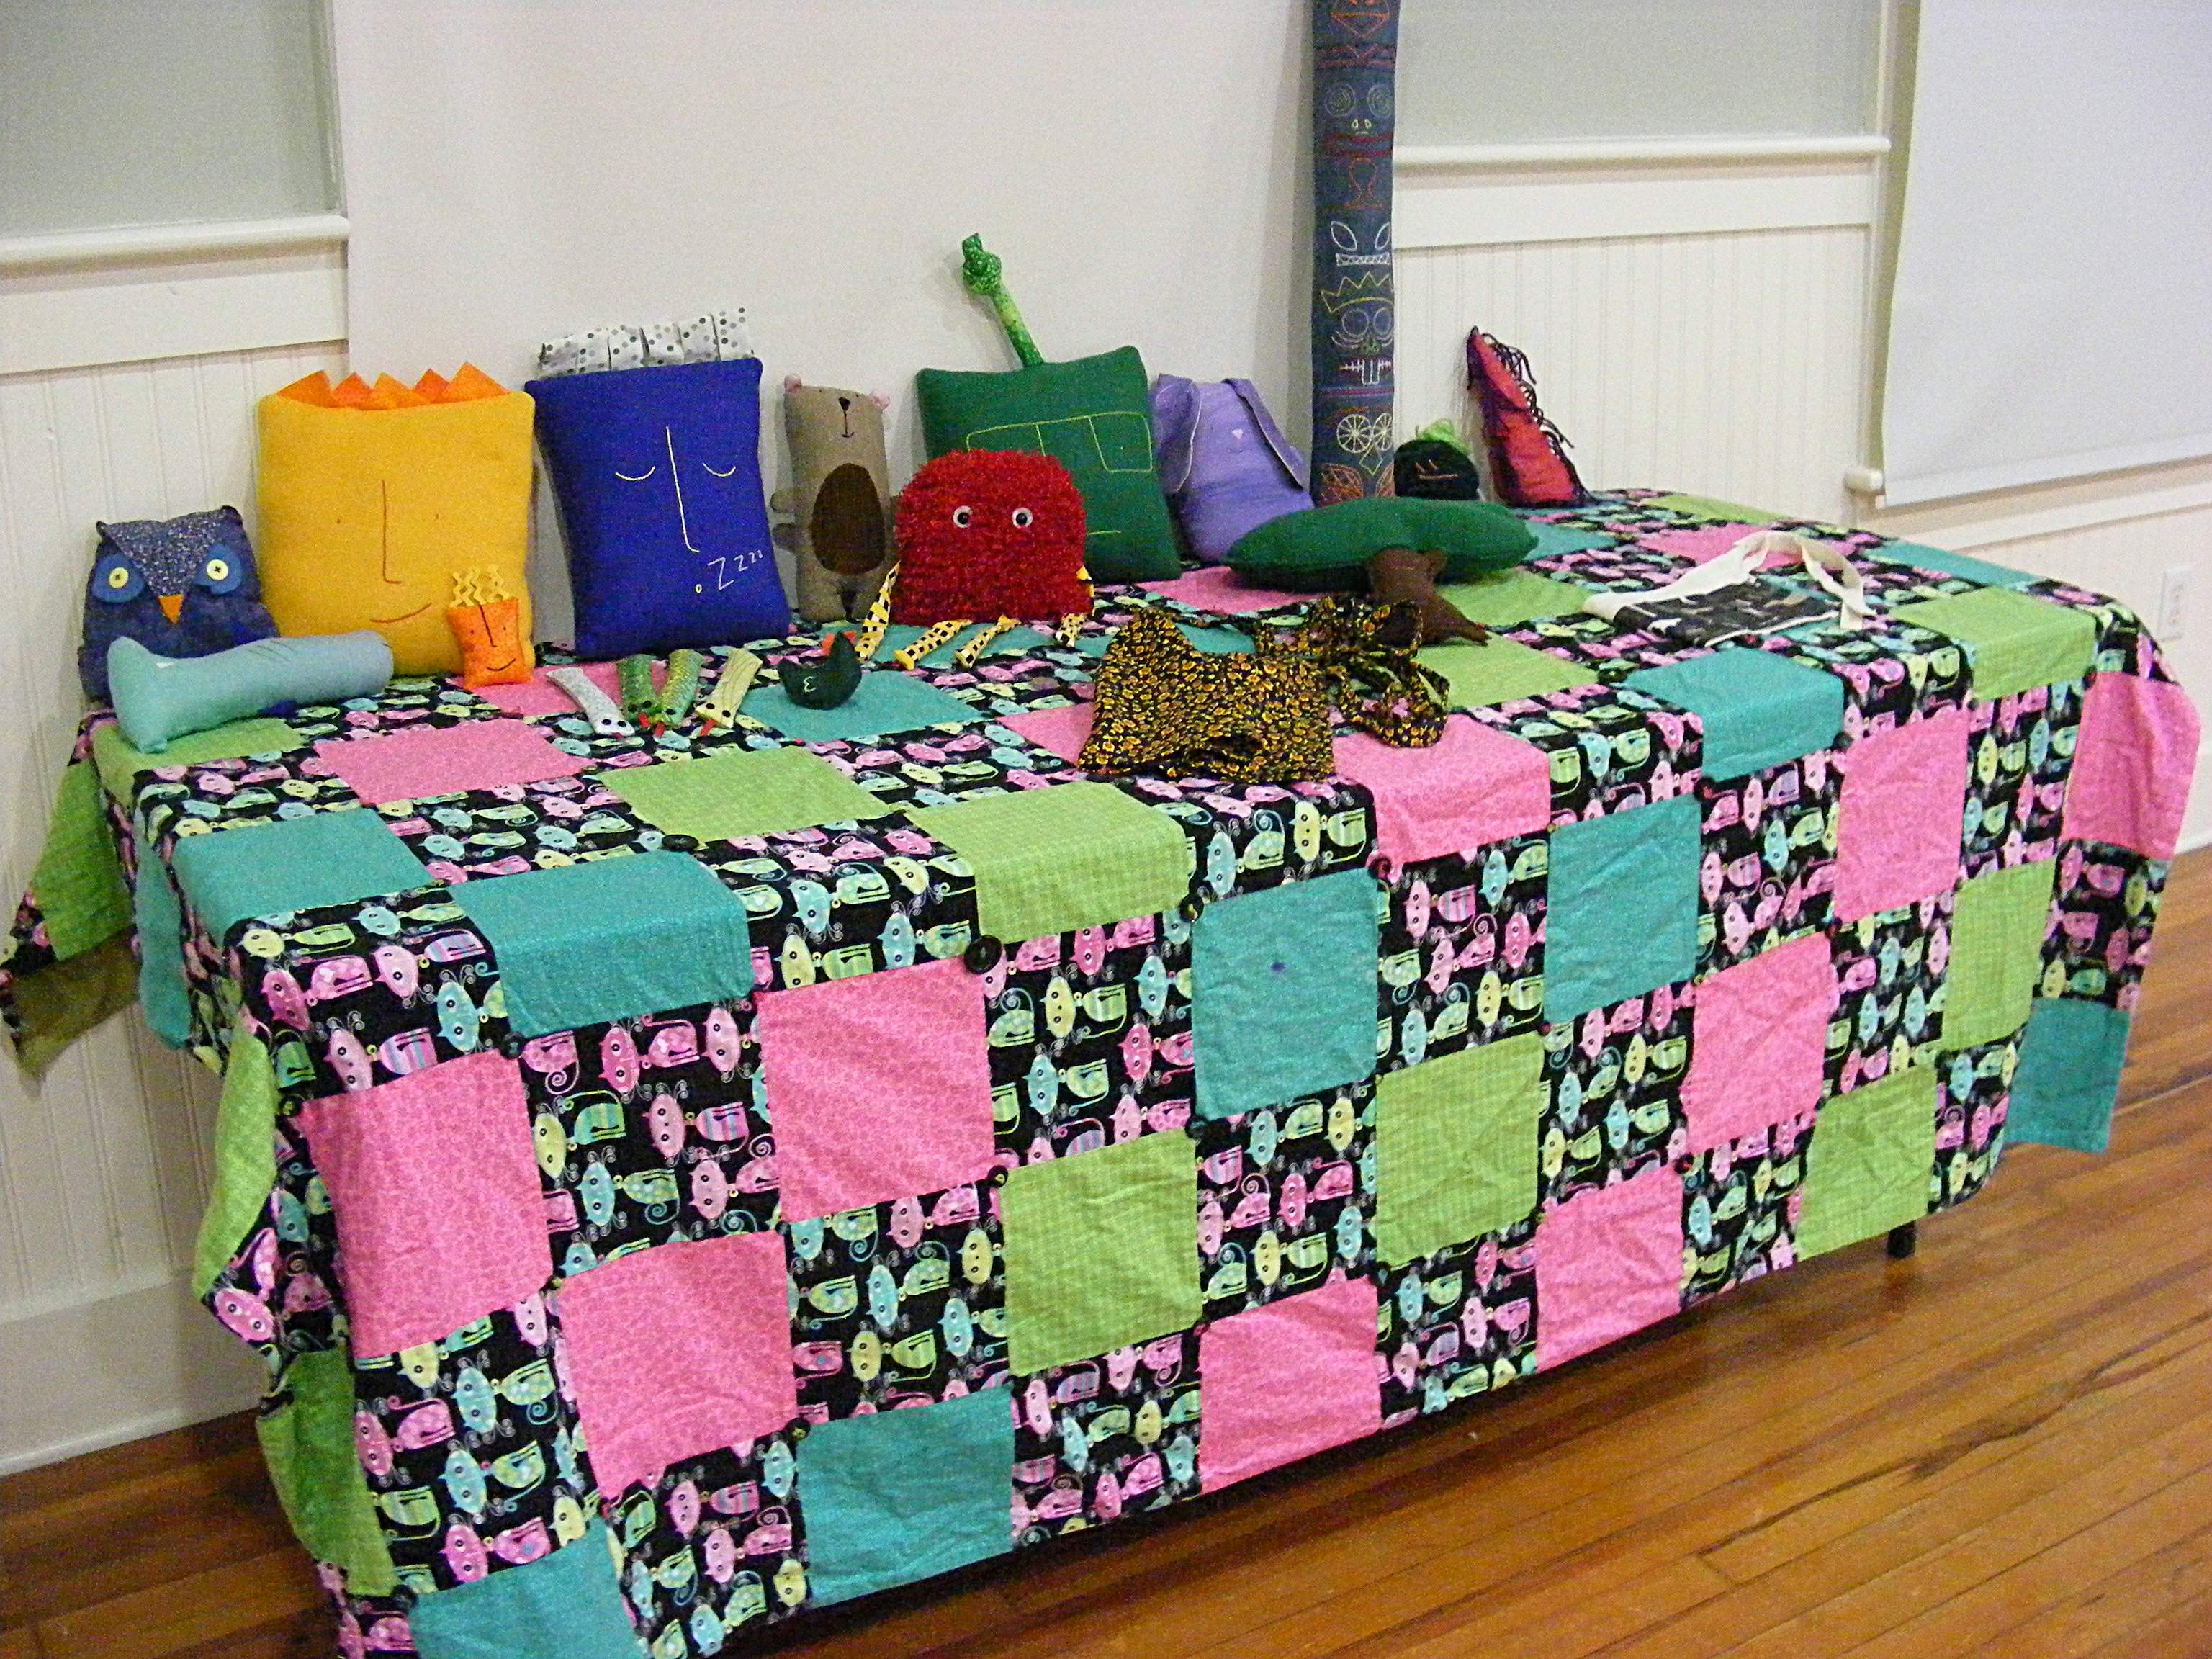
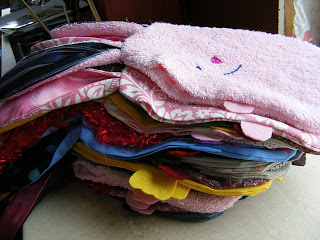
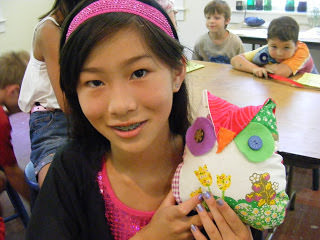
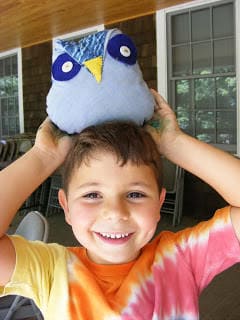
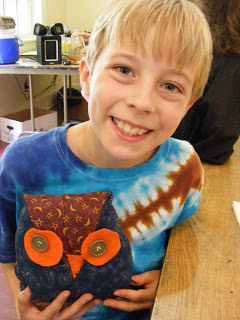
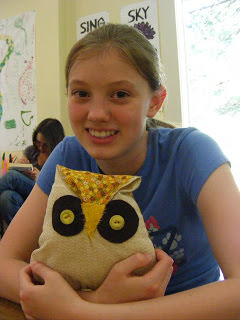
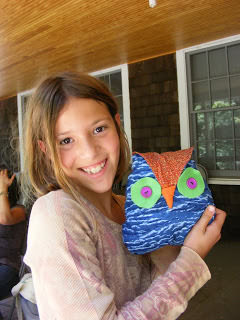
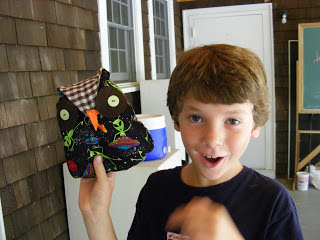
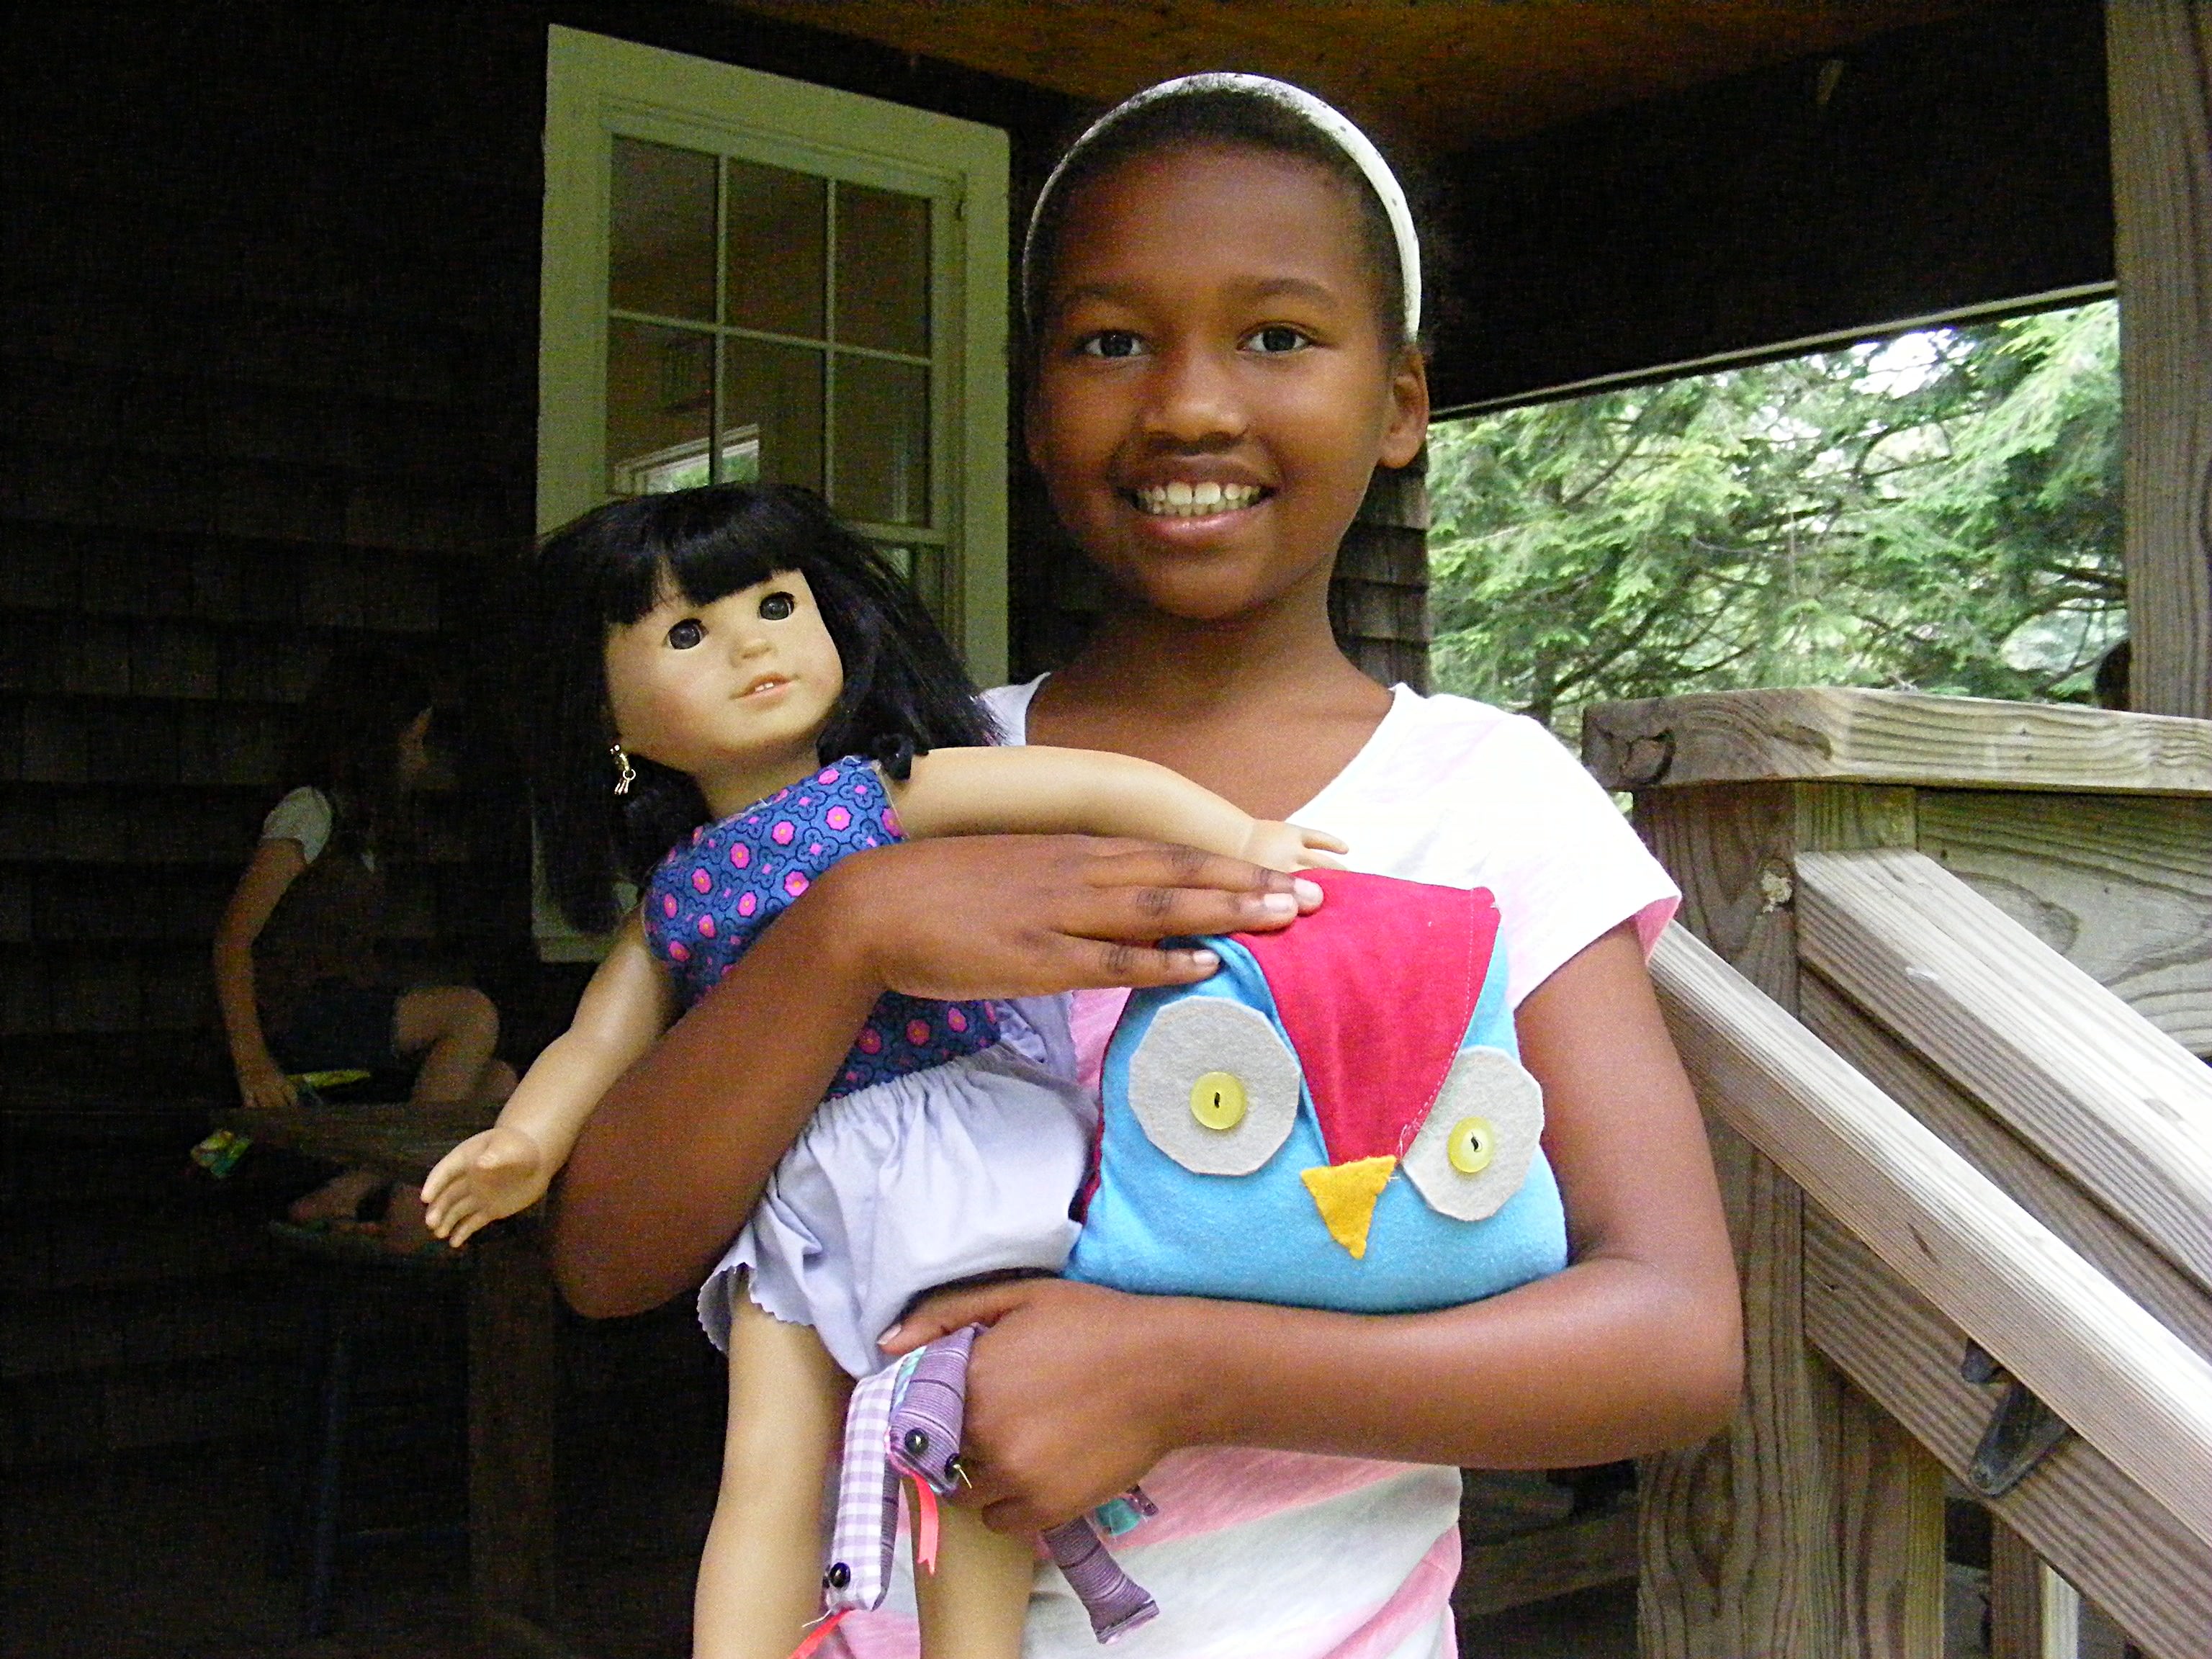
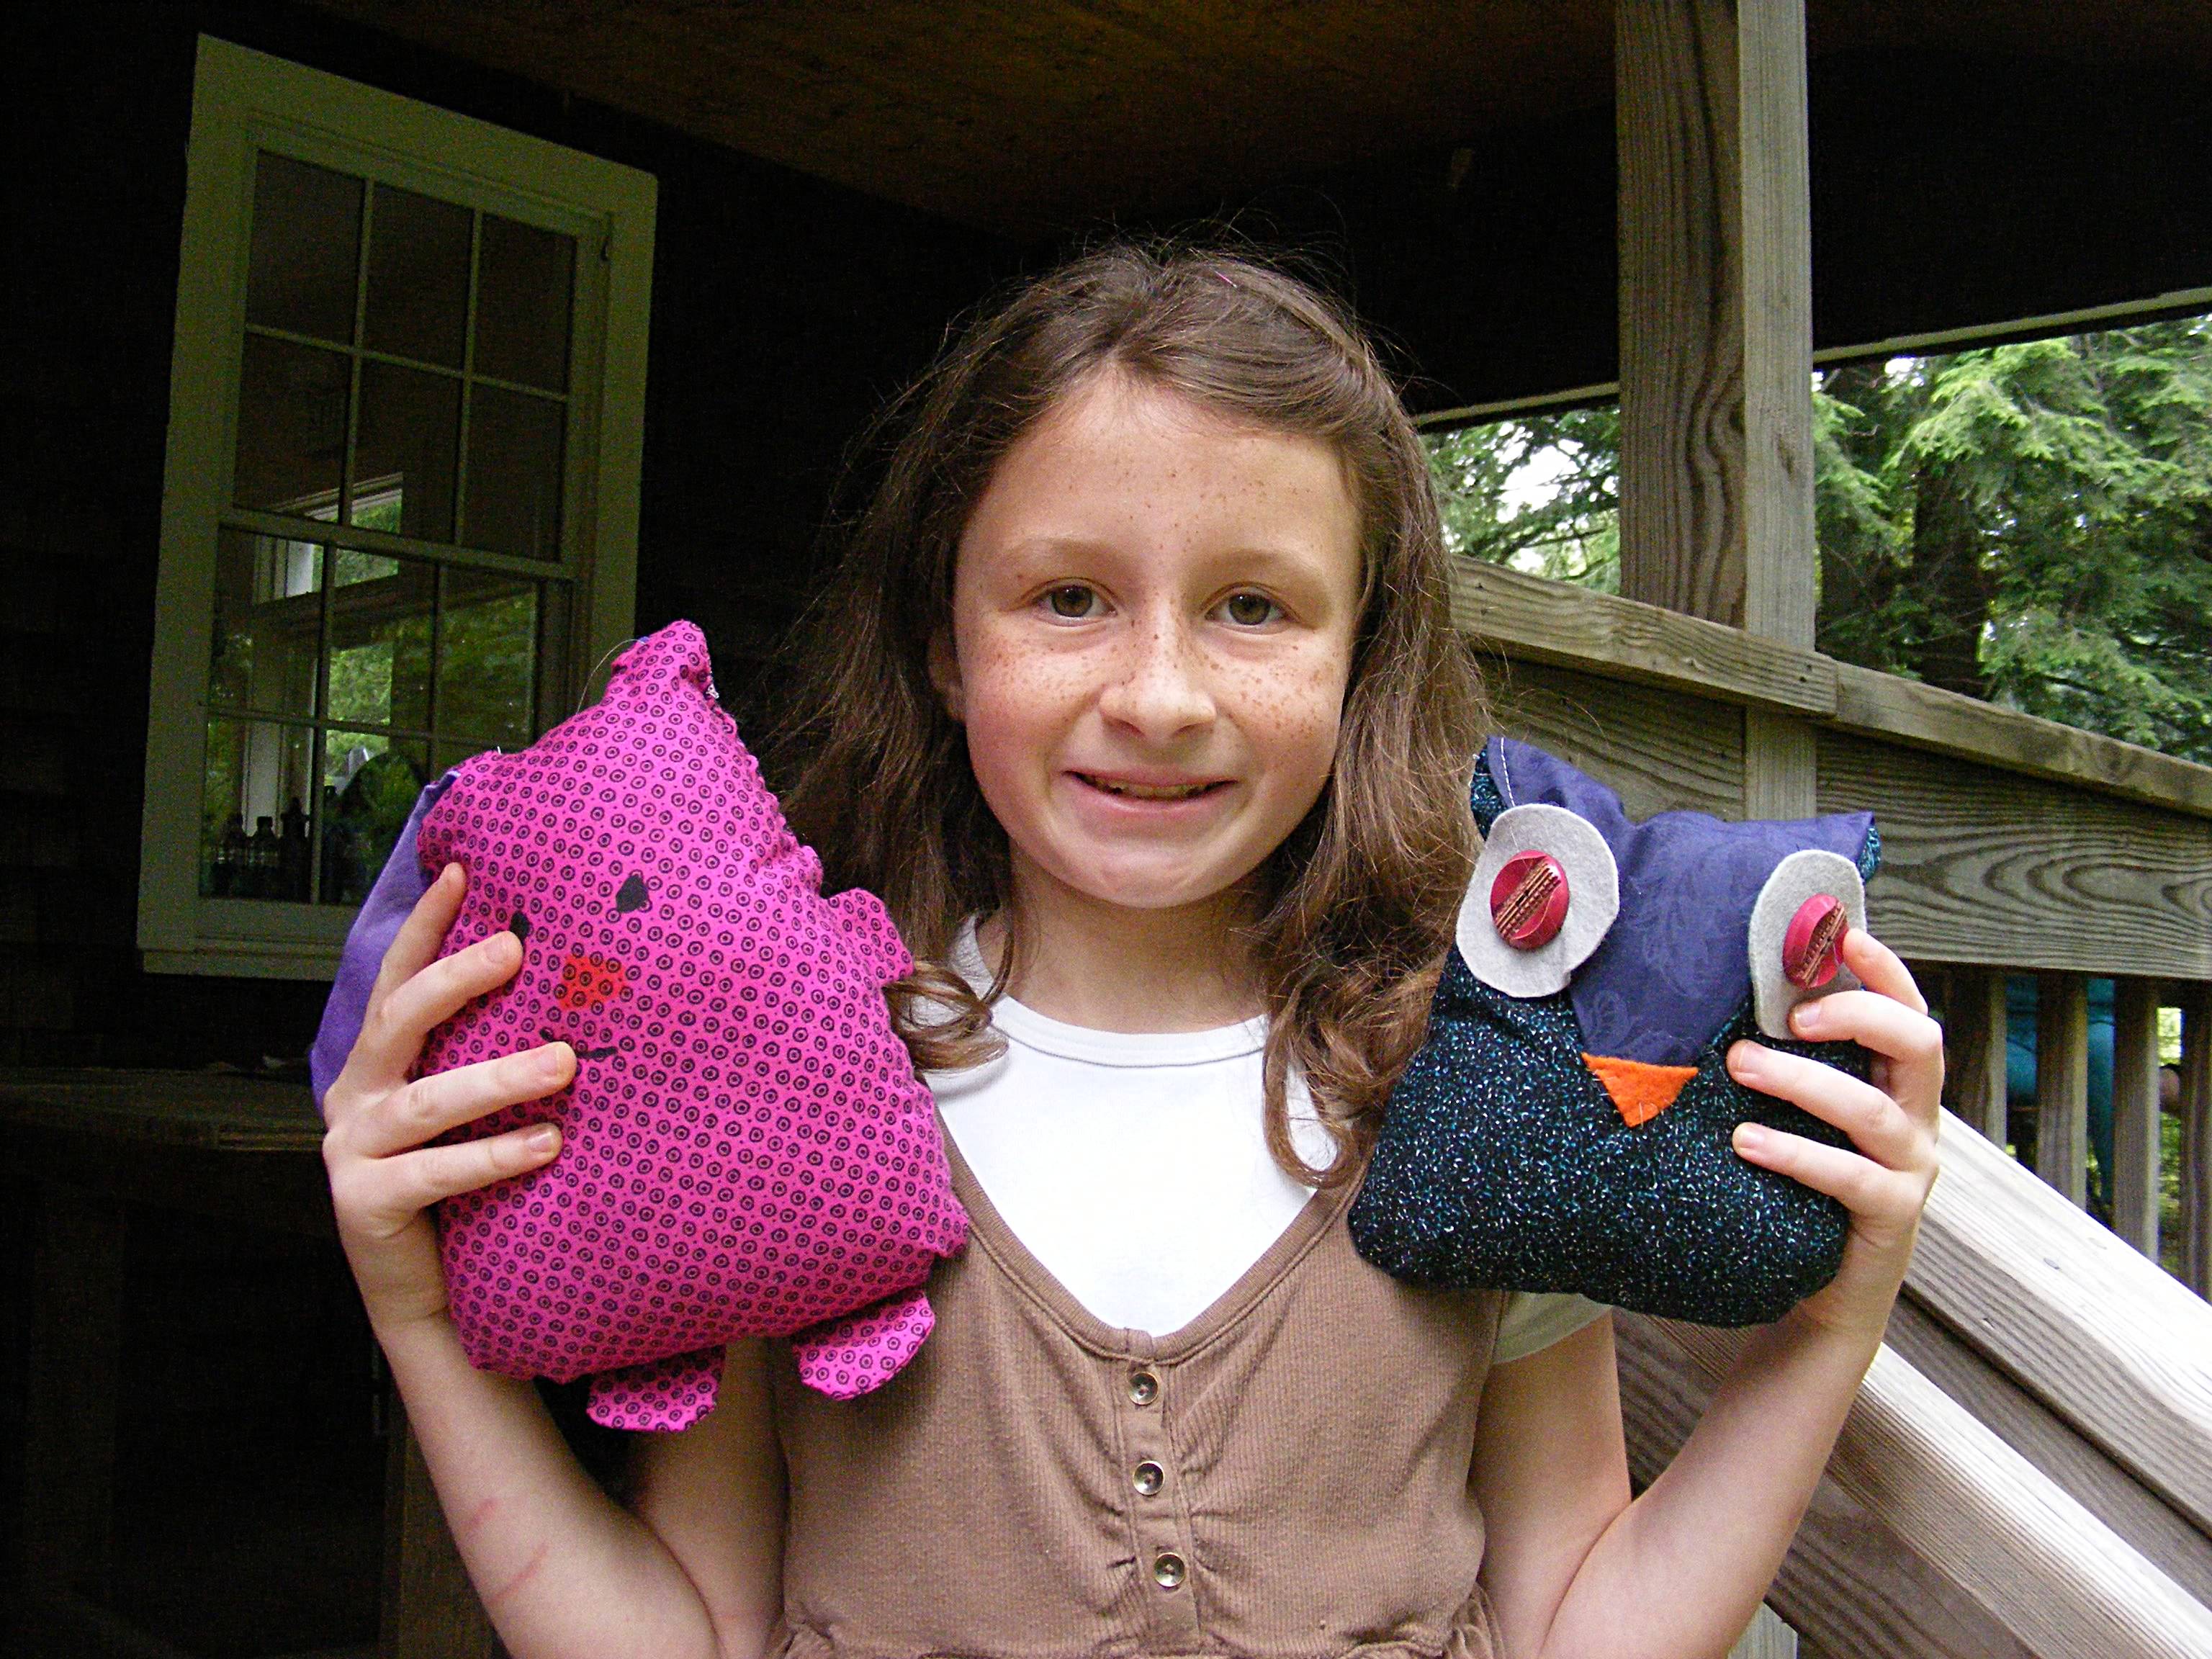
Don’t you love all those owls? You can make one too! The pattern is available here.
Happy sewing!
Best,
Wendi


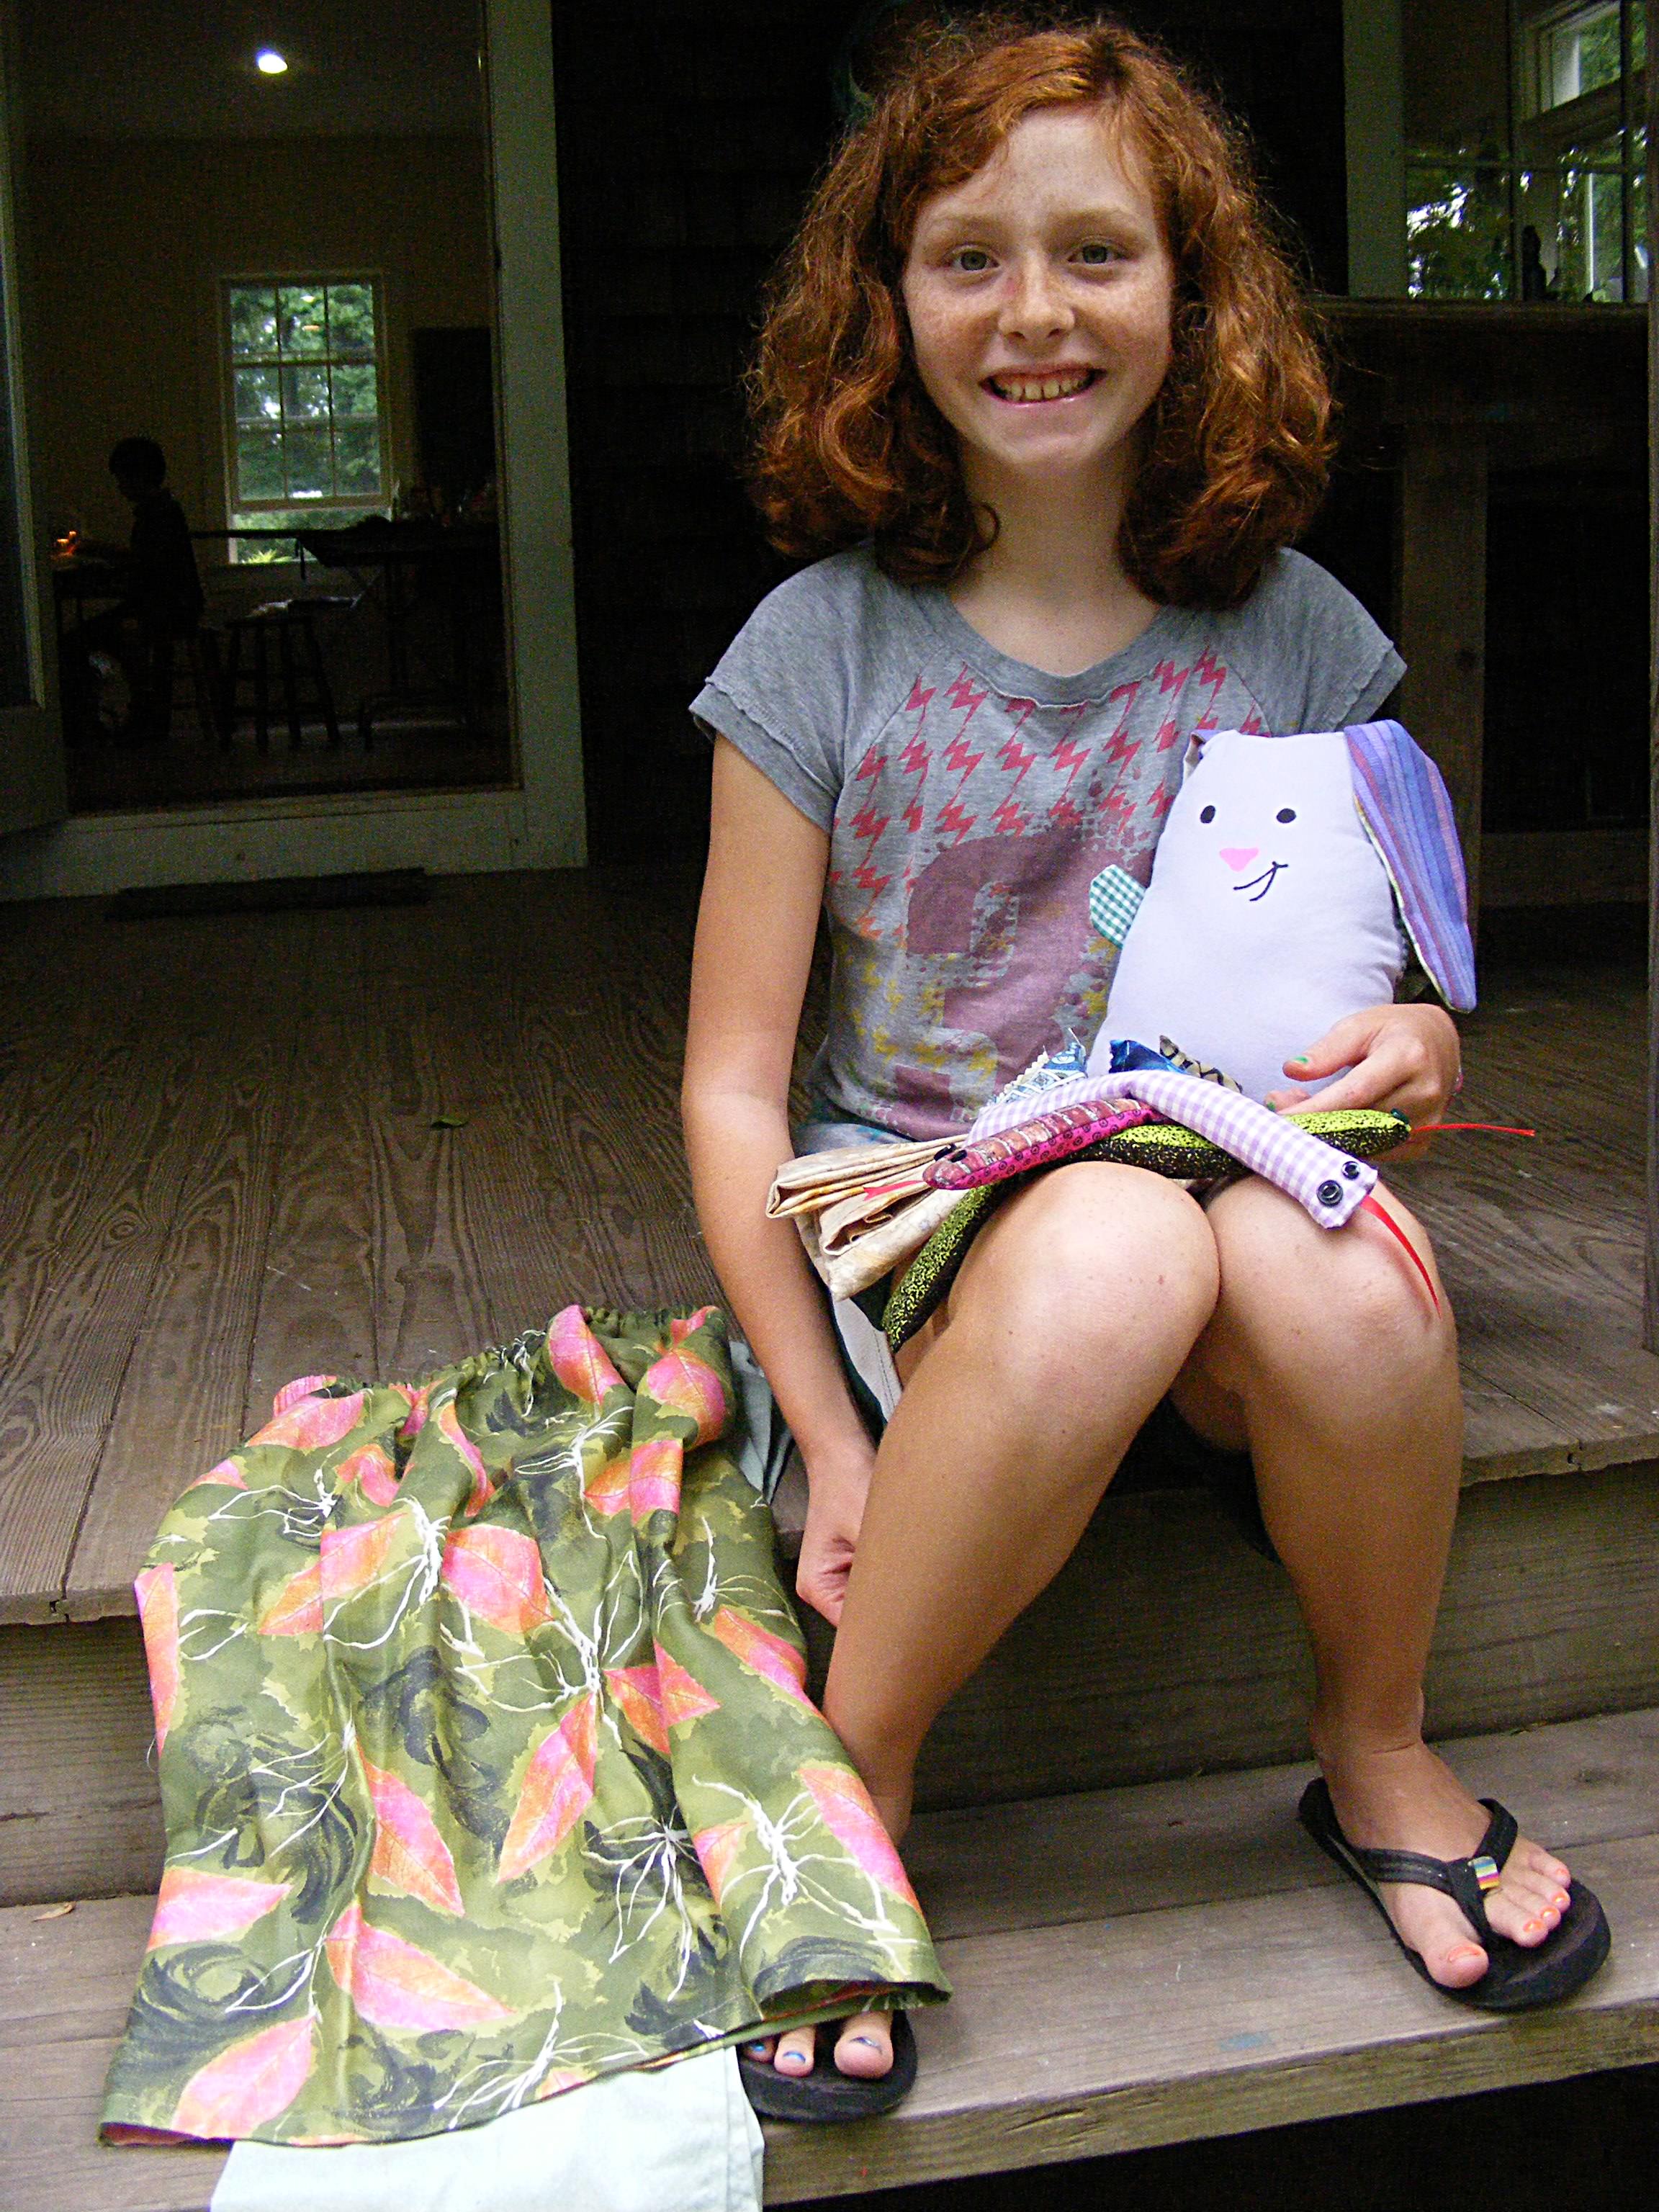
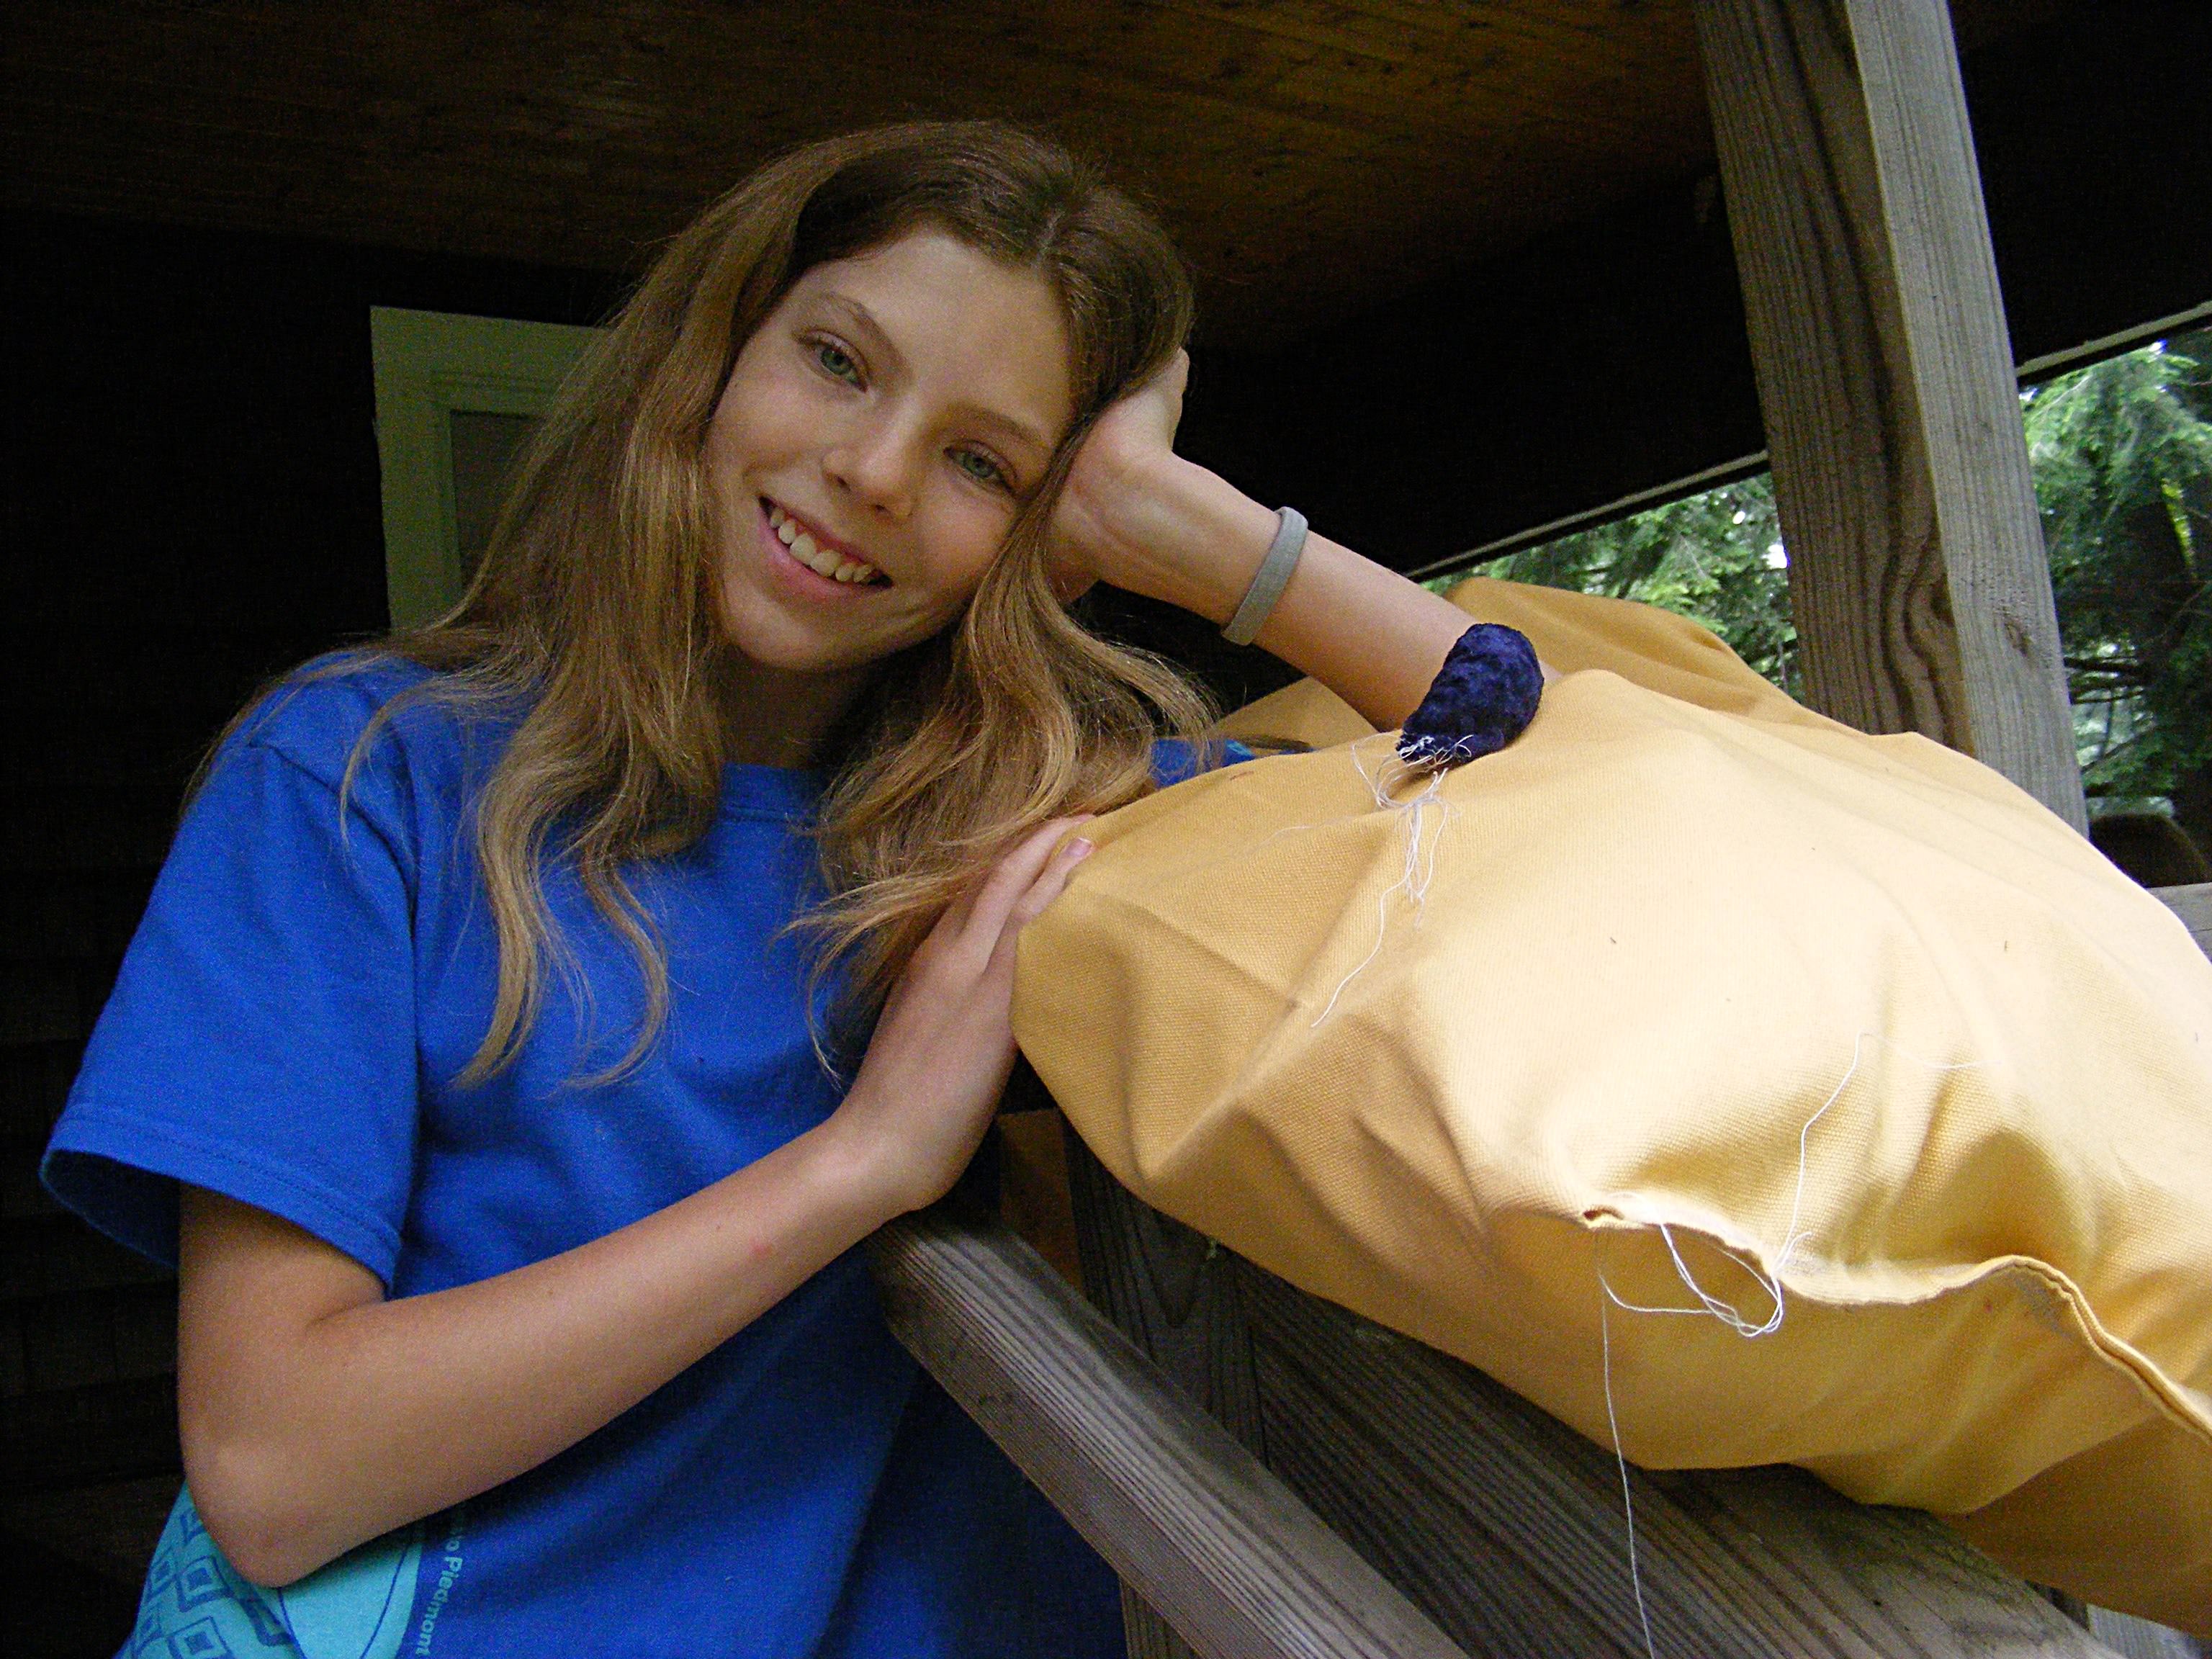
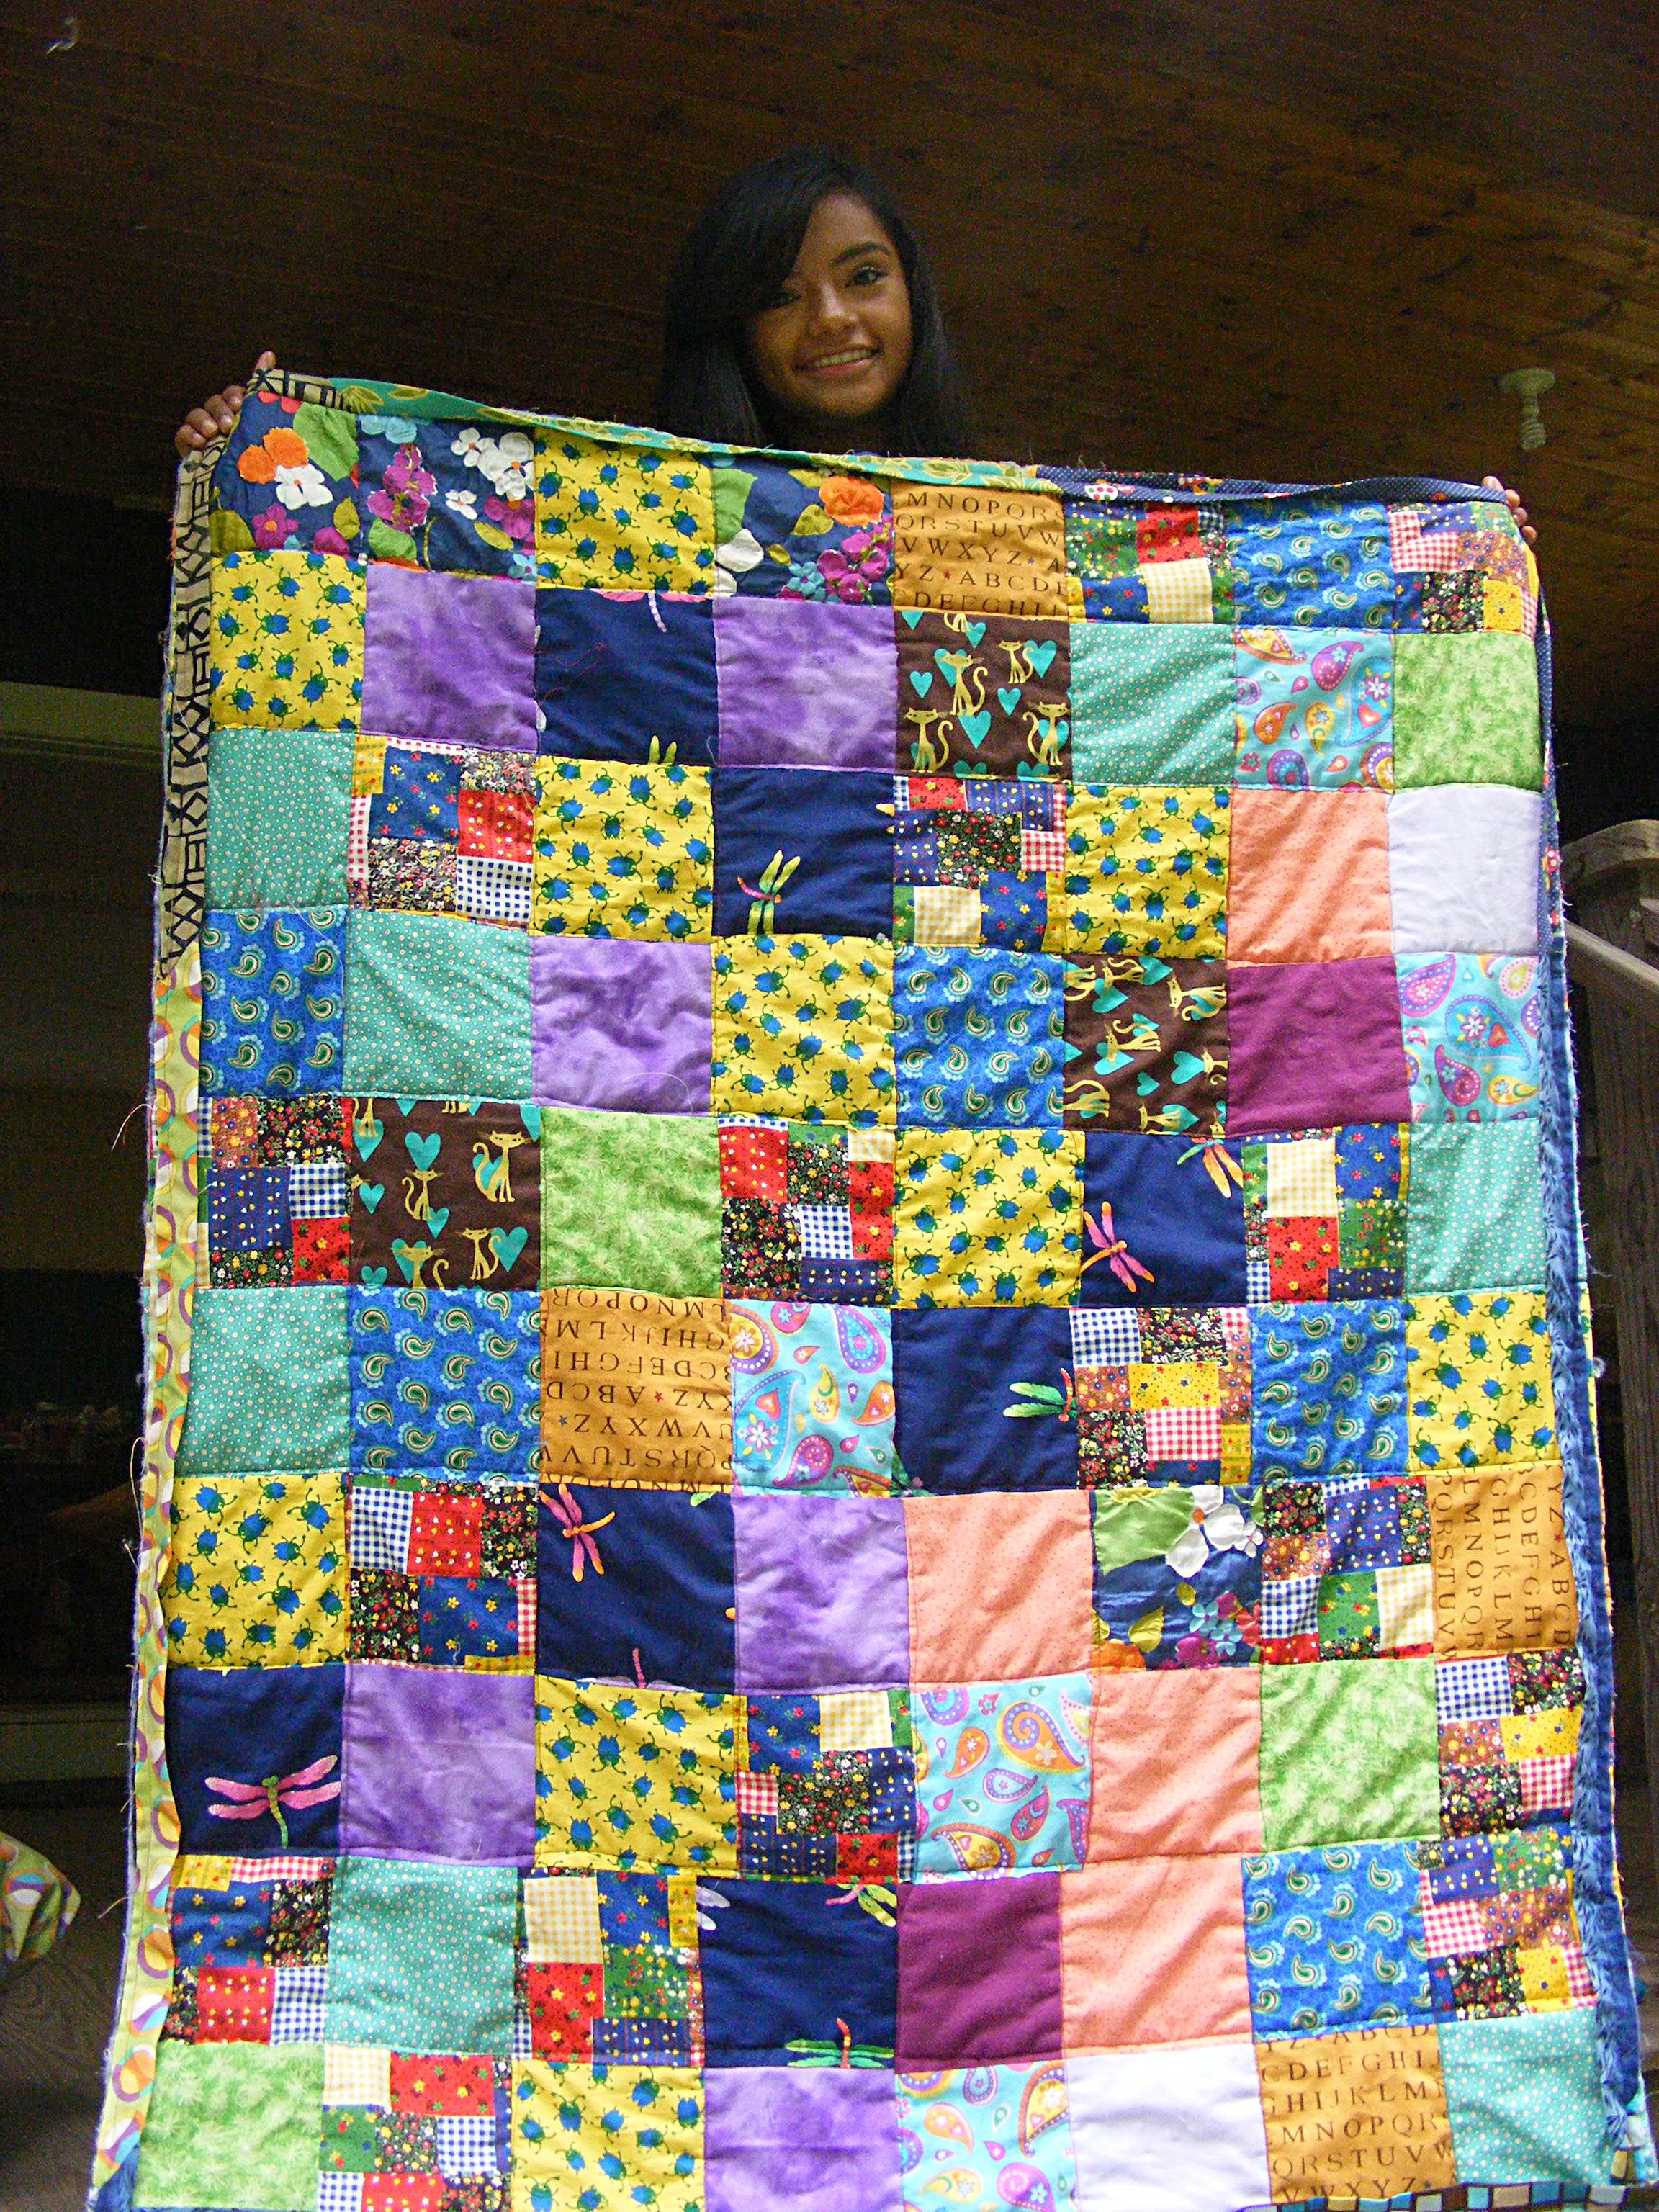
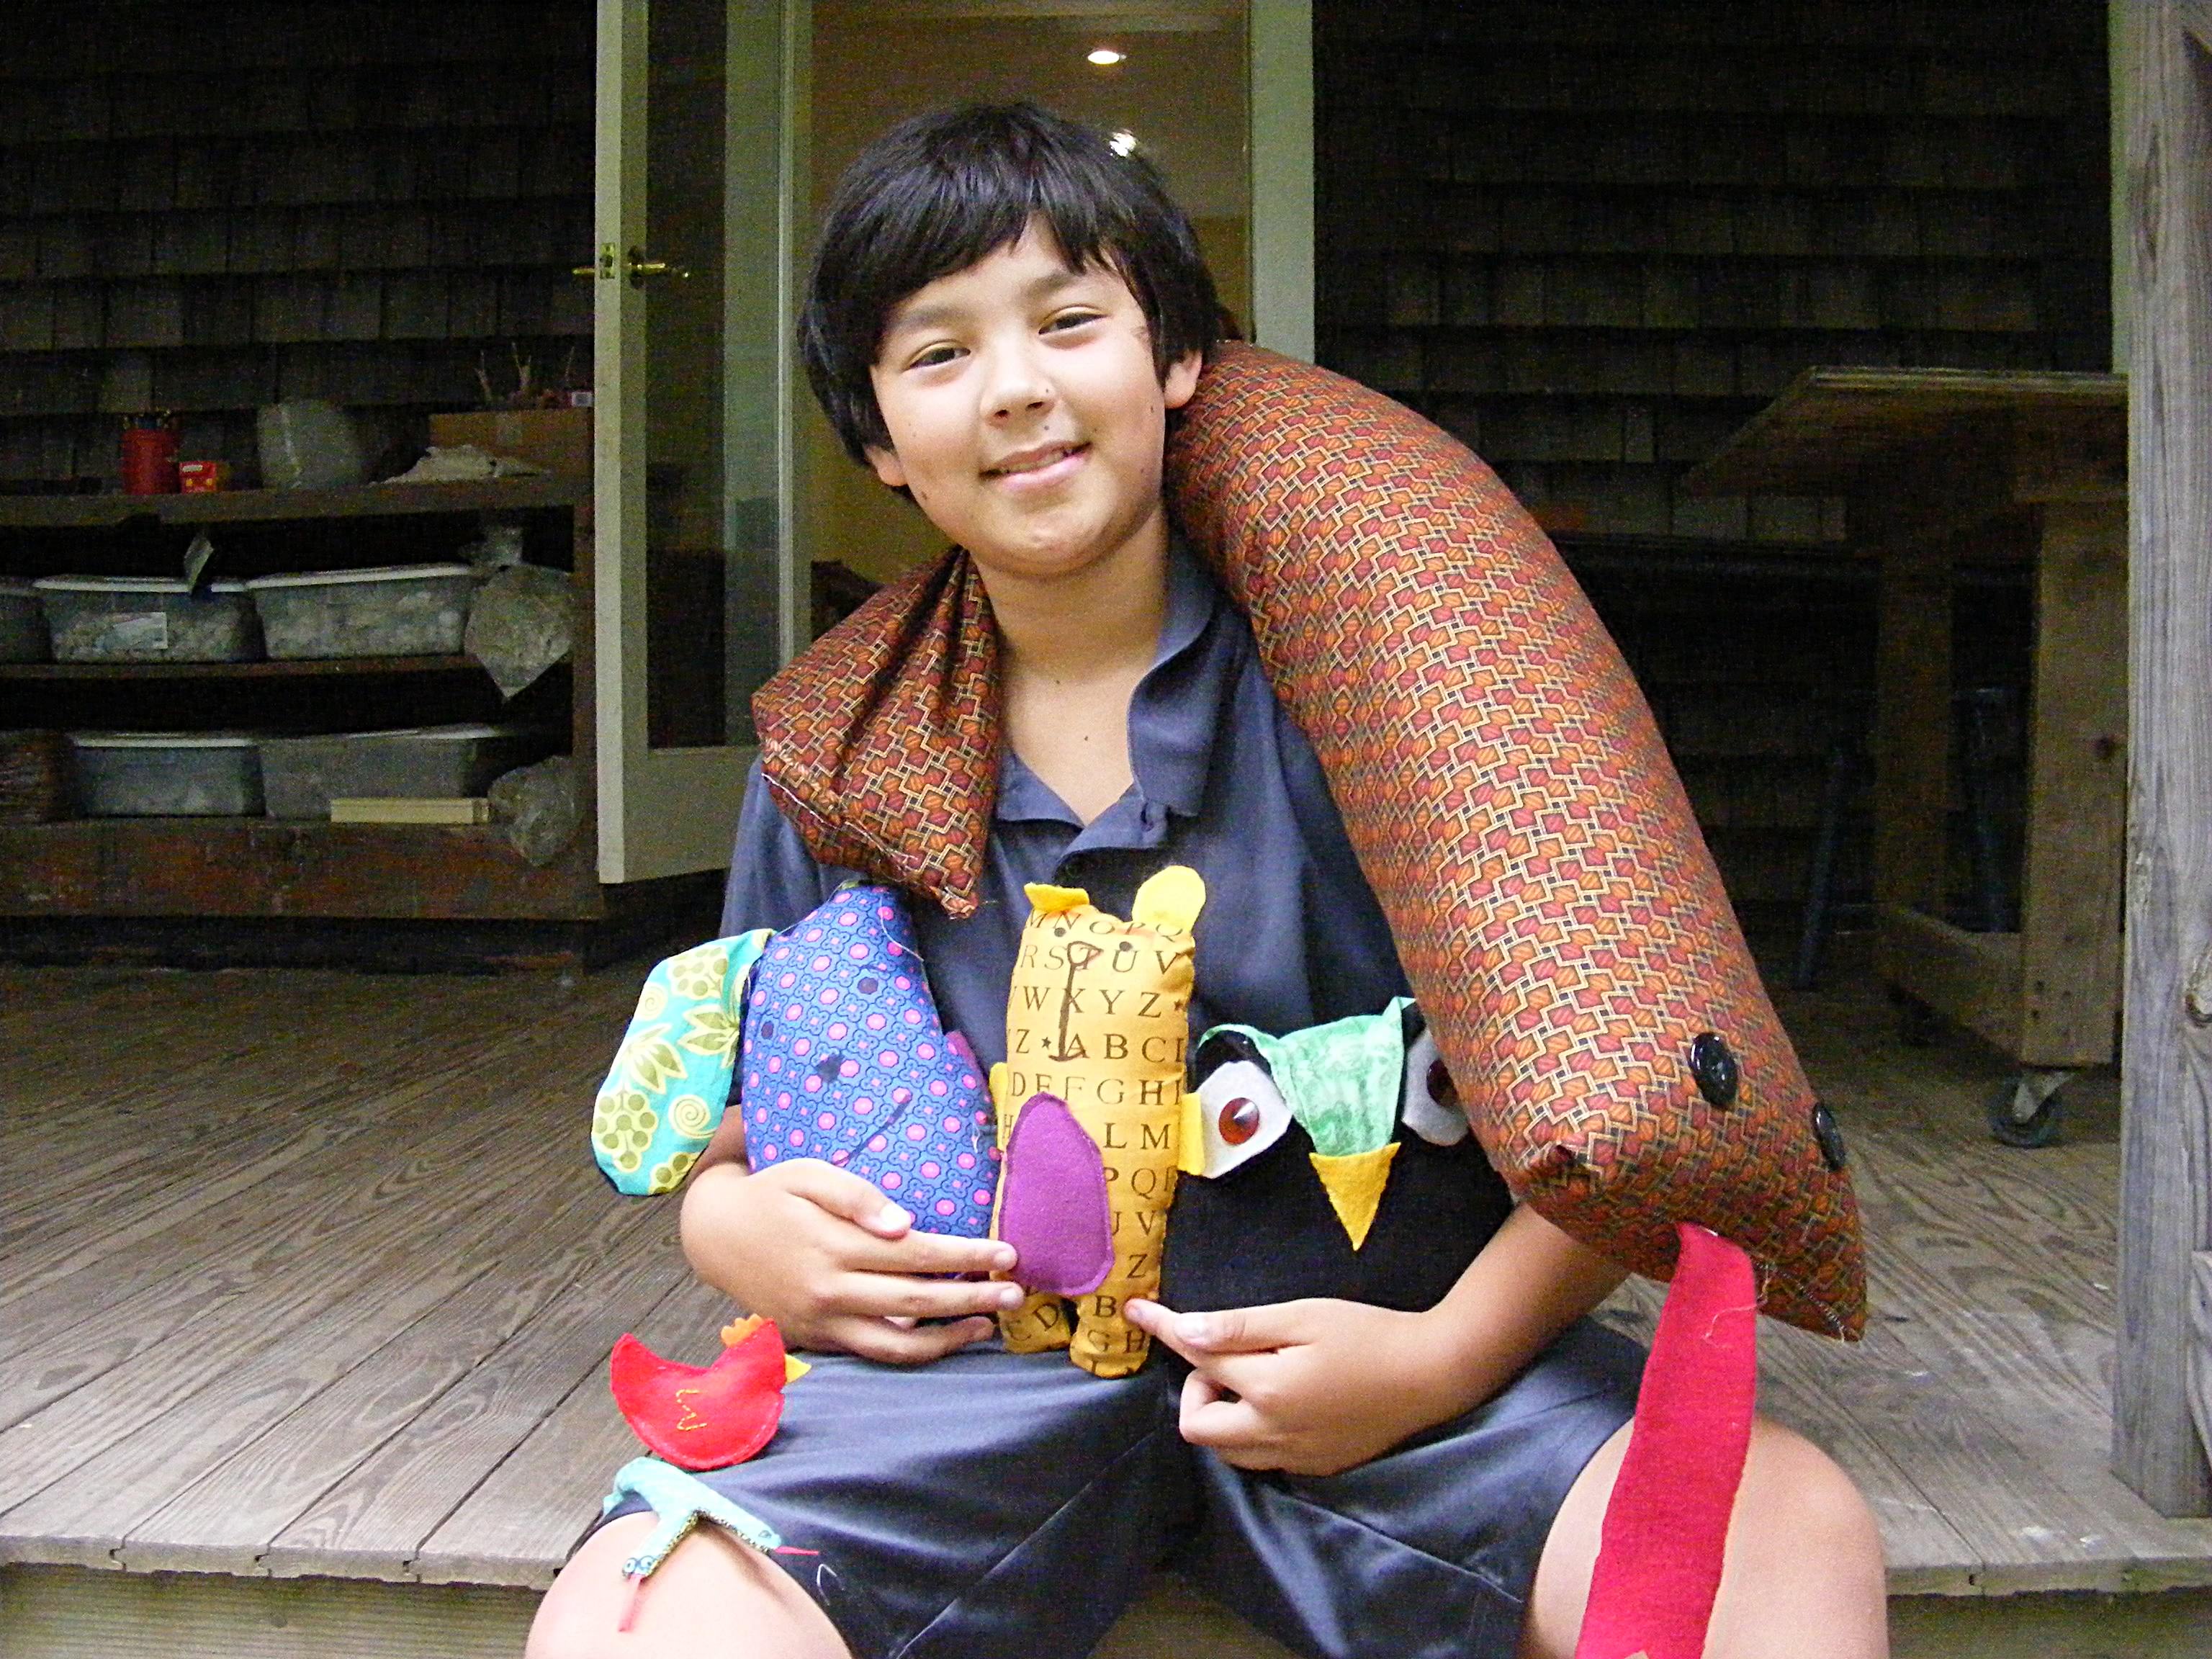

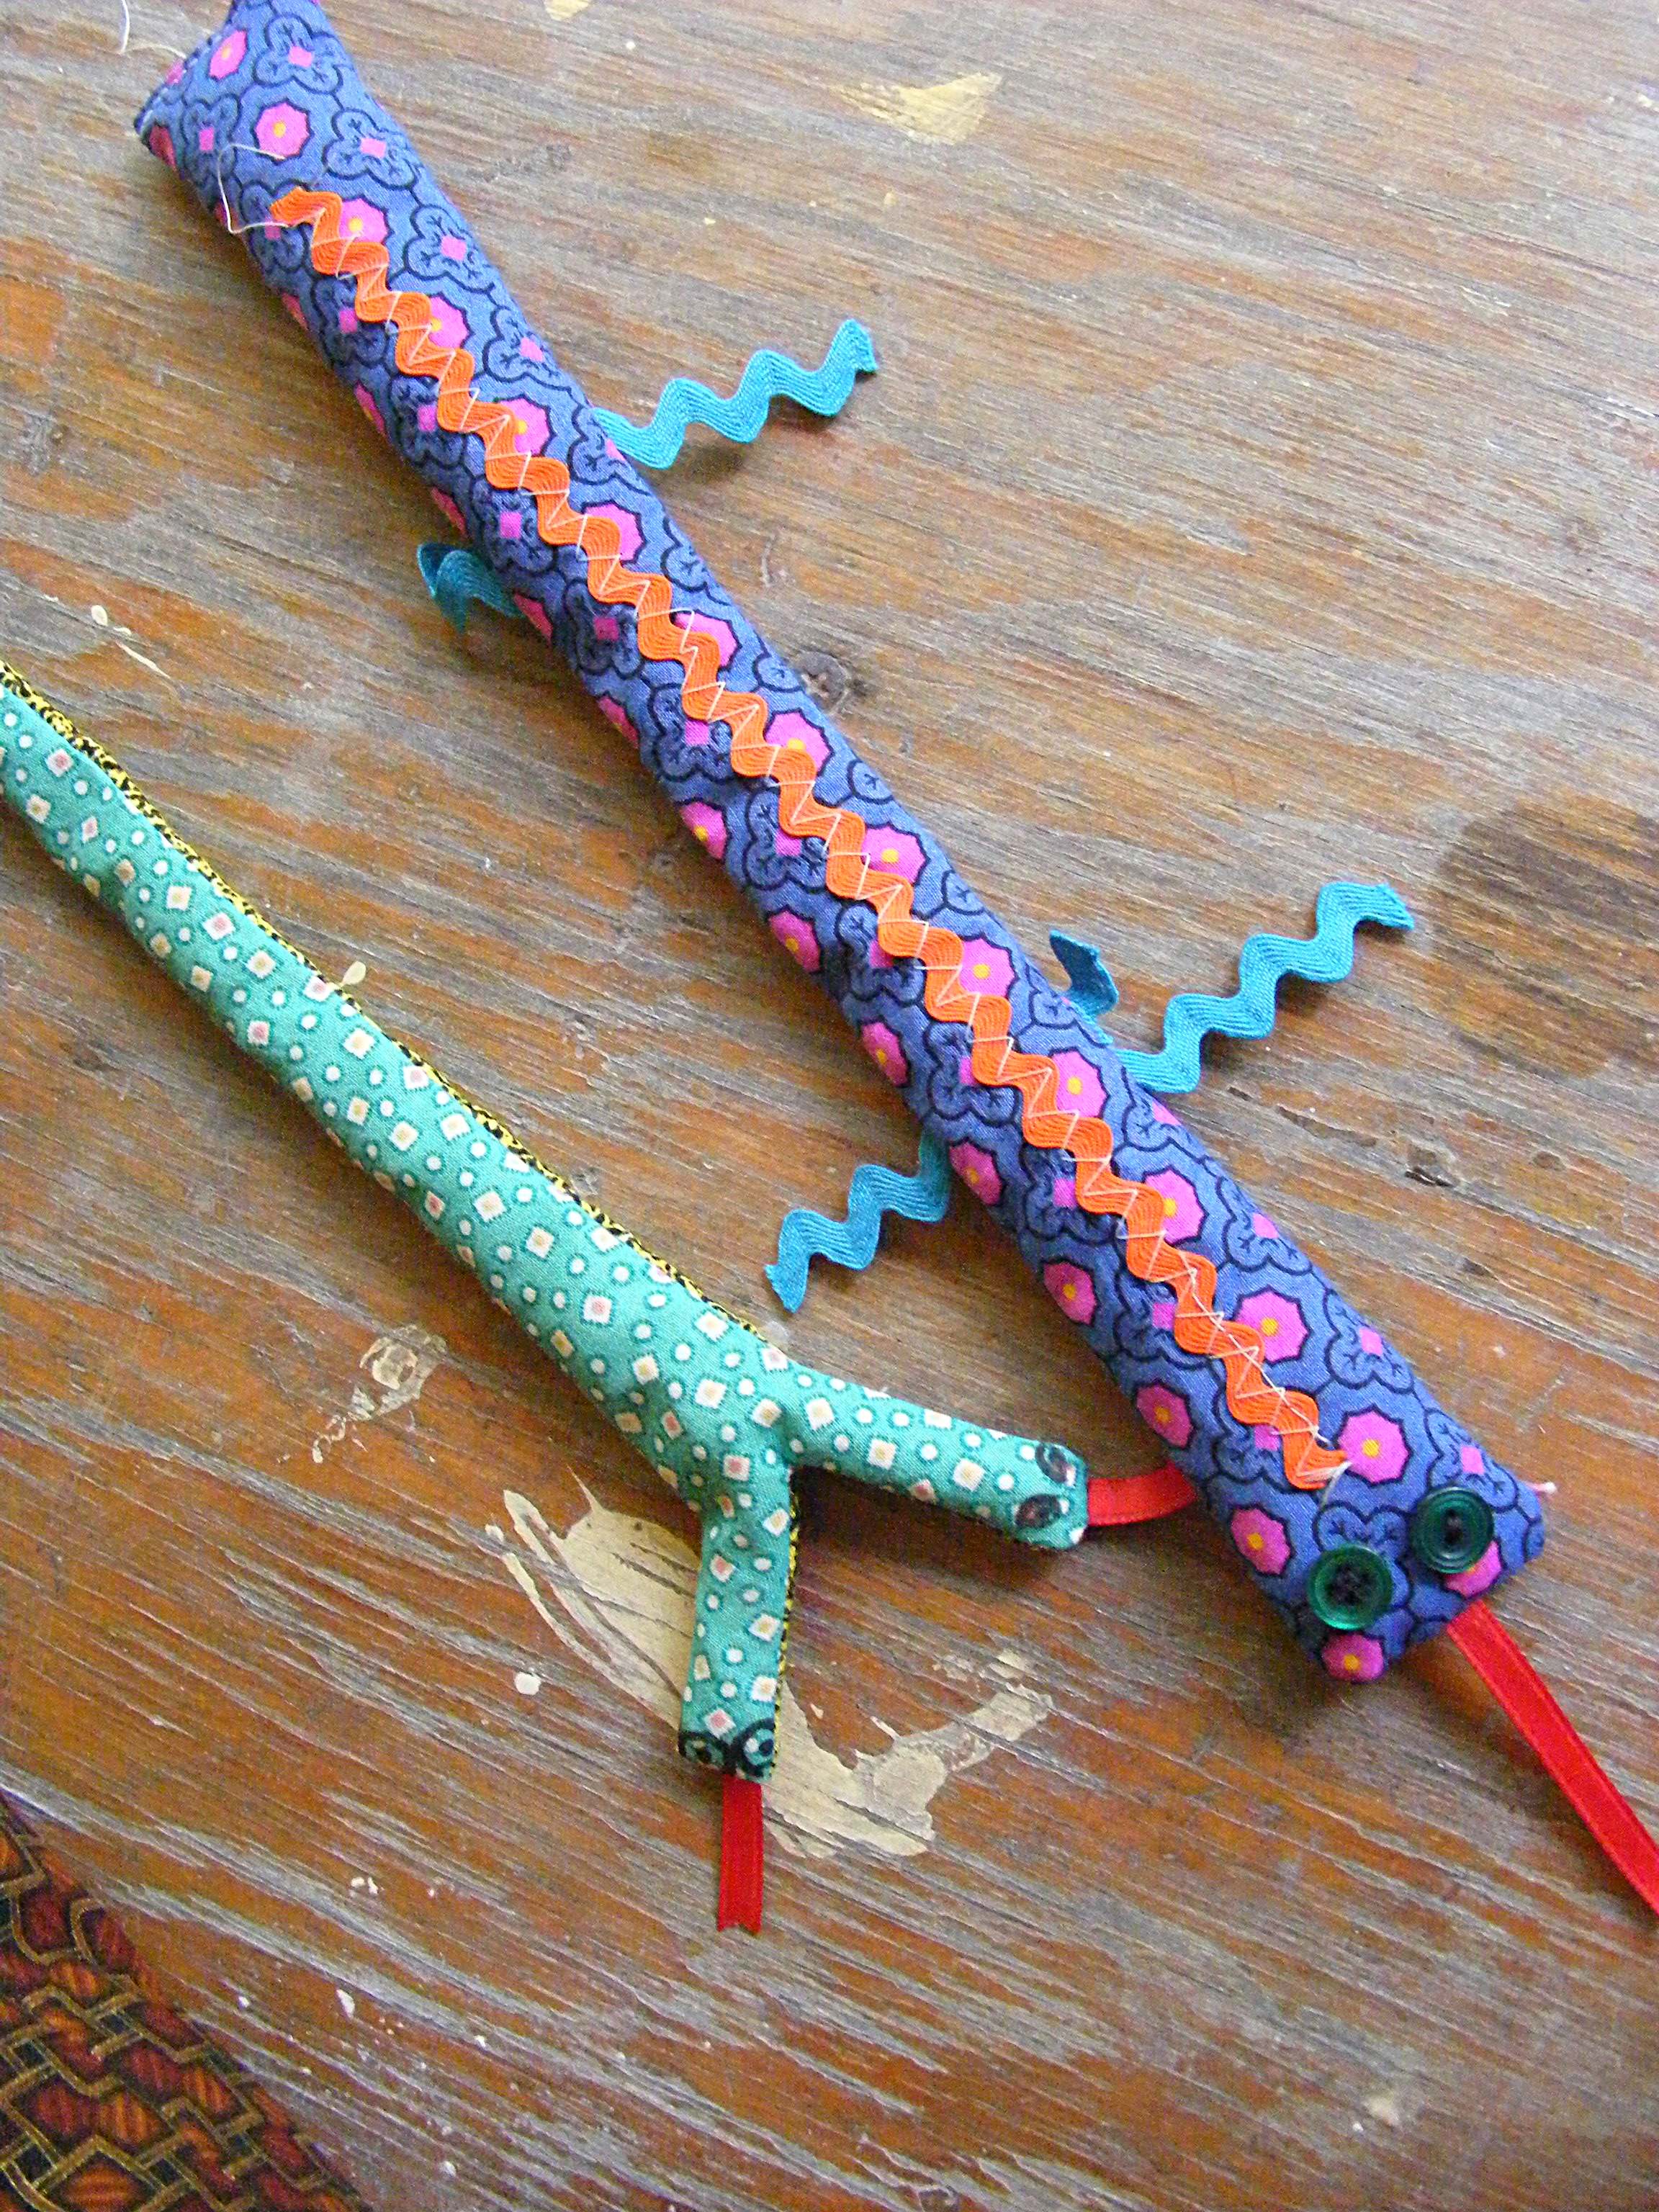 And one more shot of all the awesomeness. . .