Teaching Kids to Sew

Teaching Kids to Sew - a video lesson from Shiny Happy World

The summer holidays are just starting here in the northern hemisphere, which means it’s time for me to start getting a lot more questions about teaching kids to sew. 🙂

Summer vacation is a great time for some sewing lessons!

Teaching Kids to Sew - a video lesson from Shiny Happy World

Kids love to learn from other kids – so I’m rerunning here a video my daughter made with me a few years ago. (She was 11 at the time.) In it she shows how the machine works, how to sew wavy, straight, and parallel lines, how to use decorative stitches, how to turn corners, and more.

It’s a no-pressure way for kids to get a feel for how the machine pulls the fabric through on its own, how (and how much) they need to steer, how fast and slow they can make it go and more. And they’re not just practicing on random scraps of fabric that they’ll throw out! They’ll use these fancy fabric strips to sew up a horde of slithery snakes!

Every time I teach a group of kids – those snakes are the #1 favorite project. They make so many of them!

If you have a kid just starting out on the machine this is a great way to practice some basic skills. It’s also a good (sneaky) way to see if they’re ready for a book like Creature Camp! Set them loose with this project. It uses a lot of the same skills they’ll learn in the very first project in the book, so if they can handle these snakes they can jump into the book!

Here’s the video. . .

Jo used the same color thread for all her stitching just to keep the pace of the video going. But encourage your kids to change threads as often as they like! It’s a great way to practice re-threading the machine. 🙂

Teaching Kids to Sew - a video lesson from Shiny Happy World

Making those snakes is easy!

Get the Snake Charmers pattern here. It’s a free pattern that’s usually made with regular fabric – but follow the special instructions below to use your practice pieces to make your snakes extra special.

  1. Cut strips of fabric 3 inches wide and 10 inches long. That’s a little bigger than what the instructions call for. All the stitching on the fabric can make it shrink up a bit, so the extra is good. It also can be hard for kids to sew right up to the edges, so this gives them some extra room.
  2. Stitch all over the fabric in any design and colors you like. There’s no right or wrong way to do it so this is a totally no-pressure way to practice. Have fun!
  3. When you’re happy with the stitching, press the fabric nice and flat.
  4. Using the Snake Charmers instructions, trim the pieces to size and sew up some snakes.
  5. Make some more!

Teaching Kids to Sew - a video lesson from Shiny Happy World

You can see all my posts about sewing with kids here. These Ten Tips for Sewing with Kids are especially helpful.

Happy sewing!

Best,
Wendi
Wendi Gratz from Shiny Happy World

Gifts for Kids Who Love to (or Want to Learn to) Sew

Tools and Supplies for Kids Who Want to SewIs your child interested in learning to sew? Or can they already sew and they want to do more?

Here are some great gift ideas for them. . .

A sewing machine! Here are some tips on choosing one for a beginner.

Seam Ripper Every sewist needs at least one.

Needles and thread When I sew with kids I use Size 5 embroidery needles for just about everything. They have a bigger eye, which makes them easier to thread.

Fabric Get a couple of fat quarters of fun prints – and maybe some of this fabulously soft cuddle fleece. Or get them a gift certificate to your local independent fabric store so they can choose their own!

Thread Get a spool each of black and white, plus another fun color or two. Don’t worry about getting thread to match a particular fabric. In my experience kids ALWAYS want to use contrasting thread in a favorite color. Get a skein of black embroidery thread too, for stitching on faces.

Stuffing This is my favorite brand.

Turn-It-All Tubes These are so much fun to use – and they make turning skinny parts right side out super easy. Watch them in action in this video. Get Turn-it-All Tubes here.

Patterns! I have lots of free patterns here. Print a couple out and include them with some supplies. I especially recommend this one. 🙂 It’s perfect for beginners. And, of course, my book Creature Camp is packed with kid-tested softie patterns. Read some reviews of it here and here. And get a signed copy here. I’ll draw a picture in it for you! 🙂

Extra Doodads Fill up some ziplock baggies with assorted buttons, rick rack, ribbon, beads, safety eyes, feather boas, yarn and other fun stuff for hair, eyes, scales and other add-ons.

See all my posts about sewing with kids here. It’s so much fun!

Best,
Wendi
Wendi_Gratz_Shiny_Happy_World

Meet Jo – My Daughter and Coauthor!

Jo Gratz - author of Creature CampThis is one of my favorite photos of Jo. I think she was seven or eight and I have no idea why she was wearing that mask while she sewed – but it’s totally her. 🙂

Creature Camp is coming out soon and Jo helped me so much with it that she became a co-author!

I hadn’t planned it that way.

I’ve taught so many kids how to sew (including Jo). I put together a proposal for a book written for kids, teaching them to sew (and even design) their own softies. That meant working up a detailed outline of the book, sketching all the softies that would be included, and selling the proposal. Stash bought it and I went to work prototyping and making. When it came time to photograph the first finished softie I was. . . disappointed. It looked like a grown-up had made it and I know that can be intimidating for kids. I realized I wanted all the softies in the book to be sewn by actual kids. Luckily, I have an actual kid who likes to sew and loves softies. Jo said she was willing to sew up every project in the book. Woo hoo! Stash was immediately on board and Jo and I went to work.

Not only did she sew all the samples – she also did all the sewing for the step by step photos. Those are her hands you see in the how to photos. Every single stitch you see in the book was sewn by a real kid – mostly Jo.

She also gave me great feedback along the way. “This step is hard. Can we make it easier?” “I think we should fold these ears here.” “I like these long, skinny legs. Can we make them even longer? That would be fun!”

She was a huge part of the book!

So I wanted to introduce you to Jo, tell you a little bit about her sewing history, and along the way answer some questions you probably have about sewing with kids.

What’s a good age to start using a sewing machine?

Jo_first_sewing_machineIt depends on the kid.

Jo was four when she got her first machine.

(It was a toy. Don’t do that. After a couple of months it died in a large cloud of smoke and she moved on to a real machine.)

My classes usually start at age 6, but Jo was asking to use the machine, I knew she could focus, and she had pretty good motor skills. Let them start on the machine just as soon as you think they’re able. Sewing on the machine is lots of fun and I’ve never yet met a kid who didn’t want to do it. I’ve got a post here with some tips to help you get started.

Jo_first_quilt_block

Right away she said she wanted to make a quilt big enough to fit her bed (a twin). These are the first blocks. Look how proud she is!

What Kinds of Projects Should Kids Work On?

Jo_Wedge_Uglydoll_tutu_age_7

Six-year-old Jo makes a tutu for Wedge the Uglydoll.

Whatever they are most interested in! I usually steer kids towards small projects – some beanbags, a skirt for a favorite doll, a simple softie – something they can finish in a day or two and get that quick satisfaction.

But Jo really REALLY wanted to make a quilt. A big quilt for her bed.

That’s okay too.

Just don’t expect them to finish it soon. 🙂

It took Jo four years to finish her quilt. It would get put away for months at a time while she worked on other things (or didn’t sew at all) and then she’d pull it back out again and add a few rows.

Jo_quilt_age_five

Jo’s quilt after about 1 1/2 years.

If your child chooses a big project, try to find a way to let it grow as you go – not just be pieces in a pile. If I were making this myself I’d have sewn all the rows together, then joined the finished rows into a big quilt. Jo sewed two blocks together, then two pairs into a four-square block, then sewed four-square blocks into a row two blocks tall, then attached that row to the growing quilt. She loved seeing those units get bigger and bigger and it really helped that every time Jo pulled the quilt out and worked on it, it GREW.

Don’t Expect Them to Follow an Imaginary Line

Jo_Singer_age_6

Jo sewing at age six.

The number one thing you can do to help kids sew successfully right out of the gate – especially if they’re starting really young – is to draw a sewing line on the fabric for them.  I talk more about this (and some other tips for sewing with kids) in this guest post over at Sew, Mama, Sew.

I was still drawing lines on Jo’s quilt blocks at age six – if you click on the photo above you’ll be able to see it bigger.

Creature Camp is recommended for ages 8 and up if they’re sewing solo. But if you’re willing to lend a hand, a younger stitcher can handle any of the projects in the book. After Jo sewed all the main samples we recruited some of her friends to sew variations on the projects in the book. It was such fun watching them play with the patterns!

One of those stitchers was just seven years old and I knew she’d want to make the reversible butterfly/caterpillar – one of the more advanced projects near the end of the book. I drew on the stitching lines for her and helped her with some of the trickier pinning and she did just fine.

And now here’s Jo! She was nine when she made all the projects in the book, ten when we got this sample back and I recorded the video – and eleven now. That’s how long it takes to write a book! Here’s Jo talking about her favorite project in the book. . .

Jo and I will both be signing any books you order directly from me. She’s a co-author – of course she’ll sign them too! Imagine her excitement when she typed her name into the search window in Amazon and our book came up!

Get the book here!

Happy sewing!

Best,
Wendi
That's me!

Tips for Teaching Kids to Crochet

It’s a question I get asked quite often: “Is my child ready to learn to crochet?”

Of course, children develop skills at different ages, so you’ll need to pay attention to your child’s skill set, instead of waiting for them to ‘hit the perfect age’.

rainbow yarns

Today, I’ll chat about some tips for teaching children to crochet, what to expect from different age groups and profile an adorable young crocheter, Laurel!

What to expect from different age groups

In general, if your child can sit for a short period of time and manipulate a pencil, then they’re ready to learn to crochet. I’ve been crocheting since I was about 5 or 6.

It’s important to keep in mind that children at different ages will learn crocheting differently. Here’s a bit about what to expect from different age groups.
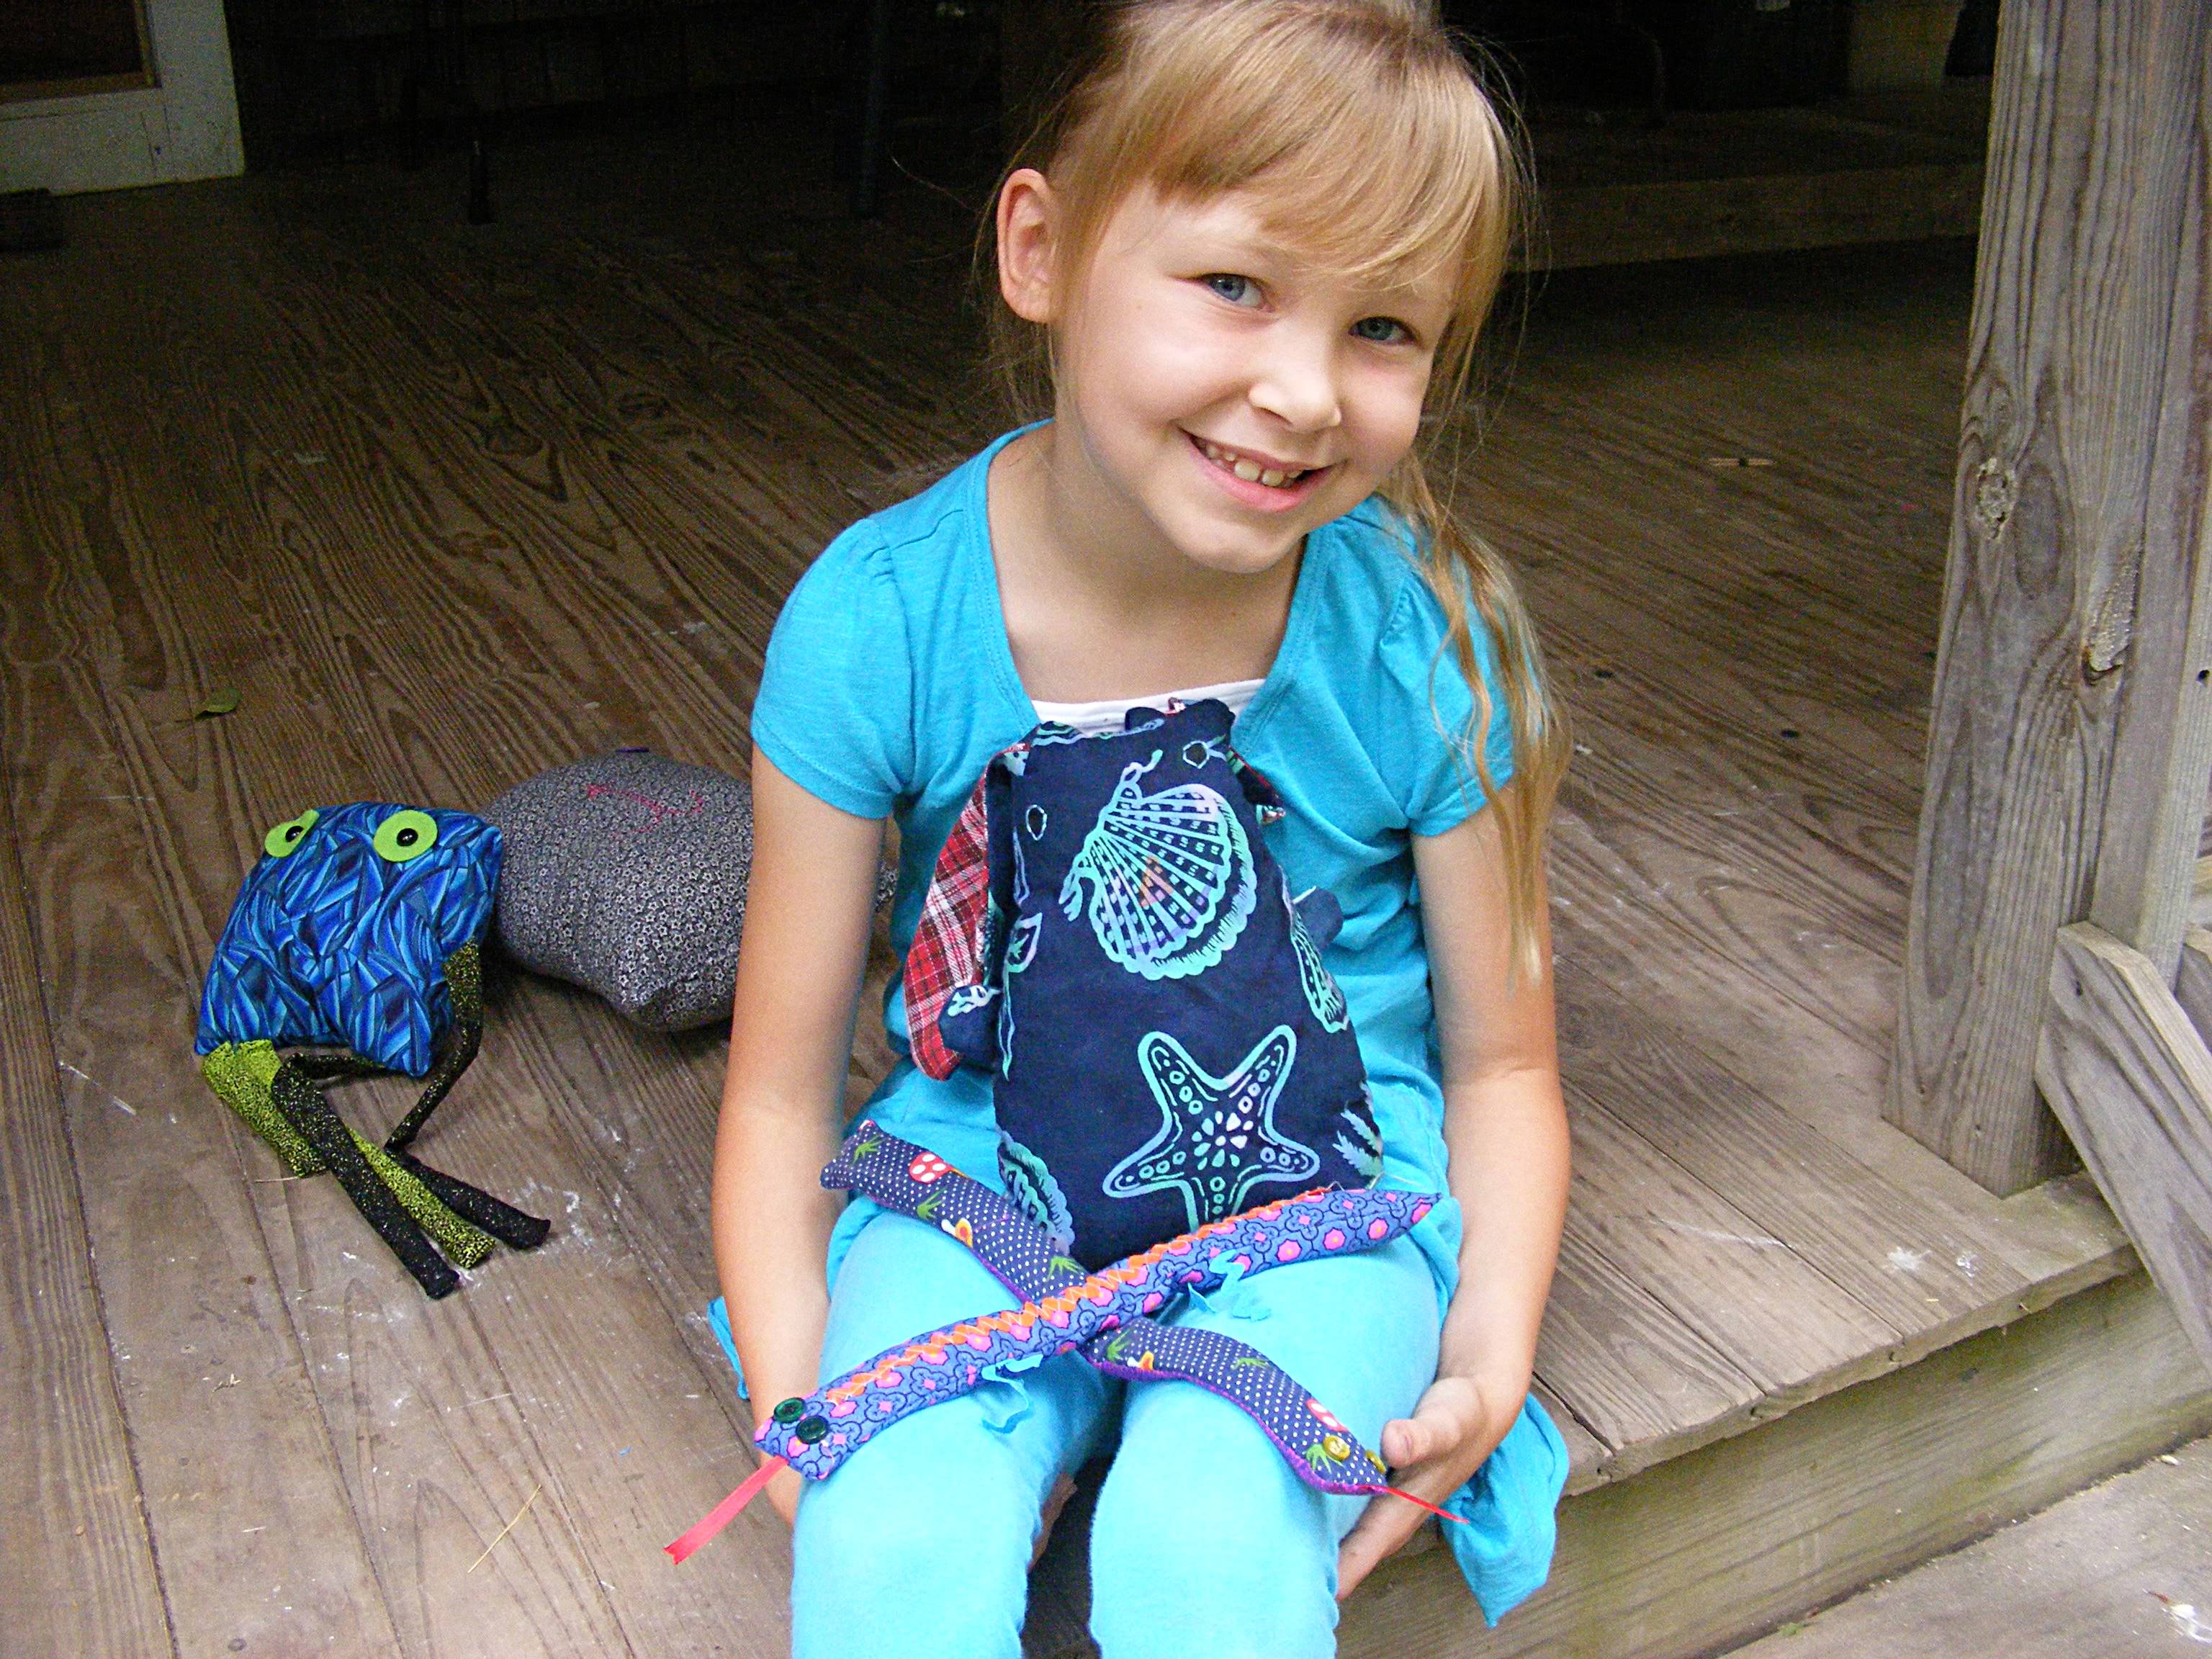
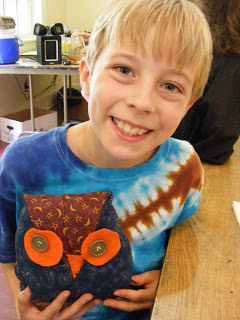
Age 4-8 years old

Children at this age are still mastering their fine motor skills and can’t confidently learn instructions by reading a book. They’ll learn best from hands-on teaching (i.e. you sit next to them, show them steps and guide their hands if needed).

It’s very typical for children at this age to spend a considerable amount of time chaining before moving on to stitches like single crochet, and that’s fine! Chaining is a perfect way to practice manipulating the hook. It’s important not to push children onto skills before they are ready, as this can lead to frustration.
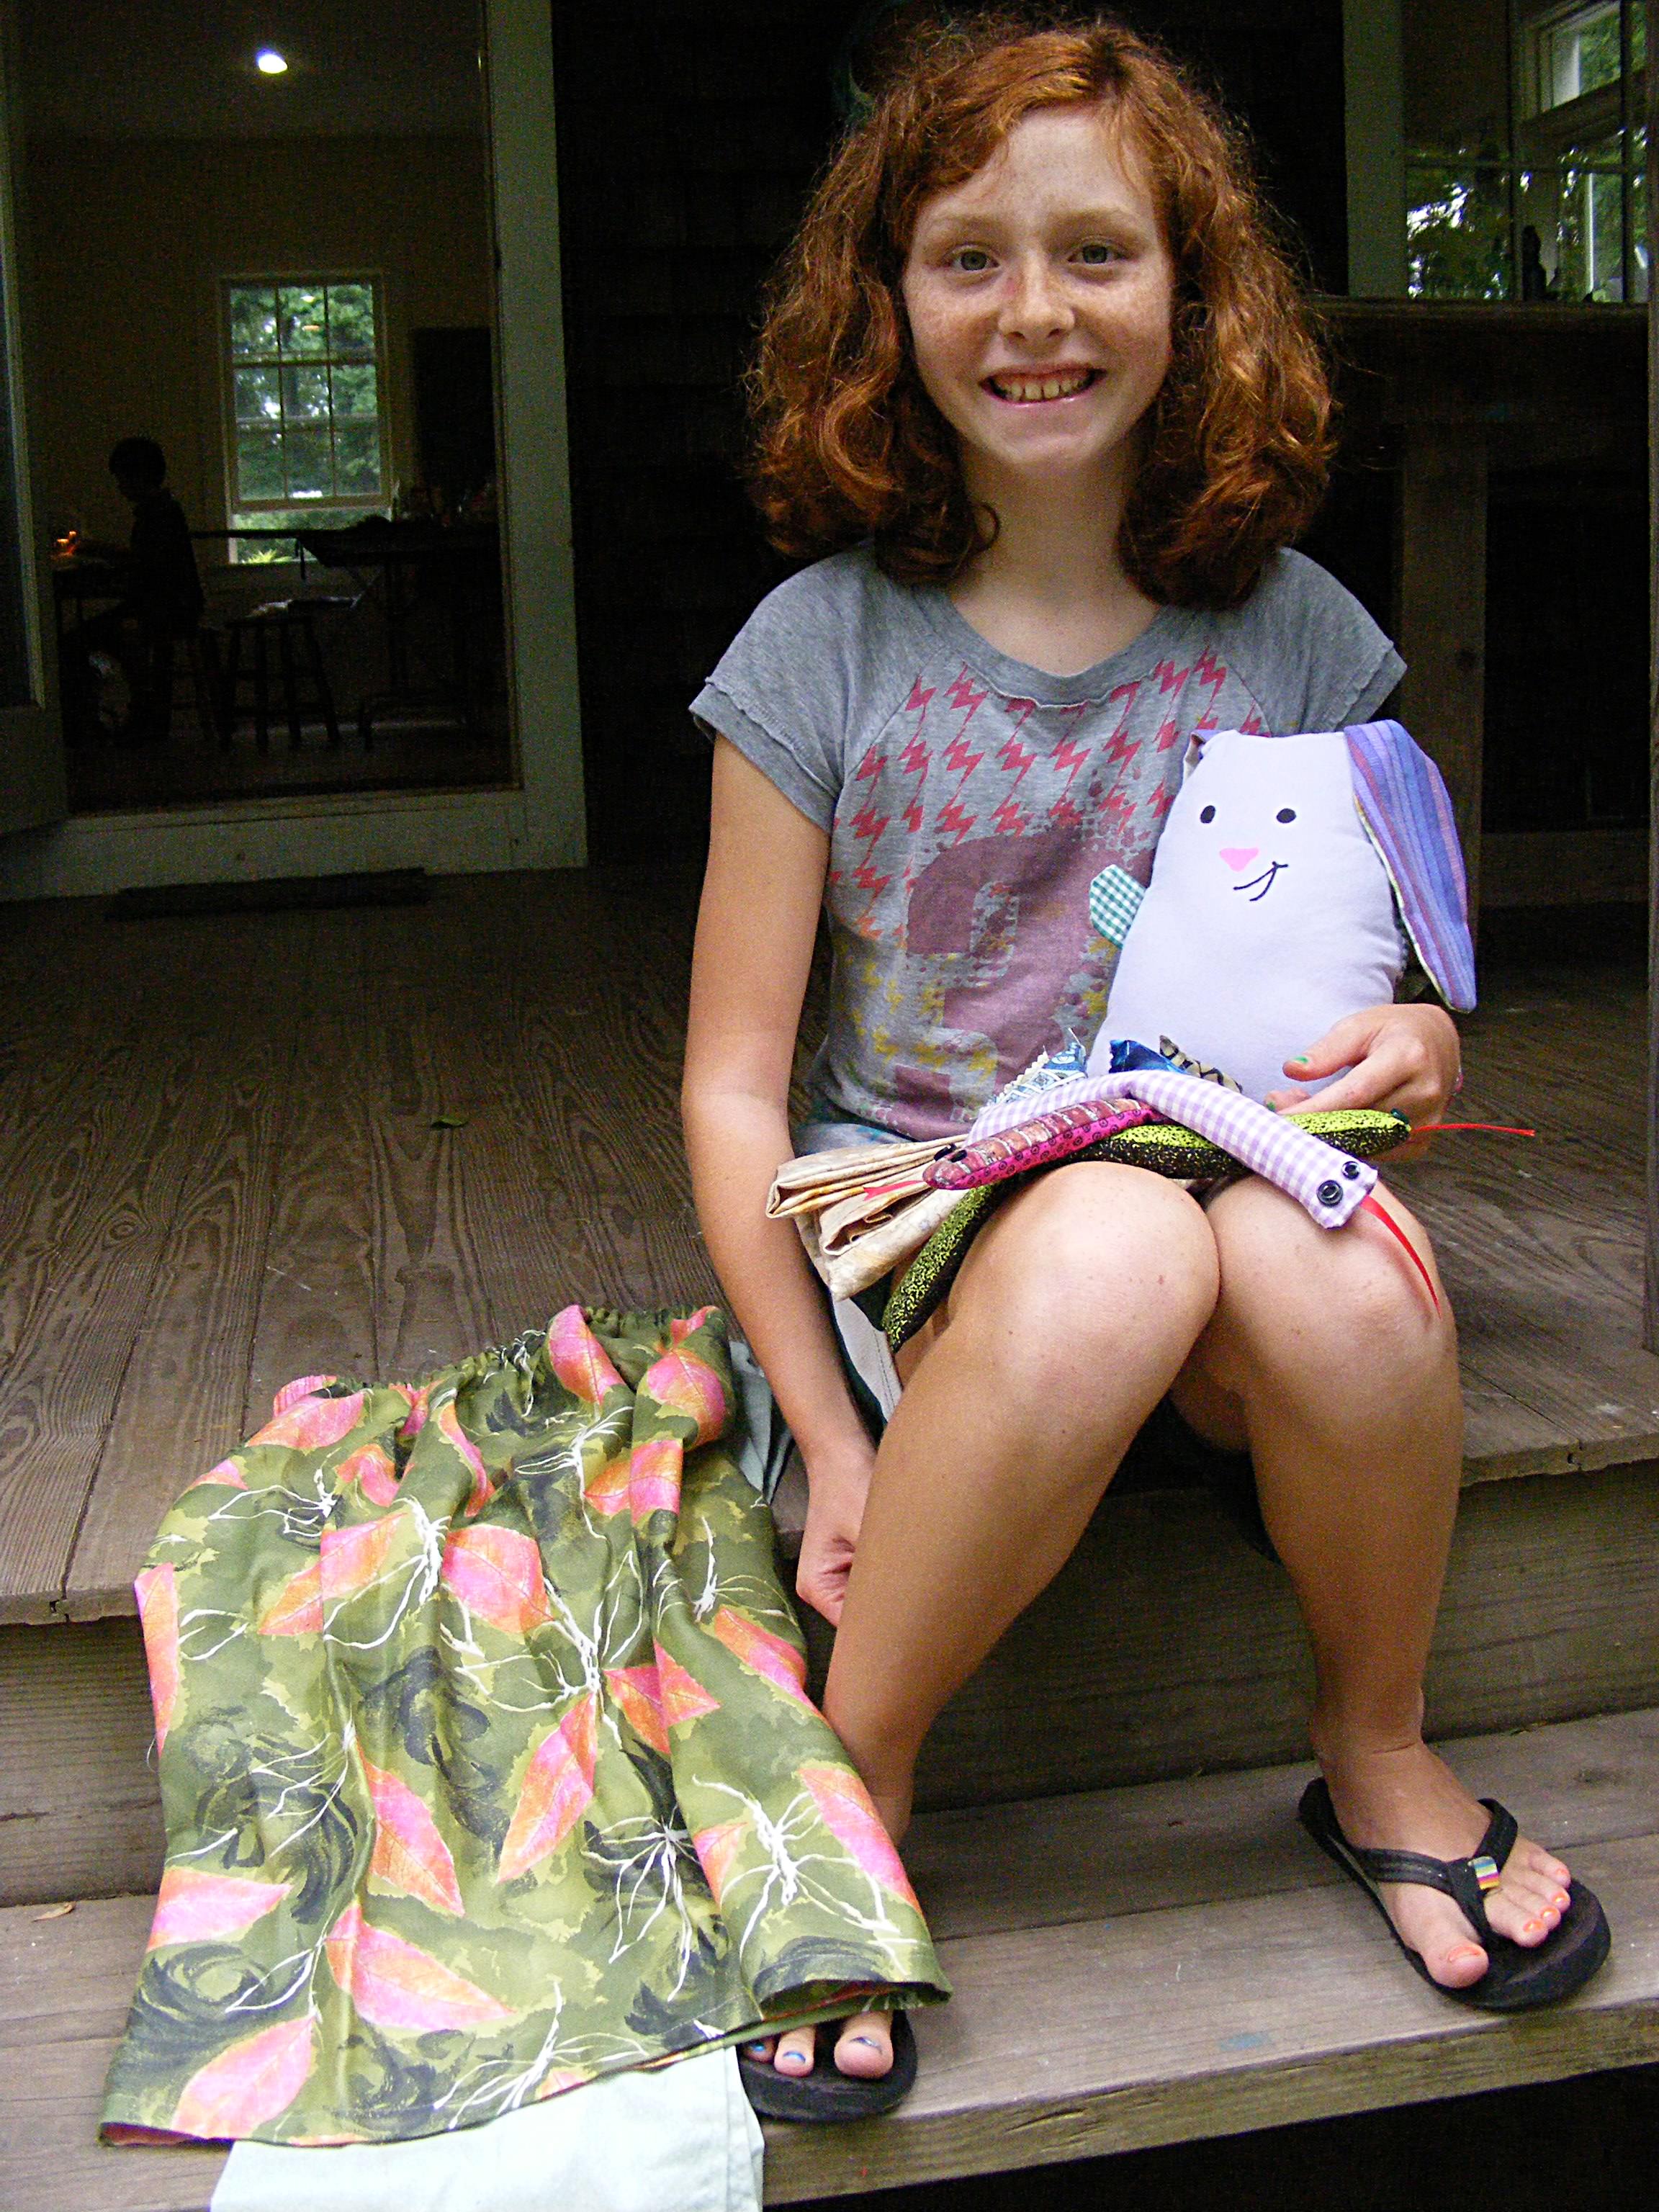
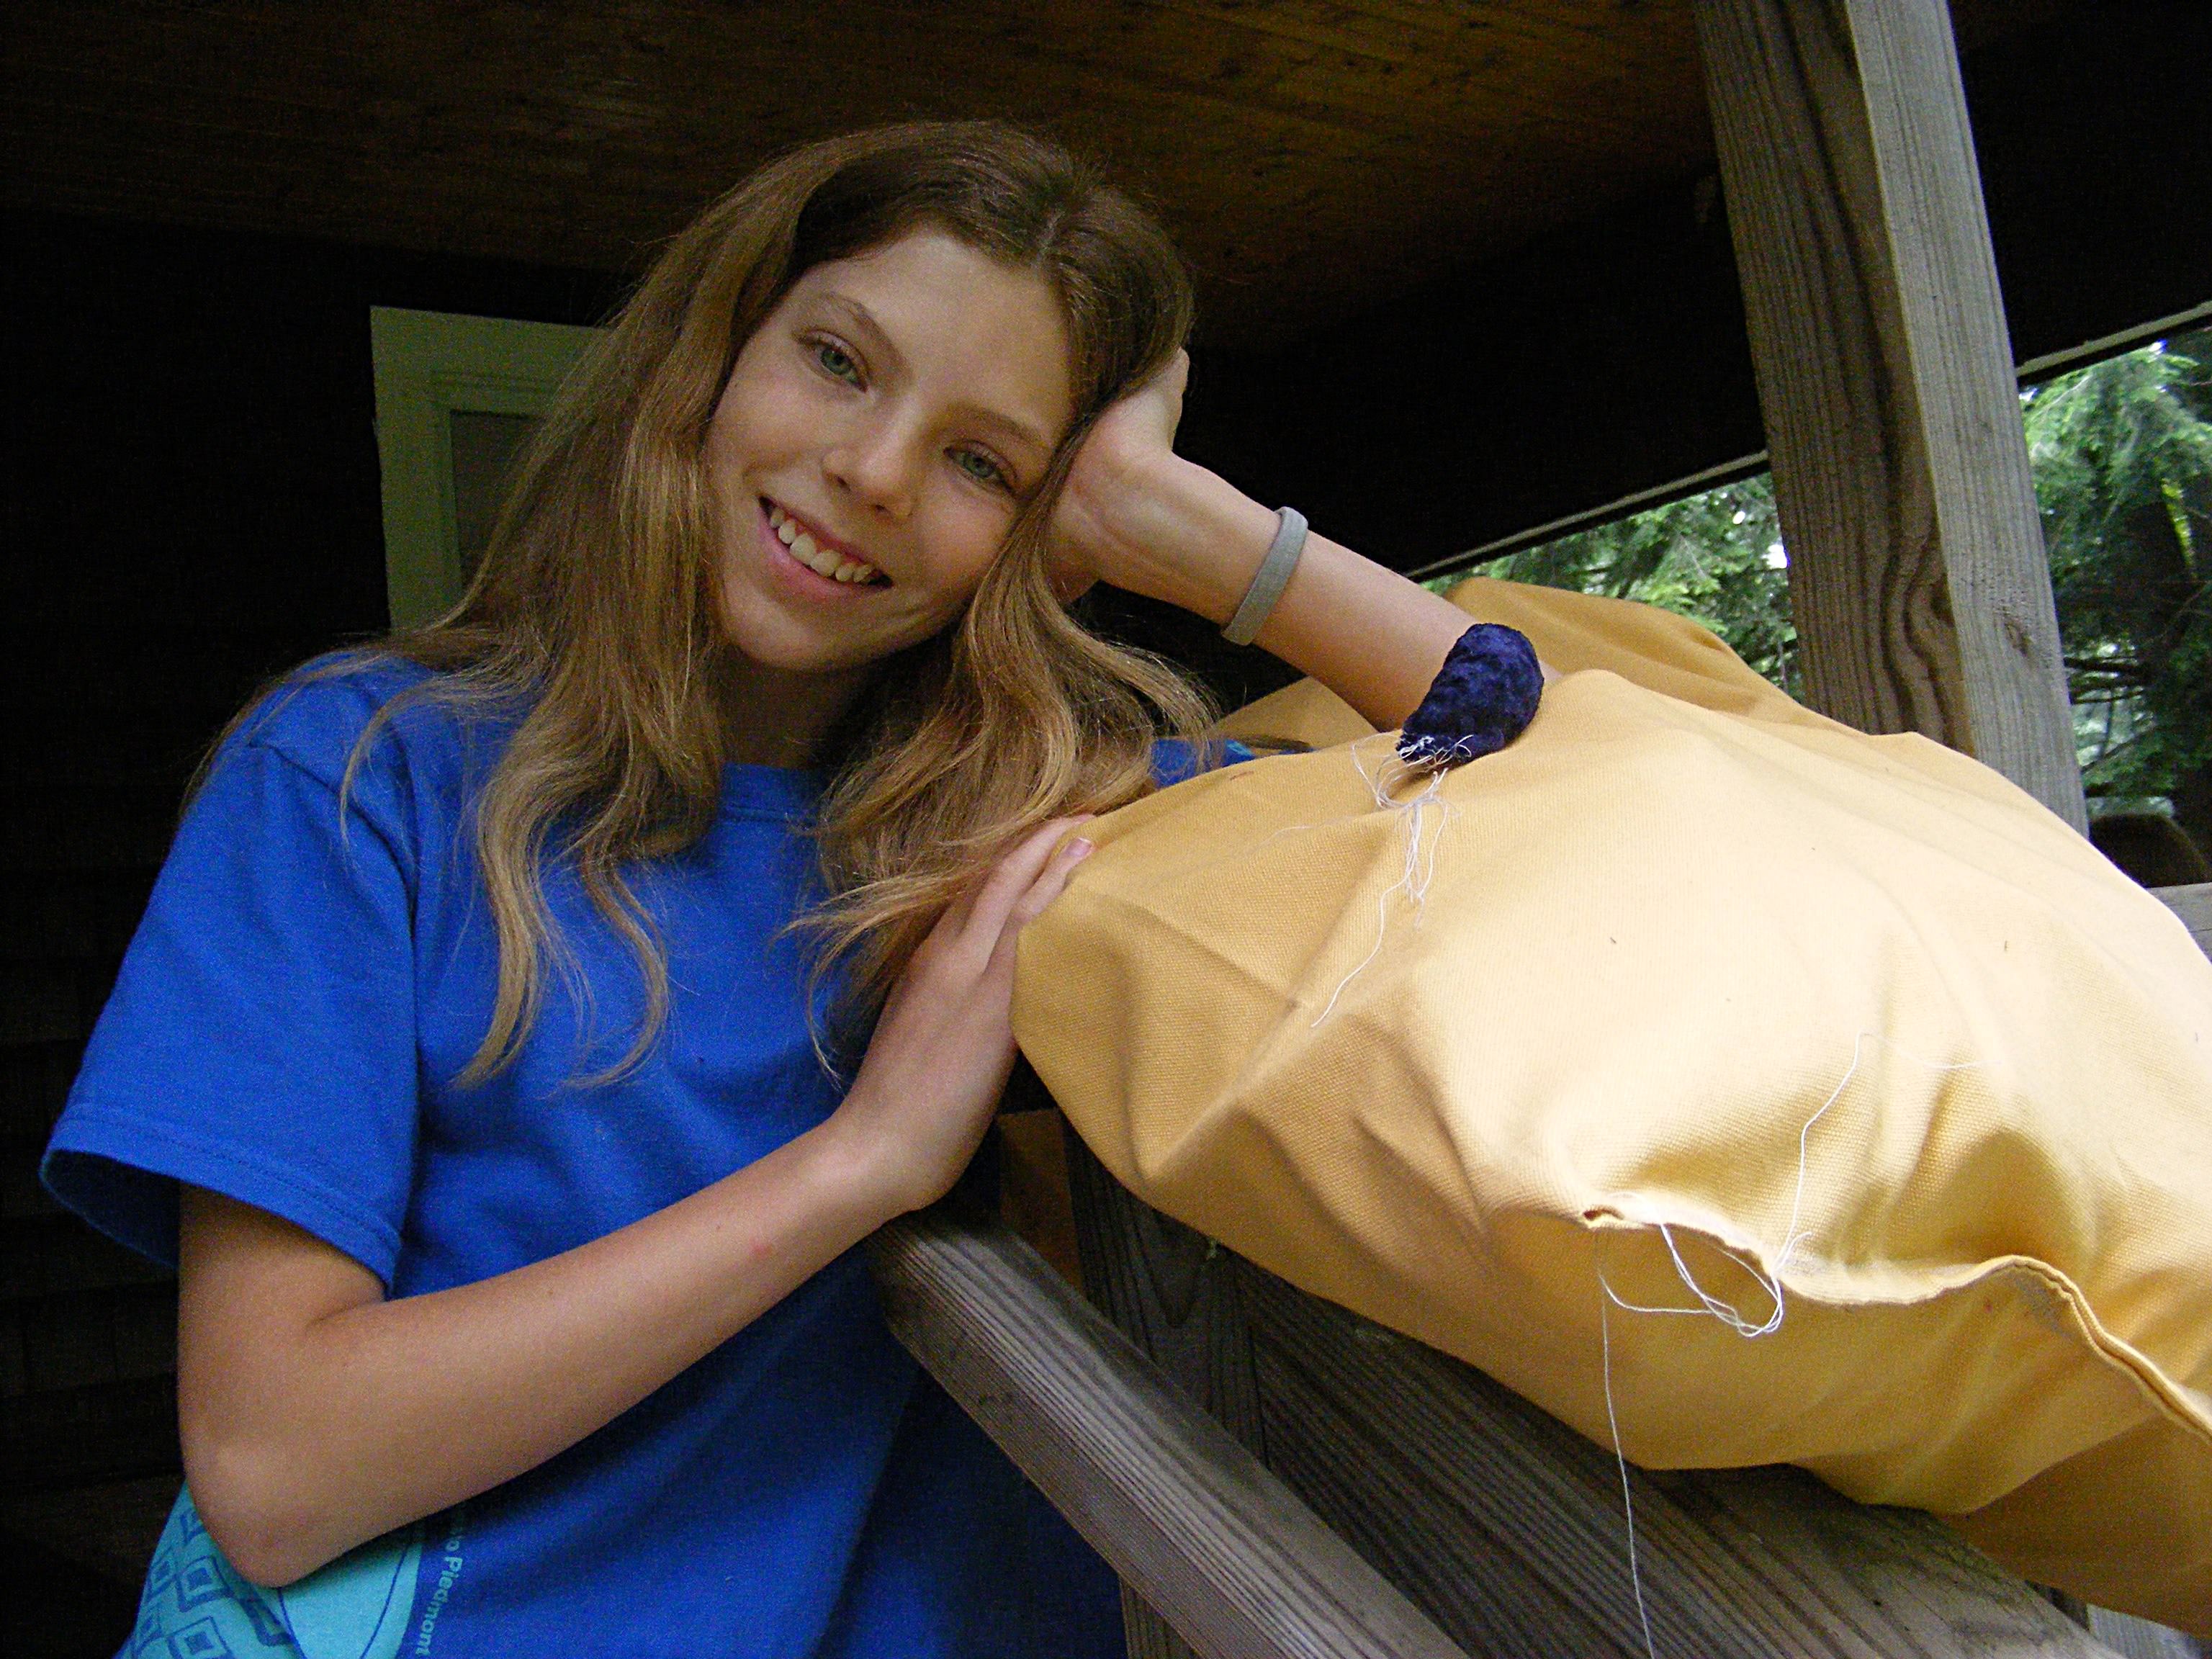
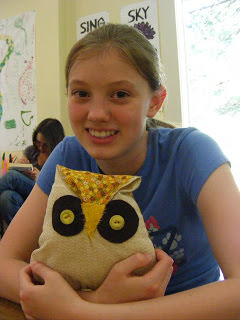
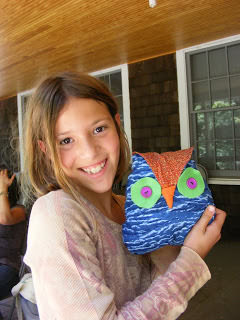
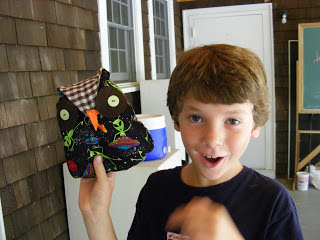
Age 9-12 years old

Children at this age have quite good fine motor skills, and may be ready to learn semi-independently. It’s a great age for children to attend a crochet class, learn from an online video (see Laurel’s story, below!), or venture into learning from books. Learning to crochet solely from written instructions can be difficult for any age group (even adults!), so even if your child is a keen reader, expect to invest some one-on-one crochet time to demonstrate the basics.

Child Crocheting

It’s Laurel! Read her story, below.
Children at this age are often excited to make a finished product, so they’re less likely to spend oodles of time chaining. Don’t worry if they want to move straight to an advanced stitch: they’ll naturally feel excitement about learning a new skill. It’s important to emphasize that crochet takes practice, and that stitches won’t look perfect immediately.

Age 13+

Children of this age can’t drive and don’t pay taxes… but in the crochet world, they’re basically adults. They often take adult crochet classes (since they don’t have the attention difficulties or fine motor troubles of younger children) and are happy to learn unsupervised.

As is true of dealing with teenagers in any domain, the most helpful thing you can do is provide help if they need it, check in on their progress and show enthusiasm for their work.

Tips for teaching children to crochet

While there’s no curriculum that will work for everyone, there are a few basic tips that will help you teach your little one to crochet.

  • Pick a suitable yarn and hook. Aim for a smooth, plain yarn. Avoid novelty yarns like thick & thin and eyelash. Even though they look fun, they’re difficult to learn on.
  • Let the child pick their yarn (within reason, see above point). Children will be more excited to learn when they’re excited about their project, so let them pick out their favorite color!
  • Allow children to move at their own pace. It’s most important that the child likes crocheting, because that’s the only way they’ll keep going! So, if it’s fun for them to make a really long chain, let them! They’ll move on to a new skill when they feel like it!
  • Be positive. No matter how old you are, your first projects might look crooked and wonky. As the adult, be encouraging and marvel over the skills that have been acquired. Practice will make perfect!

Meet Laurel

As a teacher on Craftsy, I get the honor of ‘meeting’ oodles of fabulous students in my courses.

One of the students in my Amigurumi Woodland Animals class (a course designed for beginners) is Laurel, who’s just 11 years old!

Laurel crocheting

Laurel’s mom is Joanna Johnson, a knitwear designer and author of a fabulous series of children’s books.

Laurel and Joanna obviously know a thing or two about successfully teaching/learning to crochet… and they were sweet enough to stop by for a chat!

Stacey: Do you have any advice for parents to encourage their children’s crafting?

Joanna (the Mom): Children, from a very young age, will take an interest in what interests you if only you allow them to. When Laurel was just 3, I gave her a small scrap of muslin stretched over a little embroidery hoop and a needle and red thread. While I sat and quilted, she sat and “scribbled” in stitches, which was really cute. As she got older, she tried her hand at a few different crafts, and it became apparent that although knitting is my favorite hobby, it isn’t hers. She was really interested in weaving, beading, and crochet, which I know little about, so I looked for resources for her to explore her own passions. It is important to let them explore different mediums, and to understand that what they love may not be what you love!

Stacey: How did you decide that you wanted to begin crocheting?

Laurel (11 years old): I knew a little bit about crochet and I wanted to expand my knowledge of crochet. Something I like about crocheting is that it is fun. It’s not always easy, but it’s really fun to finish something that you make.

3

Stacey: Was any part of the process difficult/frustrating?

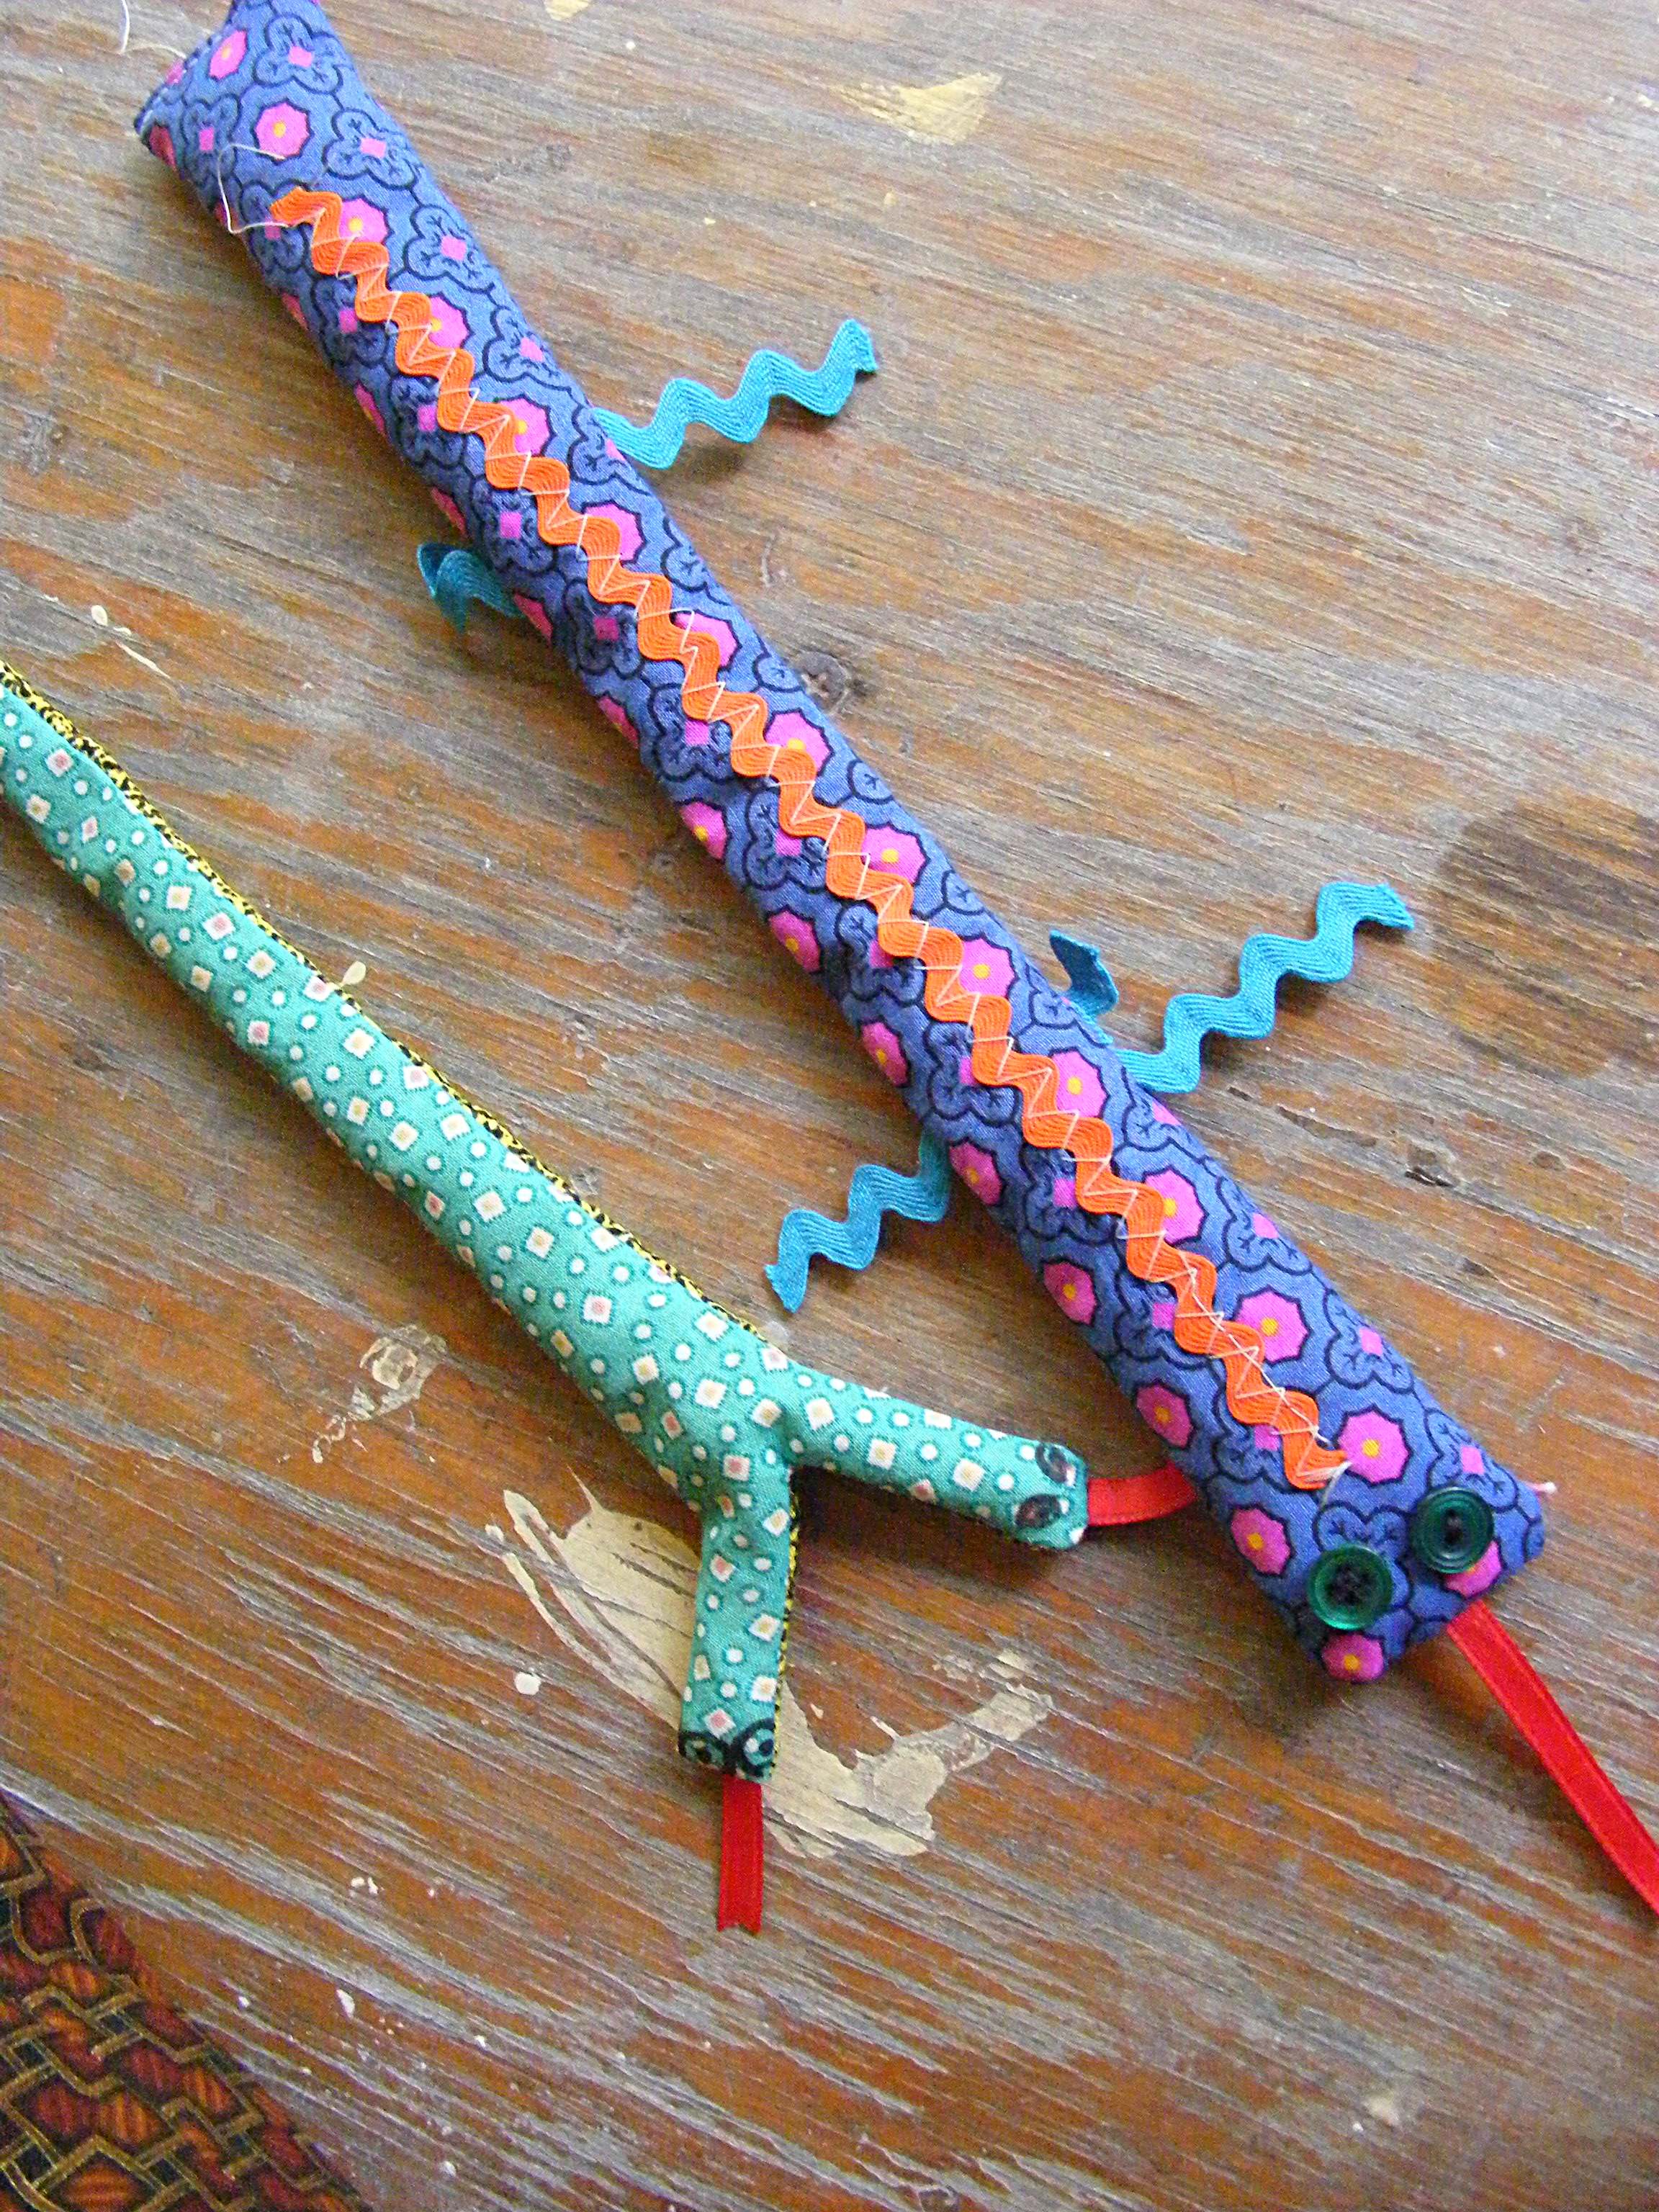
Laurel: The first time I made the bluebird I had trouble getting started on the very first round, but then I figured out what I was doing I found crochet to be a good way to pass the time.

Stacey: Do you have any advice for other kids who are just starting to learn a craft?

Laurel: Just don’t panic if you make a mistake! If you get tired or frustrated just take a break and, for example, read a book. Then when you are ready, continue or replay the lesson to see it again.

4

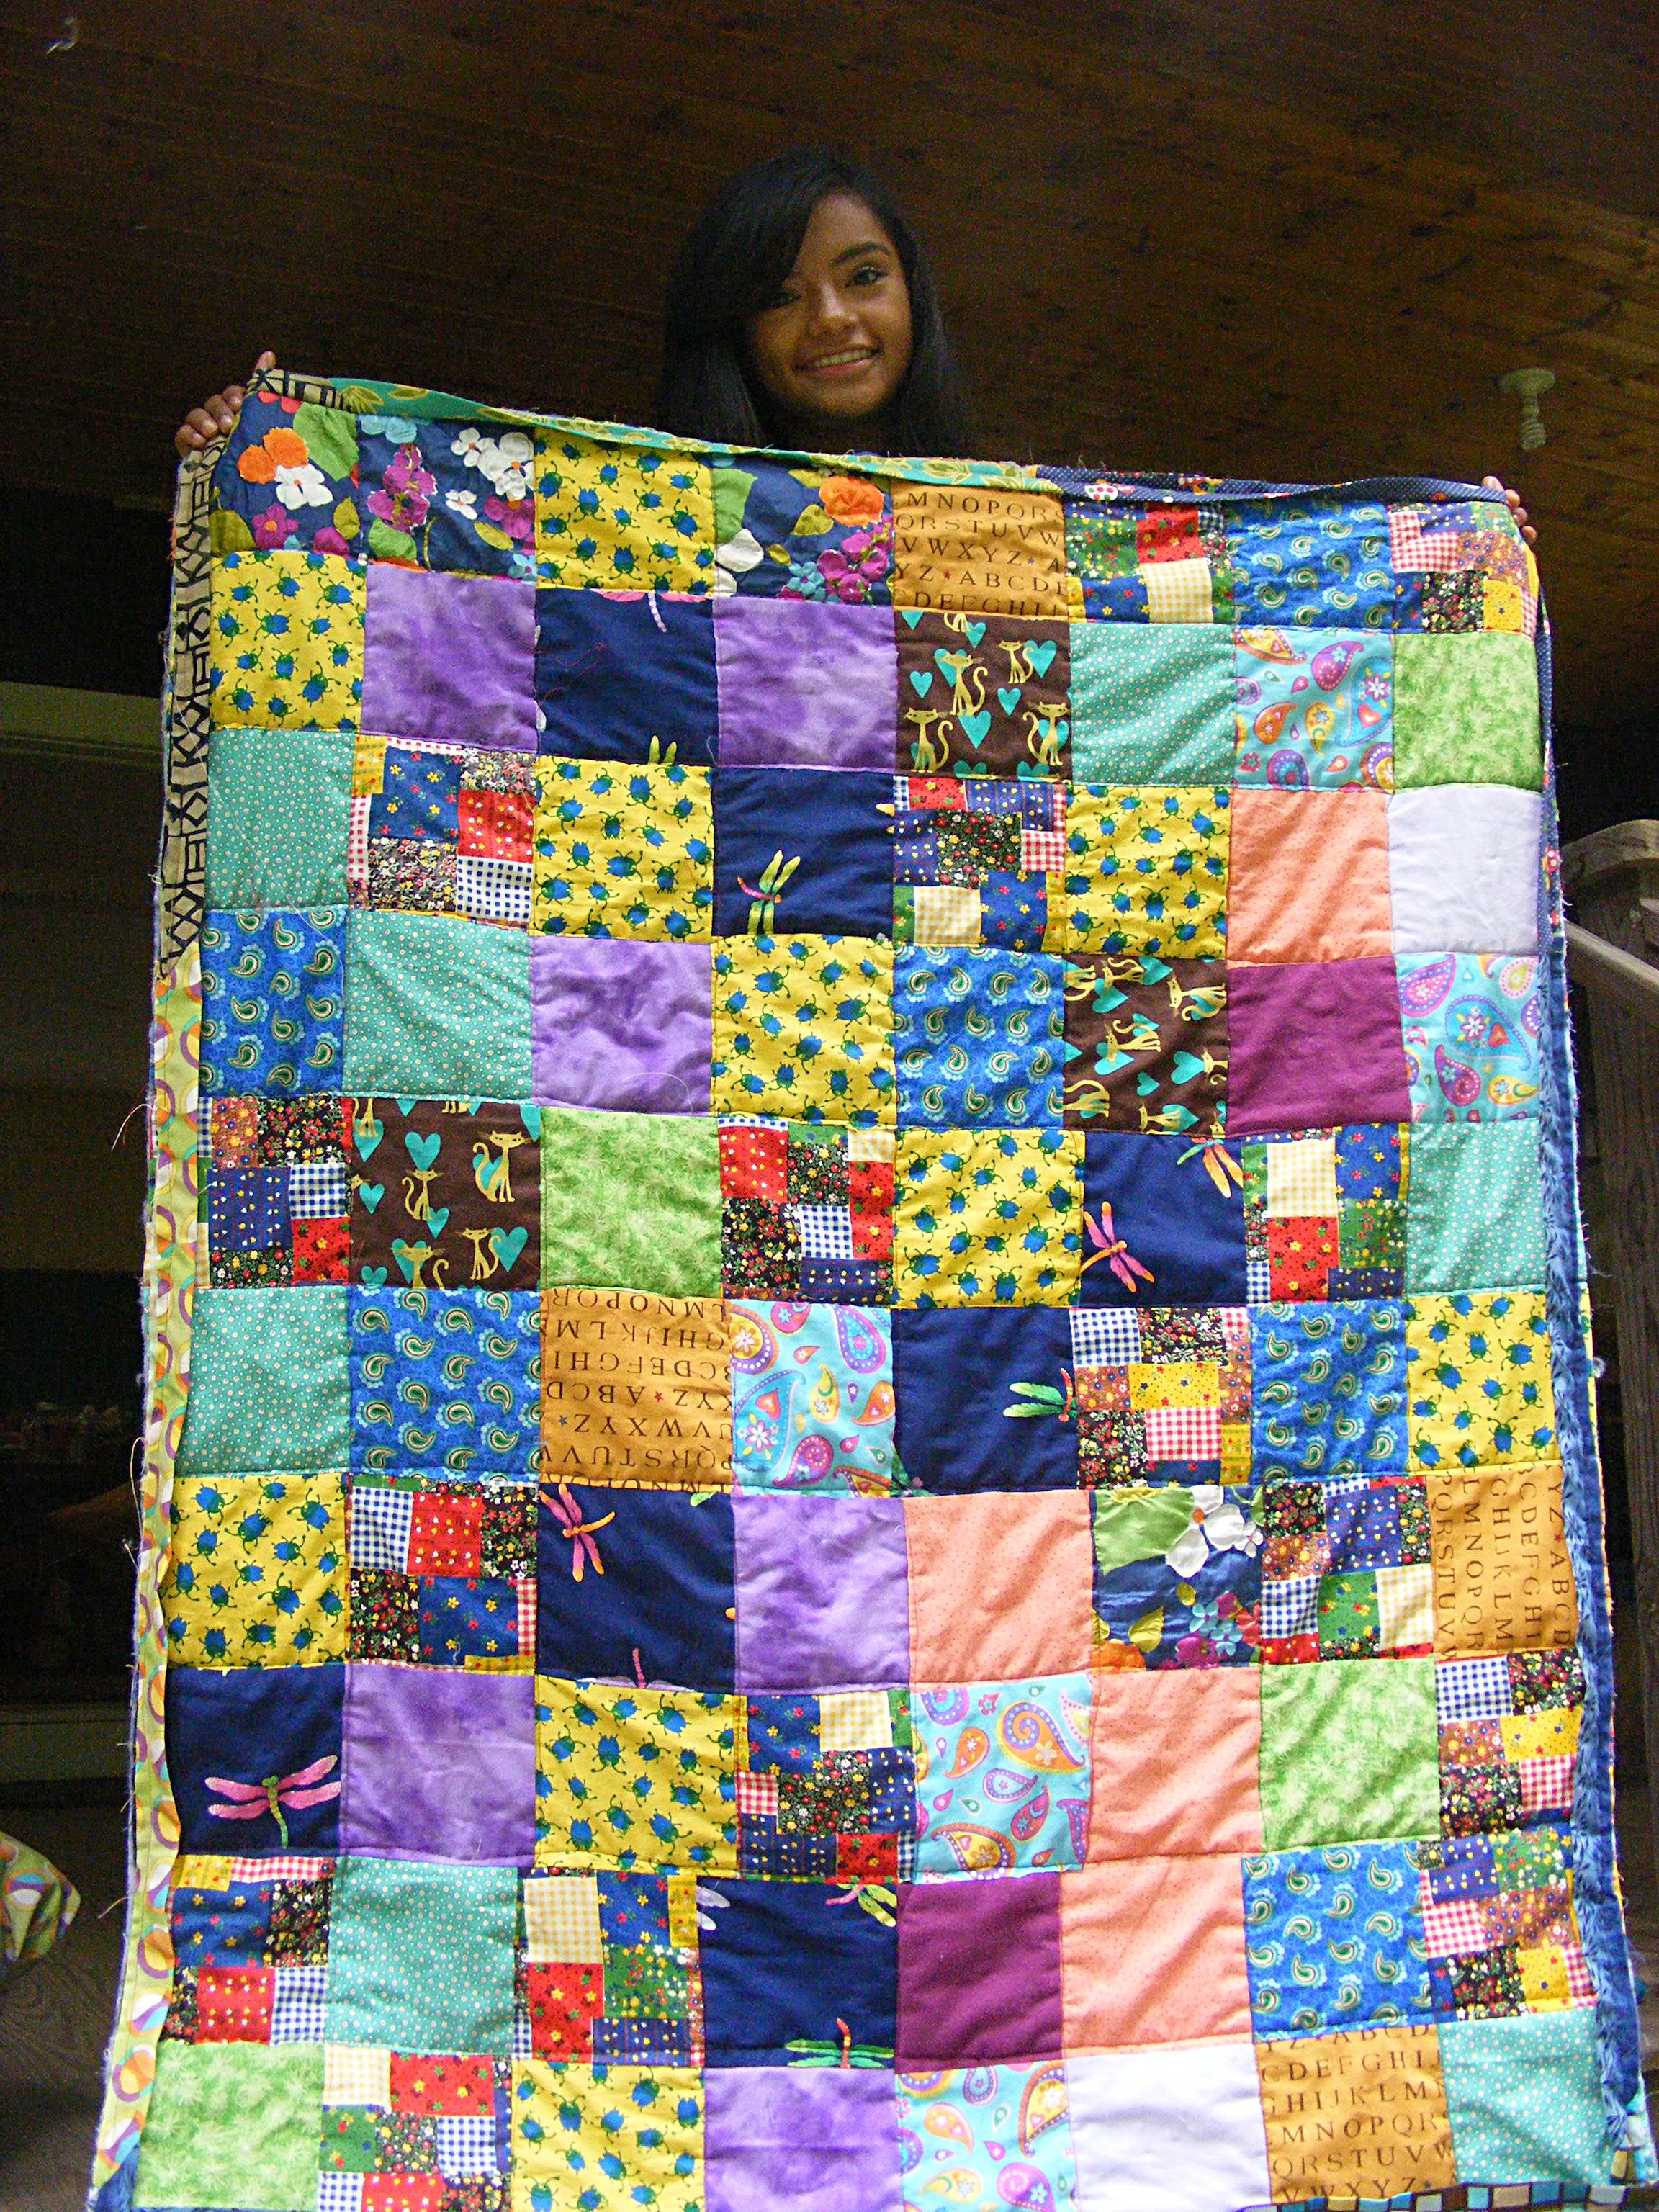
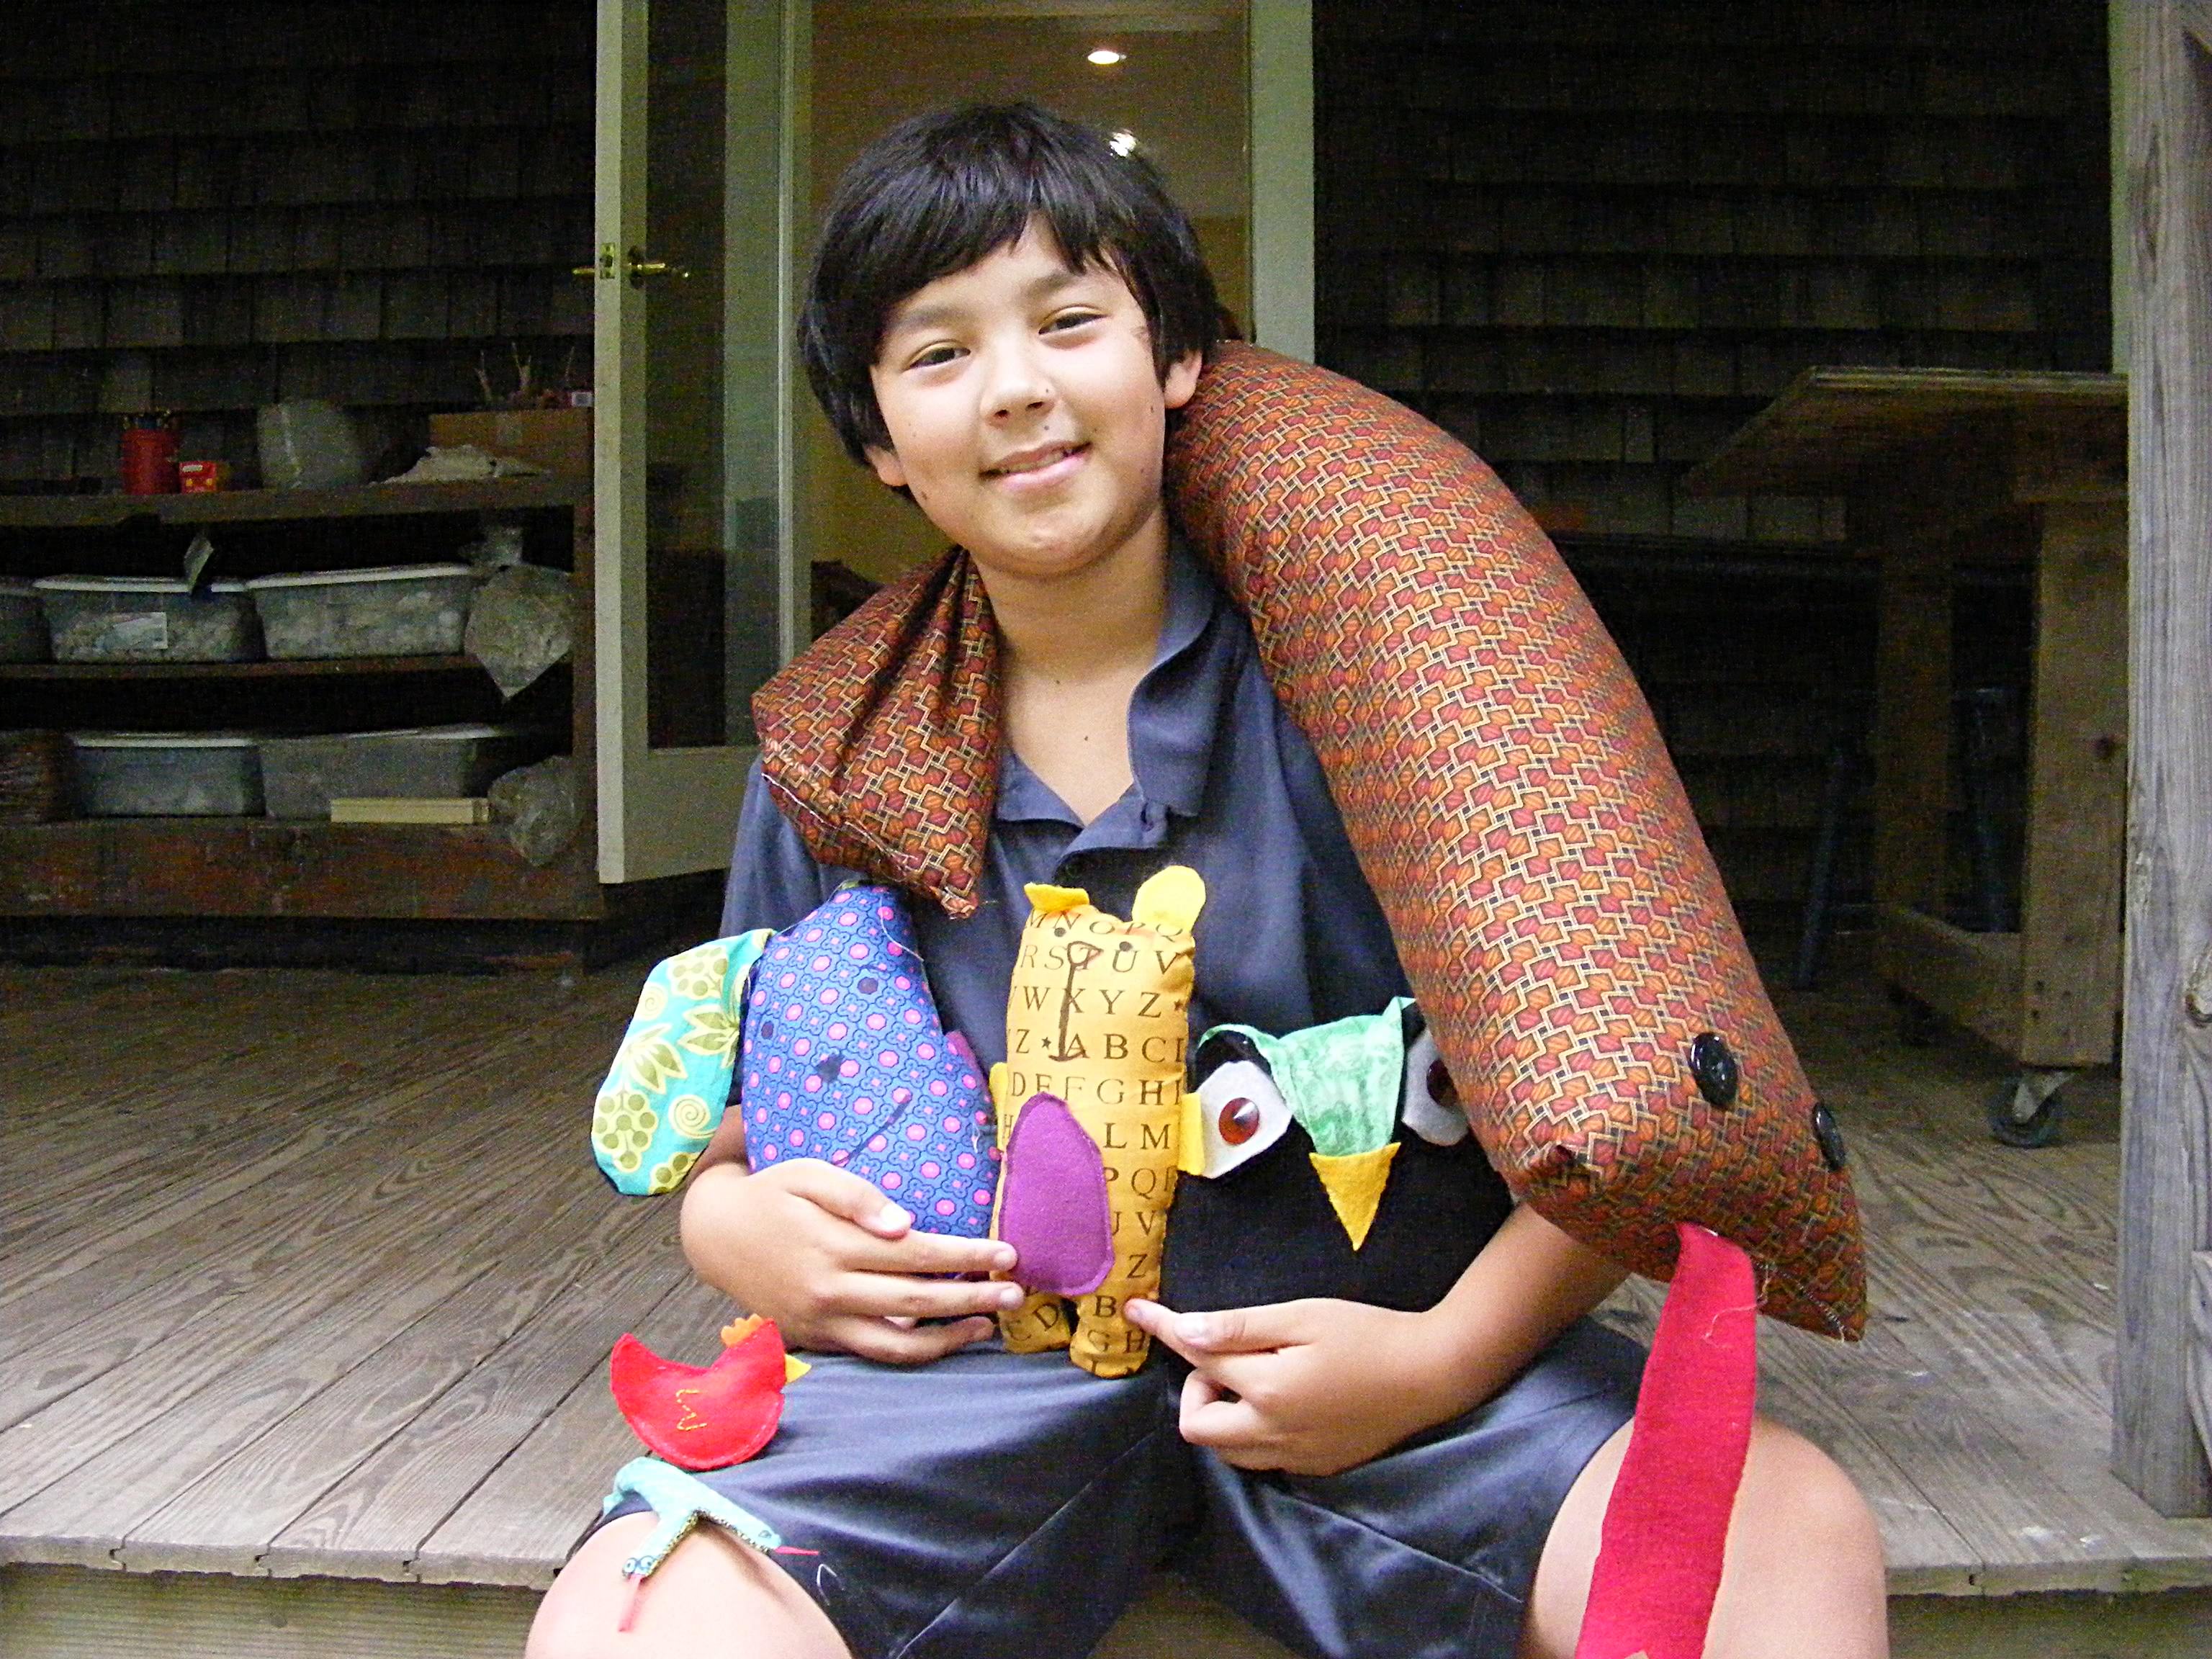
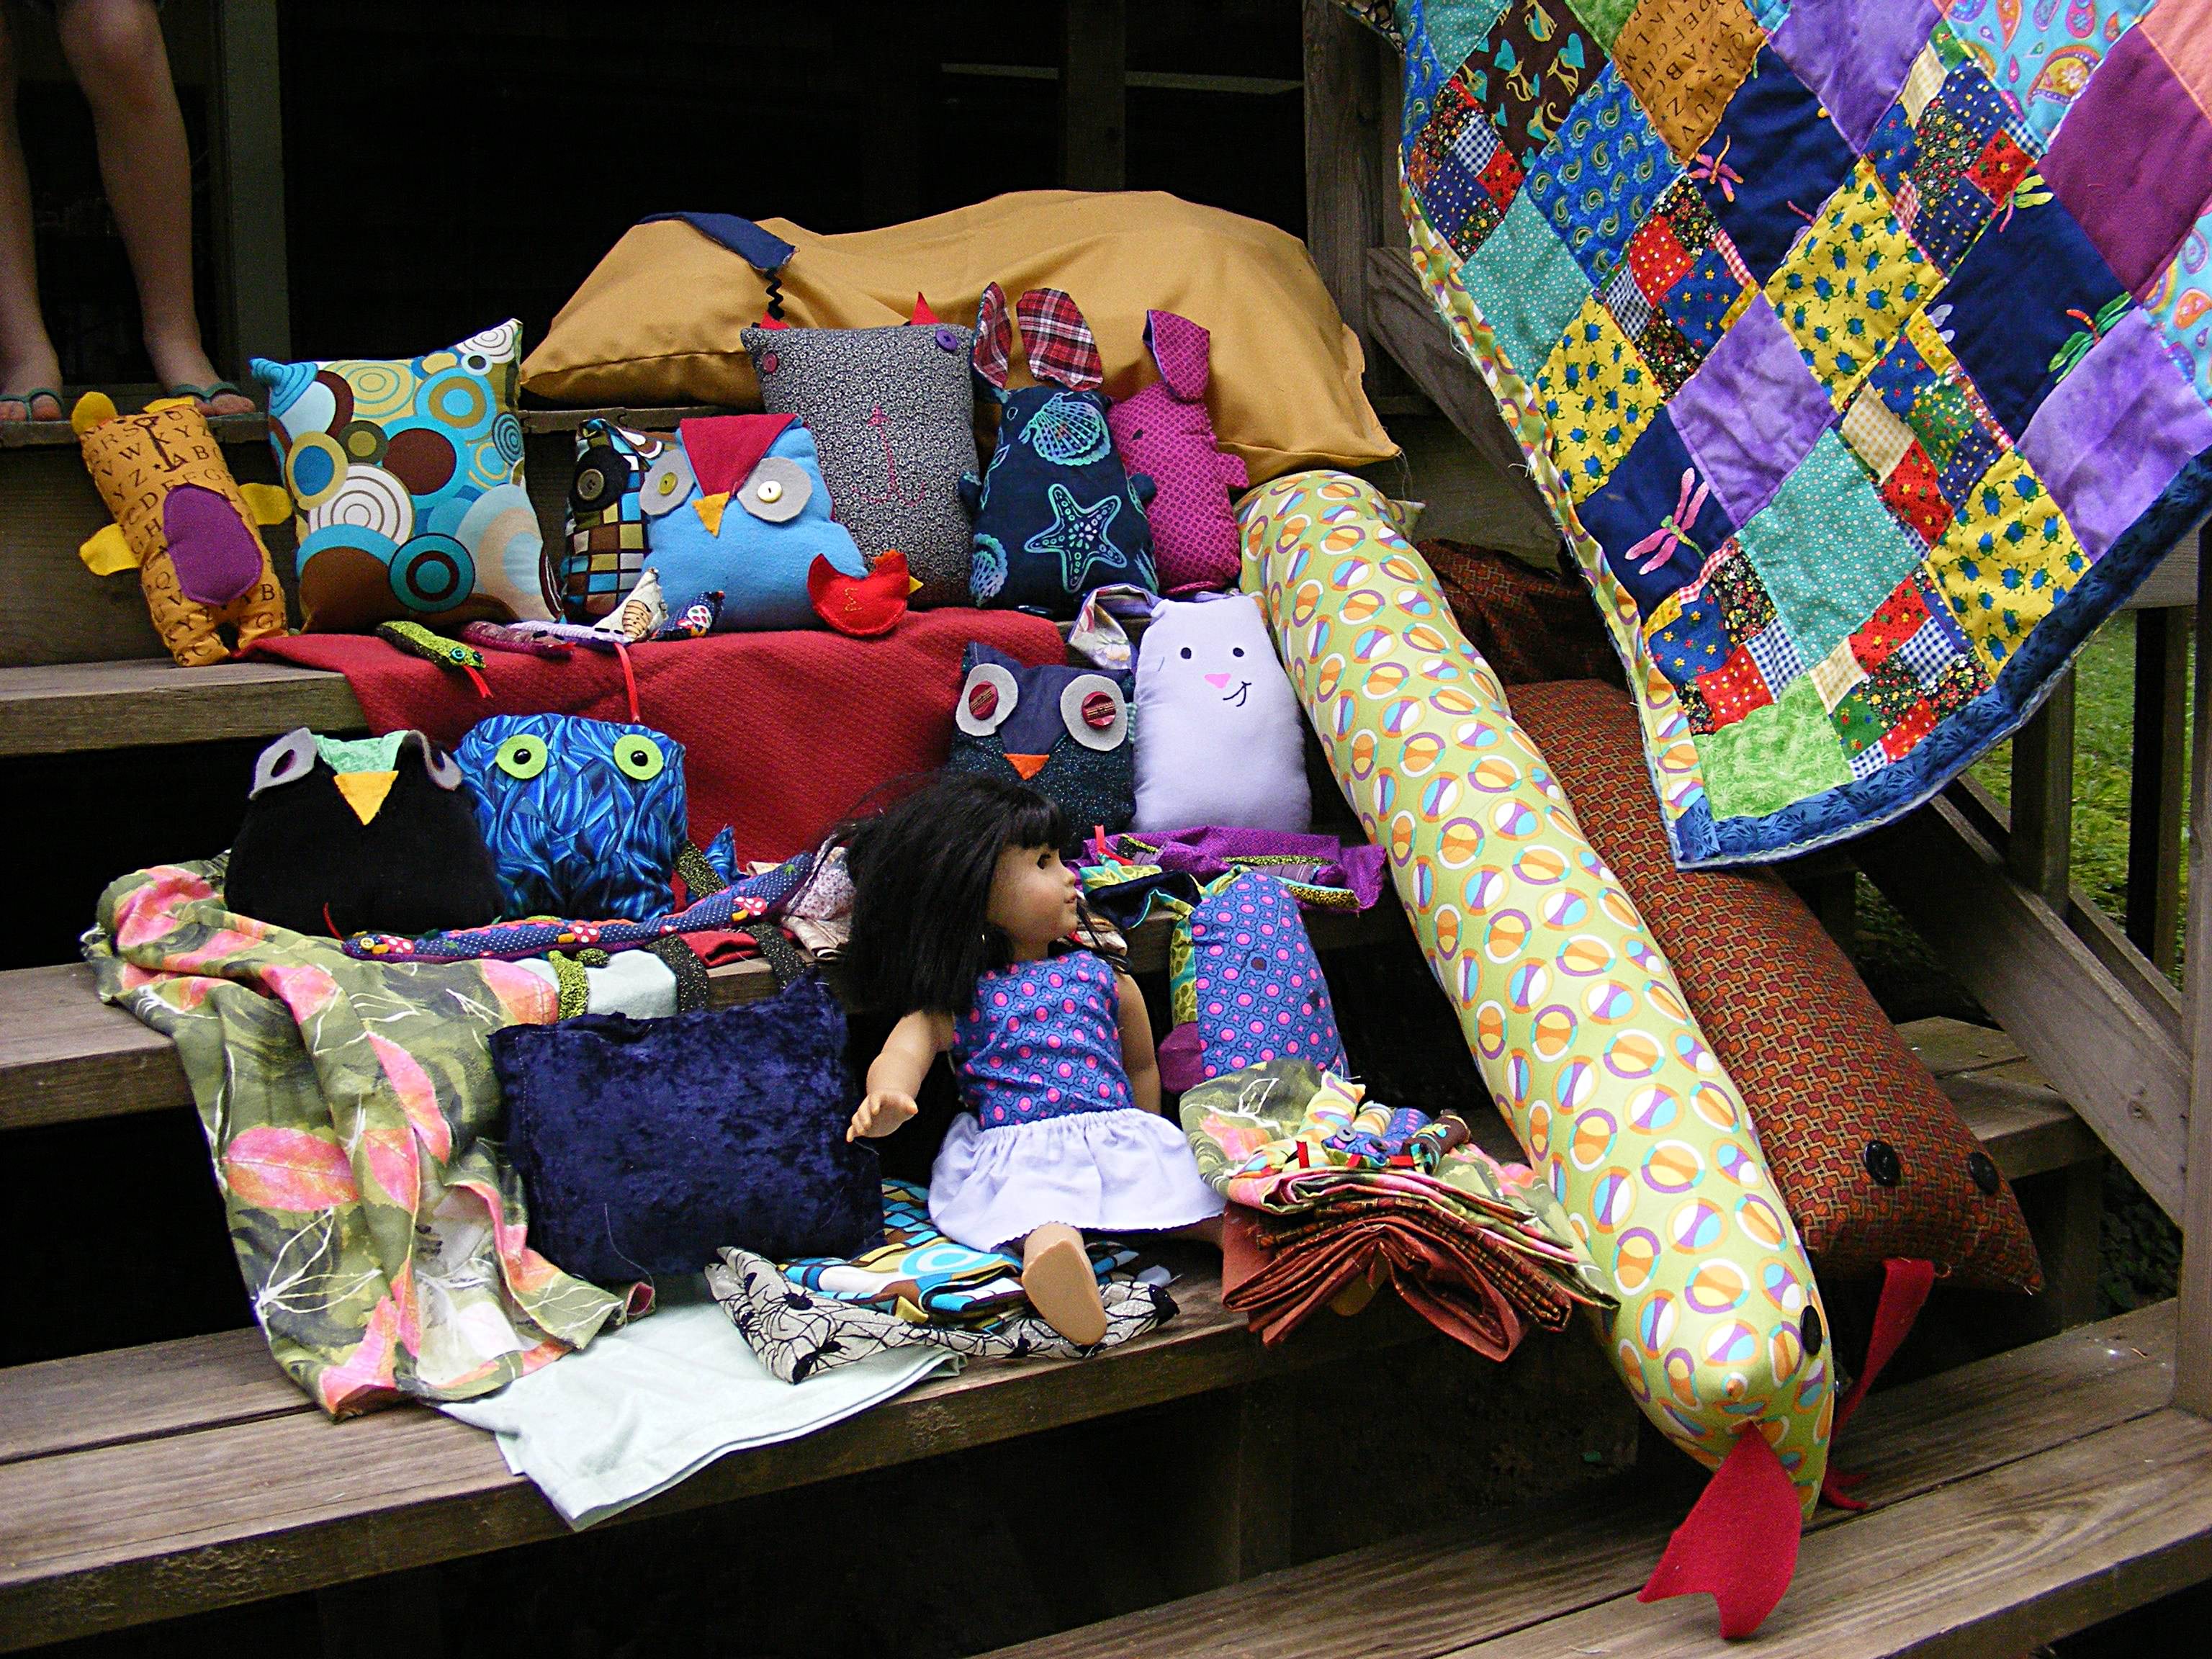
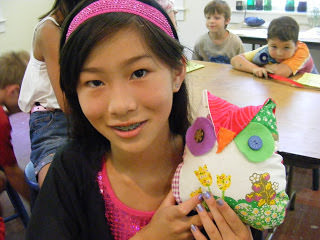
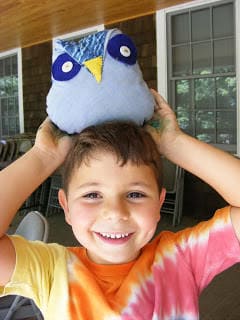
And look at Laurel’s fabulous creations! Rock on!

Thank you so much, Joanna and Laurel, for giving your advice! I think they both hit the nail on the head. Parents: be supportive and encouraging. Kids: don’t panic and keep trying.

Sewing Camp Awesomeness

sewing camp

Sewing Camp last week was a huge success. I’m so glad I brought my camera and made time to snap some photos on the last day. Look at the fabulous things they made. . .

A cute bunny and some snakes in her lap – but don’t miss the silly monster on the floor near her. And that grey pillow is actually a cat pillow.

Another bunny, some snakes, a couple of skirts, a pillowcase, and some beanbags. Busy!

Some doll clothes, an owl, and more snakes!

More softies! She made a bunch of snakes and a few pillowcases too.

She wanted to make things for her pets, so that’s a dog bed and a cat toy.

That quilt. That wonderful quilt!

He was the softie-making king. That bear and bunny are for his sisters; the owl, hen and snake are for himself. Yes – that’s a GIANT version of the snake draped across his shoulders. 🙂

Jo was inspired to make her own giant snake.


The snakes were certainly popular. (Find the FREE snake pattern here and make your own.)

Here are two of the most special ones – a two-headed snake and a snizzard (that’s a snake/lizard, for those who don’t speak 8-year-old). 🙂

And one more shot of all the awesomeness. . .

Final tally:

  • 2 giant snakes
  • 14 small snakes
  • assorted things for the snakes to wear
  • 4 owls
  • 4 bunnies
  • 1 bear
  • 1 cat pillow
  • 2 plain pillows
  • 1 doll outfit (skirt and shirt)
  • 2 girl-sized skirts
  • 6 pillow cases
  • 3 pouches
  • 1 quilt
  • 1 dog bed
  • 1 cat toy
  • 1 bookmark
  • 7 beanbags
  • 8 proud kids

Holy cow!

Here are some posts with tips on sewing with kids.

Happy sewing!

Best,
Wendi

Sewing Camp

Sewing Camp starts today and I’m all ready to go. I’ve got a sewing station. . .

. . . lots of fabric. . .

. . . an ironing station. . .

. . . handy tools and notions. . .

. . . and a show & tell station all ready to be filled up. I brought in some samples of things they can make – but they don’t have to make any of the patterns I’m bringing. This morning they’ll each tell me what they most want to make, and all week I’ll work on teaching them whatever skills they need to do it. By Friday this table will be filled with things they’re really excited about and proud of. I can’t wait!

Happy sewing!

Best,
Wendi

10 Tips for Sewing with Kids

10 Tips for Sewing with Kids from Shiny Happy World

Last week I sewed owls with 20 kids in the Harry Potter Camp I taught, and it reminded me to write up a post with some tips on sewing with kids. I’ve taught a LOT of kids sewing classes, and I’ve learned a lot over the years. So here are my top 10 tips for sewing with kids, in no particular order.

1. Let them choose the fabric. 
Nothing gets them more excited to start the project than to get to choose their own fabric. Nothing. And this is your first chance to let go of what YOU think the finished project should look like. They are guaranteed not to choose the fabrics you would have chosen. And that’s okay.

2. Prepare easy-to-trace pattern pieces by cutting them out of cereal boxes or manila folders.
Punch holes where they need to transfer markings (like for placement of eyes). Let the kids trace around the pattern pieces directly onto the fabric and THEN cut things out. It’s much easier for them to cut smoothly on a drawn line than to cut around a pattern piece pinned to fabric. Also – help them place the pattern piece efficiently on the fabric – otherwise you’ll end up with small holes cut exactly out of the middle of large pieces of fabric.

3. Draw the stitching lines on the fabric for kids.
Whether sewing by hand or on the machine, it’s almost impossible for them to follow an imaginary line. And when they’re sewing on the machine, every instinct is telling them to keep an eye on the needle – not on the ruler engraved into the throat plate. If you draw the lines for them they can watch the needle AND guide the line right into it.

4. Don’t force them to use the machine if they’re scared of it.
On less complicated pieces I’ll let them push the foot pedal while I steer. After a few tries with that they’re usually ready to sit at the machine themselves. If you do this you need to be very clear with them that when you say STOP they need to immediately take their foot all the way off the pedal. Immediately! Look them in the eye and make sure they understand.

5. If they are hand-sewing, try letting them use hand-quilting thread instead of all-purpose.
It doesn’t tangle as easily and it’s easier for them to thread a needle with the stiffer thread. I don’t tie the thread onto the needles and there’s usually a lot of re-threading until they get the hang of how to pull it through without pulling the needle off the thread.

6. Give them specific guidance.
For example, when stuffing softies they’ll be amazed at how much stuffing it takes. Look at the softie, see where the empty spots are, and tell them to add more stuffing here and here. Or tell them to add 6 more big handfuls and then bring it back to you.

Ten Tips for Sewing with Kids - proud kid with an owl she sewed herself

7. For repetitive tasks, give them a mantra to repeat.
When I show kids how to whipstitch a stuffing opening closed, I’ll show them that it’s like a little mouth and they need to poke the needle “up through the bottom lip, up through the top lip, and pull, up through the bottom lip, up through the top lip, and pull.” Encourage them to say the steps out loud while they do it. Your class will be full of muttering kids, but for repeating multi-step processes, there’s nothing like it for helping them remember what to do and keeping them focused.

happy boy with an owl he sewed himself

8. Let them do it themselves.
Their stitches will be crooked and their buttons will be loose and you’ll be astounded at the snarls of thread that can result – but they will be SO PROUD! The more they do themselves (and the more pride they feel) the more they’ll want to do it again. And the more they do it, the better they’ll get and all those beginner mistakes will start to disappear.

9. Let go of your own ideas of what the finished project should look like and follow their lead.
One kid in the Harry Potter Camp added a cape to his owl – which means that lots of kids wanted to add capes. So I showed them how to add capes. One very young child brought me a long, scraggly scrap of fabric that he wanted to attach as a cape. It was easily three times as long as the owl. Just as I was opening my mouth to suggest trimming it shorter, he started to tell me how great this super-long piece of fabric was because now it was a cape that the owl could use to whip around and knock down his enemies. In my eyes it looked awful – like he had just grabbed the first scrap that he came to. But he had a vision and he was so happy to have that vision realized.

10. Have fun!
When you’re sewing with kids, choose projects that are easy and simple – with not too many steps or pattern pieces. Happily, those are usually also the patterns that have lots of room for playing around with them.

Don’t you love all those owls? You can make one too! The pattern is available here.

Happy sewing!

Best,
Wendi

Toy Snakes – free beginner sewing pattern

Stuffed Toy Snakes - a free easy sewing tutorial from Shiny Happy World

These stuffed toy snakes are one of my most popular free patterns! They’re lots of fun for all ages to make.

Years ago I made a book weight – a simple tube of fabric filled with heavy metal pellets.

It was designed to hold a book open, but my daughter immediately saw it as a toy.

Of course.

She played with it all the time so I finally made a toy snake just for her – bright and colorful, with button eyes and a forked tongue, and filled with plastic pellets instead of expensive metal shot.

pink and yellow beanbag snake with yellow button eyes

She still has that original snake. And she still plays with him all the time. Her response when I asked her about him was, “Well, you never know when you’re going to need a snake.”

How true.

Jo helped me make some modifications to the original design. The seams are on the inside now “to make him more smooth and snakelike.” The tongue is made of ribbon so it’s less likely to tear away. I asked her about rounding the head and tail to make him (somewhat) more realistic and got a resounding thumbs down. Okay then. Square-headed toy snake it is.

And so I bring you the new and improved – and FREE – Snake Charmers. These toy snakes are quick and easy to stitch up, small enough to fit in a pocket, and have a pleasing drapability (if you don’t fill them too full). They’re a good size to interact with action figures and all kinds of dolls. They’re surprisingly versatile little guys who make their way into all kinds of situations. I hope you enjoy them!

Do make more than one. When I told Jo she could have all the samples I made her response was, “Cool! Now I can have an invading horde attack my American Girl dolls.”

Cool indeed. 🙂

The links in the pattern all go to video tutorials that show that skill in more detail.

Toy Snake Pattern

Materials needed for each snake. . .

  • scraps of fabric -­ I use different prints for the top and the belly
  • two small buttons (1/4 ­- 3/8 inch)
  • scrap of red ribbon (1/4 or 3/8 inch wide)
  • plastic pellets for stuffing (I like Fairfield brand Poly Pellets)

Step 1

Cut two rectangles of fabric, each 2 inches x 9 inches. Click here if you want to learn how to use rotary cutting tools.

Step 2

Sew the eyes in place, with the centers approximately ­1/2 inch in from the cut edge of the fabric.

green snake fabric with black button eyes

This post has some tips about getting different looks from the way you place the button holes.

Step 3

Cut the ribbon 1 1/2 inches long and snip a fork into one end.

red ribbon tongue with forked end -  cut for beanbag snake

If the ribbon seems like it’s going to fray, use a bit of Fray Check or clear nail polish on the forked end.

Step 4

Pin the ribbon in place with the flat edge lined up with the cut edge of the fabric and centered between the eyes.

pin the tongue in place

Step 5

Layer the belly piece of the snake face down over the top. Pin the layers together, sandwiching the ribbon tongue between them. Leave the tail open for filling.

green fabric skinny rectangles pinned together

Step 6

Leaving the tail end unstitched, sew around the other three sides of the snake. Use 1/4 inch seam allowance. Don’t forget to backstitch at the beginning and end of all your stitching.

inside out fabric snake in progress - clip the corners after sewing

Watch this video for help sewing straight lines and turning corners. Clip the corners up to, but not into, your stitching.

Step 7

Gently (don’t tear off the buttons!) turn the snake right side out and use a stick to poke out the corners.

green fabric snake - waiting for stuffing

Step 8

Fold in the raw edges of the tail and press in place.

fold in the raw edges of the tail and press

Step 9

Fill the toy snake with up to 3 tablespoons of plastic pellets.

beanbag snake filled with plastic pellets

Don’t overfill him! He’ll end up stiff instead of bendy and fun.

Step 10

Sew up the opening using the whipstitch or ladder stitch.

green rectangle closed with ladder stitch

Now make a bunch more!

Three finished toy snakes made with a free pattern from Shiny Happy World

Toy snakes (like real ones) love to gather in packs. You’ve seen Indiana Jones, right?

Extra Bonus Sewing Skills! I used this pattern in a very cool project. You can use your sewing machine to decorate the fabric you use to make your snakes! It’s a great way for beginners to practice their sewing machine skills and make something extra cool at the same time. My daughter Jo (age 11 at the time) shows you how to make all those slithery snakes in this video.

Teach your kid how to use a sewing machine and make these super fun stuffed snake toys!

Have fun making these easy stuffed toy snakes! And happy sewing!

Best,
Wendi
Applique Wendi (with fabulous hat)

Edit – Over on Flickr, Curlysue7795 commented on the fabrics I chose, and that reminded me that I meant to mention that in the post. For these snakes I chose fabrics that had wiggly stripes on them, and I centered the stripe so it ran down the backs of the snakes. You certainly don’t have to do this, but I think it’s a nice effect.