Almost every crafty person I know has, at some time or another, thought of making their own socks. I was intrigued when I saw the Authentic Sock Loom Knitting Board, which allows you to make socks without knitting! I had to give it a try!

About the Loom
The kit contains an adjustable knitting loom (the center bar on the board pictured slides so that you can get exactly the size sock that you want), a hook (that you use to make stitches on the loom) and an instructional DVD.

I was surprised by the high quality of each of the components. For less than $30, you could picture receiving a flimsy loom or a shoddily-produced DVD. However, the loom is quite hefty: constructed with solid wood and very secure and sturdy pegs. The DVD is neatly divided into sections (casting on, the knit stitch, turning the heel, etc.) and gives complete instructions for operating the loom.
How the loom works
A properly-fitting sock needs to be the appropriate size: so that it’s small enough to fit snugly, but not too small so that it doesn’t fit. The first step in using the loom is to set the knitting board so that it creates an appropriately sized sock for your foot. Fear not… this step is easy: you simply follow the calculations provided in the kit, and slide the center bar to the proper position.
The remaining steps mirror the steps involved in knitting a sock. You begin by ‘casting on’ the stitches:

Even though the actual motion for casting on stitches with the loom is different from knitting, the philosophy is the same, and the procedure is well-explained in the DVD.
After the initial cast-on, you begin ‘knitting’ your sock. Each stitch is created by pulling the working yarn through the stitch on the loom, using the hook:

Exactly how you manipulate the hook & yarn determines whether you produce a knit or a purl stitch.
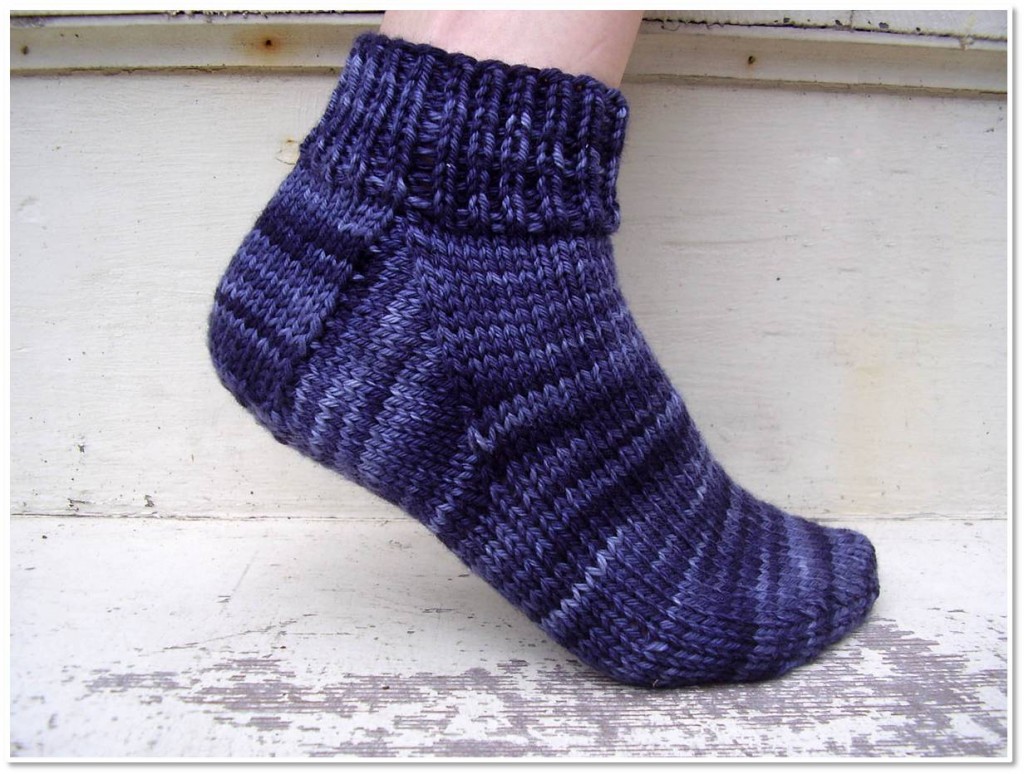
You continue knitting and purling to create the cuff of the sock and then, just like knitting, you work a limited number of the stitches to form the heel. Then, you return to working all of the stitches for the foot of the sock.
The toe is constructed slightly differently on the loom than when knitting a sock: stitches for the top and bottom of the sock are decreased separately and then grafted across the entire toe. There is an option to remove the stitches from the loom and use double-point needles for a ‘traditional’ toe, but this seems to be an advanced option.
Benefits to the Sock Loom
The sock loom is an easy entry into making socks for those who don’t/can’t knit. Highlights include:
- A well-constructed loom and instructional DVD (as well as further videos/support on their website: www.knittingboard.com).
- Once you get a hang of the basic operation of the hook, you can create knit and purl stitches (and make an entire sock!) with ease.
- Grooves in the pegs make it very easy to use the hook to manipulate the yarn.
- Since the loom is adjustable, you can make socks of any size.
- The design of the loom takes away many of the complicated calculations associated with knitting socks. Once you establish the number of pegs required, no further calculations are needed.
Disadvantages to the Loom
In my personal opinion, this loom is designed for people who do not currently knit. People who are already proficient knitters will find the experience of using the loom slightly tedious: it’s like using a crochet hook to create each new knit stitch.

Other downsides include:
- The loom isn’t obviously portable. Although I suppose it may be, in principle… in practice, carrying a loom around is more awkward than carrying knitting needles.
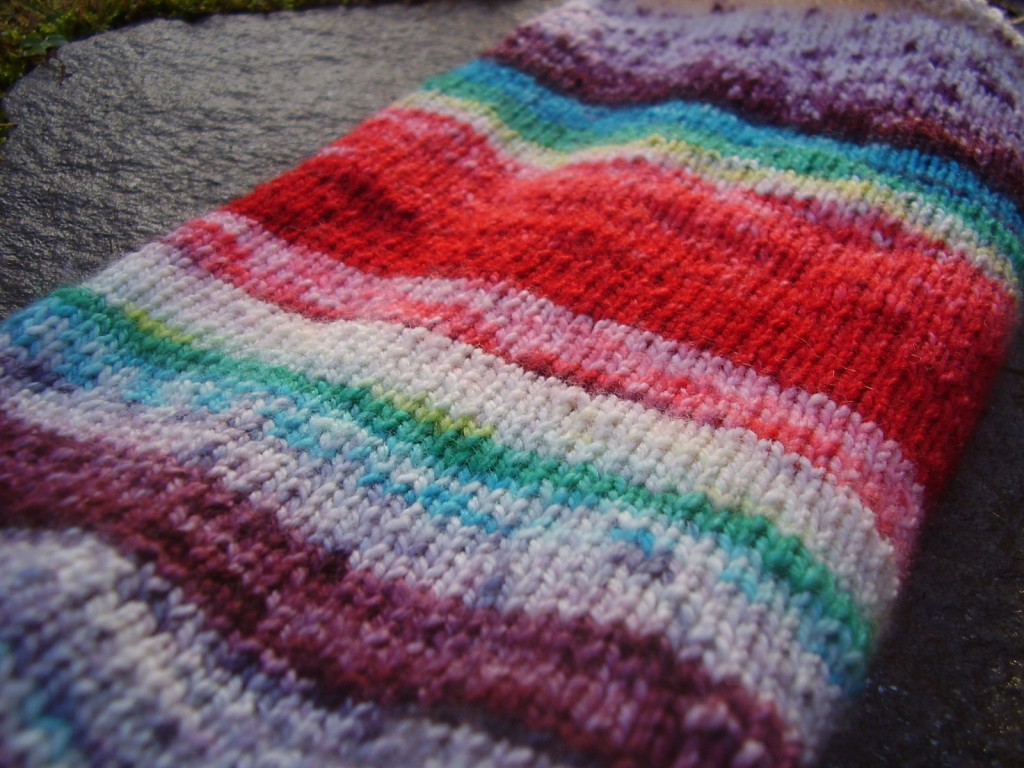
- Stitches can slide off of the pegs, particularly during the cast-on (see above photo, which happened as I was taking photos of my cast-on). In this case, the only option is to begin your cast-on, again.
- The DVD doesn’t have many details on fixing mistakes. I assume this is because the loom is a new product, and I’d imagine that these will be videos added in the future.
Overview
The Sock Loom Knitting Board is an ingenious product that is well-crafted and allows you to create socks easily, without knitting.
This board isn’t a short-cut to making socks for people who already knit. I would advise knitters (who are afraid of socks) to find a helpful, beginner-sock pattern instead of turning to the loom. Some first-time sock knitting patterns are: Easy Peasy Socks and Basic Sock.
If you’ve been looking to make socks, and aren’t interested in knitting… this loom is your ticket!
Best,
Stacey