


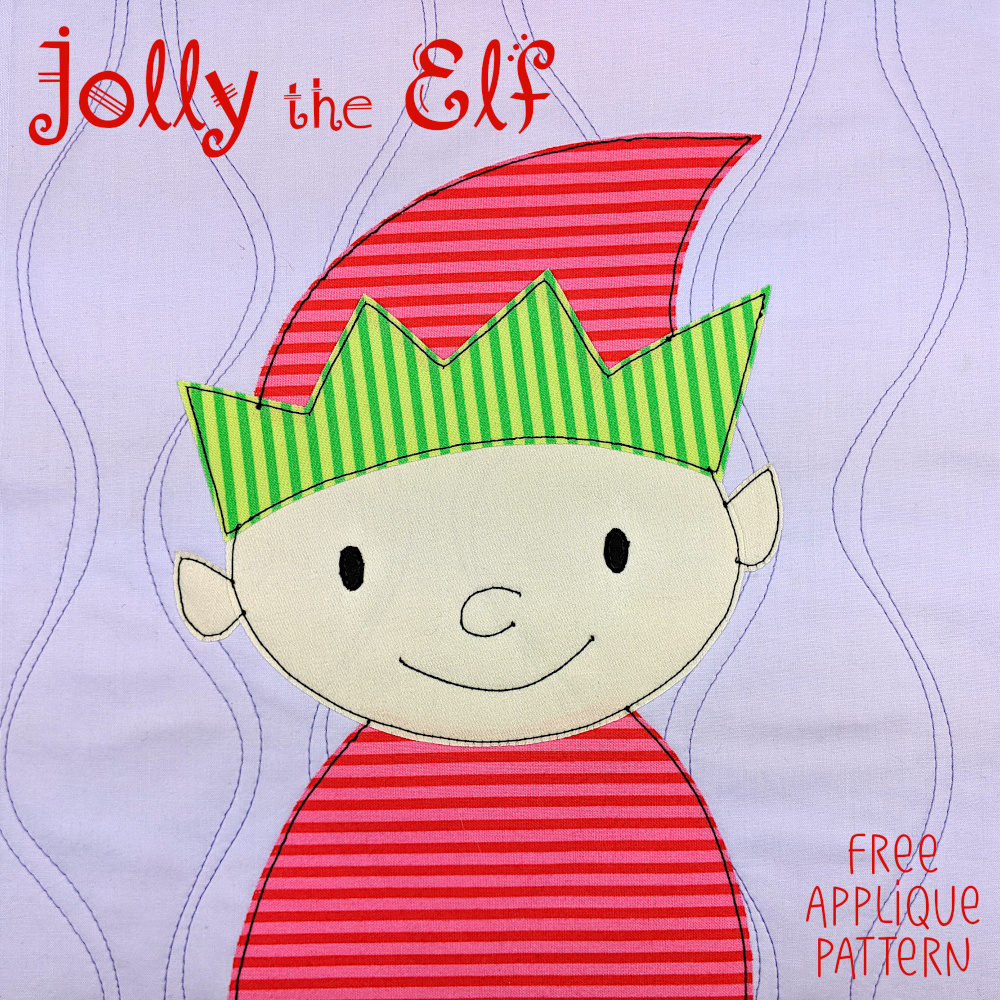
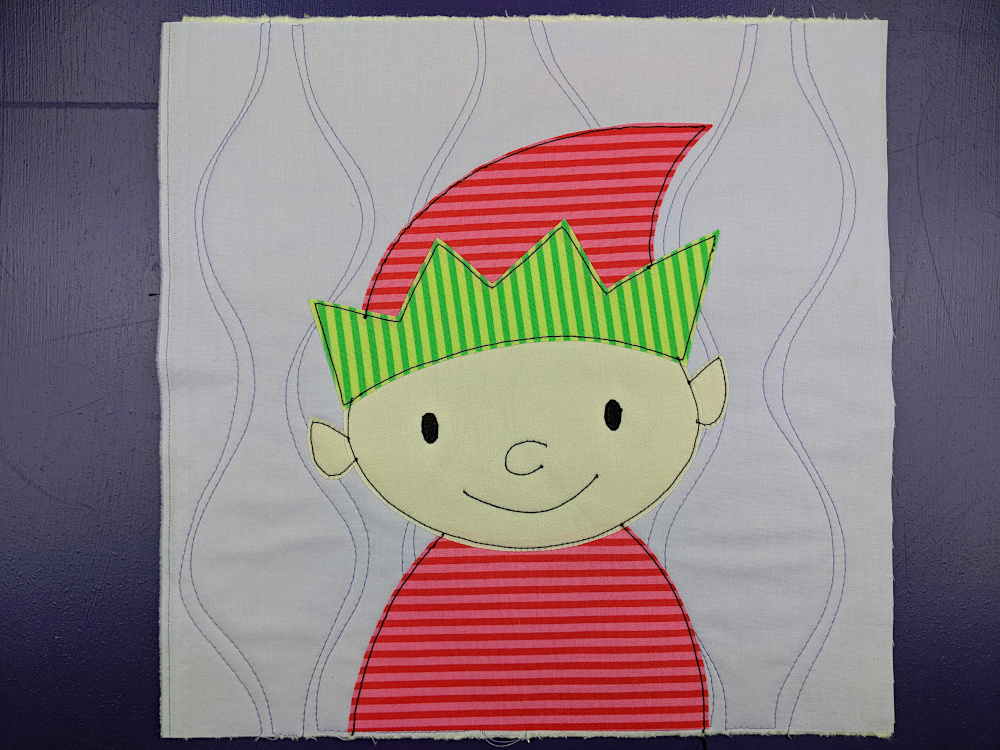
There’s a new free applique pattern for you! Merry Christmas! 
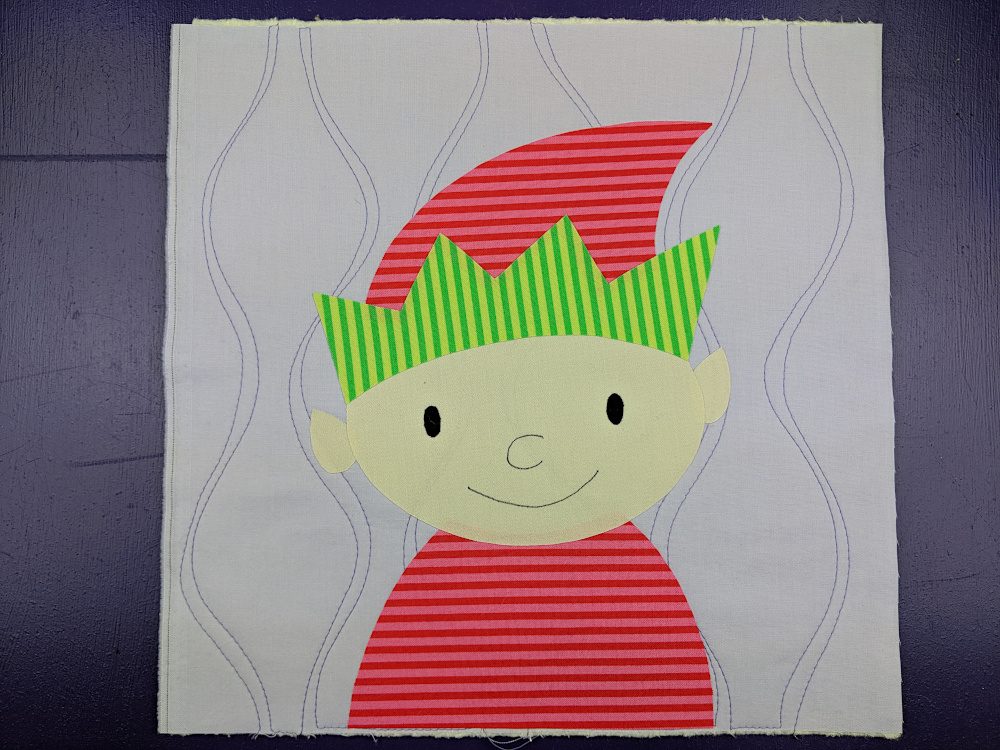
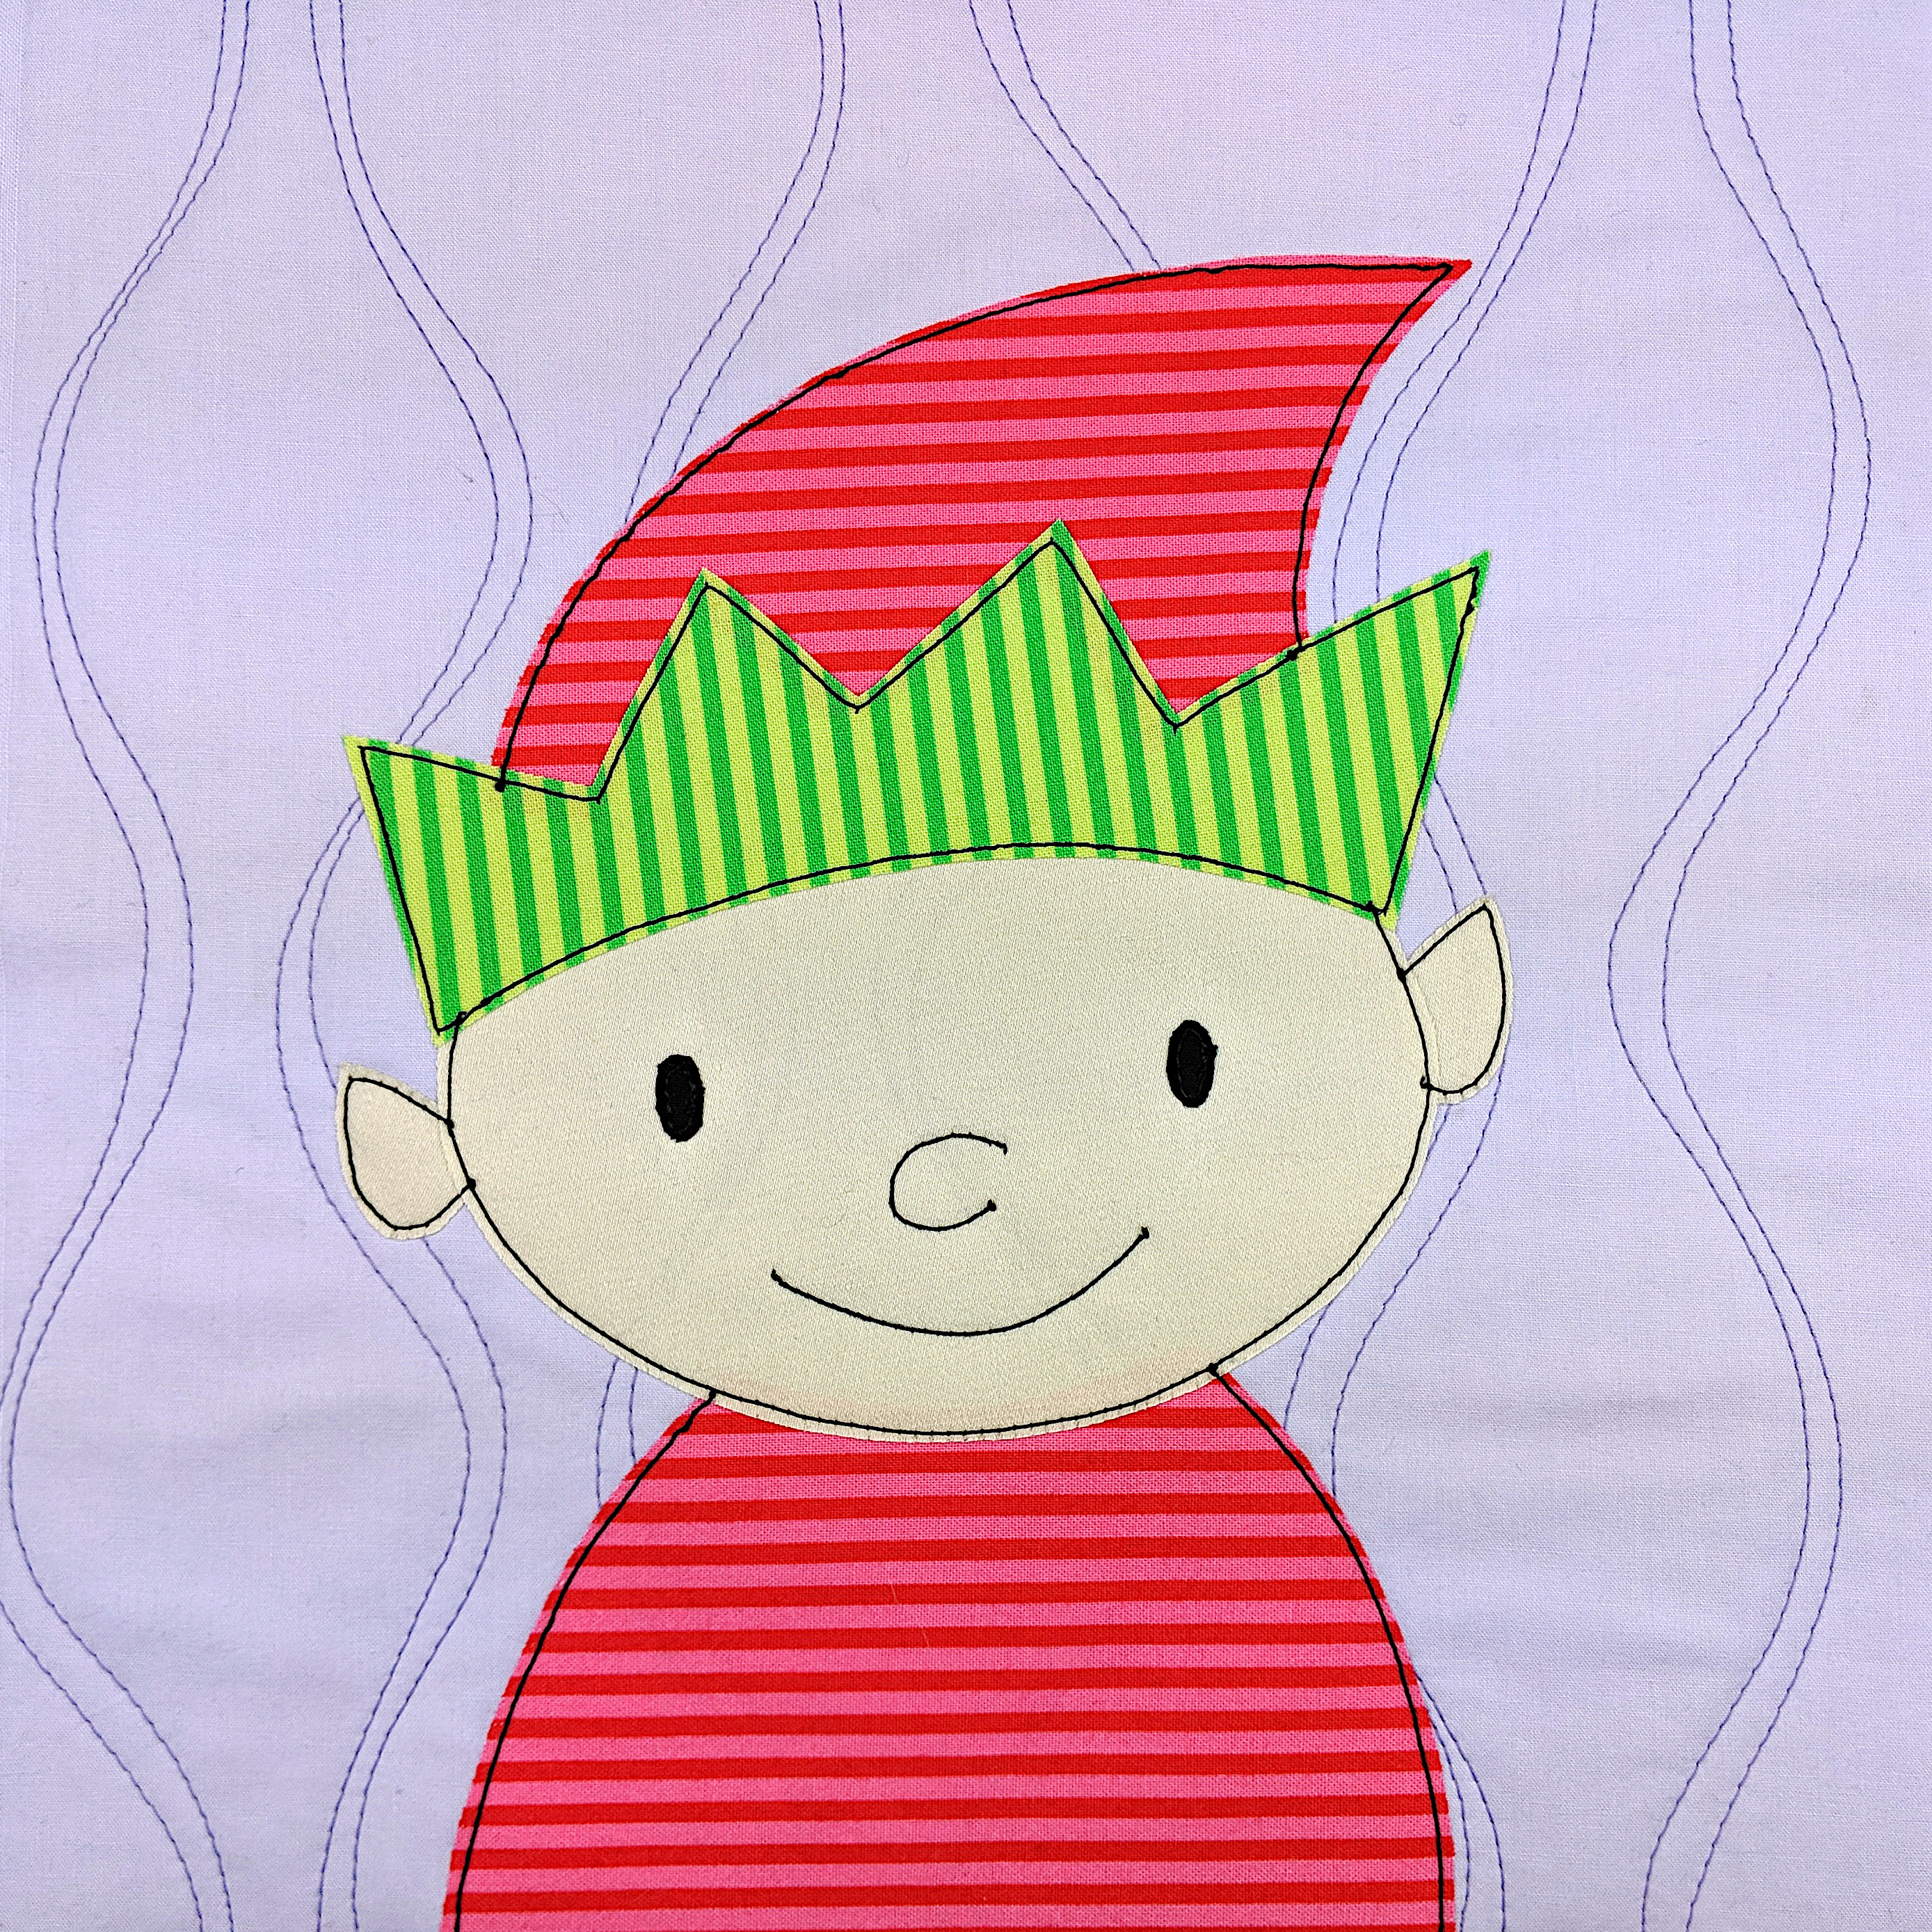
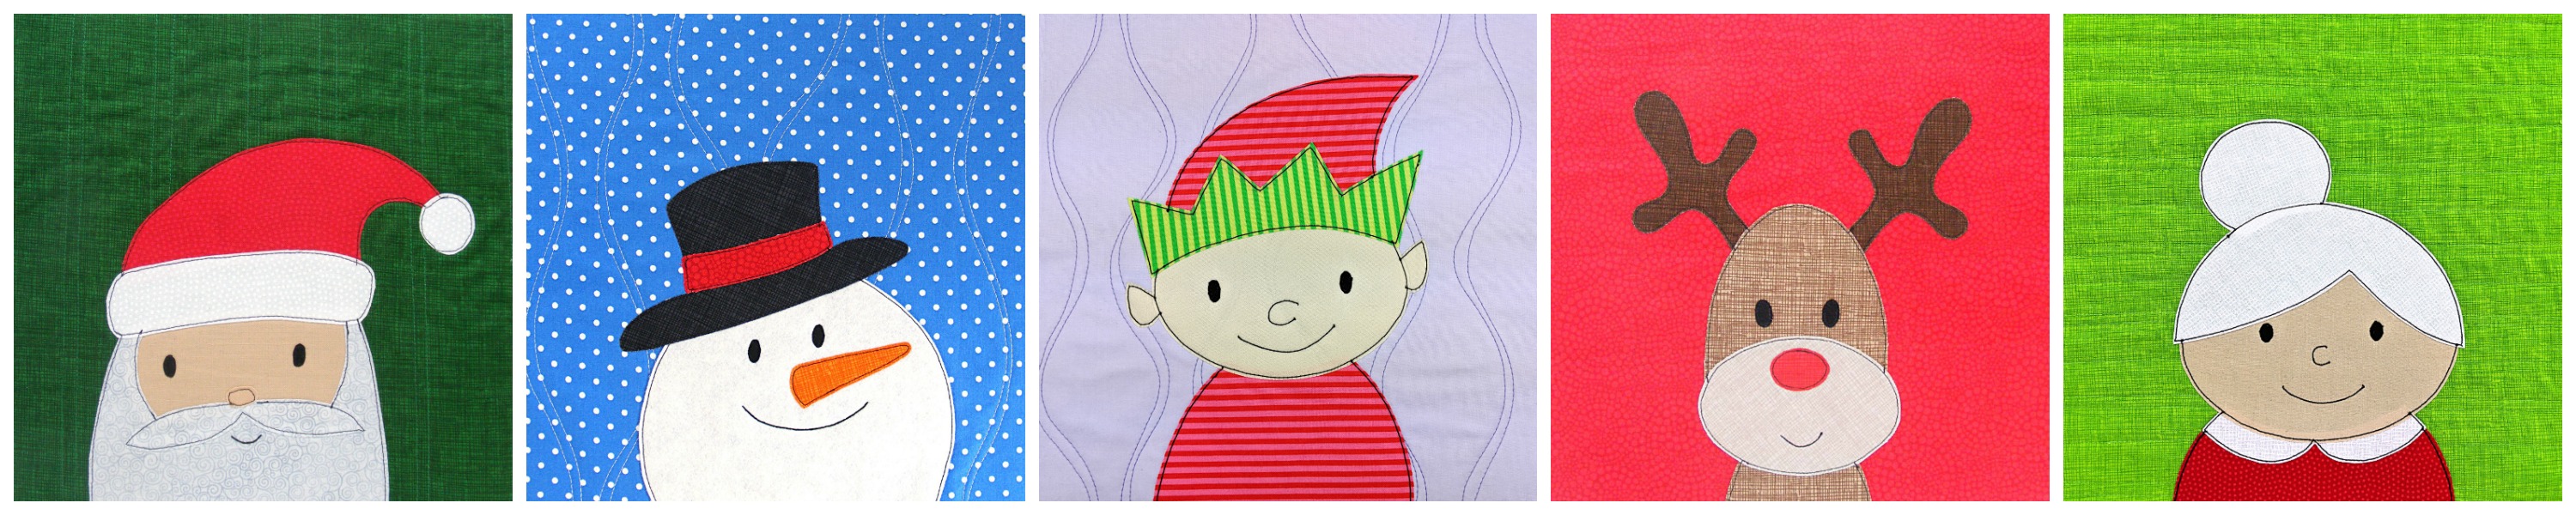
This adorable elf pattern is the same size and style as the other free Christmas applique patterns (10 inch finished blocks). There are five now! (You’ll find links to all of them at the bottom of this post.)
Here’s how to make it. (This video shows all the steps for working with fusible adhesive – if you’ve never done it before you’ll find it helpful.)
Step 1
Download the template pieces here.
Step 2
Trace or print the pattern onto the paper side of the fusible adhesive.
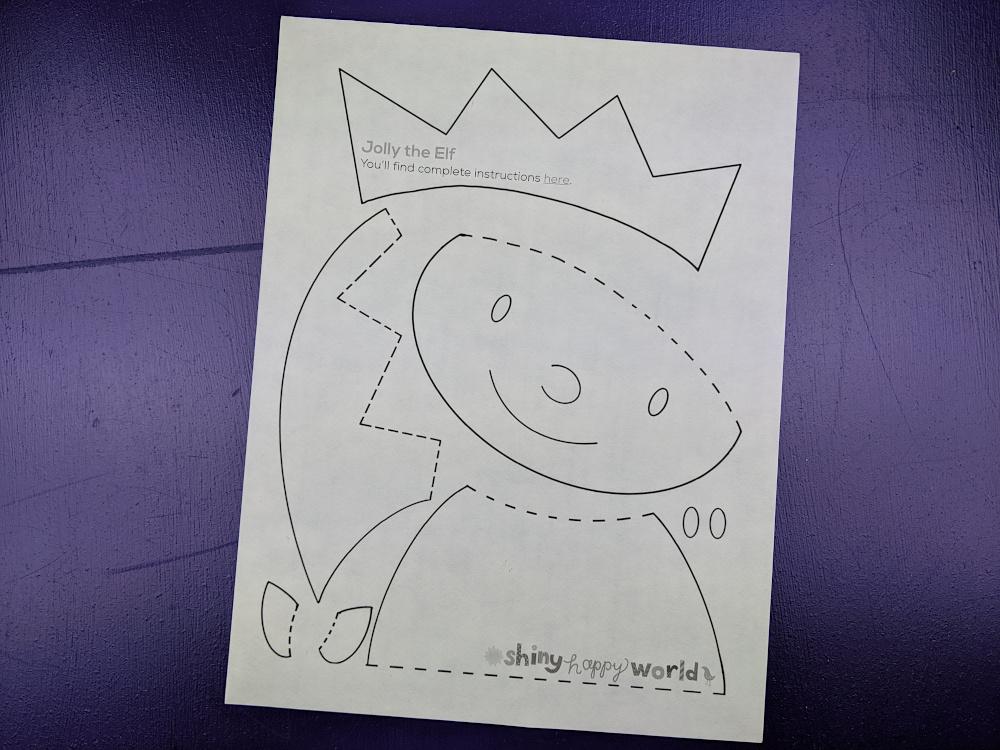
I use printable fusible adhesive so I just printed out the page. No tracing!
The image has already been reversed, so just trace or print. If you’re tracing, be sure to trace the facial features too. You’ll need those for Step 4.
Step 2
Rough cut around each shape and fuse it to the back of your fabric.
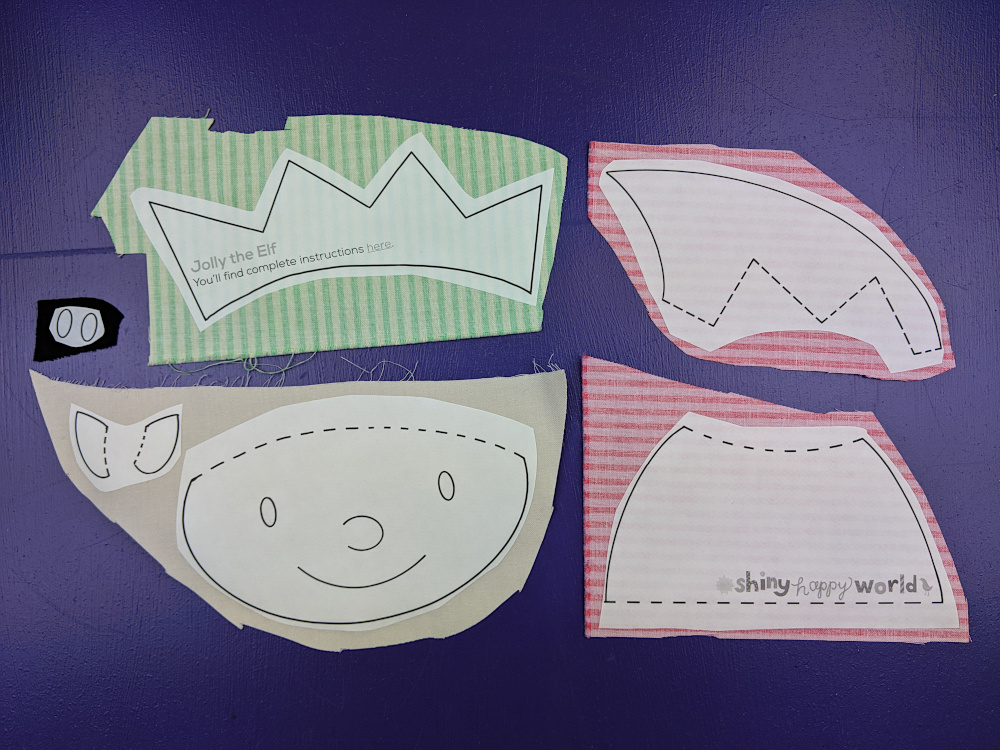
Leave a little bit extra all the way around - a little extra extra (at least 1/4 inch) where there’s a dotted line, like the top of the shoulders and the base of the ears.
Step 3
Cut around each piece neatly. Cut directly on the solid lines.
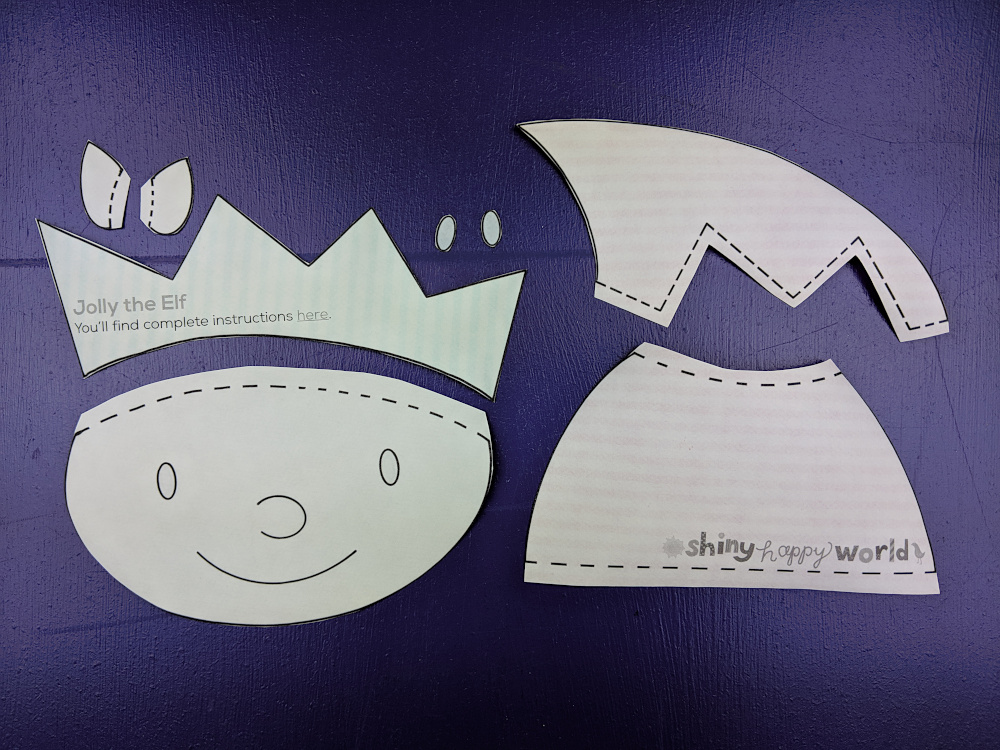
Leave a little seam allowance on the dotted lines - those are the seam allowances that will tuck behind other pieces.
Step 4
Remember when I told you to make sure you traced the facial features in Step 1? Now you’re going to use that. Hold the face up to a window so the light shines through it. You’ll be able to see the eyes, nose and mouth, and the adhesive will stabilize the fabric so you can trace on it without it crinkling up.
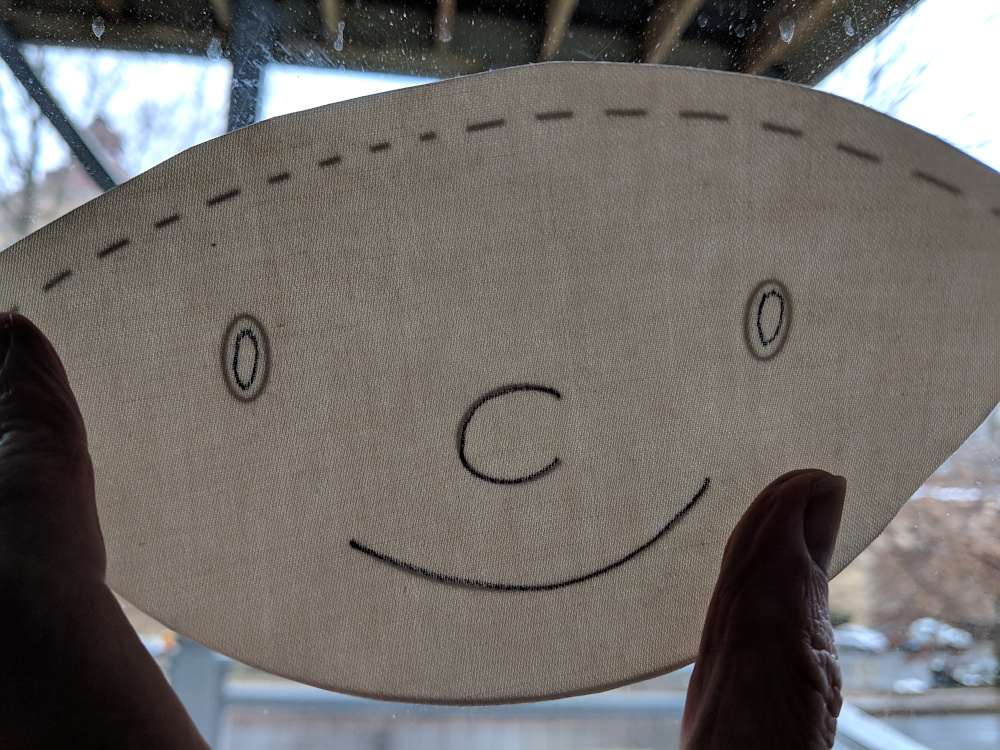
I traced just inside the eyes, and directly on the nose and mouth.
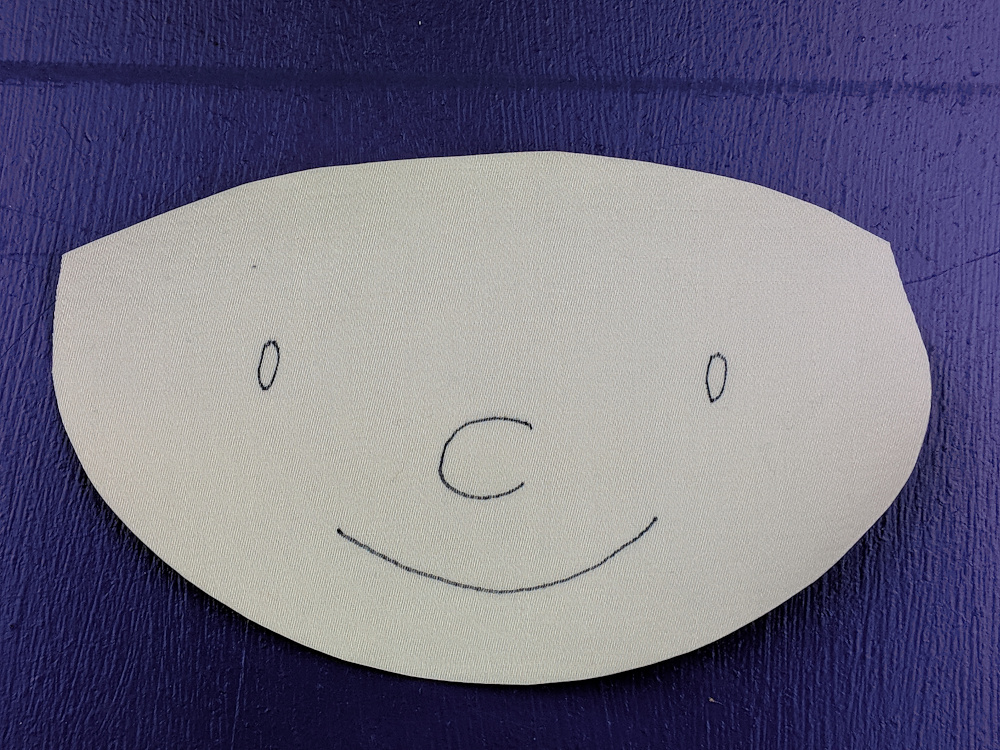
Here you can see all the tracing I did – without the light shining through.
Step 5
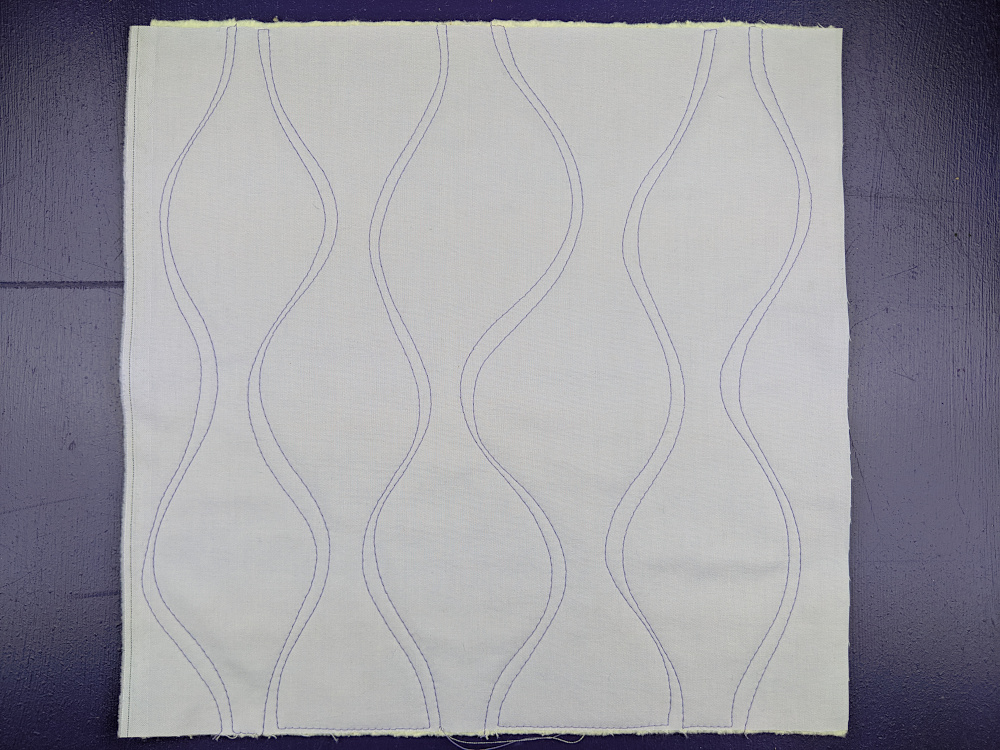
If you’re doing Quilt As You Go (I did) then you can quilt your block before adding the applique. So easy!
Cut your background fabric and a piece of 100% cotton batting 11 inches square.
Layer the block with a piece of 100% cotton batting. Quilt any pattern you like!
Find all the Quilt As You Go tutorials here.
If you’ll do the quilting later, simply skip this step.
Step 6
Peel off the paper backing and arrange the pieces on a background block.
Remember - all the dotted lines indicate where pieces tuck behind other pieces.
Tuck the ears and the shoulders behind the head. Tuck the head and the top of the hat behind the hat brim.
Fuse the pieces in place.
Step 7
Outline all the pieces with black thread and a simple straight stitch – or choose your favorite decorative stitch.
This video has some tips for outlining those tight curves.
I used 12 wt. thread for all my outlining to get a slightly thicker line. There’s more info about using thicker thread here.
Done!
If you’re making a one-block project, go ahead and finish it up!
If you’re making a bunch of elf blocks to join into a quilt - have fun!
What can you do with just one block pattern? Tons of things!
Check out this page I’ve been slowly building – 100 Things to Do with an Applique Pattern. There are links to a bunch of free patterns you can use with your applique pattern to make bibs, pillow covers, tote bags, and more! 🙂
Here are all the free Christmas applique patterns so far.
If you’re looking for a different fun Christmas quilt pattern check out this post. It has a bunch of free patterns for little signs that you can add to a Shiny Happy Houses quilt to turn it into a North Pole quilt. 🙂
Have fun! And share a photo of what you make! You can share it in the Shiny Happy People group or tag it with #shinyhappyworld on Instagram.
If you like this free pattern, sign up for the Shiny Happy News! Subscribers get a weekly newsletter full of sewing tips and tricks, free patterns, special discounts, and other things to make you smile. 🙂
Happy sewing!
Best,
Wendi
i made all five of them… I love love love them…
Pingback: Free Dove Applique Pattern - Shiny Happy World