Suggestions for skin color yarns!

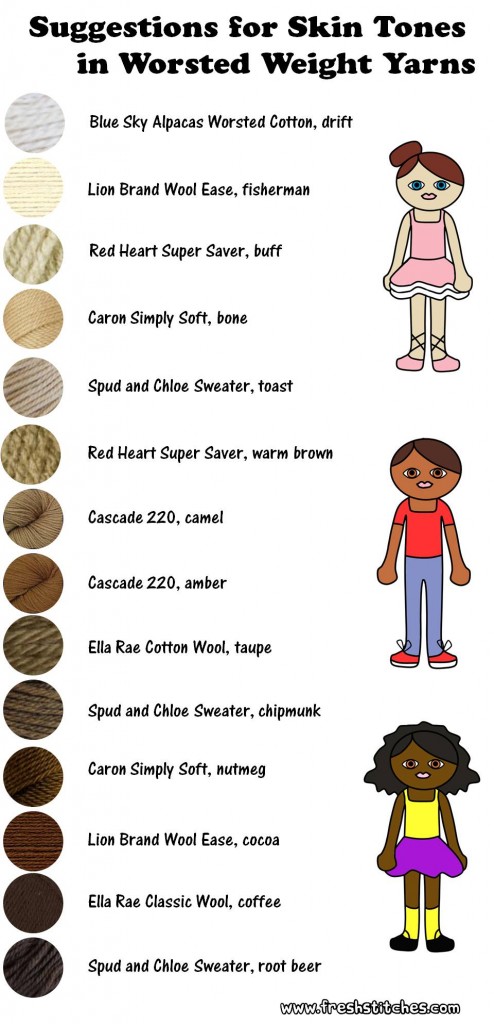
It can be hard to find a nice skin-tone yarn. So, I’ve compiled a few suggestions for you!

sskin color yarn suggestions

Keep in mind that it’s going to be hard to find a yarn that’s exactly like a skin tone… remember you’re crocheting a toy, not painting an exact likeness! Keep your mind open, and you’ll find a yarn that’s at least close!

Doll Day is tomorrow!

Don’t forget, tomorrow is the release day for my new, super-exciting doll patterns! I think you’ll love them!

And… now I know you’ll be able to pick the perfect color for your doll!

How to make a Magic Ball!

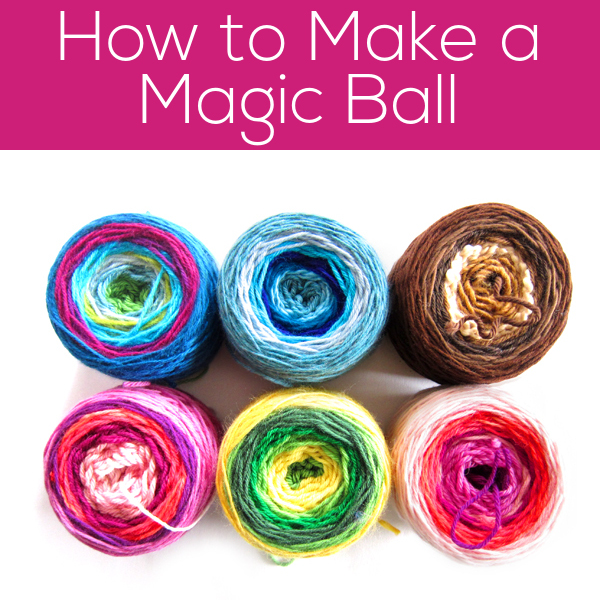
How to Make a Magic Ball Using a Russian Join - a tutorial from FreshStitches and Shiny Happy World

Have you heard of a Magic Ball?

It’s a ball of yarn that changes colors and textures as you work. It’s something offered by a number of artisan yarn makers… but it’s also something you can make yourself with your leftover yarn!

Magic Ball how-to

Besides ending up with an awesomely fun end-product… you’ll finally get to use up all of those weird leftover pieces of yarn that are too small (you thought!) to do anything with! How great is that?

Perfect for the scrap-a-long!

Scrap-a-long

Magic Balls are fun to make… but they’re even more fun if you have a project in mind!

How about joining in on our scrap-a-long?

Ready to get started?

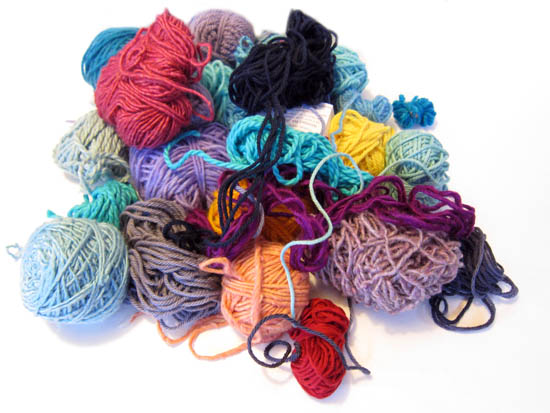
You’ll need two things. One, gather all of the leftover yarn bits that are lurking in your stash. You know what I mean. They’re too small for their own projects, but too big to toss out. You keep thinking you’ll do something with them…

pile of scraps

And a tapestry needle.

bent-tip tapestry needle

(mine is a bent-tip needle, but that’s by no means necessary for this. All you need is a needle that’s big enough to fit your yarn through the eye.)

Okay, now we’re ready to start!

We’re going to make our magic ball by joining all of these leftover yarns together using a technique called the ‘Russian Join’. The Russian join allows you to fasten yarns together without a knot, and it has the advantage of working with any type of yarn (unlike the ‘spit splice’, which relies on 100% wool yarn.)

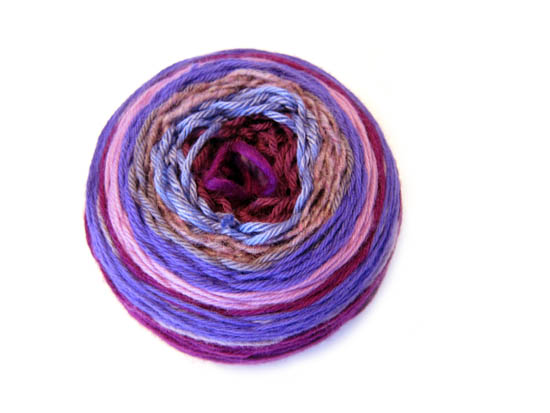
In terms of grouping your yarns together, you’ll want to group yarns in a way that is pleasing to you. Some folks prefer the random approach, but I like creating a color theme (check out How to organize your scraps for help!). For my magic ball, I’m attaching only various shades of purple. I also recommend using yarns of the same weight. My magic ball is composed entirely of worsted weight yarns.

How to do the Russian Join

Step 1: Thread your tapestry needle with yarn A (to start, yarn A will be an arbitrary choice. As you continue, yarn A will be the yarn that is attached to your ball).

How to do the russian join

Step 2: About 2 inches from the end of the yarn, insert your tapestry needle through the yarn. Split the plies, and work the needle through the yarn for about an inch, then pull the needle through, bringing the yarn tail through this bit of yarn.

How to do a russian Join

Notice that you have a loop!

Making a russian join

Step 3: Okay, now, thread yarn B (the other yarn) through the tapestry needle, and stick the tapestry needle through the loop in yarn A.

making a russian join

Step 4: About 2 inches from the end of yarn B’s tail, insert the tapestry needle through the yarn… just like you did before.

doing the russian join

Now you’ve made a second loop, joined onto yarn A!

russian join

When you pull the ends, you’ll notice the two yarns are fully joined! Hooray!

completed russian join


To make a magic ball, keep attaching yarns, one after another. You’ll probably find it helpful to wind the ball up as you go, particularly if you’re using long leftover lengths of yarn.

Once you’ve run out of leftovers (or have a ball that’s big enough), you can use your magic ball for any project! When knitted or crocheted, it’ll create an awesome striping-effect! And, you don’t need to do anything special at the joins, just keep working!

Isn’t that fun?

And doesn’t it make you want to gather up (and use) your leftovers?

Here are handy links to all the posts about yarn. . .

Return to the main table of contents for Let’s Learn to Crochet Amigurumi.

Move on to the lessons for the basic crochet stitches.

Happy stitching!

How to take charge of your unruly scrap pile!

Scrap-a-long!

You’re joining in on the scrap-a-long, right? This crochet-a-long is all about gathering up those little bits of yarn that you can’t find a use for… and turning them into something fabulous!

Even if you’re not crocheting with us, this post will help you to corral those scraps and get them organized! It’s spring… why not do a little cleaning up of your scraps?

Step 1: Find them… all

That’s it… now’s the time. Haul out all of your yarn bins and your baskets and start gathering the bits of yarn that are ‘scrappy’.

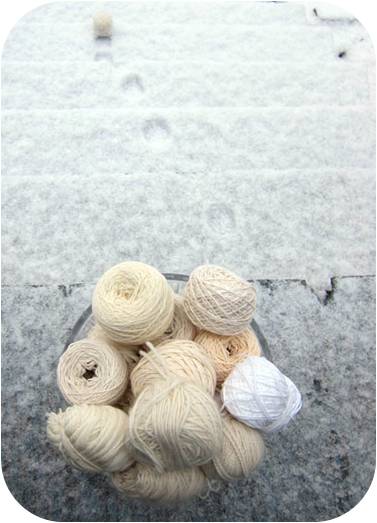
white yarns

What counts as scrappy? That’ll vary by person… but my philosophy is: if you look at it and can’t figure out what in the world to do with it, it’s scrappy.

Step 2: Consider odd skeins

I know it’s a scrap-a-long, but to you have a skein of yarn in a color that just doesn’t work for you? It’s totally okay to throw it into the scrap pile.

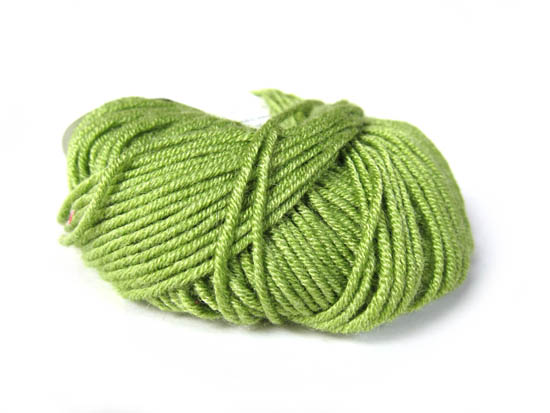
green yarn

The objective of this organizing is to clean out your stash… no need to leave uglies behind with your favorite skeins! At a later stage, you can snip these rogue skeins into scrap-sizes.

Step 3: Sort by weight

In the scrap-a-long, we’ll be making an animal from the scraps we gather, and it’s best to use scraps of the same thickness.

It doesn’t matter which thickness it is, just so long as they can work together without leaving holes in your work. So, select the thickness you’d like to use for your project, and pull out all of the bits of yarn with that thickness.

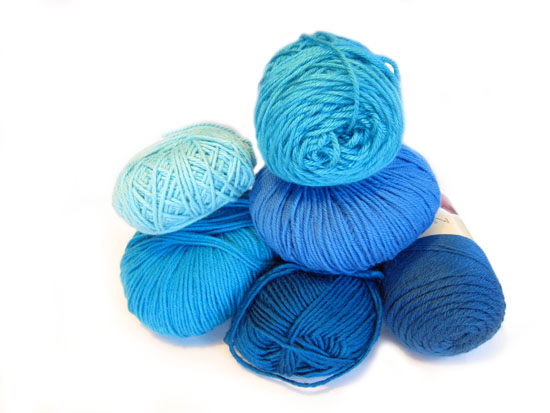
pile of blue yarns

It’s not a science… trust your gut. If two yarns look to be about the same thickness, then that’ll do!

And who knows… maybe you want to do the following steps with each group of yarns you have… you’ll make multiples! Fun!

Step 4: Sort by color

It’s like being in kindergarten again… put the blues in one pile, the pinks in another…

Sorting all of your yarn by color will give you an idea for the color palette you’re working with.

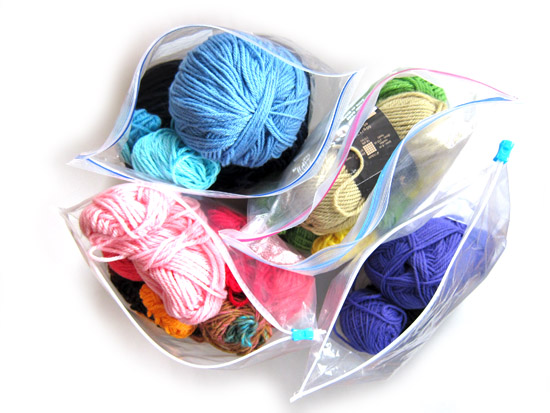
scraps of yarn

You can be as picky as you want to be with the sorting. My categories were: neutrals, green/yellows, red/pink/oranges, blues and purples. You can have broader or narrower categories… the point is just to see what you have!

Step 5: Put together your color sequence

Now that you see all of the colors you have, you’ll want to think about how you’ll organize them in your project. Allow the colors you already have guide you… remember, we’re not trying to get more yarn!

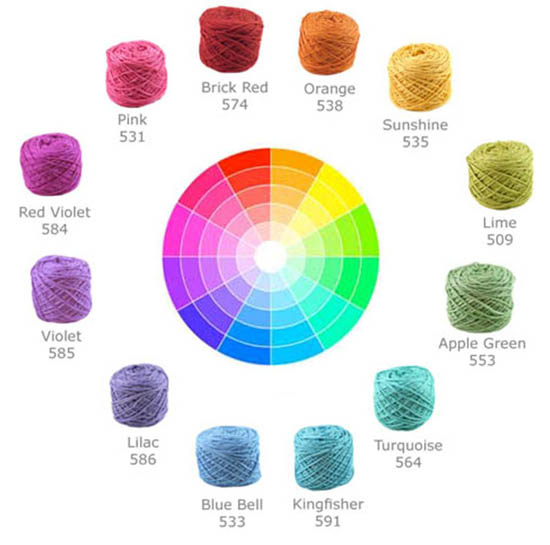
Check out my blog post on color theory and craft your plan.

Color theory yarns

If you’re feeling particularly ambitious, you might want to make color collections for a few different projects!

Step 6: Weigh your yarn

Now you’ve got some beautifully organized yarn… let’s see how much you have!

Check out this blog post on how to calculate yardage from weight… and you’ll be able to determine how much yardage you have!

If you’re using yarn that you don’t have labels for, just find a label for a similar yarn for weight/yardage… close is good enough!

Ready?

Yay!

Once you’ve done all that… you’re ready for making your project!

In future blog posts, I’ll show you how to make a Magic Ball with your scraps, and how to join yarns while crocheting in case you want to hop right into it.

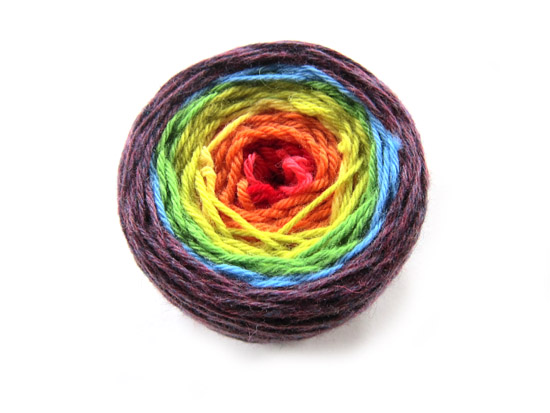
rainbow magic ball

This is going to be so much fun!

Best,
Stacey

It’s a Scrap-a-long… join us!

I’m so excited about this month’s Crochet-a-long!

The more you knit/crochet, the more you wind up with little leftover bits of yarn. It would be a pity to throw them away, but what do you do with them?

Scrap-a-long

That’s why we’re having a scrap-a-long!

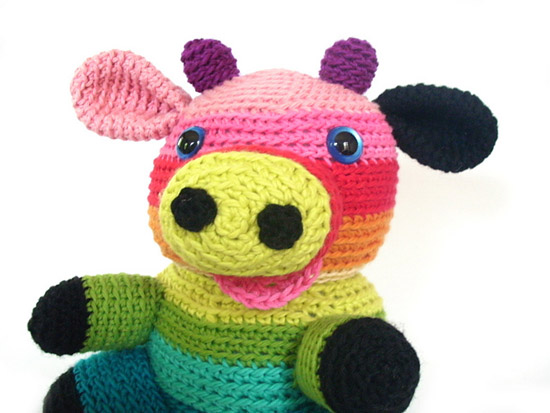
Go ahead… make any FreshStitches Patternbut you have to crochet it using scraps!

rainbow cow

Join the CAL!

Joining in the CAL is easy! You’ll need to pick your pattern, gather your scraps and follow this tag to get all of the helpful crochet/amigurumi tips that will guide you along the way!

Are you in?

It’s going to be a blast… and I really hope you join us! Go ahead and leave me a comment… and tell me about your scrap-a-long plans! Which pattern will you do?

What do you call…

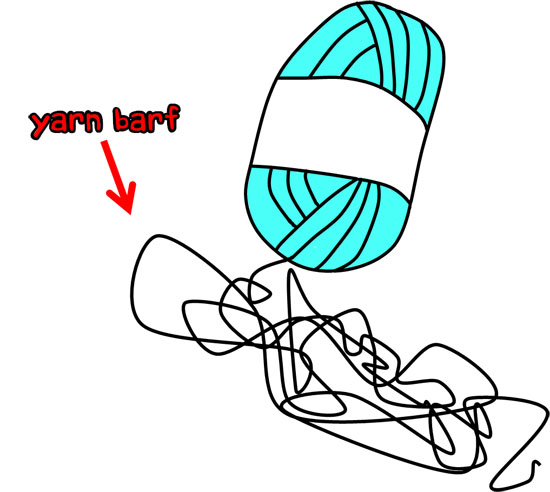
… that big, unwieldy mess of yarn that virtually spills out of the middle of your skein?

Yarn Barf
What is yarn barf?

There. Now you know.

I promise that I’m not making this stuff up.

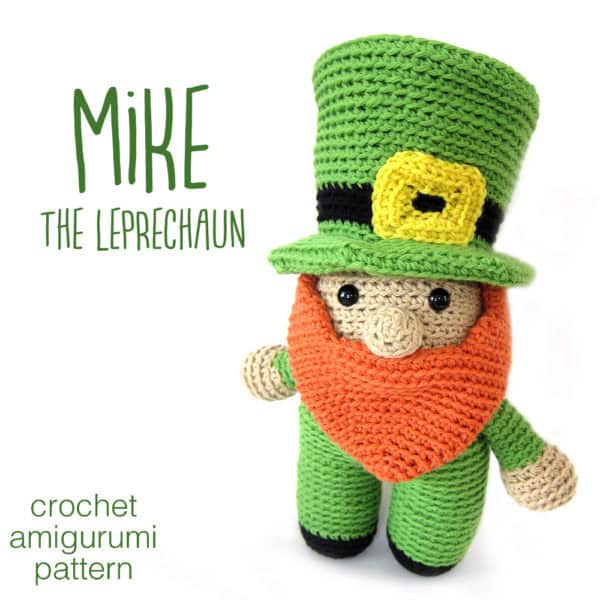
Mike the Leprechaun wants to wish you a very Happy St. Patrick’s Day!

Mike the Leprechaun - crochet amigurumi pattern from FreshStitches and Shiny Happy World

Since I’m away at the Pittsburgh Knit and Crochet Festival, I won’t be cooking the traditional corned beef & cabbage… so if you are, could you eat some extra for me?

Best,
Stacey

Tips for Teaching Kids to Crochet

It’s a question I get asked quite often: “Is my child ready to learn to crochet?”

Of course, children develop skills at different ages, so you’ll need to pay attention to your child’s skill set, instead of waiting for them to ‘hit the perfect age’.
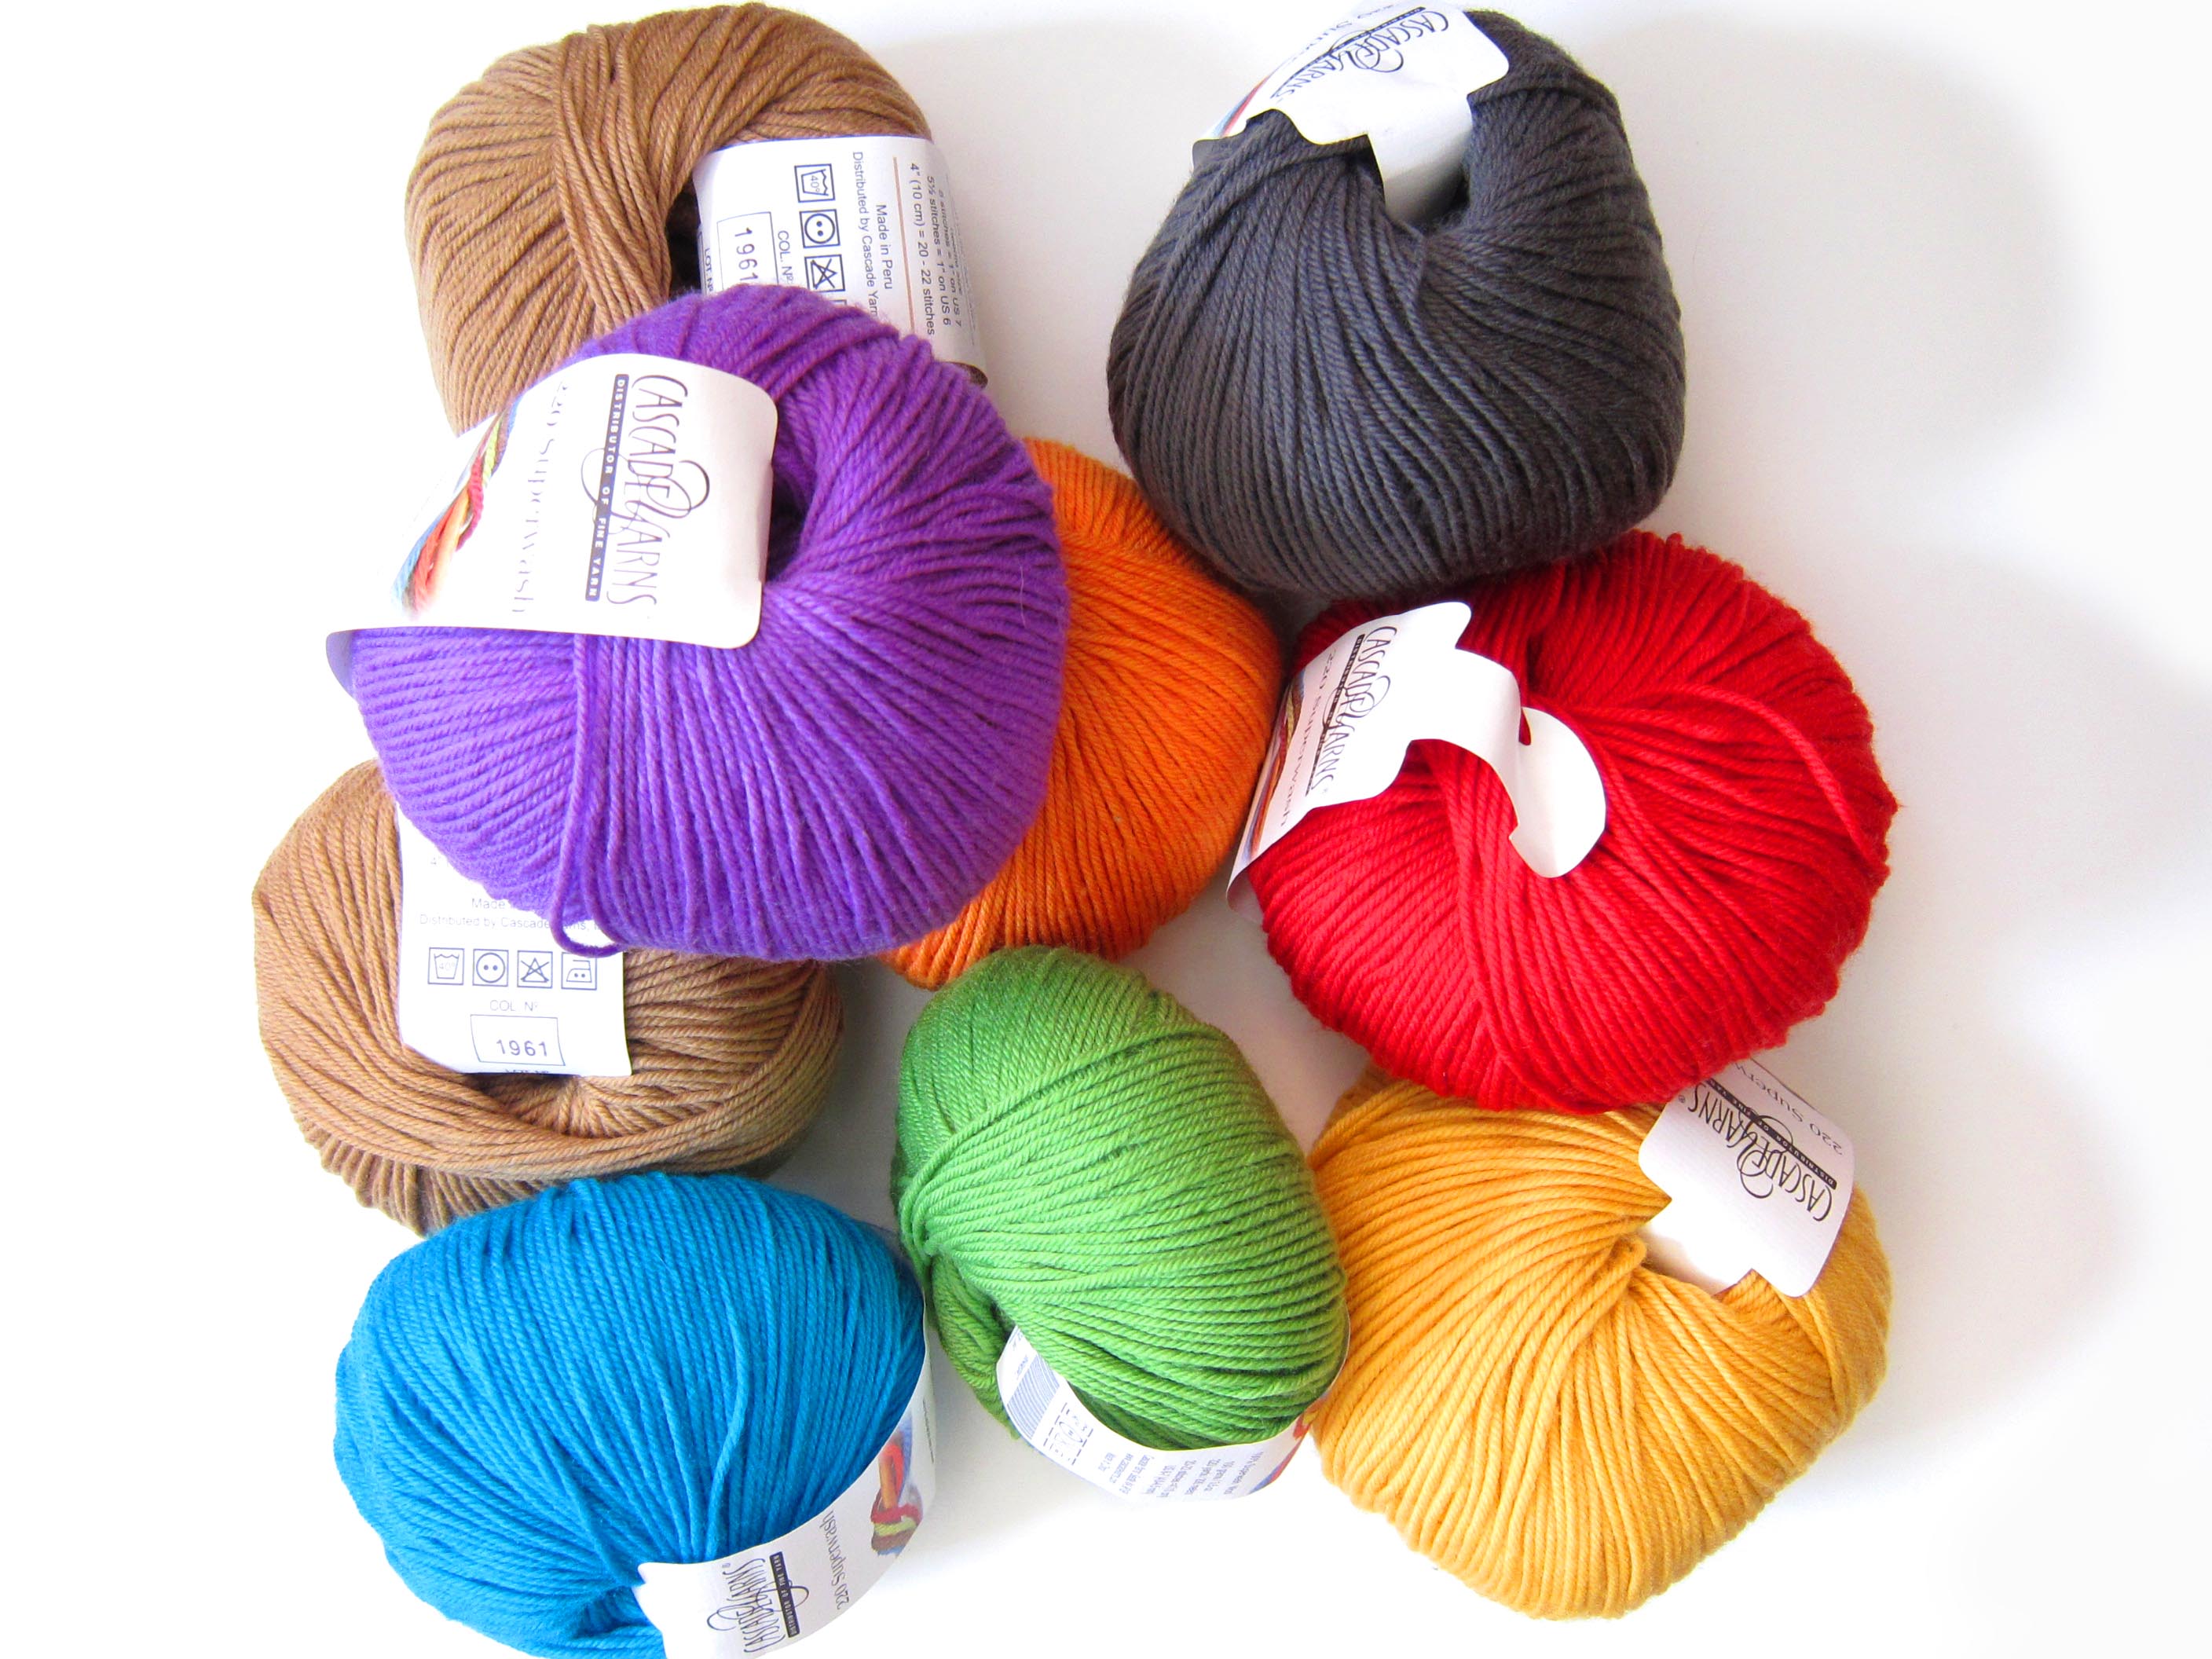
rainbow yarns

Today, I’ll chat about some tips for teaching children to crochet, what to expect from different age groups and profile an adorable young crocheter, Laurel!

What to expect from different age groups

In general, if your child can sit for a short period of time and manipulate a pencil, then they’re ready to learn to crochet. I’ve been crocheting since I was about 5 or 6.

It’s important to keep in mind that children at different ages will learn crocheting differently. Here’s a bit about what to expect from different age groups.

Age 4-8 years old

Children at this age are still mastering their fine motor skills and can’t confidently learn instructions by reading a book. They’ll learn best from hands-on teaching (i.e. you sit next to them, show them steps and guide their hands if needed).

It’s very typical for children at this age to spend a considerable amount of time chaining before moving on to stitches like single crochet, and that’s fine! Chaining is a perfect way to practice manipulating the hook. It’s important not to push children onto skills before they are ready, as this can lead to frustration.

Age 9-12 years old

Children at this age have quite good fine motor skills, and may be ready to learn semi-independently. It’s a great age for children to attend a crochet class, learn from an online video (see Laurel’s story, below!), or venture into learning from books. Learning to crochet solely from written instructions can be difficult for any age group (even adults!), so even if your child is a keen reader, expect to invest some one-on-one crochet time to demonstrate the basics.

Child Crocheting

It’s Laurel! Read her story, below.
Children at this age are often excited to make a finished product, so they’re less likely to spend oodles of time chaining. Don’t worry if they want to move straight to an advanced stitch: they’ll naturally feel excitement about learning a new skill. It’s important to emphasize that crochet takes practice, and that stitches won’t look perfect immediately.

Age 13+

Children of this age can’t drive and don’t pay taxes… but in the crochet world, they’re basically adults. They often take adult crochet classes (since they don’t have the attention difficulties or fine motor troubles of younger children) and are happy to learn unsupervised.

As is true of dealing with teenagers in any domain, the most helpful thing you can do is provide help if they need it, check in on their progress and show enthusiasm for their work.

Tips for teaching children to crochet

While there’s no curriculum that will work for everyone, there are a few basic tips that will help you teach your little one to crochet.

  • Pick a suitable yarn and hook. Aim for a smooth, plain yarn. Avoid novelty yarns like thick & thin and eyelash. Even though they look fun, they’re difficult to learn on.
  • Let the child pick their yarn (within reason, see above point). Children will be more excited to learn when they’re excited about their project, so let them pick out their favorite color!
  • Allow children to move at their own pace. It’s most important that the child likes crocheting, because that’s the only way they’ll keep going! So, if it’s fun for them to make a really long chain, let them! They’ll move on to a new skill when they feel like it!
  • Be positive. No matter how old you are, your first projects might look crooked and wonky. As the adult, be encouraging and marvel over the skills that have been acquired. Practice will make perfect!

Meet Laurel

As a teacher on Craftsy, I get the honor of ‘meeting’ oodles of fabulous students in my courses.

One of the students in my Amigurumi Woodland Animals class (a course designed for beginners) is Laurel, who’s just 11 years old!

Laurel crocheting

Laurel’s mom is Joanna Johnson, a knitwear designer and author of a fabulous series of children’s books.

Laurel and Joanna obviously know a thing or two about successfully teaching/learning to crochet… and they were sweet enough to stop by for a chat!

Stacey: Do you have any advice for parents to encourage their children’s crafting?

Joanna (the Mom): Children, from a very young age, will take an interest in what interests you if only you allow them to. When Laurel was just 3, I gave her a small scrap of muslin stretched over a little embroidery hoop and a needle and red thread. While I sat and quilted, she sat and “scribbled” in stitches, which was really cute. As she got older, she tried her hand at a few different crafts, and it became apparent that although knitting is my favorite hobby, it isn’t hers. She was really interested in weaving, beading, and crochet, which I know little about, so I looked for resources for her to explore her own passions. It is important to let them explore different mediums, and to understand that what they love may not be what you love!

Stacey: How did you decide that you wanted to begin crocheting?

Laurel (11 years old): I knew a little bit about crochet and I wanted to expand my knowledge of crochet. Something I like about crocheting is that it is fun. It’s not always easy, but it’s really fun to finish something that you make.

3

Stacey: Was any part of the process difficult/frustrating?

Laurel: The first time I made the bluebird I had trouble getting started on the very first round, but then I figured out what I was doing I found crochet to be a good way to pass the time.

Stacey: Do you have any advice for other kids who are just starting to learn a craft?

Laurel: Just don’t panic if you make a mistake! If you get tired or frustrated just take a break and, for example, read a book. Then when you are ready, continue or replay the lesson to see it again.

4

And look at Laurel’s fabulous creations! Rock on!

Thank you so much, Joanna and Laurel, for giving your advice! I think they both hit the nail on the head. Parents: be supportive and encouraging. Kids: don’t panic and keep trying.

How to Use Poly Pellets in Amigurumi

Have you ever picked up a stuffed animal with a nice, weighty feel? Ever wondered how to achieve that feel in your handmade animals?

Use Poly Pellets!

Poly Pellets are small plastic-y beads that can be used to weight your stuffed animals. Today, I’ll tell you how to use them effectively.

How to use Poly Pellets

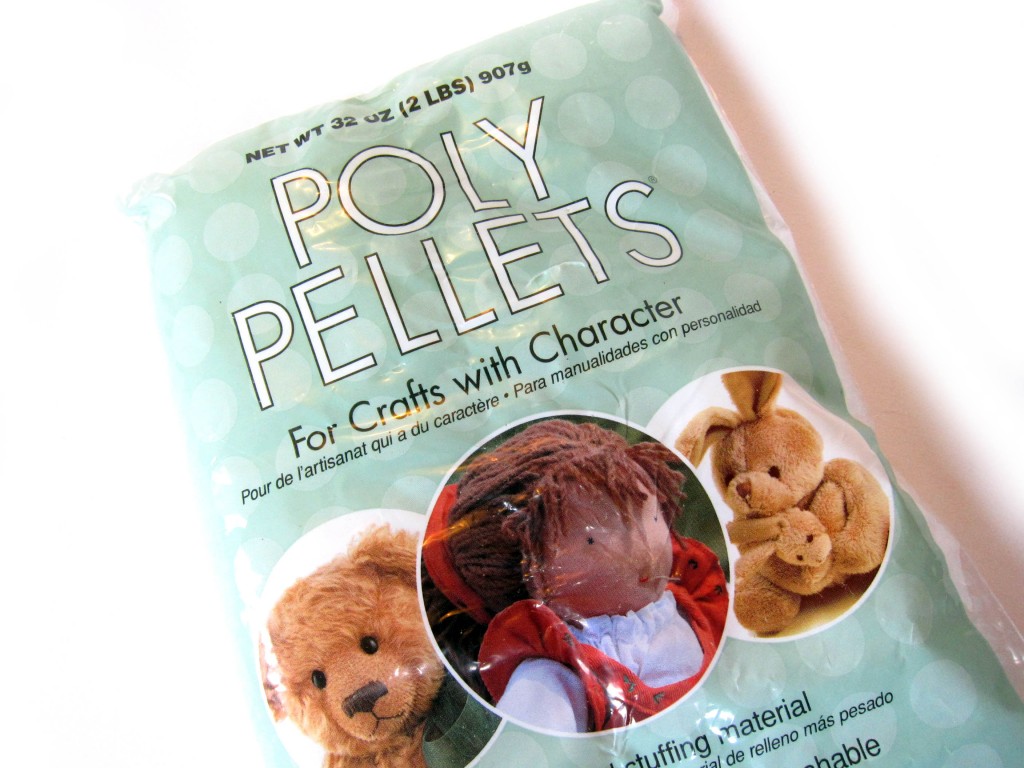
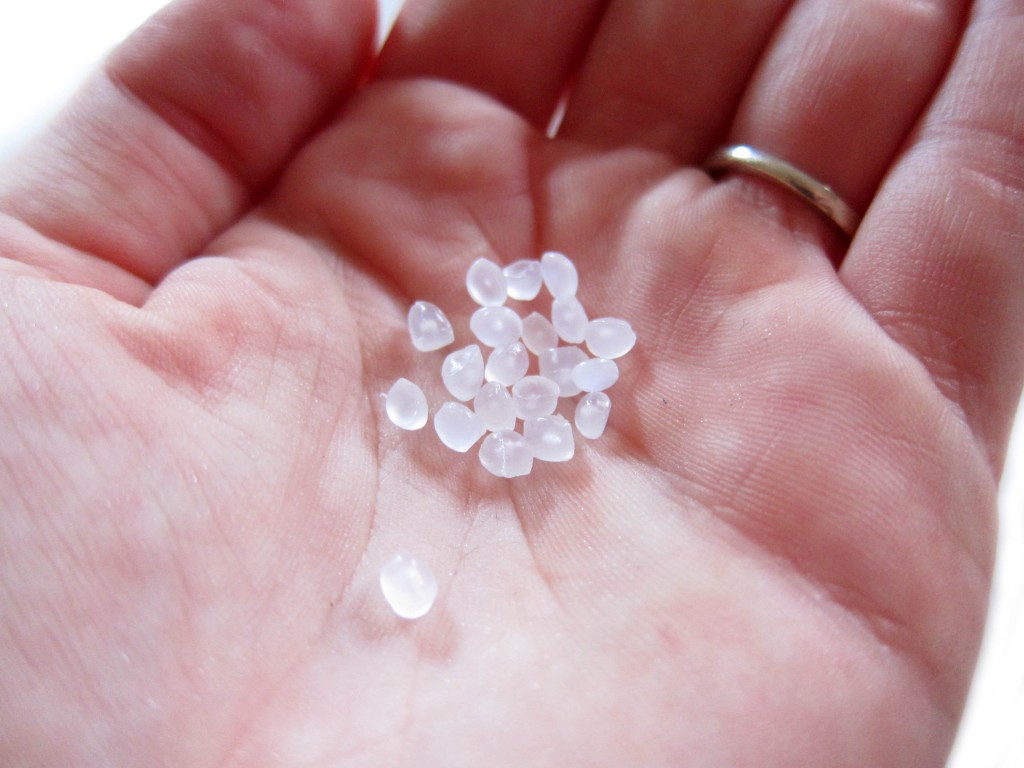
The trick to using Poly Pellets with a crocheted stuffed animal is to put the pellets inside a stocking or some other container. You see, the pellets are quite small:

If you simply pour the pellets into your amigurumi, then they will work their way through the stitches over time… not good! I’ve heard that there are larger pellets (that won’t come out) available in Europe, but I haven’t been able to find them on the American market.

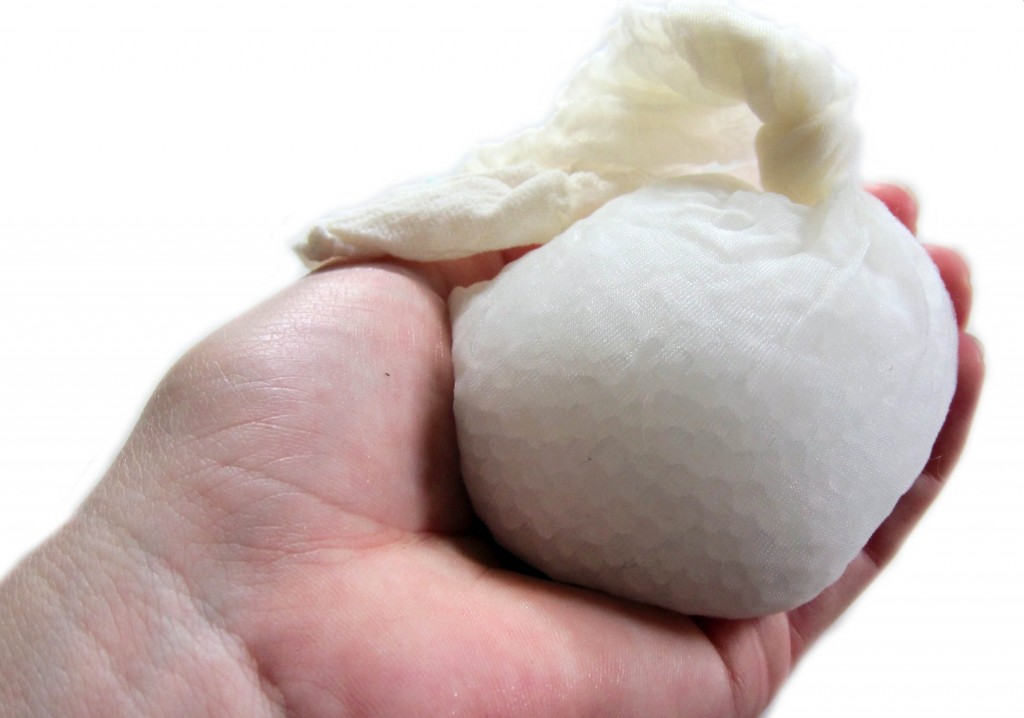
Fortunately, it’s easy to put the pellets into a little stocking. I bought a pair of really cheap knee-high stockings (a light color is preferred if your animal is a light color), but you could also sew a little pouch if you desire. Once you have your vessel, poured the desired amount of pellets inside, and close up!

With the stocking, I tied a little knot… easy!

Now, place the bundle inside your amigurumi, and fill the remainder of your animal with stuffing, as usual!

Tips for using Poly Pellets

  • Use a stocking or some sort of fabric to keep the pellets contained.
  • Use the pellets sparingly. A fist-sized bundle is enough for an 8″ stuffed animal. Filling the entire animal with pellets will make it too heavy.
  • Try using pellets in the bottom of an animal, so that it will sit upright more easily. Use plain stuffing for the head.
  • Try using a small amount of pellets in dangling-style arms.
  • Remember that Poly Pellets are not recommended for use with small children.

Update – Wendi designed this free Squishy Monster pattern especially for the fun feel that poly pellets can give. Have fun with it!

Best,
Stacey

5 reasons to love your LYS

“I can order it online for cheaper”

Yup. It’s true.

In the internet age, where everything is available online for a discount, some people are wondering why it’s worth shopping at a local yarn store (LYS).

My suspicion is that many people feel this way because they haven’t yet discovered what an LYS truly offers. A good LYS is about way more than buying yarn: and once you know that, you’ll find it easy to support your favorite shop.

Why online shops can offer a discount

Don’t get me wrong: I shop online, too. Sometimes I’m looking for a yarn that my LYS doesn’t carry. Many online yarn retailers are also LYSs (like Jimmy Beans Wool and WEBS), so I’m in no way trying to convince you that online shopping is bad.

But there’s one unavoidable truth: you get what you pay for.

Why can online shops offer a discounted price on yarn? Because the costs of running an online shop are different than running a store front. An online shop has lower operating costs than a retail store, and they’re able to pass that savings onto the customer.

True, you may be able to buy that same yarn or book online for cheaper. But you’re missing out on all of the extra goodies that come with buying from an in-person shop.

What LYSs offer that online shops can’t

Besides the obvious plus of being able to see & touch a yarn in person (and who doesn’t want to do that?!?), there are some major benefits to shopping at a great LYS.

A good yarn store is the new town square. You know how in the old days, people used to gather in the town square to catch up on gossip and see their friends? That’s what a good yarn store is like. You can gather in a comfortable space, knit, chat with friends and get the newest yarn gossip from folks in the know.

A yarn-store owner is a curator. Have you heard of the paradox of choice? It’s the idea that selecting from 100 different yarns is daunting. A yarn store owner acts as a curator, stocking their shop with the loveliest in the land.

I can say this because I go to the annual trade show: there are a bewildering number of yarns out there! In a LYS, the owner has hand-picked a selection suited to the local market. Does the such-and-such brand have a bad rap for deteriorating in the wash? Your LYS owner knows about it and isn’t stocking that icky yarn… because they know that stocking a sub-par yarn would reflect poorly on their shop.

LYS employees are personal shoppers. How many stores can you go to where there is often an employee dedicated to helping you select the best fiber, thickness and color for the project you envision? That’s extraordinary service in most shops, but more or less standard at LYSs.

Samples. I don’t think I even need to say more! A typical LYS has samples of yarns worked up, so you can see an example of a finished product. No getting tricked by weird pooling. No getting fooled by how soft it’ll be.
Help when you need it. Don’t abuse this privilege (trust me, it just creates an awkward situation!), but most LYSs have the policy that if you bought the yarn/pattern in their shop, you can pop in for 5 minutes of free help. Most of the time, a touch of help from an expert looking at your work is enough to set you on the right path. Priceless.

What’s your stance?

Have you discovered an LYS that you love? What makes it great?

Do you have ‘a policy’ about when you shop online and when you visit a store?

I’d love to hear your thoughts!

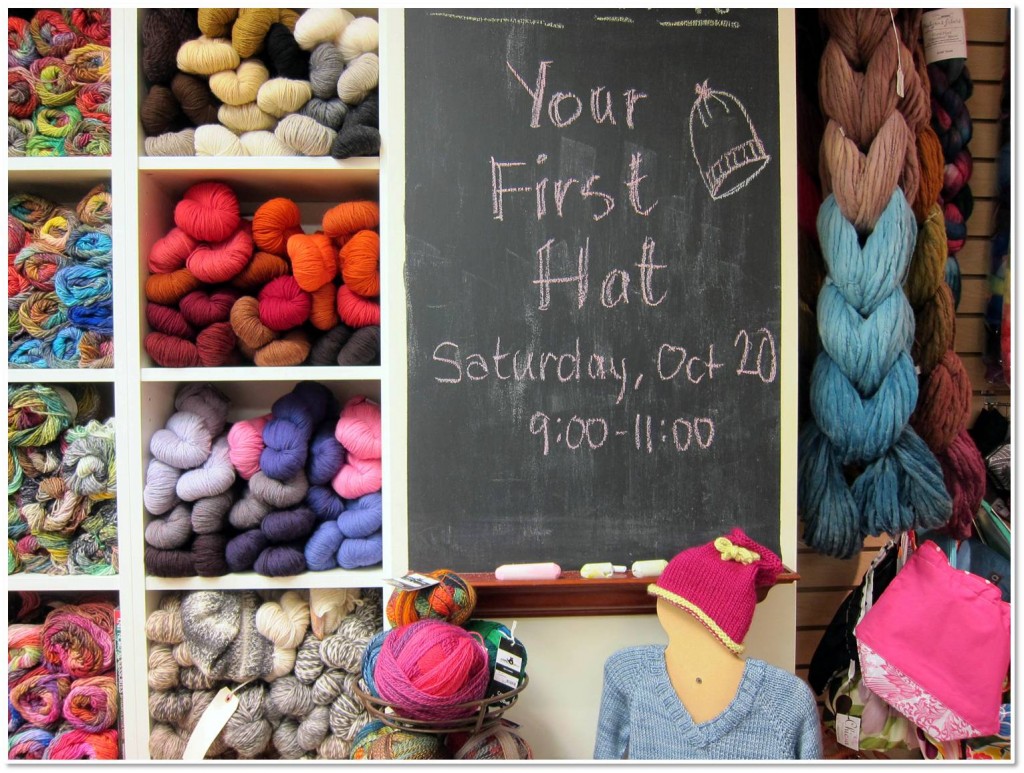
All photos in this blog post were taken in Knit New Haven, one of the shining examples of what a great yarn store should be.

What is an ergonomic hook? Do you need one?

Although crocheting is far safer than other hobbies (take jousting, for example), it’s not without its dangers. Depending on your crochet style, genetic disposition and lifestyle, crocheting for long stretches of time can result in wrist/hand pain. Ouch.

What is an ergonomic hook?

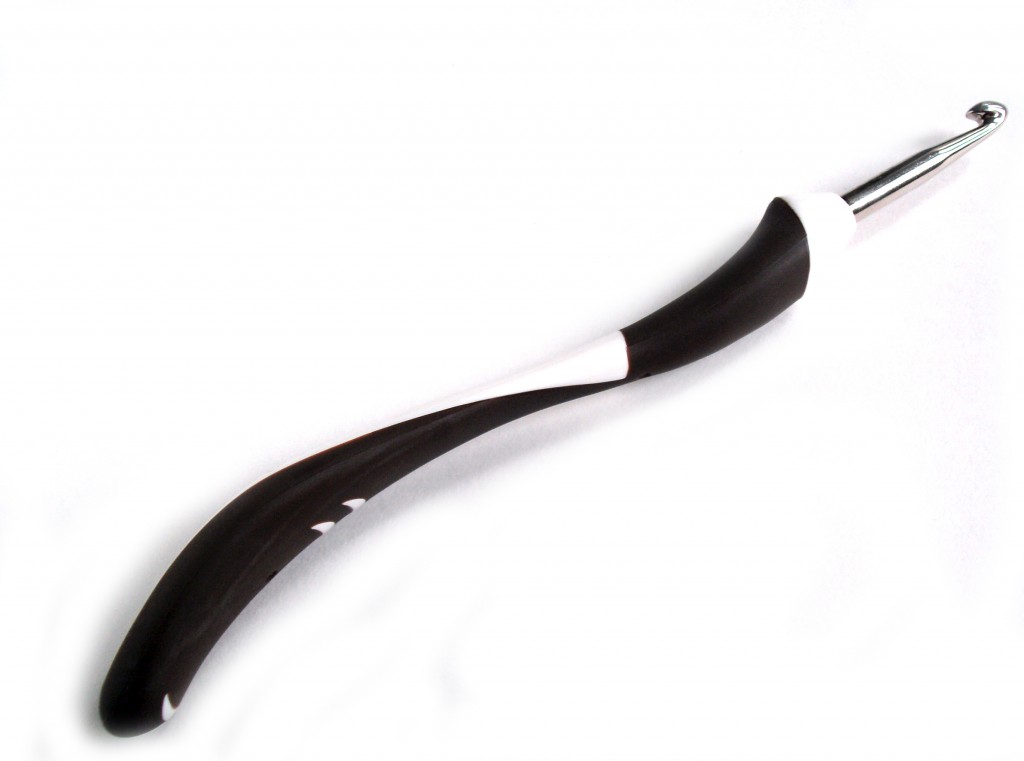
An ‘ergonomic’ crochet hook is a hook that is designed to alleviate pain that occurs while crocheting. Most ergonomic hooks have an enlarged handle that can be more comfortable to hold.

Hook: Kollage Square Crochet Hook
I haven’t found much information on exactly why (medically speaking) a larger handle alleviates wrist pain while crocheting, but there is much anecdotal evidence that these types of hooks work.

There is a large variety of ergonomic hooks available on the market (check out my crochet hook review for some reviews). Some hooks simply have a thicker handle, while others have a shaped/contoured handle.

Hook: Addi Swing Crochet Hook

Is an ergonomic hook right for you?

If you’re experiencing tendonitis, arthritis or any other condition that makes crocheting painful… there’s a chance that using an ergonomic hook will provide relief.

The bad news is that there’s no sure-fire way to know which hook is right for you without just trying them out. For example, I find that the way I hold my crochet hook makes it difficult to hold the Addi Swing… but there are many other folks that swear by it.

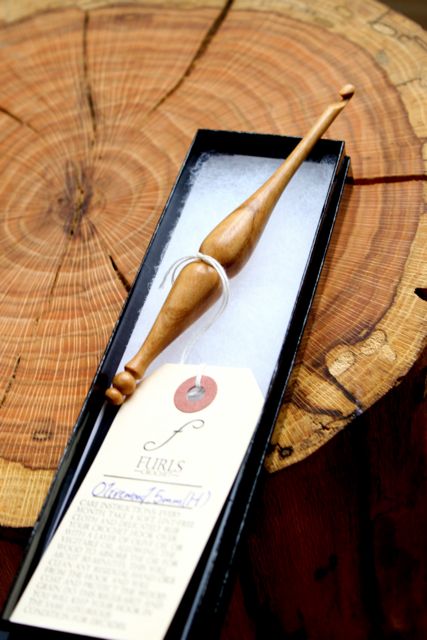
Hook: Furls Crochet Hook
I personally adore my Furls crochet hook, which is handmade with the width of your palm taken as a measurement.

Another factor to consider is the shape of the actual hook. We all prefer different hook shapes, and no matter how comfortable the handle is, you’re probably not going to regularly use a hook that has a hook shape you’re not a fan of.

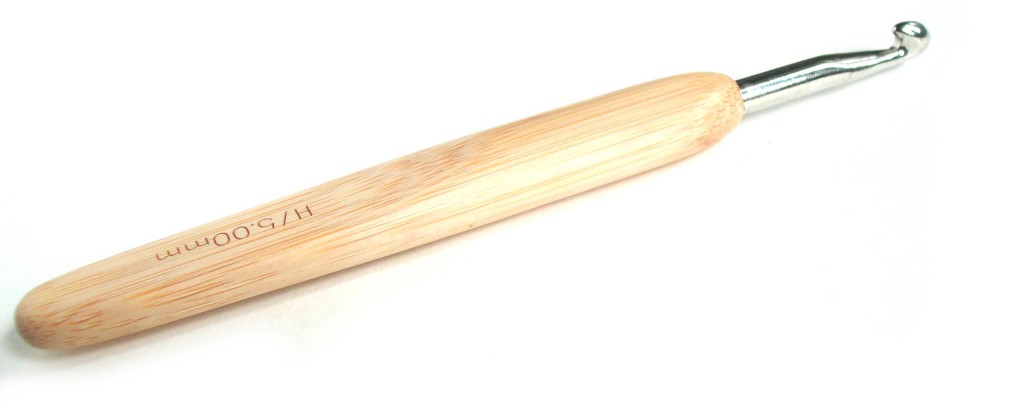
Hook: Chiao Goo Bamboo Crochet Hook
The only way you’ll know for sure if a hook works for you is to try it out. I know… that may not have been what you wanted to hear!

Try wrist exercises!

If you’re experiencing wrist pain, it may also be worth your time to try doing wrist exercises regularly. Let’s admit it: crocheting isn’t an action that our bodies evolved to do, and it’s bound to be a little tiring. So, if you’re crocheting for hours on end, be nice to your wrists and give them regular breaks and stretches.

Be nice to your wrists

Listen to what your body is telling you. Even if you find a lovely ergonomic hook that works for you, you may not be able to crochet for long periods of time. Respect that, and break your crocheting into chunks.

In my experience, many folks with wrist pain are able to find a solution that works for them. It just may take a little trial and error!

The making of a finely-crafted crochet hook…

So often, I get asked, “how did you start designing?” or “how did you start crocheting?” I’ve told my story on the blog… so I thought it would be fun to interview another artist about how they came to their calling!

I wanted to find someone who did beautiful work, but maybe someone you hadn’t met before. Then it hit me: Harrison Richards.

Meet Harrison


In the crochet world, we tend to think about the pattern designers, indie dyers (of yarn) and folks who do the crocheting. (Right? That’s who you think of, isn’t it?)

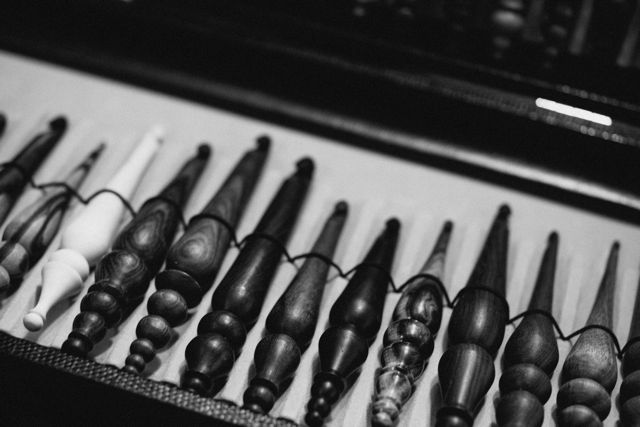
But what about the artists who make crochet hooks? Harrison Richards is the woodcarver (and founder of) Furls Crochet Hooks (pictured above). I describe these hooks as the ‘Rolls Royce’ of crochet hooks: stunningly beautiful, but also built for performance.

Furls crochet hooks are crafted to be ergonomic and are custom made for your hand size. The design of the hook is made to fit comfortably in the palm of your hand, so that you can comfortably crochet for hours on end.

How do you start designing custom crochet hooks? For Harrison, a master woodworker, the journey began with the goal helping out a crocheting friend stricken with sore muscles from a conventional crochet hook.

I asked Harrison to come over and tell us his story… and to talk about his start & inspiration.

Harrison’s Journey, in his own words

It’s 4pm on a Wednesday after school, and the last bell rang a while ago. Sitting on the front porch of his school, a 16 year old boy patiently watches his high school sweetheart crochet as they both wait for their rides home.

Stitch by stitch, she lovingly loops each length of fiber into a soft circular cap, soon to be a crocheted beanie. She’s been at it all day, and her hands are starting to tire, her stitches are getting tighter, and holding the tiny, florescent pink metal crochet hook in her hand is feeling more and more tense. He notices her straining wrists, and the small clicking sound coming from her knuckles every so often. Eventually she has to take a break, otherwise she knows her hand will cramp up. Their rides arrive, they exchange a high school kiss and go their separate ways.

She goes home and crochets. He goes home, and he can’t stop thinking about her hook. “I hate it”, he thinks. He knows that there has to be something better for her. “She deserves so much more”, he yells in his head, “she shouldn’t have to endure pain just from doing something she loves!”. He jumps on the internet, and tirelessly searches until stumbling upon ergonomic crochet hooks.

These aren’t for her either: they’re all alien looking, she deserves something beautiful. She is the absolute dream of this boy and he refuses to settle for less then perfect. Armed with his dad’s blunt Swiss Army knife and no woodworking experience, he sneaks into his family’s garage-turned-woodshop and starts to carve. “This will be the most beautiful crochet hook on earth…no one will have another like it… and it will fit her hand perfectly”, he muses. In that tiny woodshop, as the sun began to rise early the next morning, after hours of recklessly attacking an young oak twig until it resembled a crochet hook, he had finished with her hook and Furls Crochet was born.

Years later, Furls Crochet still furiously strives to provide every crocheter with what they really deserve; a perfect crochet hook. You craft moment by moment, stitch by stitch. You are not a machine. You are a human being who delights in every turn of the hook, every pull on the skein and every completed row. You are an artist. I treasure that about crocheters, and I want every crocheter to have a hook that reflects who they really are.

They say that you can tell a lot about someone by the character of their lover. I believe the same can be said for crocheters and their hooks. There is a romance between your hand and your hook that is an expression of who you are as a crocheter. This is why, years after a high school romance, every Furls Crochet hook is still made by hand, one by one, hook by hook, to exacting artistic and ergonomic standards out of the most gorgeous pieces of wood on earth. I believe that you deserve a crochet hook that is as unique and beautiful as you are.

– Harrison, founder of Furls & the ‘grown-up’ high school Romeo

Did you just get goosebumps?

The mark of a true artisan is that they’re obsessively passionate about their work. Had you thought about your hook as a finely crafted tool before? Maybe not… but after reading Harrison’s words, I’ll bet you will!

Even though Harrison is a woodworker and I’m a designer, to me, it seems that our stories are the same. I love stuffed animals. I’m excited about stuffed animals… and I want everyone in the world to make them. Harrison loves his hooks.

Isn’t it beautiful?

Thank you so much, Harrison, for coming by and sharing your story with us!

Find Harrison

Want to learn more about the object of Harrison’s love, Furls crochet hooks? You’ll want to visit the Furls website and find Furls Crochet on Facebook.

Happy crocheting, everyone!