How to Knit or Crochet Using an *Exact* Amount of Yardage!

We’ve all done this, right? You have a ball (or partial ball) of yarn, and you want to know how much you can knit/crochet until you run out. How do you calculate this?

rainbow yarnI’ll show you!

How to calculate how many stitches you can get from your yarn

I’m detailing each of these steps, below!

  1. Calculate how many yards of yarn you have
  2. Calculate how many stitches you get per yard (using your gauge)
  3. Calculate how many stitches you can get from your yardage!

How to calculate how much yardage you have

If you have full skeins of yarn, this step is easy. Just read the label.

But, if you have partial skeins, you’ll need to do some calculating. The best way to do this calculation is by using weight. Read this blog post for step-by-step instructions!

scale for measuring yarn

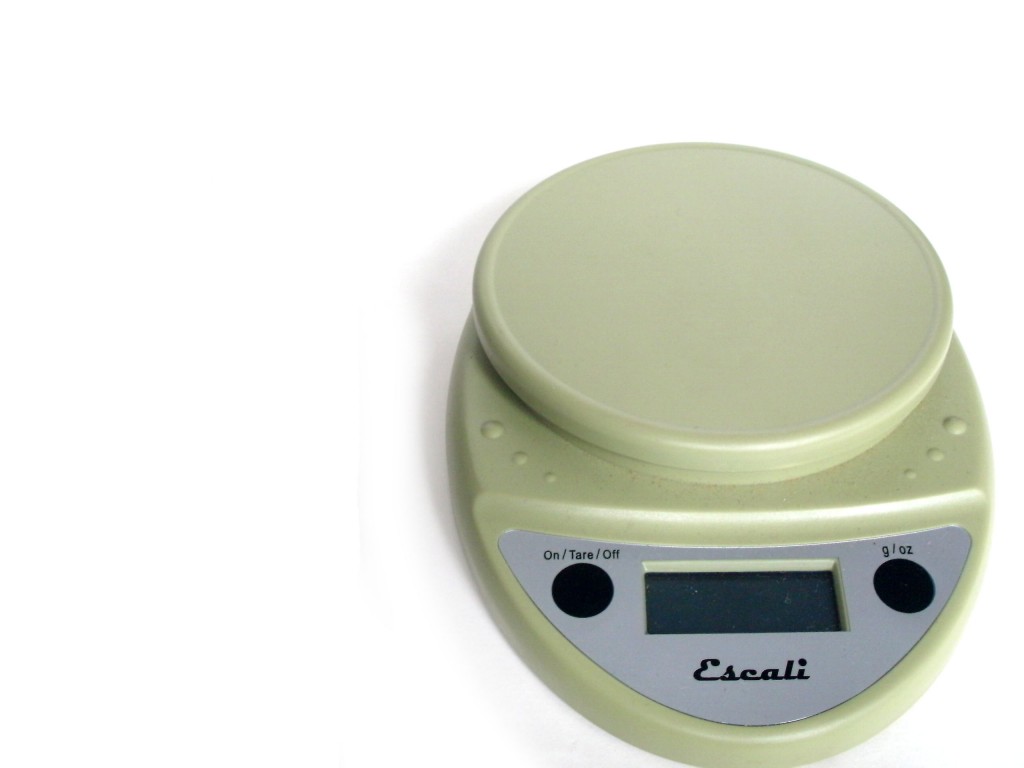
You’ll need a digital scale and a calculator!

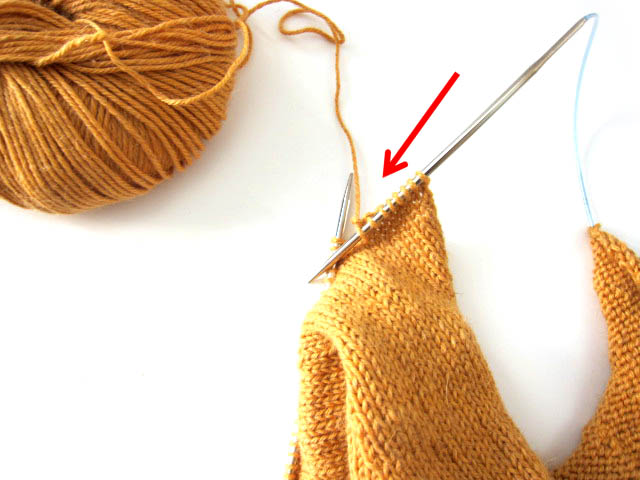
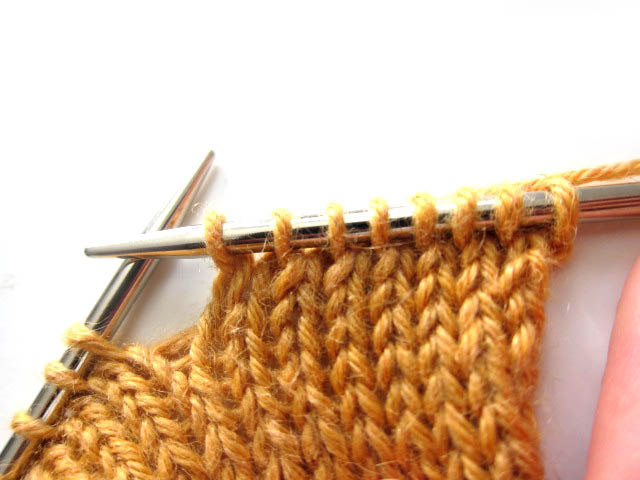
How to calculate how many stitches you get per yard

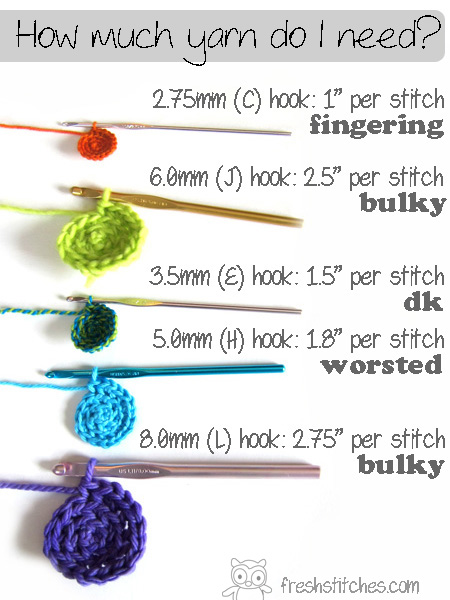
You’ll need to do a little gauge swatch! This technique works for either knit or crochet. Read this great blog post on how to measure yarn.

how to measure yarn

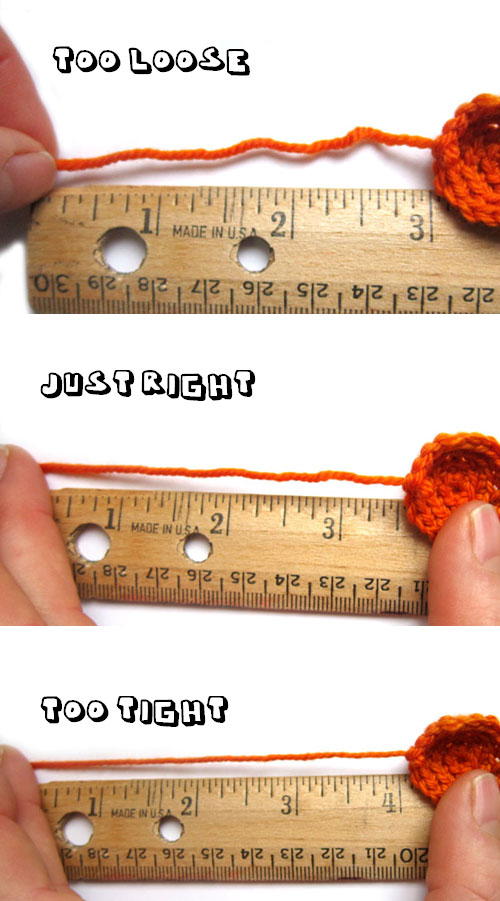
This blog post has some typical measurements for crochet.

how much yarn do I need?

Calculate how many stitches you can get from your yardage!

Let’s put it all together now!

To begin, multiply your yardage by 36 to get the length in inches.

So, if I have 110 yards, that’s 3960 inches.

Divide this number by your inch/stitch measurement (that you got in step 2), which for single crochet with a worsted weight is 1.8″.

3960/1.8 is 2200 single crochets!

crochet freshstitches

That’s your number! A good pattern will contain stitch counts at the end of each row, so you can add them up and determine how many extra rows you can sneak into a cowl, or whether you’ll need so skip some rows of sleeve length to get your sweater to work!

Best,
Stacey

How to knit anything with STRIPES!

I am completely in love with rainbow yarn!

FreshStitches Rainbow Yarn Sampler pack

I love rainbows. I want to knit everything in rainbows.

But I’ve been asked… what pattern do you use? I’m not seeing a lot of patterns with stripes!

Well, let me tell you: you can knit almost any pattern in stripes! I’m going to share my tips with you, and show off a darling little sweater as an example!

FreshStitches rainbow stripes sweater

Tips for knitting almost any pattern in stripes!

This adorable little sweater is Gramps by Tin Can Knits, and the sample is in two colors, not stripes. But no worries!

rainbow sweater with heart buttons from FreshStitches

Here are some tips!

  • Calculate your yarn usage (total amount of yarn divided by the number of colors you have) to make sure you have enough yarn of each color. You can supplement with one ‘main’ color (as I’ve done for the collar)
  • Select a pattern that’s fairly simple, like stockinette. For example, a lace pattern would get lost in the stripes.
  • Change colors at the end of a row (and not the middle) for the cleanest stripes.
  • Keep in mind that changing colors on a purl row will create a bump of color, so aim for a changing on a knit row.
  • A ‘make 1 increase’ draws up yarn from the previous round, so avoid changing colors on this type of increase. For the sweater below, I started a new color on rows that were just plain knit.
  • Read the pattern in advance to plan out the number of rows each color should be to avoid the increases/purls/etc mentioned above.

Rainbow sweater from FreshStitches

Have fun! There’s no right or wrong way to do it!

I like to organize my stripes in color order (all rainbow-like), but it would be equally awesome for you to plan your colors randomly. Or have different stripe widths. There are no rules!

Crochet Provisional Cast On Tutorial

The crochet cast on is a fabulous cast on to have in your knitting tool kit. And I’ve made you a video to show you how to do it!

Crochet Provisional cast on from FreshStitches

It uses a ‘waste’ piece of yarn that you’ll pull out when you’re finished knitting: leaving a row of live stitches on the first row! It’s like magic!

It’s a technique you may see in cases where you’ll want to continue knitting from the first row. For example, I’ve seen it used to cast on for the neck of the sweater (when you’ll come back later to knit the collar). It’s absolutely seamless, so it’s a cleaner look than coming back and picking up the stitches later on.

Here’s the Video!

This is the sort of technique where a video is worth a million words. I’ve made a short (4 minute) video showing you:

  • How to cast on with waste yarn
  • How to mark your cast on so it pulls out easily every time!
  • How to count your cast on stitches
  • How to be sure you’re knitting the stitches in the right direction
  • How to pull out your waste yarn

I encourage you to watch and try it out for yourself!


Neat, huh?

Ready to try it out? Hang on to your hats!

I’ll be making a pattern available soon that’ll let you put this technique to use!

Crochet Provisional cast on from FreshStitches

What is Continental Knitting?

When I’m teaching new knitters, I notice that a lot of them get caught up in the terms for the different styles of knitting. What is continental knitting? What is throwing? And which one is better?

Do what’s most comfortable

When I teach beginning knitters, I don’t tell them anything about how to hold the yarn. I let them do what’s most comfortable. Most folks intuitively grab the needles and yarn in the way that works best for them!

What is Continental Knitting?

‘Continental Knitting’ refers to holding your yarn in your non-dominant hand. For right-handers, that means holding (and tensioning) the yarn with your left hand.

Continental knitting from FreshStitches

It’s called this because it’s thought to be the style of knitting most popular on ‘the continent’ of Europe (as opposed to England), but I’ve spoken to a number of international knitters that reveal this generalization isn’t completely accurate. The finer-grained truth is that there are a variety of knitting cultures (with their preferred yarn-holding styles) within Europe… but that’s a whole ‘nother blog post!

I made you a video so that you can see me knitting ‘Continental’:

Most crocheters knit this way, as they are used to tensioning their yarn in their non-dominant hand.

What is Throwing?

Throwing refers to the action of moving the hand holding the yarn around your dominant knitting needle. It is most commonly used with ‘English’ knitting (where you hold your yarn in your dominant hand), but not necessarily.

Throwing in knitting

Most people consider this to be a slower method of knitting… but let me tell you, I know some throwers who make my continental knitting look like it’s happening at a snail’s pace!

I made a little video of me throwing. I’m a bit slower at it because it’s not my usual style!

And more…

There are all kinds of styles of knitting that describe how you hold your hands and where you hold your yarn. We’ve only scratched the surface!

And there is no ‘best’ technique! Each style takes practice and suits different knitters!

However, if you want to do stranded knitting (colorwork), then you’ll probably want to learn both of these techniques for faster two-handed knitting.

Knitting Phi: technique for carrying yarn across stripes

Do you want to see what I’m working on?

Phi Shawl

I’m knitting Phi, a fabulously fun garter stitch shawl.

Phi shawl

The shawl has stripes that can be quite thick, so you need to carry the unused yarn up the side of the thick stripes. I came up with a little technique for how to do this in a way that’s nearly invisible on the right side (a modification of the technique suggested by the designer), and I thought you might be interested!

Here’s the video!

That’s what I’ve been up to this week… how about you? I hope you have an awesome Wednesday, and get some great knitting/crocheting done this week!

If you want to check out more Work-In-Progress posts, please check out Tami’s Ami’s Blog, who’s been organizing a great WIP Wednesday blog theme! And, don’t forget to come back for FO (Finished Object) Friday!

Perpendicular Mattress Stitch (knitting)

Do you remember when I was knitting this sweater?


Well… I’ve finished! And today, I want to chat about a seaming technique that really helped me out!

striped baby sweater by FreshStitches grey & orange

Perpendicular Mattress Stitch

I loved knitting this sweater… the pieces are knit flat, which makes for very speedy knitting. At the end, you need to seam the pieces together.

Have a look at the sleeves. You’ll notice that you need to seam together stitches that are going vertically to stitches that are going horizontally. Tricky, right?

Perpendicular Mattress Stitch

Fortunately, I discovered that MochiMochiLand has a fabulous tutorial for just this technique! She uses it for toys, but it works great on sweaters, too. You’ll want to click over to this blog post and scroll down to ‘Vertical-to-Horizontal Mattress Stitch’.

Genius!

Do you prefer seaming or double points?

When knitting a baby sweater, there’s no getting around those tiny little sleeves! Your choices are to either knit the sleeves flat and seam them at the end, or knit tiny little rounds… usually on double point needles.

Which method to you prefer?

I’m generally a knit-in-the-round girl, but those sleeves are very tiny! (Right now, I’m knitting Flax on two circulars, and there aren’t a lot of stitches!)

I think for baby sweaters, I’m a seaming girl!

Which way should my knitting go?

Tip Tuesday

You put down your knitting in the middle of a row, and then… how can you tell which way you were going? Has this ever happened to you?

No worries! I’m here to help. I’ll show you how to pick up your knitting and keep going without confusion!

For today’s blog post, I’m assuming you knit right-to-left (the way most right-handed and some left-handed knitters knit). If you knit the other way… then reverse the right/left instructions!

Check your yarn (left/right)

When you pick up your work, look at where the piece is attached to the yarn.

You want the yarn to be attached to the right needle:

knitting with yarn on right side

See how the yarn is coming out of the last stitch on the right needle? That’s what you want!

If the yarn coming out of a stitch on the left needle… just turn your work around!

Putting your yarn in its place (front/back)

You know that your yarn should be in the back for knitting and the front for purling… but what were you doing?

Have a look at the last stitch on the right needle. You want there to just be one piece of yarn in that stitch:

yarn in back for knitting

Here, I was knitting, and holding the yarn in the back is the right way to go.

Does it look like you have two yarns in your stitch? Check this out:

trouble with yarn

This means that you are holding the yarn on the wrong side of the needles. Just move it to the other side!

August Photo Contest Winner

The winner of August’s photo contest is Chloe, with her awesome back-to-school squid!

Squid with ink

Congrats, Chloe!

Save yourself a knot by working your yarn from both ends of the skein!

Has this ever happened to you: you’re crocheting along, but discover that you need to use your yarn for another piece? Do you have to cut the yarn? Not if you know this little trick! This one will work for both crocheting & knitting.

As you can see here, I’ve been crocheting with the yarn from the center of the skein of yarn. And here’s the thing that’ll help you: every ball of yarn has 2 ends!

You can use this second end of the yarn to start your new item… while leaving the existing piece in tact! To do this, you’ll want to pull out your crochet hook:

And fasten a safety pin into your loop to keep it from unraveling (if you’re knitting, you’ll want to use a stitch marker as you pull out your needle):

With your previous work secured, you can pick up the second end of the yarn and make a new piece!

Once you’ve completed your urgent 2nd project, you’re free to return back to your first project… and all without needing to cut your yarn!

How’s that for a handy trick?

This is particularly helpful if you have a slow-moving project happening on a very lovely skein of yarn!