I love to mend my clothing with visible stitching.
The Problem
These jeans have torn right at the stitching where the pocket is attached.
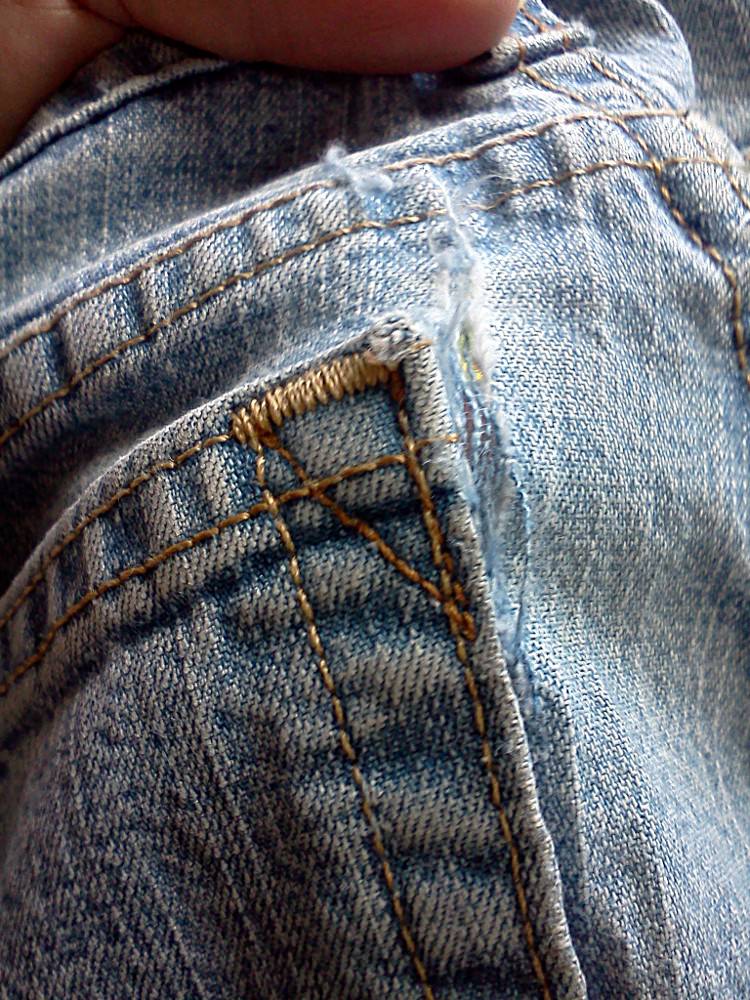
Dang! That’s a tricky place to patch. But I WILL patch these jeans. Partly because I’m stingy frugal. Mostly because I loathe buying new jeans. The only thing worse is shopping for a bathing suit. Ugh.
The Solution
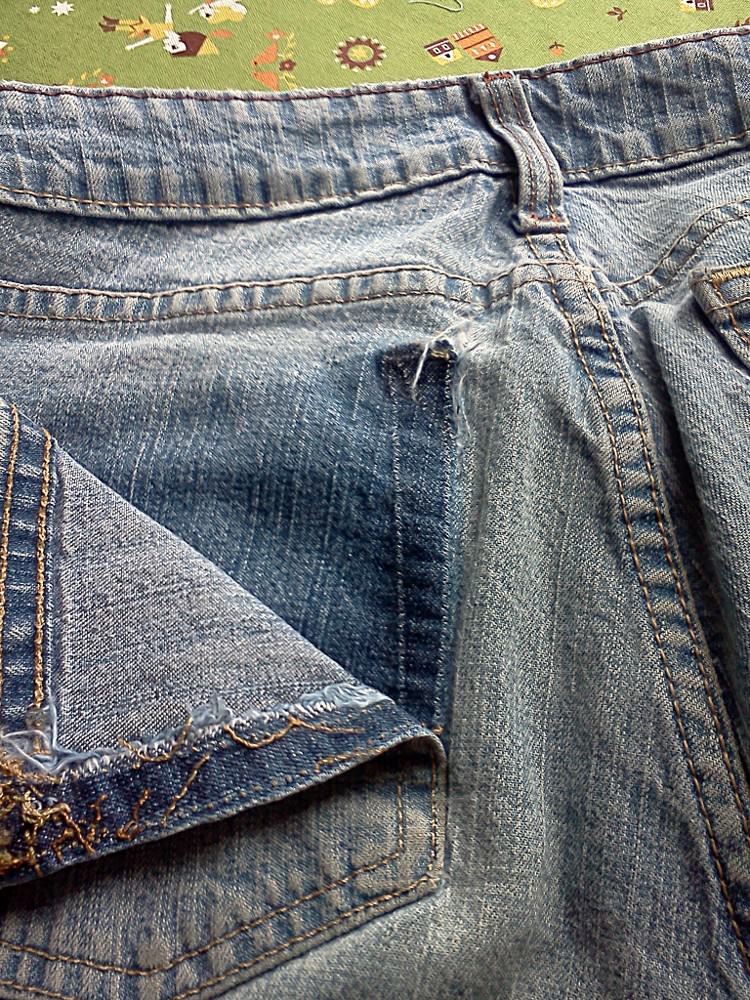
First, get out your seam ripper and pick off as much of the pocket as you need to to get at the tear. I went a good two inches past the bottom of the tear so I’d have plenty of room to work.
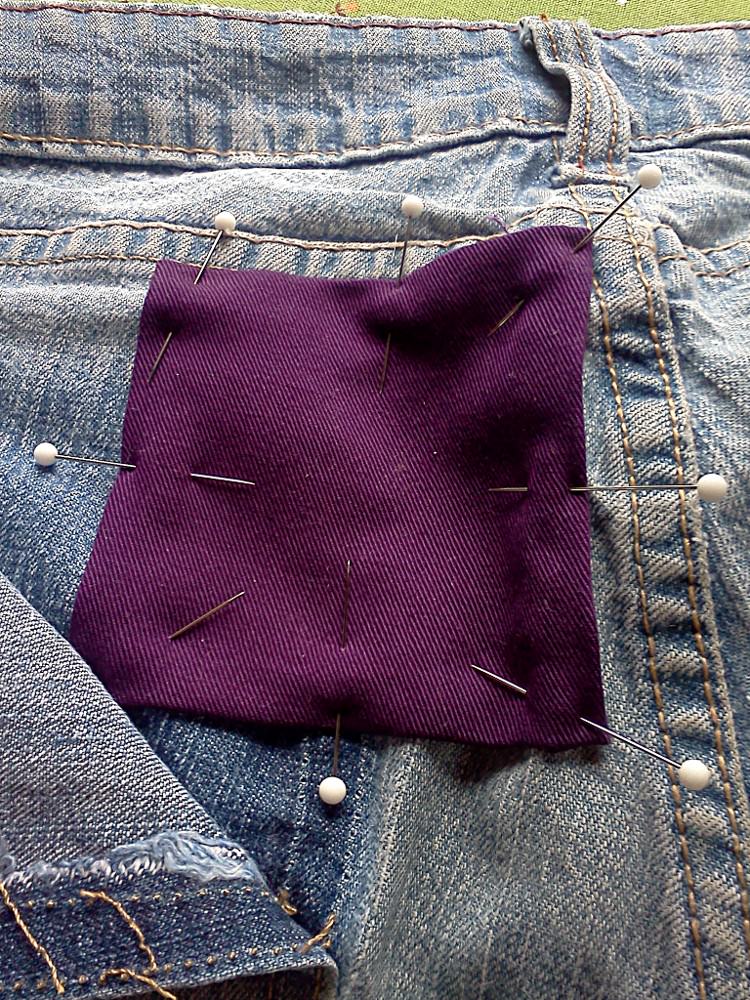
Choose a piece of sturdy fabric from your scraps. This is heavyweight cotton twill. Cut it at least an inch bigger than the tear all the way around. I often cut it as much as two inches bigger. Turn the raw edges under (about 1/4 inch or a bit more) and press. Pin the patch over your tear. In this case I butted it right up to the big fat seams. I don’t want to stitch over them if I can avoid it.
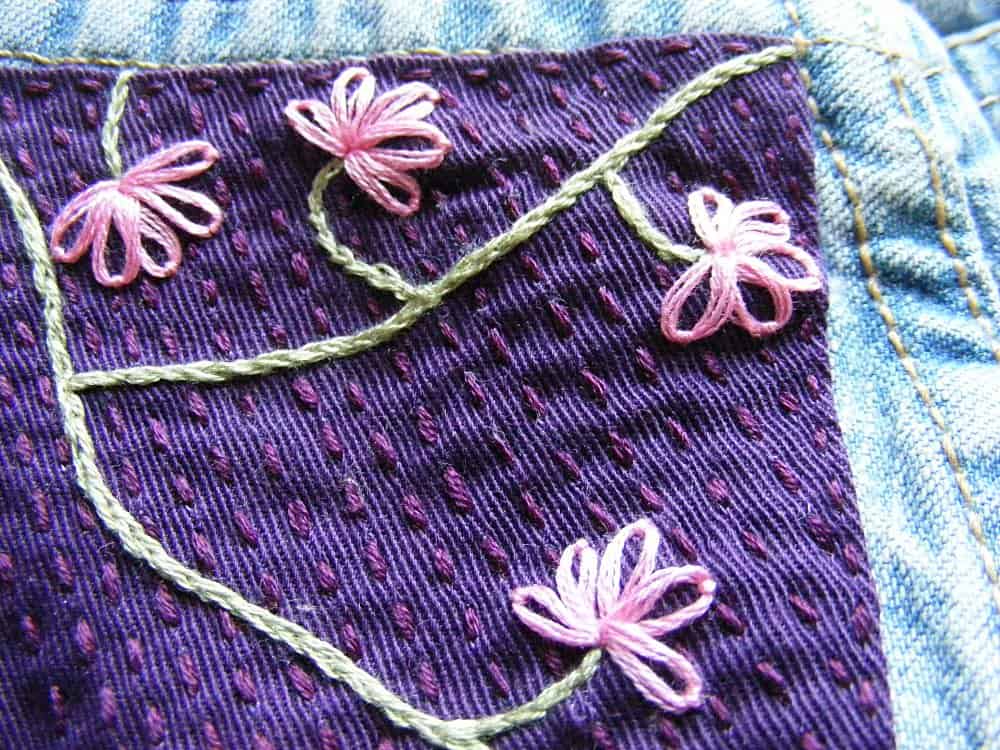
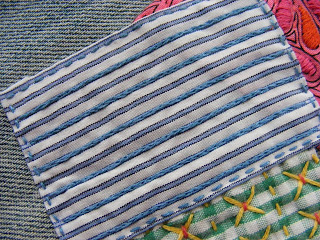
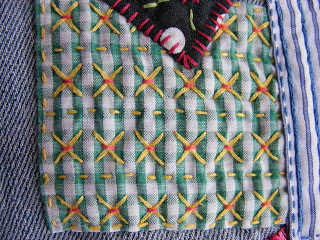
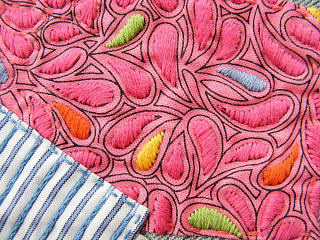
Now stitch the patch in place. I see a patch as an opportunity to fancify – so I embroidered it to the jeans. I started with split stitch for the stems, added some lazy daisy flowers, and then lots and lots of running stitches for strength. (Those links go to videos showing you how to do each stitch.)
See how the running stitches are parallel to the diagonal weave of the twill? Using the weave as a guide makes it easy to stitch nice and straight.

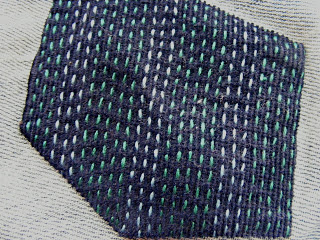
Those running stitches are the key to a successful patch. They distribute the stress on the fabric to the whole patch instead of just around the edges. I took this photo of the back of the patched area so you could see how the stitches would support the damaged fabric. The rip is that frayed line right up the center of the photo.
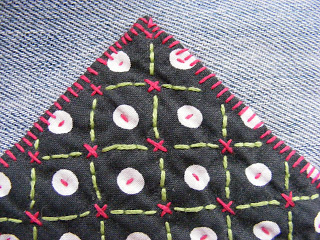
See this post for a basic tutorial on mending with patches – I go into more detail about the purpose of the all-over stitching – and show lots of samples of different patterns you can try.
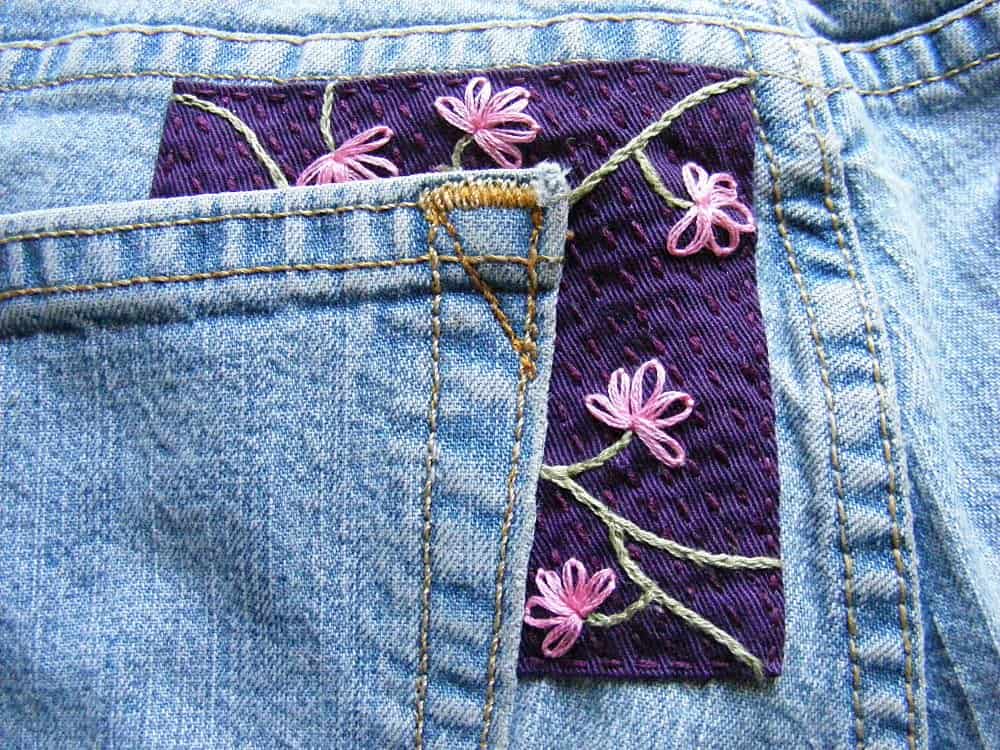
Flip the pocket back into place. Put a heavy-duty needle and some gold thread in your machine and stitch the pocket down right over the original stitch lines.
Voila!

Here are all the posts about finishing embroidery projects.
Basic Finishing
- How to Iron Embroidery without Smooshing the Stitches
- How to Frame Embroidery in a Hoop (with no glue)
- How to Hide the Messy Back of Hooped Embroidery
- How to Prep Embroidery for Framing
Other Ways to Use Embroidery
- How to Mend with Embroidered Patches
- How to Mend a Tear around a Pocket
- How to Embroider a Quilt Label
Return to the Learn to Embroider main Table of Contents.
Happy stitching!