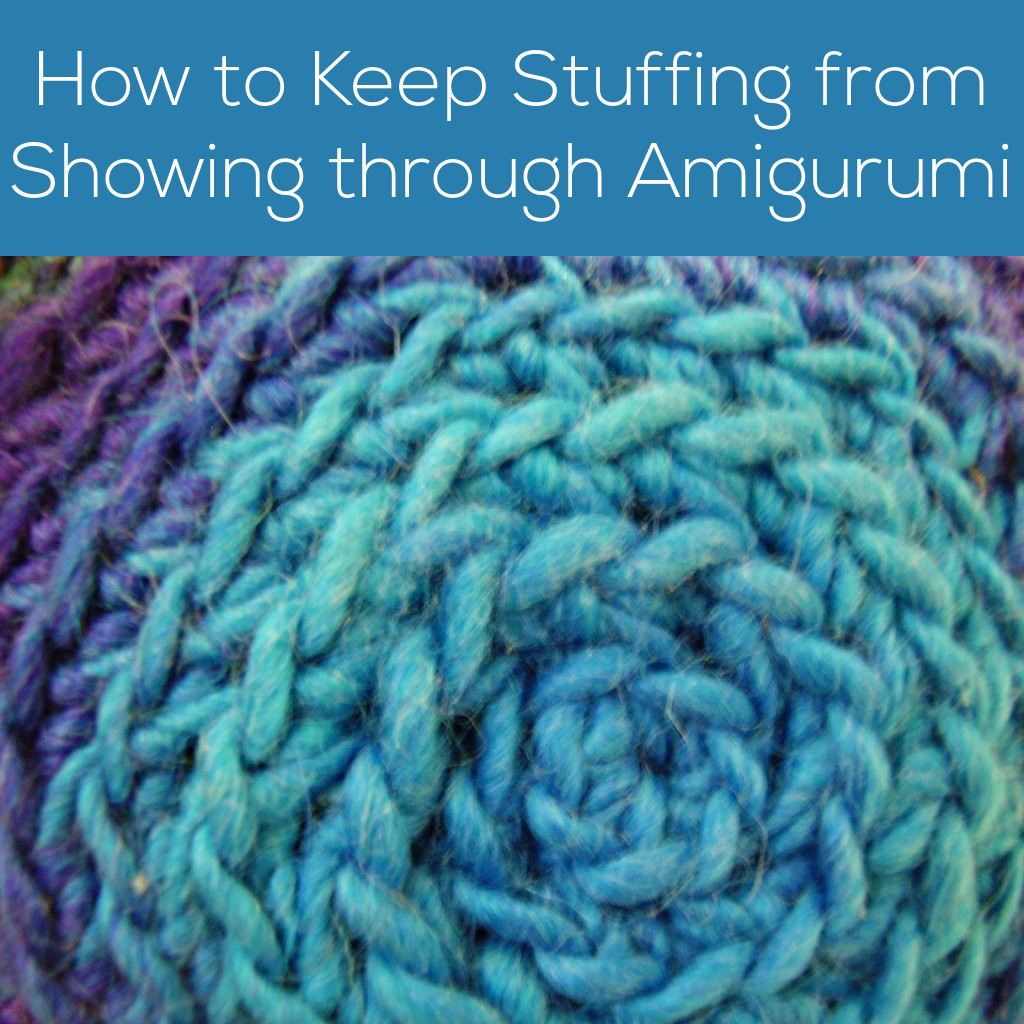
It’s a common problem when making amigurumi: the stuffing sometimes can be seen through the stitches, something nobody wants! Fortunately, there are a couple of ways to minimize the stuffing from poking through the stitches. The photo below is one of my amigurumi… and you can’t see a single bit of white fluff!

Crochet through the back loop
This is my favorite technique to eliminate stuffing-peak-through: crochet through the back loop only (see this post for more details). Basically, crocheting through the back loop only creates a less-holey fabric, great for amigurumi.
Use a smaller hook
This seems to be the most common solution. I’ve seen lots of people using a size C hook on a worsted weight yarn… now, that’s tiny! This solution definitely creates tighter stitches, but it’s fairly common to get hand cramps because you’re crocheting too tightly.
Use less stuffing
The classic amigurumi advice is to stuff your amigurumi with way more stuffing than you think you’ll need (I’m a proponent of this advice, as well!). However, if your amigurumi is decorative (and isn’t going to be squished/hugged very often), you can probably get away with stuffing your toys a little less… which will result in less stuffing poking through.
Use colored stuffing
The main reason that you stuffing can be seen is because it’s white, and usually, what you’re crocheting isn’t. One solution is to use colored stuffing. Now, you may need to get a bit creative here. I haven’t seen commercially available colored PolyFil, but you have lots more choices than just polyester stuffing to fill your amigurumi. One idea is to use wool roving (the stuff used for spinning). You can select a roving that closely matches the yarn you are using, or you can dye the wool yourself (click here to learn how to dye wool with Kool-aid). The downside to this idea is that roving is more expensive than dedicated stuffing (unless you happen to have a sheep in your yard), and it can be difficult to get an exact color match.
Needless to say, there are lots of options to keep that stuffing from showing through! Try one, and end up with great-looking amigurumi!

Here are handy links to all the posts about stuffing amigurumi. . .
- Tips for Stuffing Amigurumi
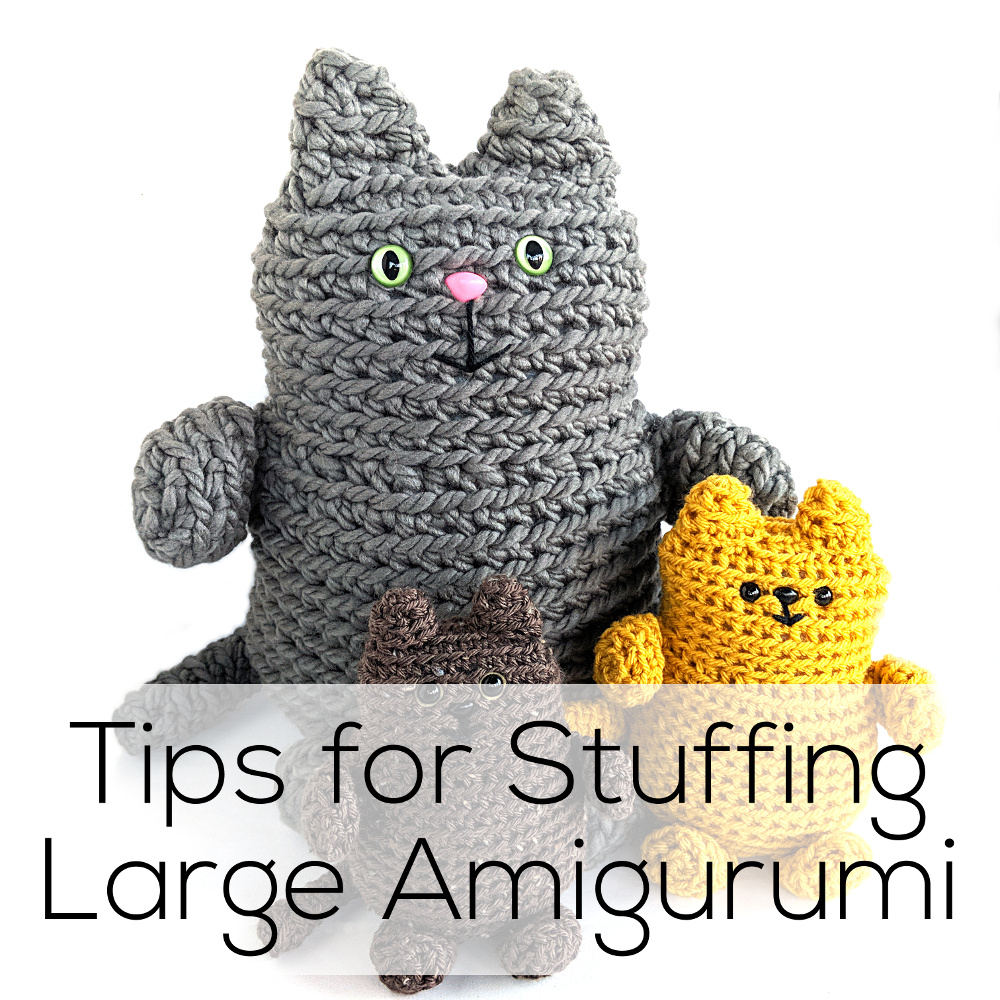
- Tips for Stuffing Large Amigurumi
- What a Difference Stuffing Makes
- How to Keep Stuffing from Showing through Amigurumi
Return to the main table of contents for Let’s Learn to Crochet Amigurumi.
Move on to the lessons for closing up the opening.
Happy stitching!