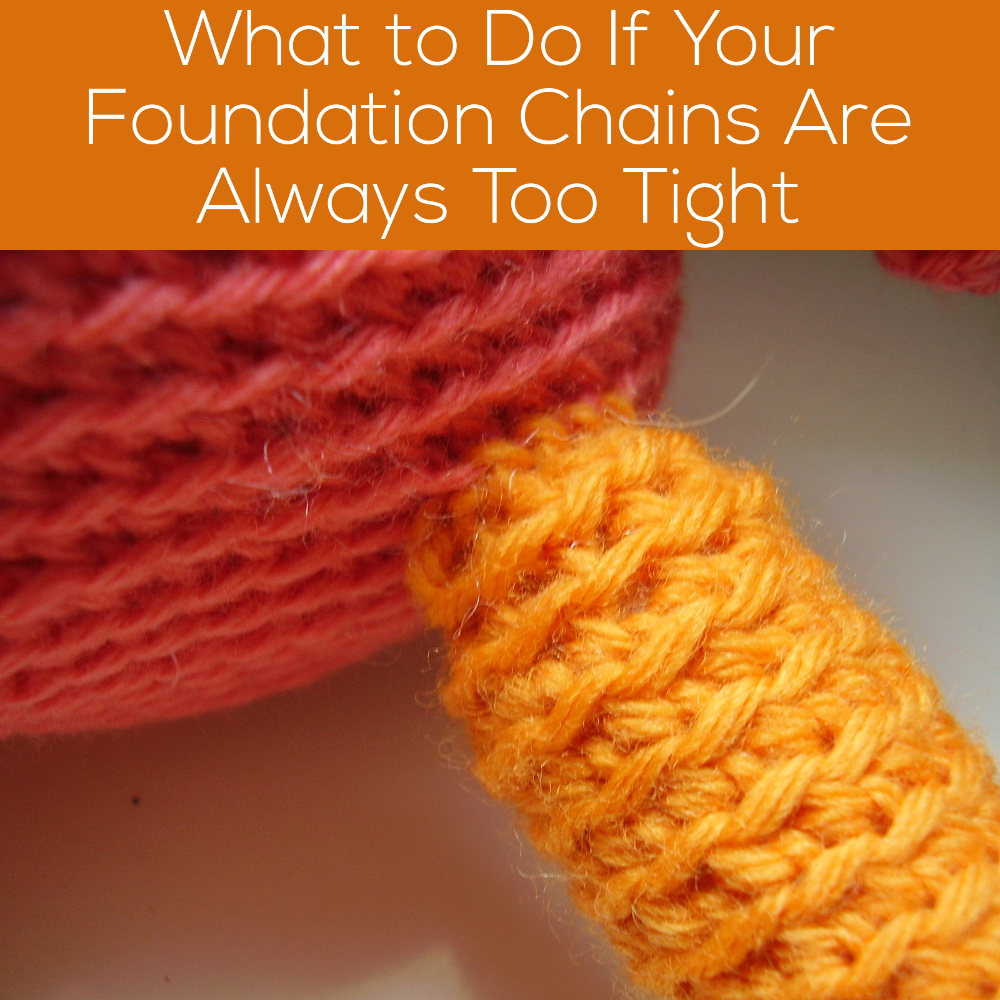
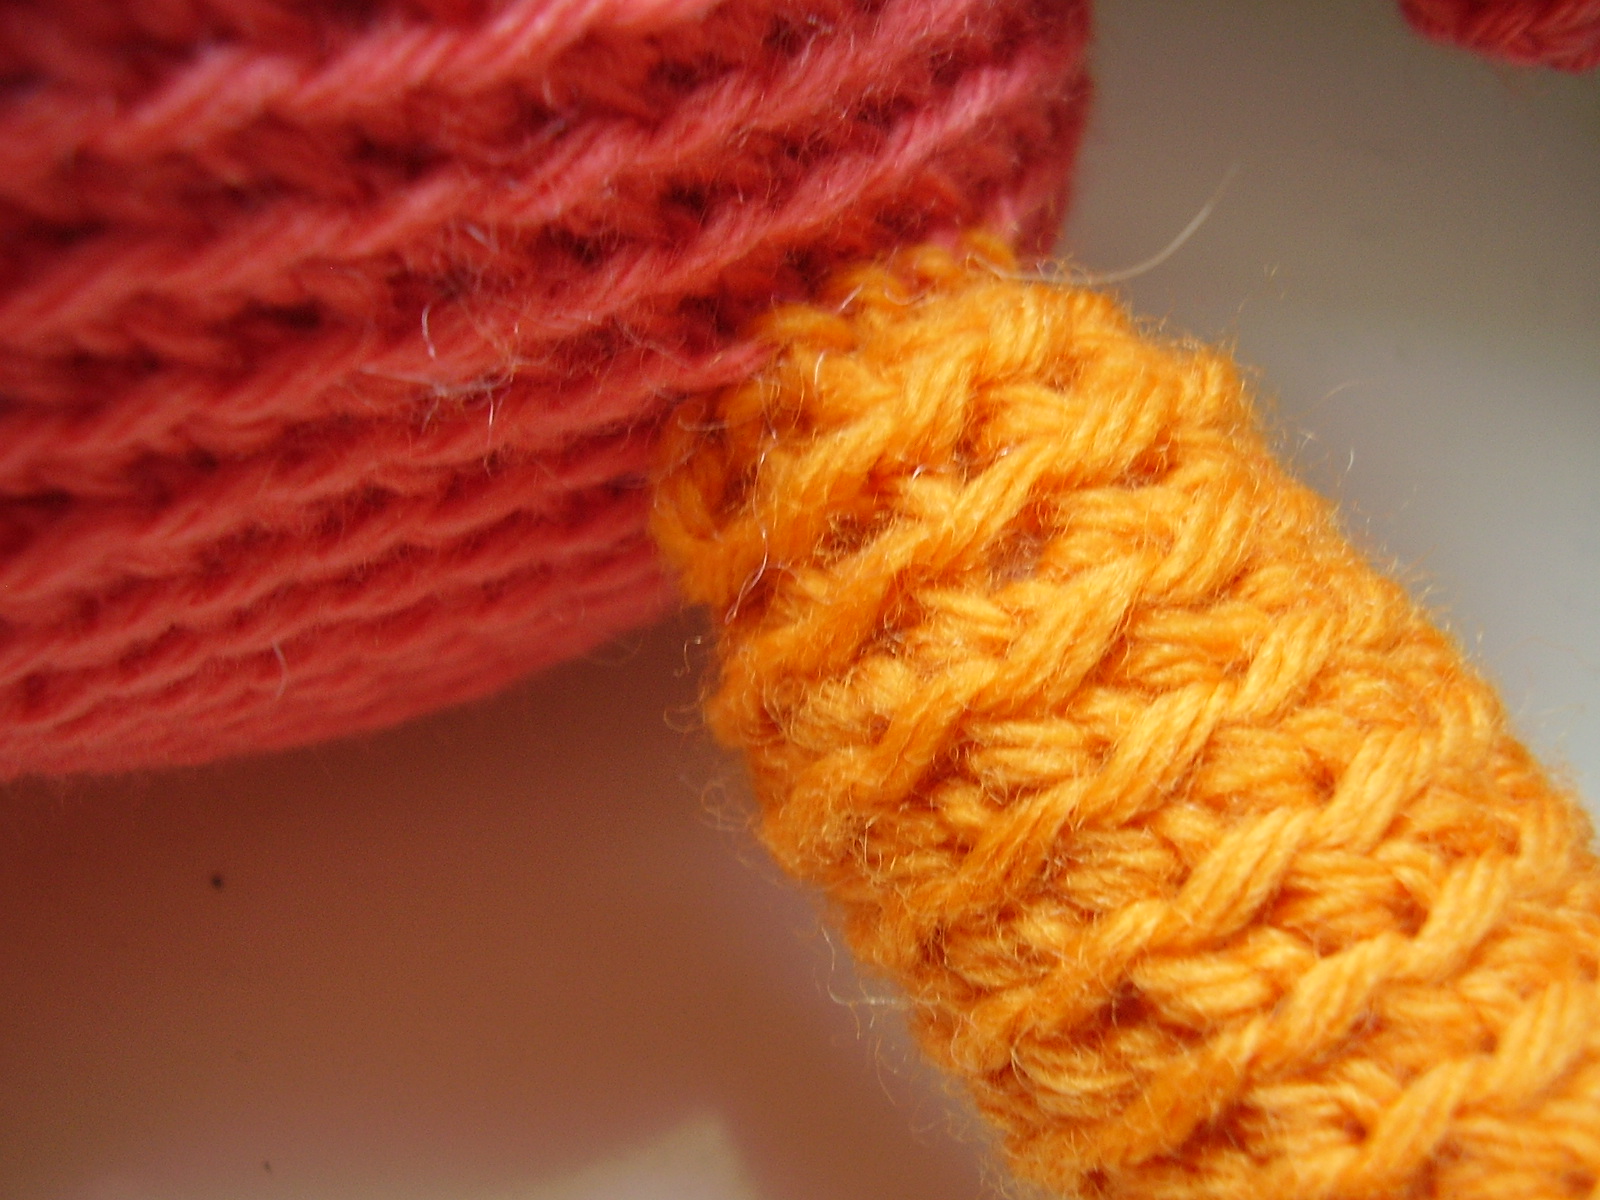
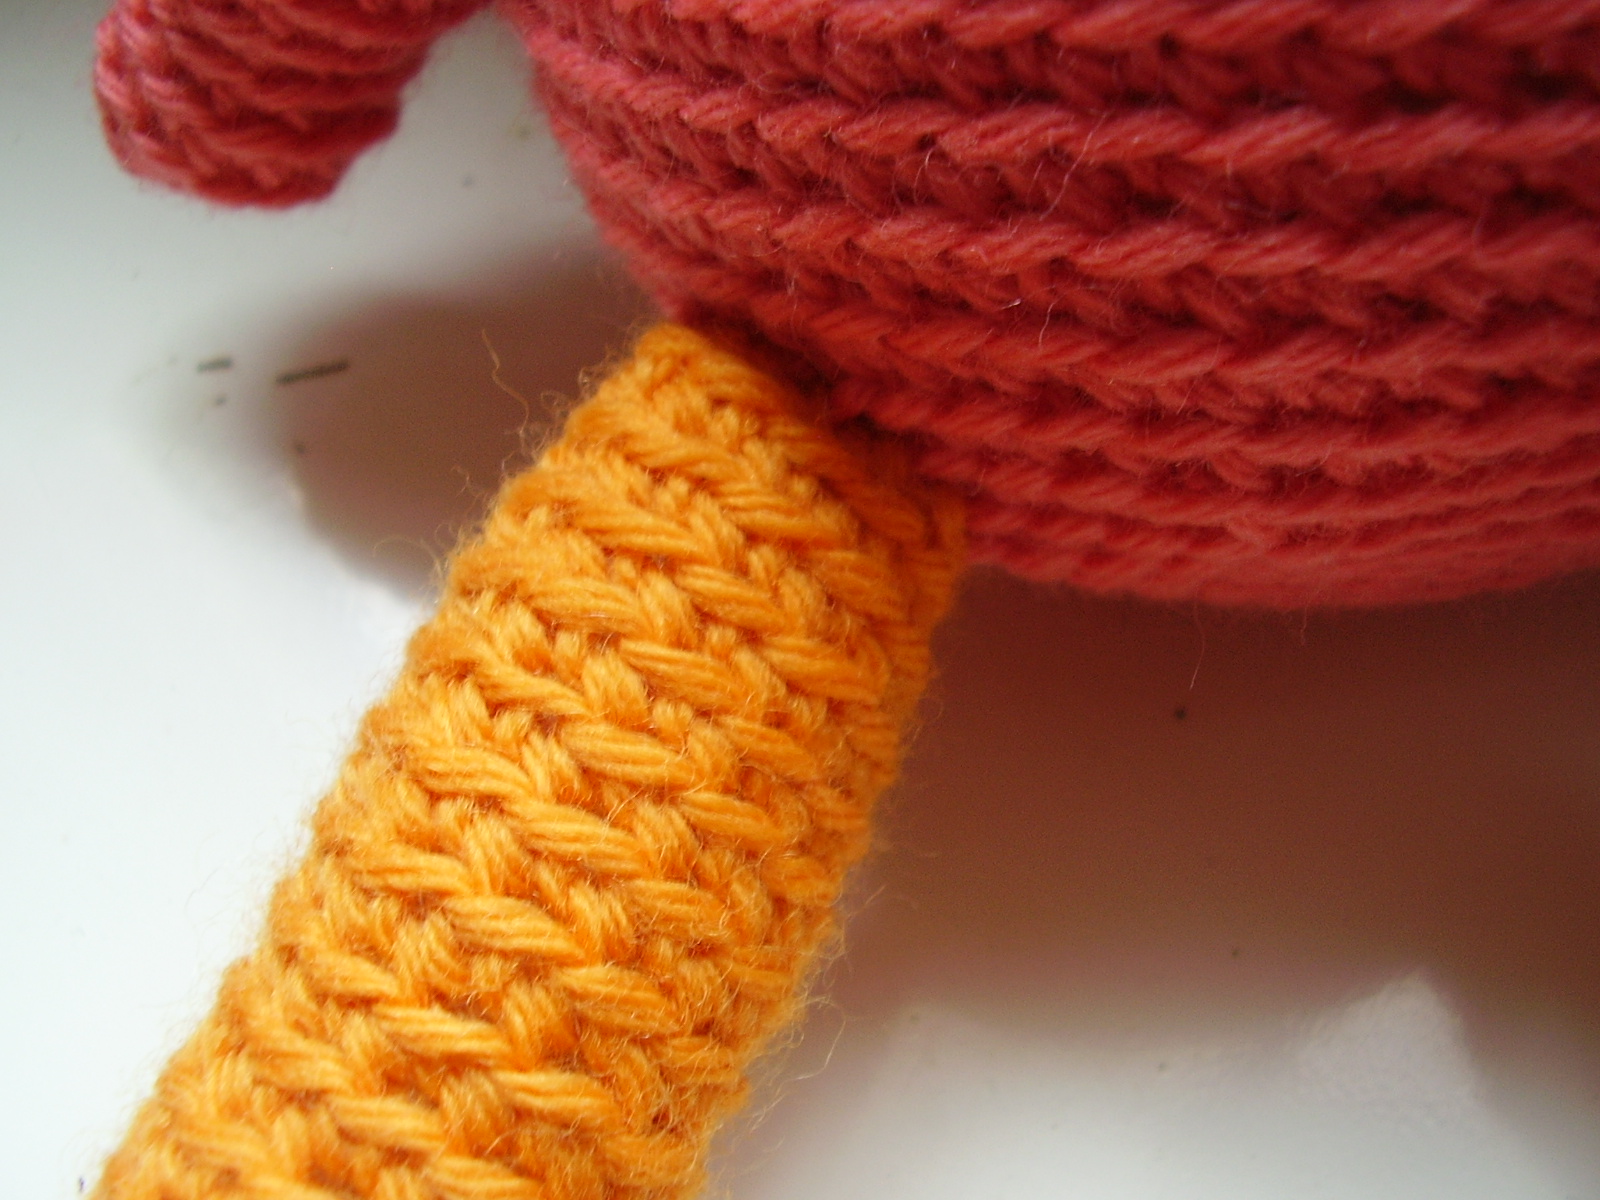
For some amigurumi pieces, you’ll need to crochet a foundation row, instead of working straight out from a circle. An example is when I was crocheting the leg of Gordon the Flamingo.
Sometimes, when you begin with a foundation chain, the stitches in the chain can be too small, making the top of the leg look a little anemic.
But don’t worry… there’s an easy solution!
If your foundation rows tend to be a little tight, all you need to do is go up a hook size when you crochet the first chains! For example, my pattern called for a size H hook, so I would use a size I to crochet the foundation chain. Then, continue as usual (with your normal sized hook). And, as you can see below, the top of the leg flows nicely into the rest of the animal… no chain-induced restriction!
This tip will also work wonderfully on blankets, or any other piece where the chain row tends to get tight.

Here are handy links to all the crochet troubleshooting posts. . .
- How to Count the Number of Stitches in a Round of Crochet
- How to Hold Your Yarn for Crochet
- Am I Crocheting Inside Out?
- Help! Crocheting in the Back Loop Is Too Hard!
- What to Do If Your Foundation Chains Are Always Too Tight
- How to Work Small Pieces in the Round
- Tips for Crocheting Teeny Tiny Antennae
- How to Measure Gauge for Amigurumi
- Getting Accurate Row Gauge
- How to Clean Amigurumi
- Wrist Exercises for Knitters and Crocheters
Return to the main table of contents for Let’s Learn to Crochet Amigurumi.
Happy stitching!


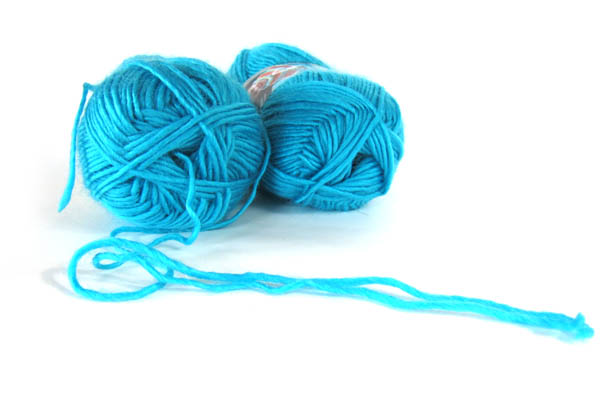
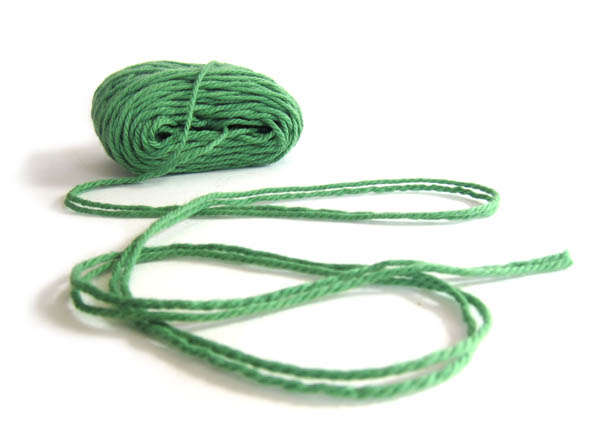
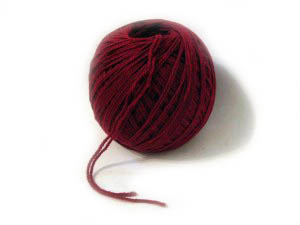
 You’ll need:
 Best,
Best,