Every year (almost) I release a free holiday applique pattern.
What to do this year?
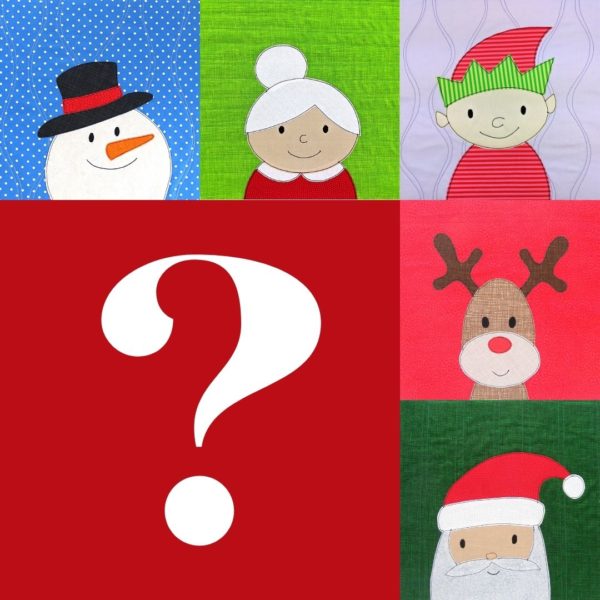
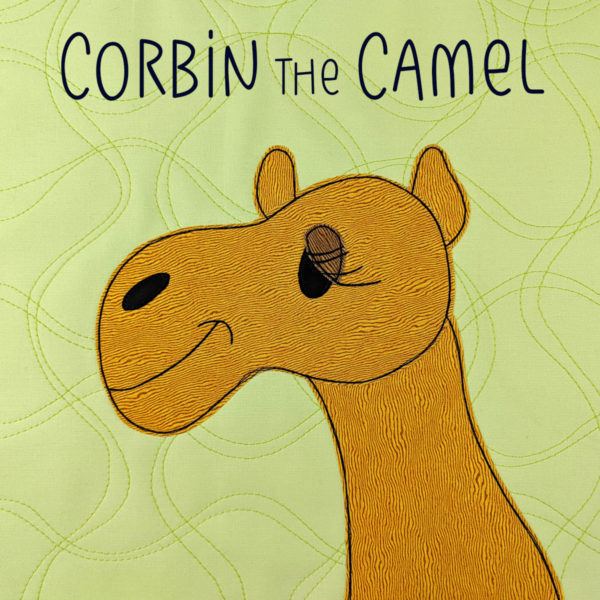
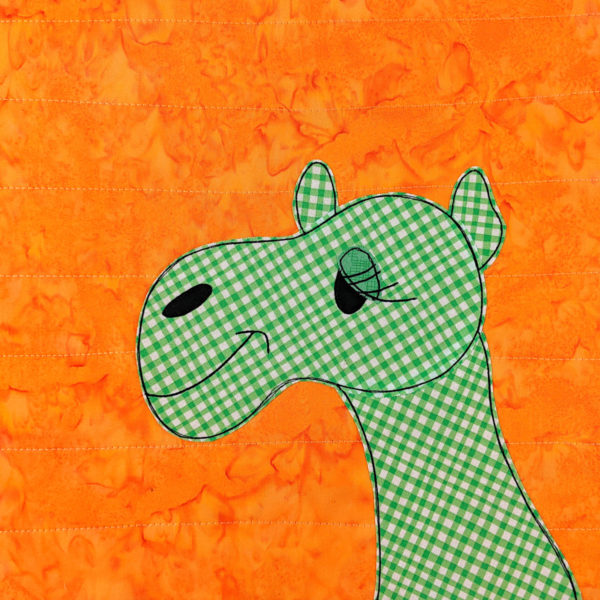
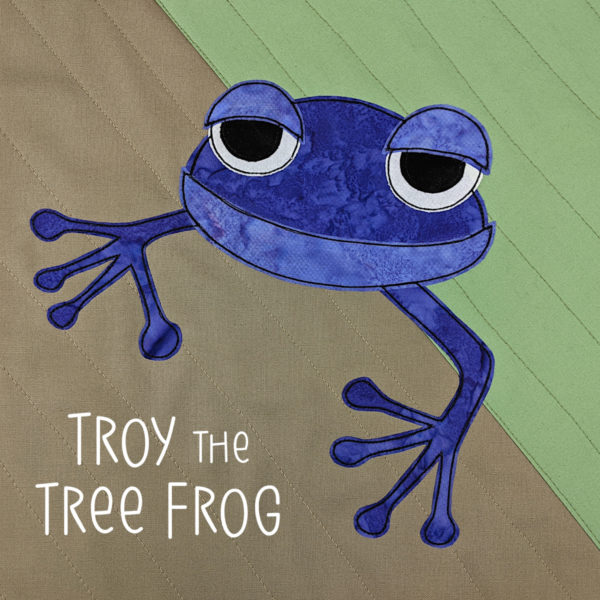
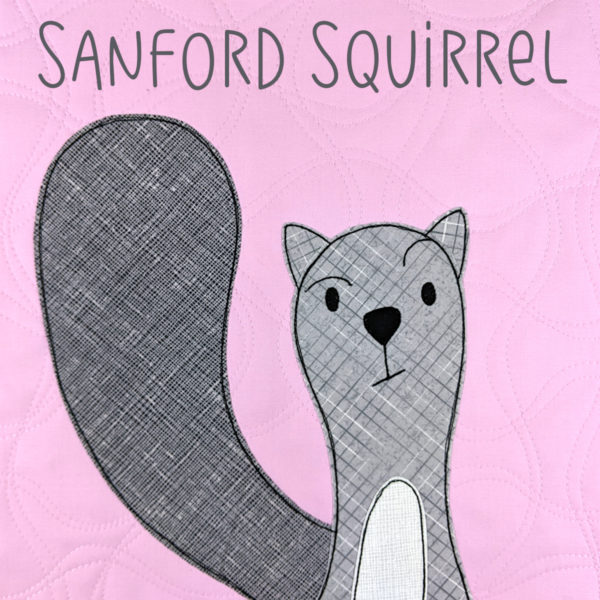
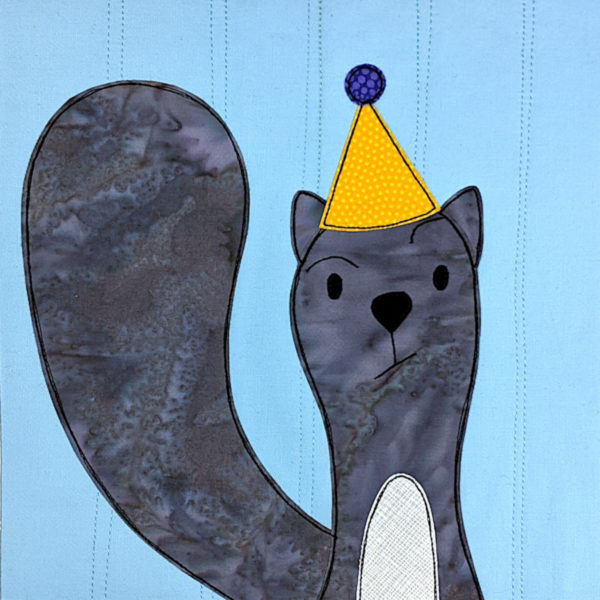
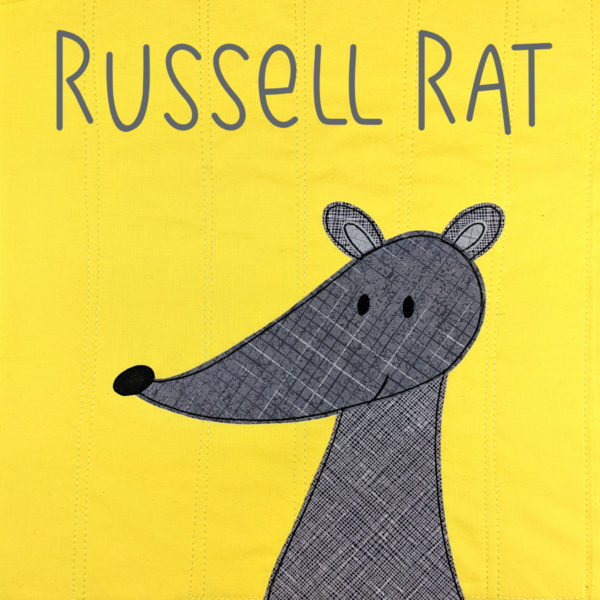
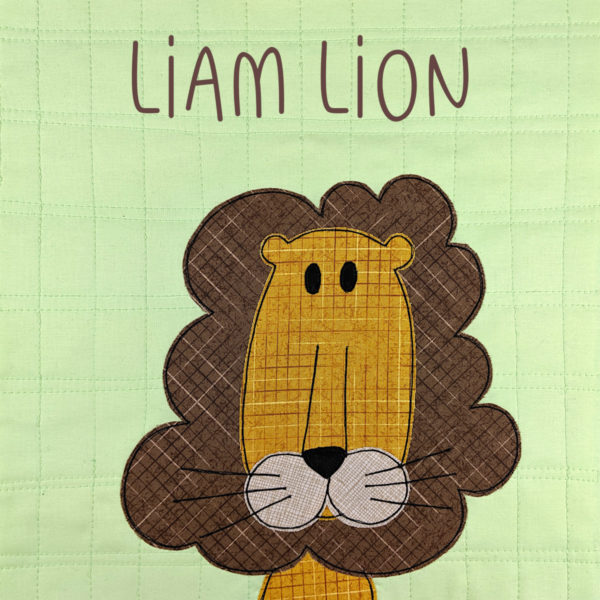
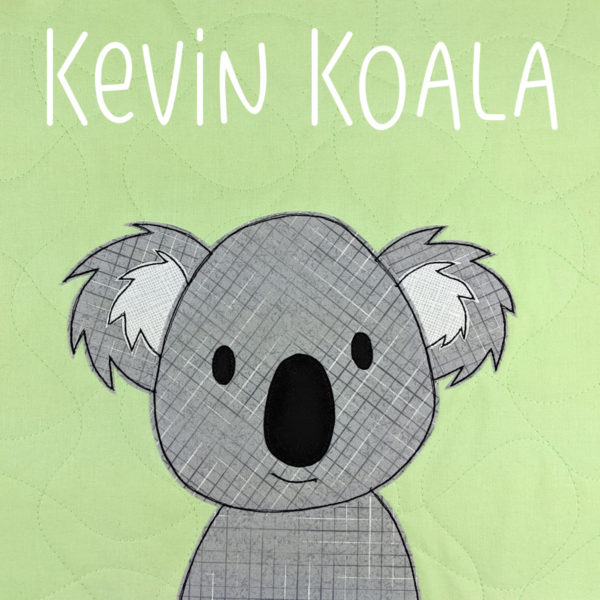
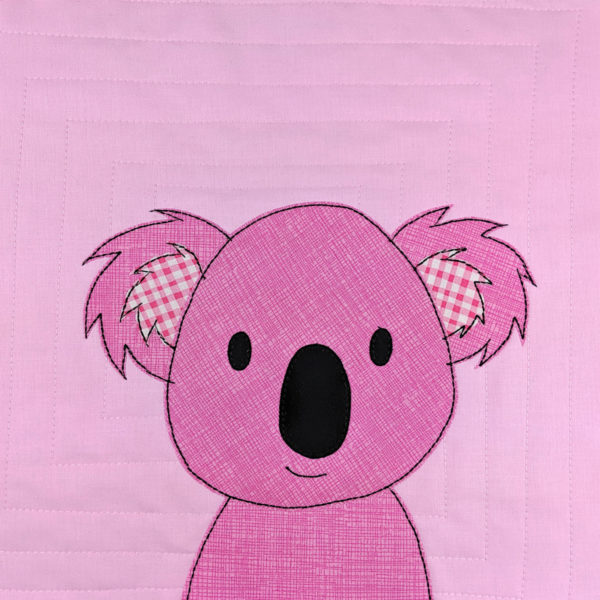
Here are the links to the patterns from previous years.
I’ve been having a lot of fun with Mix & Match patterns lately, so I decided to make a gingerbread cookie with lots of parts for you to play with!
Here’s a quick intro. . .
Now let’s jump right to the instructions!
These instructions assume you’re already familiar with the applique method I use – Quilt As You Go and applique with fusible adhesive.
Step 1
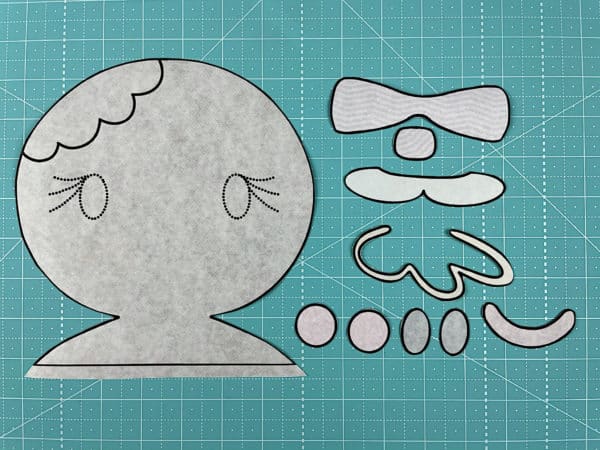
Download the template pieces. If you’re using paper-backed fusible adhesive and cutting by hand, use this link to download the PDF. If you’re using an electric cutting machine, use this link to download the SVG.
If you’e using an electric cutting machine like a Cricut. . .
- Upload the file to your machine.
- Resize if needed. (To fit a block that finishes at 10 inches square, the image should be 15 inches wide.)
- Ungroup the pieces and assign colors
- Cut.
Step 2
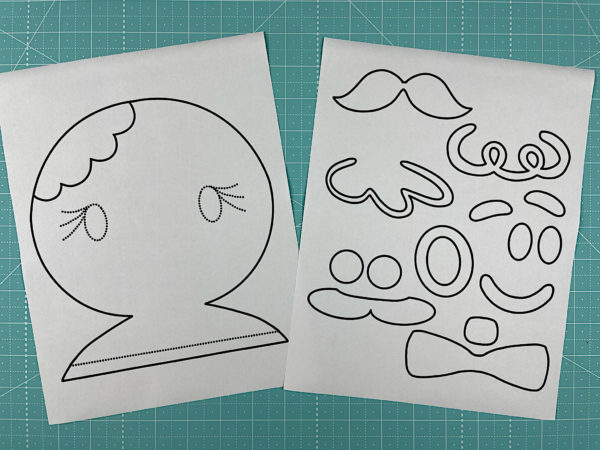
Trace or print the pattern onto the paper side of the fusible adhesive.
I use Heat & Bond Lite for all my quilts, and I love their printable sheets because I’m lazy and hate to trace. 🙂
The image has already been reversed, so just trace or print. If you’re tracing, be sure to trace the eyes and (optional) eyelashes too. You’ll need those for Step 5.
Step 3
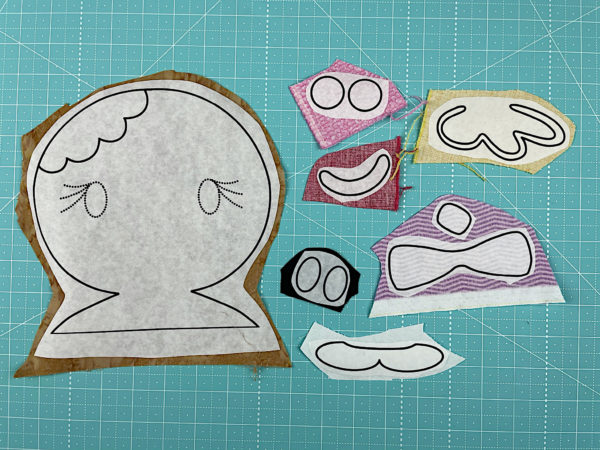
Roughly cut around each shape and fuse it to the back of your fabric.
Here’s a video showing those first two steps. . .
Step 4
Cut around each piece neatly.
This time you’re cutting directly on the solid lines.
This video has more info about that step.
Step 5
Remember back in Step 2 when I told you to make sure you traced the eyes and eyelashes? Now you’re going to use that. Hold the face up to a window so the light shines through it. You’ll be able to see all the dotted lines, and the adhesive will stabilize the fabric so you can trace on it without it crinkling up.
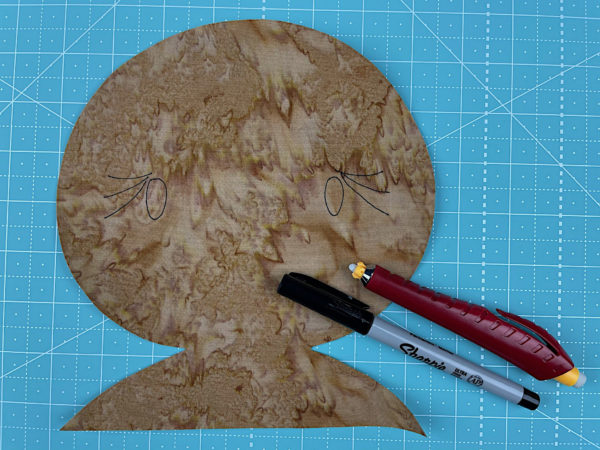
Trace the lines to show where the eyes go. If your cookie will have eyelashes, trace those too.
Here’s a video with more info about this step.
Step 6
If you’re doing Quilt As You Go (I did) then you can quilt your block before adding the applique. So easy!
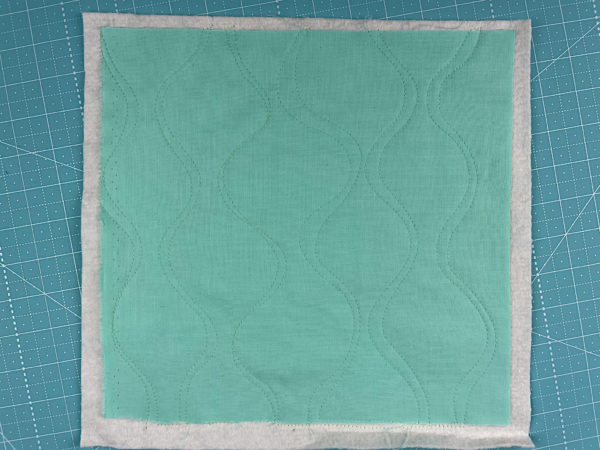
Cut your background fabric and a piece of 100% cotton batting 11 inches square.
Layer the block with a piece of 100% cotton batting. Quilt any pattern you like!
Find all the Quilt As You Go tutorials here.
If you’ll do the quilting later, simply skip this step.
Step 7
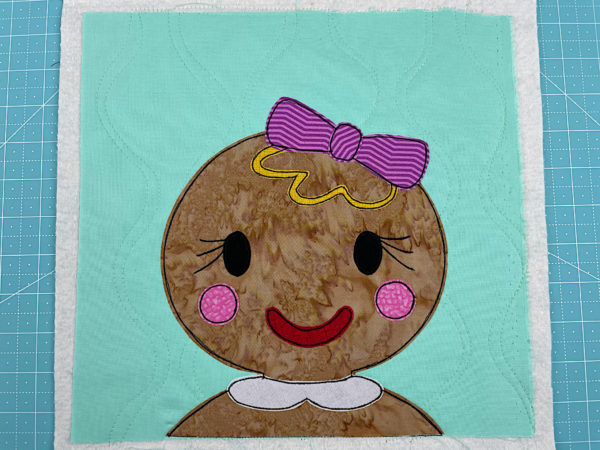
Peel off the paper backing and arrange the pieces on a background block. Have fun creating your own custom cookie!

Fuse the pieces in place, following the instructions for whatever brand of adhesive you used.
This video has detailed instructions for layering the cookie decorations.
And this video is a shorter version with no explanation – just music – perfect for folks already familiar with my techniques.
Step 8
Outline all the pieces with black thread and a simple straight stitch – or choose your favorite decorative stitch.
This video has some tips for outlining those tight curves.
I like going around all the pieces three times for a sketchy, scribbly look. This post has some tips for that.
This post has tips for using decorative stitching.
This post has some information about outlining using thicker thread.
And this video has me talking through the path I followed to outline my sample block – and also shows you the other two blocks I made.
Done!
If you’re making a one-block project, go ahead and finish it up!
If you’re making a bunch of gingerbread blocks to join into a quilt - maybe adding them to the other free Christmas blocks – have fun!
This video shows how to trim your finished quilt blocks.
This video shows how to sew your blocks together using the QAYG method I use.
This post has tips for quilting on a cuddle fleece back.
And this video shows how to bind your quilt.
What can you do with just one block pattern? Tons of things!
Check out this page I’ve been slowly building – 100 Things to Do with an Applique Pattern. 🙂
Have fun! And share a photo of what you make! You can share it in the Shiny Happy People group or tag it with #shinyhappyworld on Instagram.
If you like this free pattern, sign up for the Shiny Happy News! Subscribers get a weekly newsletter full of sewing tips and tricks, free patterns, special discounts, and other things to make you smile. 🙂
Happy sewing!