None of my multi-block patterns includes a materials list and cutting instructions for this layout – but that doesn’t mean you can’t do it. You just need additional instructions!
That’s where my handy-dandy layout guides come in.
Each guide contains a materials list and cutting instructions for six different quilt sizes – from Itty Bitty Baby to King Size.
I’m working on similar guides for other layouts too! That way no matter what layout your pattern shows, you can easily use the blocks in a different design. Here’s what I have so far and what’s coming. . .
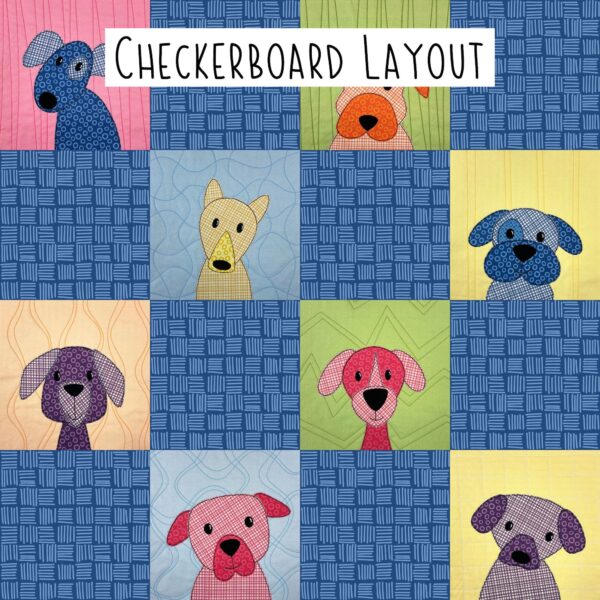
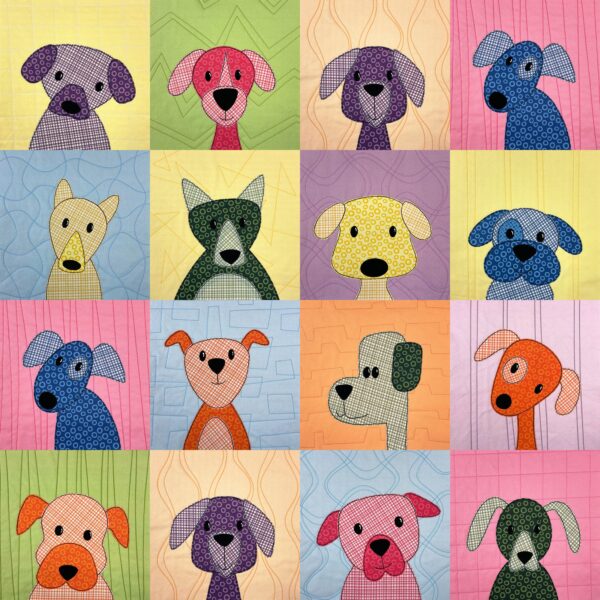
A simple grid is one of my favorite quilt layouts. It’s a classic for a reason! And it’s what you see on most of my multi-block quilt pattern covers.
Here are just a few examples. (Click on the image to go to that pattern.)
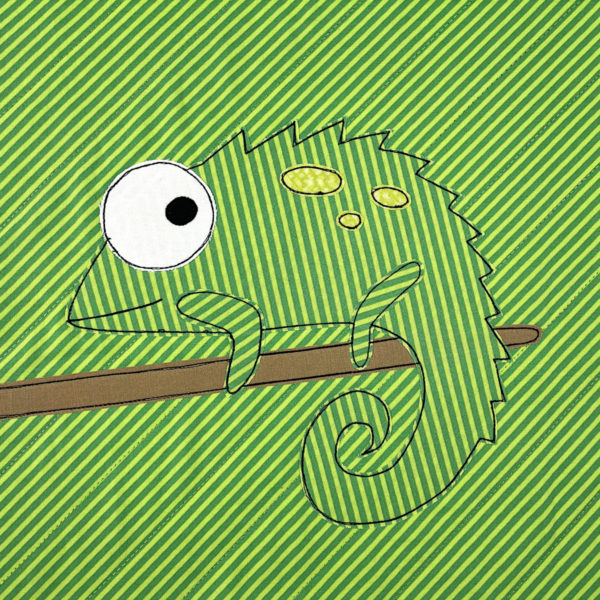
Those multi-block patterns only include materials lists and cutting instructions for three different sizes. And maybe you want to make a full quilt from a single block pattern? Like making this chameleon over and over again in every color of the rainbow!
The individual block patterns only include materials and instructions for one block.
That’s where my layout guides come in!
Each guide contains a materials list and cutting instructions for six different quilt sizes – from Itty Bitty Baby to King Size.
I’m working on similar guides for other layouts too! That way no matter what layout your pattern shows, you can easily use the blocks in a different design. Here’s what I have so far and what’s coming. . .
The heart and soul of Shiny Happy World is in the archives. There are hundreds of free patterns and tutorials and it’s easy to be overwhelmed by all the information. Every Friday I share just a manageable sliver – a peek at what was happening during the same week of every year since the start of Shiny Happy World. This is Week 51.
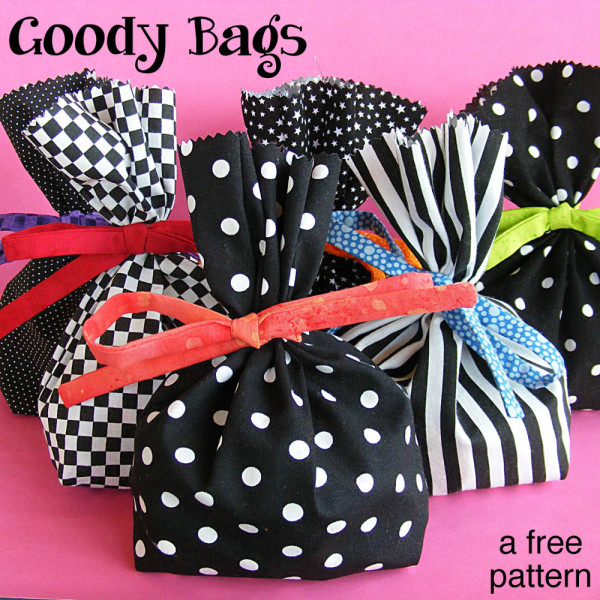
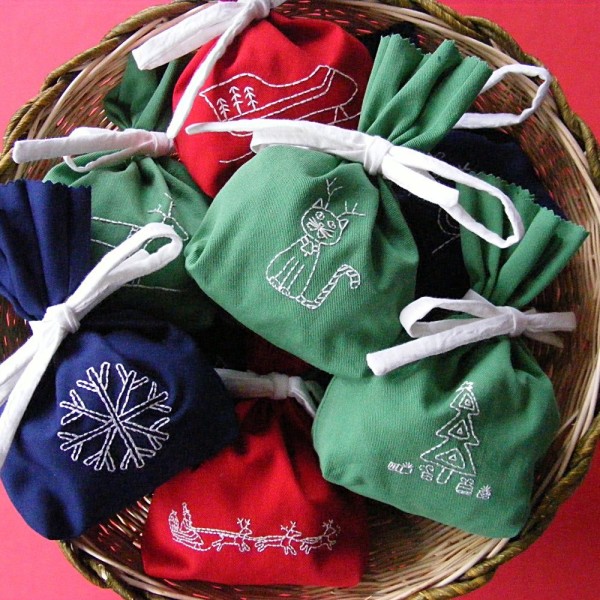
Quick and easy little fabric bags – perfect for small gifts or party favors.
2012
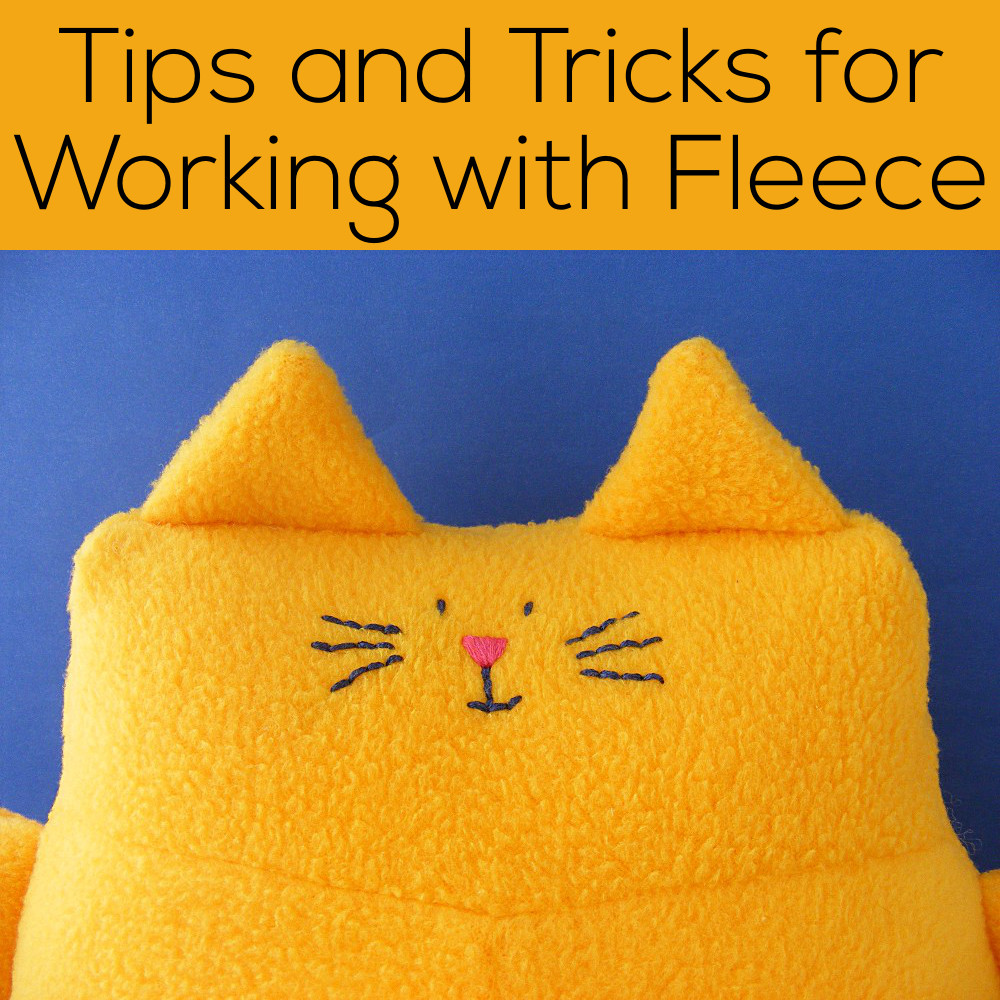
Fleece is terrific for making cuddly softies. It’s very forgiving in many ways, but its thickness can make it challenging. This post has all the tips you need to make it easy.
2013
We use these simple fabric bags to wrap all gifts in our home. The ribbons are built right in so clean-up after opening gifts is as easy as can be.
2014
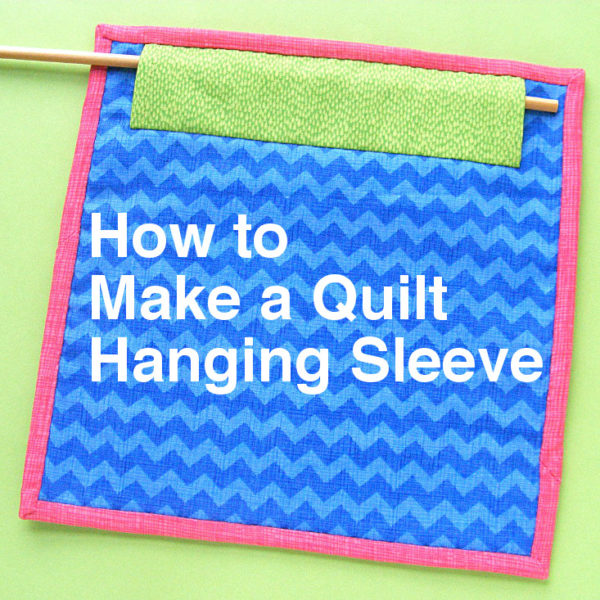
Turn any quilt (even a single block) into a wall hanging by adding a simple sleeve.
2015
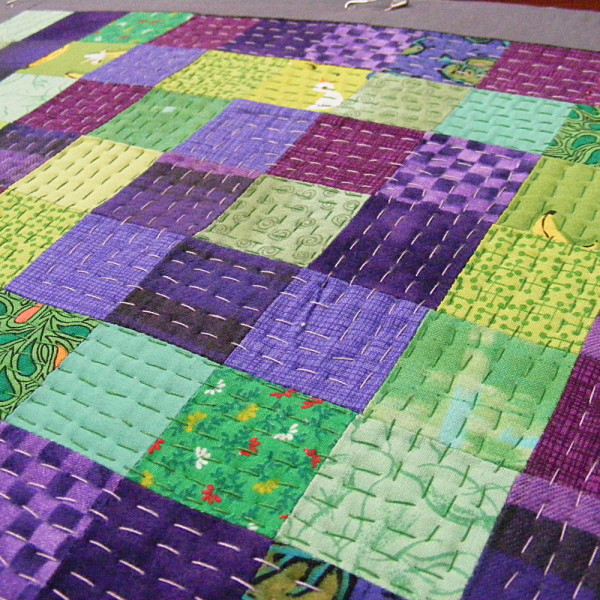
An update on the quilting of the free Controlled Chaos scrap quilt, including links to tutorials showing how to do that Big Stitch Quilting.
2016
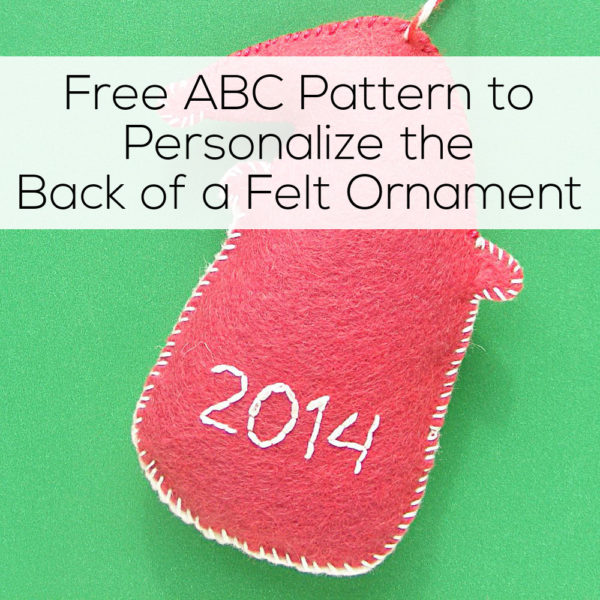
This is a very simple alphabet and numbers pattern designed to be especially easy to embroider. It it to add names and/or dates to the back of your felt ornaments!
2017
A set of free patterns for cute little signs to add to the Shiny Happy Houses pattern to make a fun North Pole quilt!
2018
***Included in Week 51 Sale***
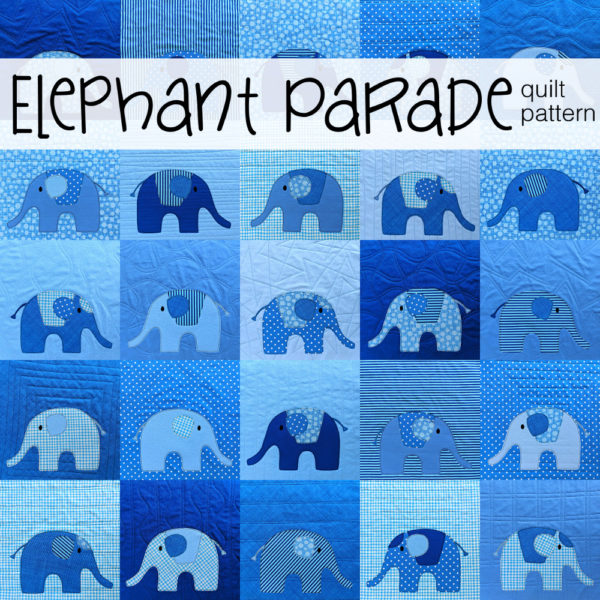
A fun pattern featuring a parade of sweet elephants.
2019
Another free pattern for your Christmas quilts (or placemats, or stockings, or gift bags, or. . . )
2020
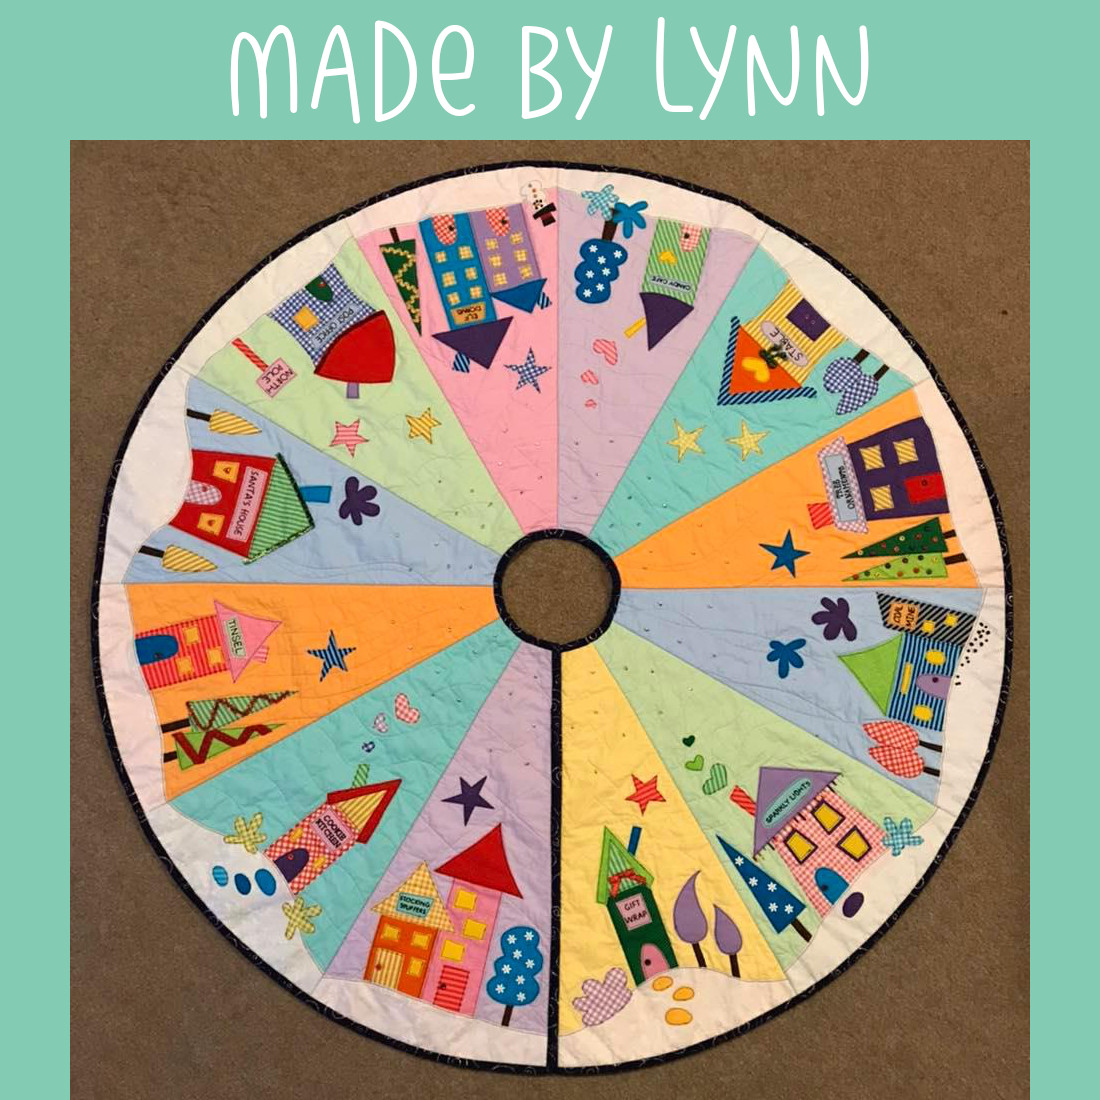
I love the way Lynne adapted the Shiny Happy Houses pattern and the North Pole signs to make this GORGEOUS tree skirt!
2021
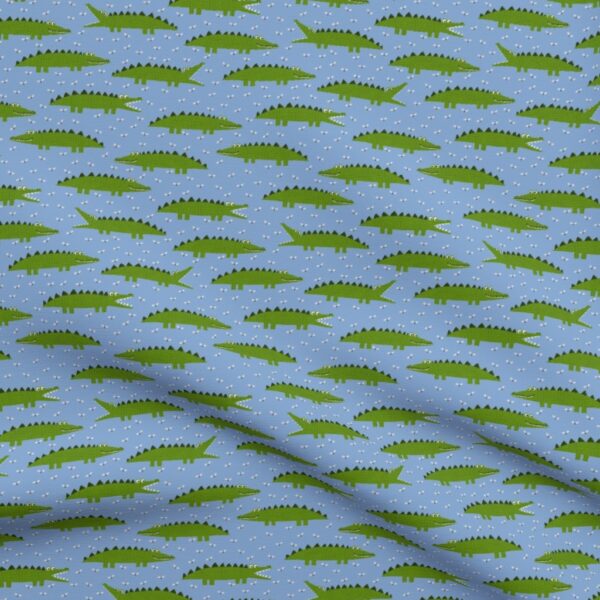
Some fun alligator fabric I designed for a Spoonflower design challenge.
2022
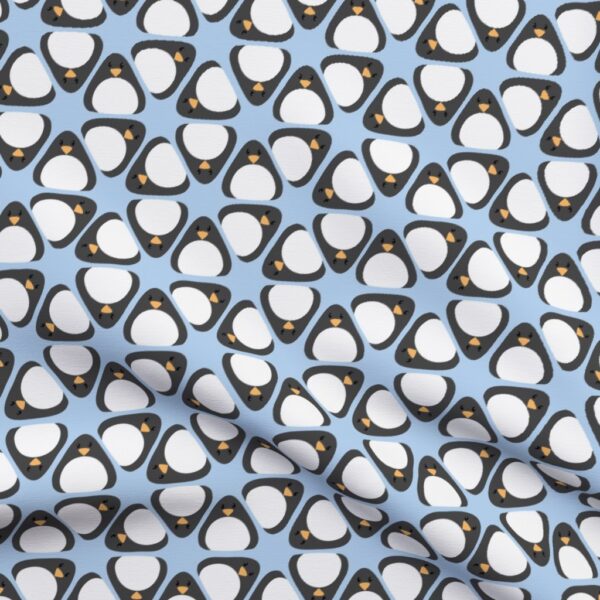
Another fun fabric design. Wouldn’t this be cute to back a penguin quilt?
2023
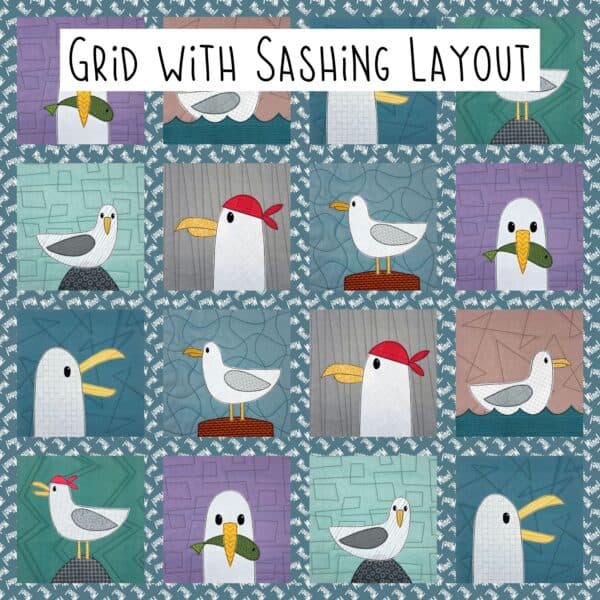
A handy-dandy downloadable PDF of everything you need when making a quilt with a simple grid layout with sashing and borders – materials list, cutting guides, layout templates and more for six different quilt sizes from Itty Bitty Baby to King.
2024
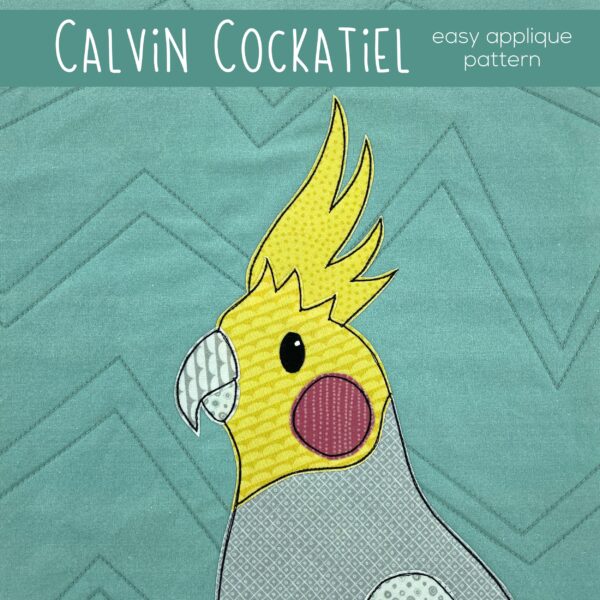
I updated the Calvin Cockatiel pattern, adding SVG files and a video showing the assembly using a light box. I love those cute rosy cheeks! I also made a version in oranges that’s a phoenix!
2025
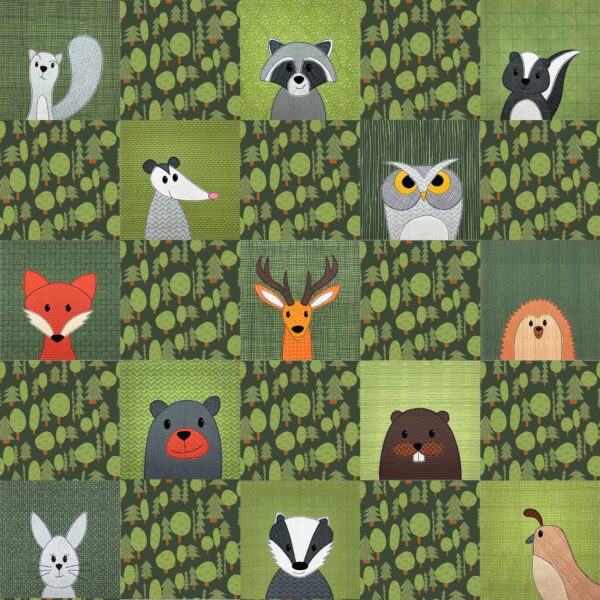
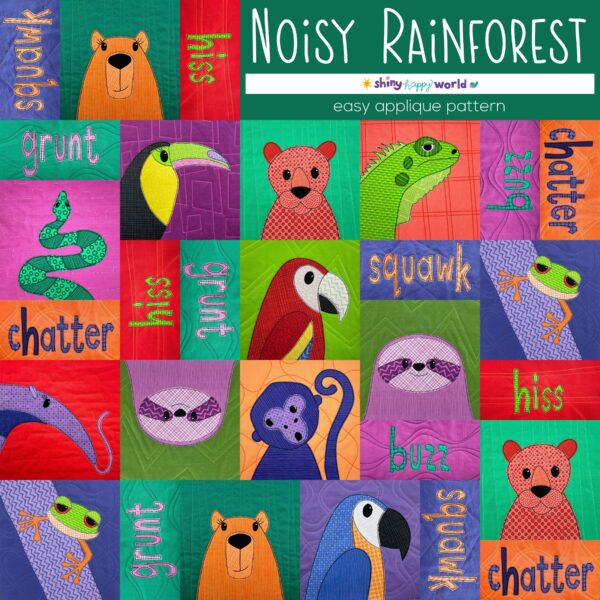
Finally! A bundle of rainforest animals! Click the image to go to the noisy version, but there’s also a simple grid without the words here.
The heart and soul of Shiny Happy World is in the archives. There are hundreds of free patterns and tutorials and it’s easy to be overwhelmed by all the information. Every Friday I share just a manageable sliver – a peek at what was happening during the same week of every year since the start of Shiny Happy World. This is Week 50.
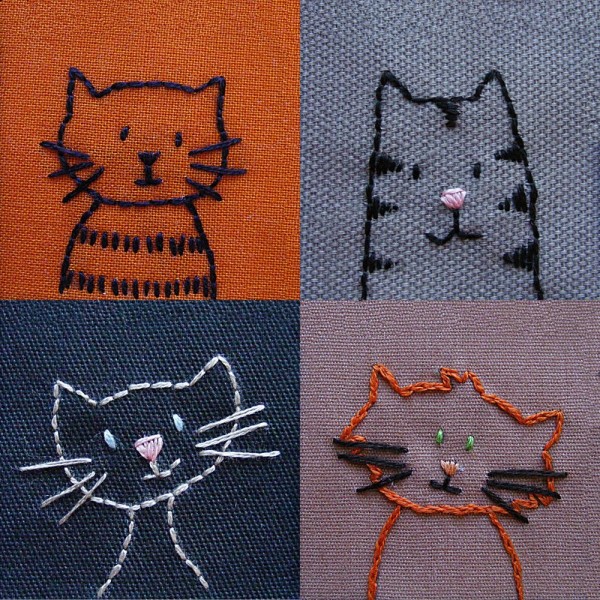
One of my very first embroidery patterns! The cover only shows four cats, but you actually get six.
2012
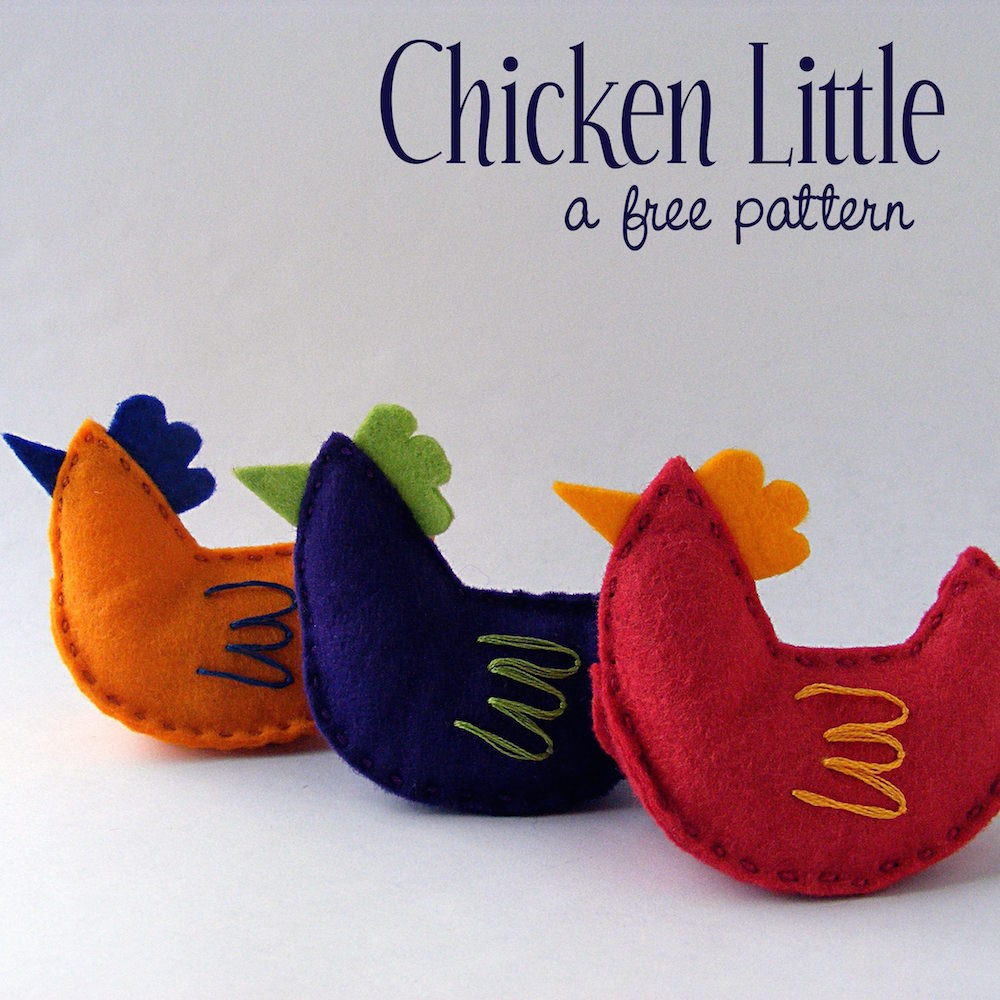
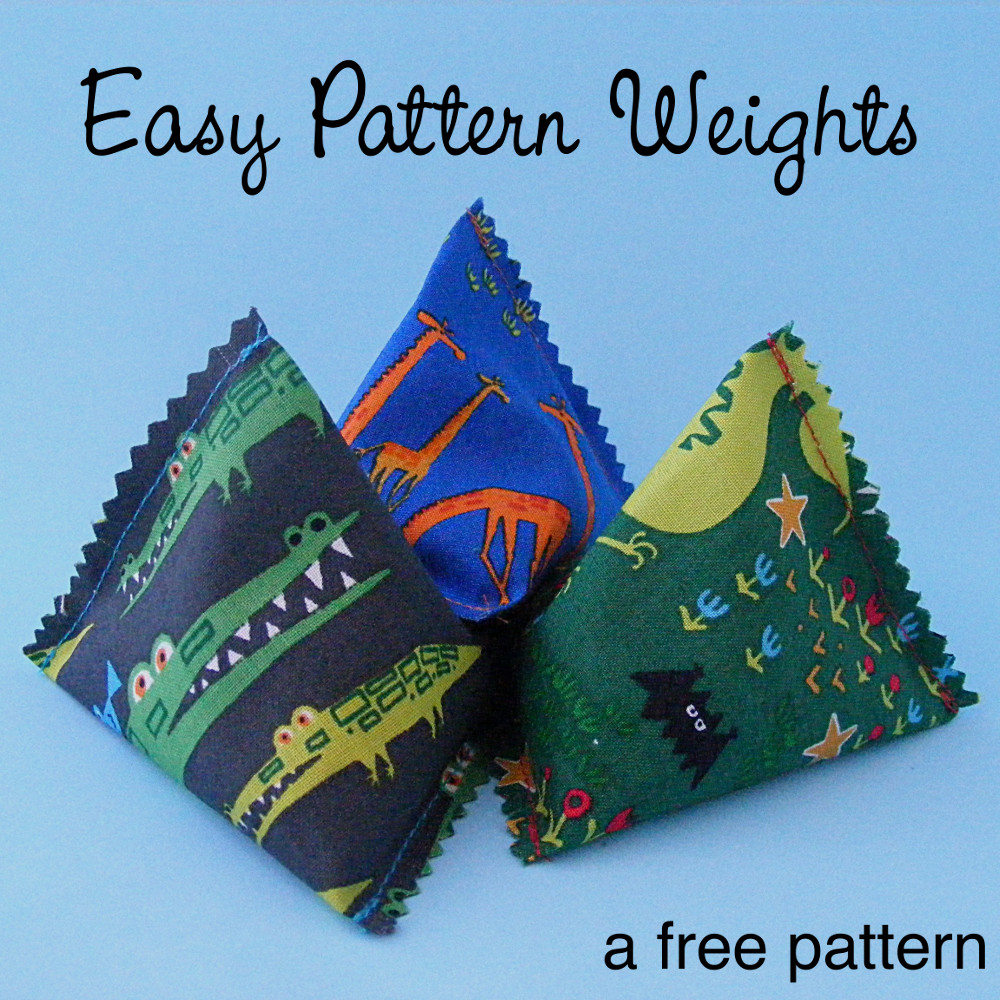
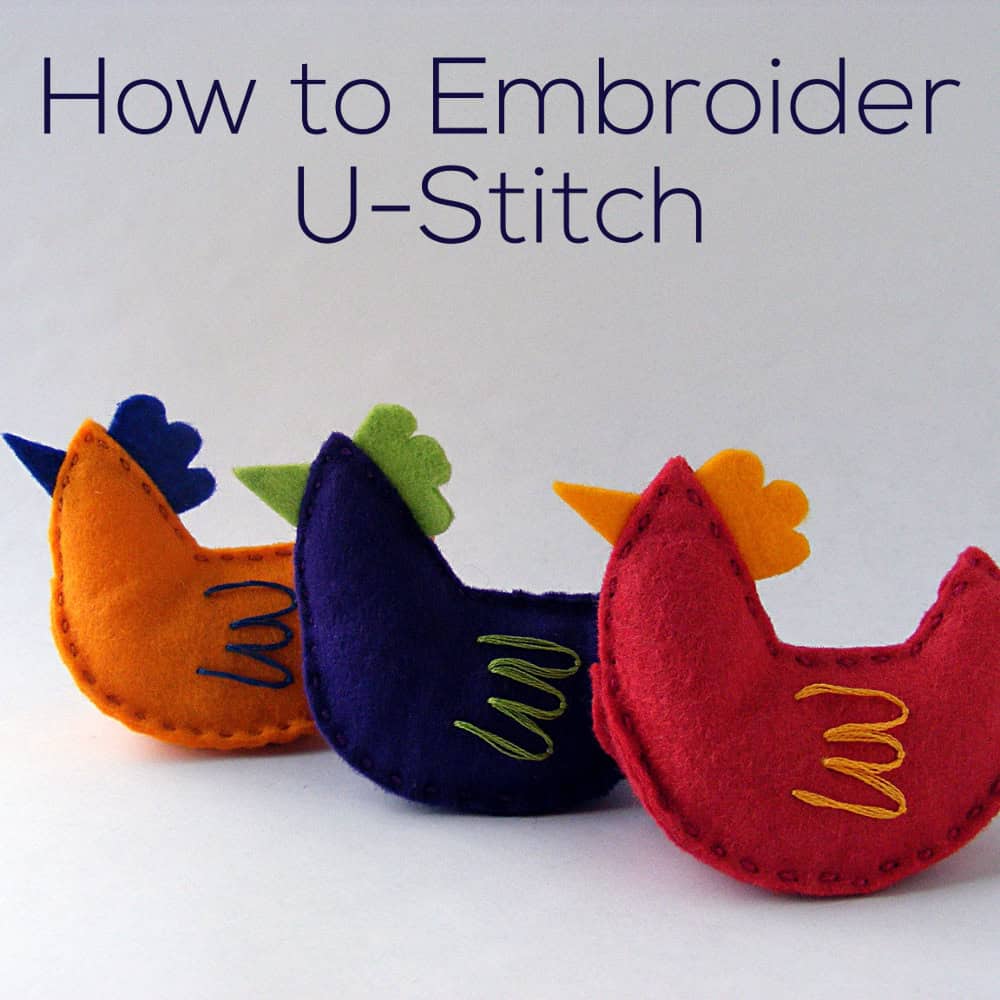
These little felt chickens are easy to stitch up out of scraps. They’re all hand-sewn, so you can stitch them anywhere. Fill them with regular polyfill and they’re a fun toy. Add a hanging loop and they make great Christmas tree ornaments. Fill them with aquarium gravel or something else heavy and they make terrific pattern weights. I’ve probably made hundreds of these over the years.
2013
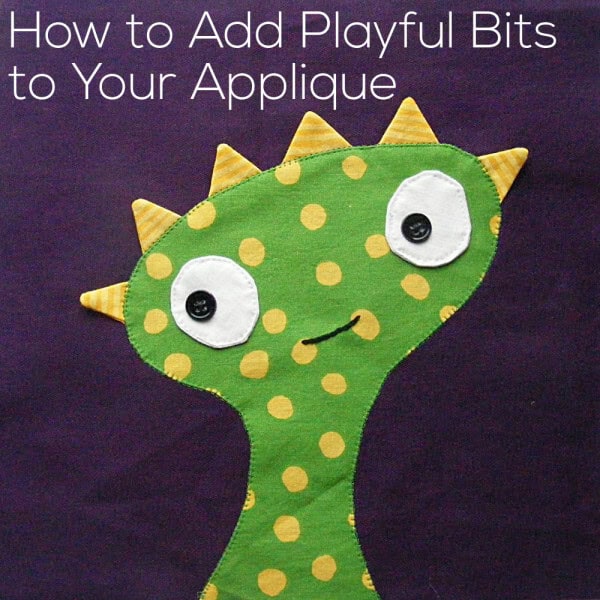
On that monster, all the little points on her head are 3-D pieces, only attached behind the head to kids can flick and bend and play with the shapes. You can do that with almost any of the smaller pieces in an applique pattern! This post shows you how.
2014
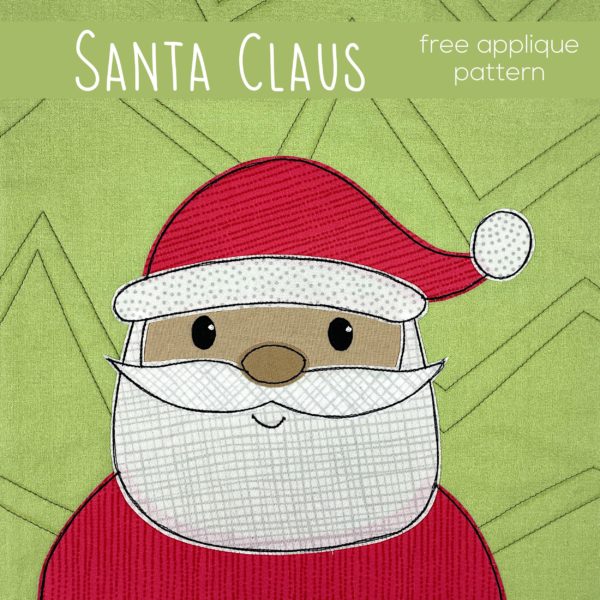
The anchor of my collection of free Christmas applique patterns – Santa Claus!
2015
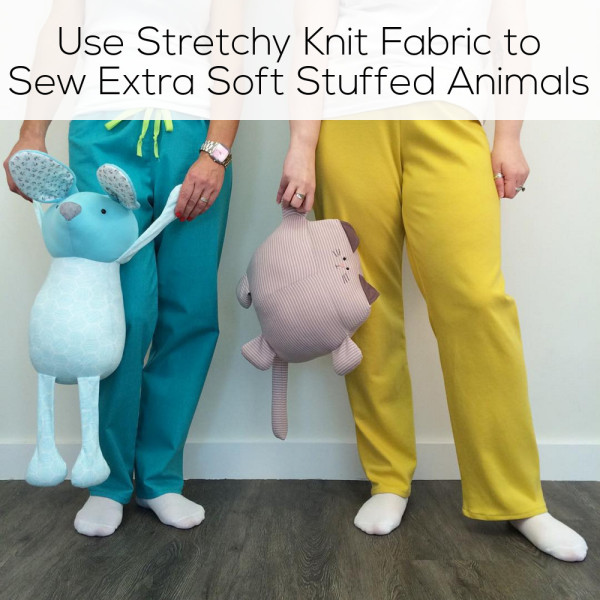
Using stretchy knit fabric makes extra-cuddly stuffed animals, but you’ll need to use the right needle and be careful not to overstuff. This post has all the details you’ll need.
2016
***Included in Week 50 Sale***
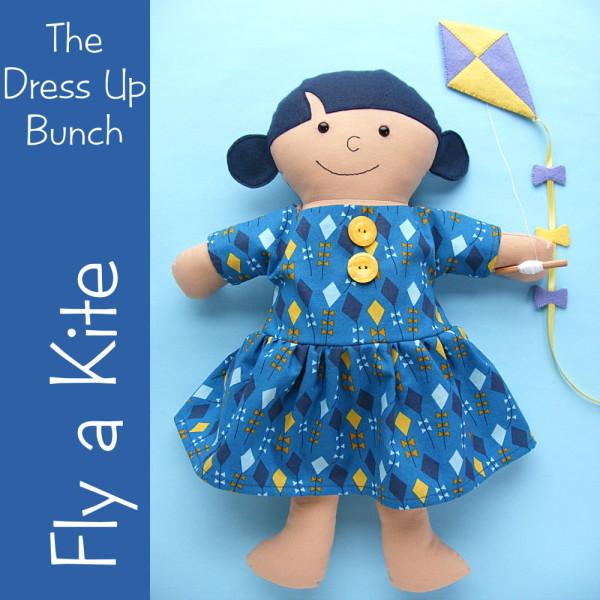
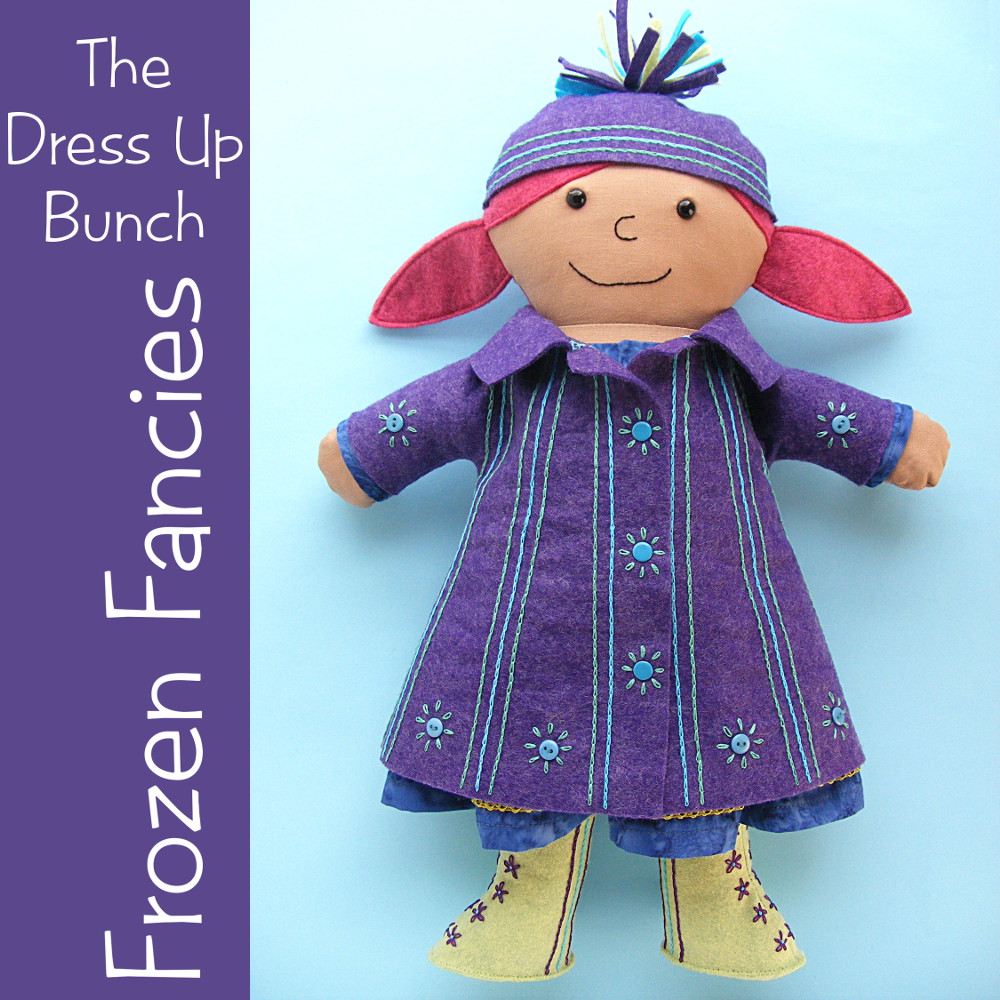
Make a pretty dress (and a felt kite!) for your Dress Up Bunch dolls.
2017
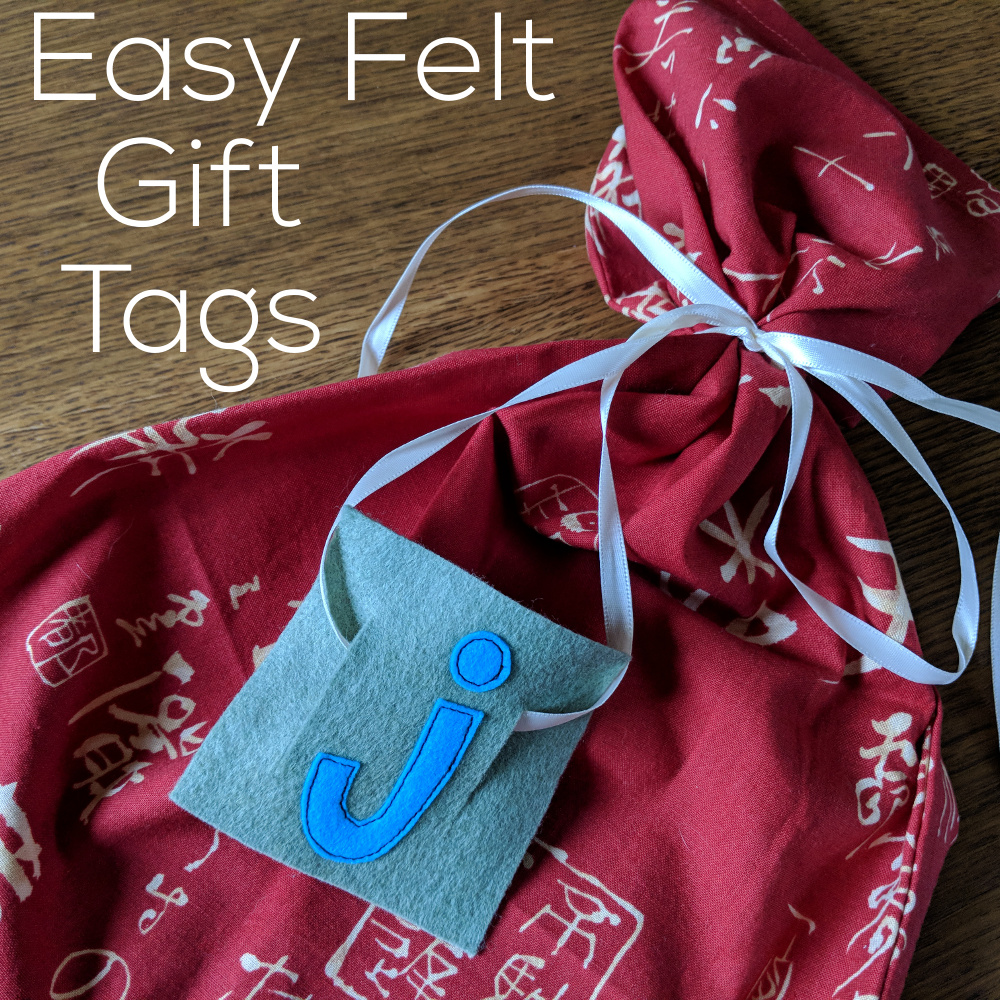
These are the reusable gift tags I use with my fabric gift bags. Cleaning up after gift opening is super easy – just fold the bags (the ribbons are attached) and stack the tags and they’re all ready for next year.
2018
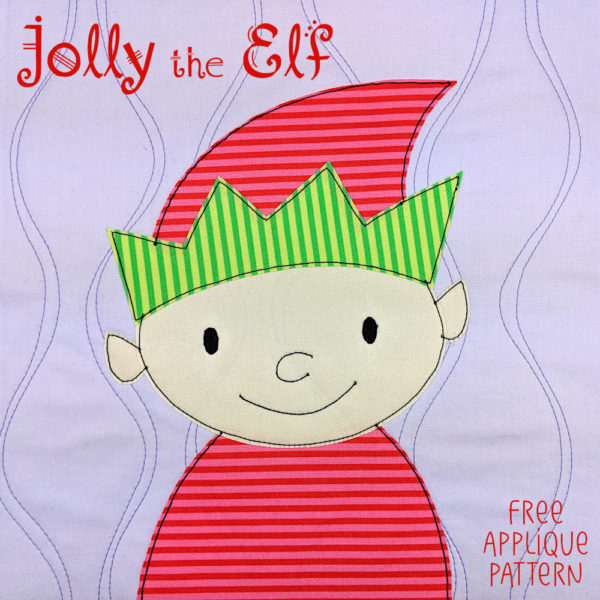
Add a bunch of elves in different colored outfits to your Christmas quilts!
2019
***Included in Week 50 Sale***
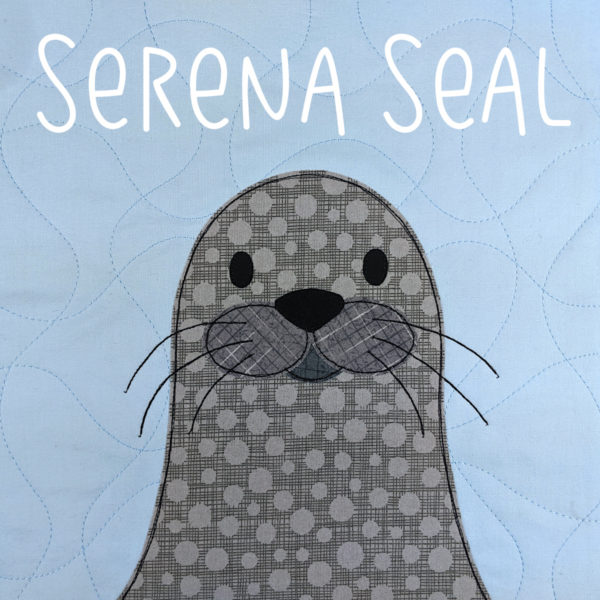
Such a sweet little seal!
2020
***Included in Week 50 Sale***
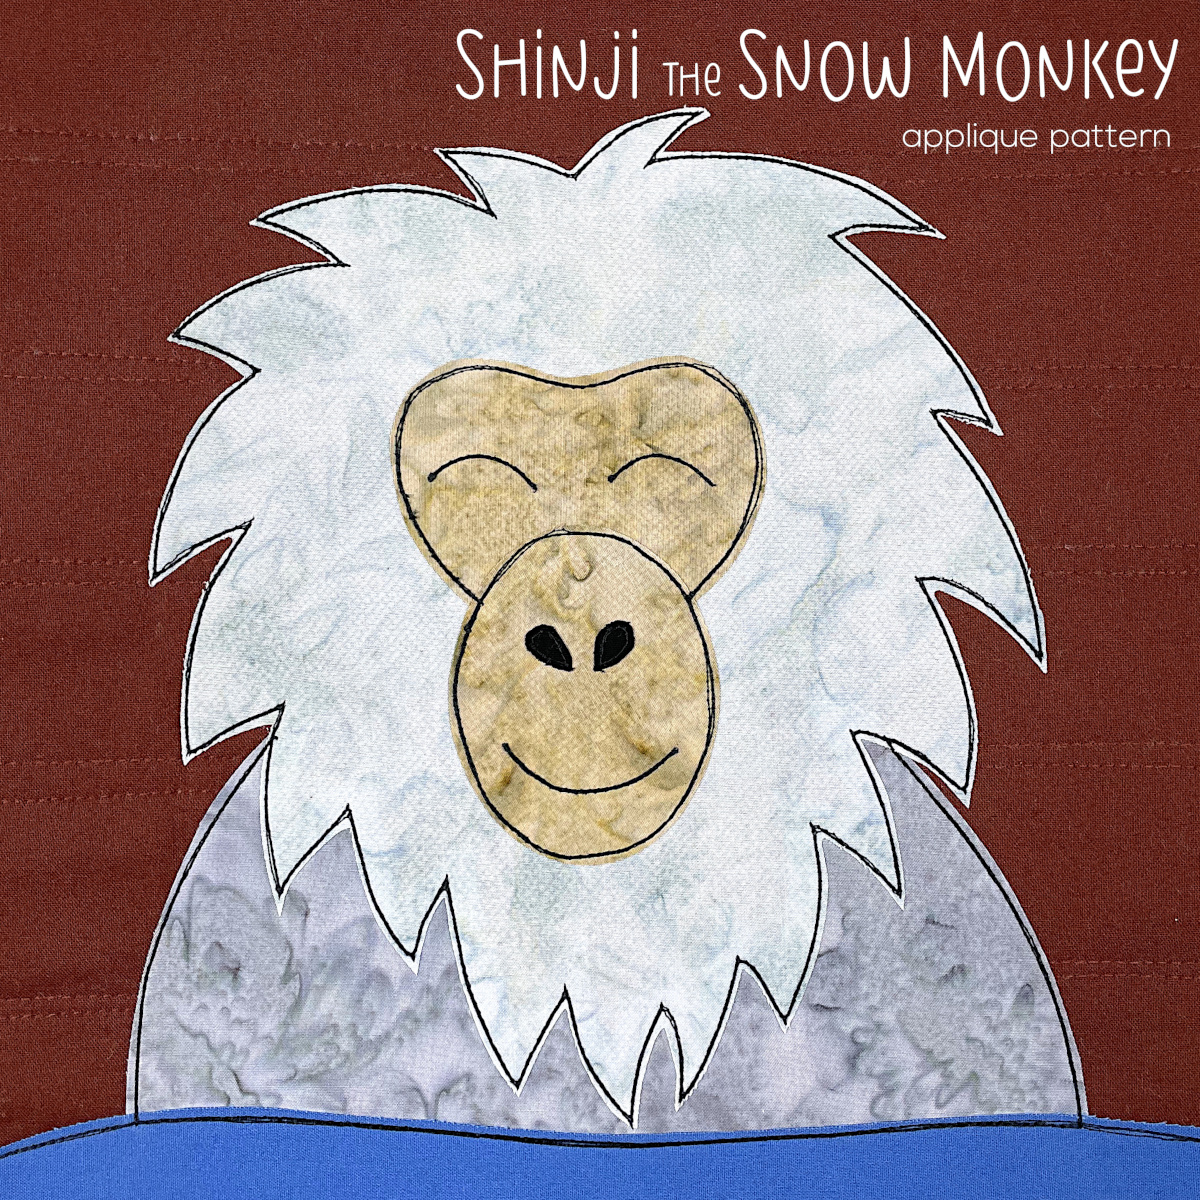
I LOVE soaking in hot water, so I think Japanese macaques are brilliant.
2021
***Included in Week 50 Sale***
Nothing stinky about this sweetie. 🥰
2022
***Included in Week 50 Sale***
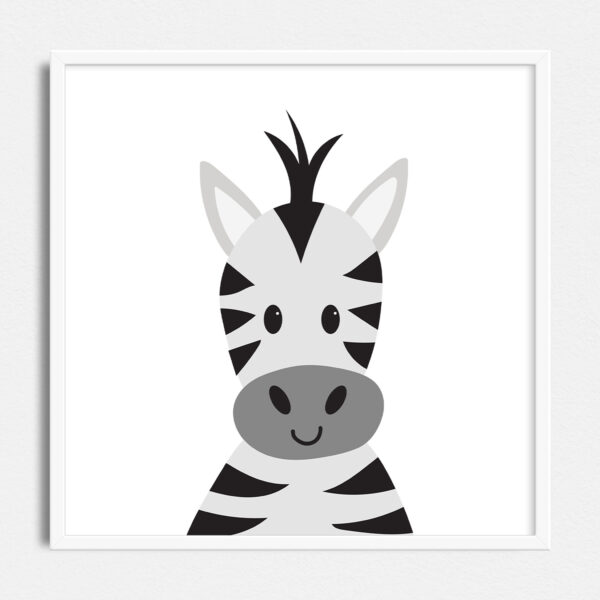
Cute zebra printables – perfect for an animal-themed nursery.
2023
A handy-dandy downloadable PDF of everything you need when making a quilt with a simple grid layout – materials list, cutting guides, layout templates and more for six different quilt sizes from Itty Bitty Baby to King.
2024
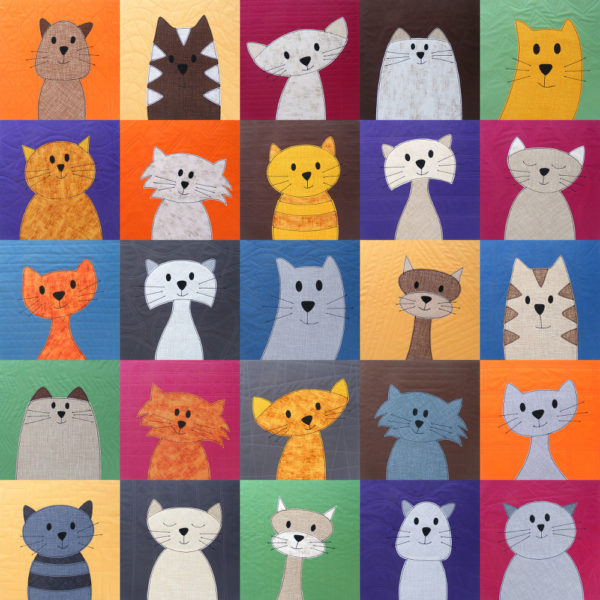
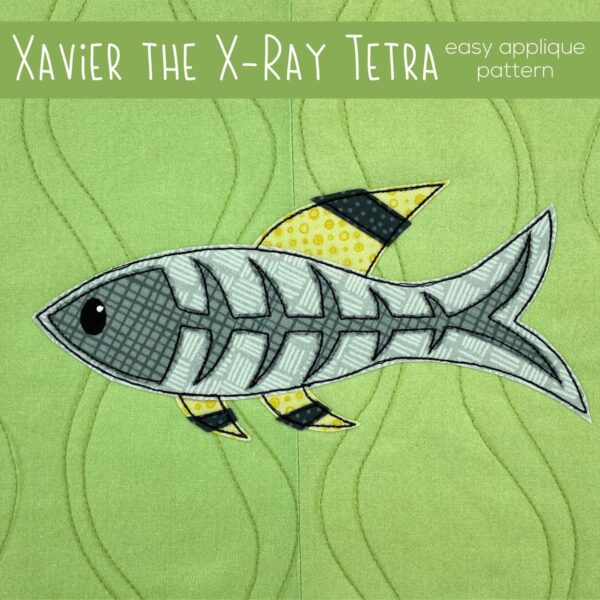
Designed especially to give people an X animal to use in ABC quilts. 😂 You can also make the fish without the visible skeleton, or use the skeleton all alone to add a fun extra somethin’ somethin’ to your Cuddly Cats quilts.
2025
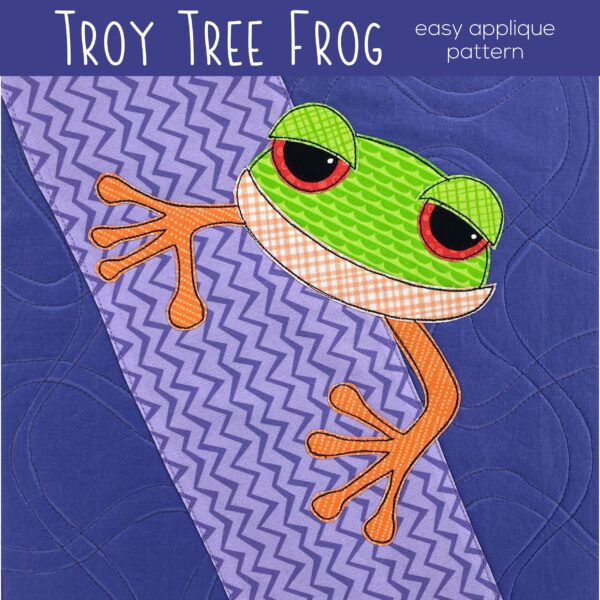
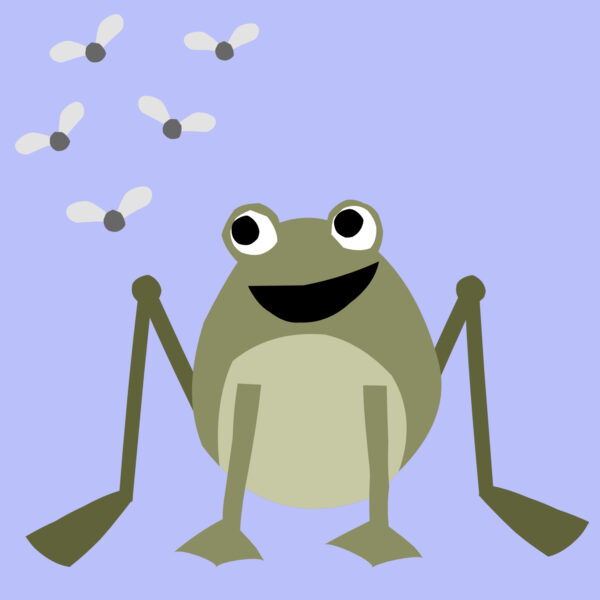
Troy the Tree Frog got an update! Now with SVG files and added tutorials.
The heart and soul of Shiny Happy World is in the archives. There are hundreds of free patterns and tutorials and it’s easy to be overwhelmed by all the information. Every Friday I share just a manageable sliver – a peek at what was happening during the same week of every year since the start of Shiny Happy World. This is Week 49.
I teamed up with Made By Joel to stitch his free gift tags art onto bags made with my free goody bag pattern. Fun!
2012
The perfect way to use up scraps of your favorite fabrics – and they make great gifts for a stitchy friend!
2013
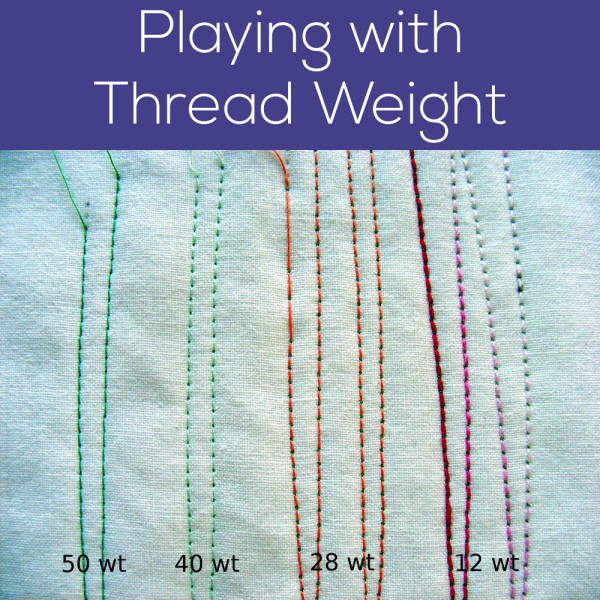
Sometimes to get a thicker line when I outline my applique, I use a thick thread. This post explains different thread weights and talks about the needle sizes you need, what to use in the bobbin, and how to adjust the tension.
2014
If you love hand stitching, you’ll love this project. If not, just move along. 😂
2015
***Included in Week 49 Sale***
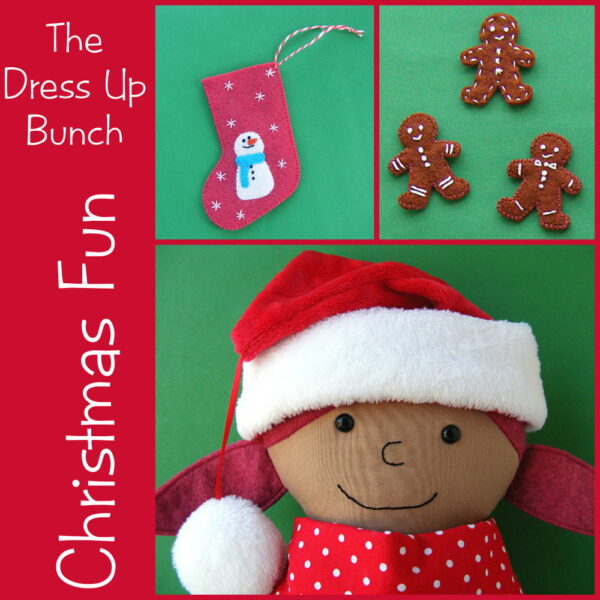
Cute Christmas accessories for your Dress Up Bunch dolls!
2016
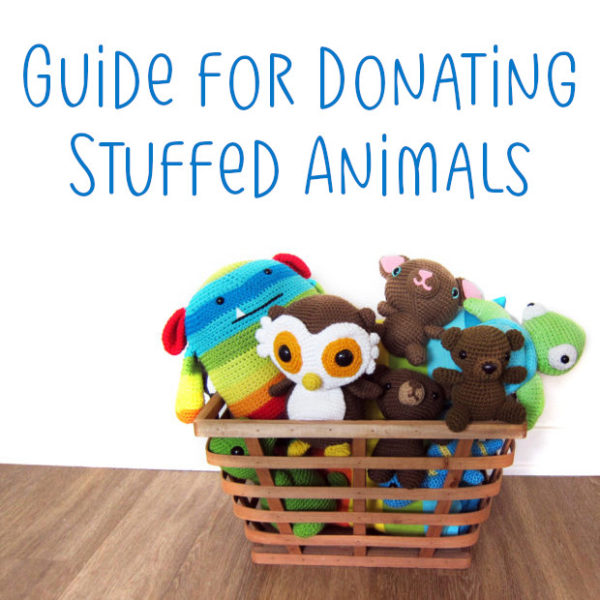
Some great things to keep in mind when donating stuffed animals, including suggestions for places that are often looking for donations. The post is specifically about stuffed animals, but a lot of the info applies to quilts as well.
2017
Stacey (the founder of FreshStitches) decided to retire and I added her crochet patterns and tutorials to Shiny Happy World.
2018
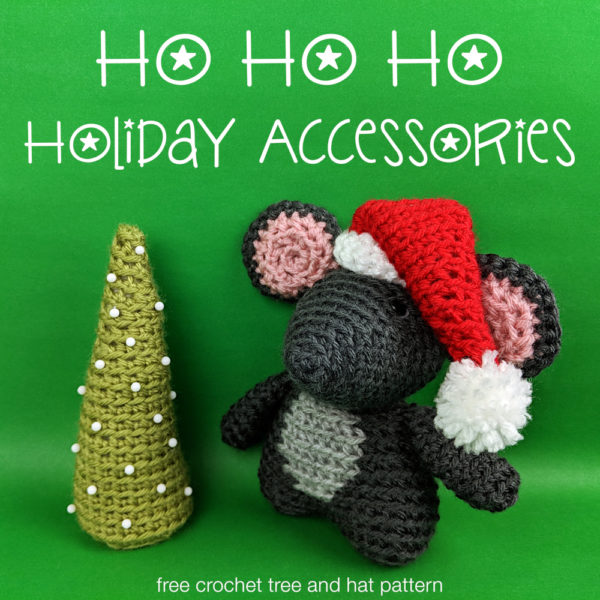
I designed this hat and tree especially to fit Milo the Mouse, but the pattern includes instructions for making them both bigger, to fit any stuffed animal. It’s super easy!
2019
***Included in Week 49 Sale***
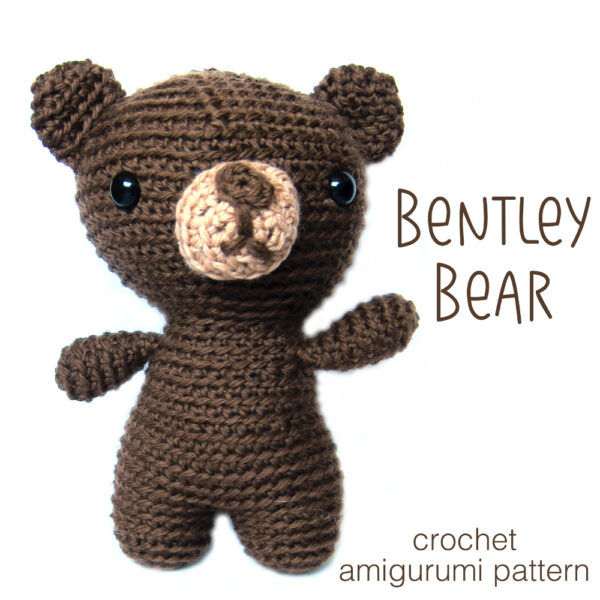
I love this little bear! Click through to see a cute polar bear version, stitched up in white yarn with an added scarf.
2020
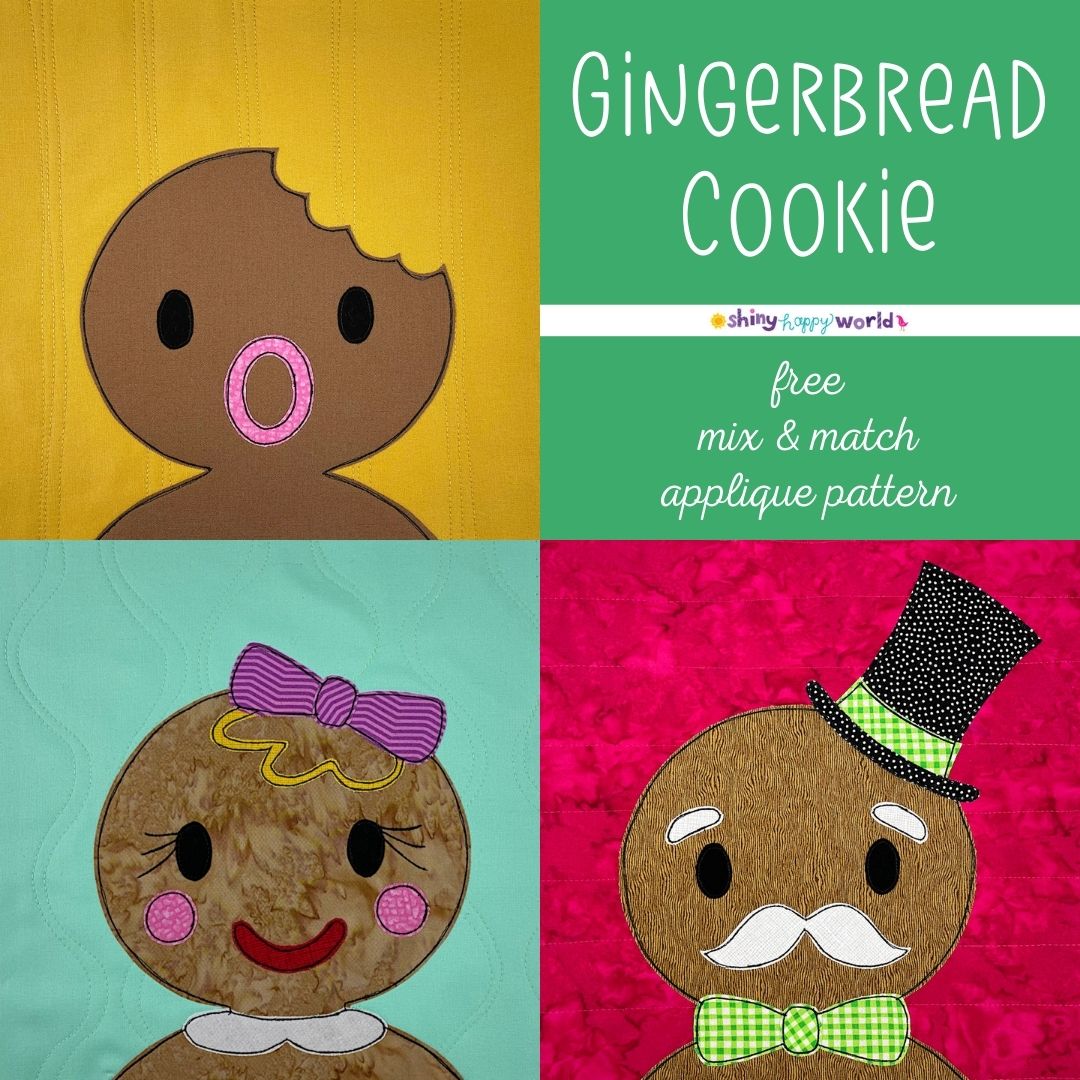
A fun mix & match pattern to make gingerbread cookies. Make a whole quilt full of gingerbread people!
2021
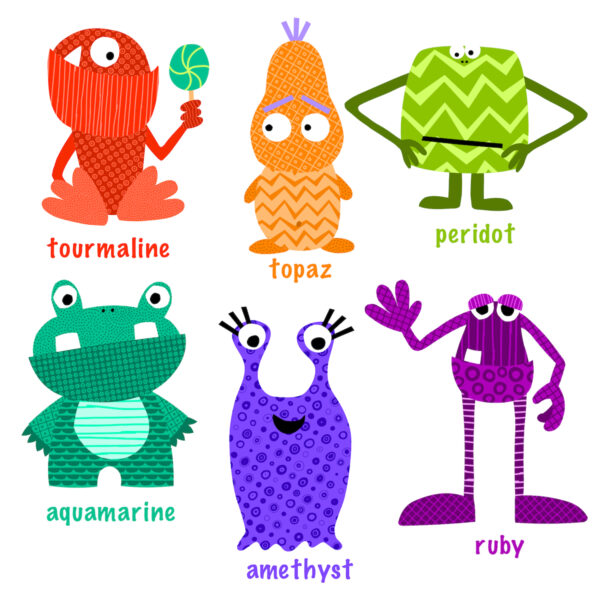
I love this little graphic I created to show my Gemstones color collection. It uses all the tertiary colors – red-orange, yellow-orange, yellow-green, blue-green, etc. but I gave them gemstone names because that’s more fun.
2022
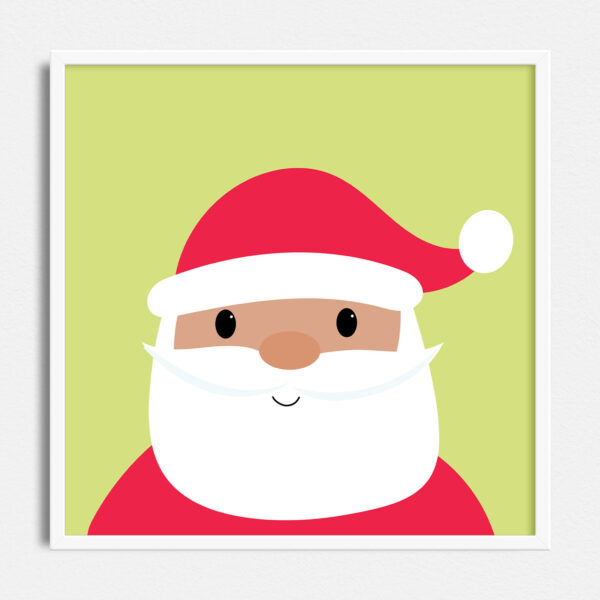
***Included in Week 49 Sale***
Cute Santa Claus printable art – use this to make cards, invitations, place cards, and more!
2023
Use these instructions and any quilt block patterns to make an adorable cloth book! At the end of the tutorial there’s a video showing me paging through the sample I made. Find the grumpy face!
2024
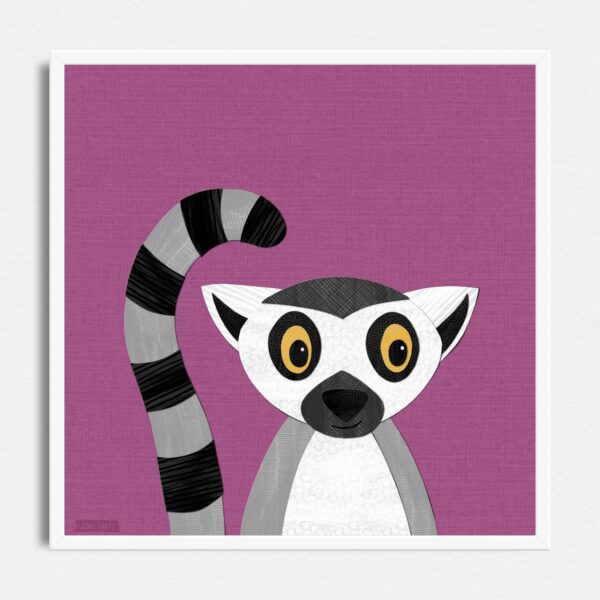
I made printable versions of Leighton Lemur – perfect for framing and hanging in a zoo-themed nursery or using for greeting cards or other craft projects.
2025
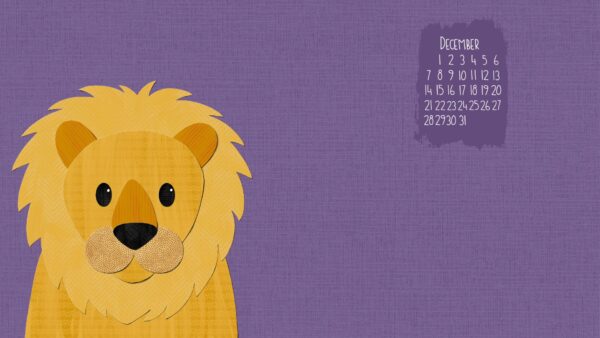
The lion is one of my most popular patterns, but I never put him on the monthly free wallpaper – until now. Did you know you can still download all the previous wallpapers without their calendars? They’re available wide and tall for different devices, and they’re always free. 🥰
The heart and soul of Shiny Happy World is in the archives. There are hundreds of free patterns and tutorials and it’s easy to be overwhelmed by all the information. Every Friday I share just a manageable sliver – a peek at what was happening during the same week of every year since the start of Shiny Happy World. This is Week 48.
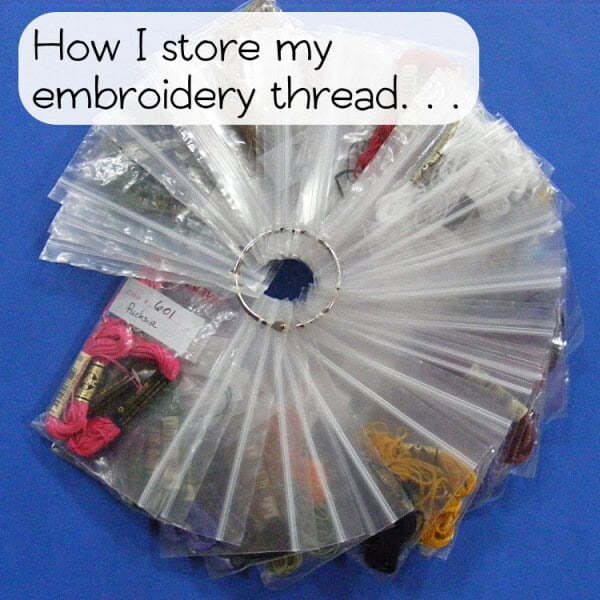
It’s not very pretty, but it keeps my thread clean, untangled, and organized. I’ve been storing it this way for over ten years now.
2012
It’s kind of a cross between a lazy daisy and a fly stitch and it works great for feathers, petals and scales. This video shows how to do it.
2013
***Included in Week 48 Sale***
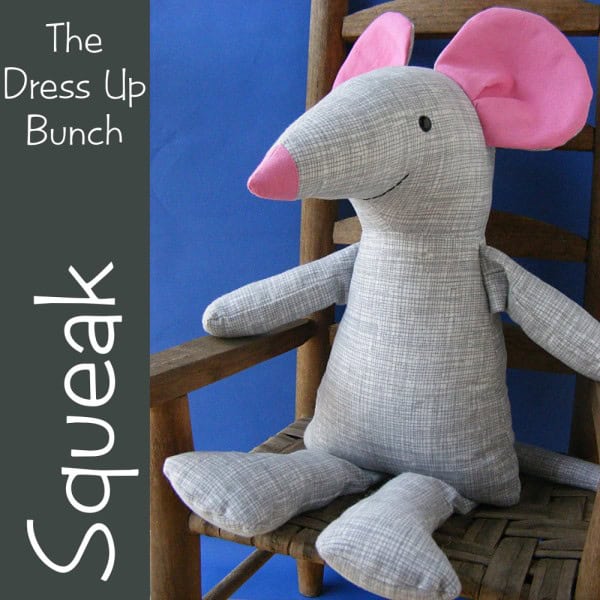
Squeak is an adorable dressable mouse rag doll – one of the Dress Up Bunch.
2014
***Included in Week 48 Sale***
Elliott is a lanky little elephant with fun, floppy arms and legs. This post has some info about how you can add Elliott’s head to Squeak’s body to make a dressable elephant doll!
2015
***Included in Week 48 Sale***
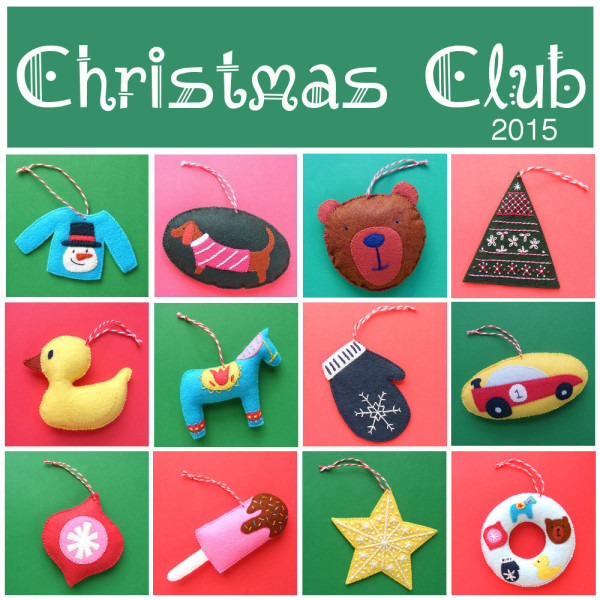
All the ornaments in the 2015 pattern collection! My favorites are the Dala horse, the snowman sweater, and the rubber duckie. 🙂
2016
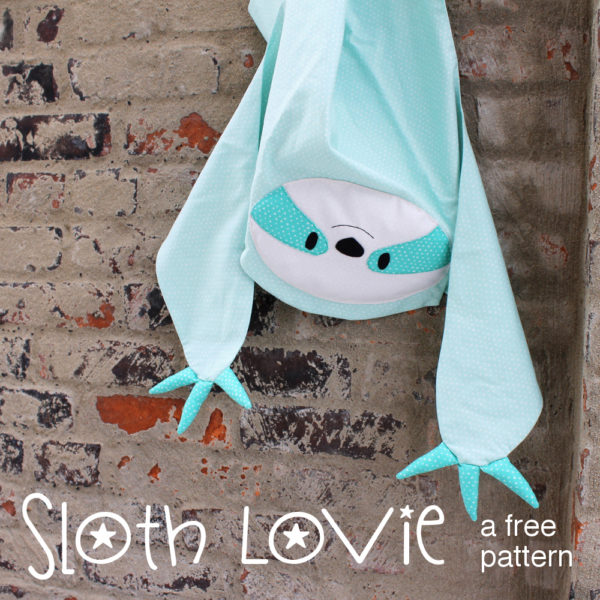
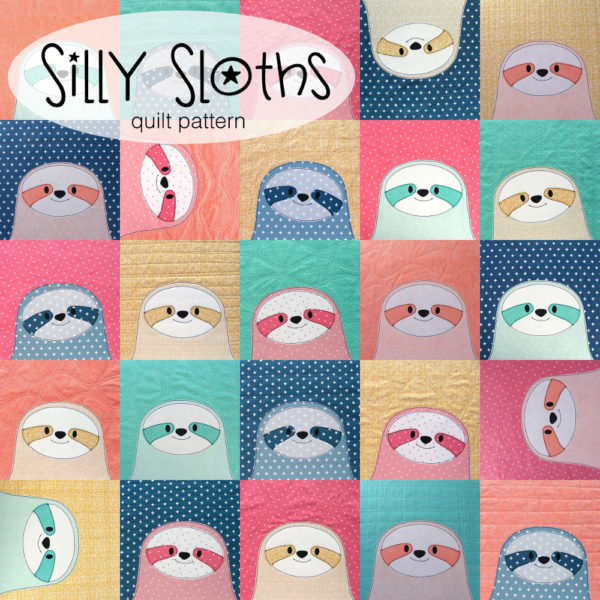
A free pattern for an adorable sloth lovie! This coodinates perfectly with the Silly Sloths quilt pattern.
2017
Make a cute Christmas quilt! This is just one of many free Christmas applique patterns.
2018
***Included in Week 48 Sale***
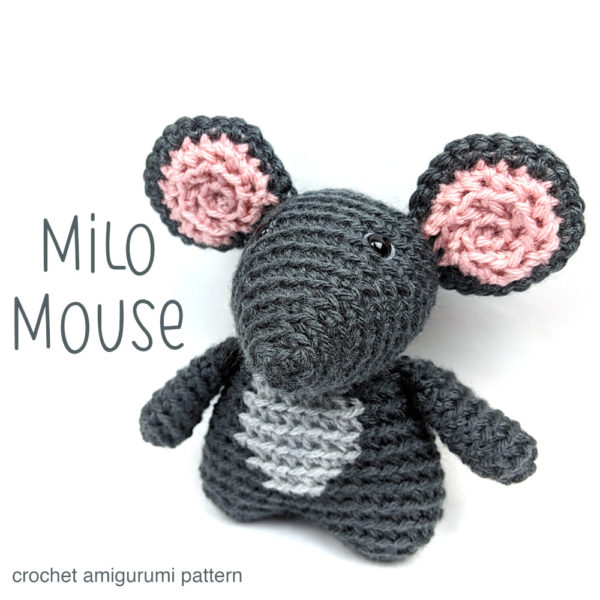
Milo is a perfectly pocket-sized mouse. He also make a great stocking stuffer!
2019
***Included in Week 48 Sale***
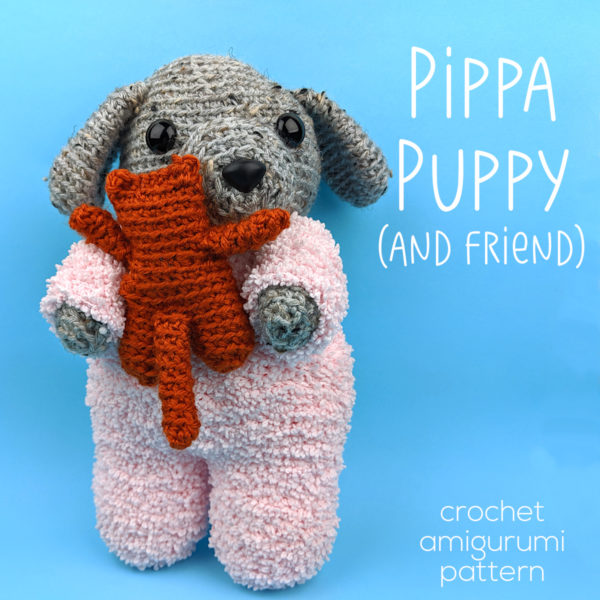
Pippa is one of my favorite patterns! I love her fuzzy PJs and tiny stuffed kitty. 🥰
2020
***Included in Week 48 Sale***
One of the coolest things about crochet patterns is that you can change the size of your project just by changing the thickness of the yarn used. No pattern adaptations needed! (My daughter love to crochet tiny versions of many of my patterns using perle cotton embroidery thread.) I love this extra-tiny version of Tipper the Tiny Crab that Alyssa made with sock-weight yarn. Add a loop and he’s an adorable Christmas tree ornament!
2021
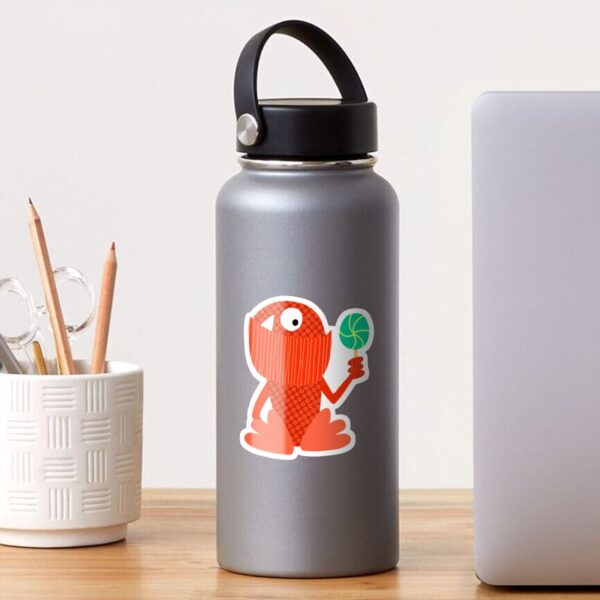
You can get lots of my designs on stickers at Red Bubble – and they’re usually having some kind of sale. 🙂
2022
***Included in Week 48 Sale***
Zebras are such classic nursery animals! I’ve always thought it would be fun to make a quilt with just this block repeated over and over again – in a bright rainbow of colors. 🌈
2023
***Included in Week 48 Sale***
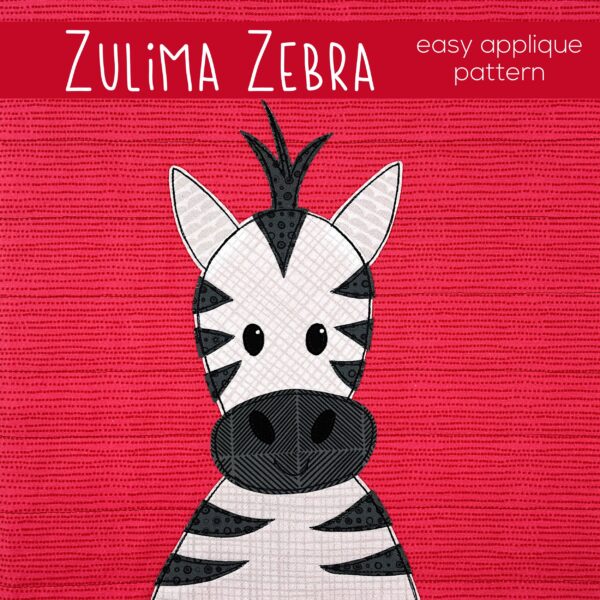
Another classic African animal! The eyelashes make it extra pretty. 😍
2024
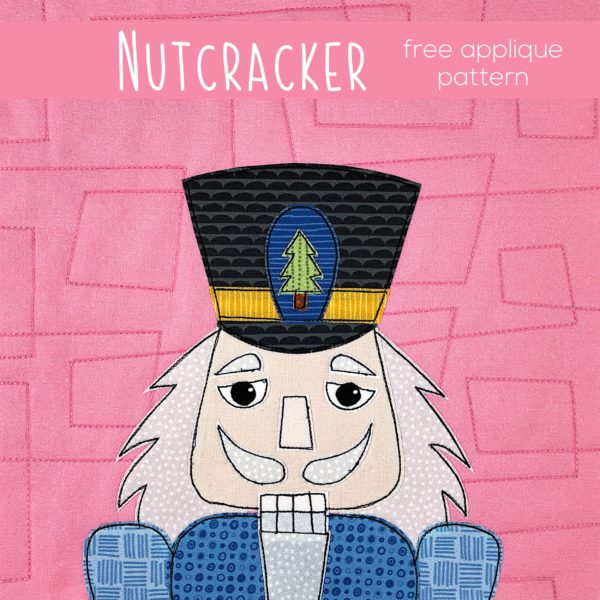
Another addition to the collection of free Christmas applique patterns. This one can be used for lots of everyday projects, too!
2025
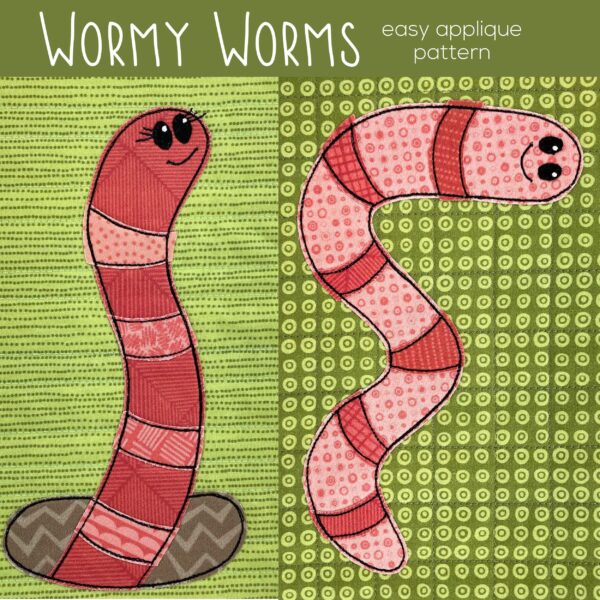
New! The pattern includes two sizes – giant worms to use to add half-blocks to your layout, and tiny worms to peek into blocks with other animals. Both are super fun!
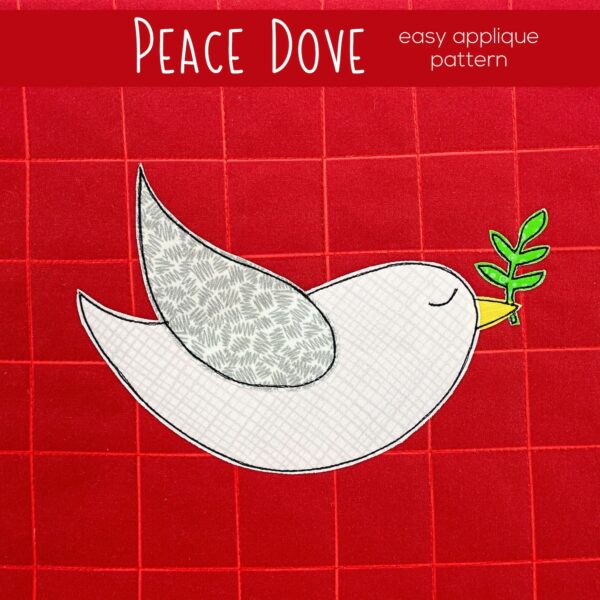
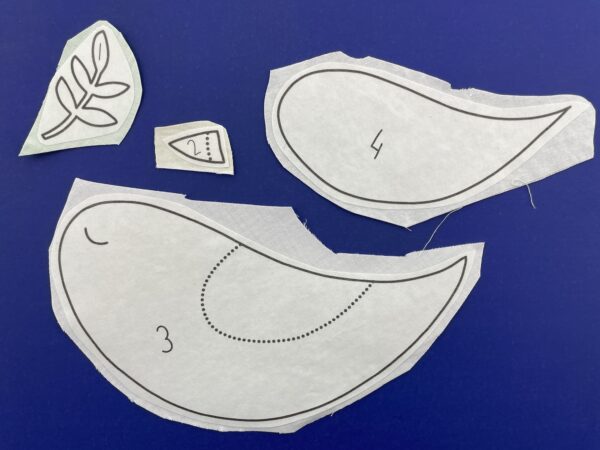
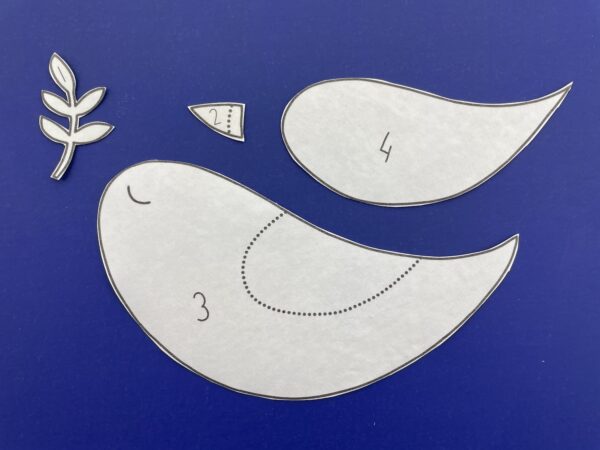
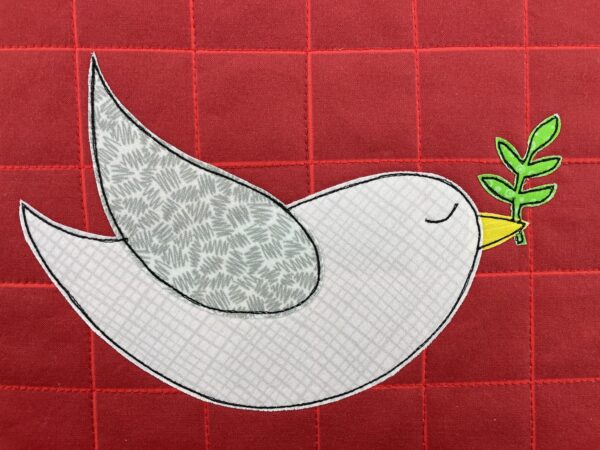
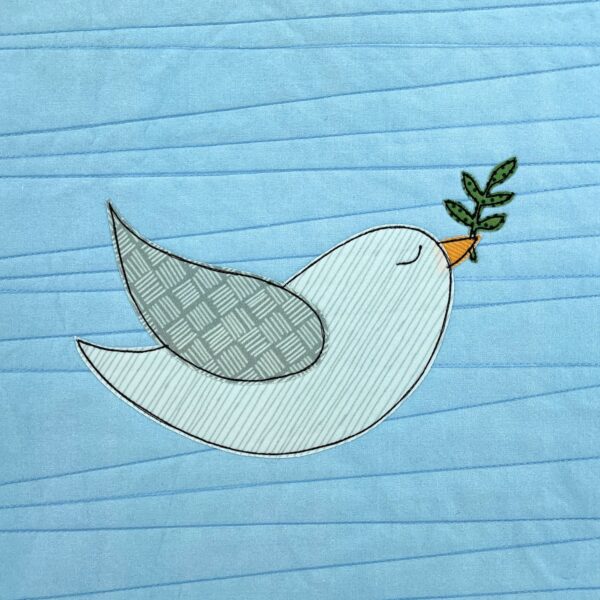
Use this free dove applique pattern to make all kinds of things!
Download the template pieces and placement guide here.
If you have an electric cutting machine, you can use it to cut your pieces. Download the SVG file here.
The dove combines with all the other free Christmas applique patterns so you can make a quilt, but there are so many other possibilities too! Here are just a few ideas (with links to free patterns) . . .
The dove is designed to make an applique that fits in a 10-inch square block. That makes it really easy to resize as needed. Do you want to make a 4 inch coaster? Print the pieces at 40% size. Do you want to make a tote bag that’s 17 inches square? Print the pieces at 170% size.
You can also easily use this pattern to make half-blocks to break up a standard grid. Just adjust the angle of the wing so it’s not tipped up so high and you’re all set – no resizing needed.
You can find yardage requirements and cutting guides for multiple layout possibilities (including a grid with half-blocks) here.
A Little Extra Help
If you’ve never made a quilt before, I recommend starting here.
If you’ve never done any applique before (or are new to my method) I recommend starting here.
There’s also a single video here that takes you through all the basic steps of my method.
You can find loads of single-topic tutorial videos here, and also by using the search box at the top of the page.
Prep Your Block
Cut an 11” square of fabric for the background, and an 11 inch square of batting.
Press the quilted block again (with steam) and let it cool.
This video has a general intro to my Quilt As You Go method, along with complete instructions for how to assemble the block. It’s a long video, but there’s timestamp info to help you skip to the specific instructions you want.
Cut Your Pieces
Download the template pieces and placement guide here.
If you have an electric cutting machine, you can use it to cut your pieces. Download the SVG file here.
The image in the SVG file is NOT reversed. If your cutting machine has you cut your pieces fabric side up, leave the orientation as it is. If your cutting machine has you cut your pieces fabric side down, you’ll need to flip the image horizontally.
Different cutting machine brands import the image at what seems to be totally random sizes. To fit the appliqué on a block that finishes at 10 inches square, check to make sure the small square in the image is one inch, and resize if necessary before ungrouping the pieces. Delete that square after resizing so your machine doesn’t try to cut it. 🙂
Print your templates.
If you’re cutting everything by hand you’ll need to print the reversed and exploded templates. If you’re using printable fusible adhesive you can print those pages directly onto the paper side of your fusible.
I hate to trace so I use printable Heat & Bond Lite for all my quilts – make sure whatever brand you choose is compatible with whatever type of printer you have.
If you’re using a light box you’ll also need to print the placement guide.
Roughly cut around each shape. Leave a little bit extra all the way around each piece.
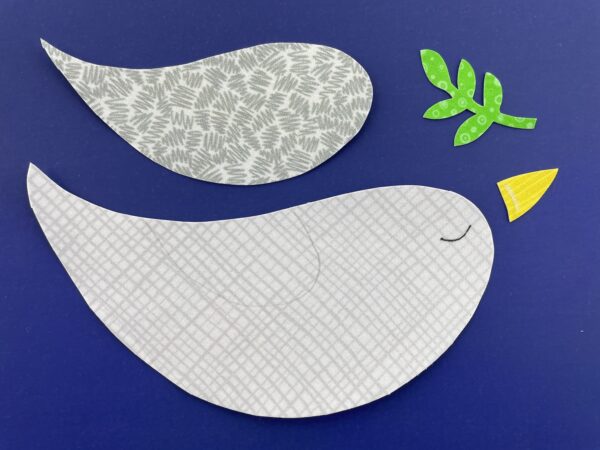
Follow the package instructions and fuse each piece to the wrong side of the fabric.
Cut out each piece neatly, directly on the solid lines.
Cutting after you fuse ensures that the adhesive goes right to the very edge of the fabric.
Trace the dotted lines onto the fabric. If you hold the pieces up to a window, the light will make the lines very visible – even on dark fabric.
If you want to skip this step, this video shows how to use a light box. If you use a light box, you only need to transfer the eye.
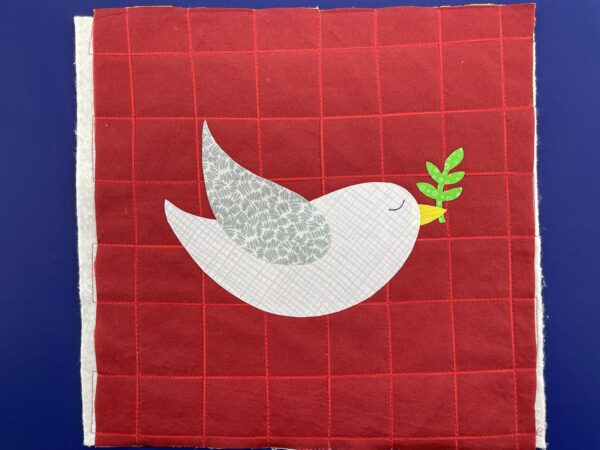
Put It All Together
Peel off the paper backing and arrange the pieces on your background block. Fuse in place according to the adhesive package instructions.
This video shows the assembly with me explaining how I’m layering the pieces.
This video shows the same thing – but using a light box to guide placement.
Stitch all the edges down. You can use any stitch you like, in matching or contrasting thread. I really love the look of a simple straight stitch with black thread.
The heart and soul of Shiny Happy World is in the archives. There are hundreds of free patterns and tutorials and it’s easy to be overwhelmed by all the information. Every Friday I share just a manageable sliver – a peek at what was happening during the same week of every year since the start of Shiny Happy World. This is Week 47.
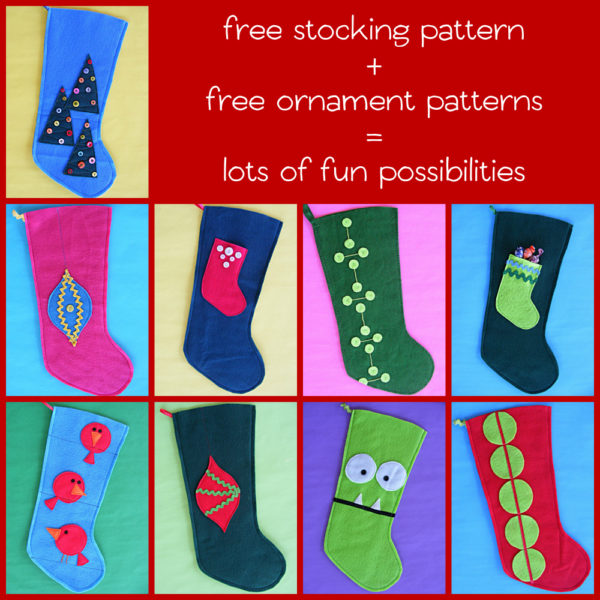
Combine my free unlined felt stocking pattern with my free felt ornaments pattern and you can make all kinds of really cute Christmas stockings!
2012
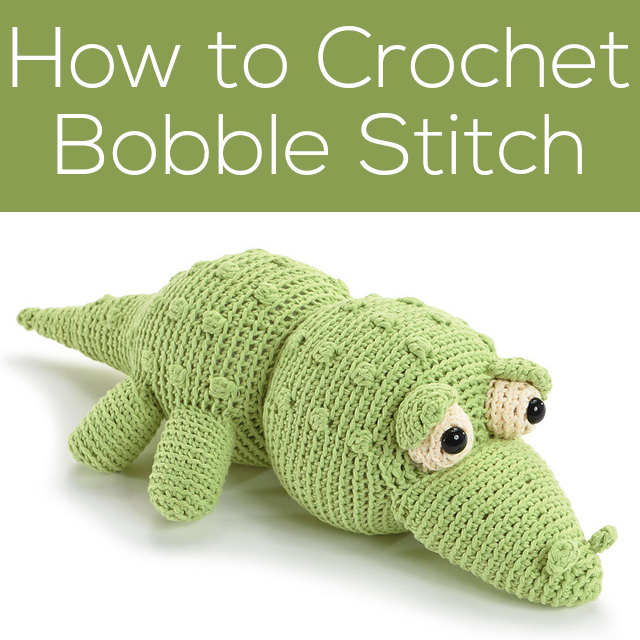
Bobble stitch makes an awesome texture on all kinds of crocheted stuffed animals. This video shows how to do it.
2013
A free embroidery pattern, perfect for Thanksgiving.
2014
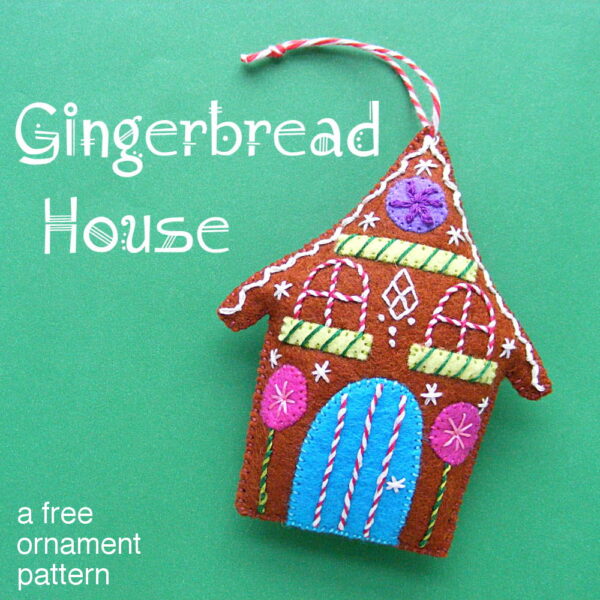
A free pattern for a sweet gingerbread house. It’s loaded with fun embroidered details, but uses only the very simplest stitches.
2015
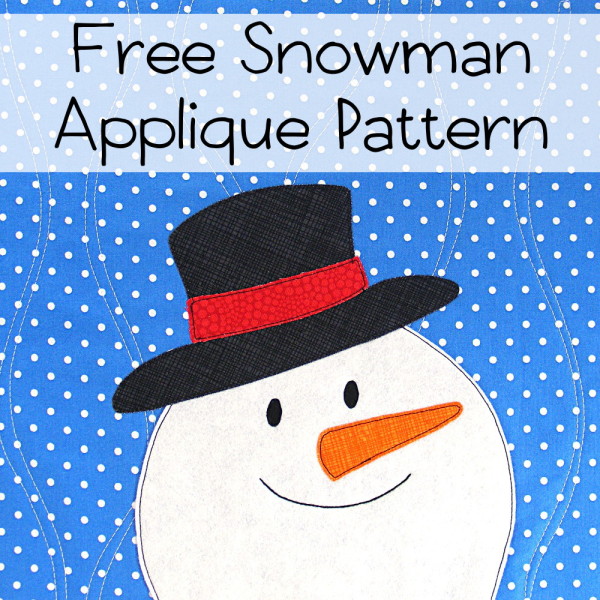
Make a happy snowman with this free applique pattern!
2016
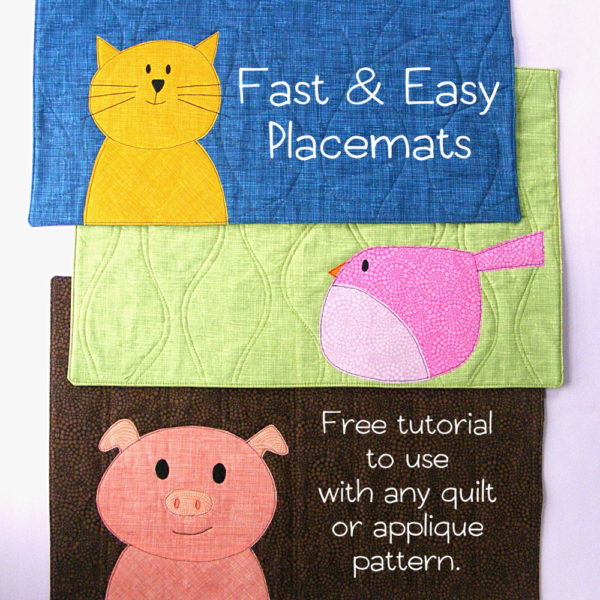
Use this easy placemat pattern along with just about any of my applique patterns – including all the free ones!
2017
***Included in Week 47 Sale***
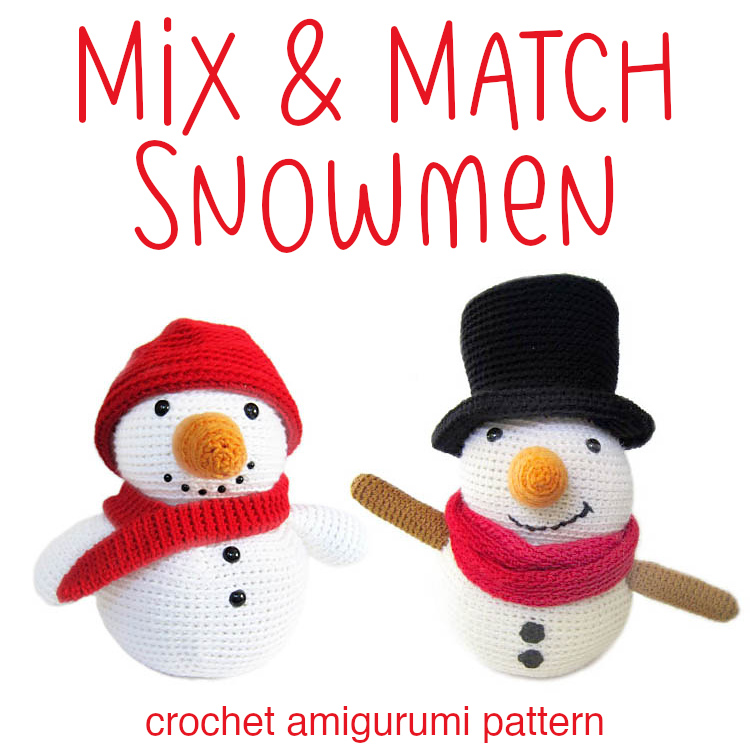
This pattern includes instructions for lots of different parts you can mix and match to create your own unique snowman.
2018
***Included in Week 47 Sale***
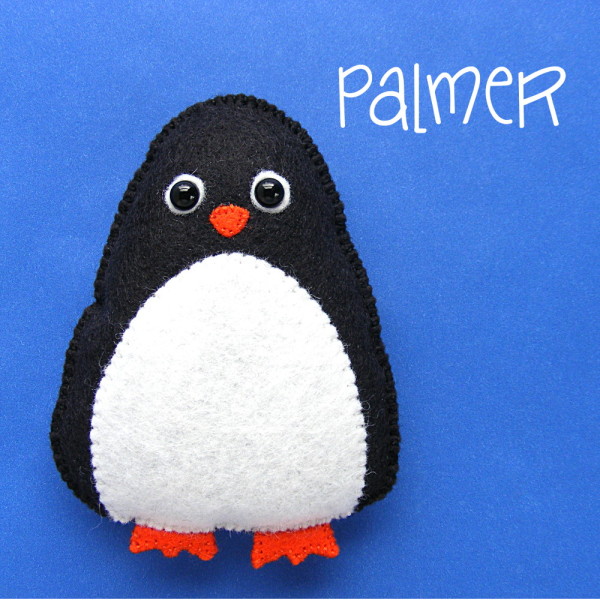
Stitch up an adorable felt penguin! Palmer is just the right size to be a stuffed animal for one of the Dress Up Bunch dolls (he’s included in the Winter PJs pattern) or add a yarn loop and hang him on your Christmas tree!
2019
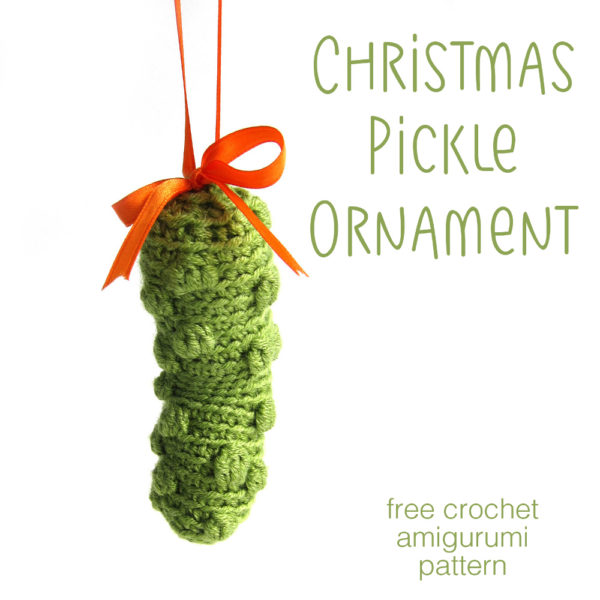
Stitch up a cute Christmas pickle ornament! The bumps are made with bobbles from the tutorial released exactly seven years ago this week.
2020
***Included in Week 47 Sale***
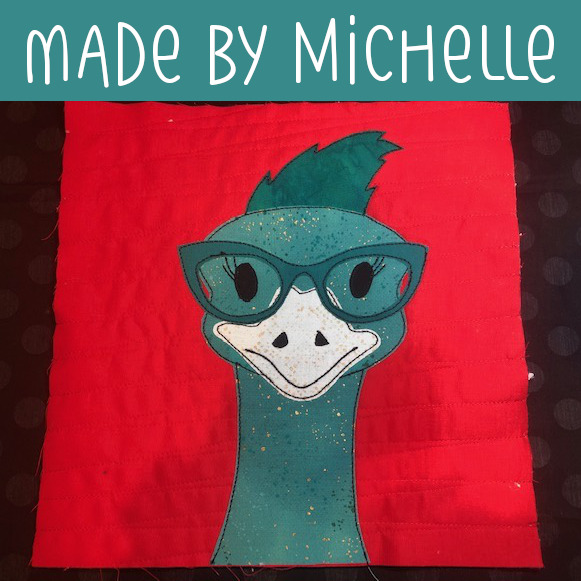
I adore this version of Eloise Emu that Michelle made, adding a pair of glasses from the Fancy Doodads pattern! Both the Emu and the accessories patterns are on sale this week.
2021
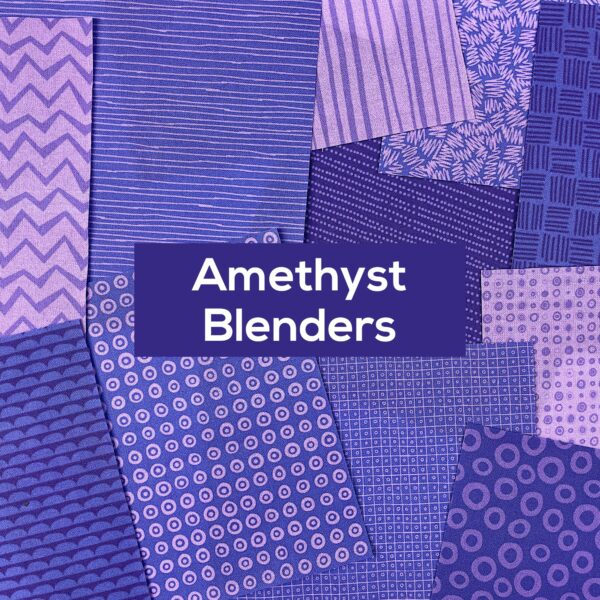
One of my first collections of blenders! The amethyst blenders are part of the Gemstones collection of bright, saturated tertiary colors. They pair perfectly with the Classic Rainbow collection of primary and secondary colors to make a complete rainbow.
2022
Another free pattern in the Christmas applique collection!
2023
***Included in Week 47 Sale***
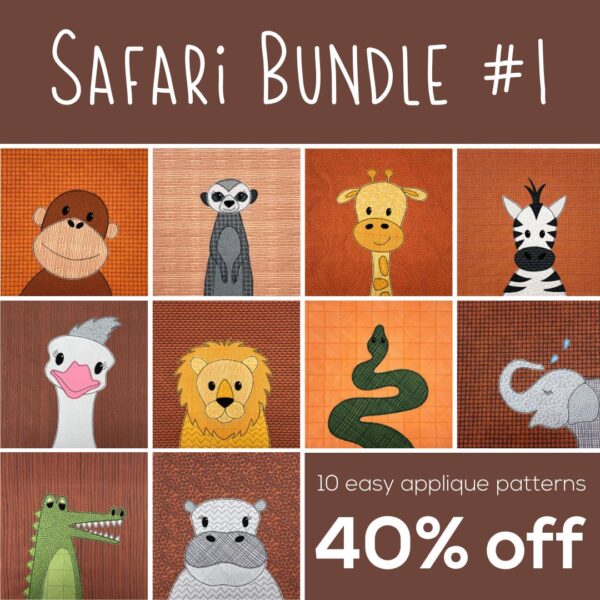
A deeply discounted bundle of TEN individual applique patterns! This is included in the Week 47 Sale, and that discount will be on top of the 40% discount already built into the bundled price.
2024
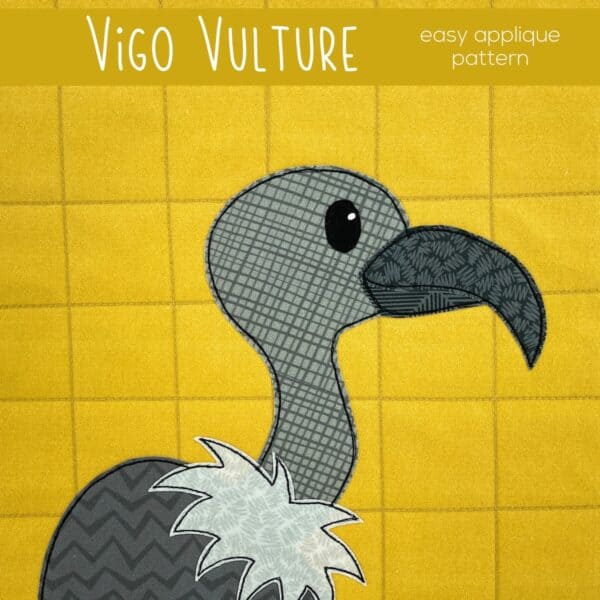
Make a vulture or condor – a great addition to Safari and Zoo quilts.
2025
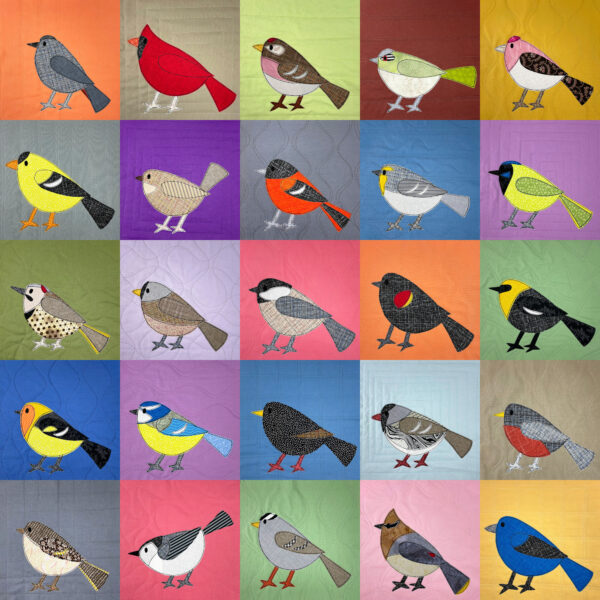
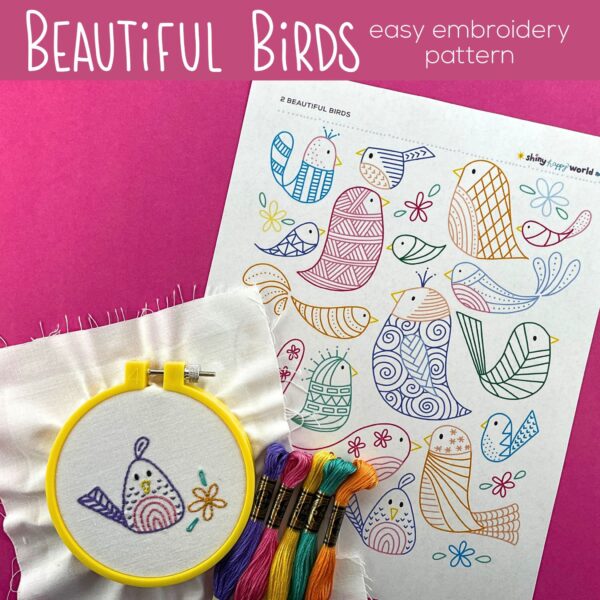
I updated the Birds embroidery pattern – one of my very first – adding new birds, more tutorials, and more color palettes.
The heart and soul of Shiny Happy World is in the archives. There are hundreds of free patterns and tutorials and it’s easy to be overwhelmed by all the information. Every Friday I share just a manageable sliver – a peek at what was happening during the same week of every year since the start of Shiny Happy World. This is Week 46.
A super simple unlined felt stocking pattern that you can decorate any way you like! The post has loads of suggestions.
2012
This video shows how to strand your yarn when you’re working short color changes – like making the contrasting chest on this adorable little owl.
2013
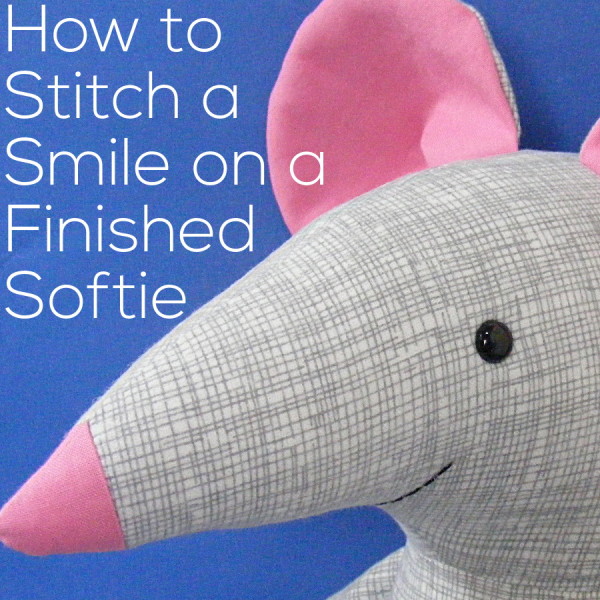
Usually I embroider any facial features before I sew and stuff a doll or stuffed animal, but sometimes it makes more sense to do it afterwards. This video shows how to do it. The technique also works well for repairing worn stuffed friends without taking them apart.
2014
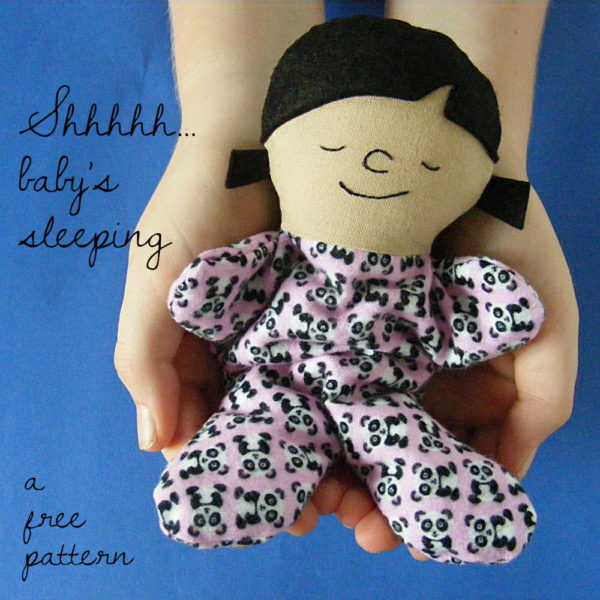
A free pattern for an itty bitty pocket-sized baby. This one also makes a great stocking stuffer!
2015
***Included in Week 46 Sale***
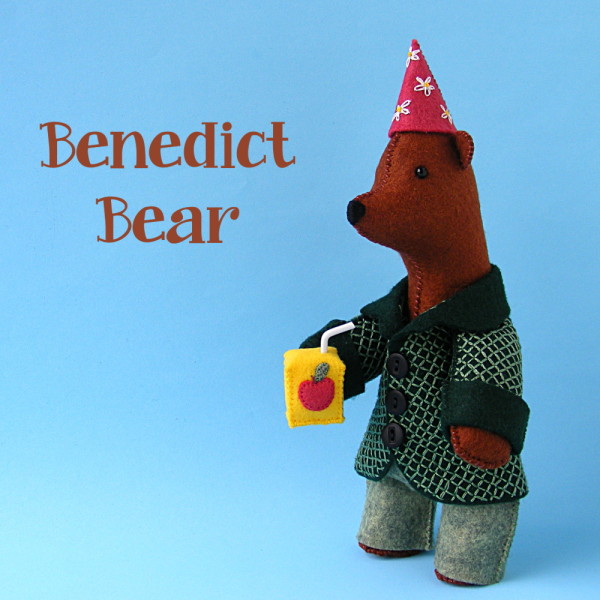
Benedict Bear is my favorite of all the Party Animals. I’ve made him so many times – and my daughter made an especially nice polar bear version. 🥰
2016
***Included in Week 46 Sale***
This is one of my favorite patterns to recommend for beginners who are a little nervous about trying applique. It’s really easy to make, and making the same block over and over again is a great way to practice. It’s also a terrific way to use up scraps!
2017
***Included in Week 46 Sale***
I was inspired by the movie Frozen to make this fancy wool coat, hat and boots. The collection also includes the long-sleeved dress she’s wearing under her coat.
2018
***Included in Week 46 Sale***
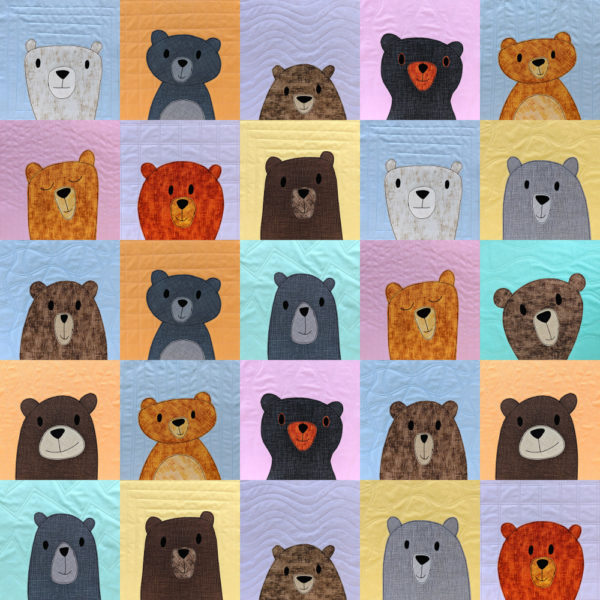
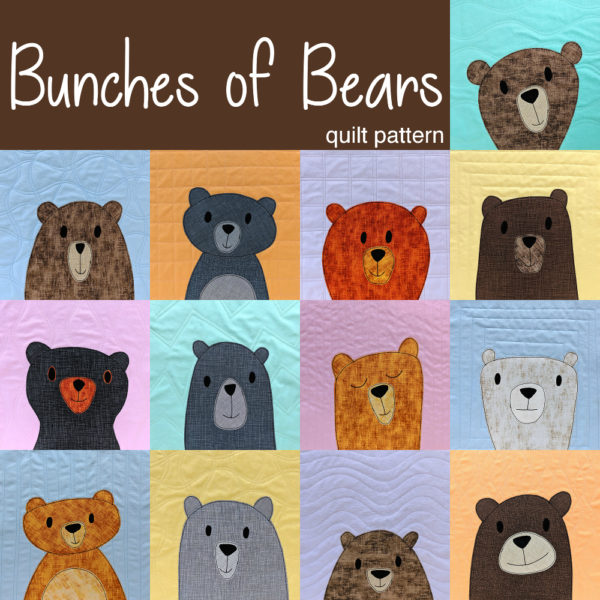
Make a cuddly bear quilt – perfect for winter snuggling. You can add even more faces by mixing and matching heads, ears and faces between the bears!
2019
***Included in Week 46 Sale***
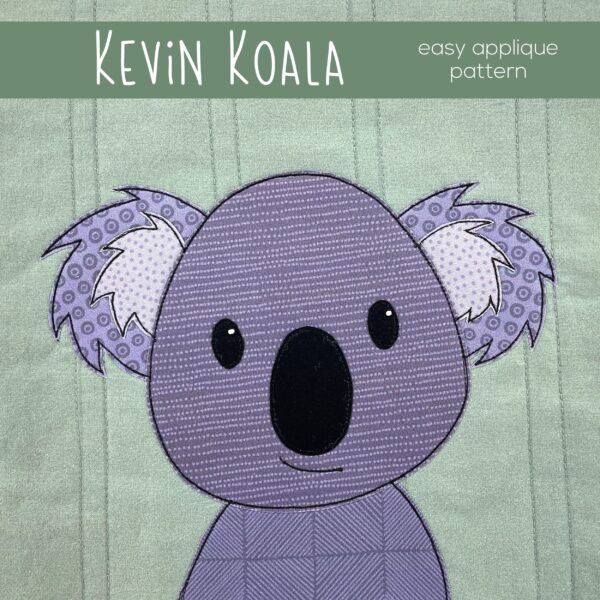
Kevin Koala is such an incredible cutie! I love those fluffy ears. 🥰
2020
***Included in Week 46 Sale***
Just in time for some Thanksgiving sewing! Pair this with the free placemats pattern and decorate your holiday table!
2021
***Included in Week 46 Sale***
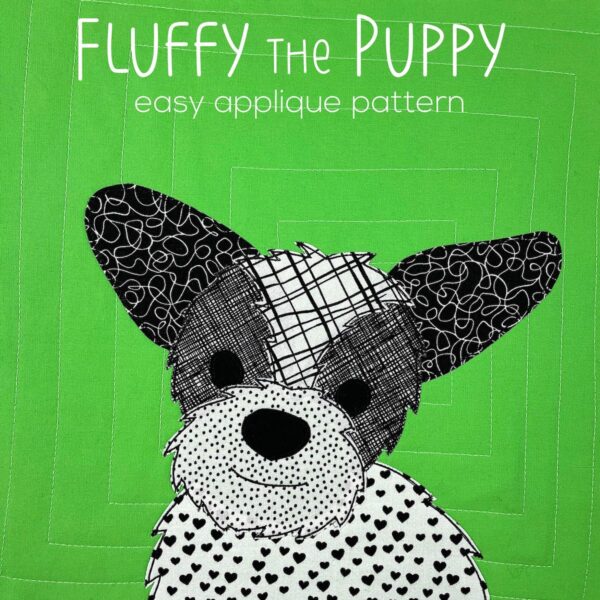
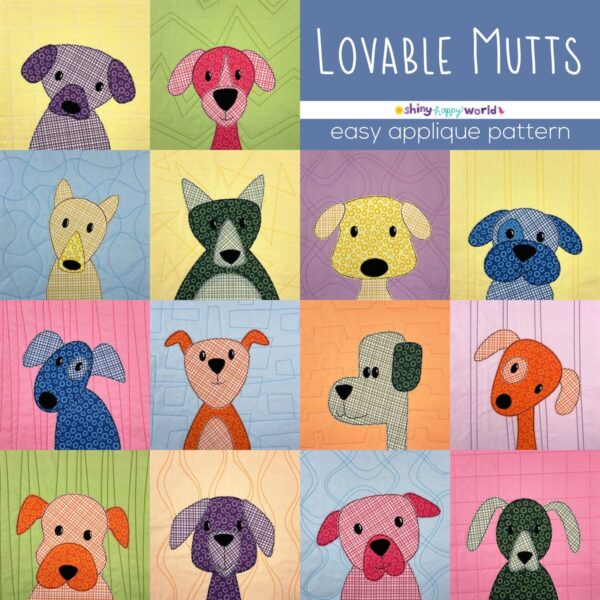
Make a sweet, fluffy puppy face. You can add this one to any of the other dog quilt patterns.
2022
I stopped selling tools and supplies, but I’m not going to leave you hanging! This post lists all of my favorites, along with links to sources where you can find them.
2023
***Included in Week 46 Sale***
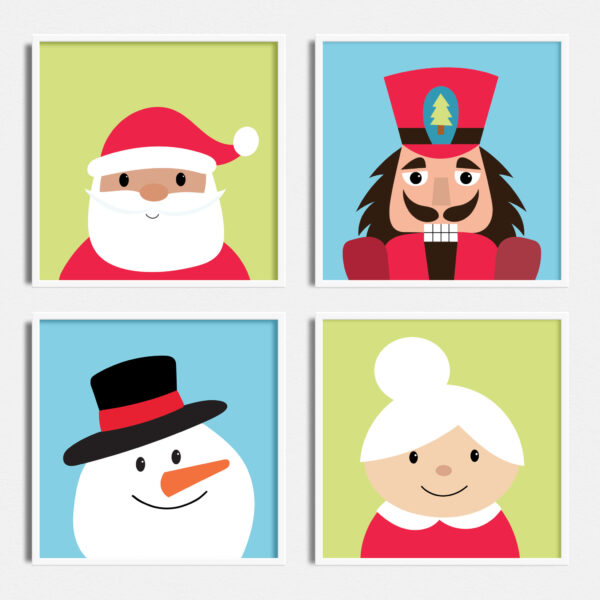
This is a bundle of holiday printables you can use to make greeting cards, gift tags, invitations, and more! Each design comes in several sizes, plus a PNG with no background so you can drop it onto any color you like.
2024
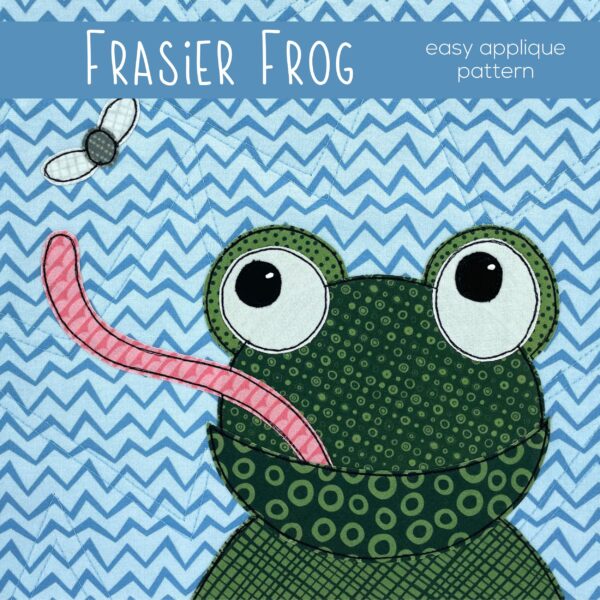
I updated the Frasier Frog pattern to include SVG files and light box instructions.
2025
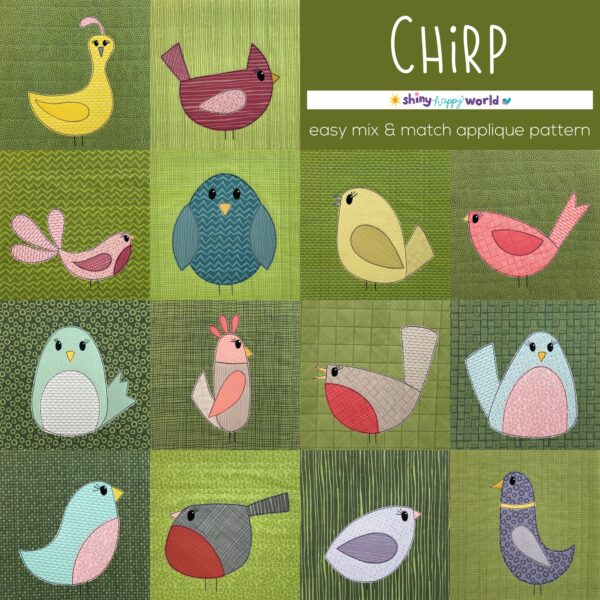
I updated the Chirp pattern – adding more birds and redesigning the pieces so you can mix and match them to create even more unique birds!
The heart and soul of Shiny Happy World is in the archives. There are hundreds of free patterns and tutorials and it’s easy to be overwhelmed by all the information. Every Friday I share just a manageable sliver – a peek at what was happening during the same week of every year since the start of Shiny Happy World. This is Week 45.
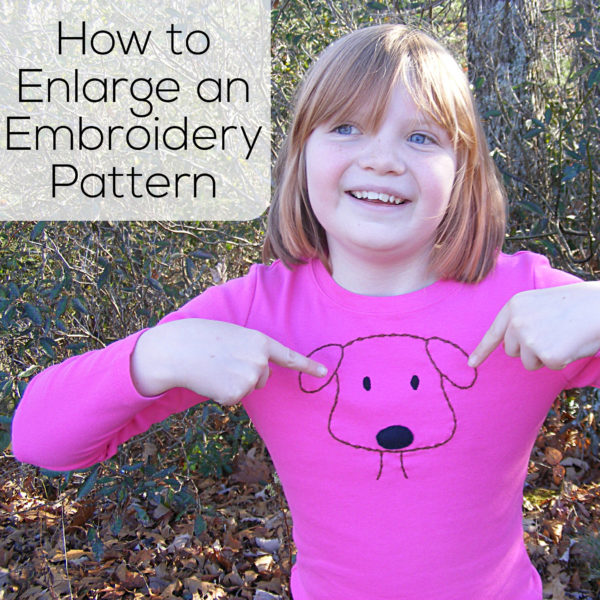
This post has everything you need to embroider a teeny tiny embroidery pattern onto a T-shirt. You’ll learn how to enlarge the pattern, and also what kind of stabilizer you need to use to stitch on stretchy T-shirt fabric.
2012
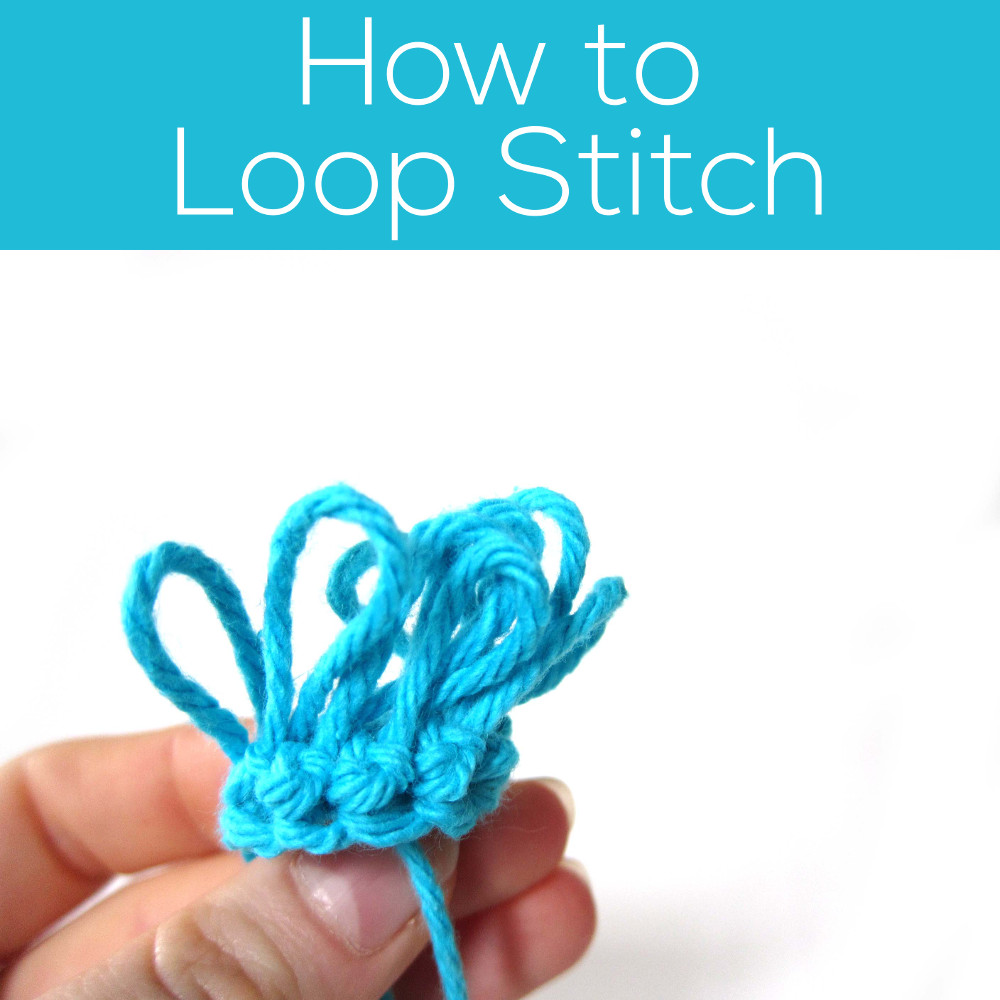
This post has a video and also photo tutorials showing how to do the fun loop stitch – a great way to crochet fluffy ears and tails.
2013
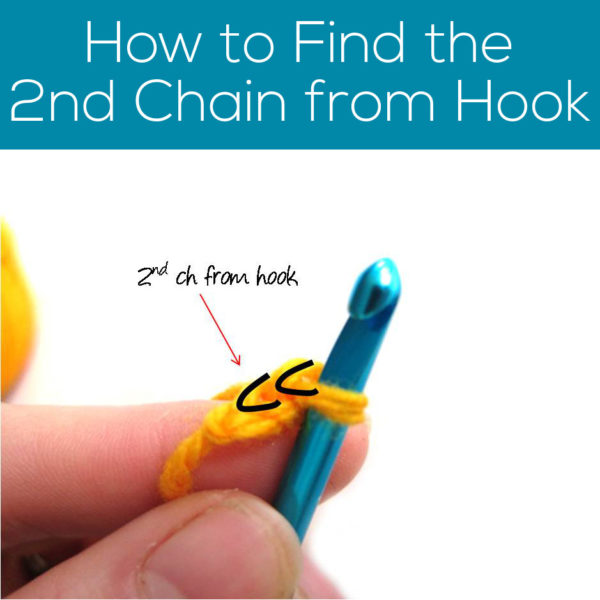
Many crochet patterns start by telling you to crochet a certain number of chains, then single crochet in the second chain from the hook. When you’re just getting started, it can be really hard to figure out which is the second chain – so this post lays it out for you in really clear photos.
2014
Everything you need to make an easy charity quilt using scraps, Quilt As You Go, and an easy stitch-and-flip technique that means almost no measuring.
2015
A free pattern for an easy lined Christmas stocking. This one uses an older version of the free Santa applique pattern, but you can decorate it with any of my applique patterns.
2016
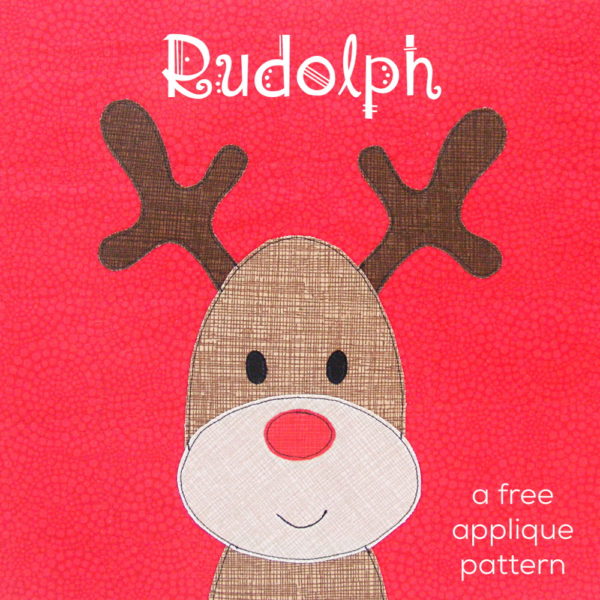
Speaking of free Christmas applique patterns, here’s Rudolph! You could also add this to the Arctic Chill quilt pattern – just use black for the nose instead of red. 🙂
2017
***Included in Week 45 Sale***
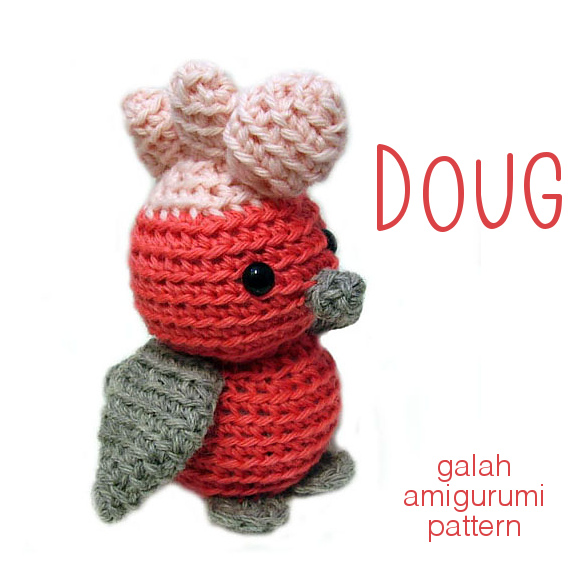
This adorable little bird pattern is so versatile! I’ve used it to make a galah, but also a cockatiel and other crested birds, and if you leave off the crests you can make all kinds of other little songbirds! For one entire summer, this was my go-to baseball game project. Most games were long enough to completely finish one bird.
2018
***Included in Week 45 Sale***
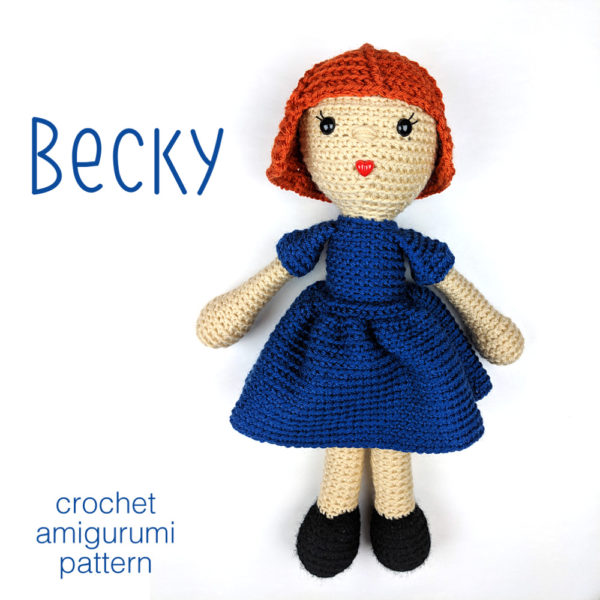
Crochet a cute little doll!
2019
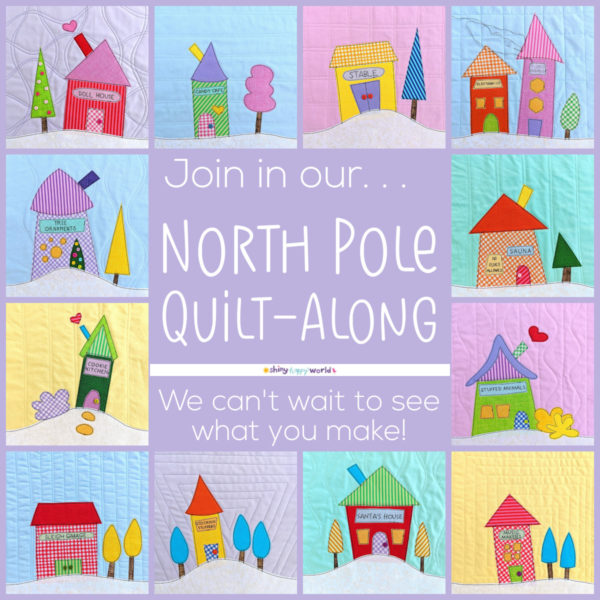
The Quilt-Along is over, but the post still has some great info to inspire you! We used the Shiny Happy Houses pattern and the free Santa’s Workshop Signs to make all kinds of cute North Pole Projects, including placemats, stockings, gift bags, and more.
2020
***Included in Week 45 Sale***
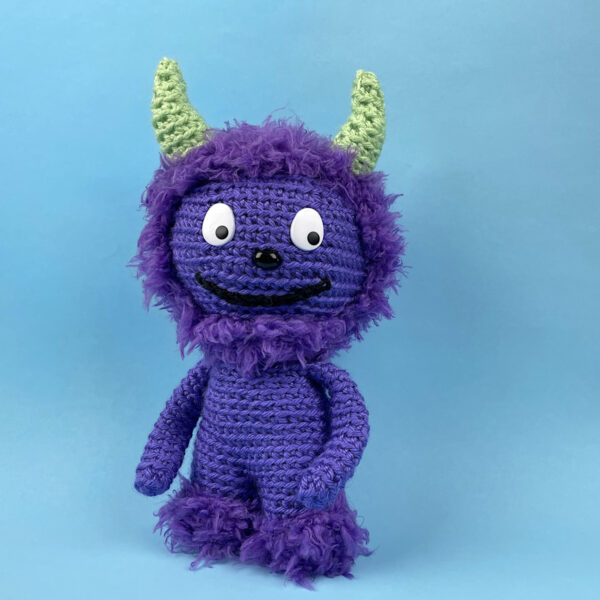
Last week I shared the Mix & Match Monsters crochet pattern. My daughter created all the ones you see on the cover, but this little guy is one I came up with. I love him. 🥰
2021
More experimenting with digital cut paper art.
2022
***Included in Week 45 Sale***
A major overhaul of one of my very first patterns.
2023
Making your very first quilt can be really overwhelming. I have a ton of tutorials, but it can be hard to know where to start. This breaks it down into just six easy steps, with links to more info for each step.
2024
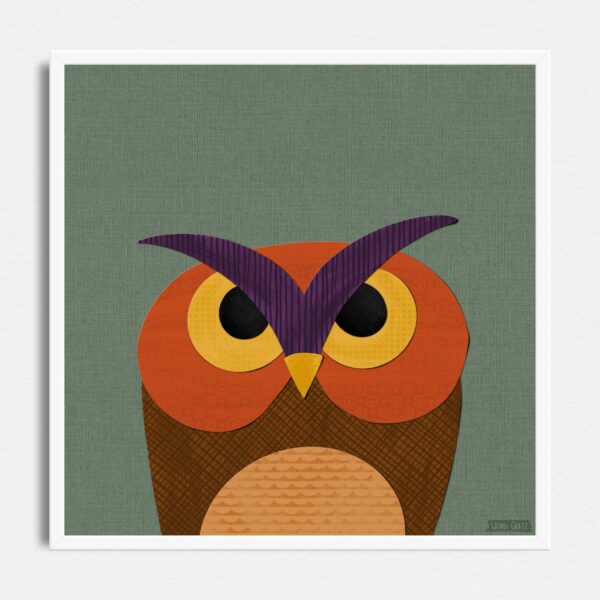
Love this fierce owl! This is a set of printables in a bunch of different sizes – and also a version with a transparent background so you can drop it onto a color background you like.
2025
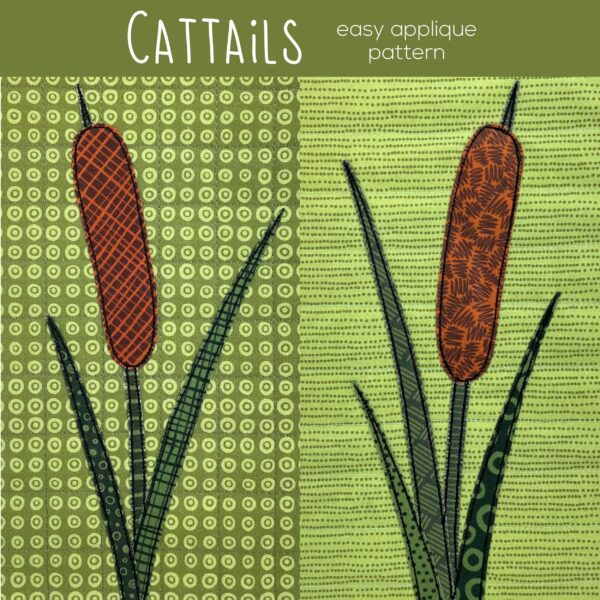
I’ve been creating more half-block patterns to add environments – and extra interest – to your quilts. These cattails are a terrific addition to all the pond animals!