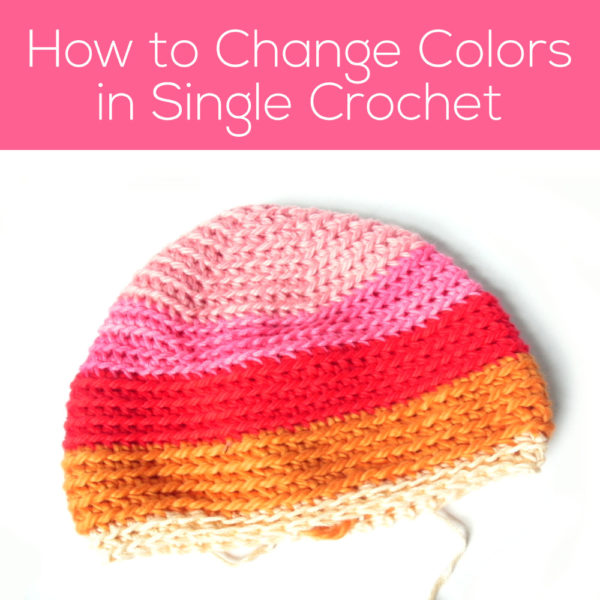
How to Change Colors in Single Crochet

How to Change Colors in Single Crochet - a video tutorial from Shiny Happy World

How’s your cow (for the FreshStitches CAL) coming along?

You already know that I’m making a rainbow cow… basically, changing to a new color every few rows to get rainbow-y stripes.

Do you want to know how to change colors?

Of course you do!

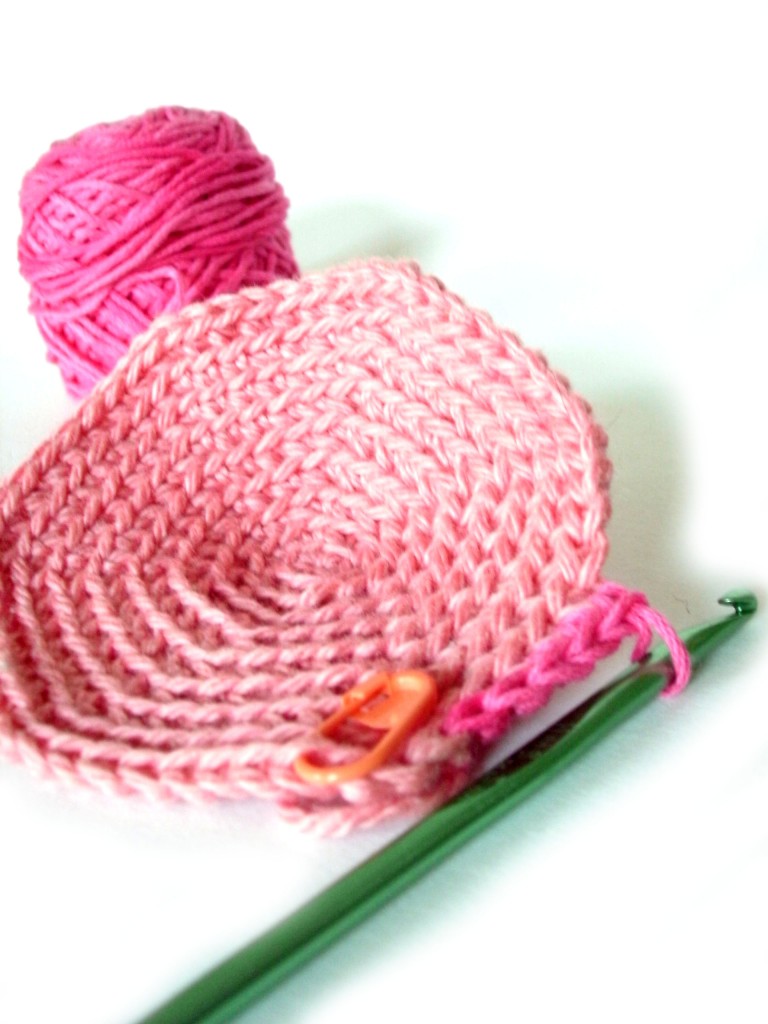
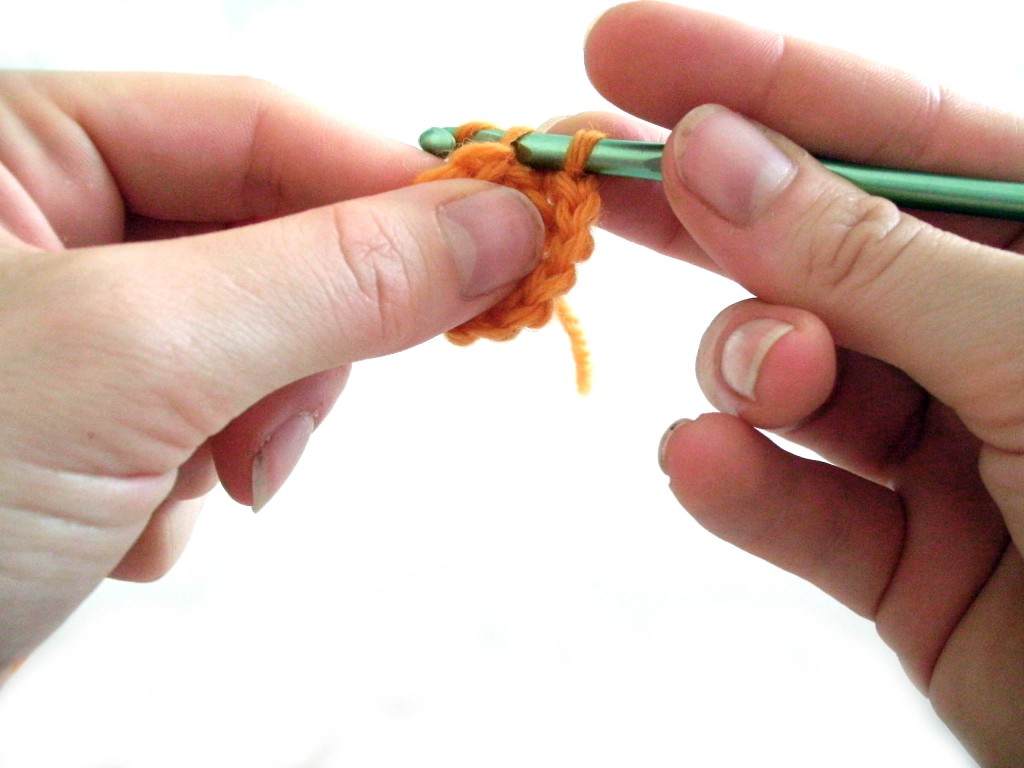
So, I made this little video of me doing the first color change: (click on the square icon in the lower right corner of the video to view it in full screen)


Not so hard, is it?

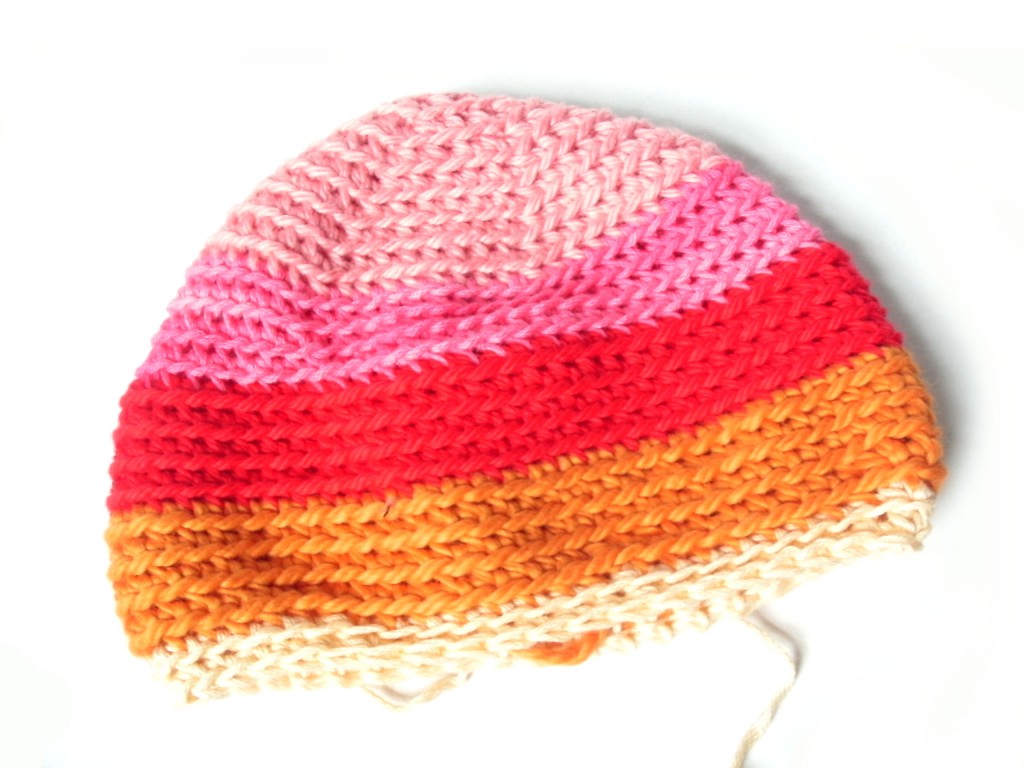
And if you keep changing colors every few rounds, you’ll end up with a super-fun, stripey head!

Want to get a little fancier? There’s a way to change colors and minimize the look of the little “step” that results. Watch that video here.

Here are handy links to all the posts about changing yarn color in crochet. . .

Return to the main table of contents for Let’s Learn to Crochet Amigurumi.

Move on to the lessons about crocheting stuffed animals in different sizes.

Happy stitching!

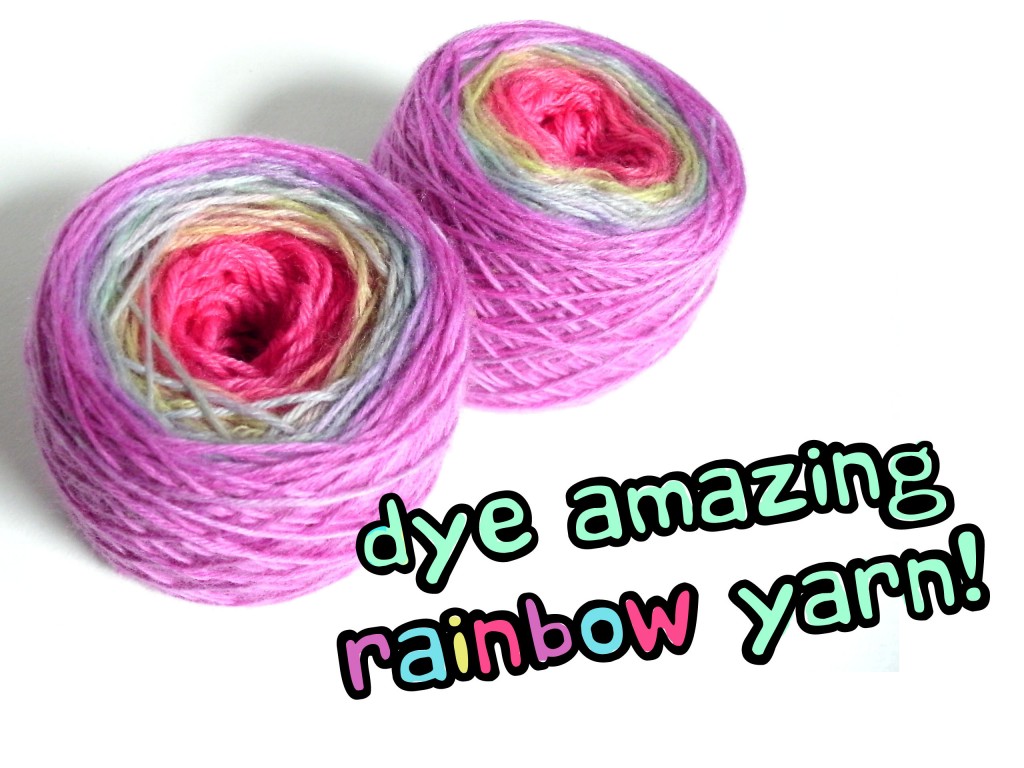
Tutorial: Tie-dye amazing rainbow yarn!

You remember tie-dye, right? The dye that you used to make funky-colored t-shirts when you were a kid? Would you believe that you can use tie-dye to create amazing yarn? It’s true! In this post, I’ll show you how to use Tulip Tie-Dye to create a uniquely-dyed rainbow yarn!

Materials You’ll Need

You only need a few things to get started: a tie-dye kit and a sock blank… let me fill you in on the details!

Tie-Dye Kit

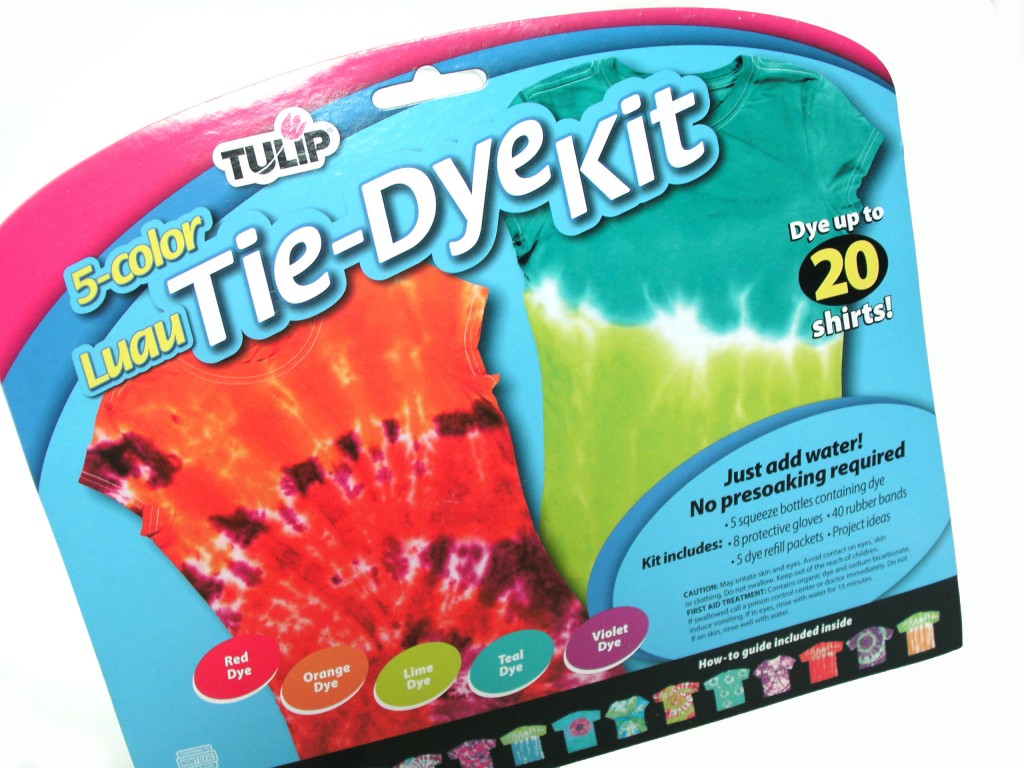
Since you want a variety of colors, getting a kit (which contains a set of dyes) is the easiest way to tie-dye. I used the Luau Tie-Dye kit (made by Tulip)… but they have a range of kits available (bright colors, rainbow, neon…), so you should be able to find the combo for you!

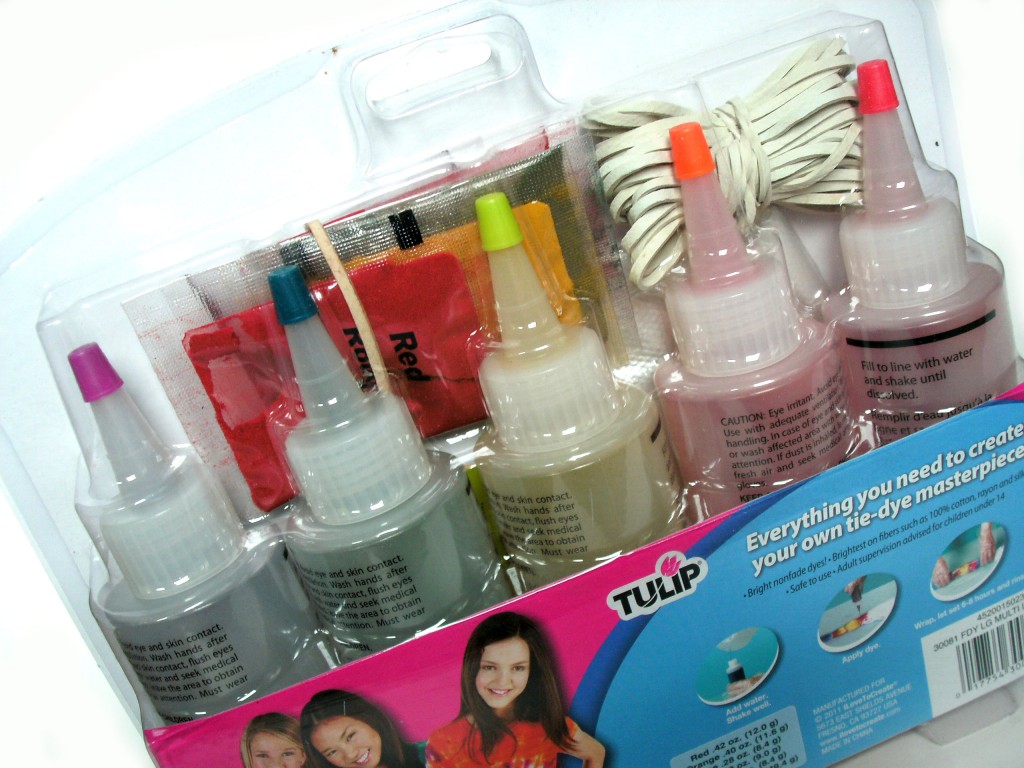
The kit contains:

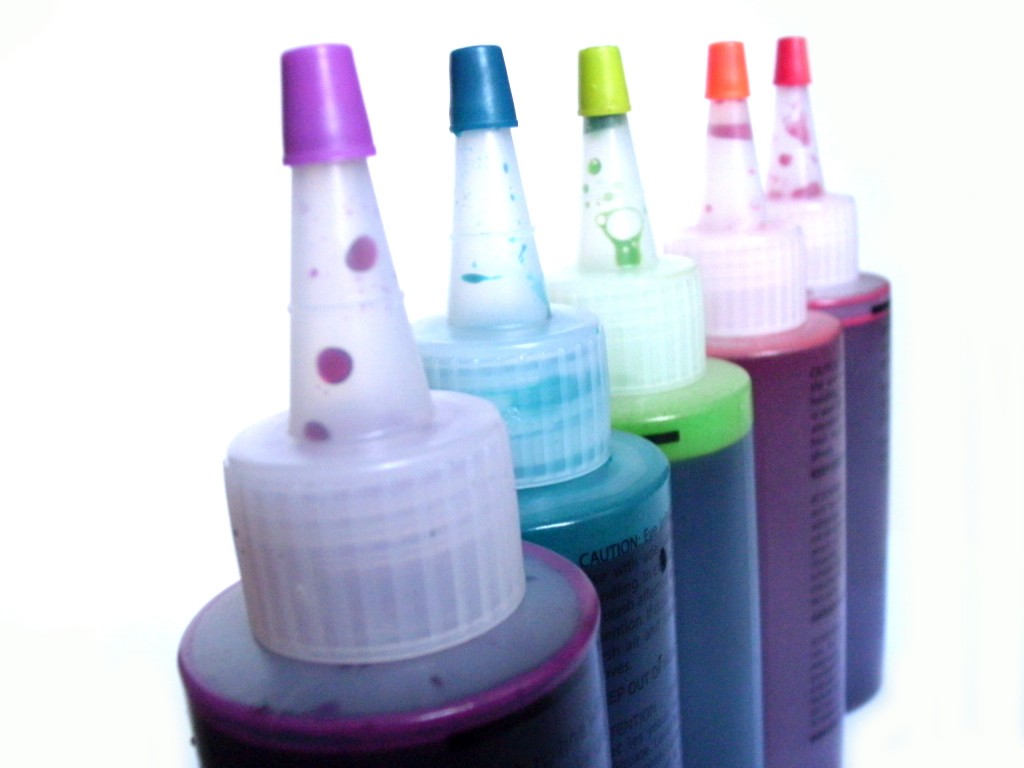
  • 5 color-coded applicator bottles (filled with dye, in colors: red, orange, lime, teal and violet)
  • 5 packets of extra dye
  • gloves (so you don’t also dye your hands)
  • rubber bands
  • a project idea booklet

Sock Yarn Dye Blank

Have you heard of a ‘yarn blank’ before? It’s a pre-knit rectangle of yarn specifically made for dyeing… that you can unravel and wind into fabulous yarn.

I got my sock blank from Knit Picks… not just because they’re one of the only companies to offer blanks, but because I happen to think theirs are pretty awesome! Their Sock Yarn blank is actually a double strand, so when you unravel it, you’ll wind up with two identically-dyed balls of yarn. How cool is that?

How to Dye Rainbow Yarn

Have your materials? Let’s get started! (of course, you should read over the dyeing instructions in the kit, first… but you knew that, right?)

Step 1: Prepare your dye

Preparing the dyes is pretty easy… since the applicators are already pre-filled with dye powder, just add water to the bottles and shake!

Step 2: Prepare your blank

I wanted soft, gently-flowing color changes (instead of crisp lines), so I began with a dampened blank. This allows the colors to bleed more freely.

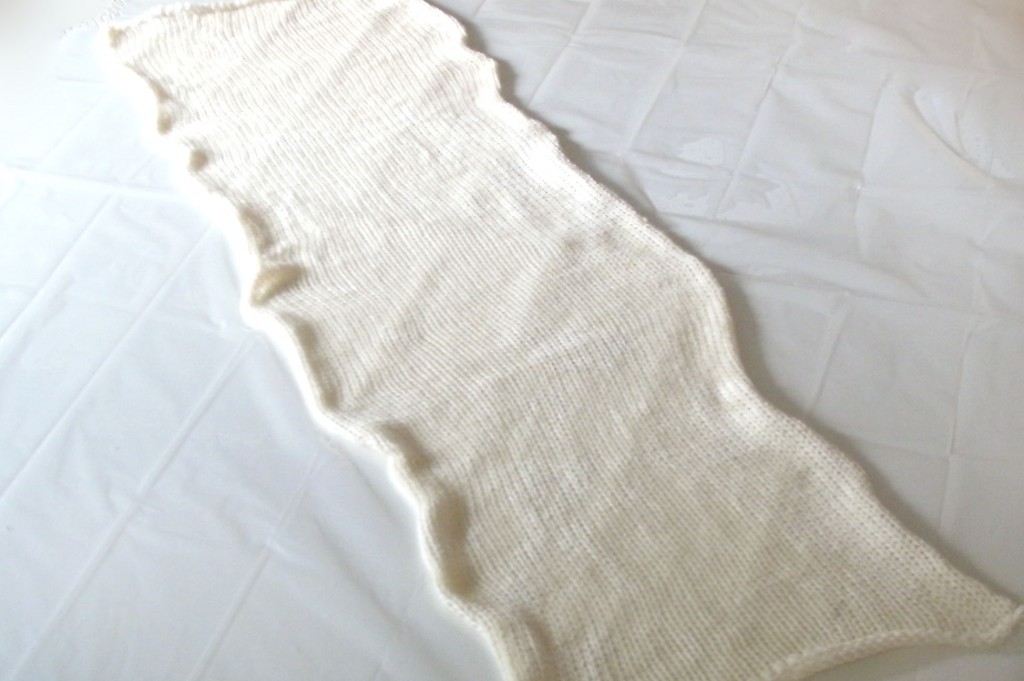
I covered my table with a plastic sheet, and laid out my blank:

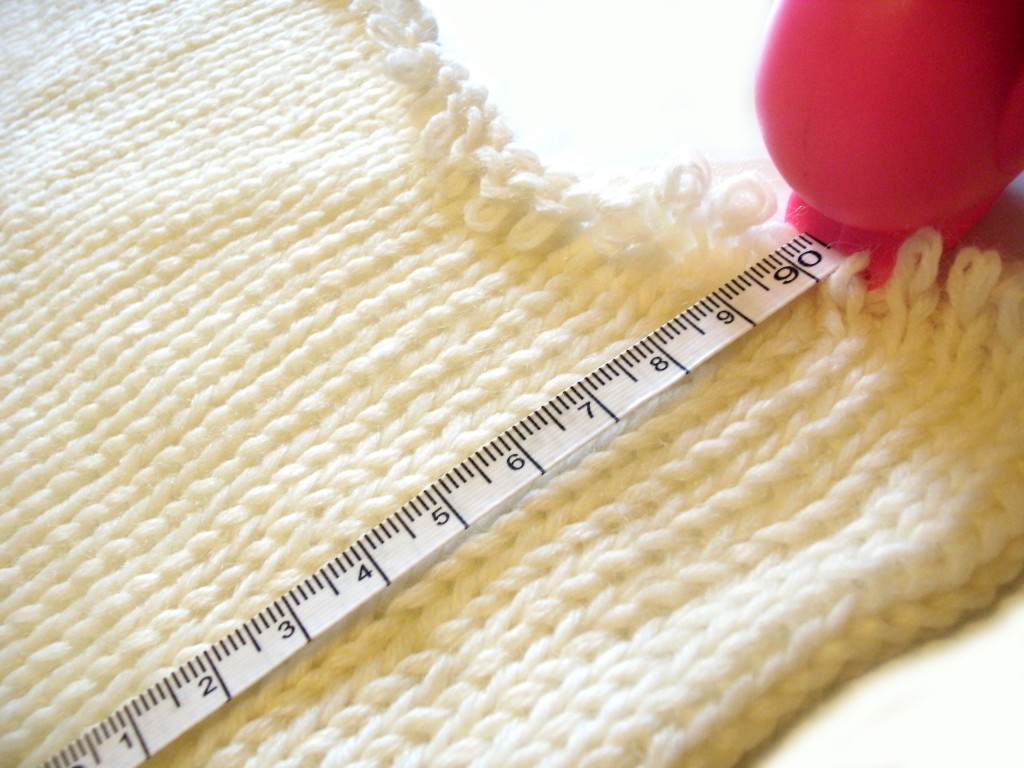
Of course, you could get started dyeing right away (and skip to step 3)! However, I wanted the stripes in my rainbow to be approximately even, so I did an extra step of preparation by marking 5 even segments. To do this, I measured the length of the blank:

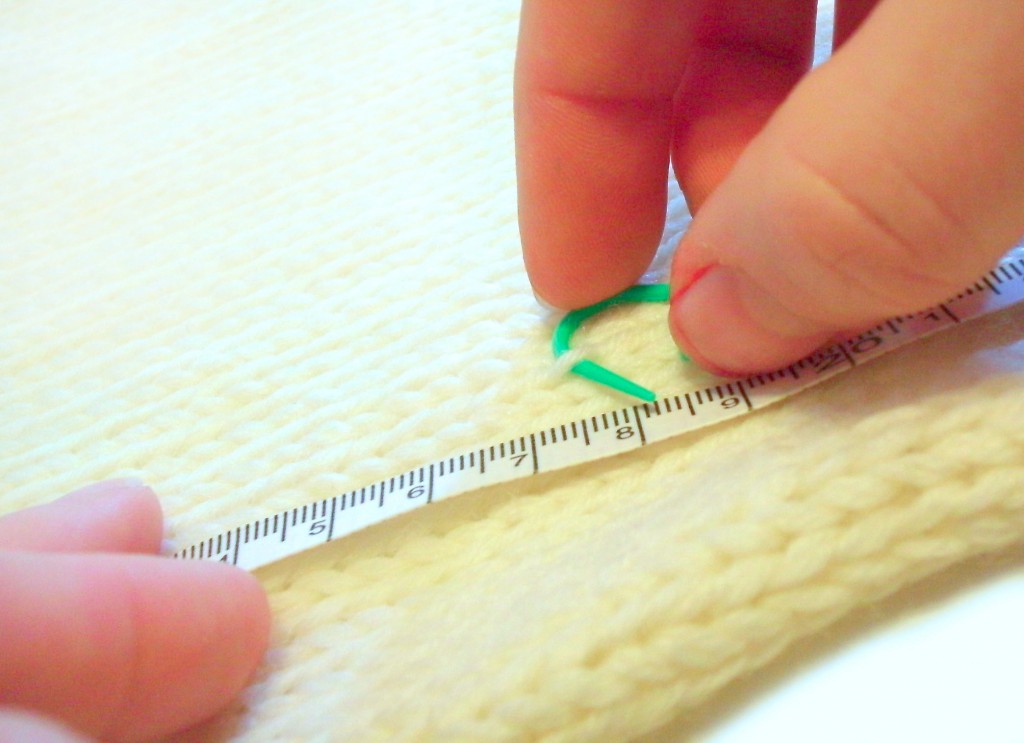
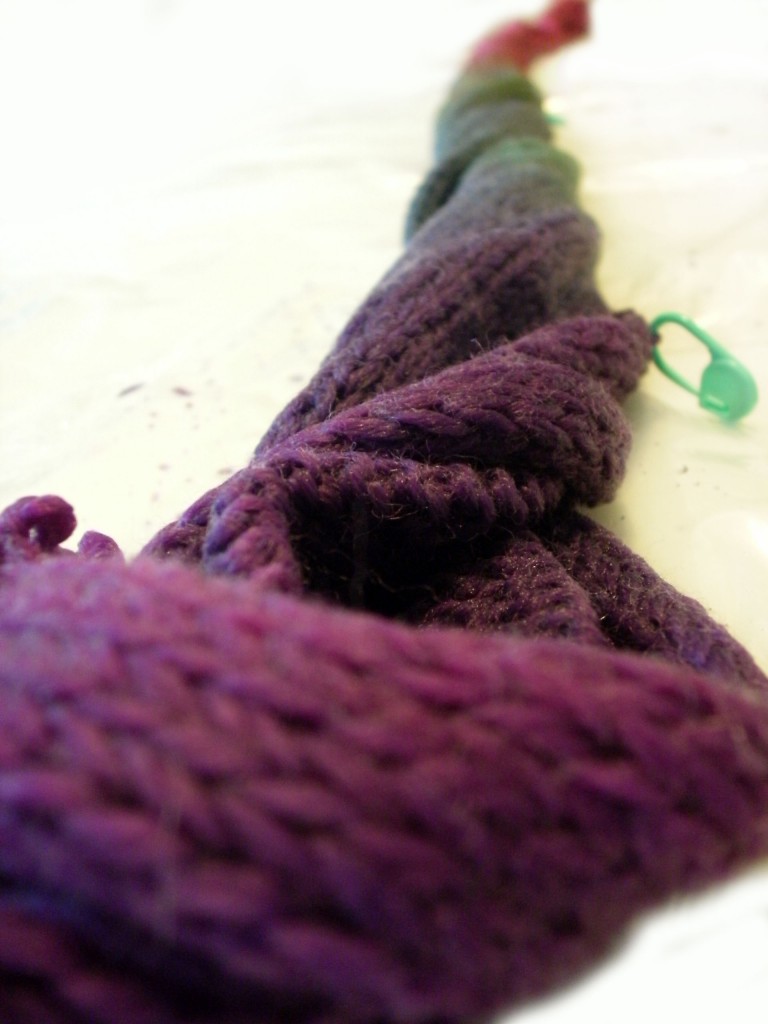
Then I placed locking stitch markers (which don’t mind being dyed) at equal intervals:

This way, I knew where to dye to get equal stripes of color!

Step 3: Dye!

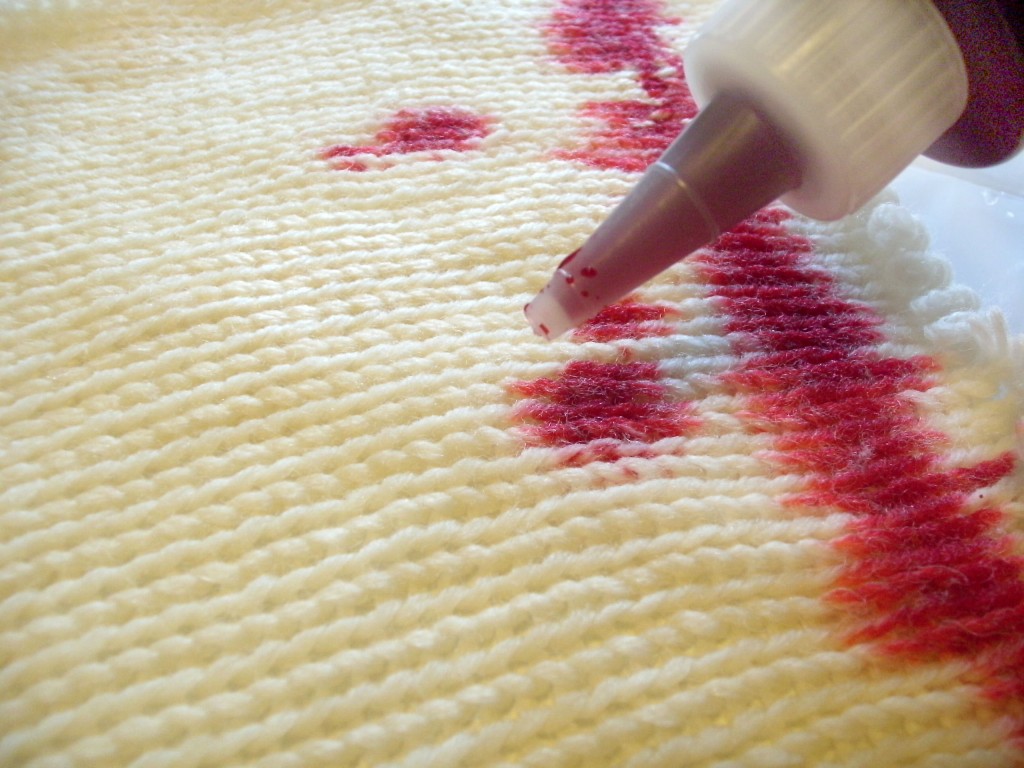
Now’s the fun part! Just squirt the color where you want it:

I applied the dye pretty evenly (fully saturating the yarn), but you can do whatever you’d like… including making fun designs with the dye!

Step 4: Let it set

The dye needs time to soak in, and the longer you let it set, the deeper the color will be.

The dye instructions tell you to let your piece rest for 8 hours (and cover it with plastic so it keeps moist)… but I was aiming for a less-intense color, so I moved to Step 5 after only about a half-hour. It’s up to you!

Step 5: Rinse

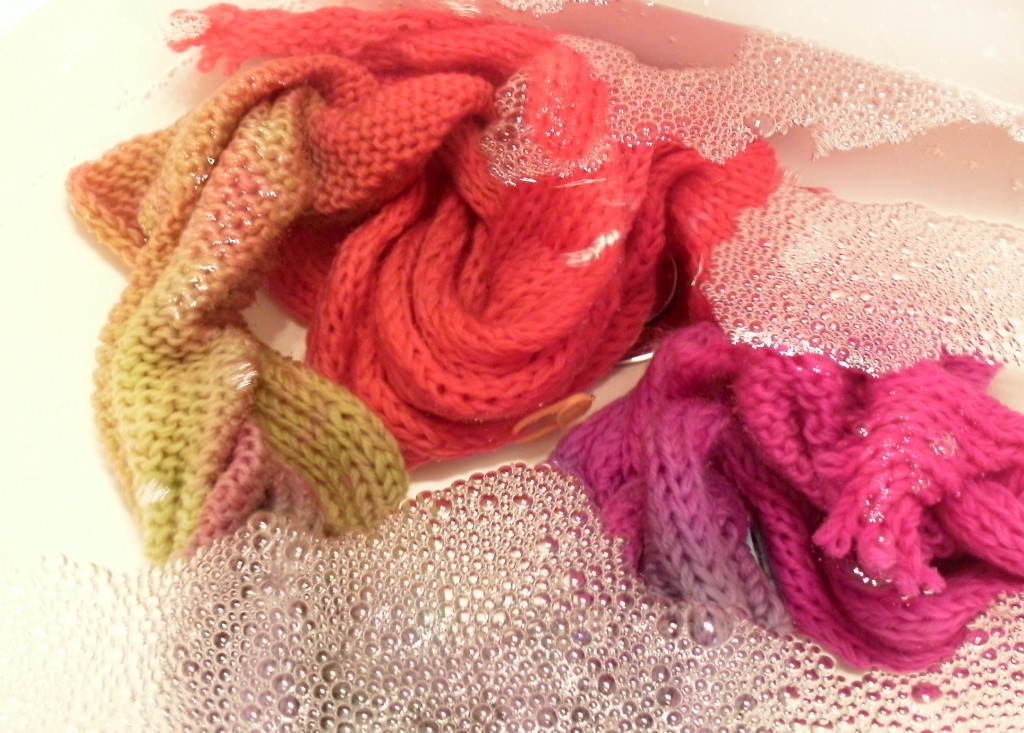
Once you’ve let the dye set for as long as you’d like, it’s time to rinse your (no-longer) blank. Even if your yarn is machine washable, you don’t want to put your blank in the washing machine! It can unravel and make a big mess! So, it’s best to hand-wash:

Once the excess dye has been washed from your yarn, squeeze out any excess water, and lay flat to dry.

Step 6: Unravel

I’ll admit it… this part is a wee bit annoying, but a crucial part of getting your yarn! You’ll have to unravel the sock blank.

Since the blank is made of two yarns held together, you’ll need to simultaneously wind two balls. Hands down, the easiest way to do this is to recruit a friend to help!

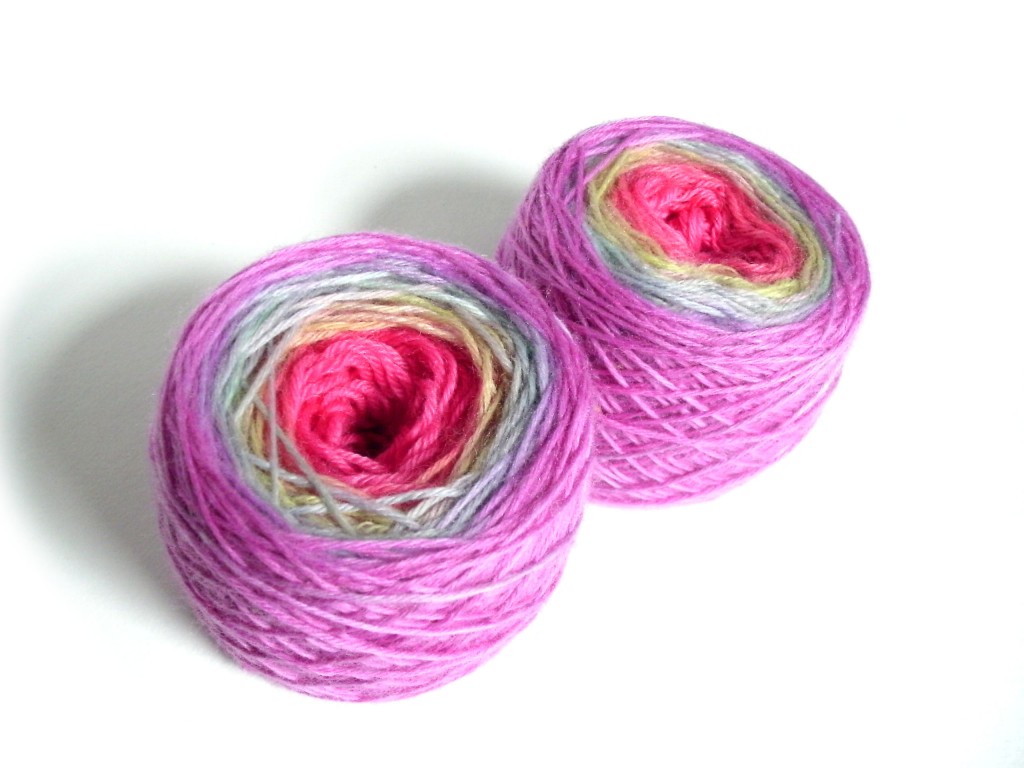
At the end, you’ll be rewarded with two balls of beautiful and identical yarn!

Enjoy Your Fabulous Yarn!

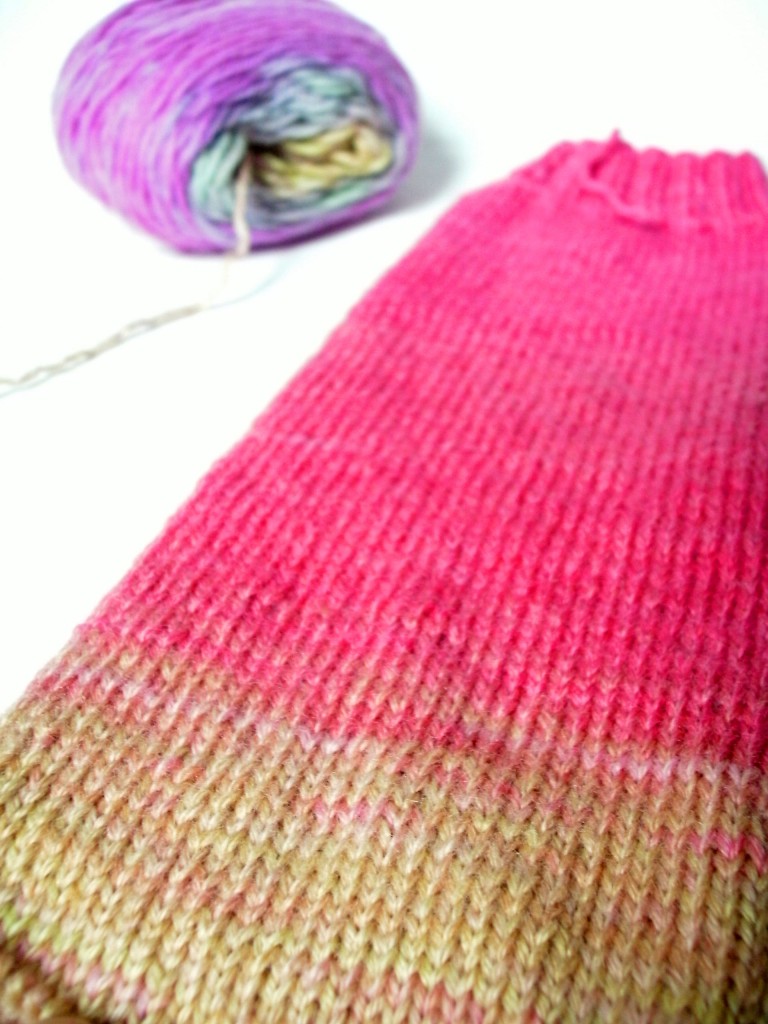
I’m in love with mine… and I’ve already started knitting a pair of socks:

Isn’t it lovely?

What will you make?

I’m obsessed with rainbows… so I couldn’t help but make a rainbow-colored creation! But you could create any fabulous pattern that you can dream of!

What pattern would you create on your yarn?

I hope you enjoyed this post, and that it inspires you to create some fabulous yarns!

Grab your own kit!

Tulip Tie Dye Kits are available at Walmart, Walmart Canada, Michaels, JoAnn, A.C. Moore, Hobby Lobby, Hancock Fabrics, Meijer. Tie dye kit contents and colors may vary by store.

I wrote this post as part of a paid campaign with iLoveToCreate.com and Blueprint Social. The opinions in this post are my own.

Best,
Stacey

Yarn Bombing + Free Crochet Flower Pattern!

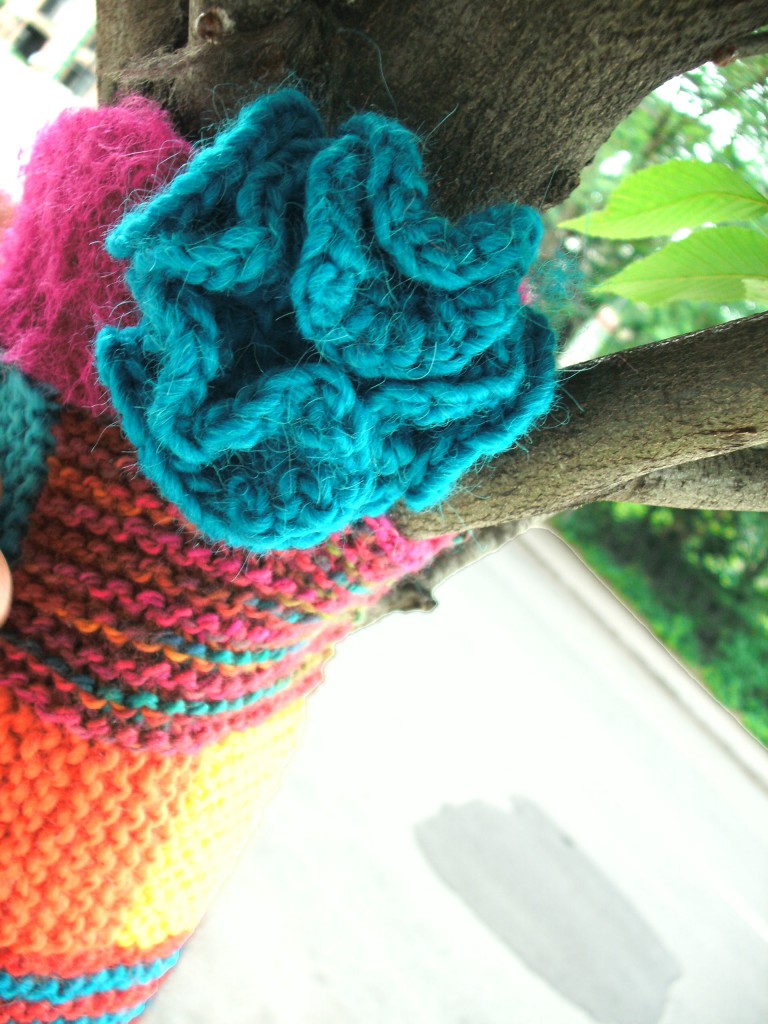
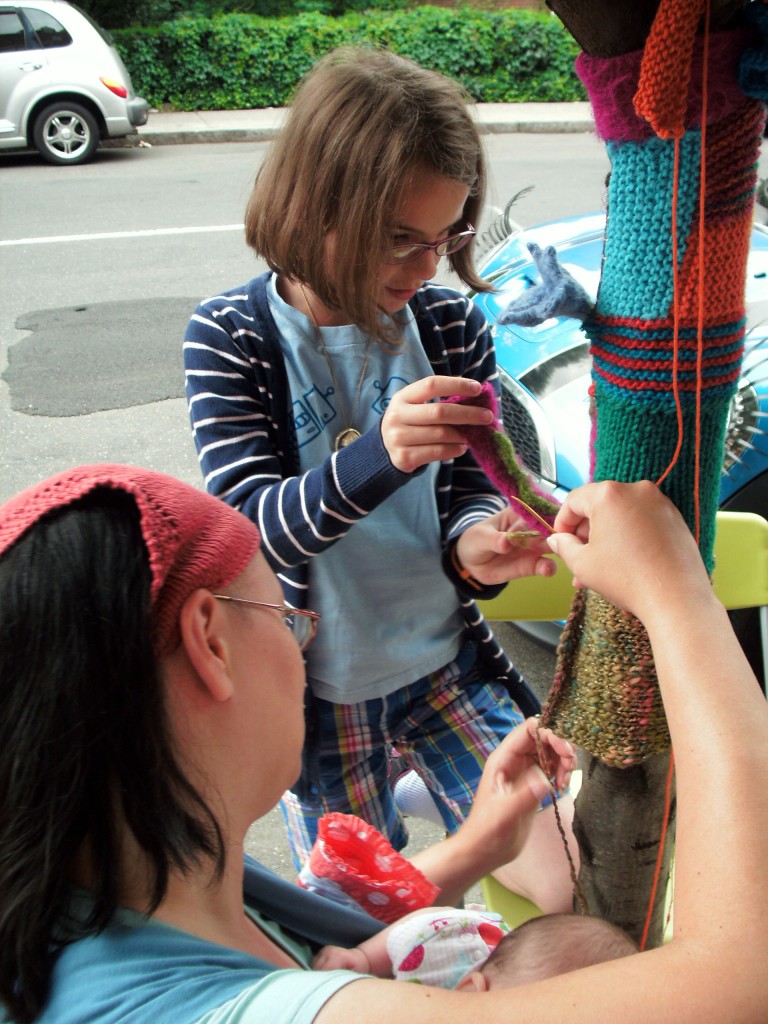
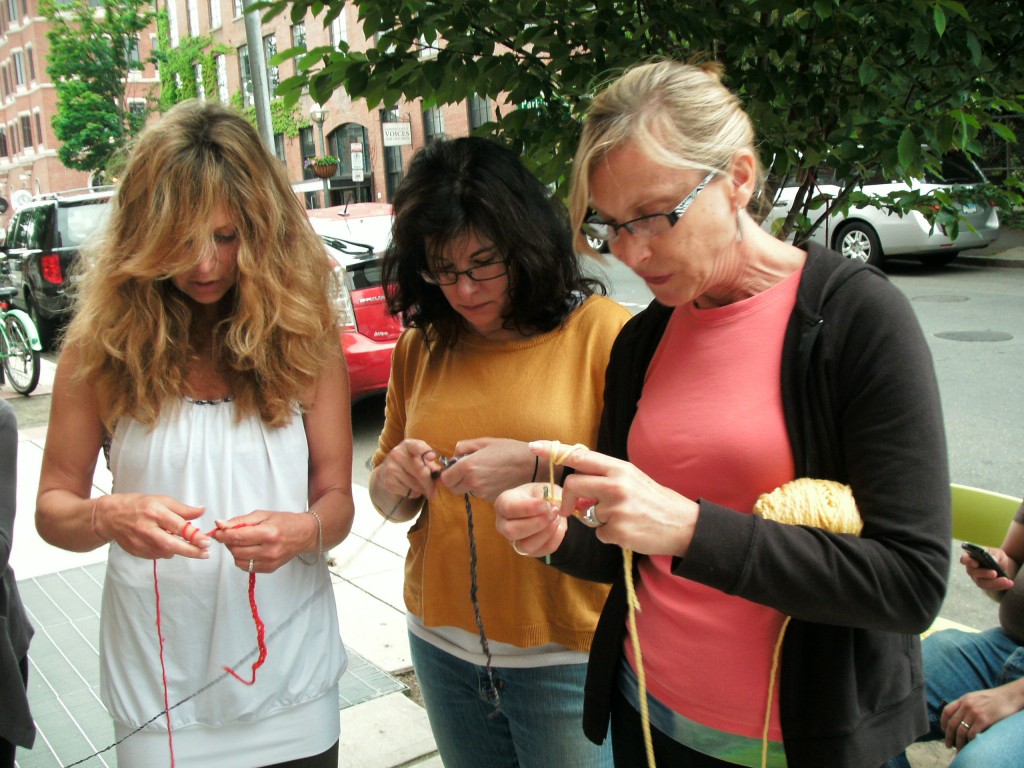
Did you know that this week is World Wide Knit in Public week? To kick off the week, my LYS had a yarn-bombing event to decorate the parking meters and trees in front of the shop.

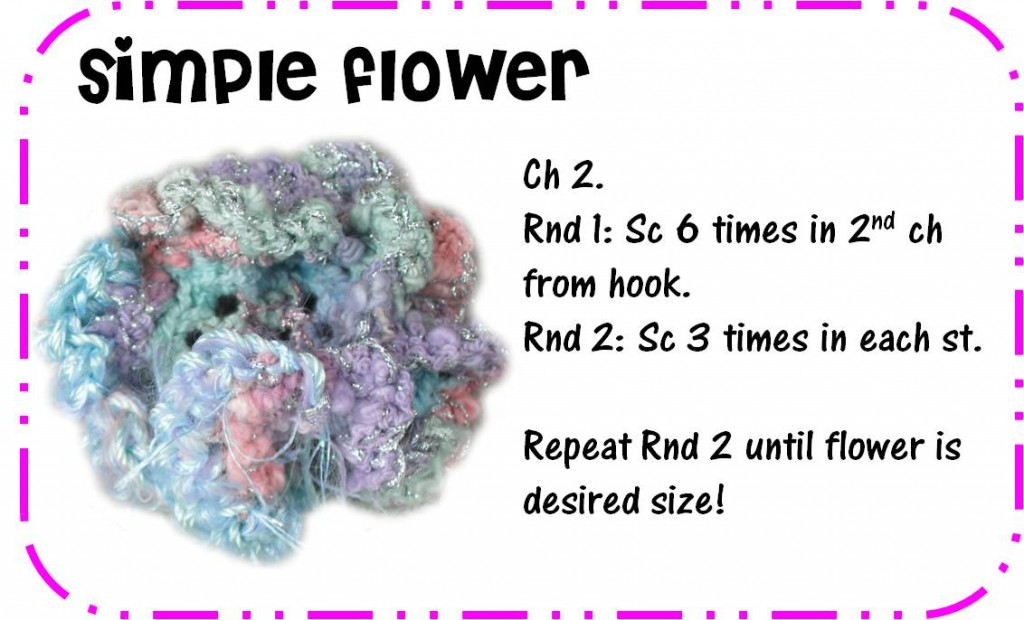
Want to know what makes a yarn-bombing party ROCK (besides kettle corn)? Adorable crocheted flowers! I’ll share some easy patterns for crocheted flowers with you… they’re so easy, even newbie crocheters were making their own!

Easy Crochet Flower

New to crocheting? Want to make a cute flower that’s easy to sew on to any project? This flower’s the one! Grab any yarn and an (approximately) appropriate sized hook, and you’re good to go!

Check out this video for a quickie lesson on Single Crochet.

When you’re done, fasten off and add the flower to whatever you’d like!

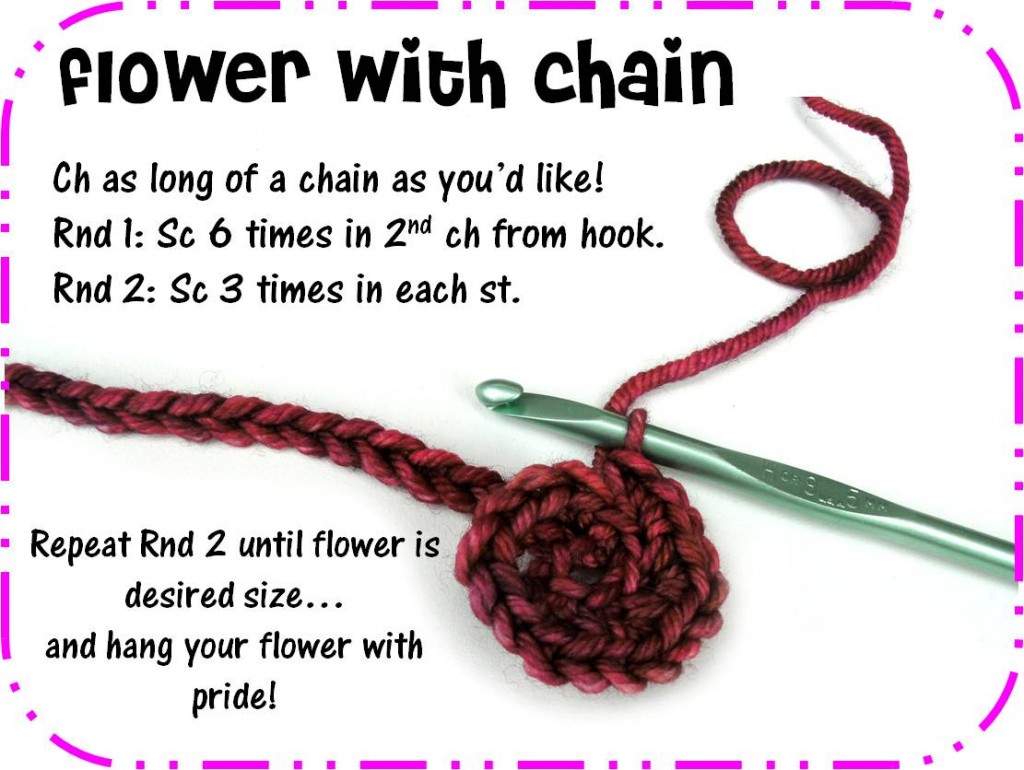
Dangling Crochet Flower

Want a flower that will hang from the trees? (A yarn-bombing essential) Modify your easy flower pattern just a little…

Then use the chain to attach/hang your flower as you please!

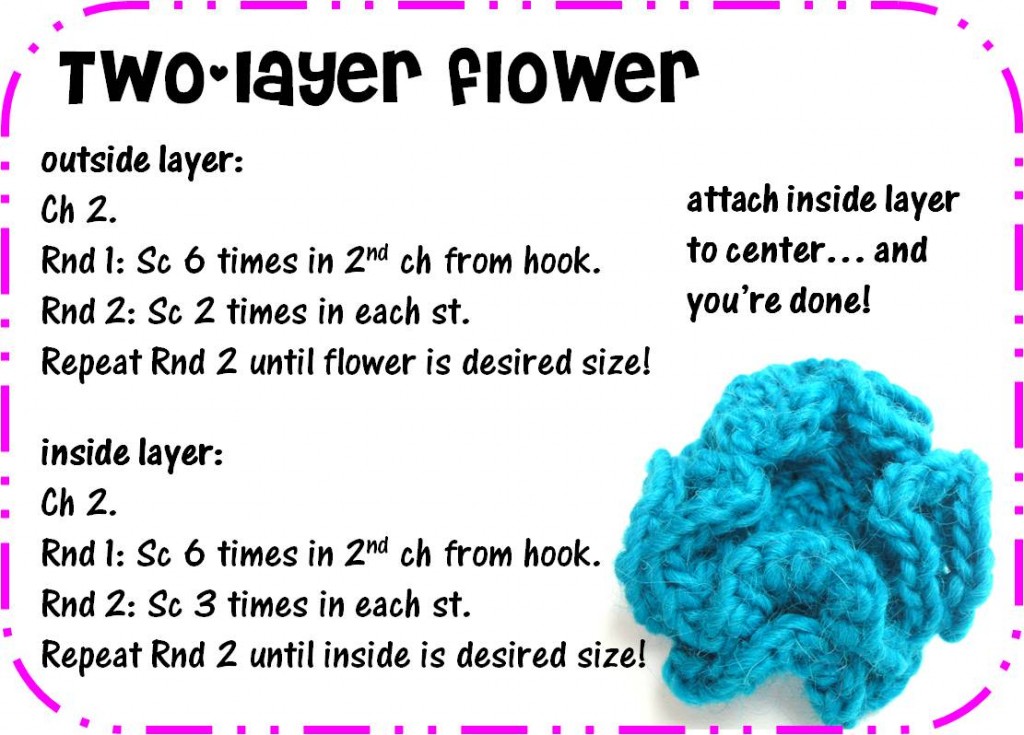
Deluxe Crochet Flower

Ready for a flower with a little more pizzaz? Give this two-layer flower a try!

We had a fabulous time knitting and crocheting and decorating our surroundings in celebration of World Wide Knit in Public Week!

The best part was releasing a whole bunch of new crocheters into the world..

With these easy flower patterns, you can be a crocheter, too!

Tutorial: Unpaper Towels!

Getting Rid of Paper Towels…

We haven’t had paper towels in our house for a couple of years now. Besides the environmental downsides to disposable towels (which really, probably isn’t all that bad when compared to take-out containers, excessive packaging in shipping and the oodles of other wasteful things us Americans do)… I just couldn’t bear paying money to wipe up an orange juice spill.

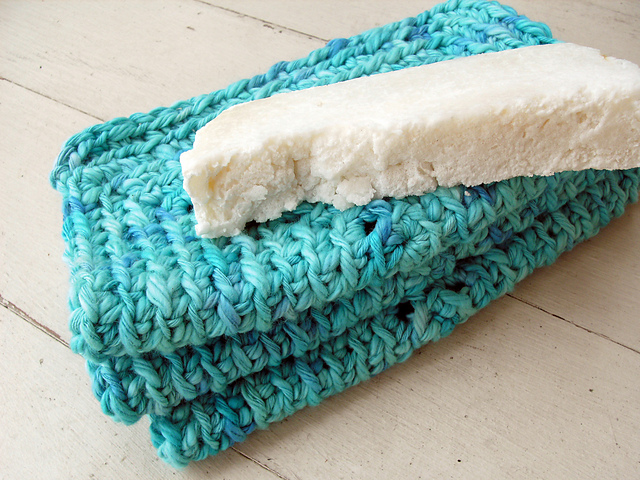
I have a stash of cotton crocheted dishcloths that do the job and have held up incredibly well. But I was looking to diversify.

Bring on the Cloth Towels!

I was chatting with my friend Ellen, who was experimenting with sewing unpaper towels. Ellen is extremely crafty, I usually wait until she’s done all of the hard work perfecting something brilliant, and then I jump in and give it a try (since she already knows it will work). Perfect arrangement, if you ask me!

Ellen’s unpaper towels work fabulously, so I’m going to show you what she showed me!

The Materials

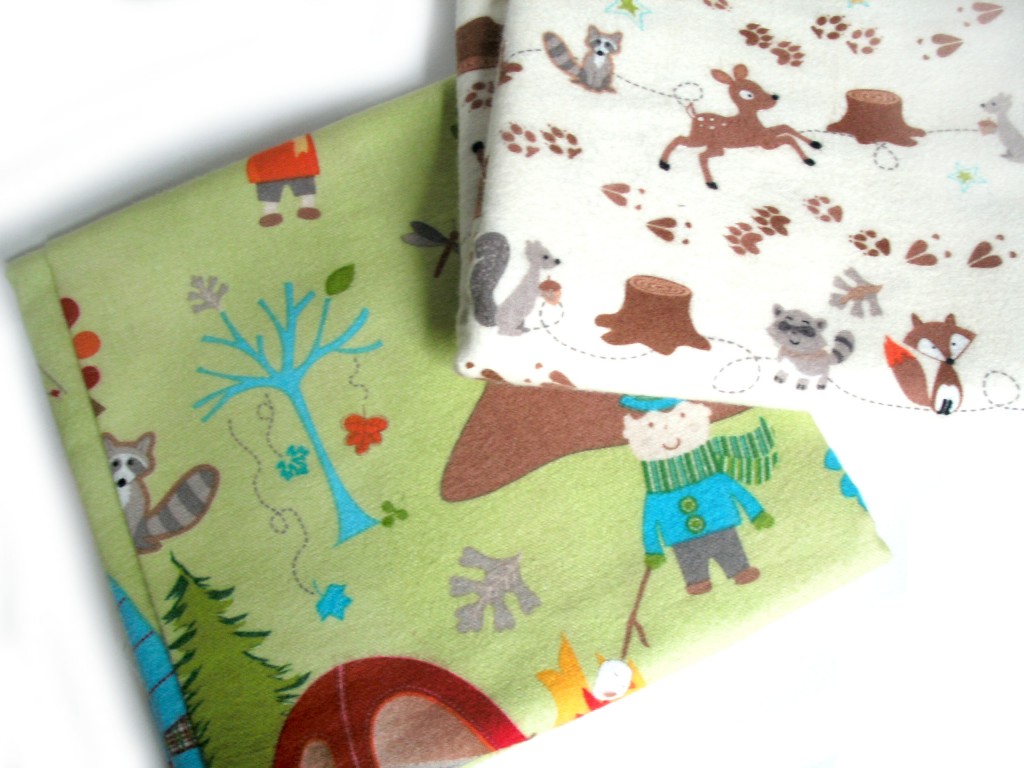
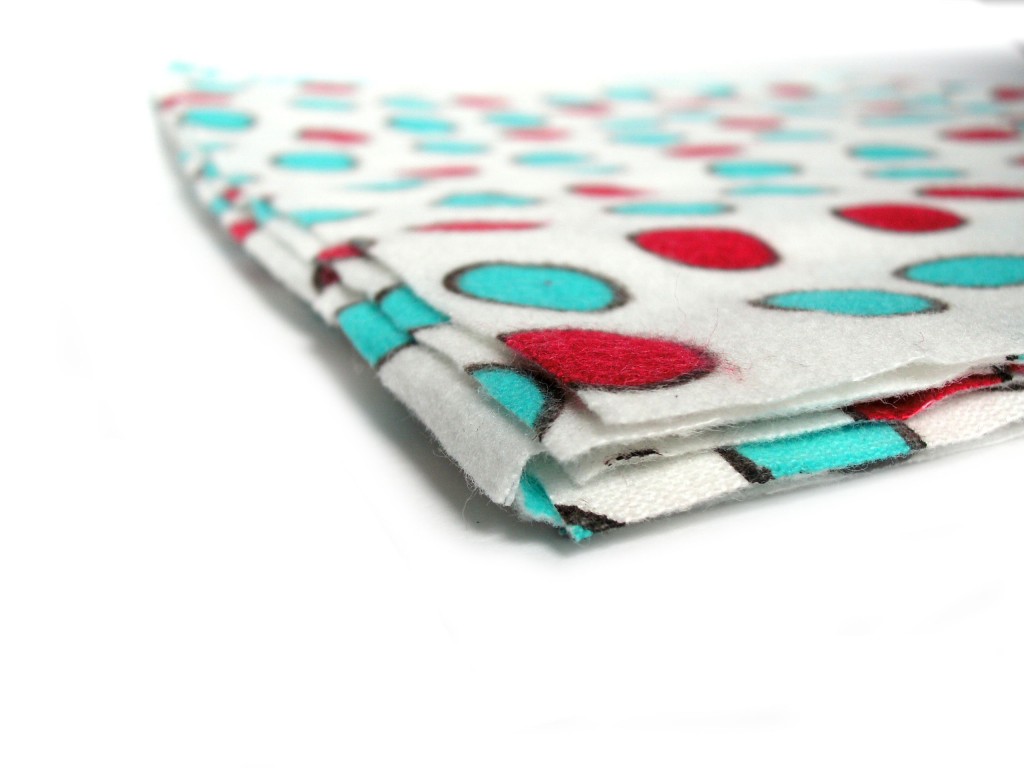
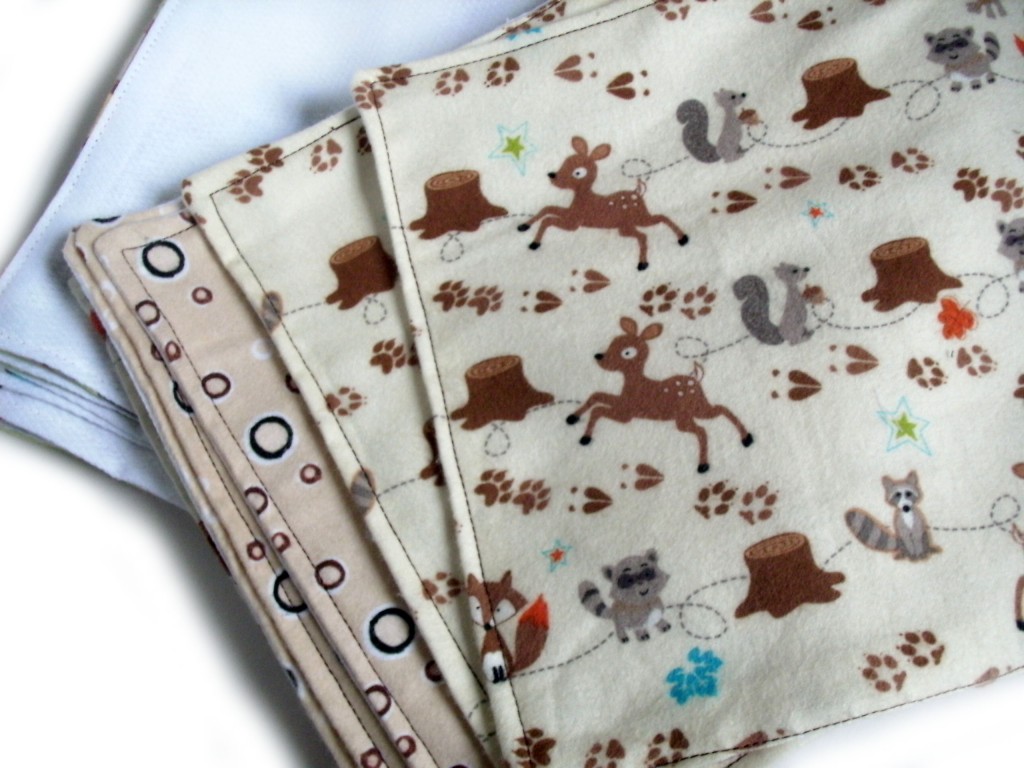
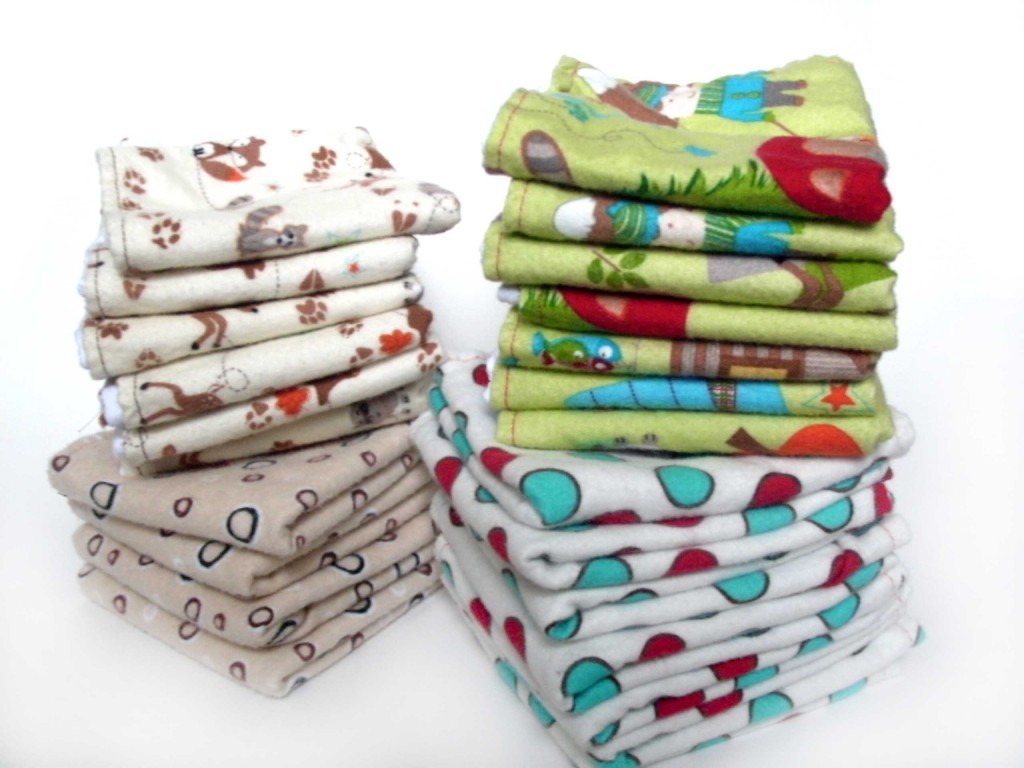
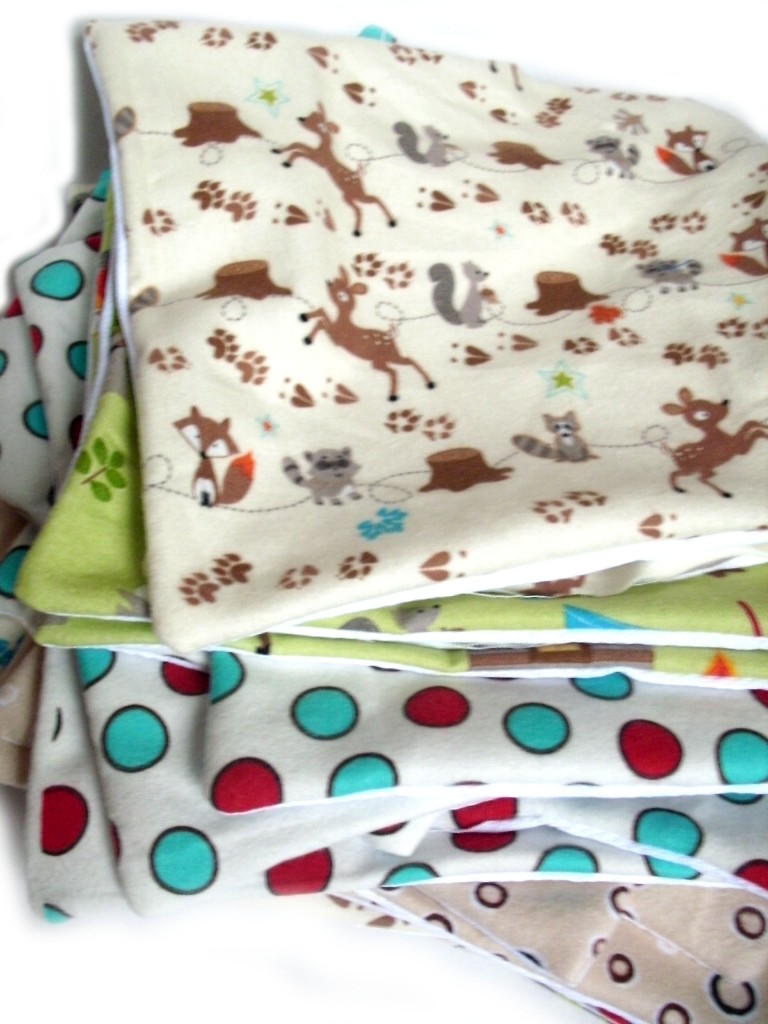
The towels are made using one layer of cloth diaper fabric (makes sense, right? Absorbent and washable!) and one layer of flannel (the more fun the print, the better!). Diaper fabric is apparently called Birdseye… news to me.

The amount of fabric you need will depend on what size you want your towels to be, and how many you make. Mine are 9″ square, and I used 2 yards of the birdseye and 2 yards of flannel. I ended up with 24 towels. Ellen opted to make hers 12″ square… I think it’s just personal preference.

I recommend pre-washing the fabric (to make sure any shrinking gets out of the way) before you begin.

You’ll also need some standard sewing supplies: thread and scissors, a sewing machine (technically optional, but makes the process much quicker) and perhaps some pins and an iron if you’re the tidy type.

How to Make Unpaper Towels

I’m not a genius at sewing… so believe me when I say that these are pretty easy!

Step 1: cut your fabric

Cut your fabric into the size you want your towels to be. Remember that a little bit will get used up as seam allowance, so account for that in your cutting.

Here’s my shortcut for cutting: fold your fabric in half. Cut along the fold line. Repeat until you have squares that are the size you want! Easy!

Cut both the fabric and birdseye into squares (or rectangles if you want) of the same size.

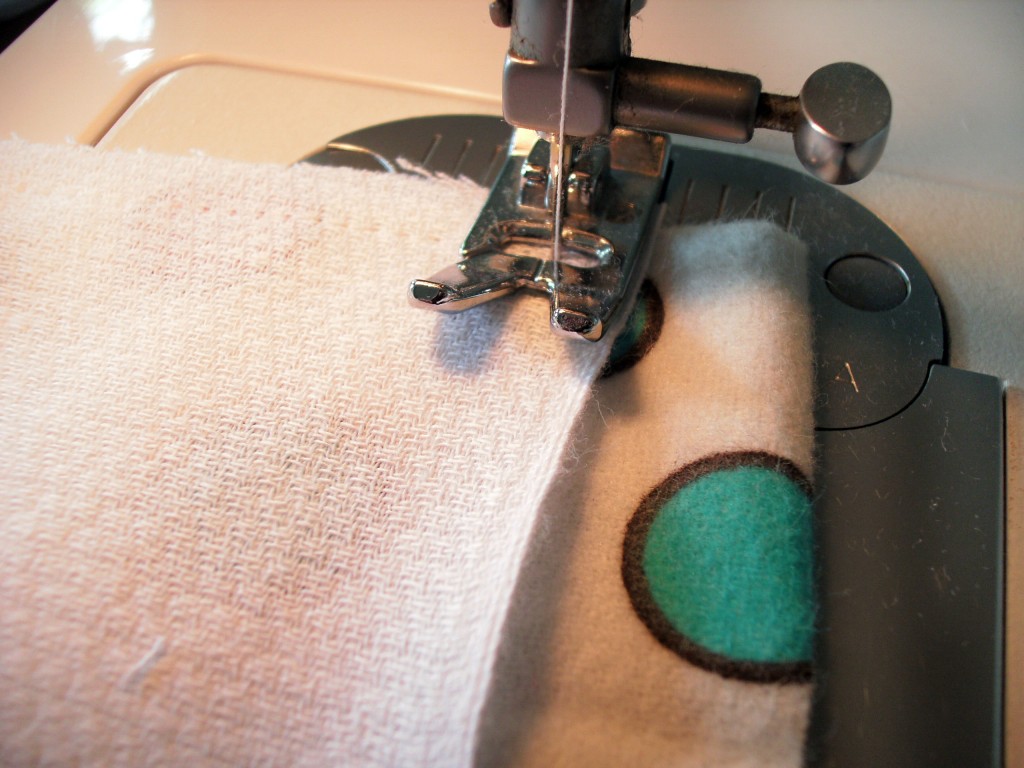
Step 2: sew squares together

Pair up one square of birdseye with one square of flannel, right sides together. Ideally, they’ll line up perfectly… but mine didn’t. No big deal, you can trim them, later!

You need to leave a 3″ or so space unsewn, so that you can turn the towel inside-out.

Once you’ve sewn around (most of) the edges, trim any excess fabric and clip the corners.

Step 3: turn! (and maybe iron)

Turn your towels inside out. They’ll look a little puffy:

I ironed mine before top-stitching… because I’m picky like that. (I find that the ironing makes the top-stitching easier) Ellen didn’t iron… and hers turned out great, too!

Step 4: top-stitch

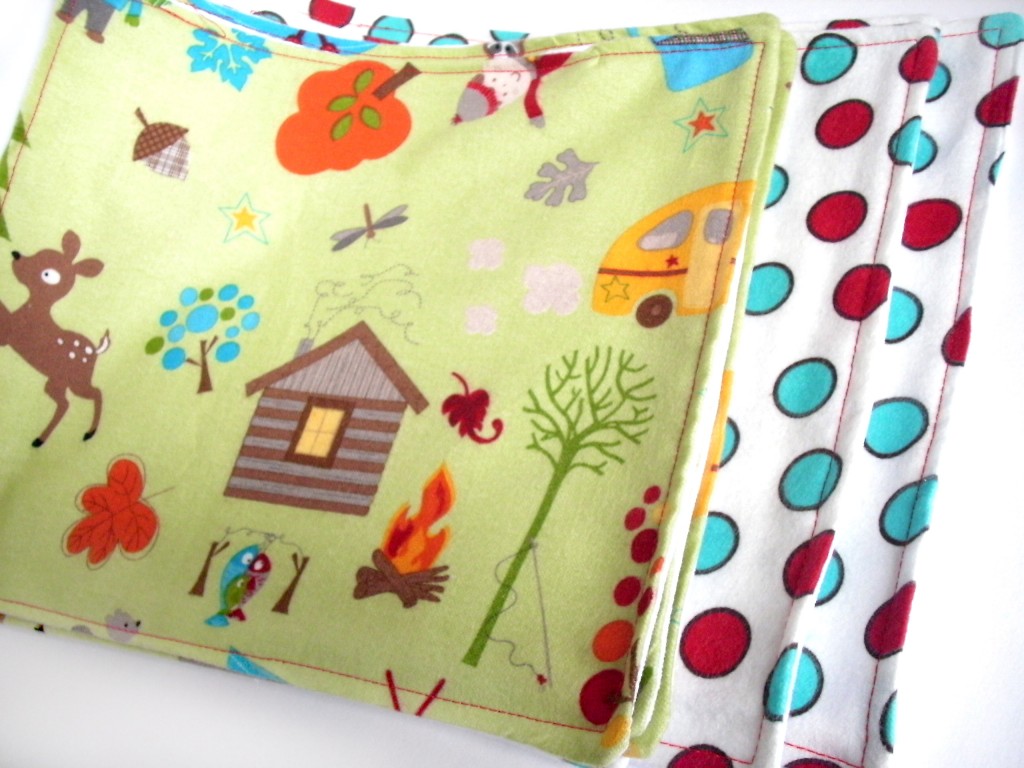
The top-stitching is how you’ll close up the hole that’s left from turning the towels inside-out. It also adds a tidy, finished look. I top-stitched around, about a 1/4″ from the edge:

So pretty!

Step 5: use and enjoy!

I’ve been using my unpaper towels all week long, and I love them! They’re lightweight and absorbent, and the birdseye is very slightly abrasive, which is good for wiping up stuck-on stuff.

Give it a try!

If you sew some of your own, you’ll have to report back and tell me how it went!

What does that number on the yarn label mean?

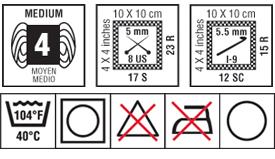
Have you been looking at a yarn label/website and seen a mysterious number inside of a cartoon ball of yarn? Like this one:

What does that number mean?

That number (which ranges from 0 to 6) is an indication of the thickness of the yarn. In our example above, the ‘4’ would indicate that the yarn is a medium weight yarn.

The symbols were devised by the Craft Yarn Council, and have a standardized usage. You can look up the exact thicknesses that correspond to each number on the Craft Yarn Council’s website.

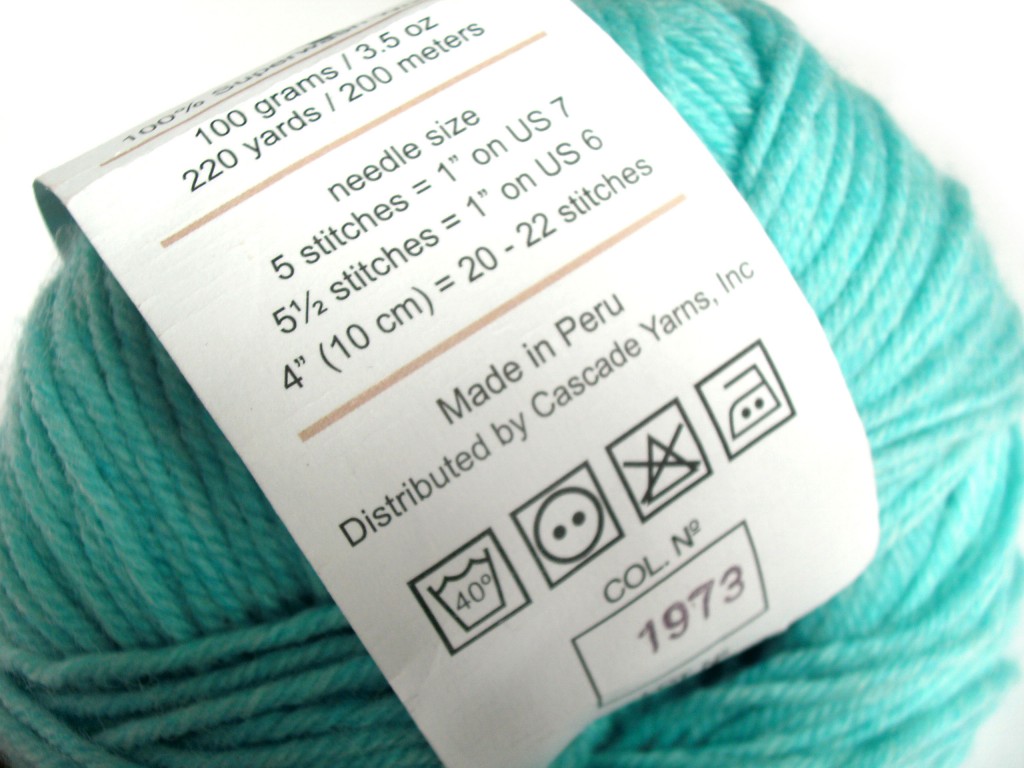
Oftentimes, though, you won’t have to. It’s pretty rare that you’ll see the number alone… it’s usually accompanied by more information on the yarn label:

When available, you should go by this more detailed, gauge information.

Why you should pay attention to gauge, instead

Even though the number is cute and catchy, it’s not the most accurate way to categorize your yarn. Each number is actually a category that contains a group of thicknesses.

For example, ‘4’ contains: worsted, afghan and aran yarns… and the recommended needle size ranges from 7 to 9 (and hooks from I to K). That’s quite a range!

When selecting yarn for a project, you want to make sure you’re getting the right number of stitches per inch. Since the number represents a range of yarn thicknesses, seeing a ‘4’ on the yarn label doesn’t guarantee you’ve found the right thickness! You want to make sure that your yarn works up to the right number of stitches per inch.

Of course, the best way to do this is by doing a gauge swatch… but since yarn stores don’t usually make swatches with yarn you haven’t bought yet, the best shortcut is by reading the gauge info. If you’re looking for a worsted weight yarn that works up to 5 sts/inch, then finding this information on the label is a good clue you’re on track!

While the number is a helpful guide to yarn thickness, it isn’t a replacement for reading gauge information! Read the gauge info on the yarn label, and you’ll be assured that you’re finding the right yarn for your project!

Are you committing a gauge sin?

Ordinarily, I’m the sort of teacher who will say, ‘Do whatever you’d like, as long as it’s working’. I don’t care if you throw or knit continental, I don’t care if you crochet while holding your hook like a knife or a pencil. I even don’t really care if you pick up stitches with your fingers to manipulate them instead of using your hook/needle.

But, I’ve seen a couple gauge sins happen in my presence that need to be stopped! I’m going to tell you what the 3 biggest gauge sins are (regardless of whether you knit or crochet), explain why they’re hazardous to your fiber health, and tell you how to fix them.

Gauge Sin #1: changing how you knit/crochet

The other day, I met someone who was getting too many stitches per inch on her knitting project. Instead of switching to a larger needle, she said, ‘Oh, it’s no big deal, I’ll just knit looser.” Bad idea.

Why this is hazardous

The goal in knitting/crocheting is to first and foremost achieve an even gauge. That is, you want each stitch to be the same size as the next stitch, across your entire piece. This is what results in a professional-looking finished product.

The second goal is to get a gauge that matches the one specified in your pattern (if you’re following one). This is the only way to ensure that your finished item will fit you properly and as the designer intended.

If you rely on excess looseness in your stitching to get a certain gauge, you have almost no hope of achieving consistency… especially if it’s a project you work on for multiple days. You come home stressed one day, and you tighten up a bit… looser on days when you’re relaxed. This procedure = uneven gauge!

How to fix it

Different sized needles/hook were invented for a reason. They allow us to achieve different sized gauges effortlessly. You should work to create a consistent stitching style that allows the different sized hooks/needles to do their work!

I know… sometimes it hurts to buy a new needle. They can be pricey, and you already have so many! But think of it this way: you’re about to spend 40+ hours working on a sweater. Don’t you want it to turn out nicely?

If you have extreme buy-phobia that’s interfering with proper knitting, you may want to get it all over with at once and buy an interchageable knitting needle set. The set made by Addi gets very good reviews (lovely needles, smooth join). Too pricey? The Denise Interchangeable Set and the Knit Picks Set are more affordable options.

Gauge Sin #2: deviating wildly from the norm

Everyone knits/crochets slightly differently. Some folks are naturally tighter, others a little loose… and you’ll typically hear someone say, ‘I usually need to go down a needle size from what’s recommended in the pattern to get gauge’. That’s fine.

Saying, ‘I usually need to go down 4 sizes to get gauge’ means there’s a problem.

Why this is hazardous

There are two reasons why you don’t want to deviating in a significant way from normal stitching patterns. The first is that, if your knitting is so loose that you need to go down 4 needle sizes, then you’re probably not using the needle properly (as I mentioned above). The needle is there to lead you to the proper gauge. If you’re not following it’s lead, there’s a big chance that you’re going to get some unevenness.

The second reason is for practicality: what if you want to knit socks that call for size 0 needles… but you need something 4 sizes smaller? What are you going to do then? Manufacturers make supplies based on standard stitching practices. And the more you deviate from them, the more difficult you’re going to find getting supplies/following tutorials and patterns.

How to fix it

Your goal should be to knit/crochet so that the loop sits snugly on your needle/hook, but with a little wiggle room. I always say to look for a teardrop shape (shown here on my crochet hook):

The little teardrop is a way to check that your stitches are pretty snug, but not strangling your needle/hook.

If you can drive a VW beetle down your crochet hook and under the next stitch, that’s bad. You need to tighten up.

And it just takes a little practice. Read this blog post and spend some time making swatches with the goal of developing a snug and consistent stitch. Your future knitting/crocheting self will thank you.

Gauge Sin #3: assuming a yarn will always knit to a particular gauge

I can’t tell you how many times I’ve heard, “this yarn knits to 5 sts/inch… so I can’t use it for this pattern”. Hold your horses! The yarn label is a recommended gauge on a certain needle size, not word from the yarn gods about how it needs to be used.

Why this is hazardous

Let’s say that you you have a pattern for a loosely-knit sweater. The pattern may say they are using a worsted weight yarn, size 13 needles and getting 3.5 sts/inch.

If you look the label of a worsted weight yarn, it’s going to tell you that it knits to 5 sts/inch on size 8 needles… but this information is irrelevant to you! You want to knit it on size 13 needles!

How to fix it

Don’t obsess over the yarn label!

Check out this blog post on why yarn labels can be deceptive. A manufacturer puts a gauge that states how their yarn knits with a certain needle size.

When you’re following a pattern, it’s important to select the proper thickness of yarn, not match the gauge that’s indicated on the label.

If you’re comparing thicknesses of yarn, it’s okay to glance at the gauge info on the label… as long as you realize it’s for comparing weights, and not the gauge for your final product.

Confession time!

Have you fallen prey to any of these sins? I’ll have to admit, the third one had me mighty confused for a while. Have you been working on your gauge? Any tips to share?

Now that we’ve had this talk… you’re not going to do any of these, right? Good.

Meet Craftwich: maker of delicious hand-carved crochet hooks!

I love wood. Real wood. And I’m a sucker for super-smooth, sanded wood… I’ve been known to stand in my kitchen, just holding (well, fondling, really) my handmade wooden spoons. (That’s not weird… is it?)

Anyway… a few months ago, I heard a rumor on the crochet grapevine: there was a chick up in the Pacific NW who made hand-carved crochet hooks that were divine. And I knew I had to try one.
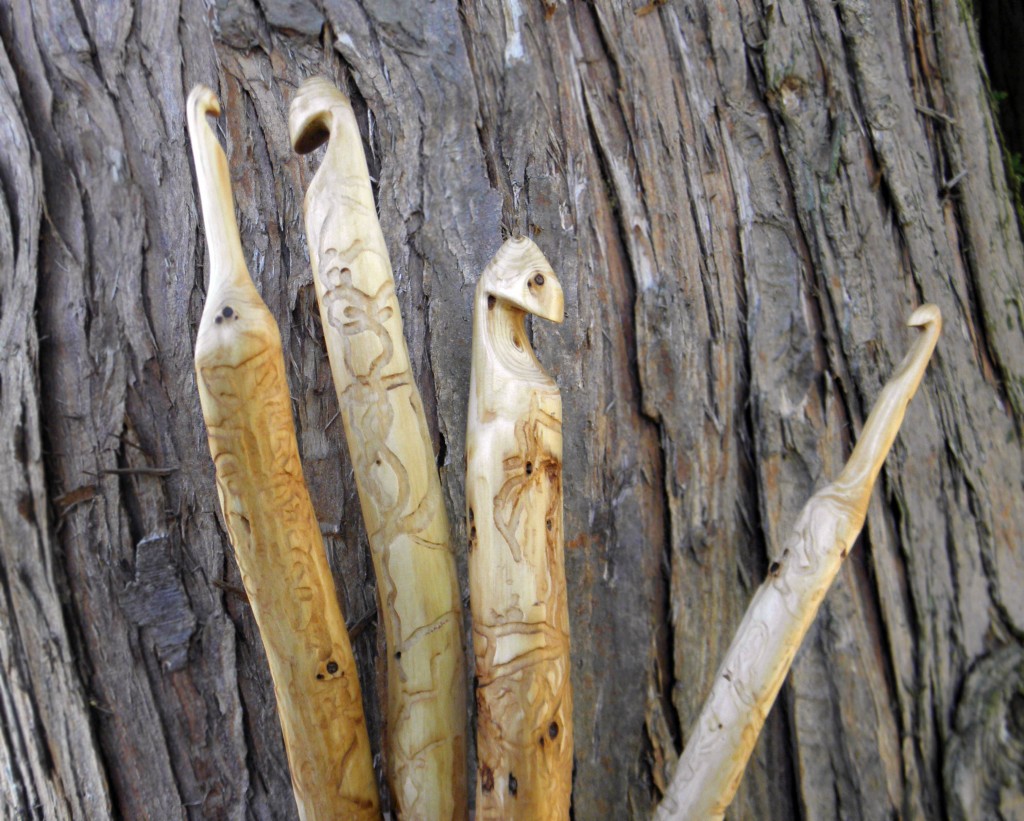
I patiently waited until this fabled carver, Monica, officially launched Craftwich Creations. Then I grabbed one of her hooks and scored an interview with her, as well.

You’ll want one too… trust me!

My Hook

My hook is a piece of art. It’s a size H hook carved from a stunningly beautiful piece of domestic wood. It’s as smooth as a baby’s butt. And it feels like it was made to fit in the palm of my hand.
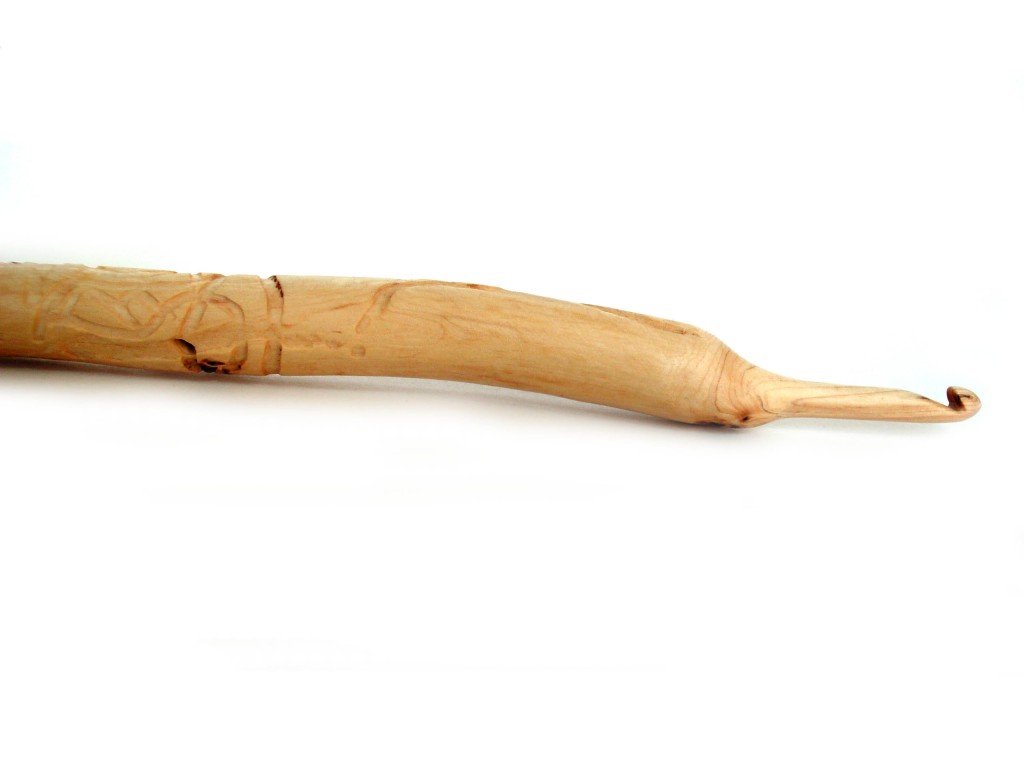
Did I mention it’s smooth? (I just spend the time waiting for that picture to upload stroking the hook against my cheek. I swear… that’s normal behavior!)

Monica isn’t just a carver… she’s a wood-whisperer. And I trusted her to pick the right hook for me. So, I told her that I held my crochet hook like a knife (instead of the pencil-hold) and that I wanted a size H hook.
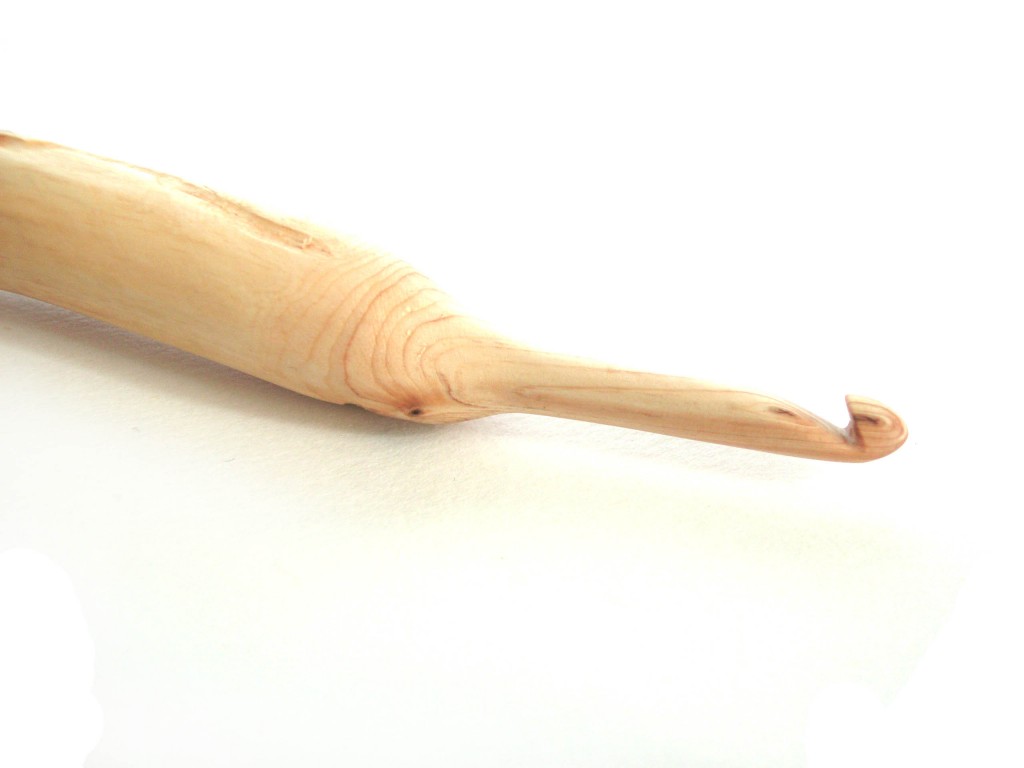
The handle is curved perfectly for the way I hold my hook, the tip is a little pointy (but not too pointy!) and the groove is nice and deep (making it easy to catch your yarn). How did she do it? It’s all that wood-whispering!

I couldn’t be happier!

The Process of Carving a Crochet Hook

I love making things with my hands: I sew, I knit, I crochet, I bake… but I have to admit, the idea of carving something out of wood seems both amazing and baffling. I was delighted that Monica was willing to give me some insight into her process.

Choosing the Wood

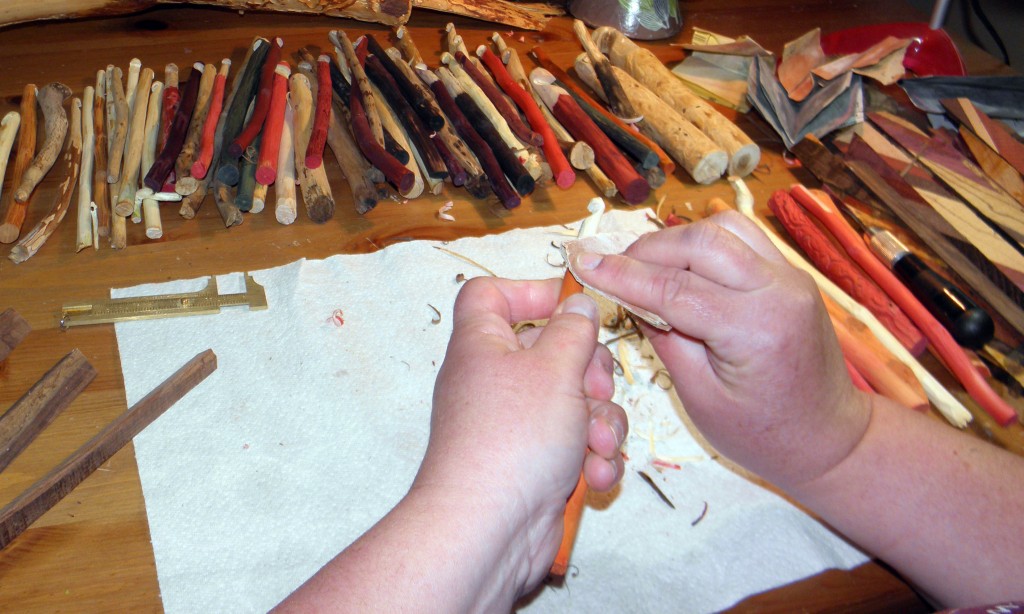
It all begins with selecting the right raw materials. Monica says, “I collect wood from my backyard, neighbors, friends, walks in the parks, etc. I also purchase some exotic woods so I can carve smaller sizes, usually for the sizes F, G, 7, H. I go through it and determine if it’s suitable – it can’t have a soft “pith”, or middle. Then I trim down to a good hook length, depending on the features of the wood – where knots are, scars in the bark/wood, neat looking bends that I think will be comfortable, etc.?”

“I use a bigger knife to strip away the bark and see what’s underneath – the whole process is SO cool to me, every step, the wood changes!”

Dyeing

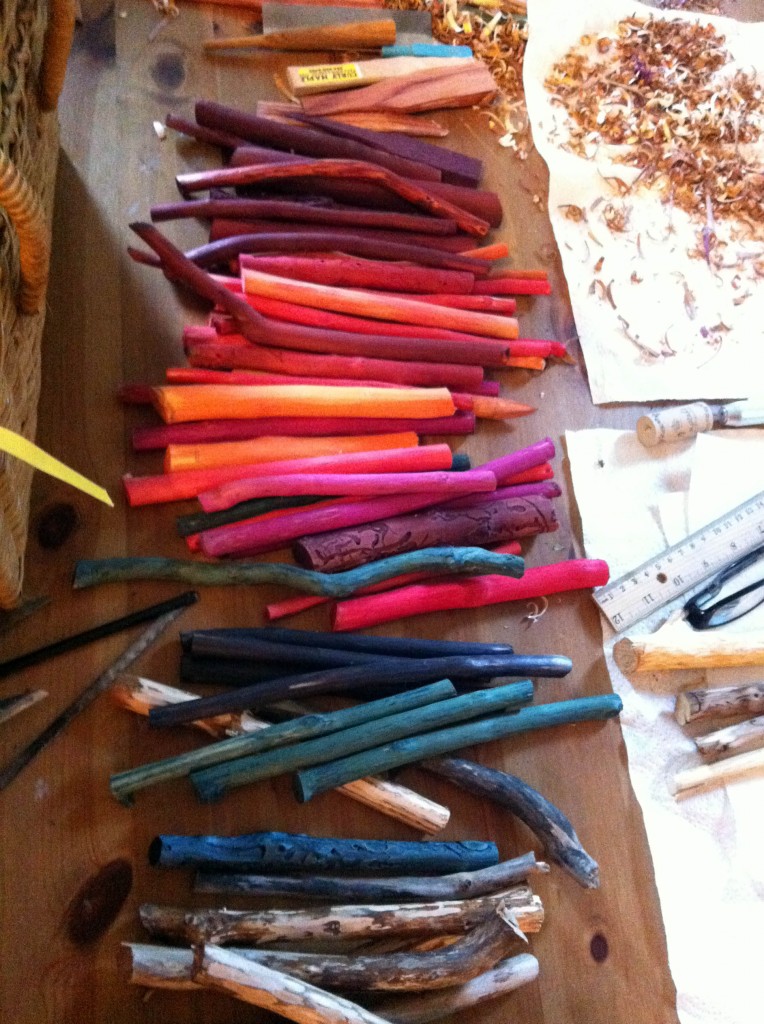
Monica has a line of dyed crochet hooks, and this is the stage where she dyes the wood into brilliant colors:
Carving

The next step is the rough-carving. “I’ll do some light sanding, then start roughing out the neck /shaft area, trim the bottom, always looking to see what the wood wants to do. Sometimes the hook-to-be wants to have more curves, sometimes it wants to have a thumb or finger holds, sometimes it just has a big attitude. Once in a while they tell me a name (I swear, I’m sane..really..) They’re all different.”
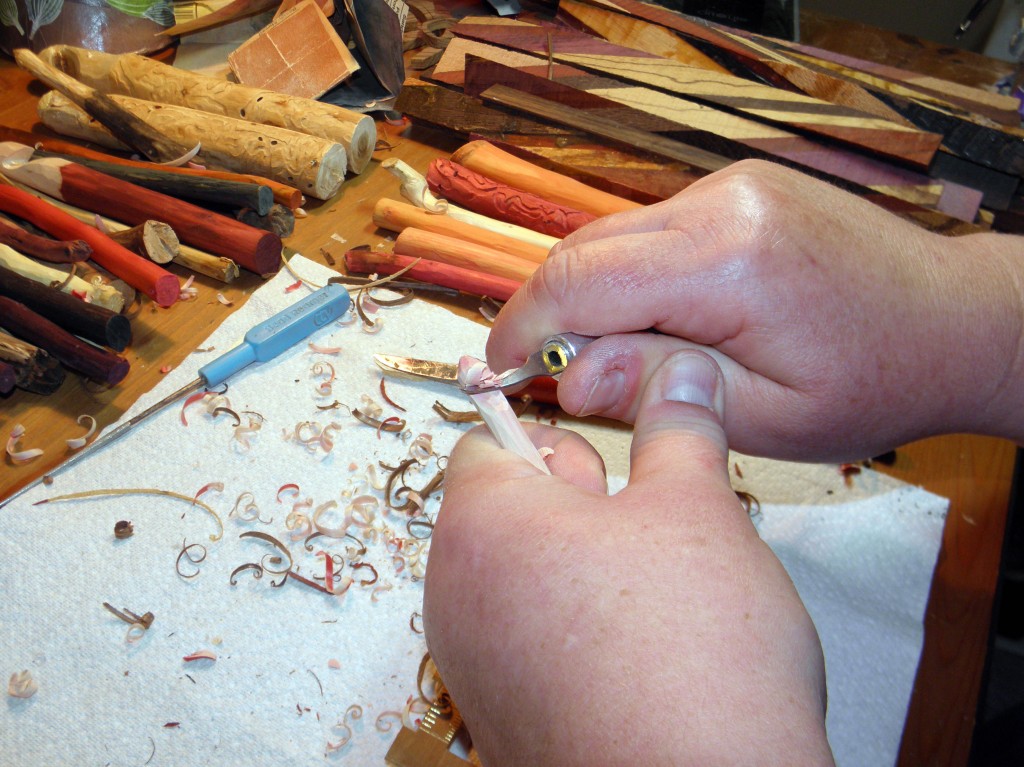
“Before I completely sand and fuss with the handle, it’s time to carve the actual hook part, because if the wood doesn’t want to be a hook, I don’t want to waste the time on the handle! It’s happened. Sometimes the wood ends up being too soft, or cracked, or some other fault that turns it into a shawl/hair stick instead, or even kindling. Ah, well.”

Sanding

Then comes the part that made my hook oh-so-smooth: the sanding. Monica says, “If we get a good strong hook, then it’s time to use my small knife and give it some finesse. And lots of sanding. I use six different grades – from 150 to 1500! I find that using the really fine grade gives it a good polishing, and that’s very important especially on the working parts of the hook.
Finishing

Although a ton of work has already gone into the making of each hook, it’s not done, yet! “The last step is the wood preserver. I found one I really like which is vegetable based and smells great. It has soybean and coconut oils, carnuba and bees wax, tangerine and sandalwood oils. All natural – just like the hooks! I like it that way – I feel like it really brings the art of crochet back to nature, in a sense. And it truly makes each one a one-of-a-kind piece.”

Of course, Monica measures each hook before it goes out, to make sure her unique, hand-carved creations are a standard hook size:
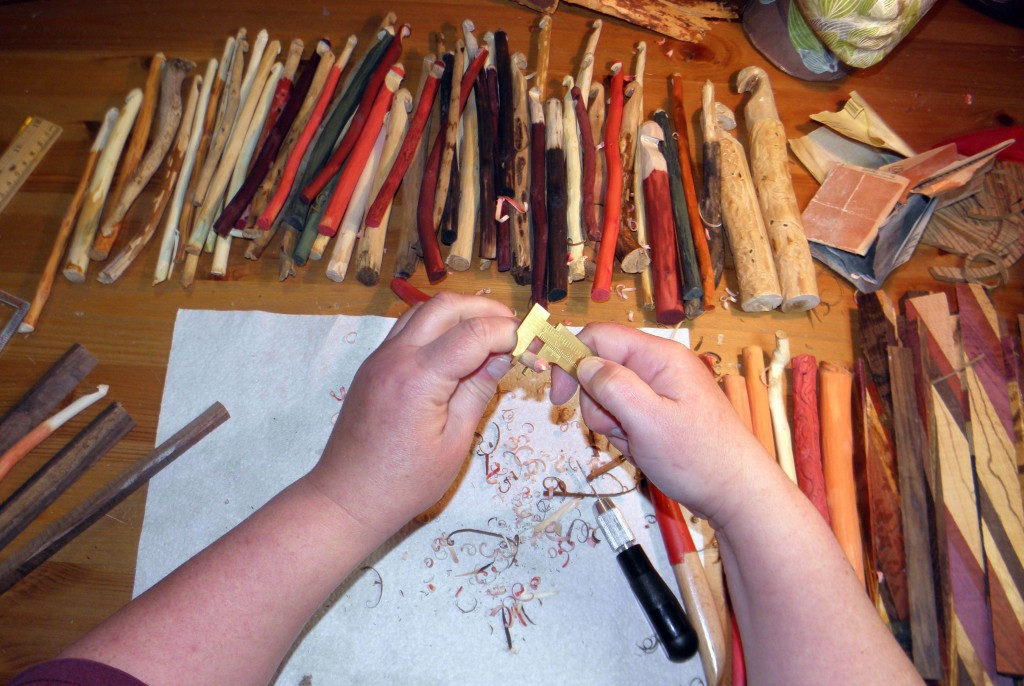
Isn’t it just fabulous when you find a piece of art that you can use every day?

Selecting a Hook

Since Monica hand-carves each piece, every hook is unique: taking on the natural shape and characteristics of the piece of wood. So, how do you find the hook that’s right for you?

Know Thyself
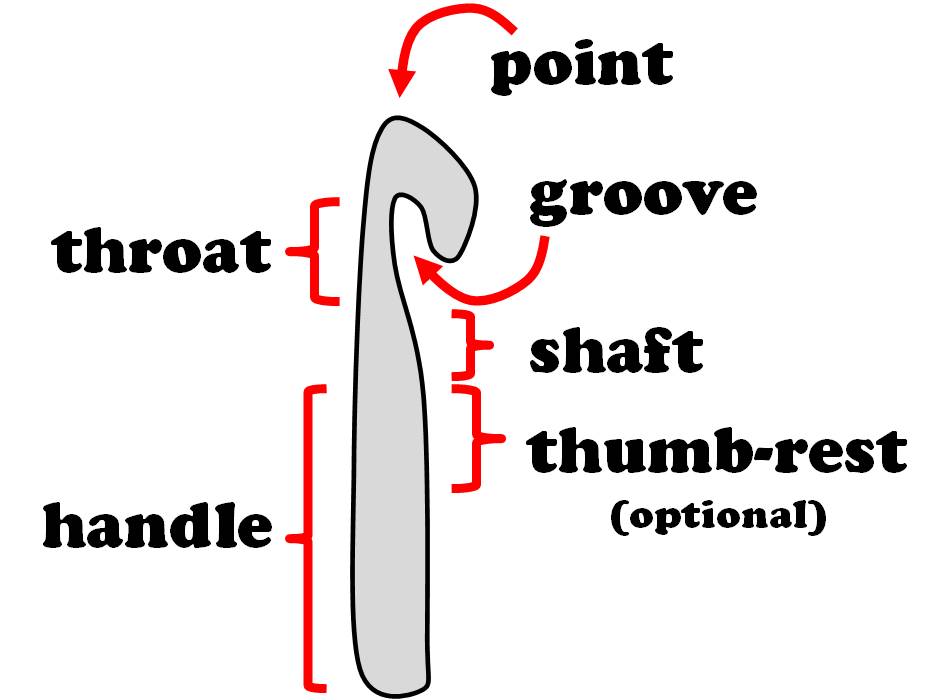
I recommend reading Crochet Hook Anatomy in Action to discover which features of a hook are important to you. Do you hold your hook like a pencil or a knife? Do you split your yarn often? Maybe a more rounded tip is for you. Do you want a thick handle, or one that’s thinner?

Get a little advice

Once you have an idea about your crocheting style, you can browse Craftwich to select your hook.

Monica can help you select the hook that’s right for you, and is happy to rounding the tip off of (an existing) hook to suit your taste. There’s no excuse for not getting the perfect hook!

A handmade hook is only a step away!

I just adore the passion that Monica brings to her craft. She says, “I think my most favorite part of the whole process is actually the bark stripping and initial carving right afterwards – that’s when I discover the beauty of the individual pieces; the colors of the rings, whether bugs carved paths into it or interesting discolorations – if I found a particularly old piece of wood, you can see the effects weather has had on it, and so forth. Quite a process of discovery.”
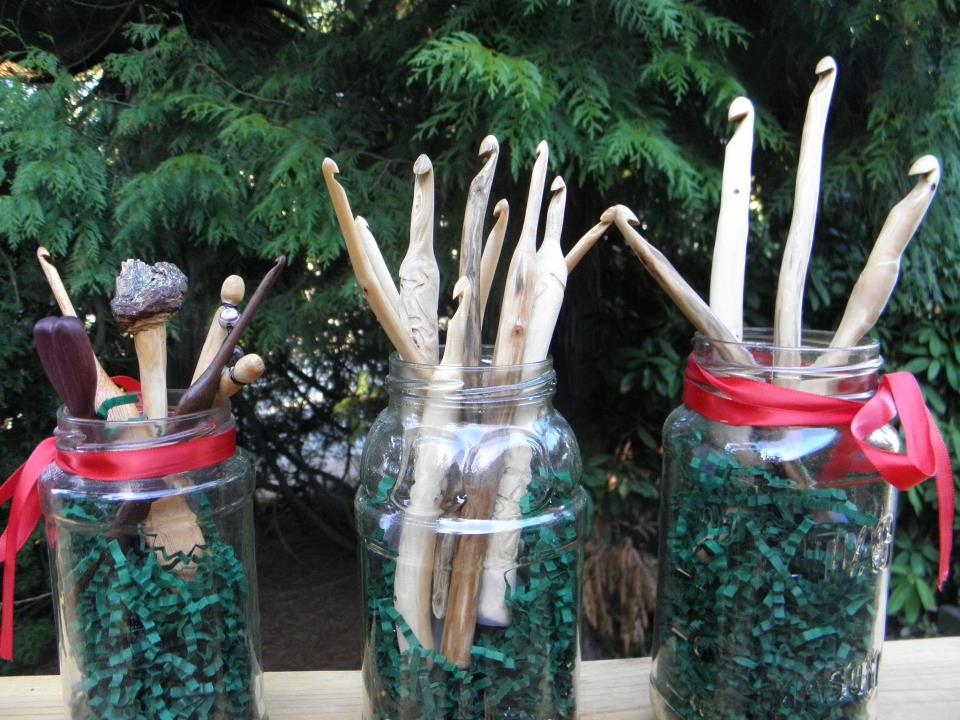
As a person who takes great care to make beautiful crochet pieces, I think it’s almost poetic to have a hook that was crafted with the same care!

Find Craftwich

A HUGE thank-you to Monica for coming by the blog and giving us a peek into her process… all of the lovely in-progress photos are hers!

And reward all of her hard work by stopping by her page and giving her a visit!

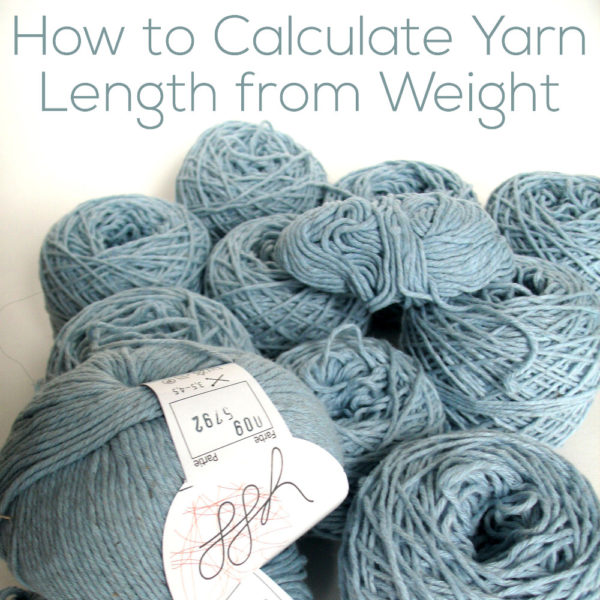
How to Calculate Yarn Length from Weight

How to Calculate Yarn Length from Weight - tips from FreshStitches and Shiny Happy World

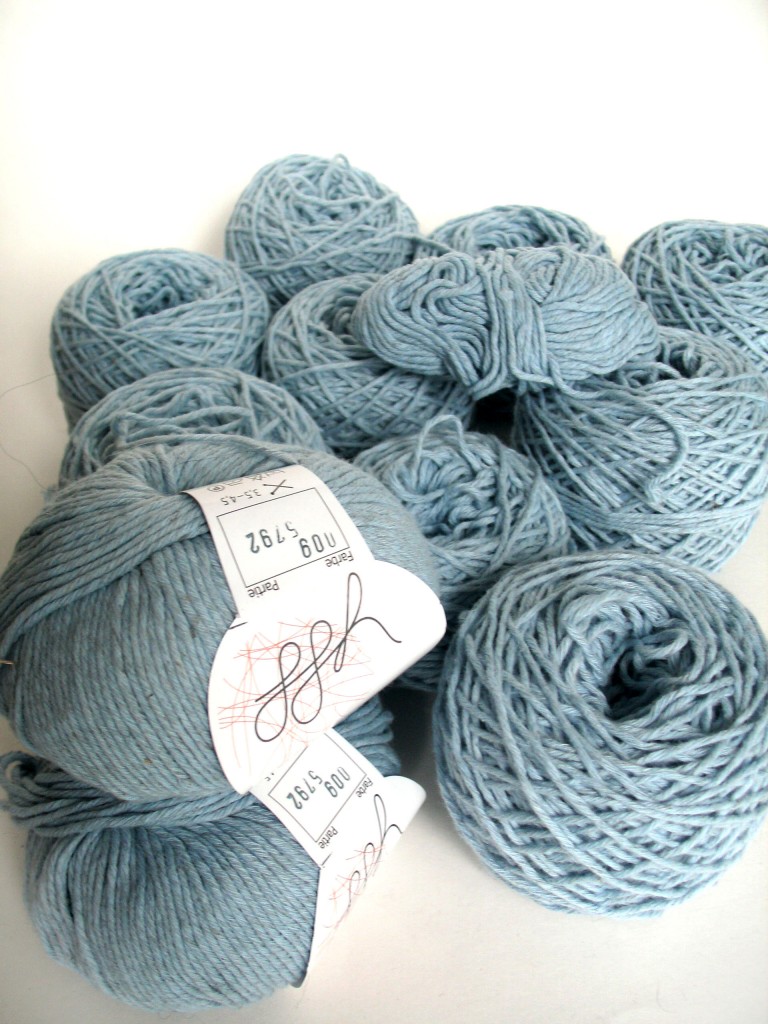
We’ve all been there. We’ve got a big pile of yarn (inherited from a family member, the result of frogging a project, or maybe even a thrift store find)… and we have no idea how much yardage there is!

Since most patterns specify the number of yards you’ll need, determining the yardage of your yarn is crucial. Fortunately, it’s not too tricky! In this post, I’ll show you how to use a scale to calculate the yardage of your yarn.

Materials required

To calculate the yardage of your yarn, you’ll need:

  • the yarn (duh!)
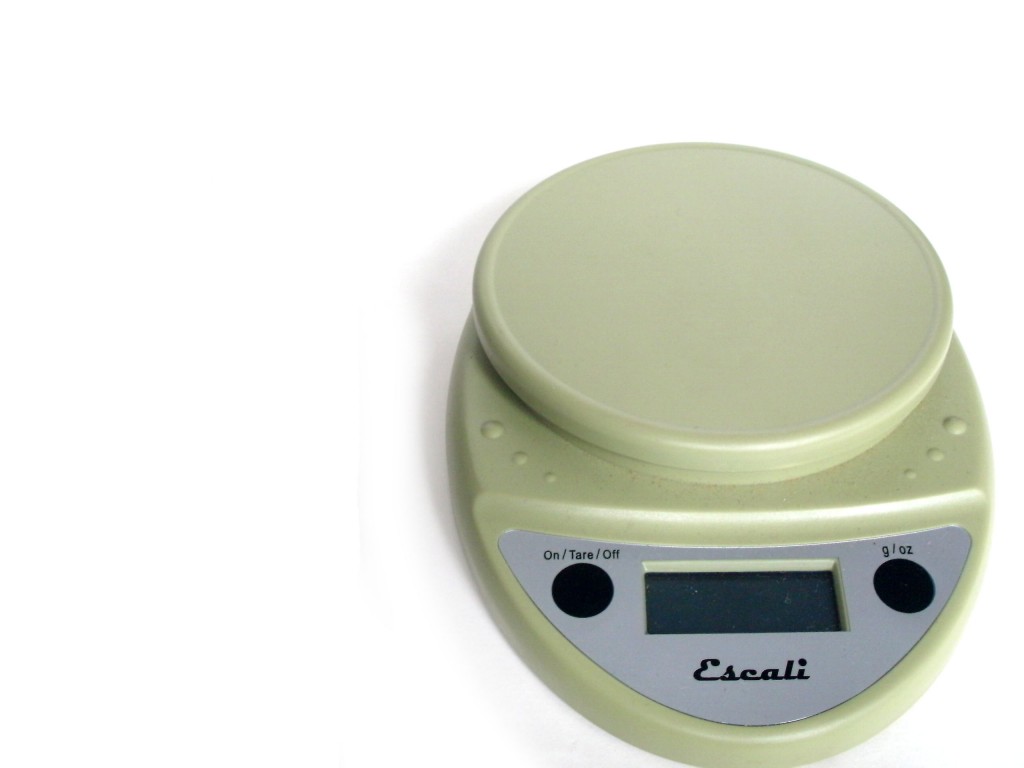
  • a digital scale
  • a box or bowl (to hold the yarn on the scale if you’ve got a lot of little bits of yarn)

Step-by-step: How to determine yardage

Got your materials together? Okay, let’s get started!

Find out the yarn’s yardage per weight information

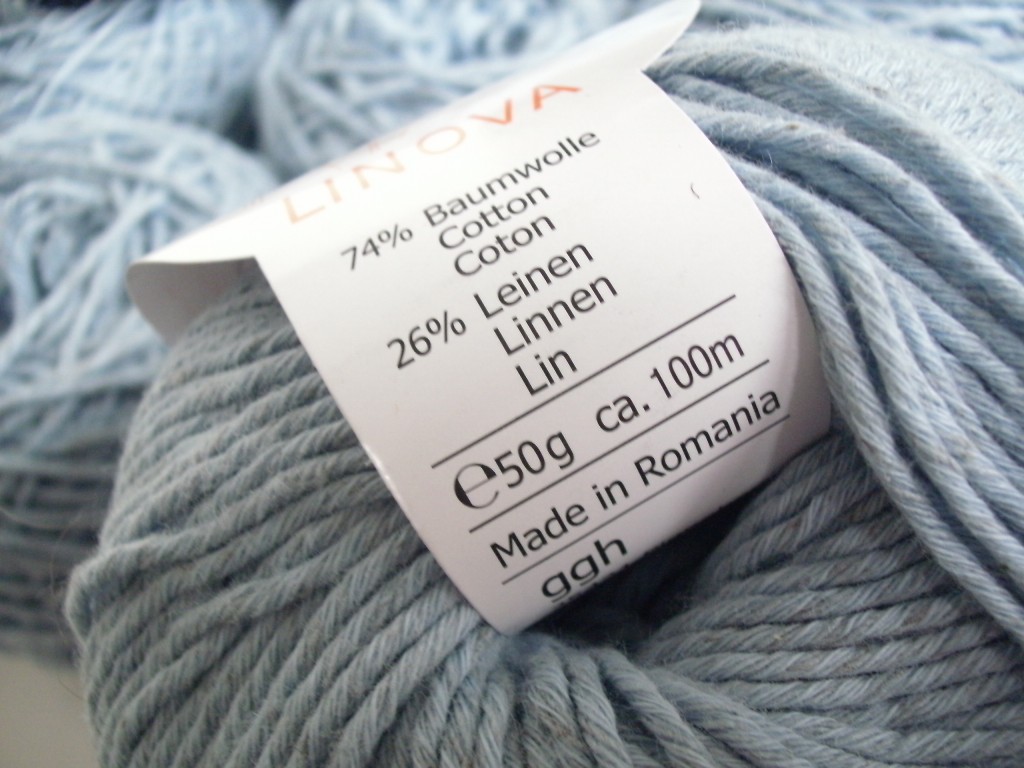
I lucked out a little bit: I had a big bundle of yarn that came along with a label. The label tells you how much length/weight a particular ball of yarn is:

If you aren’t lucky enough to have a label, you have some options, that’s not a problem! Just cut off a small length (maybe a yard or a meter) and weigh it. Boring, but easier than measuring the entire amount of yarn!

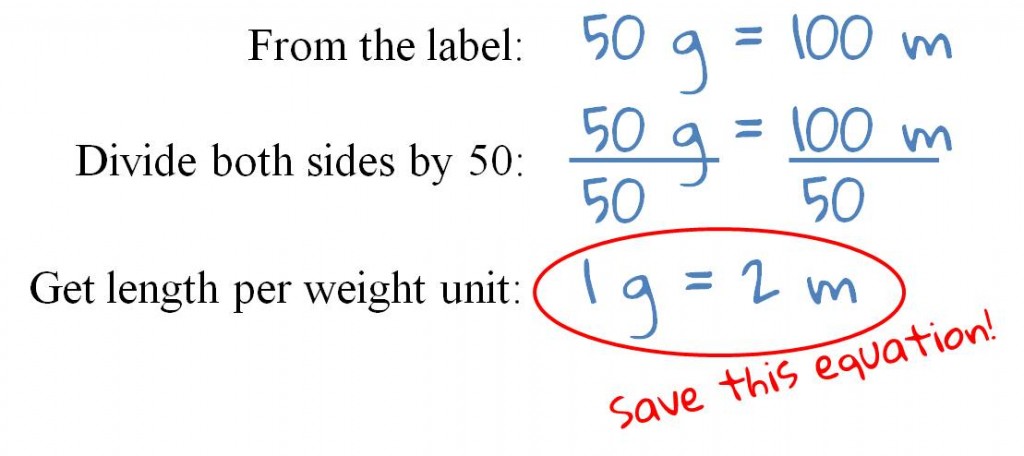
Calculate length per unit of weight

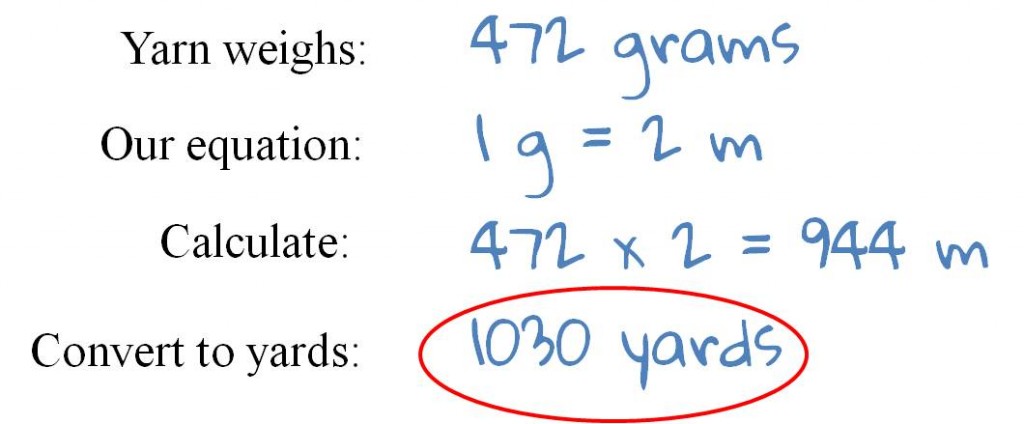
Now I know that my yarn has 100 meters in 50 grams. I want to calculate how much length there is to each gram.

So, each gram of yarn is 2 meters long. We’ll keep this in mind!

For your formula, of course, you’ll be plugging in the length and weight from your yarn label or the small sample you cut and weighed. 🙂

Weigh your yarn

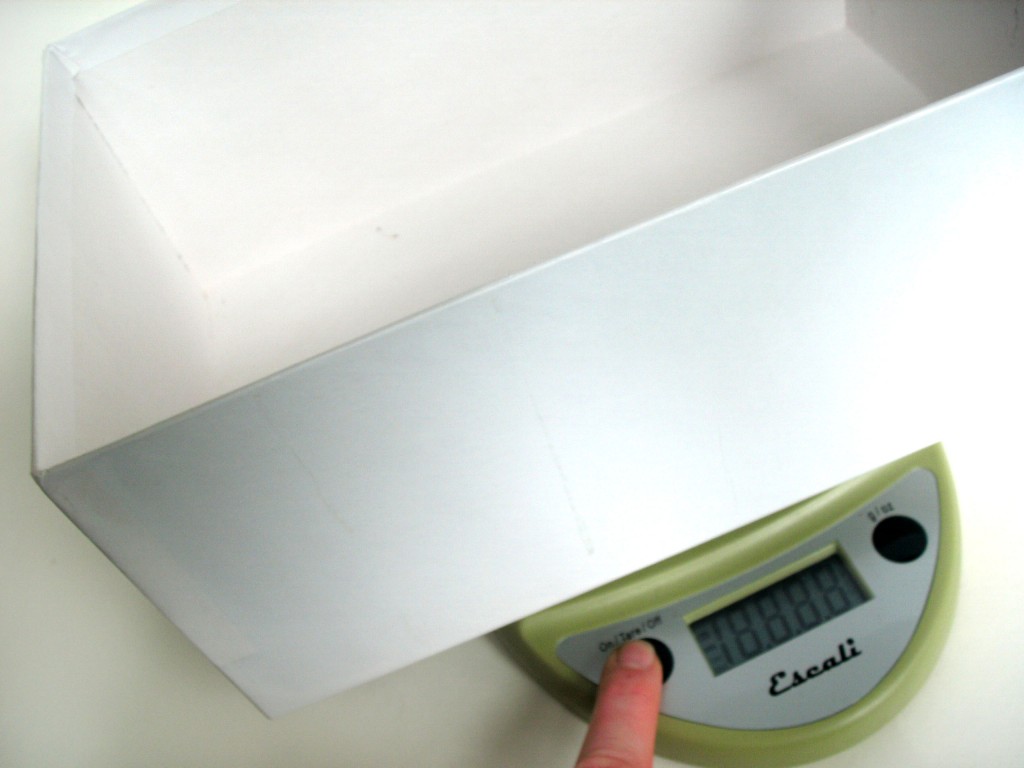
Since I have a lot of little balls of yarn (the result of frogging a sweater), I’m using a box to keep them all together on the scale. Put the box on the scale, and zero the scale:

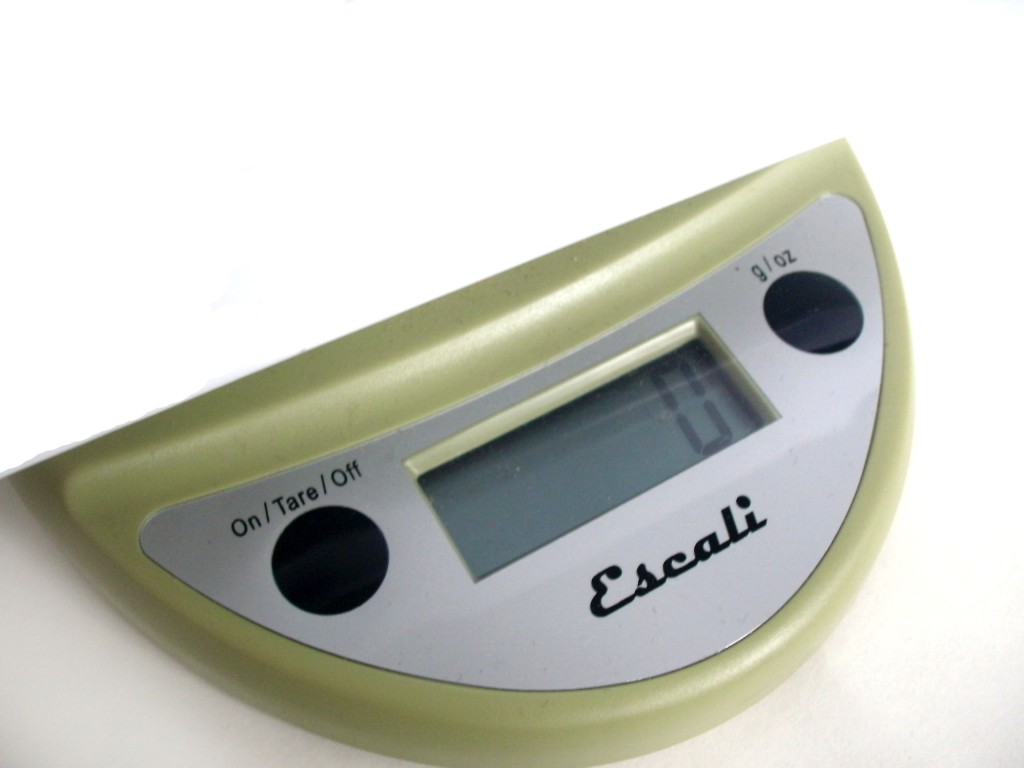
It’s important to put the box on the scale before you zero the scale, so that the box won’t be included in the weight. Zeroing the scale just means that you’re telling the scale to start at zero… and it’s easy to do. On my scale, I just hold down the ‘tare’ button. See how it’s now reading ‘0’?

Since my yarn label listed the length/weight in metric, I’m going to weigh my yarn in grams.

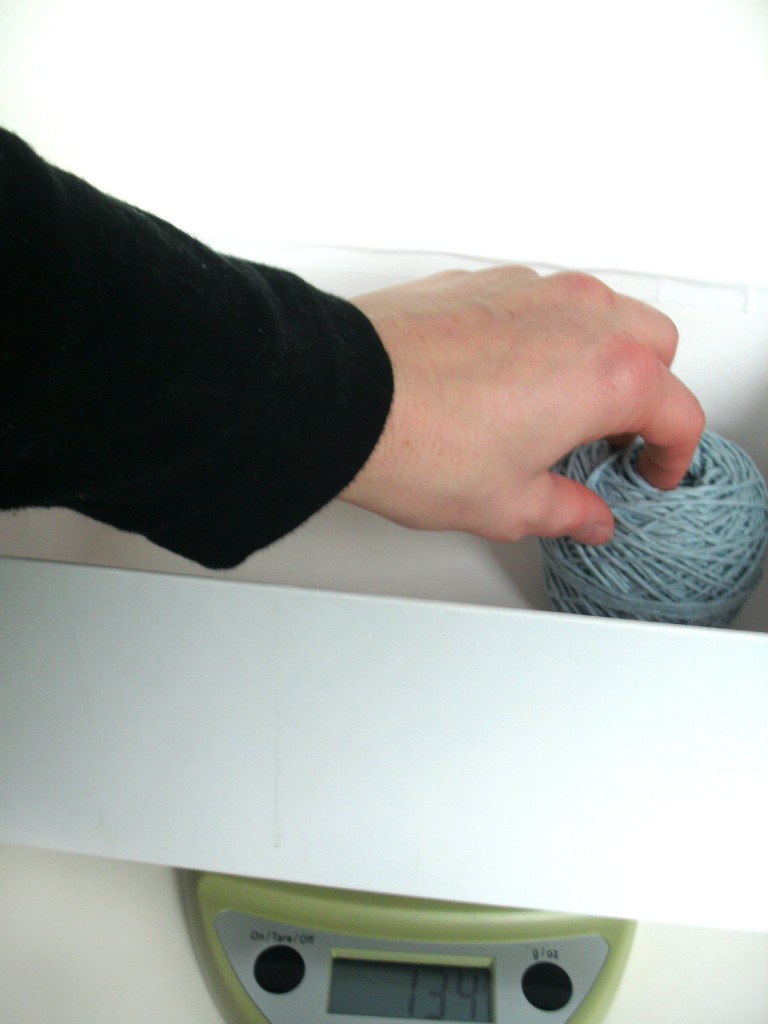
Put the yarn that you want to weigh in the box:

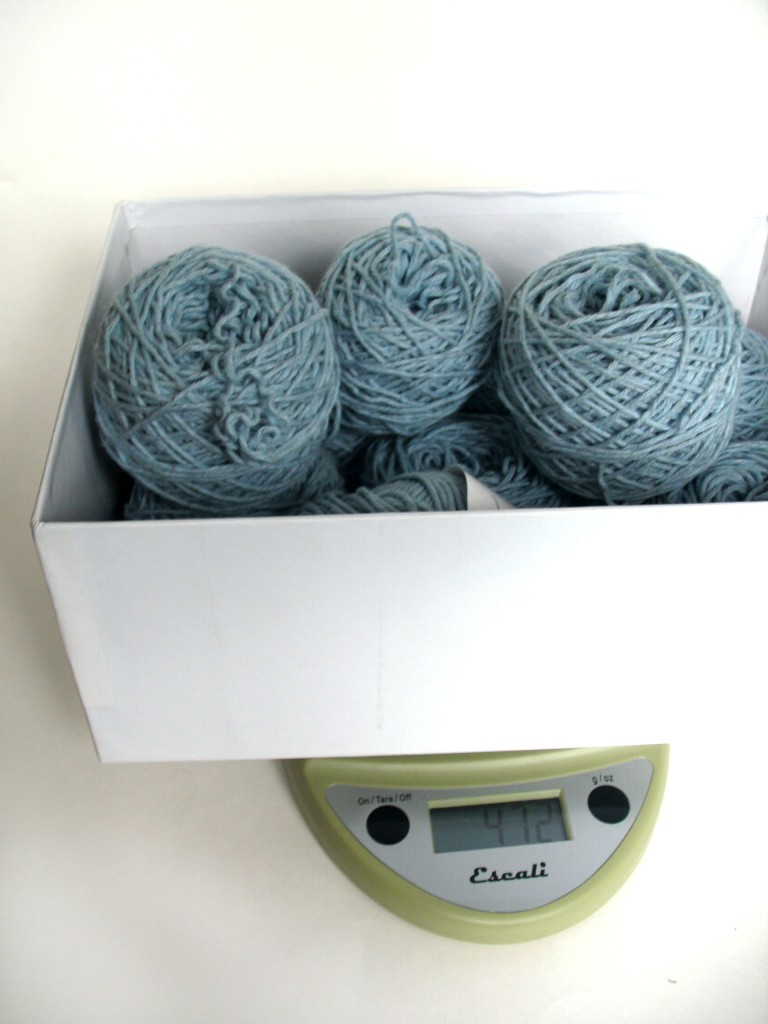
And weigh it!

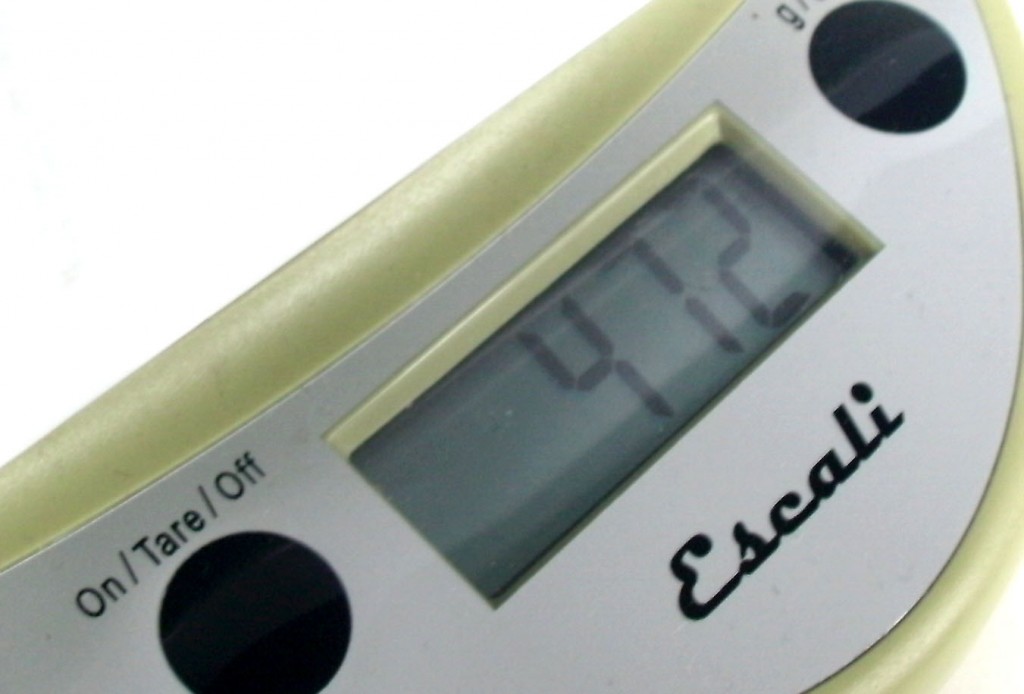
And it weighs…

472 grams. Good to know!

Calculate the yardage

Now all we need to do is calculate our yardage! We know (from before) that each gram is 2 meters long, so we multiply 472 (how many grams we have) by 2 to get our total meters.

To do the final conversion from meters to yards… you don’t even need to do any calculations! Just type ‘convert 944 meters to yards’ into Google, and it’ll give you the answer!

What will you make now?

Now that you can determine the length of some of your mystery yarn, what are you going to do with it? I turned mine into a Kyuu cardigan.

Here are handy links to all the posts about yarn. . .

Return to the main table of contents for Let’s Learn to Crochet Amigurumi.

Move on to the lessons for the basic crochet stitches.

Happy stitching!

A Yarn Lover’s tour of NYC (with pickle detour!)

Like me, my friend, Ellen, is a yarn-lover. And an all-around crafty-chick.

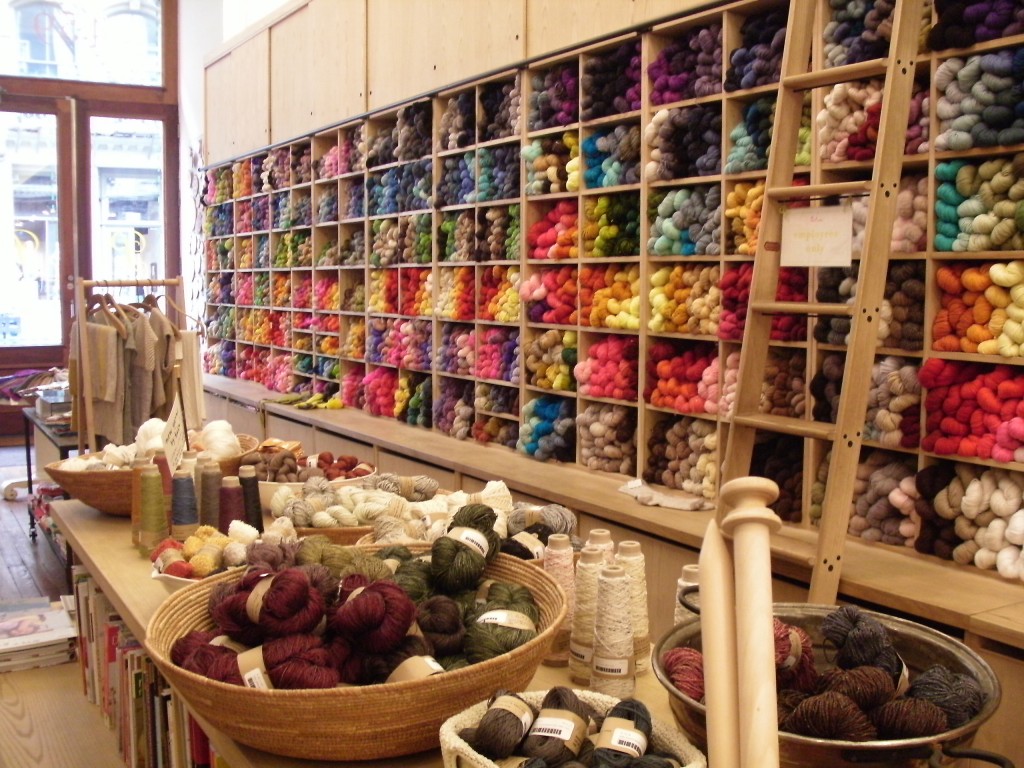
So, when it came time for Ellen to visit New York City for the very first time, I knew I needed to include the best yarn shops in Manhattan on our tour.

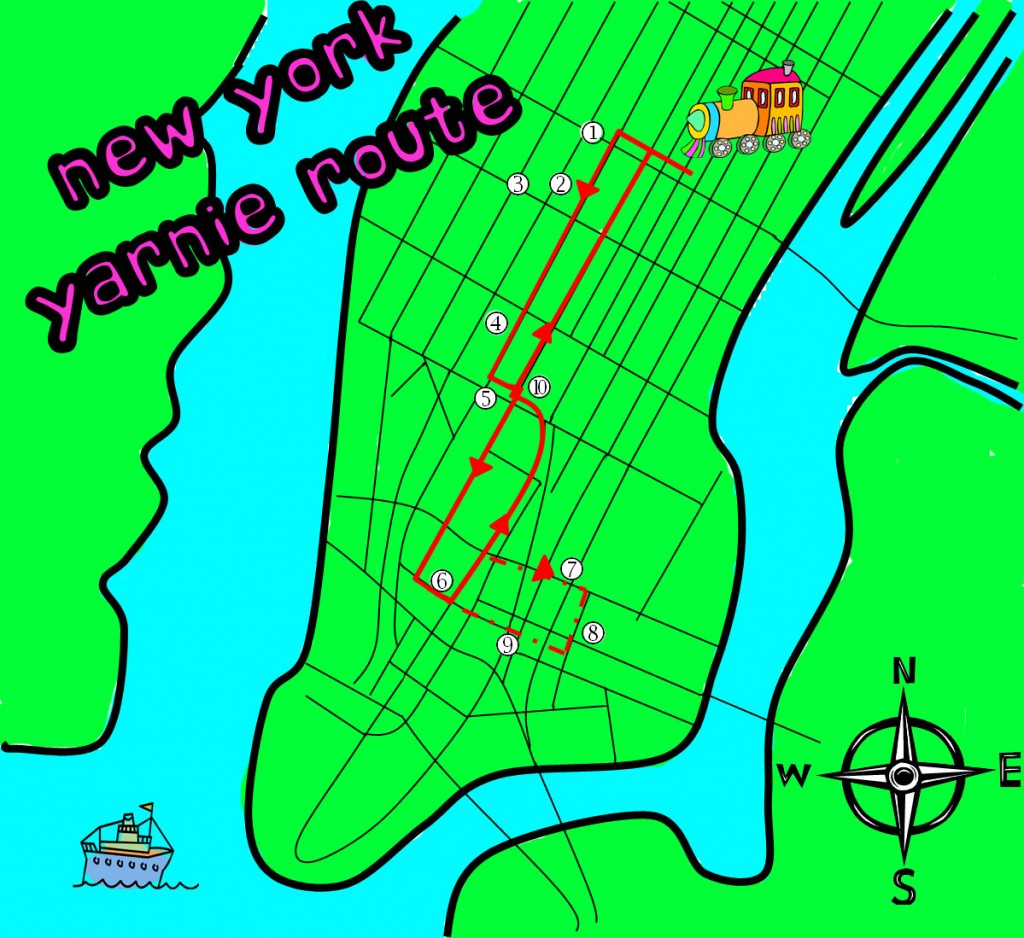
Map of favorite yarn shops in Manhattan, New York City

I admit it: this isn’t a guide that hits every yarn store in the city. If you’re a New York-native, it’s probably too touristy of a walk for you.

What this guide will give you is an amazing day’s journey around mid-town and lower Manhattan, with lots of eye-candy for the crafty person. (And… just because I’m obsessed- you’ll notice a small pickle detour you should feel free to add-on!)

This walk begins from Grand Central Station, and proceeds as follows: walk West on 42nd st, turn left (and head South) on 6th Ave. Turn left (head East) on 15th Street and then turn right (going South) on 5th Ave. Turn left (heading East) on Broome St., then left (to head North) up Broadway. The pickle lover’s detour heads East on Houston, South on Essex and loops back to Broadway (then continue North to rejoin the walk instructions). Head North on Broadway (eventually hopping onto 5th) will take you back up to 42nd! The walk is approximately 9 miles.

1: Kinokuniya

address: 1073 6th Avenue

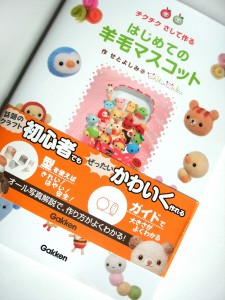
Kinokuniya is a Japanese book store (read my review of its Sydney branch in this post). Why is a Japanese book store on my yarn-lover’s tour? Because Japanese craft books are amazing! Check out this adorable needle felting book I bought:

So cute! The best part is that you don’t have to know Japanese to enjoy these books: they’re amazingly well illustrated and the knitting/crochet books are charted. So, with a little previous experience (of knitting/crochet/needle felting) and some effort- this whole new world of books is available to you!

2: M&J Trimmings

address: 1008 6th Avenue

This shop is a wonderland of trimmings: buttons, edgings, closures… whatever you need to finish off a knitting/crochet project in style will be here!

3: Habu Textiles

address: 135 W 29th St # 804

This stop is a block off of our walk down 6th avenue, but well worth it. Habu is known for its unique and interesting yarns. And even though you’ll occasionally find it in yarn stores, nothing’s like visiting the actual shop!

4: Container Store

address: 629 6th Avenue

Okay… this may not be terribly exciting for many folks in America, but Ellen is from Nova Scotia, and they don’t have the container store. And if you’re going to be buying yarn, you need to organize it, right?

For those who have never been, the Container Store is a magical world of boxes and organizational gadgets that you never knew you needed… until now.

5: Lion Brand Studio Store

address: 34 W 15th St

(Read a full review of the store in this blog post)

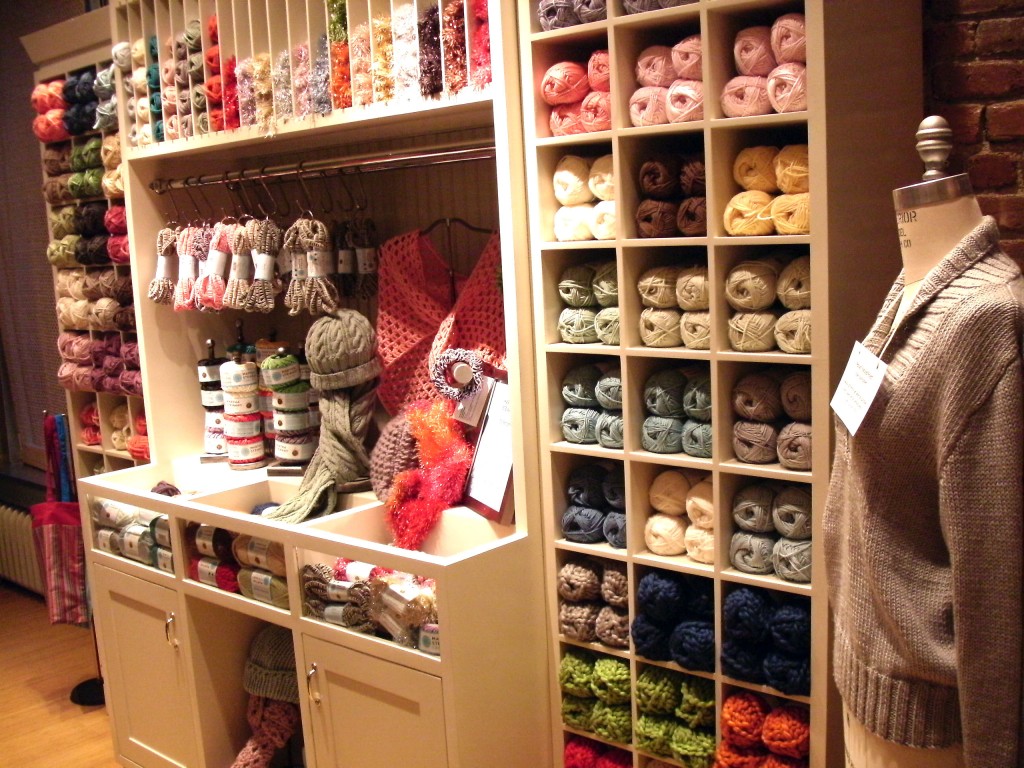
If all you think about when you hear ‘Lion Brand’ is cheap big-box store yarn, this store will seriously surprise you! This is the only store where you can visit Lion Brand’s ‘LB Collection’: an exclusive line of luxury yarns.

Lion Brand Studio Store - one of the nicest yarn shops in Manhattan

Combine the exclusive yarn line with beautiful (and ever-changing) art displays and samples and a comforting LYS-atmosphere… and you’ve got one of the nicest yarn shops in Manhattan.

6: Purl Soho

address: 459 Broome Street

(Read a full review of the store in this blog post)

I love Purl Soho. And Ellen loves their blog… so it was a must-see on our list.

Purl Soho - one of the loveliest yarn shops in Manhattan

It’s beautiful. It’s well-stocked with delish yarn AND fabric. It’s also filled with irresistible samples (the visit inspired me to add their Wedding Shawl to my queue).

Purl Soho is one of the loveliest yarn shops in Manhattan – the main reason our walk extends down into Lower Manhattan. It’s worth the walk! You’ll also probably like shopping around the rest of SoHo, too.

7: Katz’s Deli

address: 205 East Houston Street

(Just so you don’t get corrected by locals, the street is pronounced ‘HOWs-ten’, even though it looks like the Texas city).

Katz’s is a legend (and wonderful pickles come with their sandwiches)… which gives it the first spot on my ‘pickle detour’. And, come on… you have to eat, don’t you?

Try a yummy corned beef sandwich (or my fave, the Reuben), and don’t be alarmed by the zany ticketing/ordering system. Go with the flow, and you’ll be fine. Besides, you may even spot someone famous! (I saw Tommy Hilfiger last time I visted!)

8: The Pickle Guys

address: 49 Essex St # B

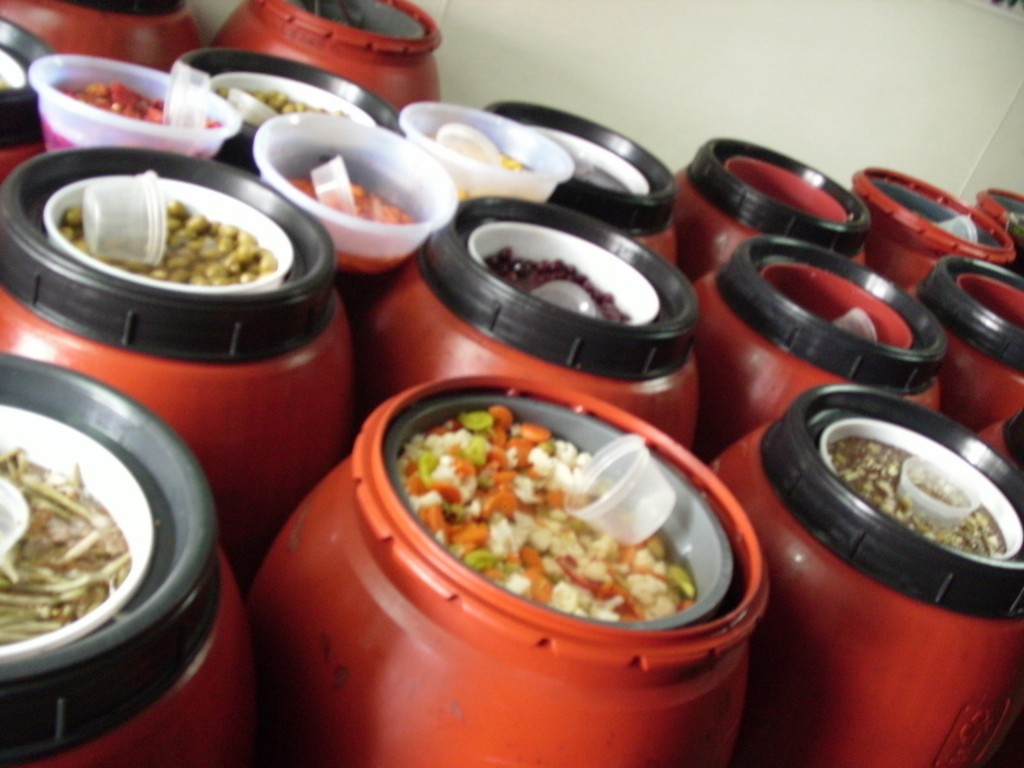
Like I said, I love pickles. So, if you’re like me, The Pickle Guys is the place to visit.

There’s more than just pickled cucumbers, here… I bought some pickled garlic and pickled mango. Delicious!

I admit, the biggest flaw on this walk is planning to look at food after you’ve just had an enormous sandwich at Katz’s. My advice: forget that your stomach is bursting, and stock up on pickles for later. You won’t regret it.

9: Chinatown

Chinatown isn’t really a stop, but a fabulous place to walk through. Filled with interesting markets, restaurants and stores, it’s a real delight. Besides, it’s on the way, so why not enjoy?

10: Farmer’s Market

address: Union Square

The farmer’s market at Union Square is really fabulous: on my most recent visit, I spied an ostrich egg (!), local NY wines, cheeses and countless other yummies. You might also want to pop into Eataly, an Italian-style market that’s nearby.

Aside from these stops, enjoy the walk up Broadway and 5th! There’s lots to see!

Enjoy your visit!
Of course, this walk is only a tiny part of New York City, but it was a bite-sized chunk that Ellen and I could tackle in one day. We were back on the train, heading home by 7pm.

What are your favorite yarn shops in Manhattan?

Want to make socks w/o knitting? A Review of the Sock Loom!

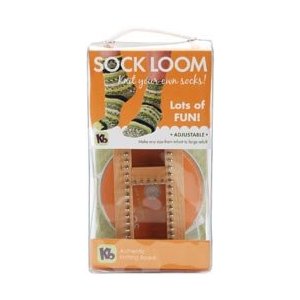
Almost every crafty person I know has, at some time or another, thought of making their own socks. I was intrigued when I saw the Authentic Sock Loom Knitting Board, which allows you to make socks without knitting! I had to give it a try!

About the Loom

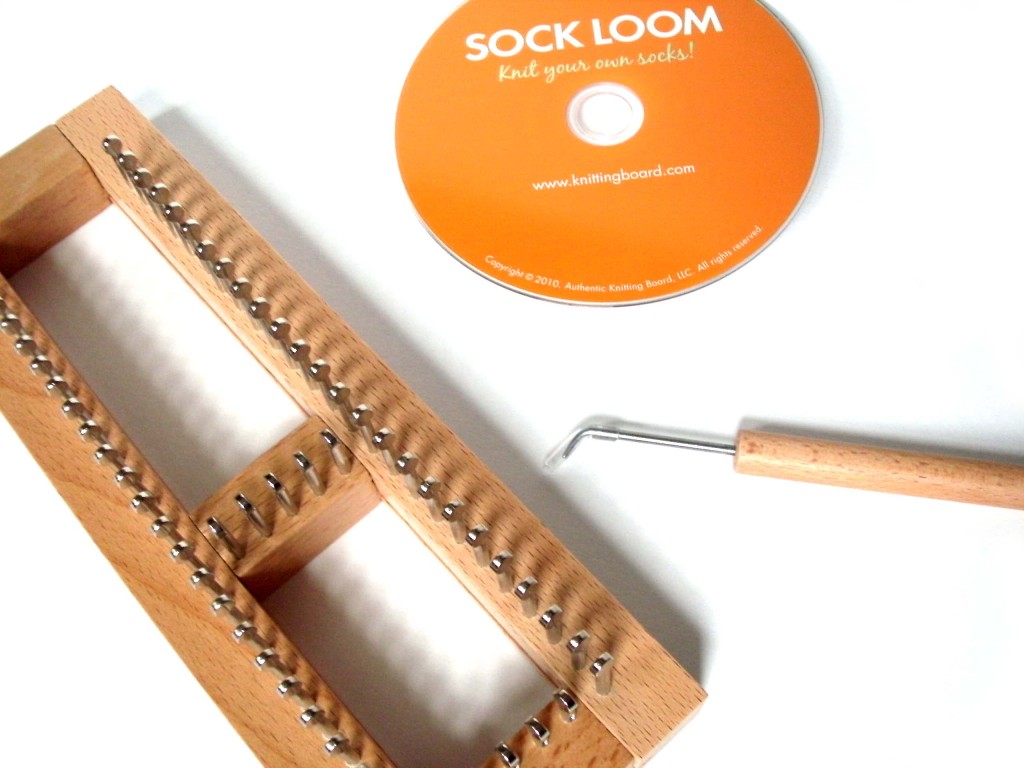
The kit contains an adjustable knitting loom (the center bar on the board pictured slides so that you can get exactly the size sock that you want), a hook (that you use to make stitches on the loom) and an instructional DVD.

I was surprised by the high quality of each of the components. For less than $30, you could picture receiving a flimsy loom or a shoddily-produced DVD. However, the loom is quite hefty: constructed with solid wood and very secure and sturdy pegs. The DVD is neatly divided into sections (casting on, the knit stitch, turning the heel, etc.) and gives complete instructions for operating the loom.

How the loom works

A properly-fitting sock needs to be the appropriate size: so that it’s small enough to fit snugly, but not too small so that it doesn’t fit. The first step in using the loom is to set the knitting board so that it creates an appropriately sized sock for your foot. Fear not… this step is easy: you simply follow the calculations provided in the kit, and slide the center bar to the proper position.

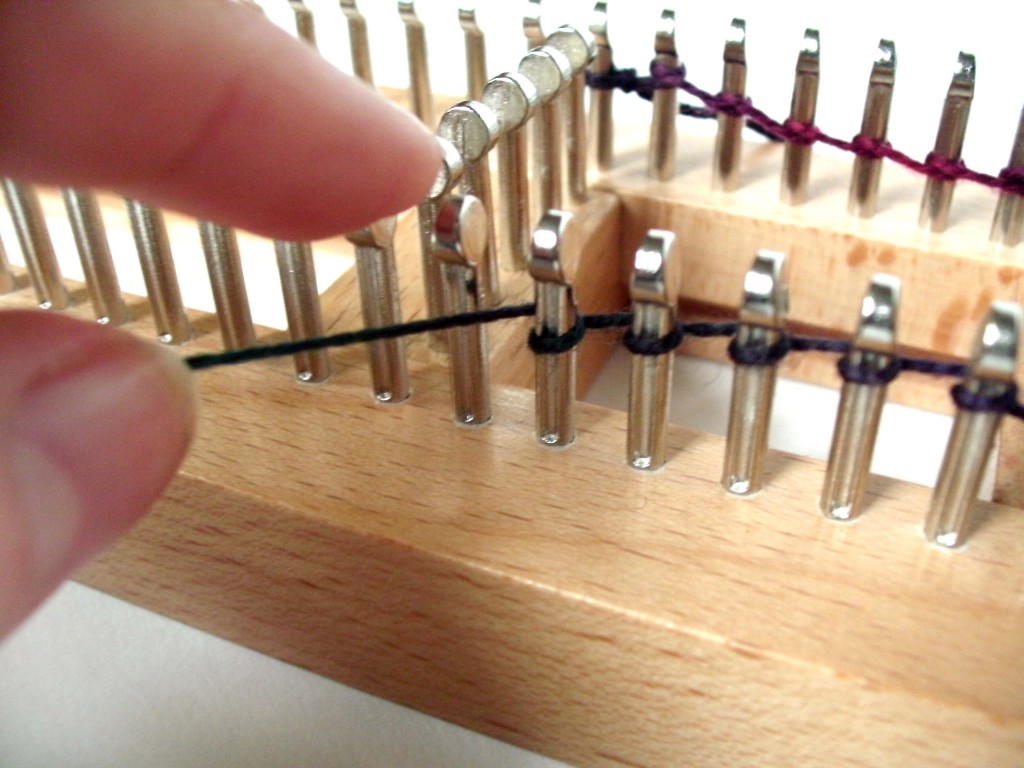
The remaining steps mirror the steps involved in knitting a sock. You begin by ‘casting on’ the stitches:

Even though the actual motion for casting on stitches with the loom is different from knitting, the philosophy is the same, and the procedure is well-explained in the DVD.

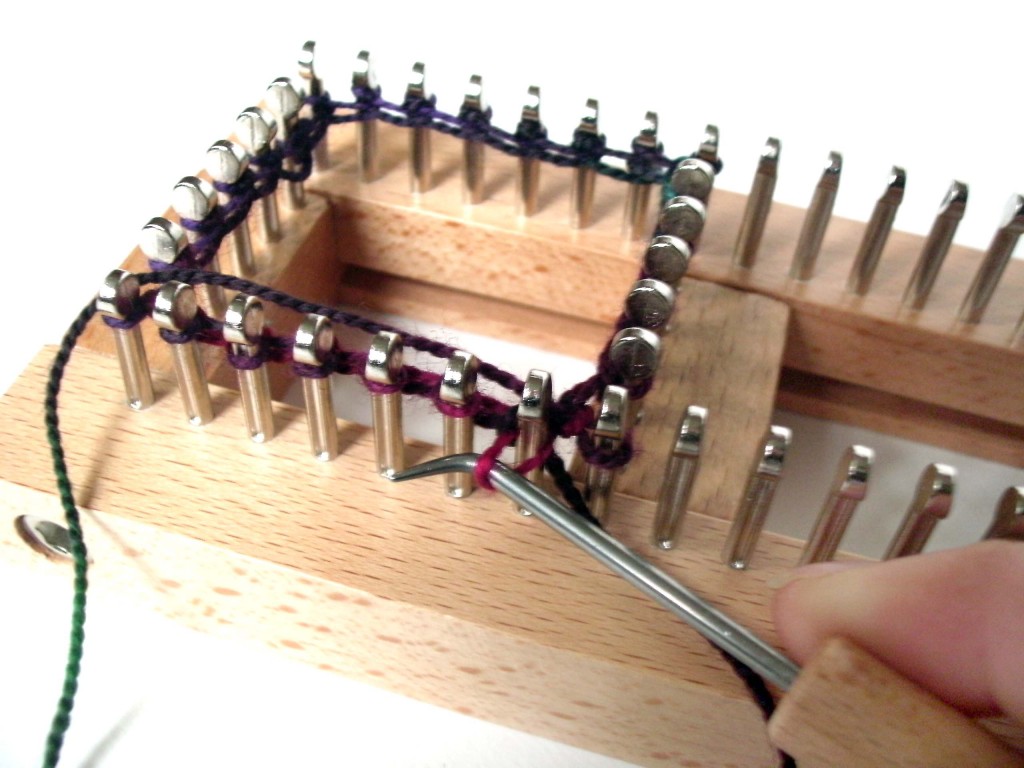
After the initial cast-on, you begin ‘knitting’ your sock. Each stitch is created by pulling the working yarn through the stitch on the loom, using the hook:

Exactly how you manipulate the hook & yarn determines whether you produce a knit or a purl stitch.

You continue knitting and purling to create the cuff of the sock and then, just like knitting, you work a limited number of the stitches to form the heel. Then, you return to working all of the stitches for the foot of the sock.

The toe is constructed slightly differently on the loom than when knitting a sock: stitches for the top and bottom of the sock are decreased separately and then grafted across the entire toe. There is an option to remove the stitches from the loom and use double-point needles for a ‘traditional’ toe, but this seems to be an advanced option.

Benefits to the Sock Loom

The sock loom is an easy entry into making socks for those who don’t/can’t knit. Highlights include:

  • A well-constructed loom and instructional DVD (as well as further videos/support on their website: www.knittingboard.com).
  • Once you get a hang of the basic operation of the hook, you can create knit and purl stitches (and make an entire sock!) with ease.
  • Grooves in the pegs make it very easy to use the hook to manipulate the yarn.
  • Since the loom is adjustable, you can make socks of any size.
  • The design of the loom takes away many of the complicated calculations associated with knitting socks. Once you establish the number of pegs required, no further calculations are needed.

Disadvantages to the Loom

In my personal opinion, this loom is designed for people who do not currently knit. People who are already proficient knitters will find the experience of using the loom slightly tedious: it’s like using a crochet hook to create each new knit stitch.

Other downsides include:

  • The loom isn’t obviously portable. Although I suppose it may be, in principle… in practice, carrying a loom around is more awkward than carrying knitting needles.
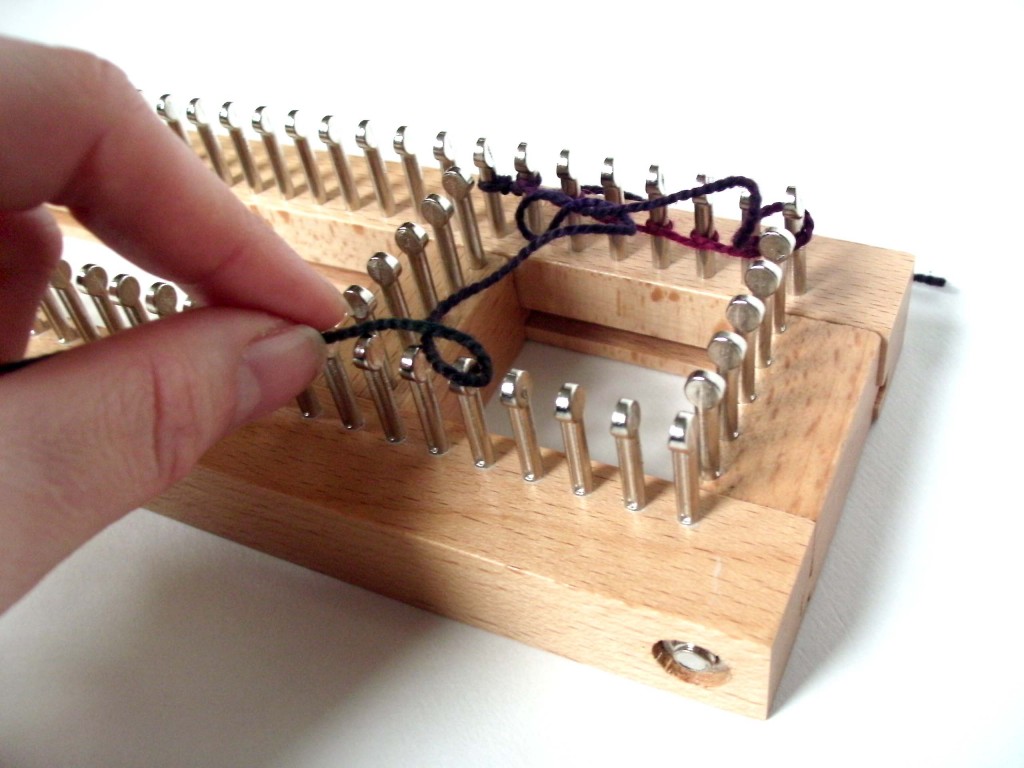
  • Stitches can slide off of the pegs, particularly during the cast-on (see above photo, which happened as I was taking photos of my cast-on). In this case, the only option is to begin your cast-on, again.
  • The DVD doesn’t have many details on fixing mistakes. I assume this is because the loom is a new product, and I’d imagine that these will be videos added in the future.

Overview

The Sock Loom Knitting Board is an ingenious product that is well-crafted and allows you to create socks easily, without knitting.

This board isn’t a short-cut to making socks for people who already knit. I would advise knitters (who are afraid of socks) to find a helpful, beginner-sock pattern instead of turning to the loom. Some first-time sock knitting patterns are: Easy Peasy Socks and Basic Sock.

If you’ve been looking to make socks, and aren’t interested in knitting… this loom is your ticket!
Best,
Stacey