I don’t like wearing shorty socks, but store-bought socks with longer legs often cut off the circulation in my calves. I don’t know why – I don’t have especially large calves – but they do. The last time I found some that didn’t, I bought a whole bunch, but that was years ago and that batch is starting to wear out.
I needed new socks, and I can’t keep asking Jo to make them for me. 😂 I mean, she’s happy to make me socks, but I know there are other things she wants to knit, too.
Plus, I wanted a small project that I could carry around with me now that my sweater-in-progress is getting unwieldy.
So I knit a pair of socks! Jo helped me choose yarn and a pattern, and I was off to the (very slow) races. 😂
Here’s my yarn.
Jo recommends wool with a little bit of nylon added for durability, and I love Malabrigo, so I picked their Ultimate Sock Yarn in the color Indiecita. So pretty!
Jo helped me choose a pattern, too. I used The Ribbed Sock from New Wave Knitting. Jo has made me socks using this pattern before, and it has a very cool feature. You choose your yarn (pretty much any weight is ok), knit up a gauge, and then input that number into the pattern. The pattern then calculates everything for you! Magic!
I used double-point needles, which were a little hard for me to manage at first, but I got used to them. It just took me a little while to figure out the best way for me to hold everything comfortably – which is, I think, the story of everyone’s knitting and crochet life. 😂
And now I have a pair of socks!
I maybe didn’t do the best job blocking that lower sock, but ¯\_(ツ)_/¯ oh well. 🙂 They still look great on.
I’ve cast on for a new pair, also ribbed, but this time using a different kind of heel. I’m also trying 9-inch circulars (Stacey’s favorite method) instead of double-points. The jury is still out. It’s definitely faster now that I’m into it, but that first round was a beast with those itty bitty needles. Not even a little bit fun. 🙁 I’m also going to try the magic loop on my next pair, just to try all the options to see which one I like best.
I’m starting a class next week to learn how to draft a pattern from a finished garment, and this is the fabric I plan to use to make a copy of the purple dress in this post. It’s linen, so I still need to wash and dry it two more times before the class starts. (Lesson learned.)
I saw the Miu Top by Una Gil on Instagram and thought it looked cute, so I made it.
Here’s the cover photo for the pattern.
This top is a little out of character for me style-wise, but I’m trying to upgrade my closet, so I want to take a chance on some new silhouettes.
It has a wider neckline than I normally like, and it’s a sleeveless top. I don’t like wearing sleeveless tops so I’ll probably always wear a thin layer underneath.
I spotted it at the Rose City Yarn Crawl this year, and I thought it was so gorgeous that I had to make something with it. These yarns are black wool marbled with another color. It gives them an almost black look, but in the sun or other bright light, the color is more visible. I originally wanted the color VCR, which was a nice green color, but they didn’t have enough in stock. I ended up going with Talk Radio, which is their purple.
It knits up well. It’s not a superwash wool, so it felts together pretty quickly. On the one hand, that makes a nice dense fabric, on the other, it’s a pain if you need to rip anything out. The yarn felt rough when I worked with it, but it blocked much softer. I have worn thin layers under the top when I’ve worn it out, so I’m not sure how itchy it is when worn against bare skin.
DISCLAIMER ABOUT THIS YARN. As pretty as it may be, I had major problems with it breaking. It didn’t seem like the kind of yarn that would break so easily. (It’s 3ply, not single ply, which is where I usually run into breakage problems.) The yarn broke twice when I was trying to cast on. It also broke while I was knitting when I was pulling some from the ball in my project bag. In addition to that, it broke MULTIPLE times when I tried to seam the shoulders. I ended up getting the seams sewn, but it took a few tries and an extremely gentle hand. On their website, someone left a review about breakage that seemed similar to what I experienced, and the company responded saying it wasn’t normal. Maybe I just got a bad batch. Honestly, the colors are so pretty that I would still work with it again, I’d just be mindful of the breakage and be cautious from the beginning.
The top itself worked up quickly. It’s worked bottom up. The waistband is worked in the round until you get to the underarms, then you split the front and back and work them flat. Once you work the front and back to the length that you want, you seam the shoulders and you’re done!
Overall I like the fit. I made a size medium, and I used two full skeins, and then part of a third.
I’m still undecided about the wide neckline.
I might go back and sew up a bit more of the shoulder seam (although I don’t know if I want to fight with the yarn again).
Final review…
The pattern is great – easy to follow, very adaptable, exactly what the cover image shows. I’m not 100% sold on the silhouette for me, but that’s nothing to do with the pattern itself.
The yarn is lovely and the color is beautiful. I’d use it again, but with caution in case the breakage issue wasn’t a one-time weirdness.
Friends – I chose a boring pattern. Truly, the most boring pattern ever.
Let me back up. . .
A few years ago I decided I wanted to learn how to knit. Jo (my daughter and now also my business partner) is an excellent knitter, and she offered to teach me.
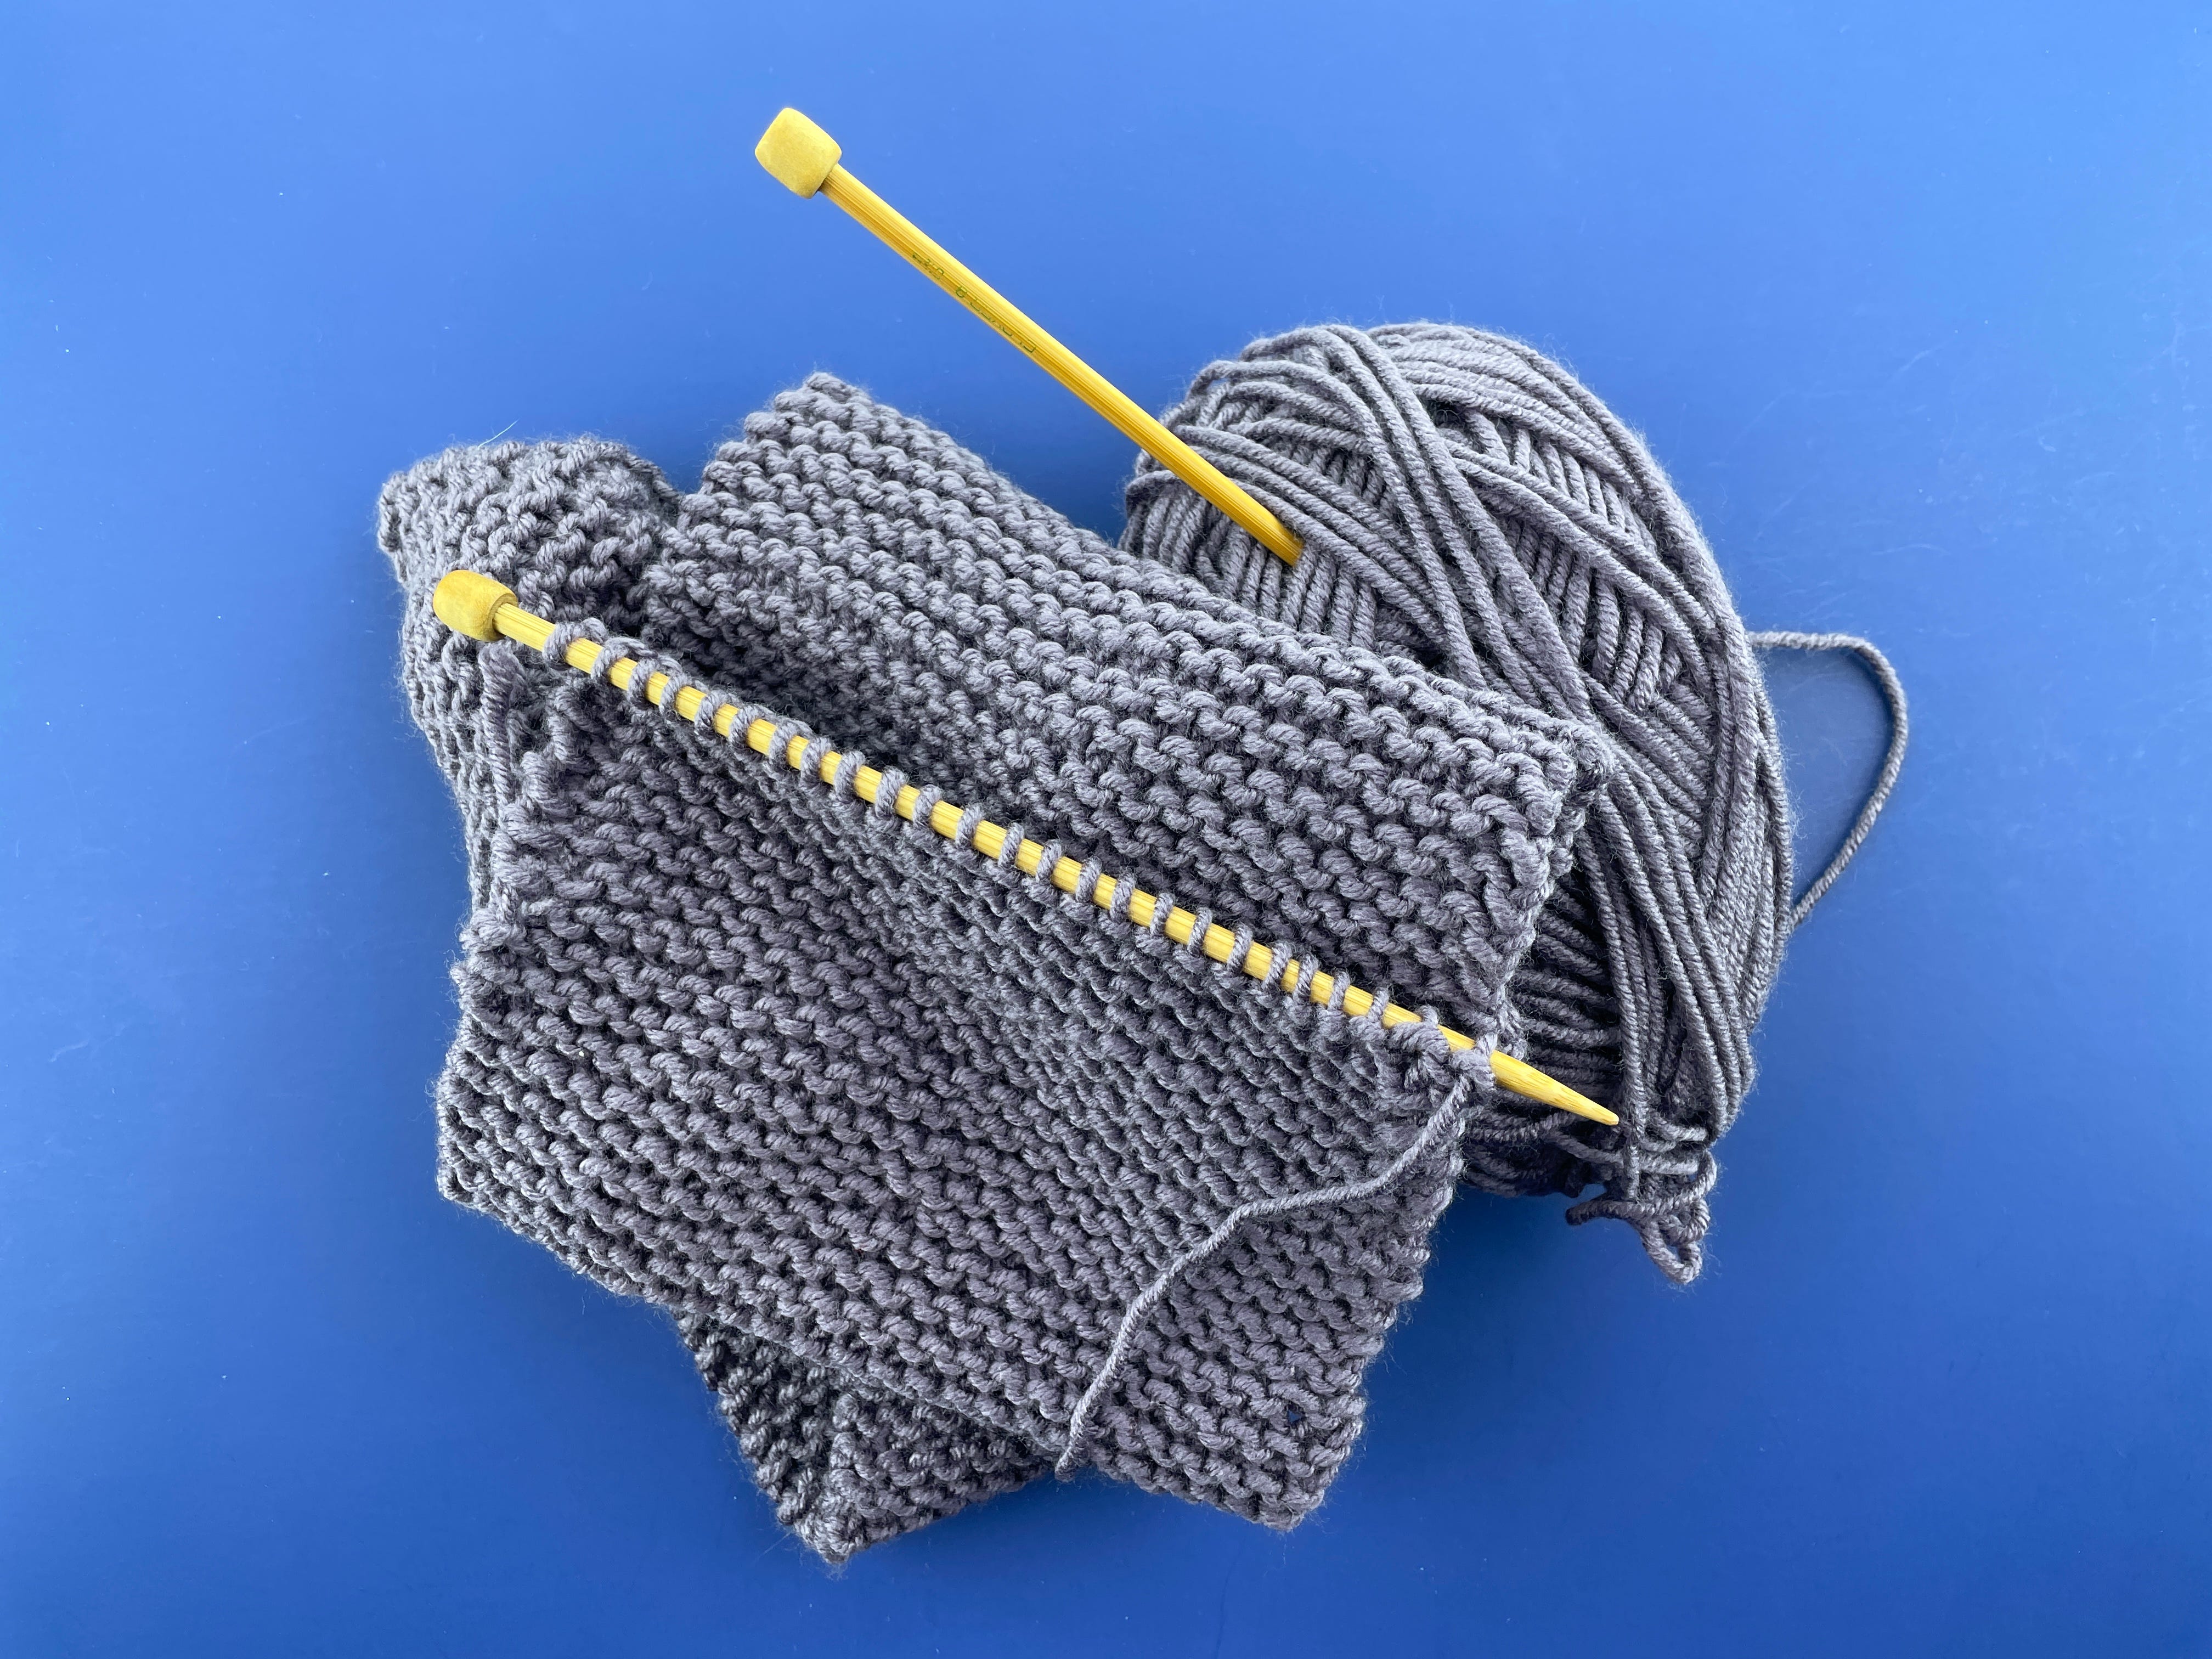
I bought some inexpensive-but-nice-feeling yarn and started to make The Most Boring Scarf in the Whole Wide World.
It was just knitting back and forth. Endless knitting. Boring knitting. That photo above is my progress after, I think, three years.
Yawn.
I don’t even wear this kind of scarf! I was making it just to learn how. There was nothing exciting about the thing itself.
This year [this was in March 2025] I decided to try again.
I chose the Sophie Hood, a very popular pattern from Petite Knit. It’s an intermediate-level pattern, with increases and decreases, and a built-in i-cord edge. I decided to complicate things even more by adding a second yarn and striping them. Some experienced knitters were dubious about choosing this for a first project, but it’s a thing I’ll actually wear, and I know I’m a patient learner. I’m okay with stopping to get help/watch some videos whenever I need to.
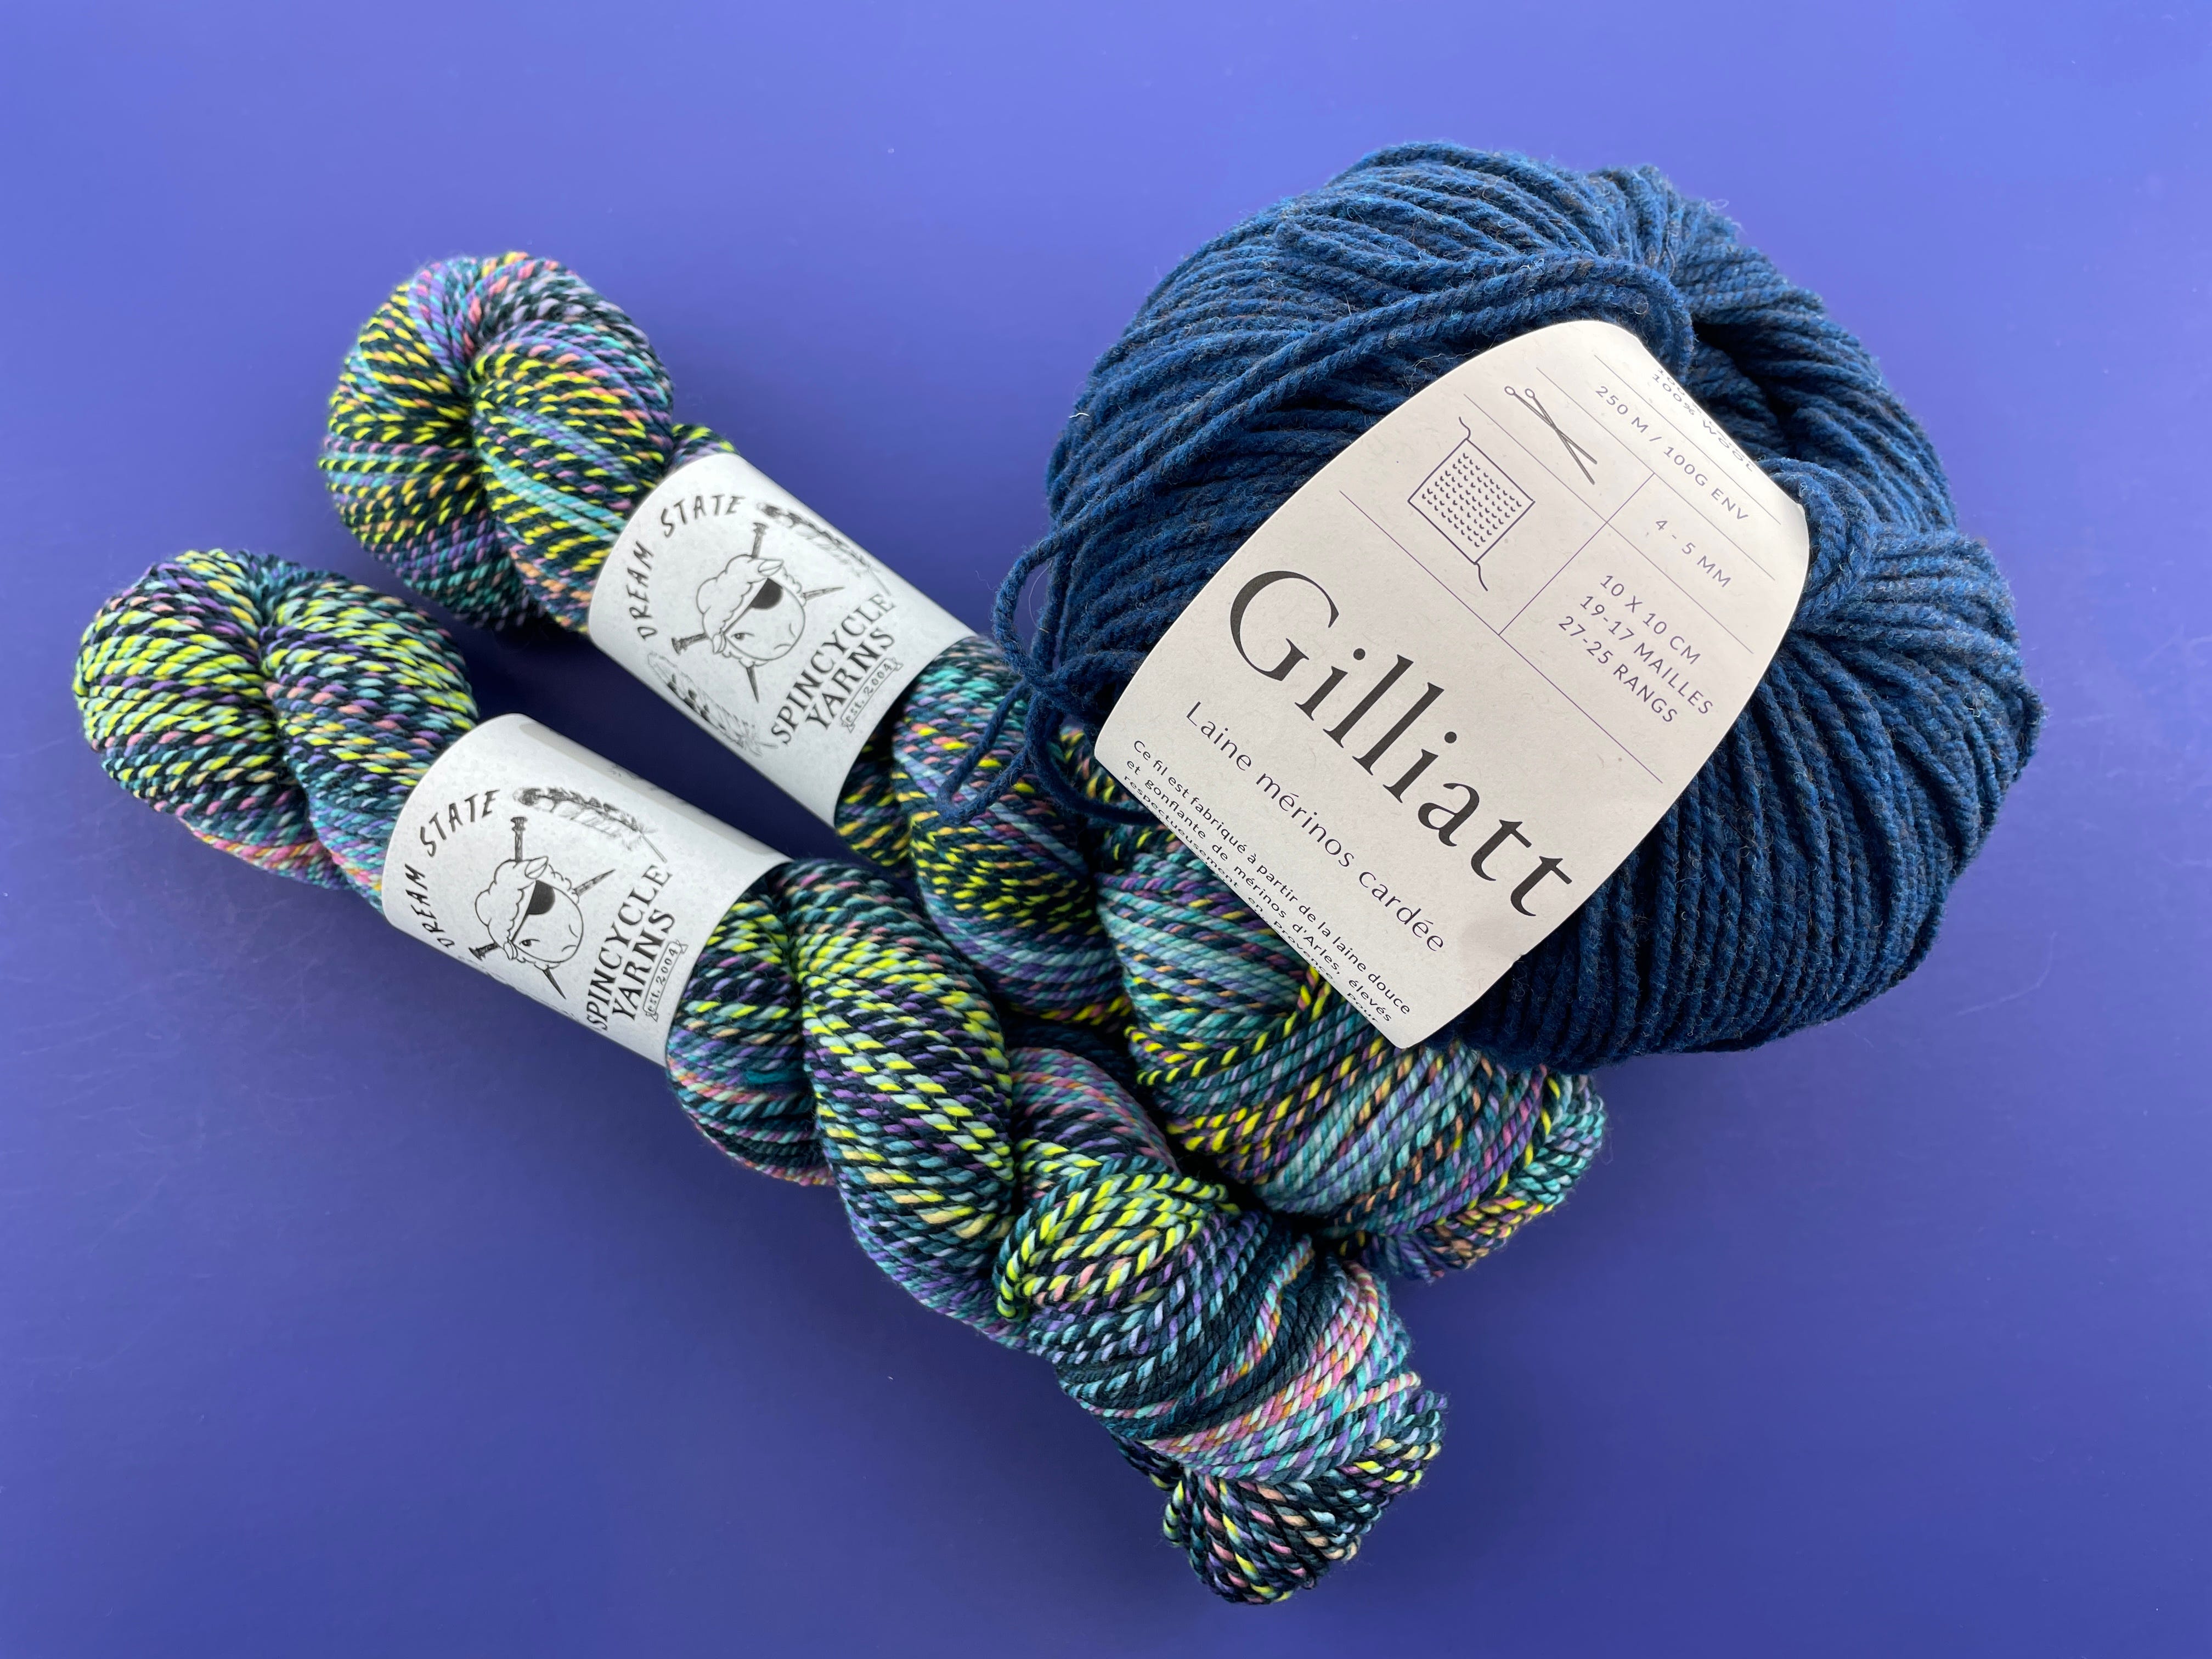
Jo and I went out and enjoyed the Rose City Yarn Crawl, and she helped me choose yarn. Look at how pretty it is!
Now I was ready to start again.
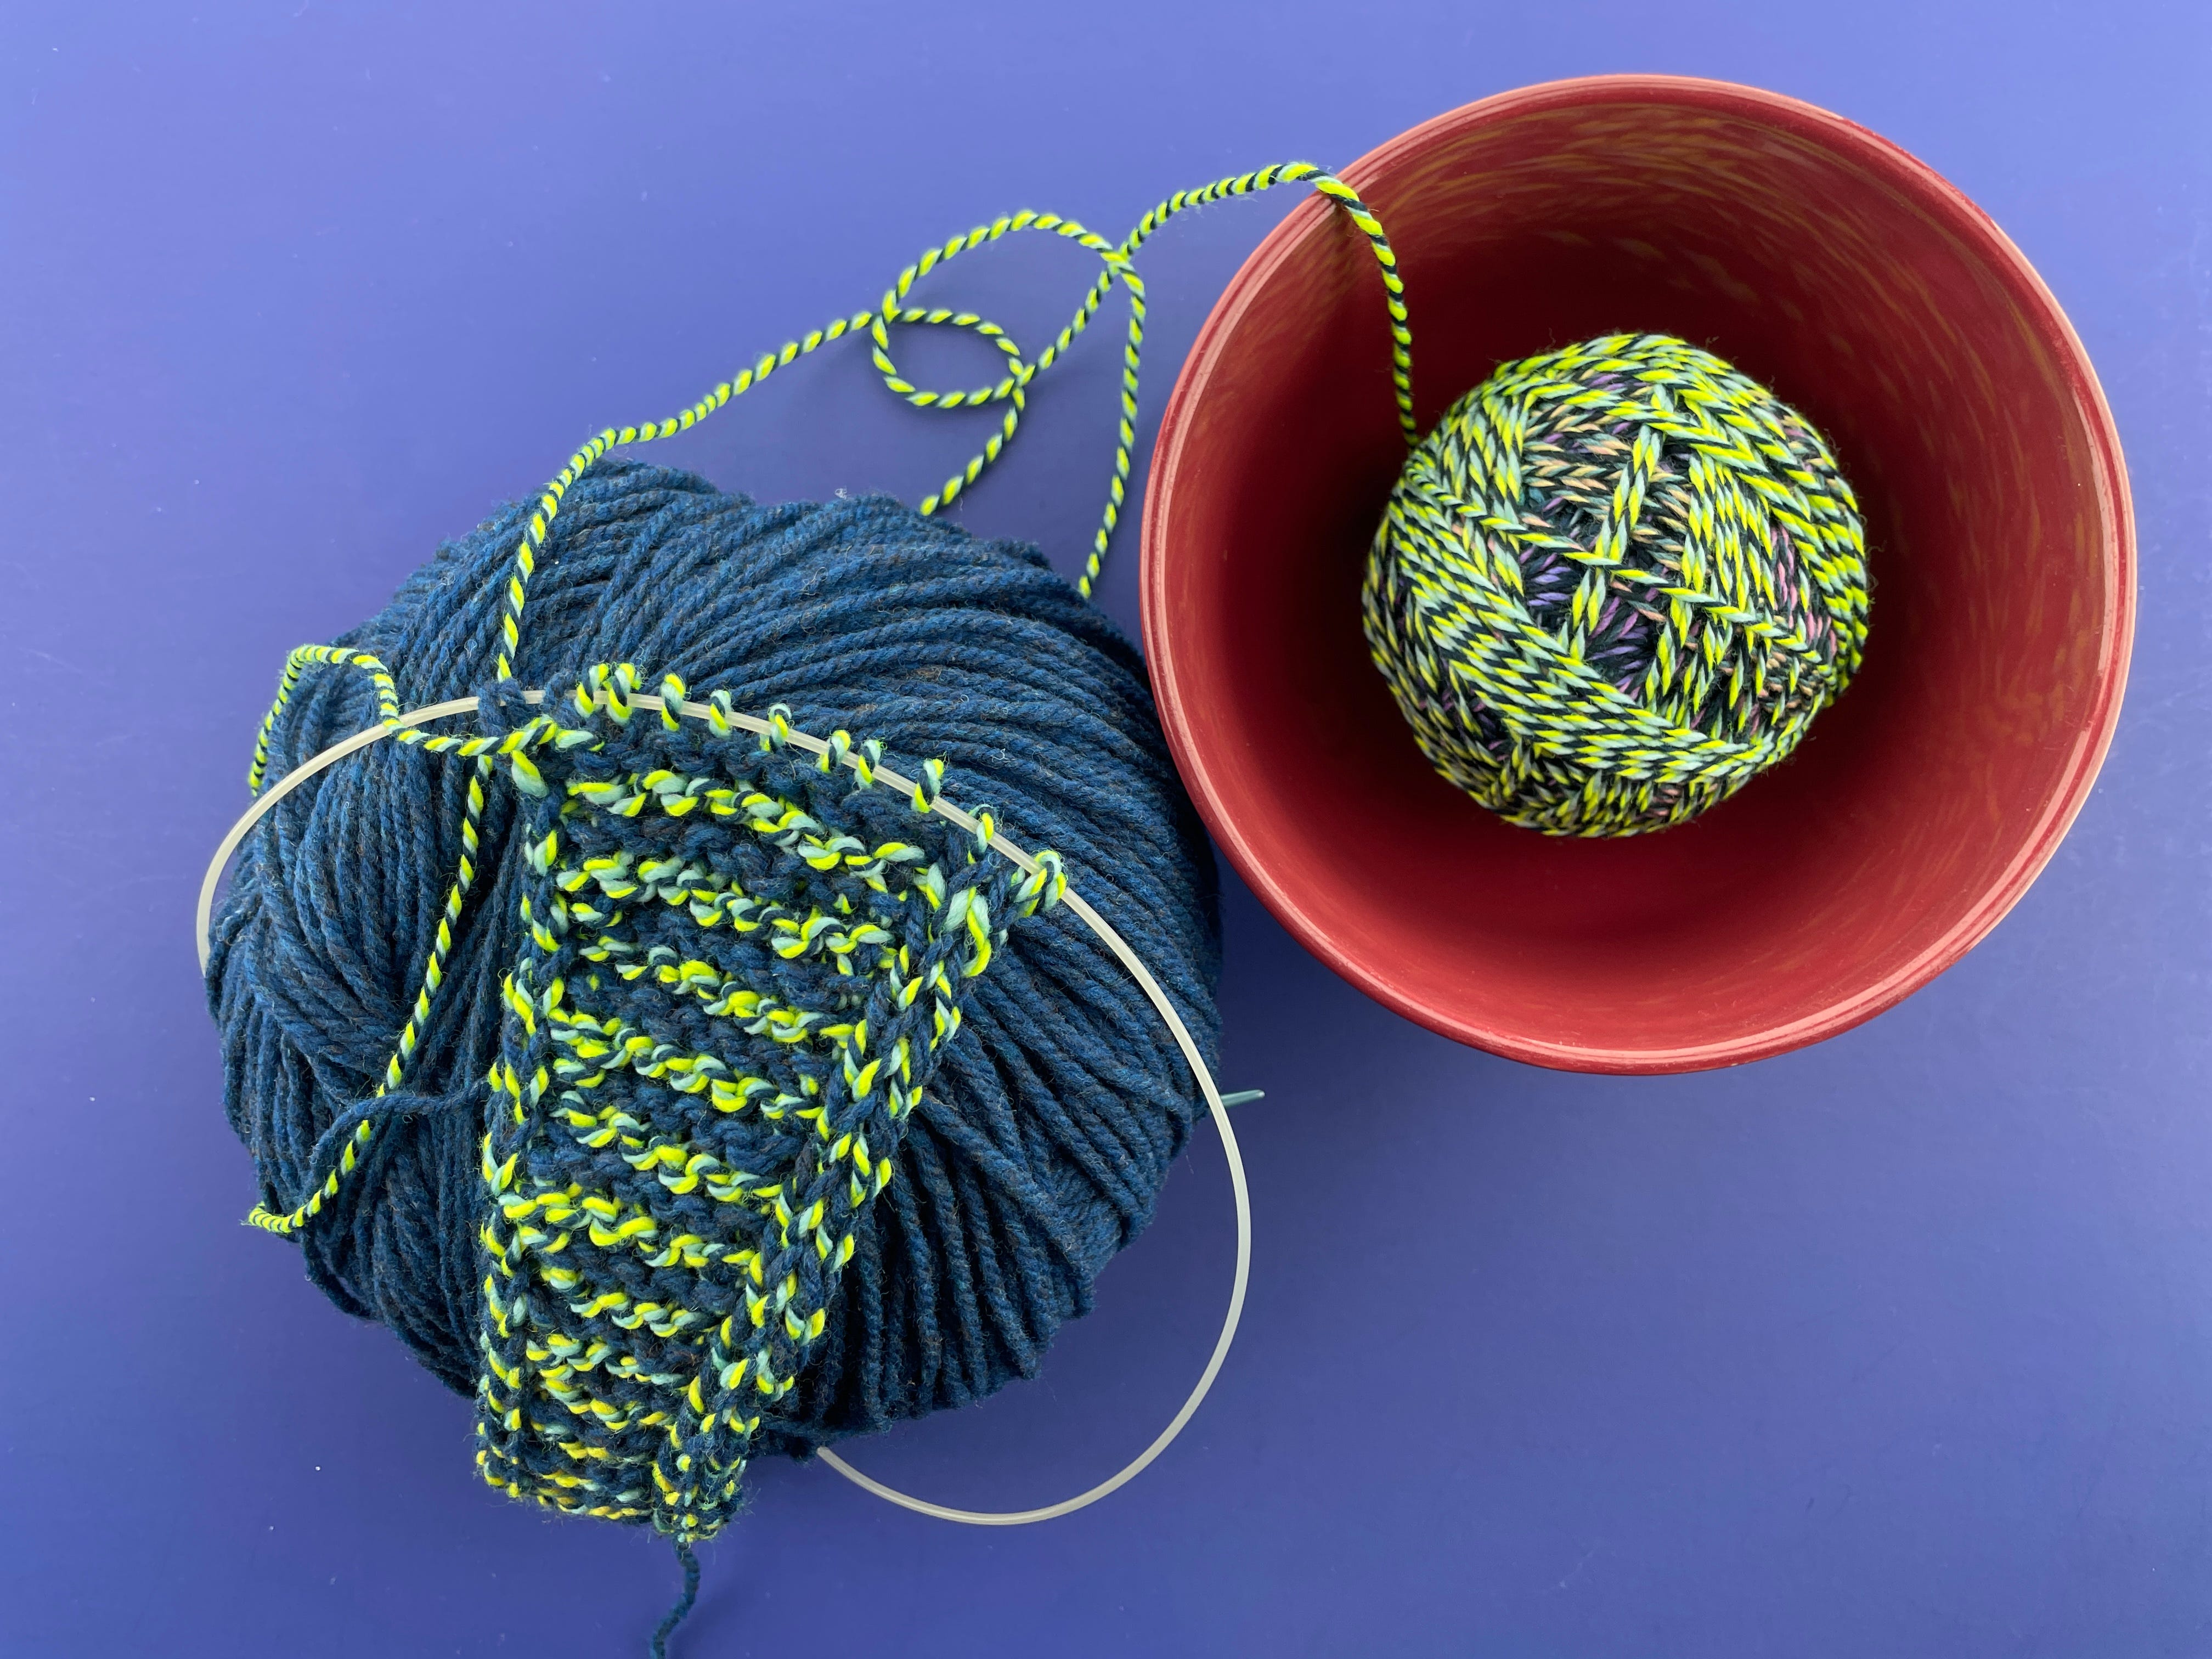
Here it is after (I think) a week.
I had to learn again how to cast on, how to knit, how to do that pretty i-cord edge, and how to change colors. I made some mistakes and had to learn how to un-knit my stitches. (It’s way harder than just pulling out crochet stitches!)
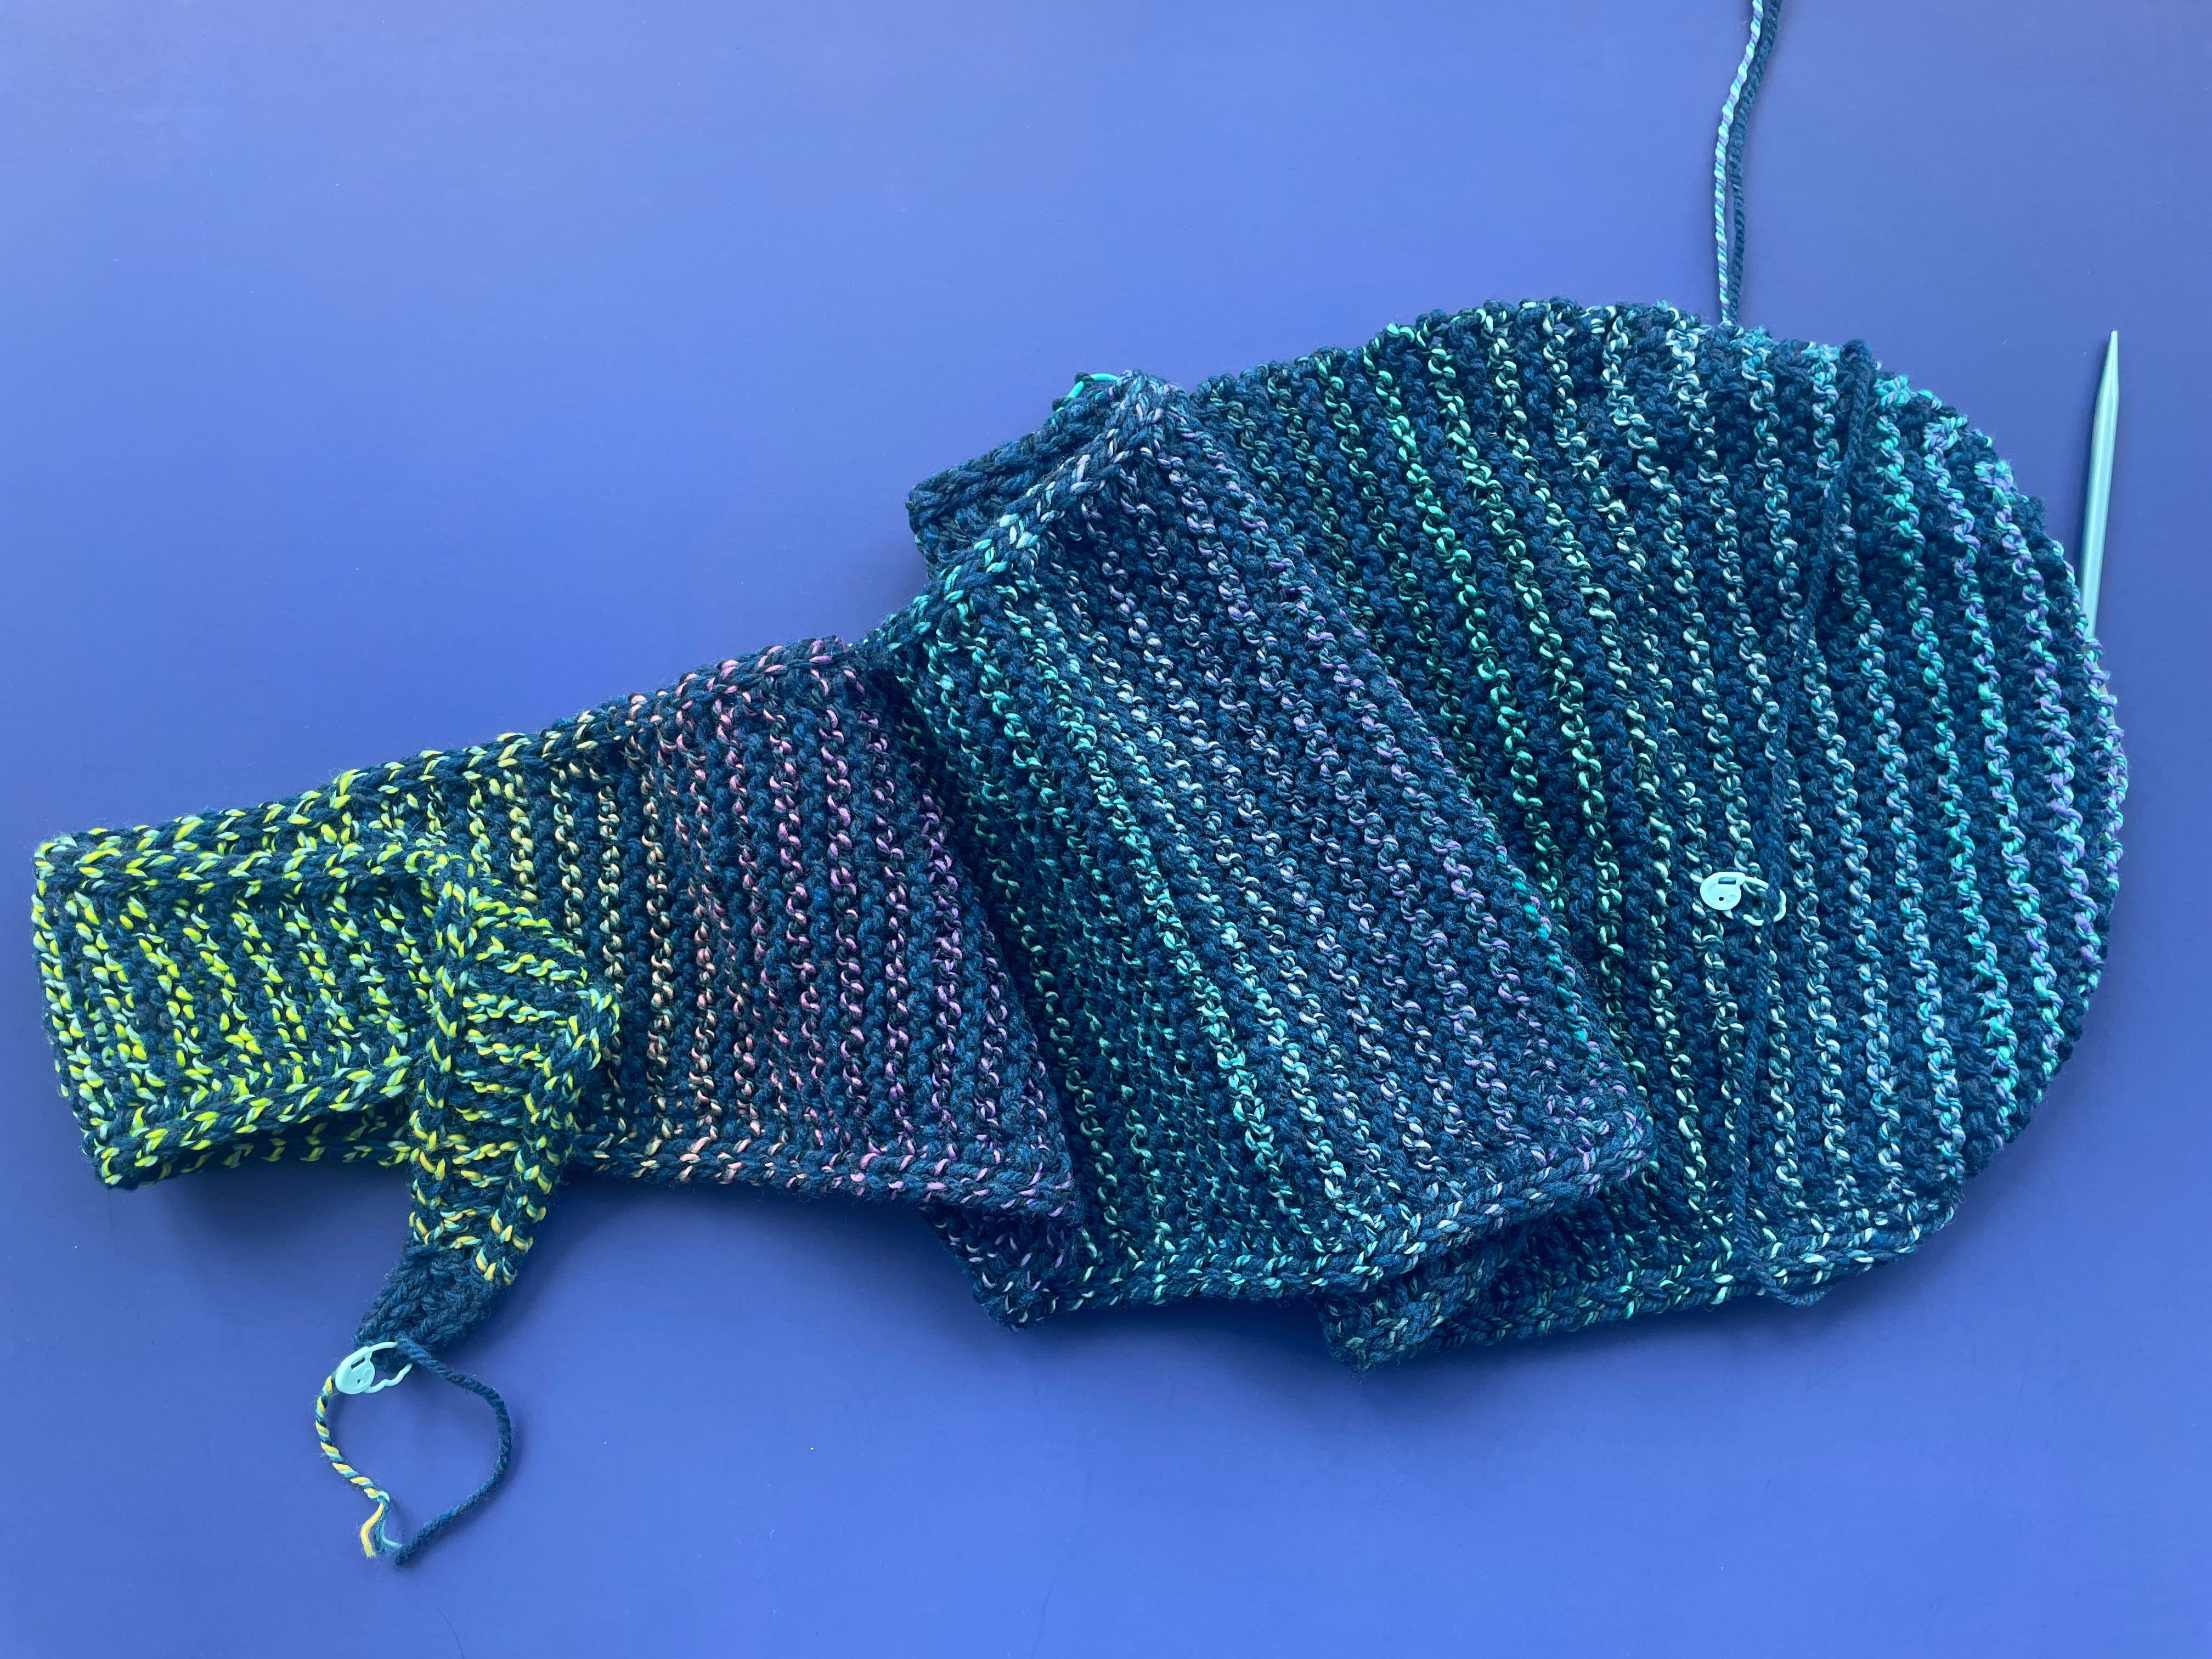
I’ve been making slow and steady progress, and now I’m halfway finished! [This was in May 2025.]
Look at those yummy color changes in the stripes!
So here’s the thing – all those things that make the project more difficult are also making it more interesting.
Yes, sometimes I forget to switch to the i-cord stitch and I have to un-knit stitches and do it the right way – but that i-cord edge looks so finished and nice! And knitting with two balls of yarn is annoying and I have to keep untwisting them, but I love the stripes! And every time my contrast yarn changes color I get a little frisson of excitement.
I’m having fun, and I can’t wait to wear my finished scarf.
A long time ago, I heard someone (I don’t remember who) speaking about kids learning to read. Learning to read is hard, and he was talking about the importance of writing books that kids will enjoy, because putting a lot of effort into decoding a boring book is not very rewarding. But if a book is a pleasure to read, the kid will be more willing to practice, and that practice will make them more proficient, which will, in turn, make the activity more pleasant, and around and around we go.
All of this is a very long way of saying that if you want to learn something new – whether it’s knitting, quilting, crochet, embroidery, cooking, whittling, playing the cello, or whatever – do it with something you’re excited about!
So that’s the end of the original post, but today I have an update. I finished it!
I actually finished it in November, but it’s taken me this long to take a picture. 😂
Here it is from the side.
And here it is laid flat.
It’s a hood with long scarf ends that come to a nice, small taper at the tips. The scarf hangs down just past my knees – long enough to wrap around my neck from front to back, and around front again.
(It was very windy out at the tulip farm and the tip of the scarf has blown to my back in the side view photo, but you can see it in the front view.)
Here’s why the Sophie Hood is a great first knitting project…
There’s no purling. The entire scarf is just knitting and slipping stitches.
The i-cord edge is super easy and gives it a real pro look – very satisfying.
Knitting has (I am learning) a kajillion different ways to increase, but this pattern uses only one. And it’s easy. And the rows when you start are so short that you get lots of immediate opportunities to practice it. By the time the rows get longer with lots of stitches between your increases, you’ve got them down pat.
I highly recommend striping with two yarns. It’s not hard, and the stripes actually helped me keep track of where I was in the pattern at all times. That was especially helpful because I’m still learning how to “read” my knitting.
For those following along in my Wardrobe Project, I’m wearing this with my new blue dress, some me-made-pants (which I’ll blog about soon) and one of my favorite kimono-style jackets.
And I’m not done knitting! Or choosing what appear to be complicated projects!
I love the look of cables, so I’m working on a vest that’s basically all cables. Here’s my swatch.
I also wanted a smaller project that’s easier to schlep around. I love the socks that Jo has knit for me, so now I’m working on a pair of socks! There’s enough weird shaping to learn for them that I just picked a simple ribbed sock pattern. I’ve finished the first one (it fits perfectly!) and I’m well on my way through the cuff of the second, so there will be more knitting to report on soon.
I’m making clothing! I mean, I guess it’s technically an accessory – but I wear it, so it counts! 🙂
Socks are one of my very favorite things to knit. They’re almost instant gratification. I can make a pair of socks in a weekend if I have enough Star Trek, X-Files, or Secret Lives of Mormon Wives to watch.
(One of those things is not like the other.)
When one of my knitting friends showed me the Colorwork Cuff Club pattern by Summer Lee, I knew what my next project was going to be.
Like the title suggests, this is a sock club. You buy the base pattern once, and you get a new colorwork cuff every month. (You also get all the previous month’s patterns when you buy the base pattern.) The cuff changes, but the foot pattern is the same every time, which makes these socks knit up super quick.
I’m not planning to knit the cuffs in order, but I did happen to start that way. The first cuff pattern released was also the first one I knit—August.
This pattern was so nice, I made it twice. One set, the blue, is for my mother. The other set is for me.
For the blue socks, I used Fiona Kay’s Stampede Sock in the color Nevermore as the main color. She doesn’t seem to be running her Poe collection anymore, but she always has new stuff on her website and her Instagram. I was also able to find her yarns at Northwest Wools.
For the accent color I used a mini skein from Lamb Good Fibers. It was part of a whole set of minis, so I have no idea what the color name was.
For the purple socks, I used Knitted Wit Sock in the color Galaxy Flower. This was part of Knitted Wit’s Herstory collection, which are monthly colors each representing and highlighting a famous woman. Once they’re gone, they’re gone for good, so you may have a hard time finding this exact color.
I really like Knitted Wit’s yarn for socks. They’re durable, soft, and are perfect for colorwork.
For the accent color I used a Teal Torch Knits mini in the color Neon Melon. I love neons, and I think this was the perfect accent color to go with the dark purple.
I had a blast making these socks, and I’m already working on my next pair from the Colorwork Cuff Club—this time September.
Keep reading for details on how to enter! Sachiyo Ishii is the author of 4 of these books, and she’s joined us to tell us a bit about herself and her process!
Each book is packed with projects (more than 25 patterns per book), using a variety of techniques with simple knitting stitches.
Interview with Sachiyo Ishii
Sachiyo is the prolific author of 4 of the Mini Knitted books, and I was delighted that she took the time to come talk to us! Welcome, Sachiyo!
How did you begin knitting? And when did it take a professional turn? I took up knitting in my 30’s after my second son was born. I could not knit a stitch until then. I thought dressing my boys in my handmade clothes was trendy and very Yummy Mummy, but soon discovered that knitting requires skill and patience. With my friend’s help, I did achieve my very first piece, but the stitches were messy and uneven, and the sleeves came out in different lengths.
It seemed to me that I had a very long way to go until I would be able to knit a decent garment. I almost gave up knitting altogether, however, I discovered that you can make small toys with basic skills. I practiced published patterns for some time and then, I started creating my own to add personality. I knitted many animals and proposed my current publisher, Search Press the idea of the knitted animal park. It is great to find a channel that I can put my effort into.
You’ve written so many books! Where do you find your inspiration? I get inspiration from everywhere. When I walk in town, looking through books and magazines, shop windows, everywhere! I am constantly thinking of new designs no matter where I go or what I do. Illustrations and cartoons, felted work and sugar craft are a good source, too. They are already in simplified forms and it is easy to make them into my craft projects.
What do you like to do in your free time? I enjoy attending fitness classes and swimming. When I get stuck with a project, swimming can be the best solution to get a fresh idea. I don’t do enough but I like visiting craft shops and fairs. I guess I cannot completely be free from crafting.
What is your favourite yarn/knitting needle/craft supply? For many years, my favourite yarns are Rowan. I love felted tweed especially. It is such a delight to knit with quality yarn. I have been using bamboo needles since I took up knitting. They are less slippery and keep stitches well and the best of all, they feel great in hands. If you are still new to the skill, bamboo needles are must. I have been using Clover Takumi needles. My favourite is Clover products. My mother loved them for many years and recently I inherited them all. Some are bought over 30 years ago but still in very good condition.
Is there a favourite piece you’ve made? Perhaps for yourself? It is hard to say since I have many favourites, but I love the knitted carousel. I have a whole set of amusement park in knitting and would love to do a book someday. Most of my creations are for myself except occasional gifts to my friends. It is great to be an author. You get to keep all samples!
The factor that’s relevant in how variegated yarn will work up is how long each color repeat is and how much yarn each stitch uses. Although skeins vary, most are about 3-4 feet in circumference, and a variegated yarn will break this length up into a few colors. So, most color repeats are a few to several inches.
You can see here that each color lasts several stitches before switching to a new color.
Crocheting
Crochet stitches, in general, use more yarn than knitting stitches, so a color repeat will last over a fewer number of stitches.
Here’s my crochet swatch
This swatch is done in single crochet, and most of the colors last for a few stitches before changing (as compared to several with knitting). This results in a ‘splotchier’ looking fabric.
You might be interested in reading about the latest craze of Planned Pooling.
Weaving
Totally different from knitting and crochet, because there isn’t a ‘stitch’, the color repeat goes for as long as it actually goes on the yarn. In most cases, a color lasted for an entire row on my scarf.
Also, weaving uses two directions of yarn, the warp and the weft.This results in a really lovely plaid-like fabric. Here’s my swatch:
All together now!
They’re all so different, right?
It just goes to show that when you find that dream variegated skein, you still have choices to make! You’ll want to select a project (and craft) that will result in the colors working up the way you want!
I don’t buy a lot of craft books. (Seriously, all of my books fit on one shelf!)
But I bought this one and love it. And I added my old cable stitch dictionary to my ‘Spring Cleaning’ pile. Because I don’t need it any more.
(does this inside cover give you an idea of all of the amazingness inside?)
I had read a lot of amazing reviews about this book, but I’m a bit of a skeptic. I thought, ‘oh, they’re probably just saying nice stuff because Norah Gaughan is really famous’. (geesh, that makes me sound really awful, doesn’t it? It’s just that in my job, I see a lot of books.) And the cable on the cover is nice, but it didn’t make me pass out from the amazingness.
But once my book arrived I discovered that my skepticism was unwarranted. It actually IS really amazing.
The introduction isn’t very long, but it’s packed with pretty juicy information. The topics covered include:
Using a double point needle as a cable needle
Left vs. Right slants
How to slip stitches onto a needle & how to work the held stitches
Cable terminology
How to read cable charts
Tips for keeping your place on a chart
A full explanation of Norah’s own Stockinette Stitch Equivalent System (SSE), so you can swap different cable stitches into different patterns
How to fix a mistake in a cable
How to count cabled rows
I read the introduction and felt like, ‘Wow. That has everything I need to know.’
The cable designs (many not previously published) are just stunning. Look at this one.
What?!?
Very few are this complicated… most of the stitch patterns are two notches above ‘simple’, but stunningly beautiful and hovering significantly below ‘crazily complex’. Which is exactly what you want in a stitch dictionary.
I fell in love with the Seed Rib Half Drop (#84 in the book) and cast on for a scarf immediately.
Isn’t it gorgeous? (The cable pattern, I mean… not my knitting!) It was so enjoyable to knit… I felt like each cable was a little piece of knitter’s candy. I just kept wanting to get to the next one!
The book also contains 15 projects, which are all quite lovely and creative projects using cables, in addition to the more than 150 stitch patterns in the book.
Whoa. This book is just plain fabulous. Treat yourself.
Those links are affiliate links. That means I earn a tiny commission if you buy after clicking through. 🙂
It’s gift-giving time! And I LOVE giving books as presents!
So I’ve compiled a list of Children’s books that contain knitting (or spinning or weaving or yarn… but it’s mostly knitting)! Not all of these books is about knitting, but yarn gets either a mention or an illustrated appearance!
Some of these we already own… but I’ll tell you, I added quite a few to Maddie’s Wish List! Thanks so much to everyone who chimed in on Twitter and Facebook to contribute their faves!
You know I love my 9″ circular needles. I think they’re the easiest way to knit socks and sleeves.
But, because they’re fairly new, there aren’t a lot of patterns written specifically for the 9 inch needle. I’m often asked how to translate your favorite sock pattern into one that can be used on a 9″ circular.
Here’s how to do it! And good news, it’s easy!
In this blog post, I’m going to show you a simple little example of a piece of knitting with 10 stitches. The green string is our yarn!
Step 1: Place your End of Round marker
If you’re familiar with knitting on circular needles, then you are probably already doing this step. The end of round marker is an interestingly-colored marker (different from all the rest!) that tells you when you’ve hit the end of your round.
Place stitch markers where the double points would be
Now, here’s the real trick. You want to place stitch markers on your work to note where would have been between the double point needles (shown in the image as orange).
Using our little example, let’s say the pattern told you to cast 3 sts onto one double point, 3 sts onto another and 4 sts onto a third needle. You would place markers to section off 3, 3 and then 4 sts.
This trick works whether you’re instructed to use 3 or 4 double point needles.
If the pattern called for 2 needles (such as when you knit socks on 2 circular needles), then you can do the same trick, just using fewer markers!
That’s it! Now you can knit, and easily follow the instructions as they refer to double point needles. If you want a bit more help, you might want to find stitch markers that contain numbers (to remind you which ‘needle’ would have been which.
You can now use 9″ circular needles on socks and sleeves… now that you know how to ‘translate’ the pattern! Happy knitting!
We’ve all done this, right? You have a ball (or partial ball) of yarn, and you want to know how much you can knit/crochet until you run out. How do you calculate this?
I’ll show you!
How to calculate how many stitches you can get from your yarn
I’m detailing each of these steps, below!
Calculate how many yards of yarn you have
Calculate how many stitches you get per yard (using your gauge)
Calculate how many stitches you can get from your yardage!
How to calculate how much yardage you have
If you have full skeins of yarn, this step is easy. Just read the label.
But, if you have partial skeins, you’ll need to do some calculating. The best way to do this calculation is by using weight. Read this blog post for step-by-step instructions!
This blog post has some typical measurements for crochet.
Calculate how many stitches you can get from your yardage!
Let’s put it all together now!
To begin, multiply your yardage by 36 to get the length in inches.
So, if I have 110 yards, that’s 3960 inches.
Divide this number by your inch/stitch measurement (that you got in step 2), which for single crochet with a worsted weight is 1.8″.
3960/1.8 is 2200 single crochets!
That’s your number! A good pattern will contain stitch counts at the end of each row, so you can add them up and determine how many extra rows you can sneak into a cowl, or whether you’ll need so skip some rows of sleeve length to get your sweater to work!




 I’ll show you!
