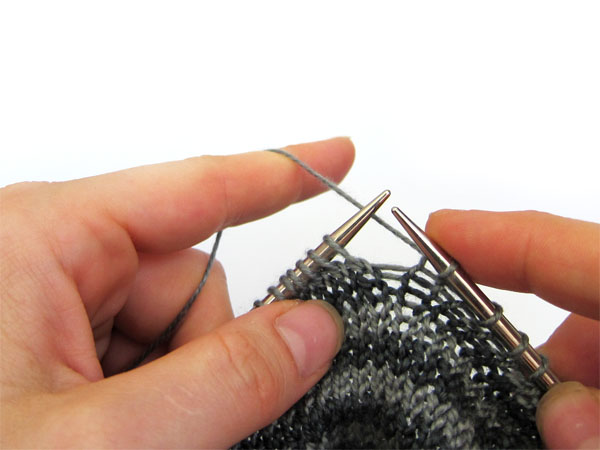
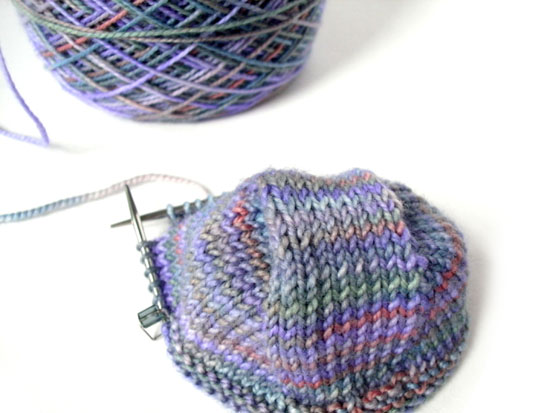
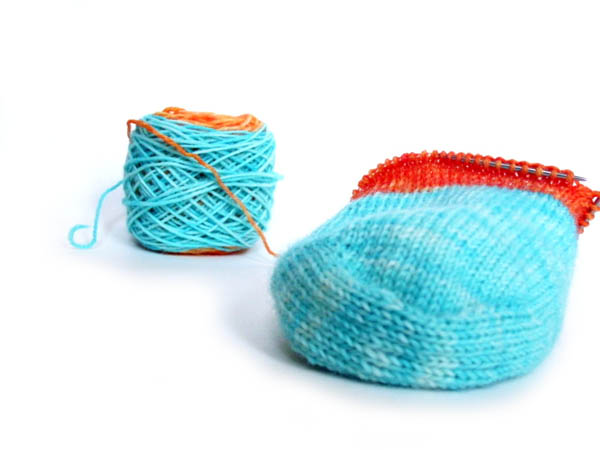
I absolutely love knitting socks on 9 inch circular needles.
Most people think I’m crazy when I say that my favorite knitting needle is a 9″ circular. But I can’t help it. I’m in love.
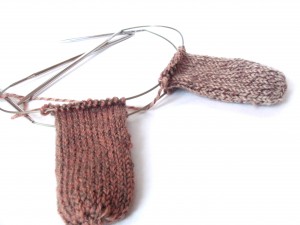
When you knit with other techniques (double point needles, two circulars or magic loop), there’s always a join that creates the potential for laddering (those icky loose stitches) as well as costs you some time maneuvering them around.
With the 9″ circular, there’s none of that! You just knit around and around!
A little video for you!
Are you a bit nervous about knitting with 9″ circulars? Don’t be!
I made this video a little while ago:
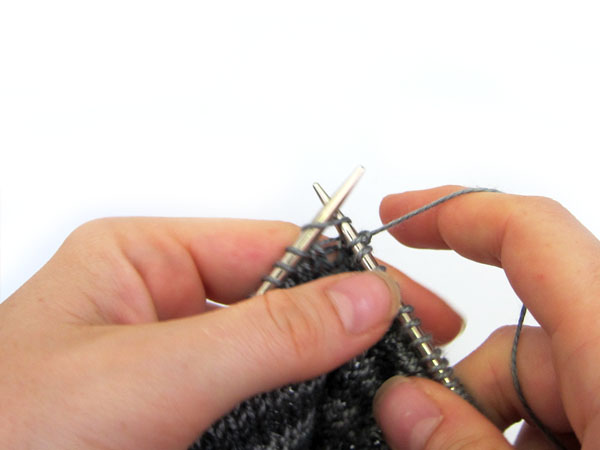
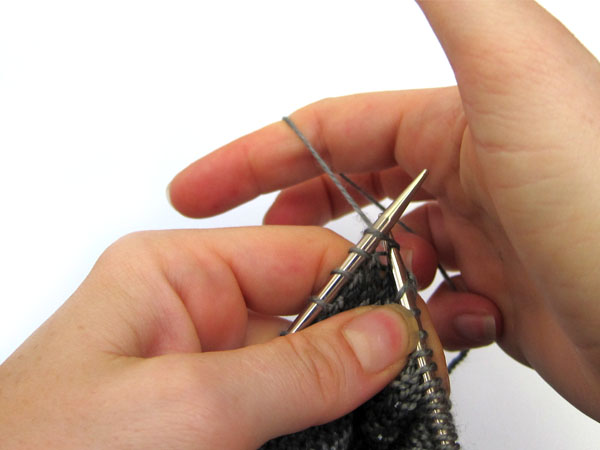
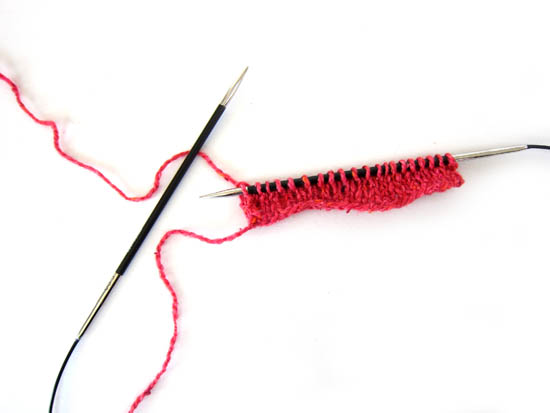
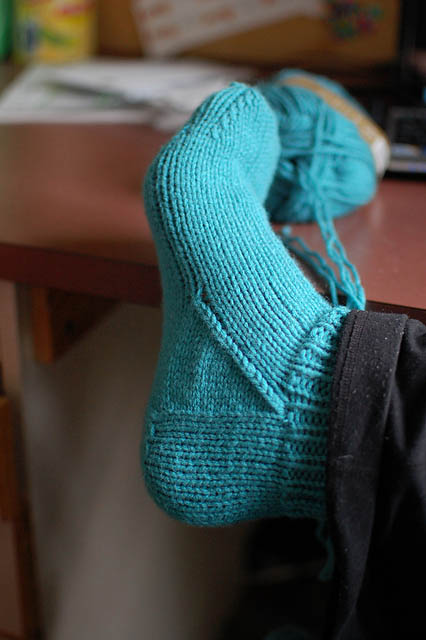
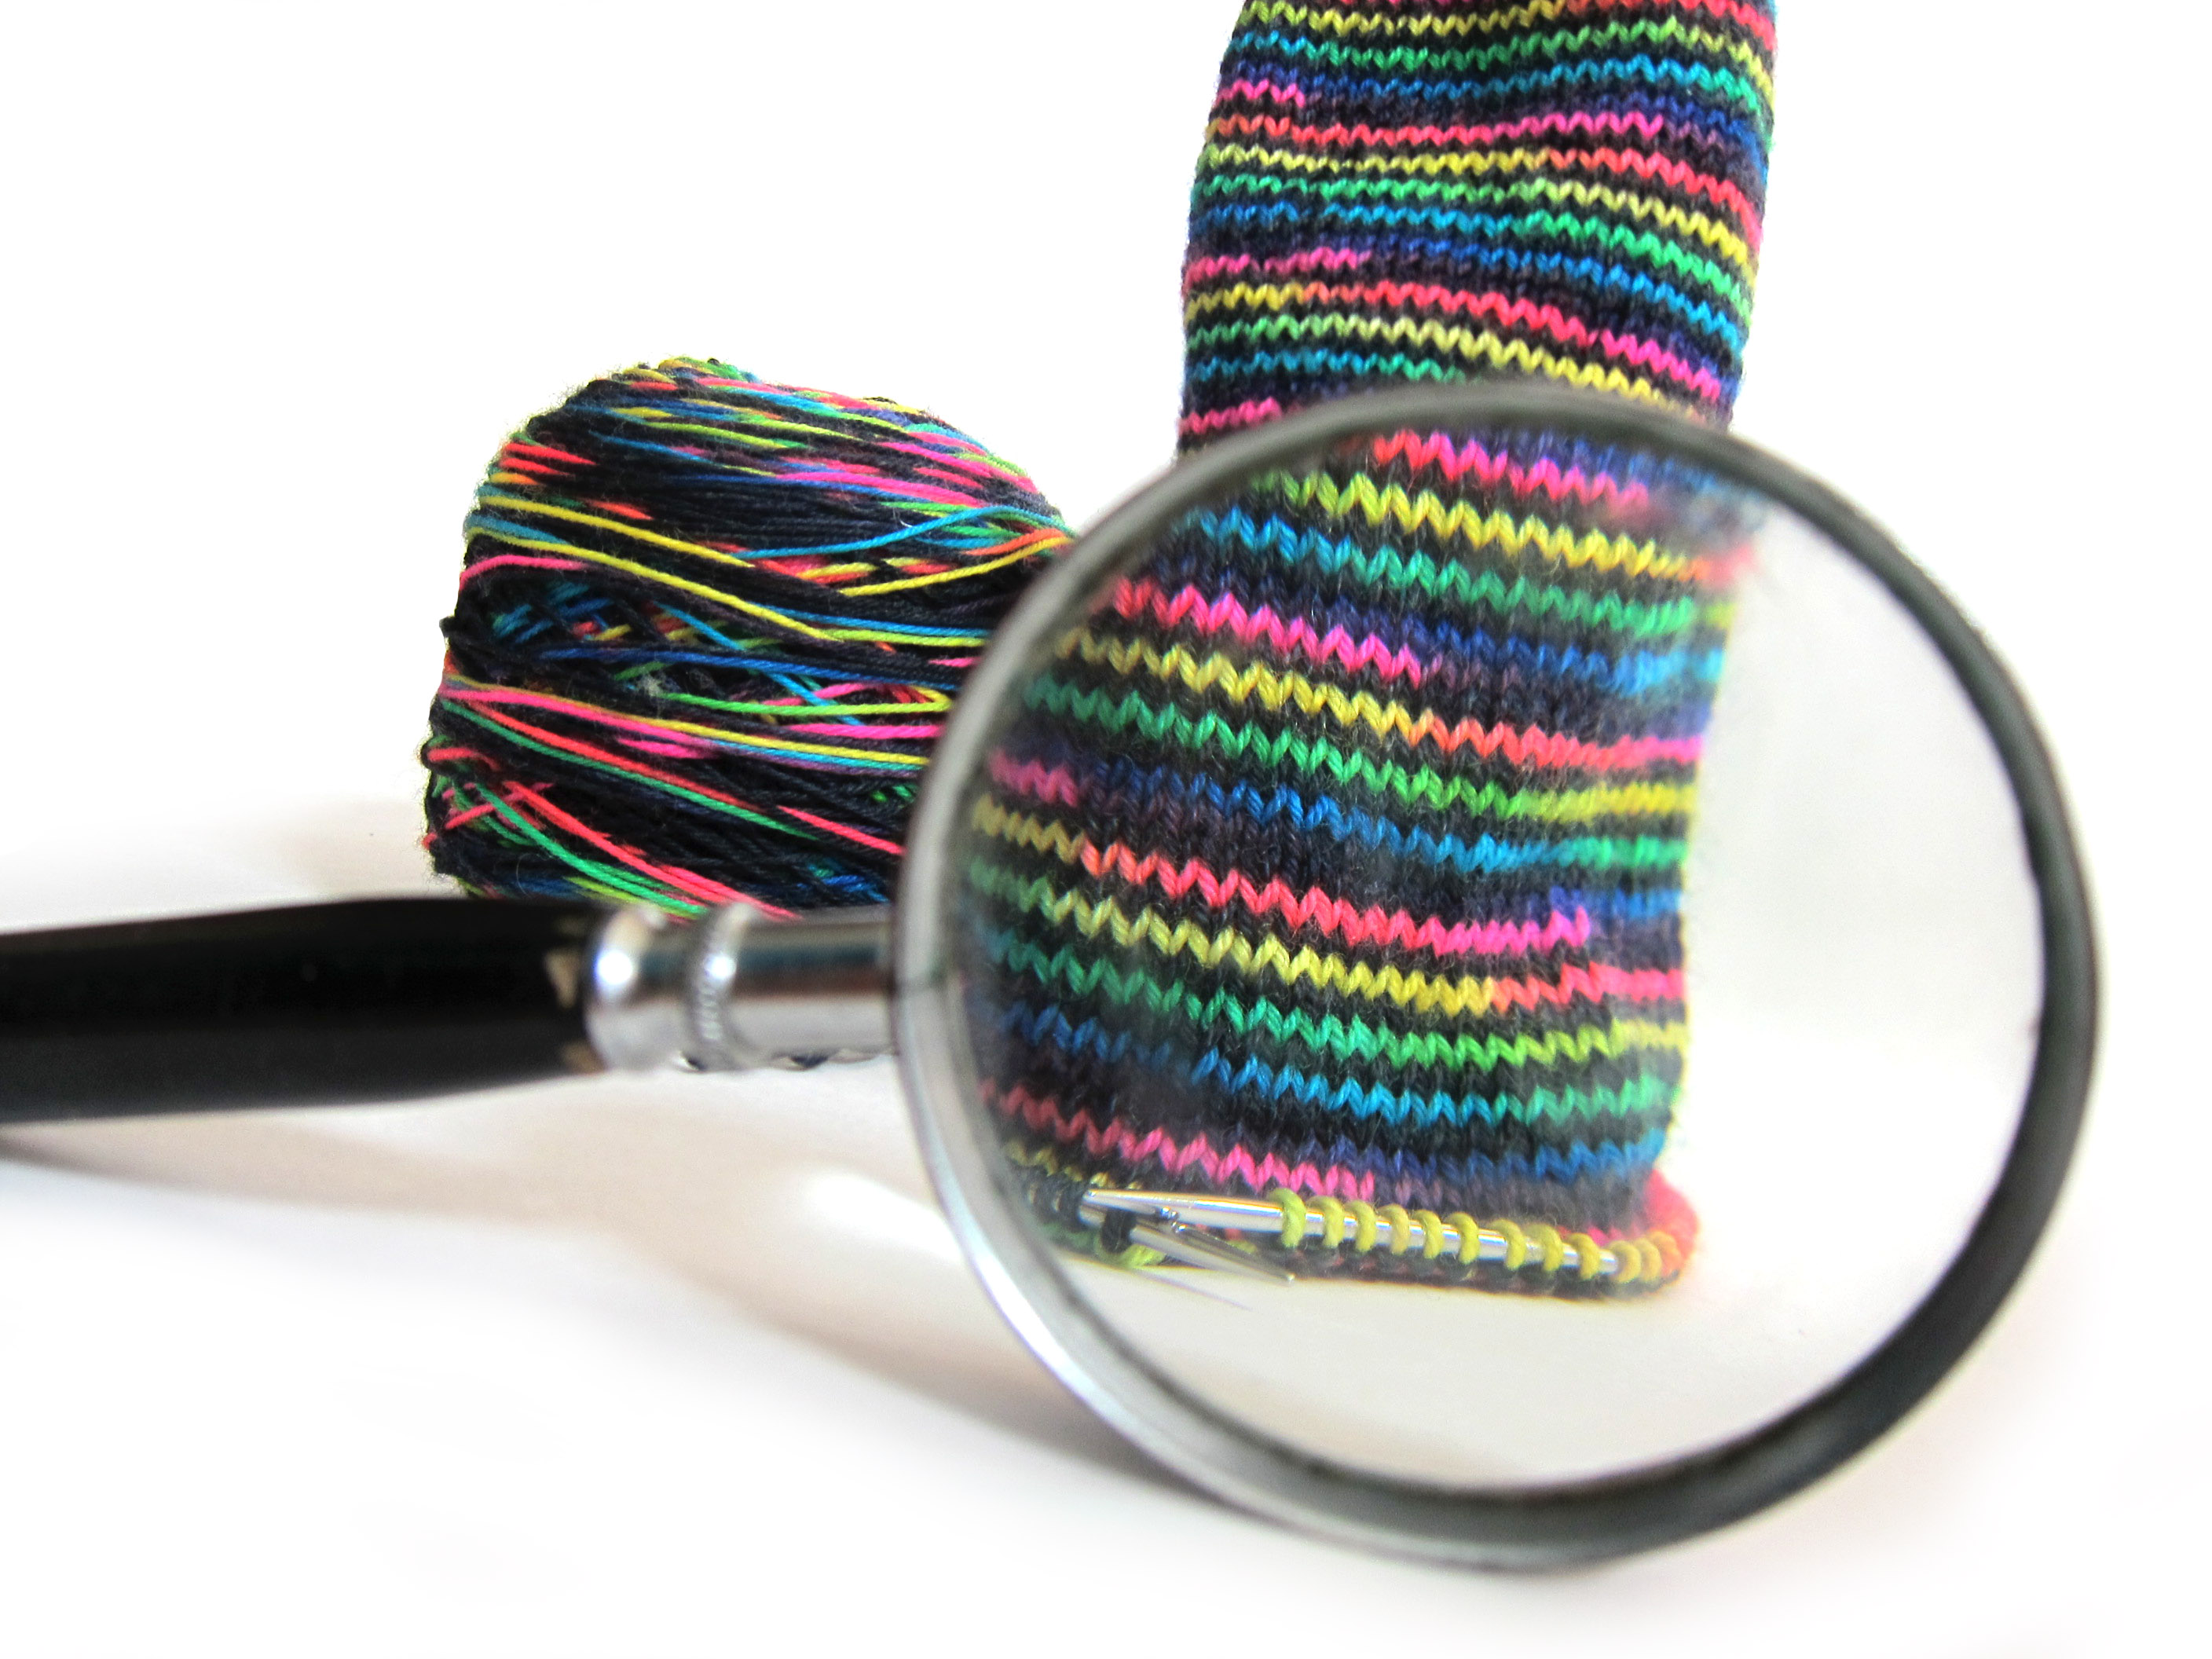
The heel flap is what most people think is the scariest part of knitting on a 9 inch circular… and I hope you can see that it’s really not hard!
Don’t you feel like giving it a try?
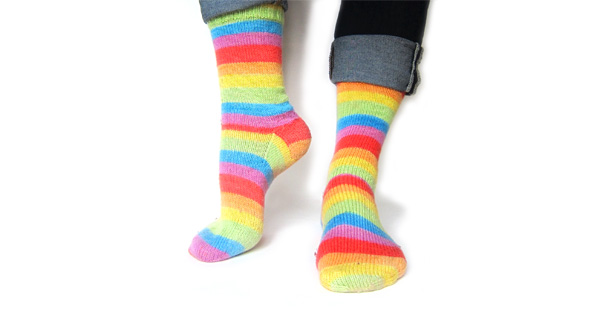
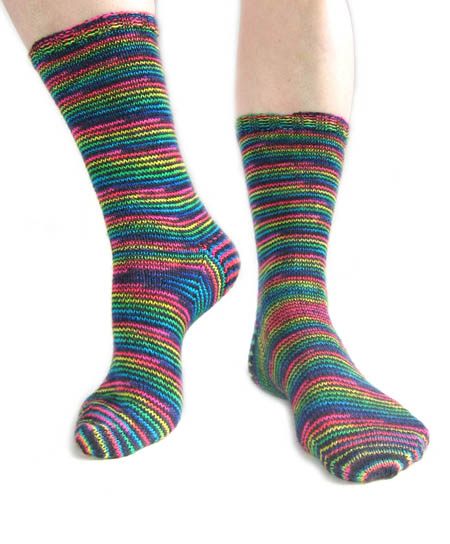
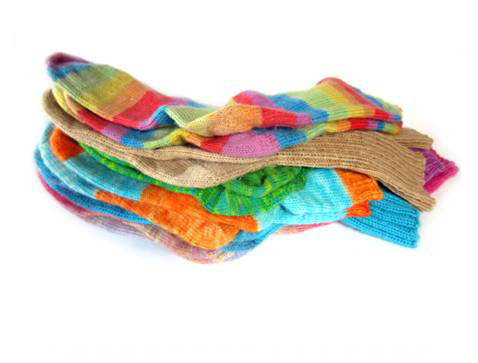
Pick your favorite pattern!
Almost any pattern can be converted to 9″ circulars!
If you’re a newbie, I recommend Churchmouse Yarn and Tea’s Basic Sock pattern. If you’re looking for a more advanced pattern, I recommend the book Sock Knitting Master Class.
There are no patterns that I know of that specifically call for 9 inch circular needles. So, you should feel comfortable with knitting on a circular needle before beginning a pair of socks, as you will need to do some ‘translating’ in terminology.
Give ’em a try!
I’ll be honest, if you have big hands or like a lot of ‘space’ when you knit… the 9″ probably isn’t for you.
But if you like to knit socks, and are tired of losing a double point, getting ladders in your work or having trouble tossing your knitting into your bag and going… then you might love these guys! Try them!
Happy knitting!