How to overdye yarn!

tiptues

Admit it. You have a skein of yarn in your stash that isn’t your favorite color. You might not even be sure how it got there…

What’s a girl to do? Overdye it!

How to Overdye

I’m a huge fan of Kool-Aid Dyeing yarn, but when you’re trying to cover up an existing color… Kool-Aid just isn’t strong enough.

Dyeing yarn with Rit Dye

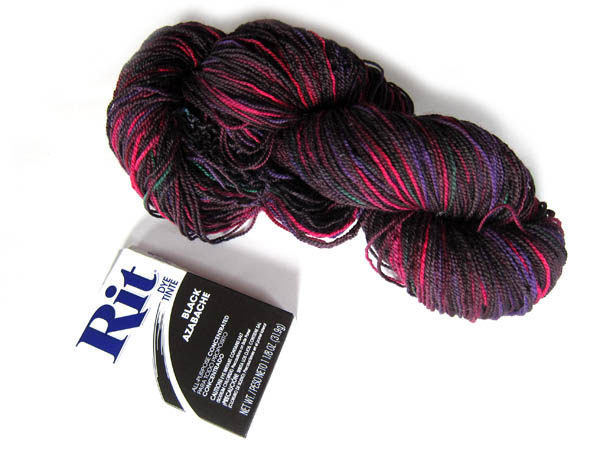
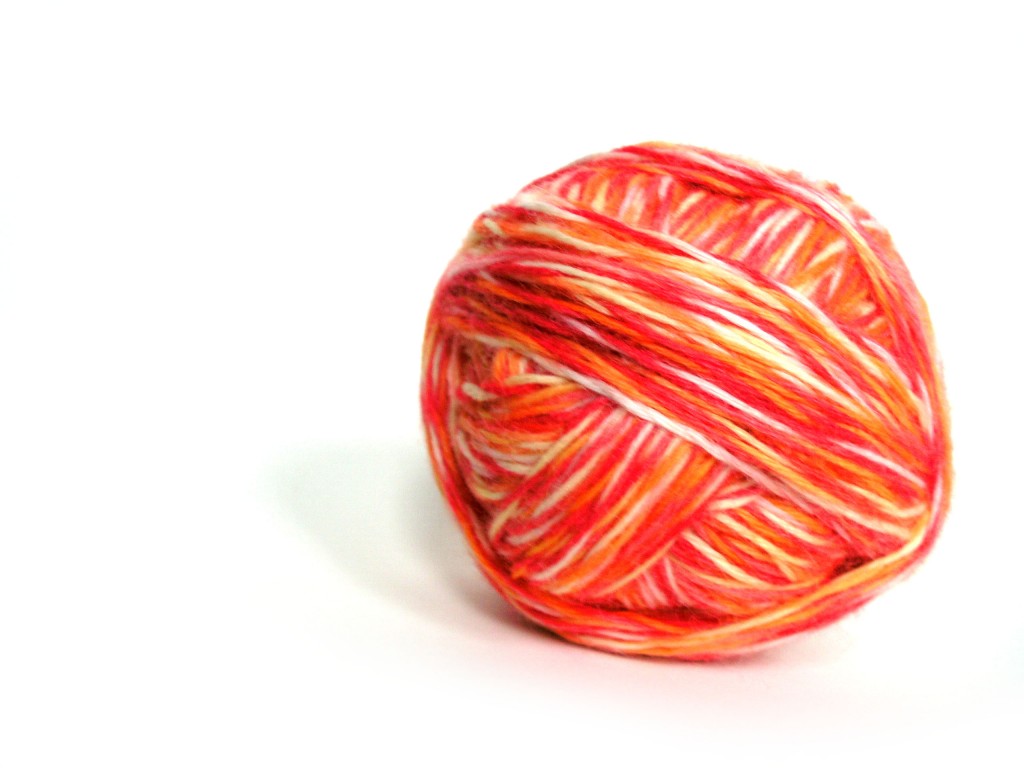
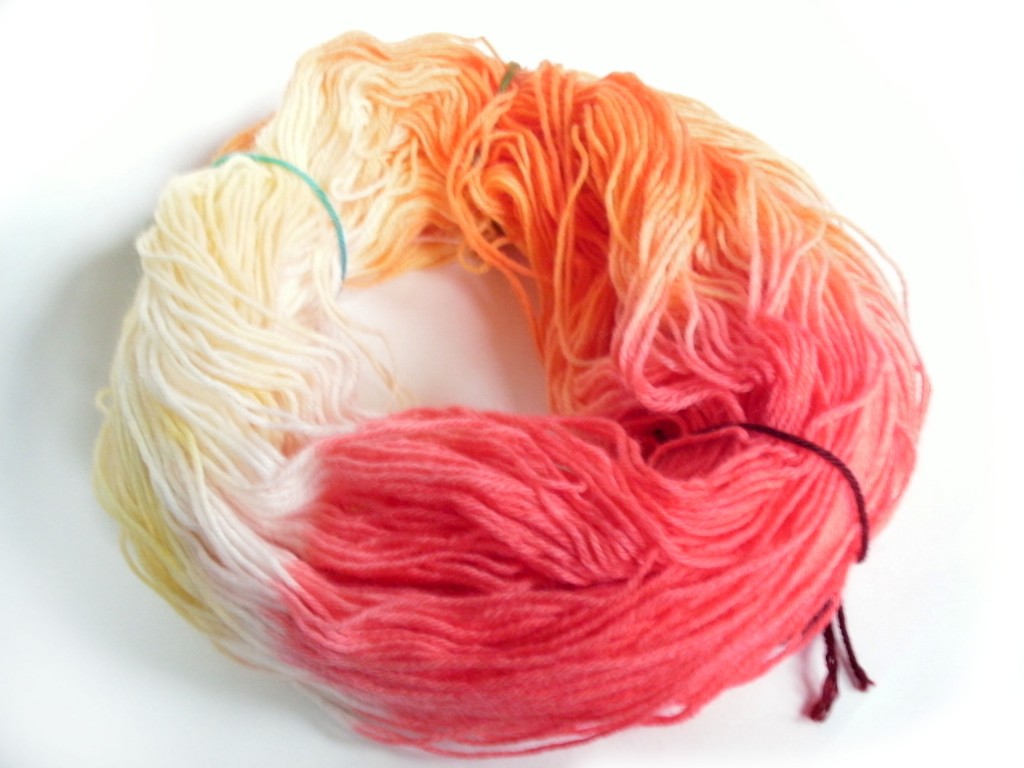
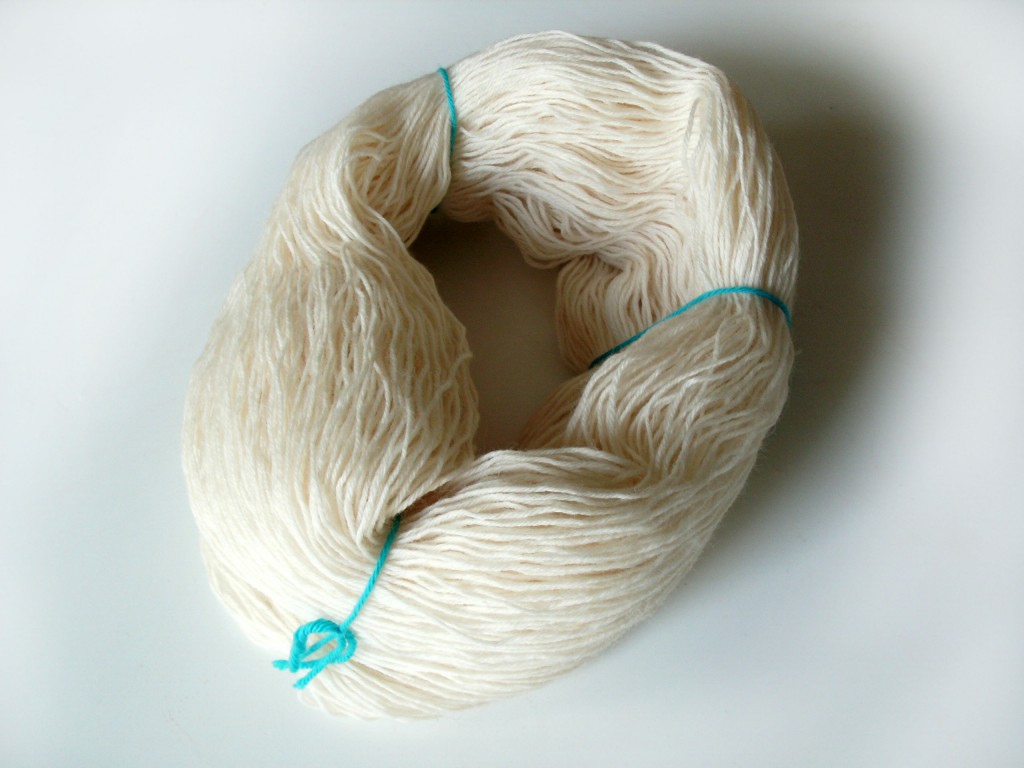
To overdye yarn (which basically just means dyeing over a color), you’ll need a fabric dye like Rit. You can see my not-favorite-color skein above as well as a package of black dye.

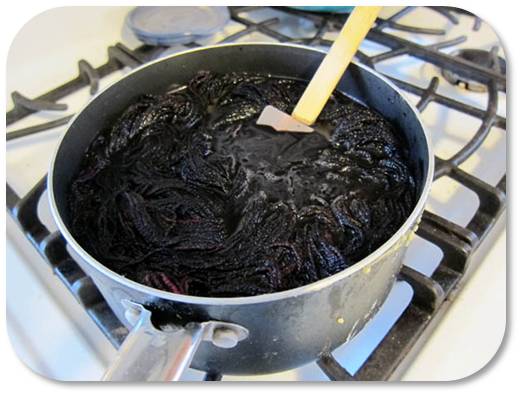
The dye needs heat to set and can be abrasive, so you don’t want to use your normal cooking pots. I used the saucepan that I use for making soap (which I don’t use for food!).

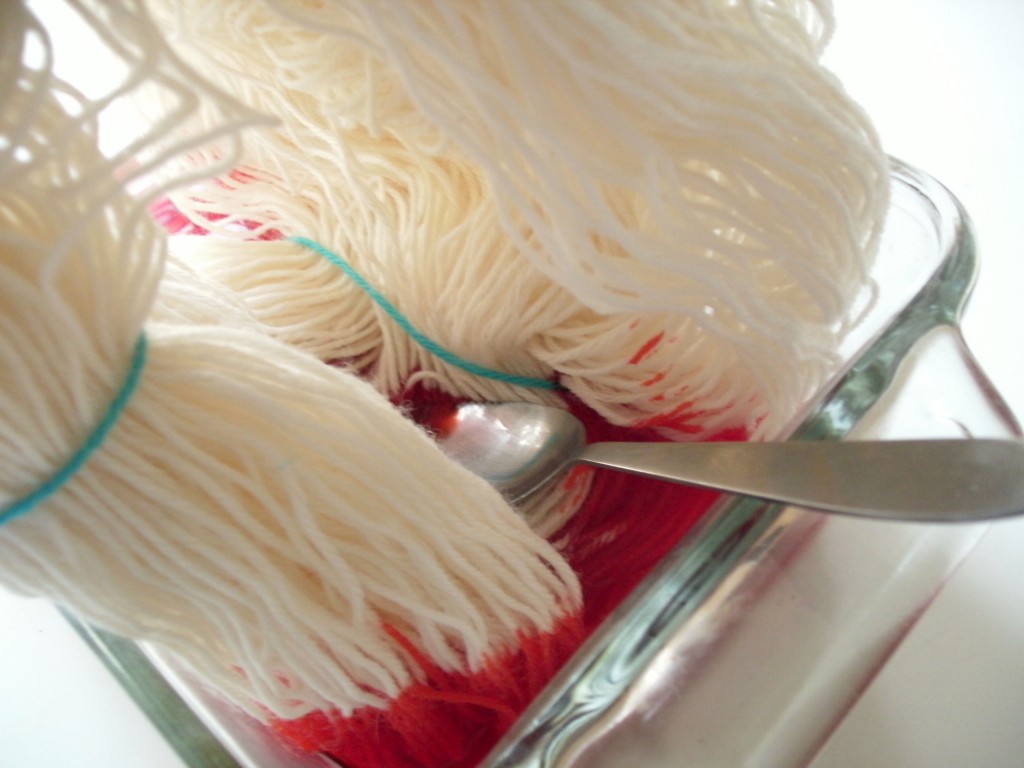
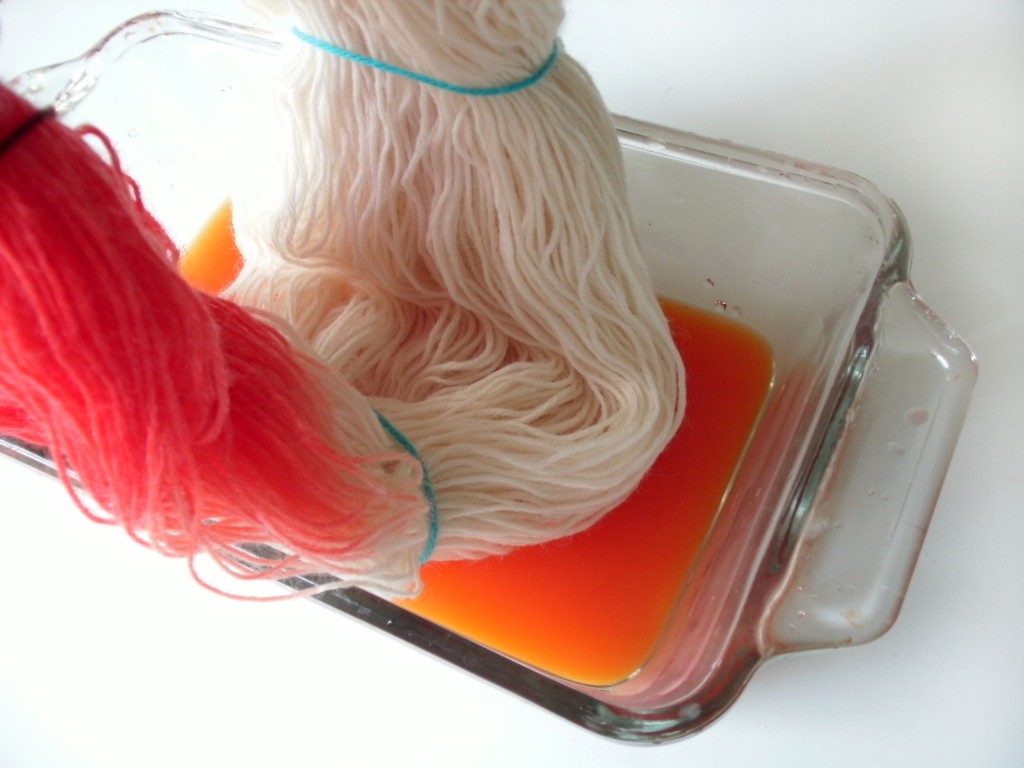
To dye your yarn, follow the instructions on the packet (which are basically: add yarn, water and dye to a pot and heat):

dyeing with Rit

If you’ve dyed with Kool-Aid before, you’ll notice that the Rit dye takes a little longer. The package says up to a half hour… but I got the results I was looking for in about 10 minutes.

And it’s that easy! Take out your yarn, rinse, and hang to dry! And you’ll have a newly-colored skein of yarn!

Best,
Stacey

How to Macrame – video

How to macrame - video

Macrame? On a sewing/embroidery/quilting site?

Yes – macrame. I love using macrame for doll and softie hair and in this video I teach you my favorite stitch – a basic twist.

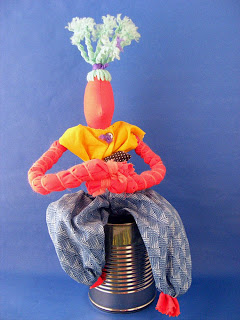
In the video I showed you one of the monster softies I used it on (for cute twisty pink pigtails) but I thought I’d show you another variation.

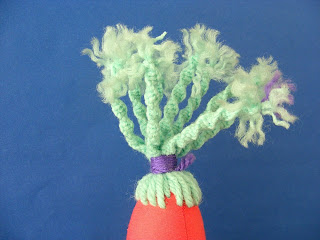
I made this guy years ago and I still love the macrame hair. Want to see it a little closer?

I gathered all the hair into a topknot and then knotted each four strands into a macrame twist. It’s so much fun! And it never takes as long as I think it’s going to.

Give macrame a try on your next project! I might even incorporate a bit of it into the monster quilt. . .

Happy sewing!

Best,
Wendi
Applique Wendi (with fabulous hat)

Bead Crochet, part 2

Continuing to Practice Bead Crochet

Remember a couple weeks ago when I learned bead crochet? I was instantly hooked… so I’ve kept at it!

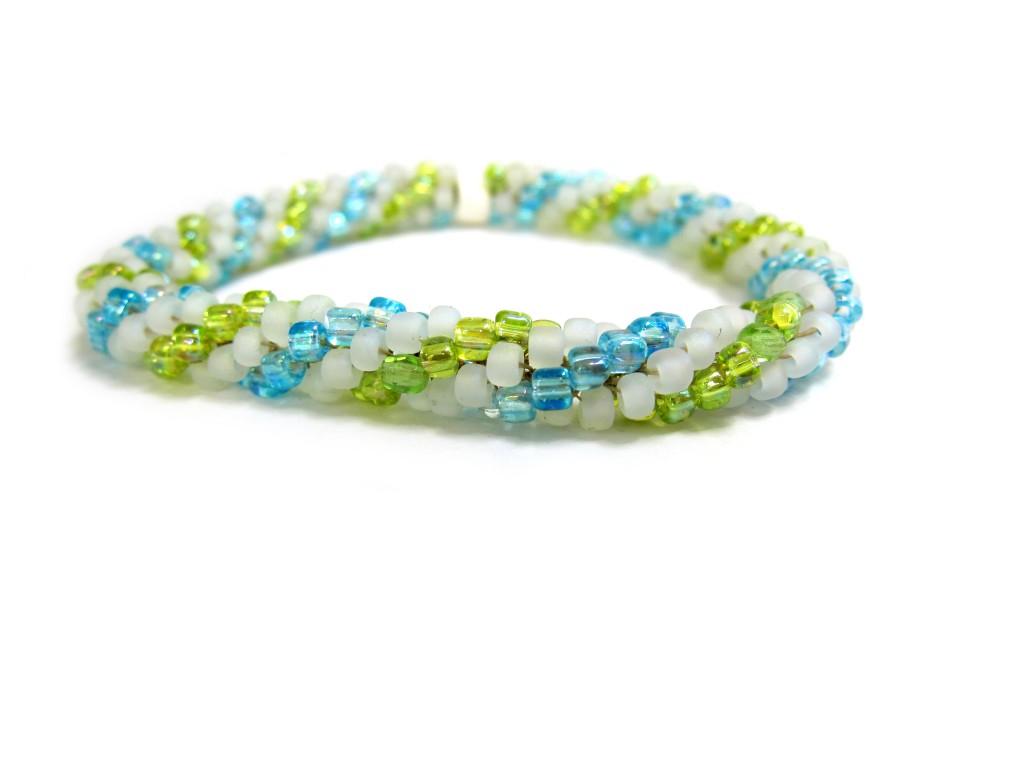
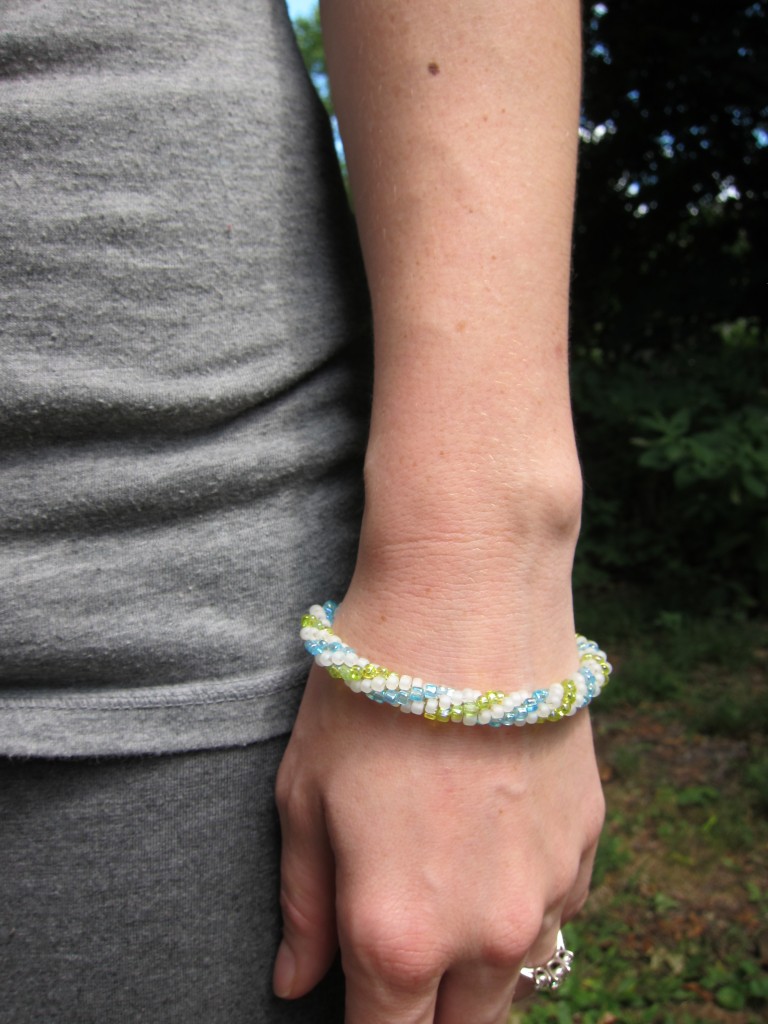
Last time, I made a very small piece, but not a full piece of jewelry. This week, I stepped up to a bracelet project from Bead Crochet Jewelry… and I’m very proud!

It’s in fabulous summer colors… and let me tell you, I’m hooked!

Lessons and Future Plans

I love my bracelet, but having a ‘bangle’ without a clasp is a little tricky: it needs to be large enough to fit over your hand, but then it seems quite large on the wrist. This means that it sorta gets in the way while wearing it… since I’m the type who moves around a lot!

My future plans are:

  • A bracelet with a clasp
  • A lariat (a necklace that’s just a long rope that you fasten by tying)

It’s so much fun… I didn’t think I’d take to it like a duck to water! I highly recommend Bead Crochet Jewelry… the great explanations are what made it so easy for me to get hooked!

Have a fabulous crafting weekend… do tell me what you’re up to!

Learning Bead Crochet

Goals for Bead Crochet

I got a copy of Bead Crochet Jewelry, and the jewelry looks amazing!
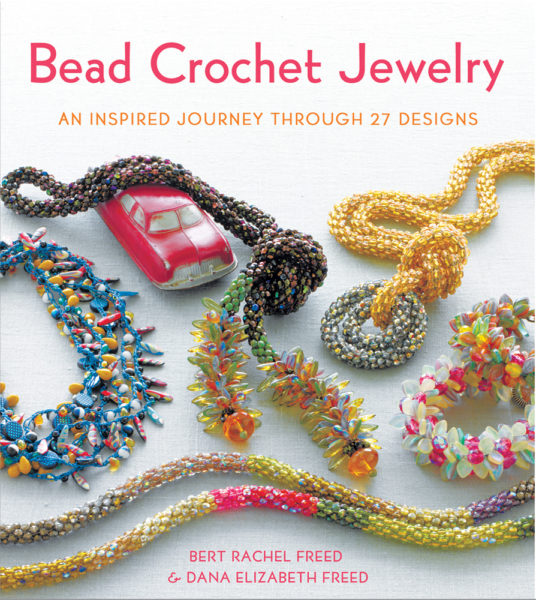
 

Bead crochet is a little different than regular crochet, and gives you a piece with a totally unique look. To bead crochet, you pre-string a lot of beads, and then (basically) slip stitch around a 4 stitch round (or more stitches, if you’d like). While slip stitching, there’s a certain technique for incorporating the bead appropriately into the stitch.

My long-term goal is to make myself a few fabulous necklaces! But, that’s a bit much for one Saturday! So, my goal this week was to:

  • select beads and thread appropriate for a starter project
  • string beads (you need to pre-string a LOT of beads!)… and see whether it would drive me bonkers
  • learn the basic technique for bead crochet
  • fasten off my work

My Resource

Now that I’ve completed my first (albeit, small) bead crochet project, I have to tell you: this book is fabulous! Bead Crochet Jewelry is written by a mother and daughter (who I had the good fortune of meeting at TNNA), and it’s completely obvious throughout the book that this duo has a passion for bead crochet and are skilled teachers!

The book is organized by difficulty level (really helpful for us newbies!), and choc-full of helpful tips and step-by-step photos. I’m not going to fib: bead crochet is pretty different from regular crochet, and I had some trouble manipulating such thin thread early on. But, I persevered because of the great instructions (and dreams of future projects), and I couldn’t be happier!

My Materials

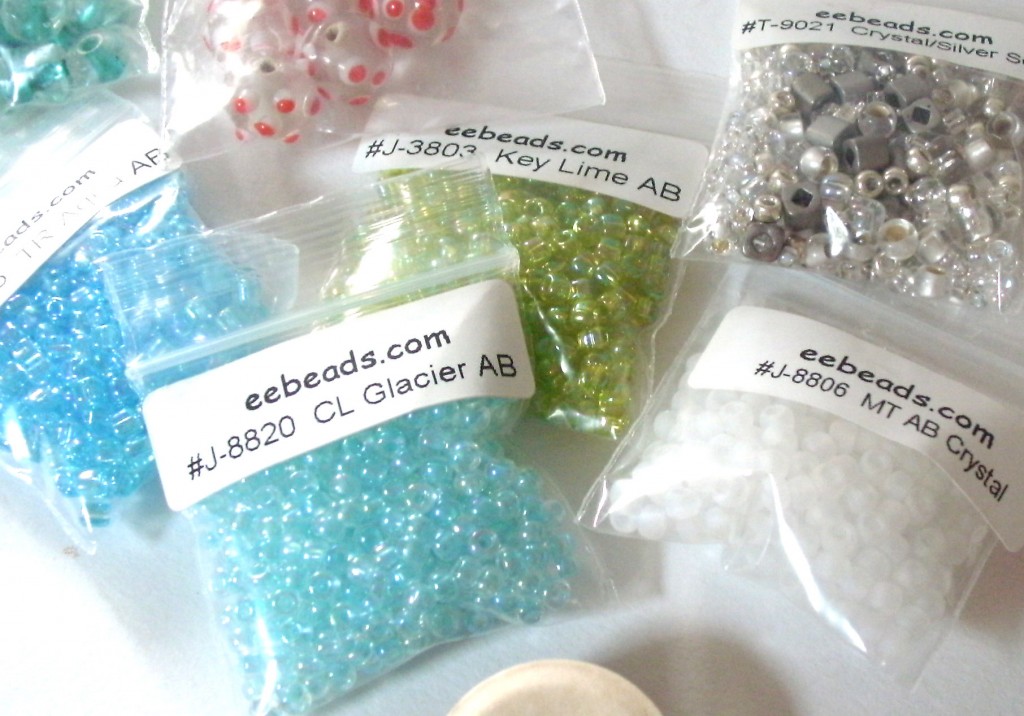
I checked out my local craft stores, and none of them carried the type beading thread that was recommended in the book. So, I ordered my thread (and some beads, while I was at it!) from eebeads.com.
What I Did

I’ll admit: since I’m a pretty proficient crocheter, I thought I could start straight away on one of the projects, and skip over the advised practice. I was wrong.

Bead crochet requires a new way of interacting with the beads and hook… and that’s really hard to do for the first time with bead thread.
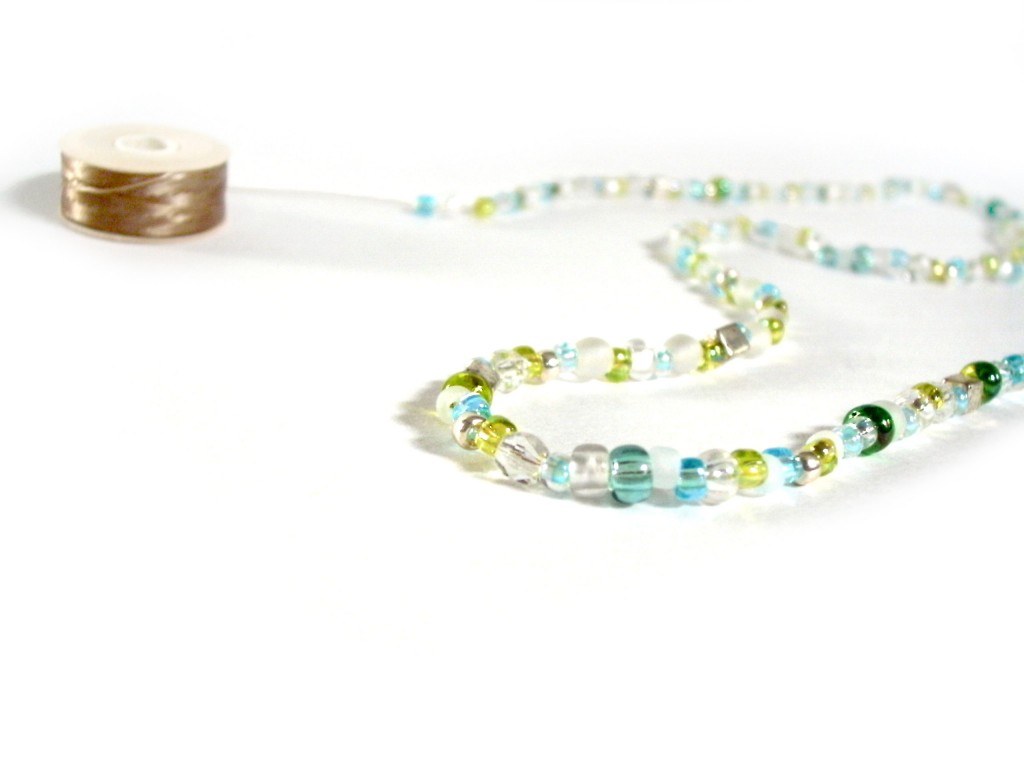
I began by stringing a pretty collection of beads. However, not only was the thread tiny (and I had no idea what I was doing!), the beads were slightly different sizes, making it a tough 1st project! So, after struggling a bit, I took the book’s advice and did a practice piece with yarn and jumbo beads:
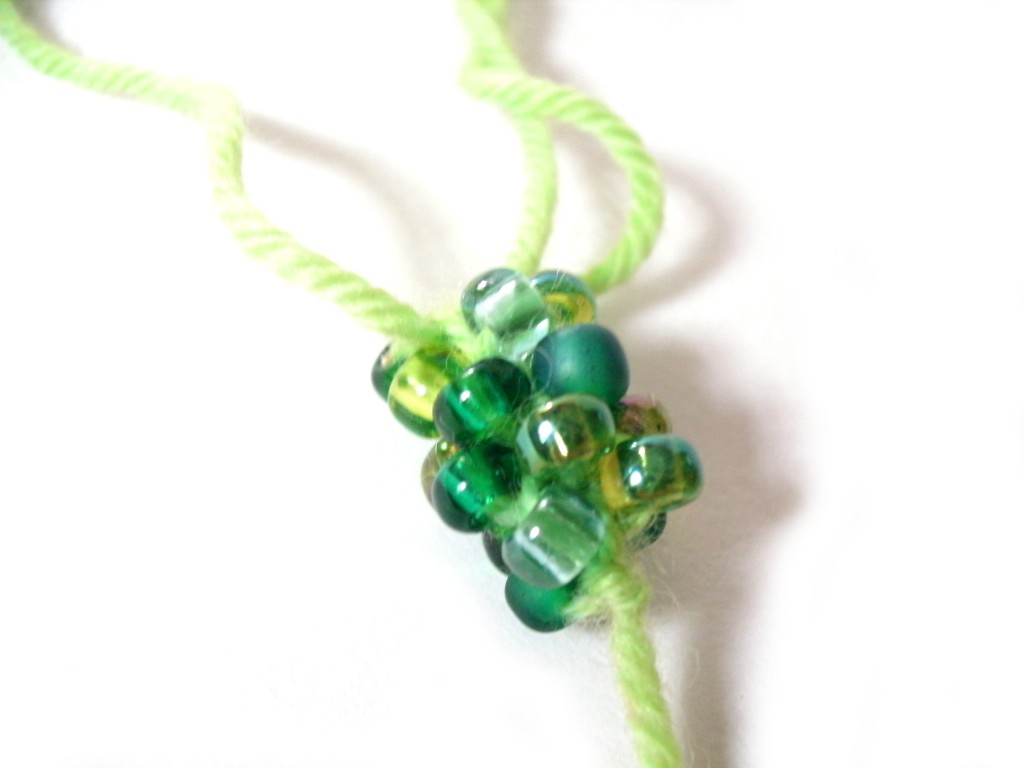
I’m so happy that I did! Even though it doesn’t look fabulous, it allowed me to get the basic technique and get my fingers used to what they were supposed to do!

Next, I strung seed beads for my real project! I decided to use all identically-sized seed beads to make it easy on myself. I was delighted to discover that the crocheting was much easier now that I had some practice under my belt.
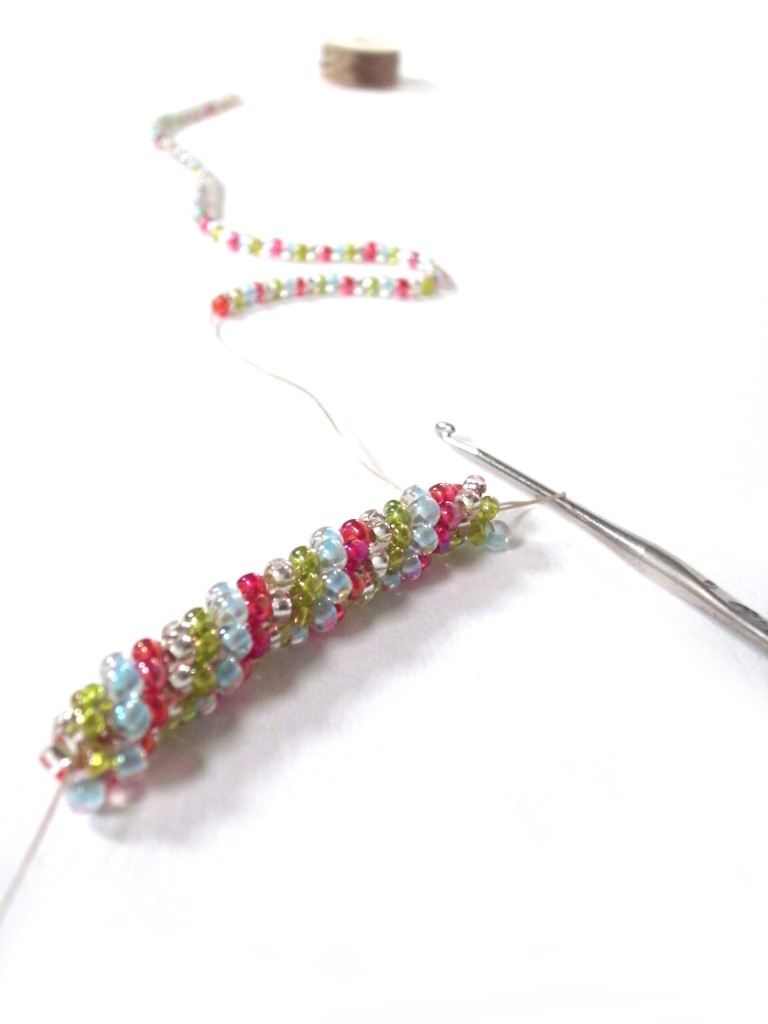
Isn’t it pretty? Look how nicely the colors are swirling! Yay!

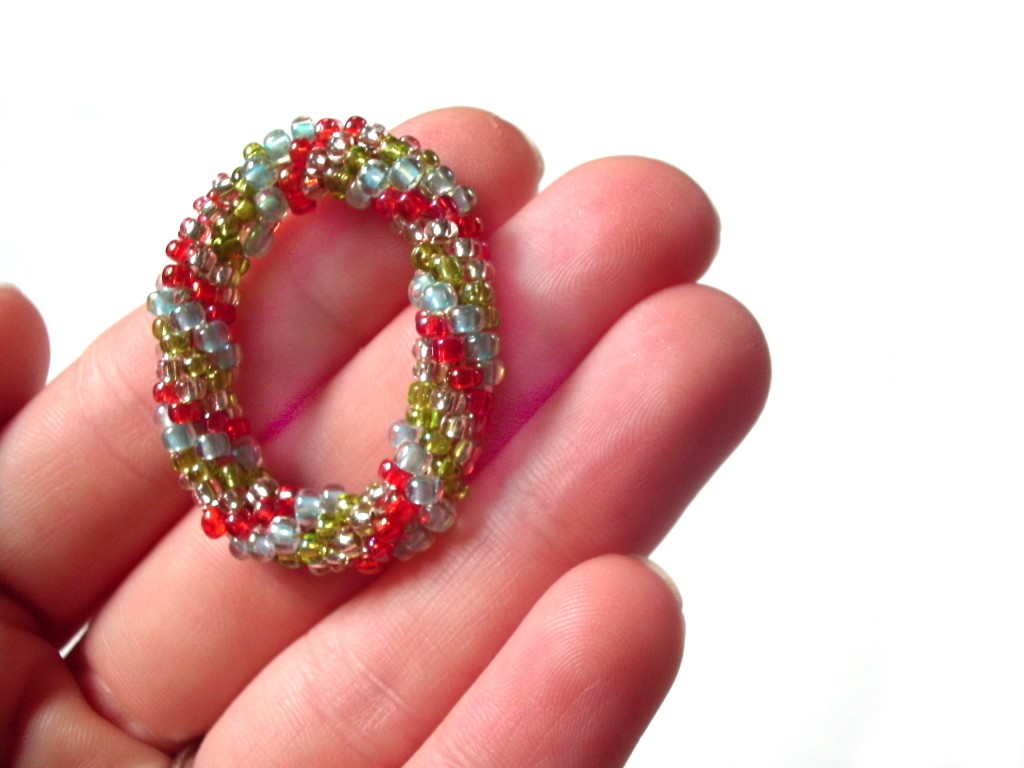
I even finished off my piece in a circle. I have no idea what I’ll use it for (turns out that I strung on too few beads for a bracelet), but I’m so proud!
What I Learned

Most importantly, I learned that I like bead crochet! I was very worried that I would find the pre-stringing and tiny thread size irritating… but I found the stringing relaxing and got used to the small gauge size. Hooray!

I also learned a few pieces of advice for starting. It’s incredibly important to practice with a larger hook/bead size to begin, and also use multi-colored beads. If you do that, you’ll get the hang of what you’re doing to move on!

Finally, I realized that I need reading glasses. I suspected this for a while, but this tiny project brought the need into focus! And trust me, it’s much easier to bead crochet when you can really see what you’re doing!

Future Goals

I love this! I’m going to keep going! Next up for me is a bracelet with some focal beads… so excited!

I totally recommend Bead Crochet Jewelry, it’ll really inspire you to learn!

Best,
Stacey

Using Embroidery Patterns for Something Besides Embroidery

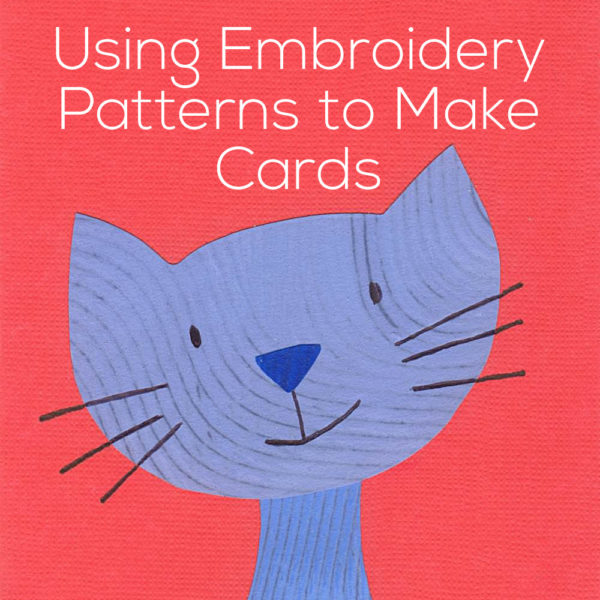
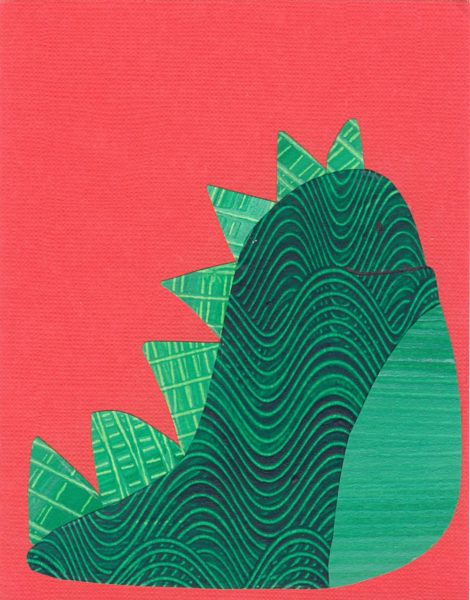
Jo’s been at summer camp for the last two weeks – hopefully loving every minute of it. 🙂 Last year I sent her cards made from my embroidery and applique patterns (see them here and here, and watch a video showing how to stitch on paper here) and this year she asked me to do the same thing. I thought I’d share them here with you so you could see a non-stitchy way to use embroidery patterns.

I use paper that I painted with simple patterns, but you could use magazines, the linings to security envelopes, giftwrap – any paper scraps really. You could also use the same patterns for applique – especially easy with fusible adhesive. Just enlarge them to whatever size you like!

That blue cat up there at the beginning is one of the cats in this embroidery set.

Sluggo is the free pattern I gave away over at Wild Olive.

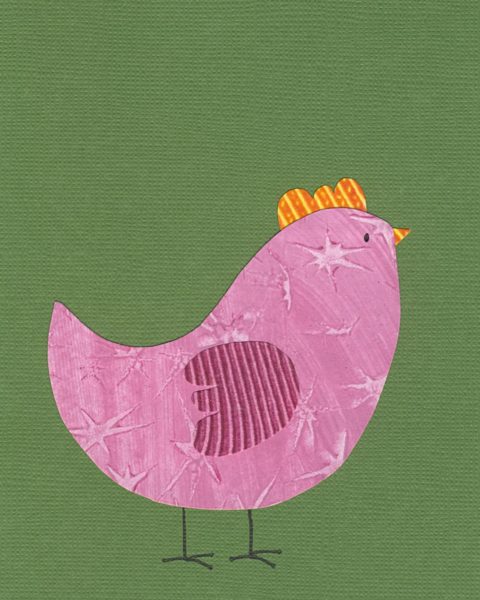
This hen is from the chickens collection.

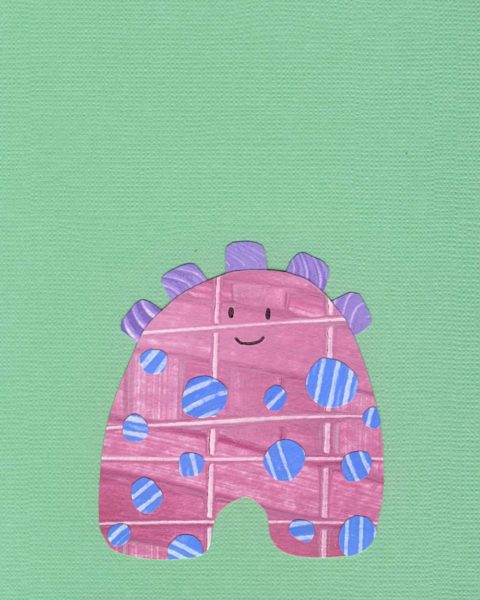
And this is one of the mini monsters.

Jo’s at camp for one more week – so a couple more will be coming soon!

Happy stitching!

Best,
Wendi

Want to make socks w/o knitting? A Review of the Sock Loom!

Almost every crafty person I know has, at some time or another, thought of making their own socks. I was intrigued when I saw the Authentic Sock Loom Knitting Board, which allows you to make socks without knitting! I had to give it a try!

About the Loom

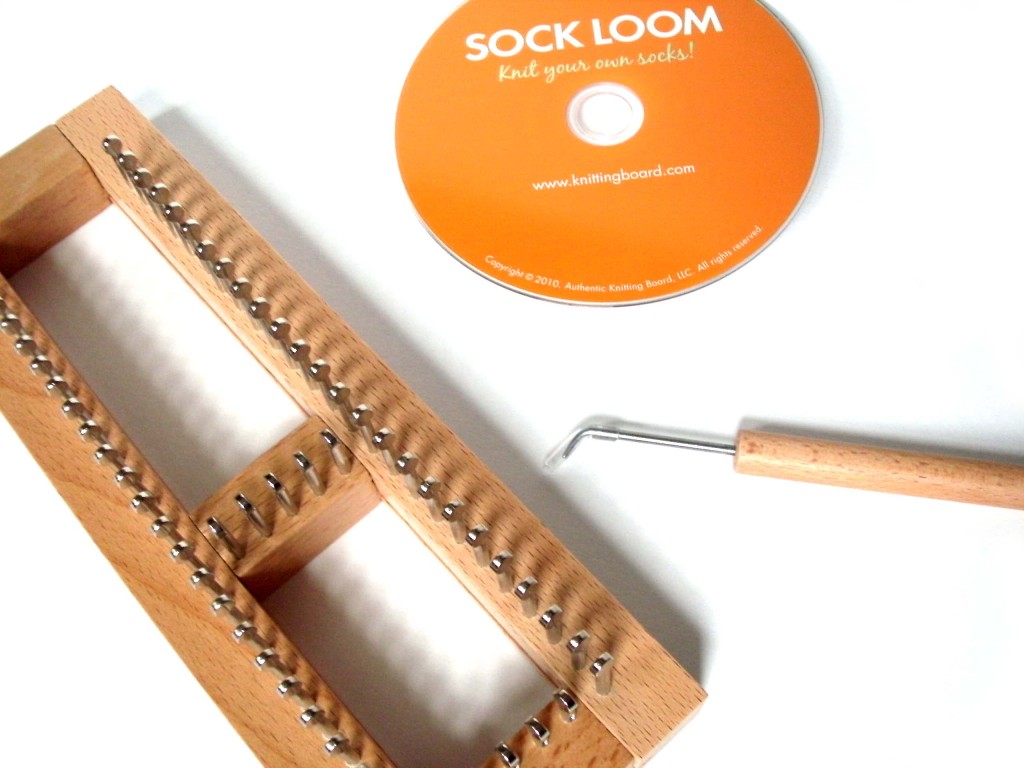
The kit contains an adjustable knitting loom (the center bar on the board pictured slides so that you can get exactly the size sock that you want), a hook (that you use to make stitches on the loom) and an instructional DVD.

I was surprised by the high quality of each of the components. For less than $30, you could picture receiving a flimsy loom or a shoddily-produced DVD. However, the loom is quite hefty: constructed with solid wood and very secure and sturdy pegs. The DVD is neatly divided into sections (casting on, the knit stitch, turning the heel, etc.) and gives complete instructions for operating the loom.

How the loom works

A properly-fitting sock needs to be the appropriate size: so that it’s small enough to fit snugly, but not too small so that it doesn’t fit. The first step in using the loom is to set the knitting board so that it creates an appropriately sized sock for your foot. Fear not… this step is easy: you simply follow the calculations provided in the kit, and slide the center bar to the proper position.

The remaining steps mirror the steps involved in knitting a sock. You begin by ‘casting on’ the stitches:

Even though the actual motion for casting on stitches with the loom is different from knitting, the philosophy is the same, and the procedure is well-explained in the DVD.

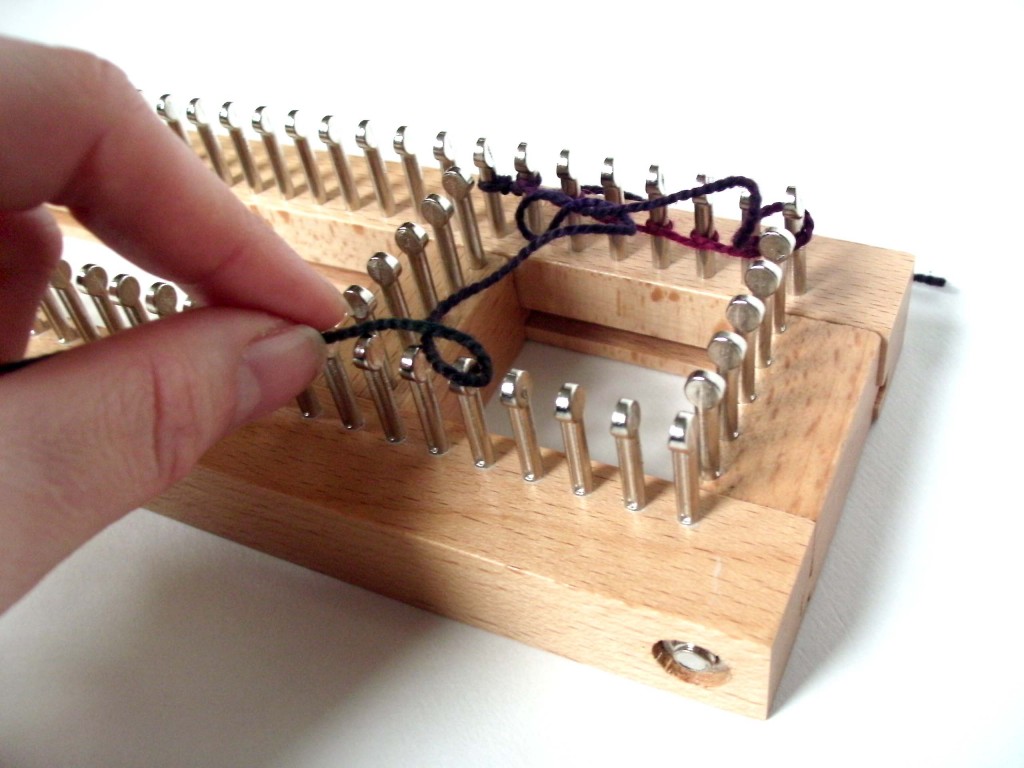
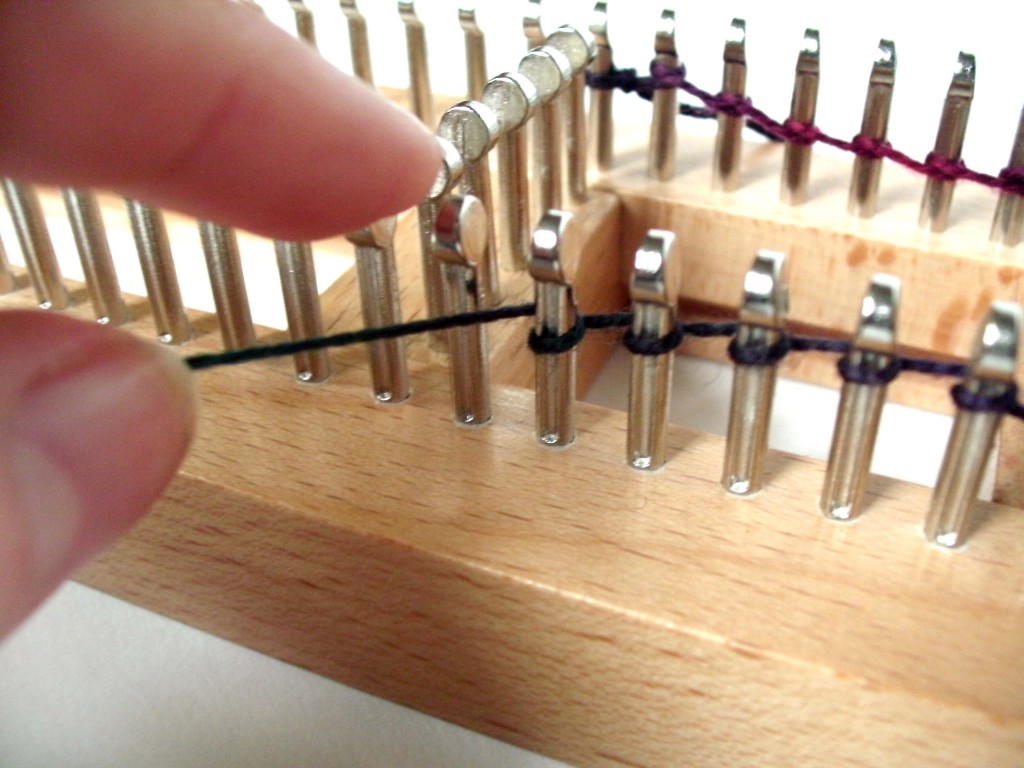
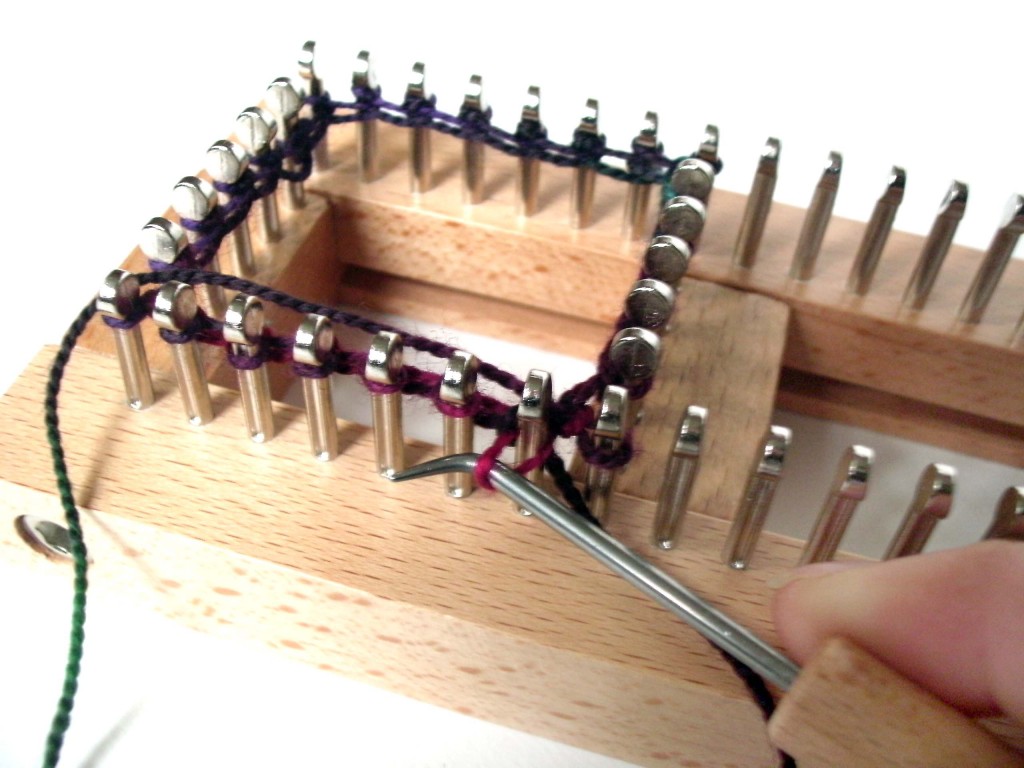
After the initial cast-on, you begin ‘knitting’ your sock. Each stitch is created by pulling the working yarn through the stitch on the loom, using the hook:

Exactly how you manipulate the hook & yarn determines whether you produce a knit or a purl stitch.

You continue knitting and purling to create the cuff of the sock and then, just like knitting, you work a limited number of the stitches to form the heel. Then, you return to working all of the stitches for the foot of the sock.

The toe is constructed slightly differently on the loom than when knitting a sock: stitches for the top and bottom of the sock are decreased separately and then grafted across the entire toe. There is an option to remove the stitches from the loom and use double-point needles for a ‘traditional’ toe, but this seems to be an advanced option.

Benefits to the Sock Loom

The sock loom is an easy entry into making socks for those who don’t/can’t knit. Highlights include:

  • A well-constructed loom and instructional DVD (as well as further videos/support on their website: www.knittingboard.com).
  • Once you get a hang of the basic operation of the hook, you can create knit and purl stitches (and make an entire sock!) with ease.
  • Grooves in the pegs make it very easy to use the hook to manipulate the yarn.
  • Since the loom is adjustable, you can make socks of any size.
  • The design of the loom takes away many of the complicated calculations associated with knitting socks. Once you establish the number of pegs required, no further calculations are needed.

Disadvantages to the Loom

In my personal opinion, this loom is designed for people who do not currently knit. People who are already proficient knitters will find the experience of using the loom slightly tedious: it’s like using a crochet hook to create each new knit stitch.

Other downsides include:

  • The loom isn’t obviously portable. Although I suppose it may be, in principle… in practice, carrying a loom around is more awkward than carrying knitting needles.
  • Stitches can slide off of the pegs, particularly during the cast-on (see above photo, which happened as I was taking photos of my cast-on). In this case, the only option is to begin your cast-on, again.
  • The DVD doesn’t have many details on fixing mistakes. I assume this is because the loom is a new product, and I’d imagine that these will be videos added in the future.

Overview

The Sock Loom Knitting Board is an ingenious product that is well-crafted and allows you to create socks easily, without knitting.

This board isn’t a short-cut to making socks for people who already knit. I would advise knitters (who are afraid of socks) to find a helpful, beginner-sock pattern instead of turning to the loom. Some first-time sock knitting patterns are: Easy Peasy Socks and Basic Sock.

If you’ve been looking to make socks, and aren’t interested in knitting… this loom is your ticket!

Best,
Stacey
How to ply your Kool-Aid dyed yarn for an awesome look!

Ready to learn yet another cool technique you can do with Kool-Aid?

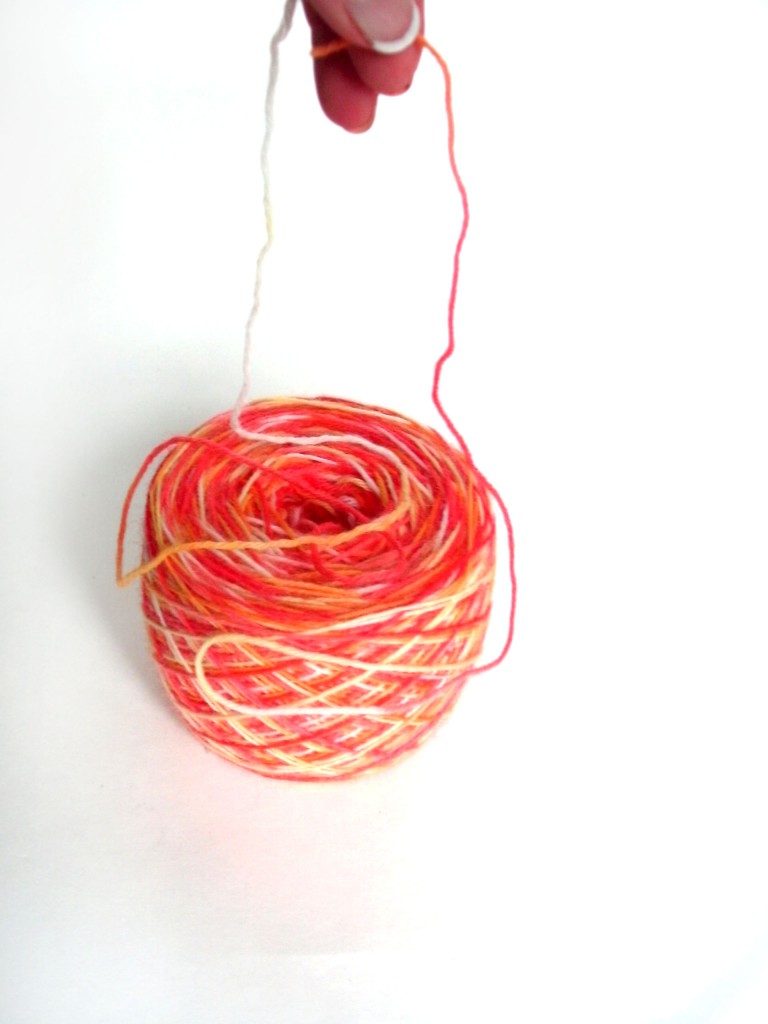
Today, I’m going to show you how to get great barber-pole yarn by plying already dyed yarn!

Remember how we dyed multi-color skeins? Now we’re going to go one step further! I learned this technique in Spin Off Magazine, and had to give it a try!

Materials

You’ll need:

The Process

We’re going to ply our already-dyed yarn together… and it results in a great effect!

Step 1: Start plying!

Pull one strand from the center and one from the outside of your ball:

This way, you’ll always have two strands of equal length!

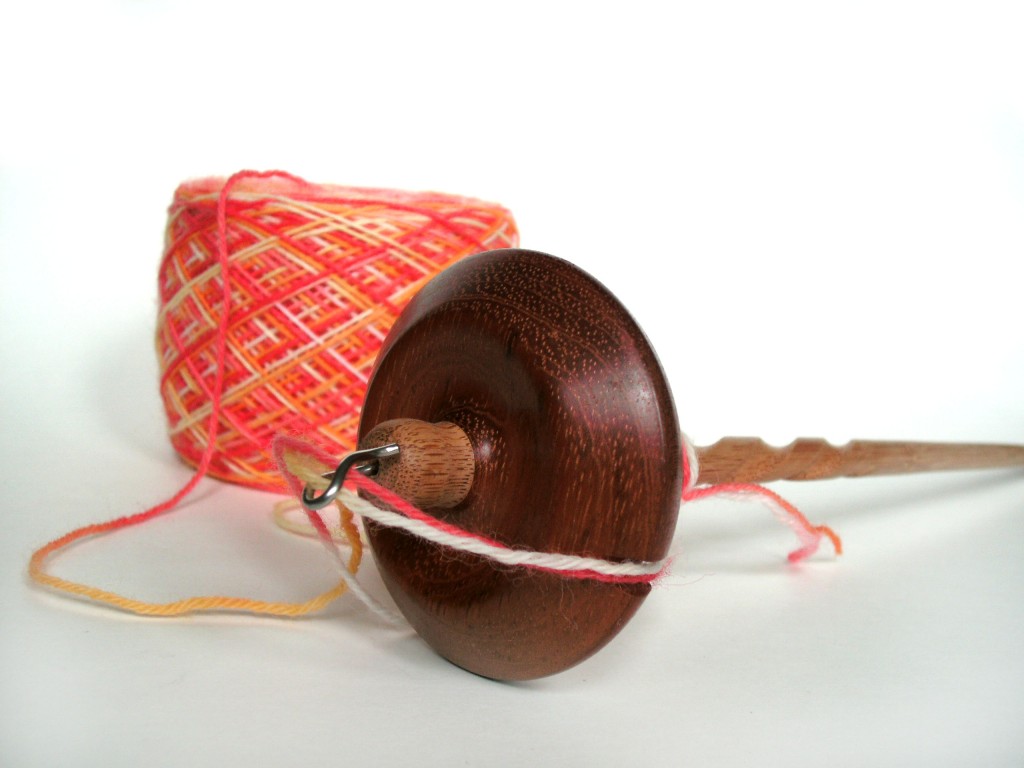
And then, begin plying! I’m using my spindle…

That’s all!

Swatches

This yarn is beautiful!

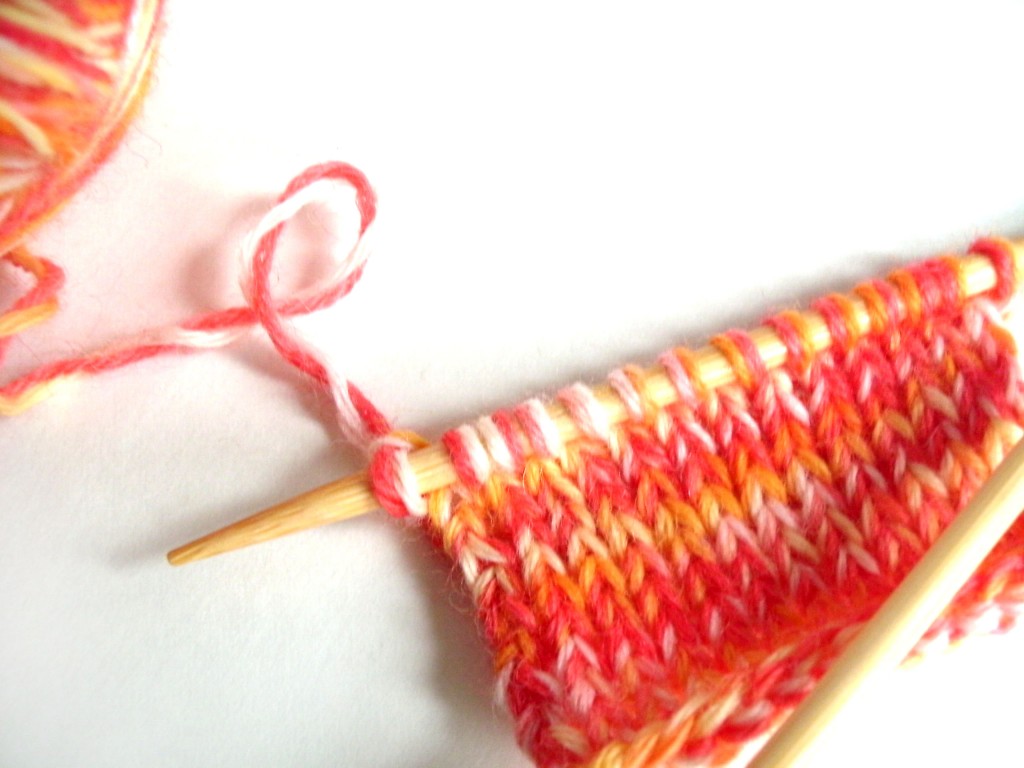
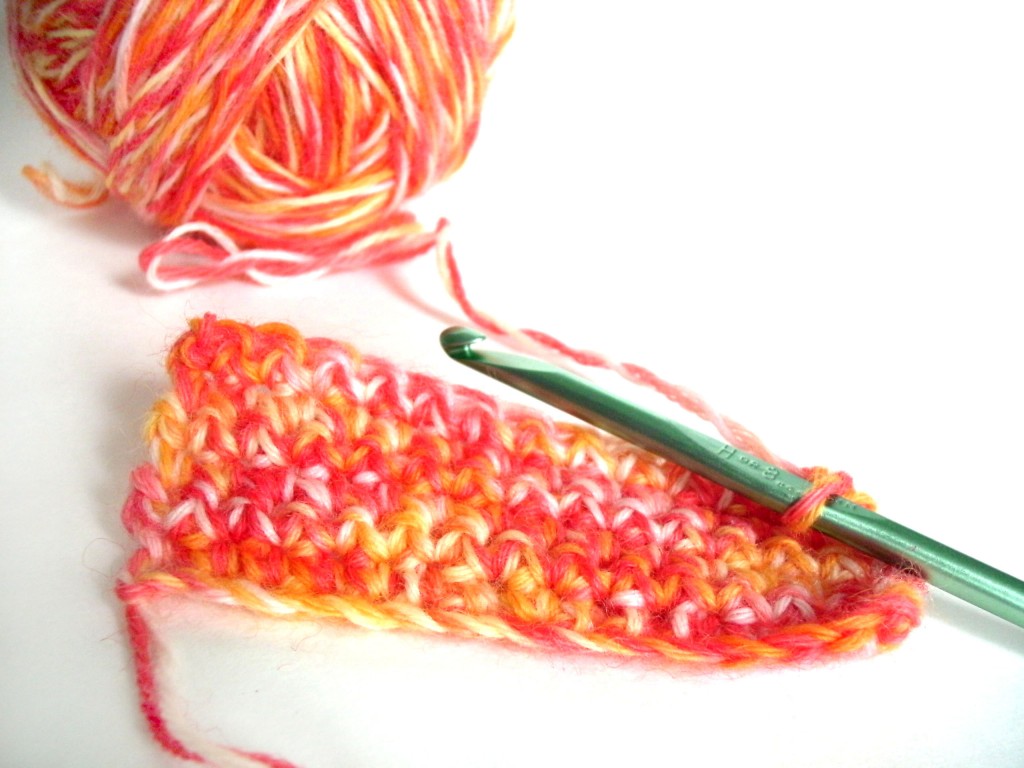
The advantage to this technique is that it obscures some of the ‘splotchy-ness’ that can happen with the simple multi-colored skein. Here’s how it looks in knitting and crochet:


Having fun?

I’ve been having a blast showing you new techniques for using Kool-Aid to dye yarn! I hope you’ve been enjoying it! Come back tomorrow to have a peek at some projects!

Best,
Stacey
How to dye long colorways with Kool-Aid, part 2

Alrighty, folks! Remember, we’re in the middle of dyeing a fabulously long colorway?

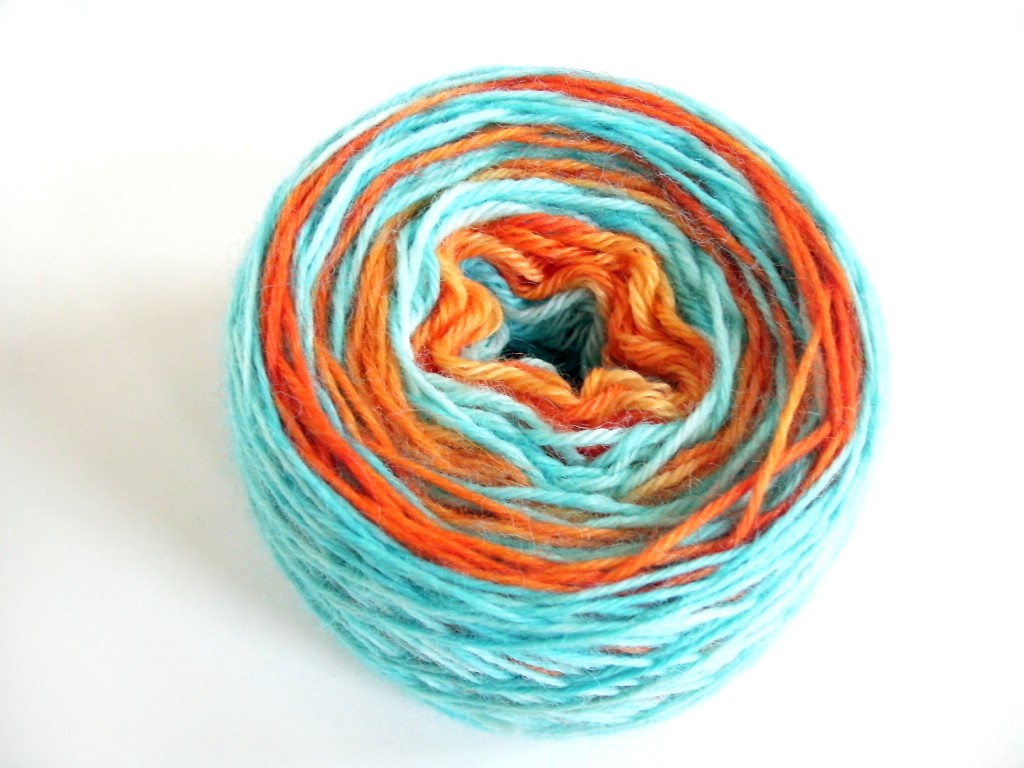
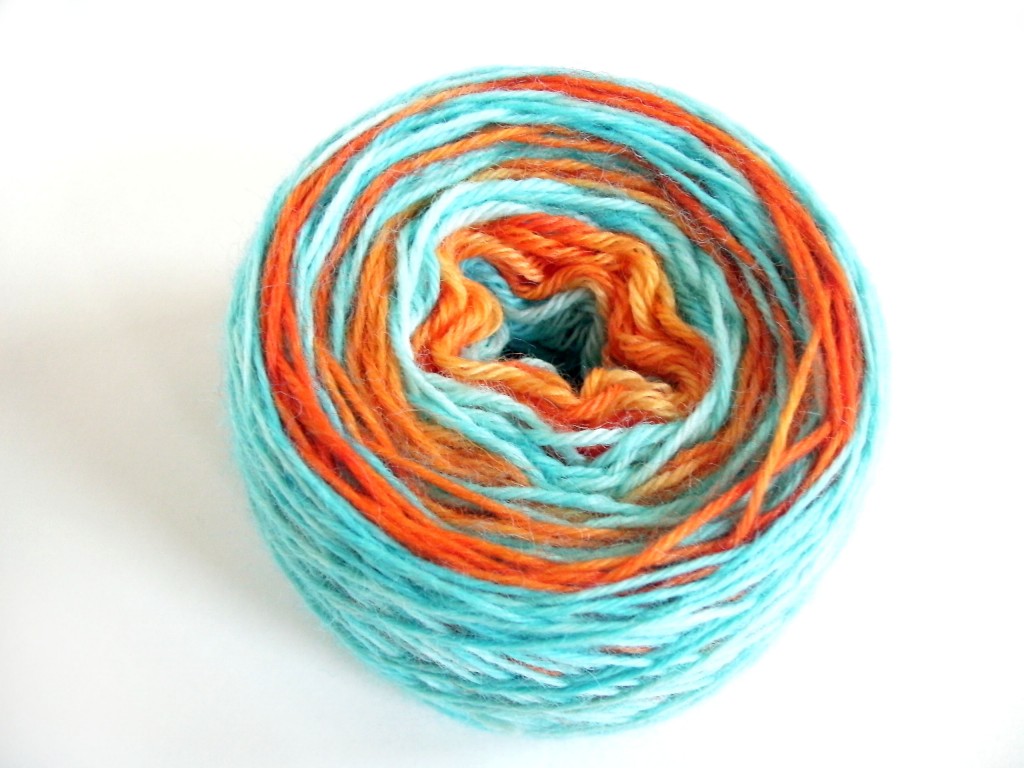
If you missed it, check out yesterday’s post to catch up. I’m in the middle of showing you how to get a fab yarn like this:

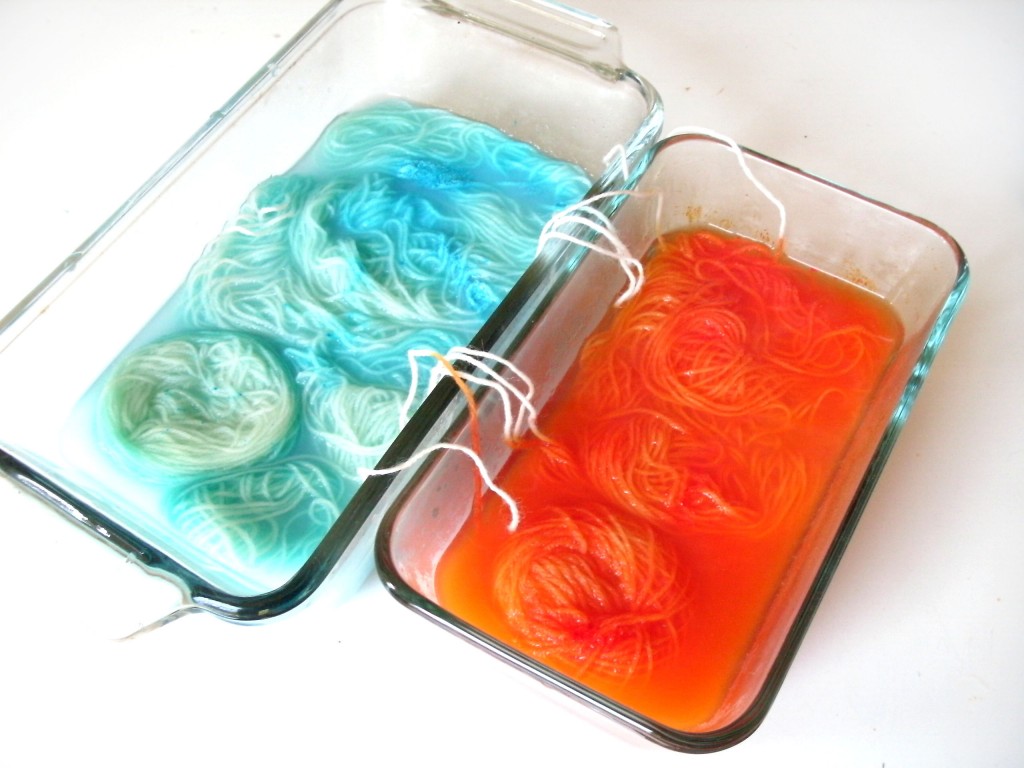
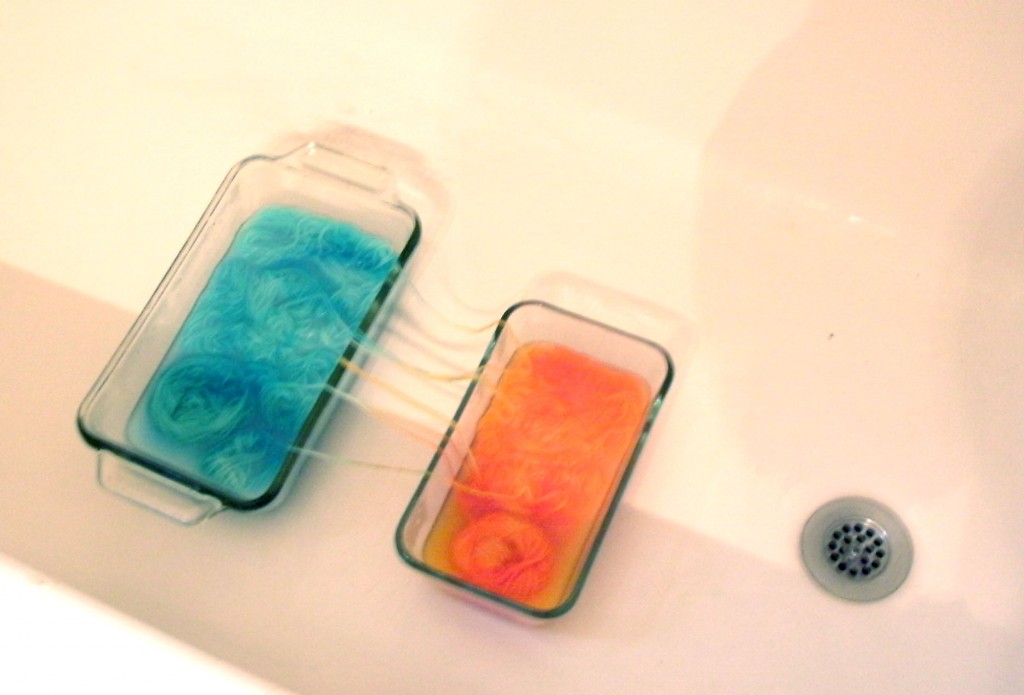
And we left off with our yarn in bowls, like this:

Okay, so let’s keep going!

Step 5: Completely dye each section

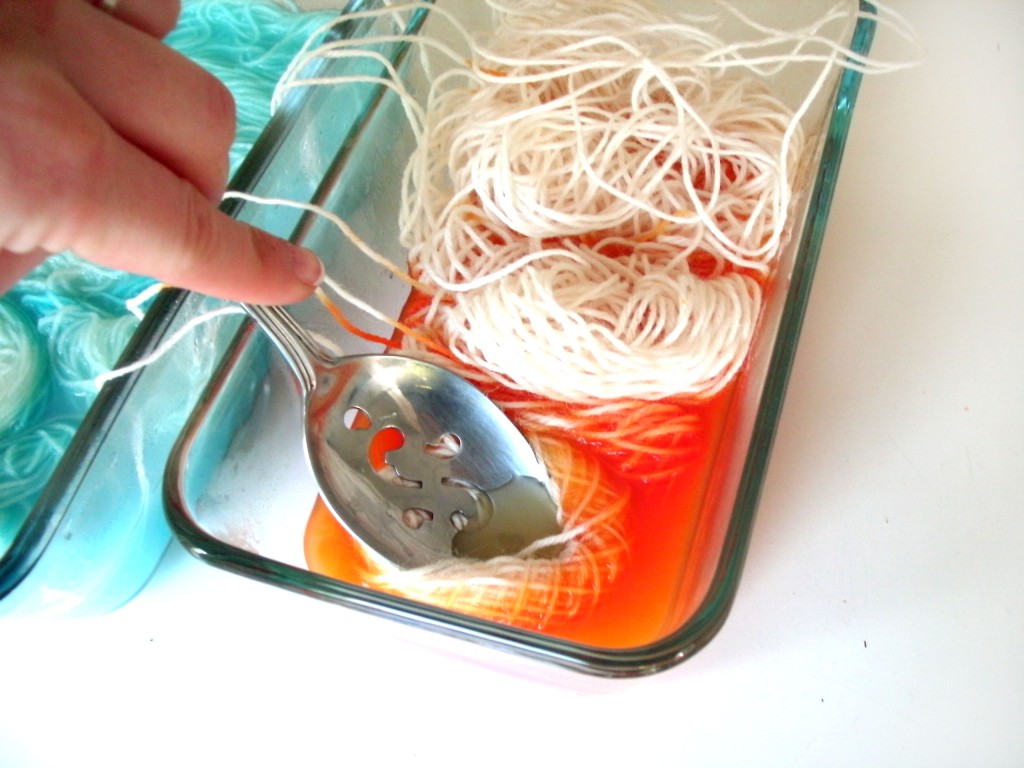
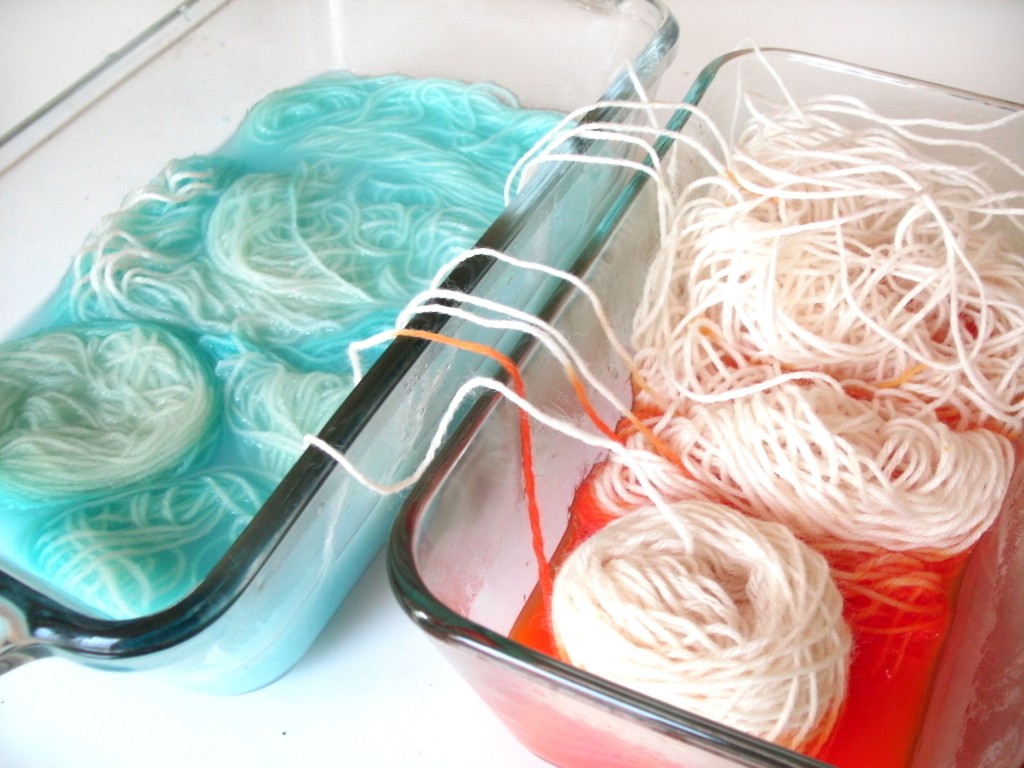
When you’re dyeing lots of pieces, you want to make sure each part soaks up the color. You might need to use a spoon (or your finger, if you don’t mind an orange finger) to press the yarn into the water:

Here’s where we are:

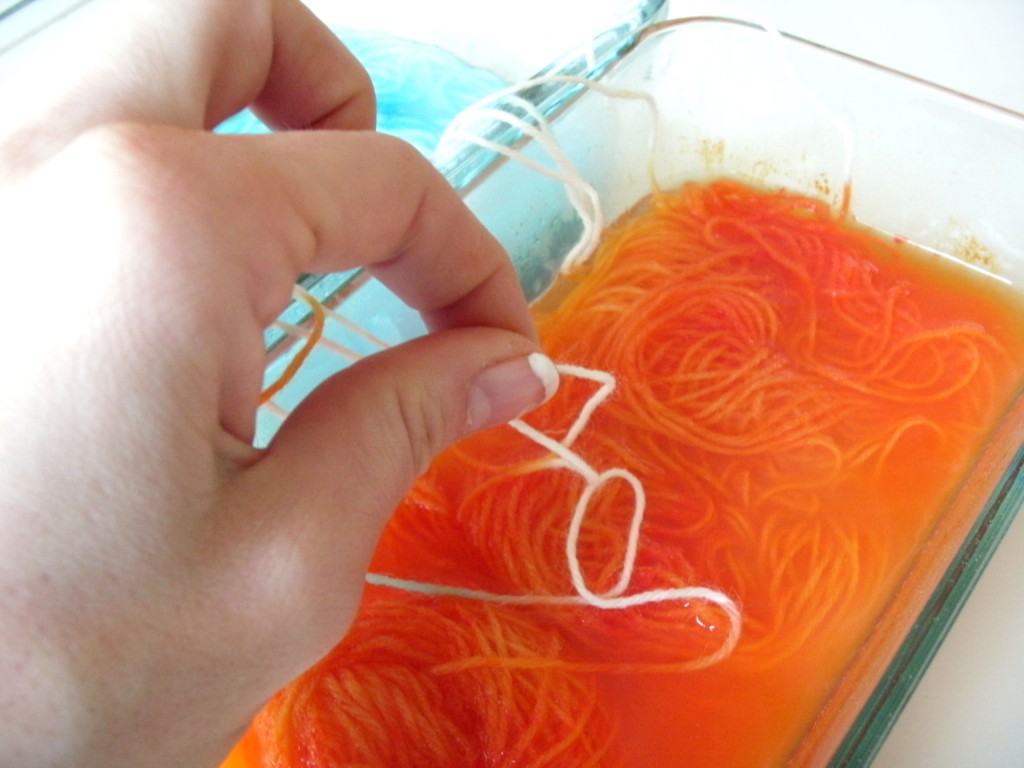
Notice that there are little bits of white yarn between the bowls? If you leave those, you’ll have white between each stripe. So, to get rid of those, gently dunk each bit into a color:

Step 6: Rinse

(from here on, the photos get a little crappy… since I had to re-locate to the bathroom. Sorry!)

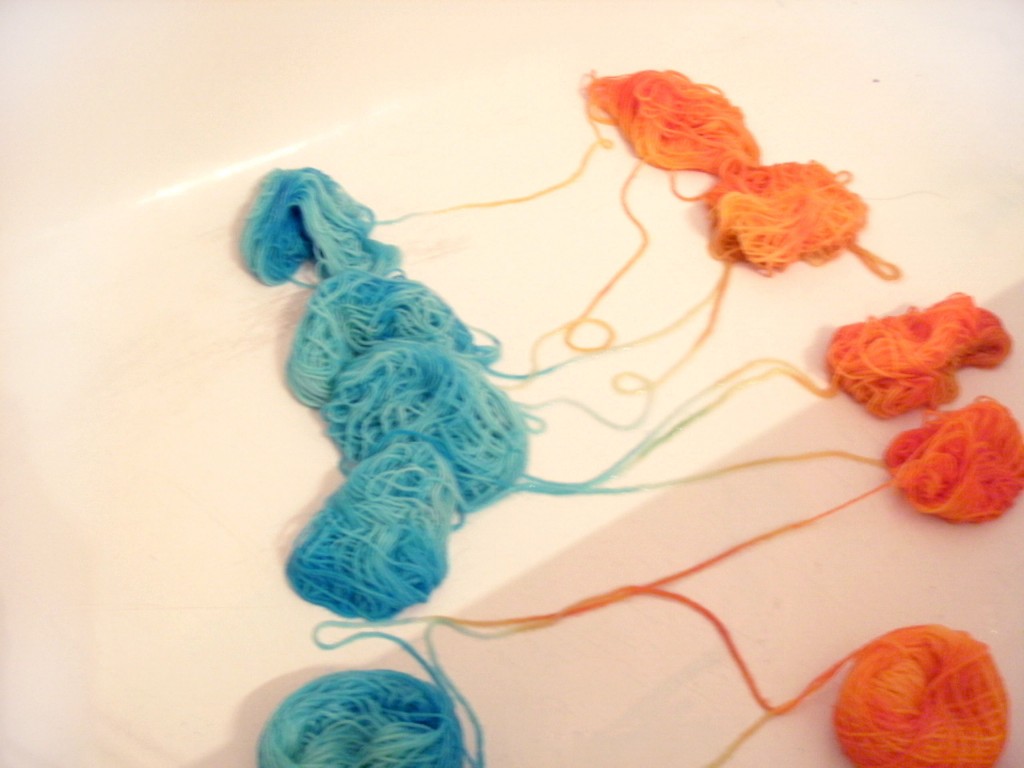
Now you need to rinse and squeeze water out of your yarn. This is harder than it looks… you can not just dump all your yarn out, or you’ll end up with a tangled mess!

You need to lift out each section gently (this is the time-consuming part I warned you about!) and place in the tub (since it’s still soaking wet):

Remember, the goal is to avoid tangles!

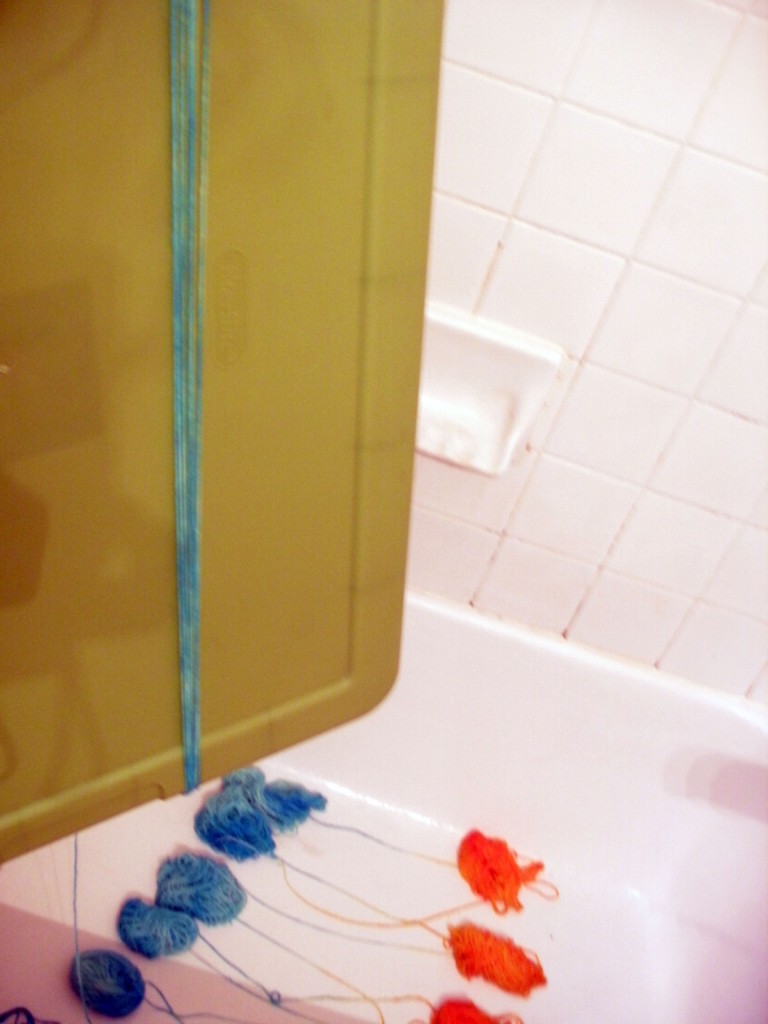
Now, begin at the start (the center of your first ball), and wind your yarn around something large (I’m using the lid of a storage container). As you wind, you can squeeze the extra water out with your fingers.

If you’ve been careful, one ball should go right to the center of the next ball… and tangles will be avoided.

Avoid the temptation of using a ball-winder, here… the yarn needs to be in a skein to dry completely.

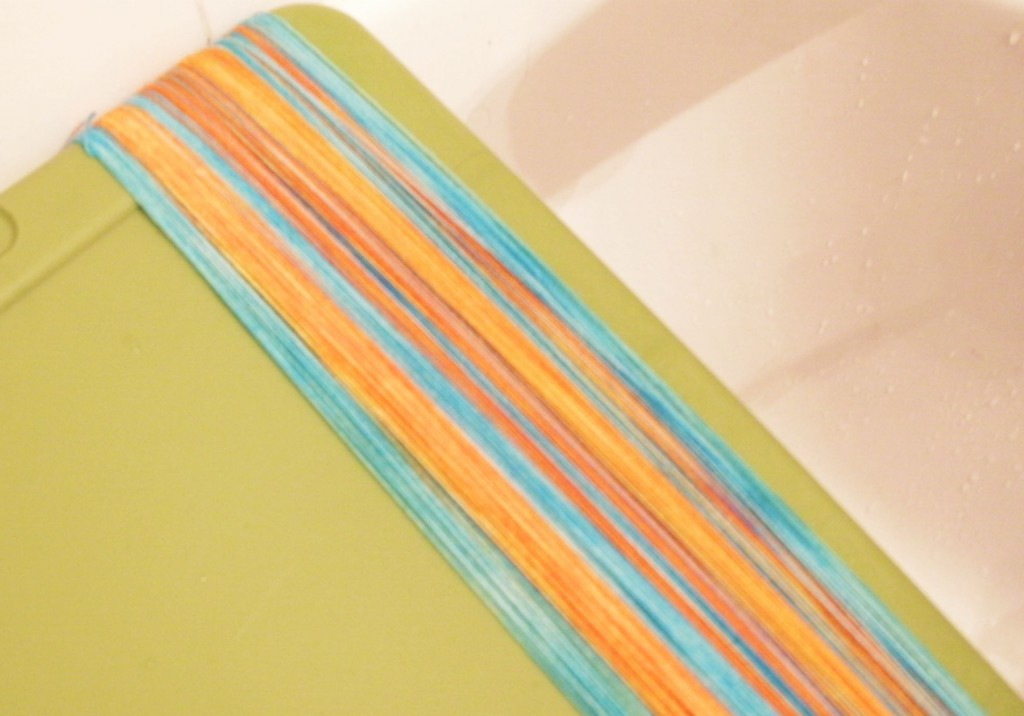
When dry, you can wind it up:

Are you going to give it a try?

Isn’t it fabulous? Don’t forget that we’re all going to be flashing our Kool-Aid projects on this Sunday’s blog post… so I want to see what you come up with!

Best,
Stacey
How to dye long colorways with Kool-Aid, part 1

Squee! Can you believe there are so many ways to dye yarn with Kool-Aid?

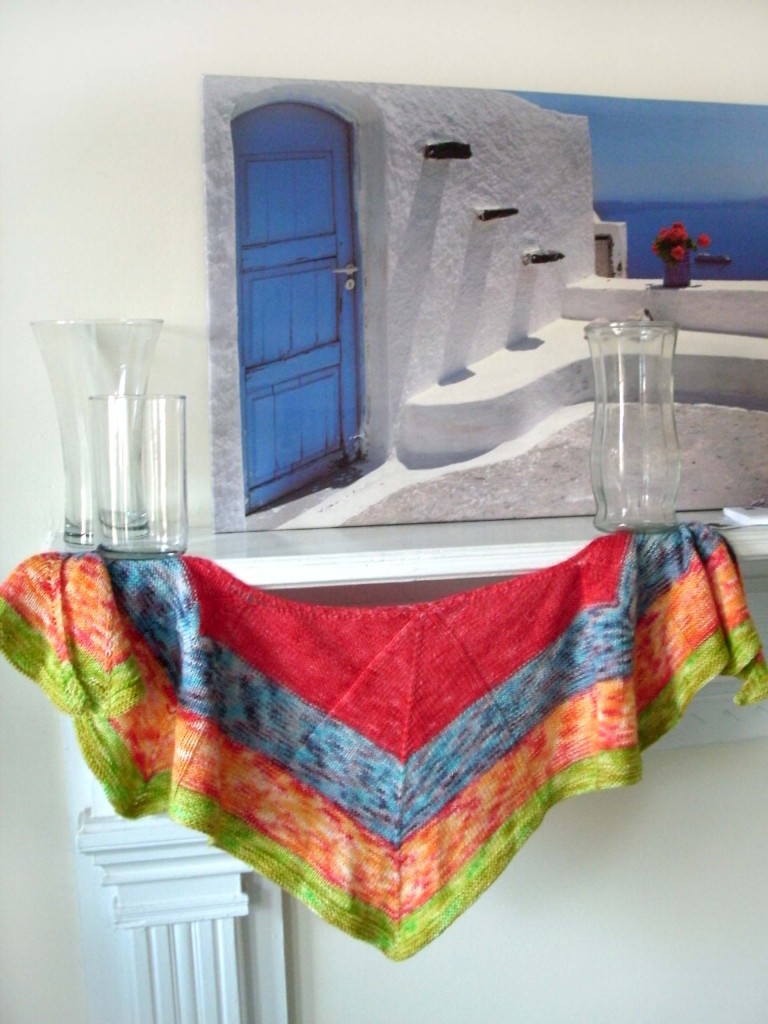
Today, I’m going to tell you how to dye yarn go get long colorways, or self-striping yarn. It’s the technique I used to get the colors for this shawl:

Don’t you love the stripes? It’s a time-consuming technique, but in my opinion, well-worth the result! I’ll be showing you the technique over two days, since it’s a lot of steps… but follow along, because I know you’re going to want to try it for yourself!

Materials

You’ll need:

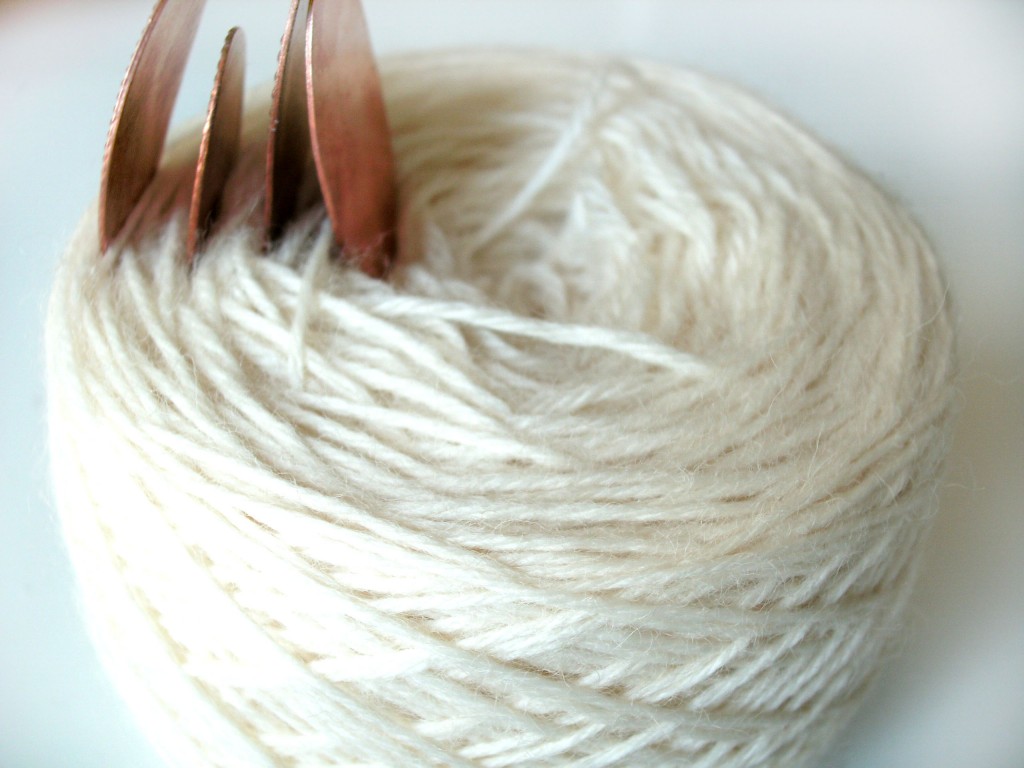
  • yarn made from natural animal-fibers (undyed is best), wound into a center-pull ball
  • a few packets of Kool-Aid (see yesterday’s post about testing colors)
  • a glass bowl or dish for each different color
  • boiling water

The Process

Like I said, this process takes quite a few steps… but none of them are very difficult. Besides, you already know all the basics!

Step 1: Add packets to your bowls

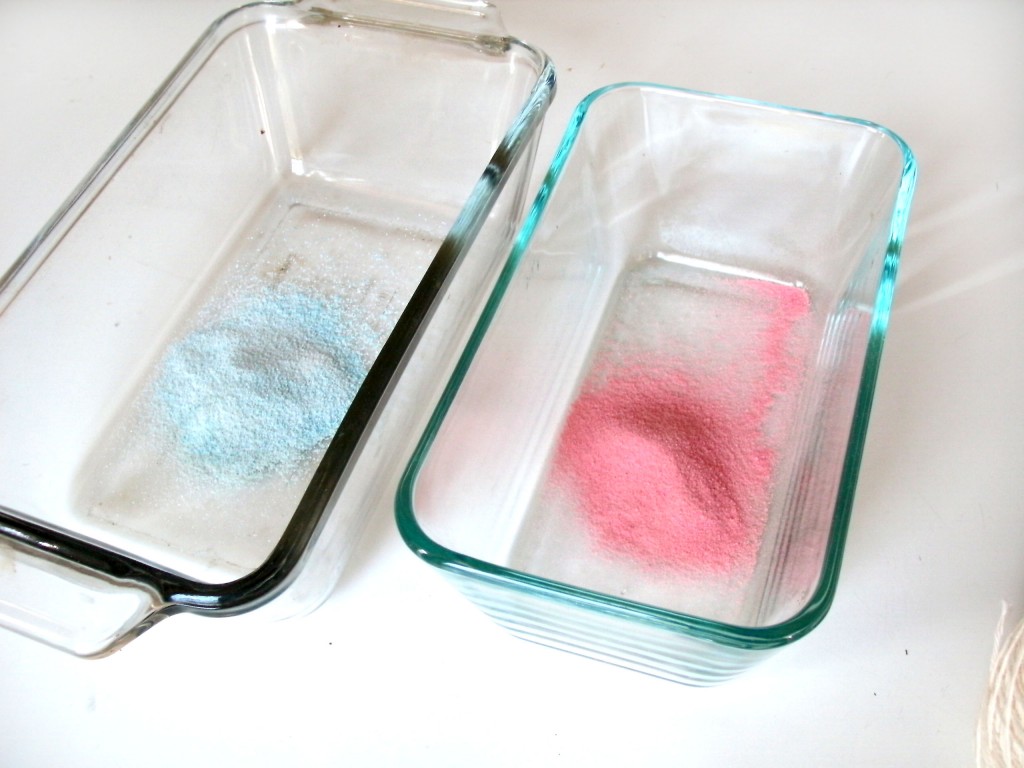
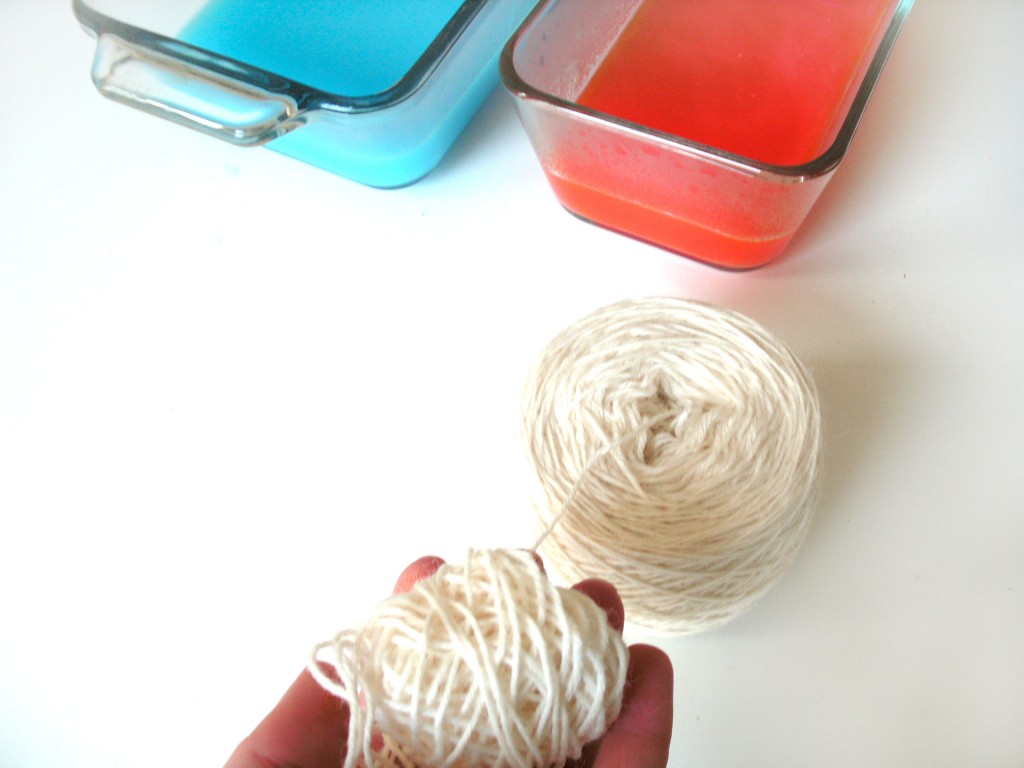
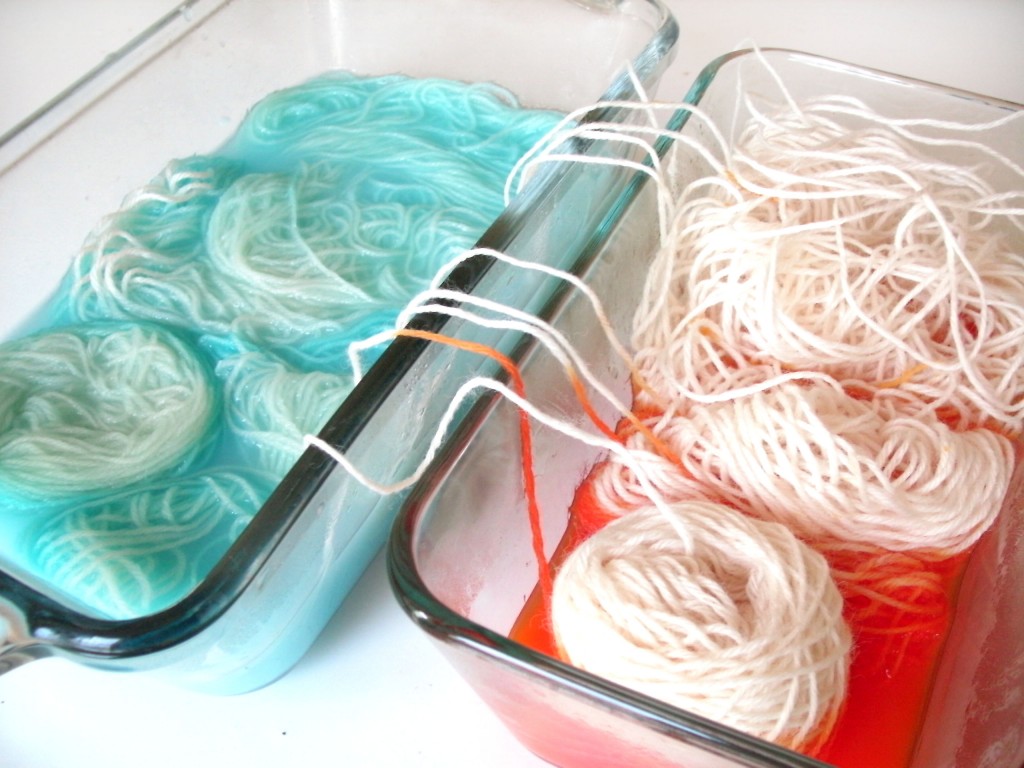
You’ve seen this step before! Add your color to your bowls… in this case, I’m doing orange and blue stripes, so I have a bowl for each:

Add boiling water to your bowls.

Step 2: Divide up your yarn

Remember I said to wind your yarn into a center-pull ball? (You may want to have a ball winder.)

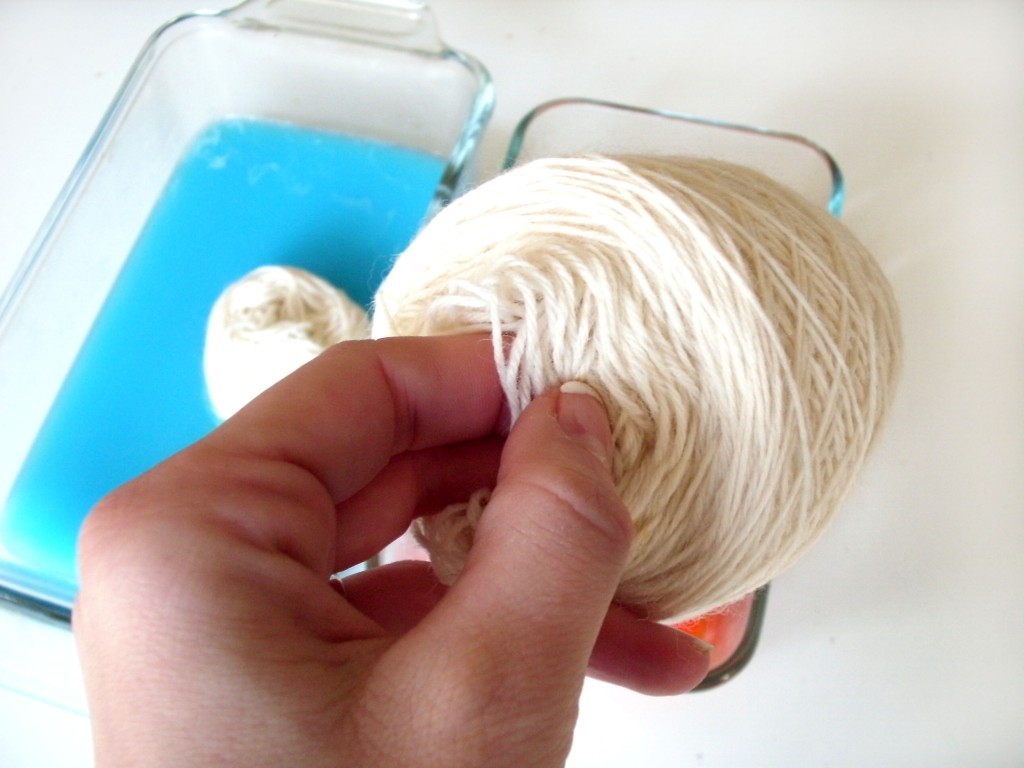
That’s because a center-pull ball will make it super-easy to divide up your yarn into small sections. I’ve used dividers to mark off where I want each color to be, but you can eyeball it, if you’d like.

Step 3: Dye the first section of yarn

So, here’s what do to… pull out your first little section of yarn, and put it in your first color:

Keep in mind that the size of this section will determine your color repeat! So, if you pull out 20 yards, your stripe will be 20 yards long. If it’s bigger, your stripe will be longer.

Step 4: Continue dyeing each section

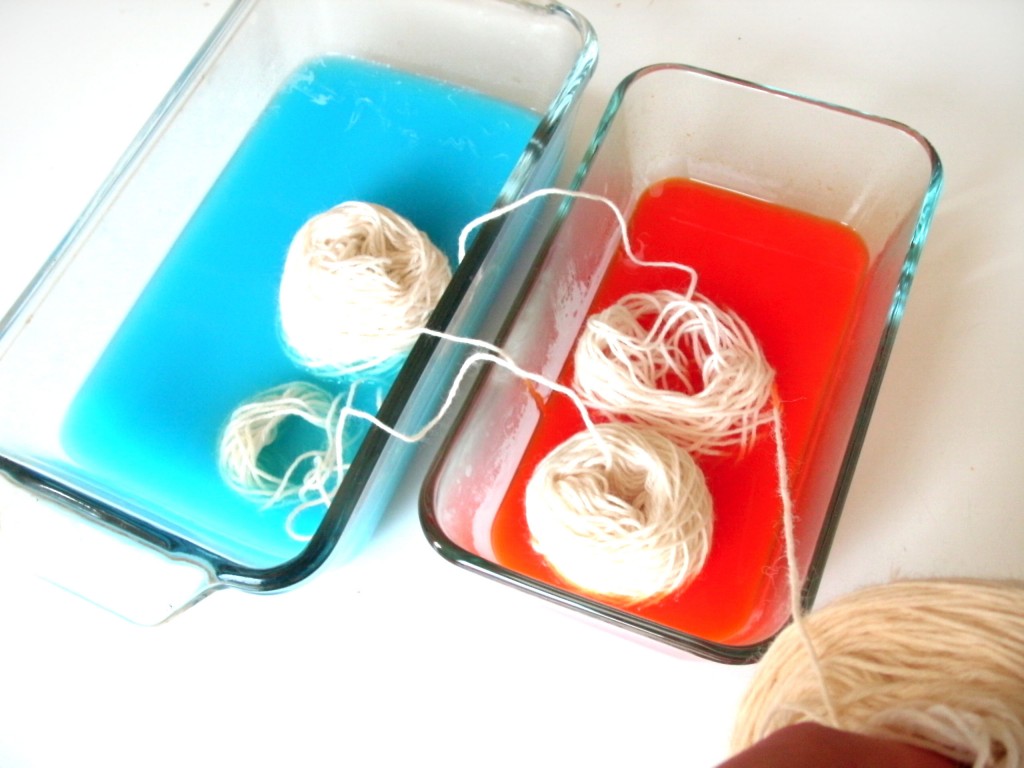
Now, pull out the next little bit and put in your 2nd color of yarn:

Continue doing this with each subsequent section of yarn.

And keep going…

Things to keep in mind:

  • It sounds obvious, but the order that you put your yarn in colors is the order they’ll be in the yarn! I’m using 2 colors and want alternating stripes, so I’m putting a ball in blue, then orange, then blue…
  • If you want do use more colors (like the shawl I showed at the start), then plop one ball of yarn in your first color, the next in your second color, then your third…
  • The length of the stripes you want depends on what you’re knitting. If you’re making socks, then the color repeat doesn’t need to be as long as it does to get stripes on a shawl.
  • It’s very important to not get your yarn tangled. Be careful, be neat… and just don’t get it in a knot!

Okay folks… we’re only halfway through. I’ll give you a sneak peak of the end result:

Come back tomorrow, and I’ll show you how to finish up! Update – here’s the link to Part 2. 🙂

Best,
Stacey
How to dye multi-color skeins with Kool-Aid

I’m loving all the fun techniques you can do with Kool-Aid… are you having a blast?

Today, I’m going to tell you about how to dye those multi-color skeins you so often see from Indie Dyers! It’s a great chance to play around with color!
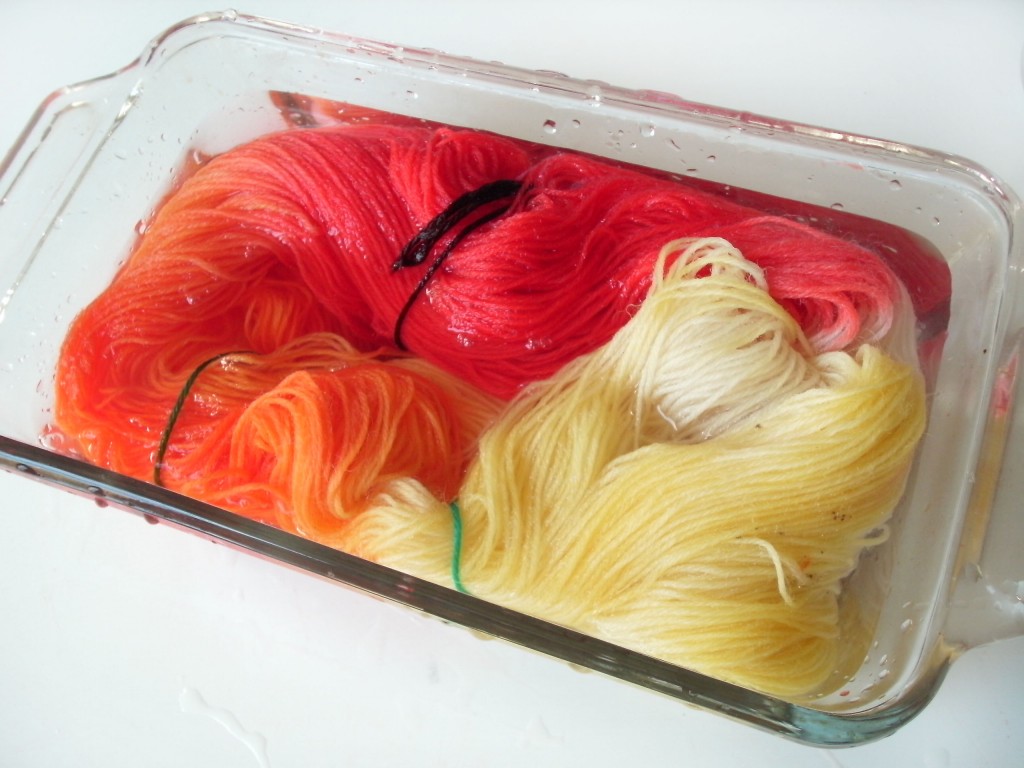
I’ve dyed my skein red, orange and yellow (and left a little bit white!). I’ll show you how to do it, plus show you how to calculate the length of the color repeats that you’ll get in your final yarn.

Materials

You’ll need:

  • yarn made from natural animal-fibers (undyed is best), in a skein
  • a few packets of Kool-Aid in any colors you want! (see this post about testing colors)
  • a glass bowl or dish for each different color you’re using
  • boiling water

The Process

Step 1: Prepare your color

Remember how I told you last time that you had two choices for setting your color? You could either use boiling water, or regular water and then microwave the yarn. Since this technique requires dunking sections of yarn in different posts of color, I’m going to recommend the boiling water technique. It makes life easier… and we all want that, right?

To prepare, mix your Kool-Aid packets in boiling water… one color in each dish.

Step 2: Dye your first section

In this technique, you’re starting with a skein of yarn (you know, that big yarn loop?):

Chances are, if you’re purchasing undyed yarn, it’ll come this way. If not, it’s no big deal. Just wind it around a box and make your own!

To dye your first section, dunk a part of the skein in your first color:

You can dye as much or as little of a section of the skein as you want, but keep in mind that the more colors you want to use, the smaller each section will have to be.

Step 3: Keep going!

Now, dip an undyed section of your skein in your next color:

In my yarn, I try to keep the dyed sections from overlapping- which will result in a nice, crisp color changes!

Keep doing this for as many colors as you want to use!

Step 4: Rinse and let dry

Hooray, you’re done!


Determining Color-repeat Lengths

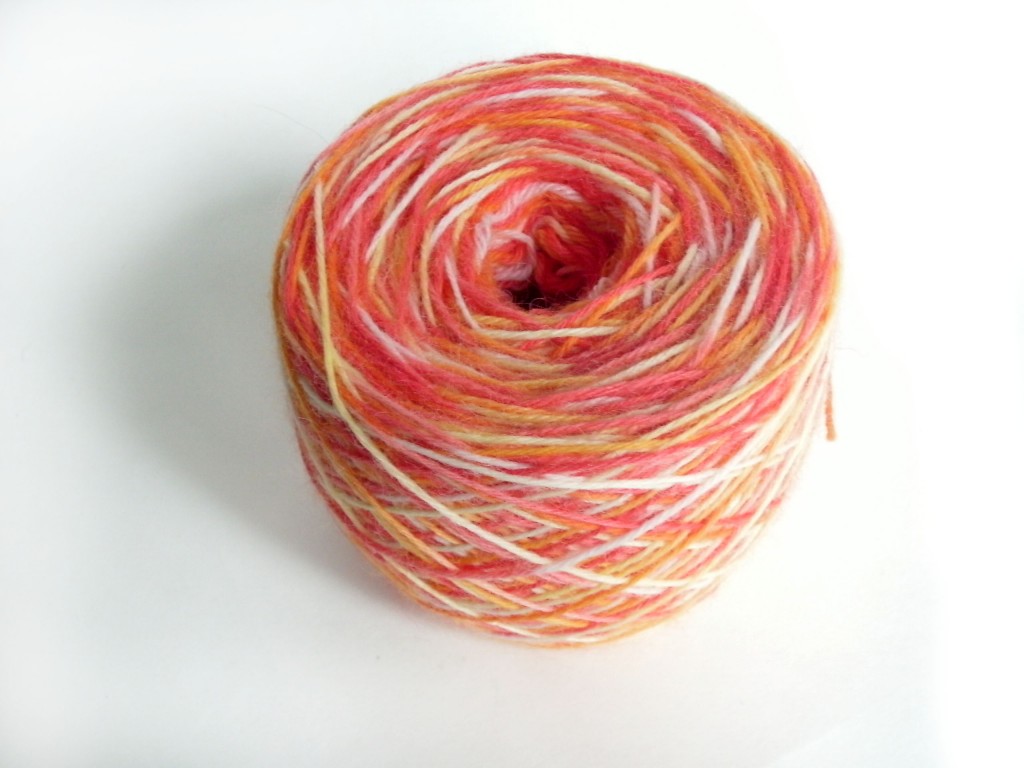
This technique is great for getting lots of colors, but it doesn’t result in very long lengths of color. You can tell this when I wind my yarn into a ball:

So, how do you tell how long each color repeat is going to be? By measuring your skein!

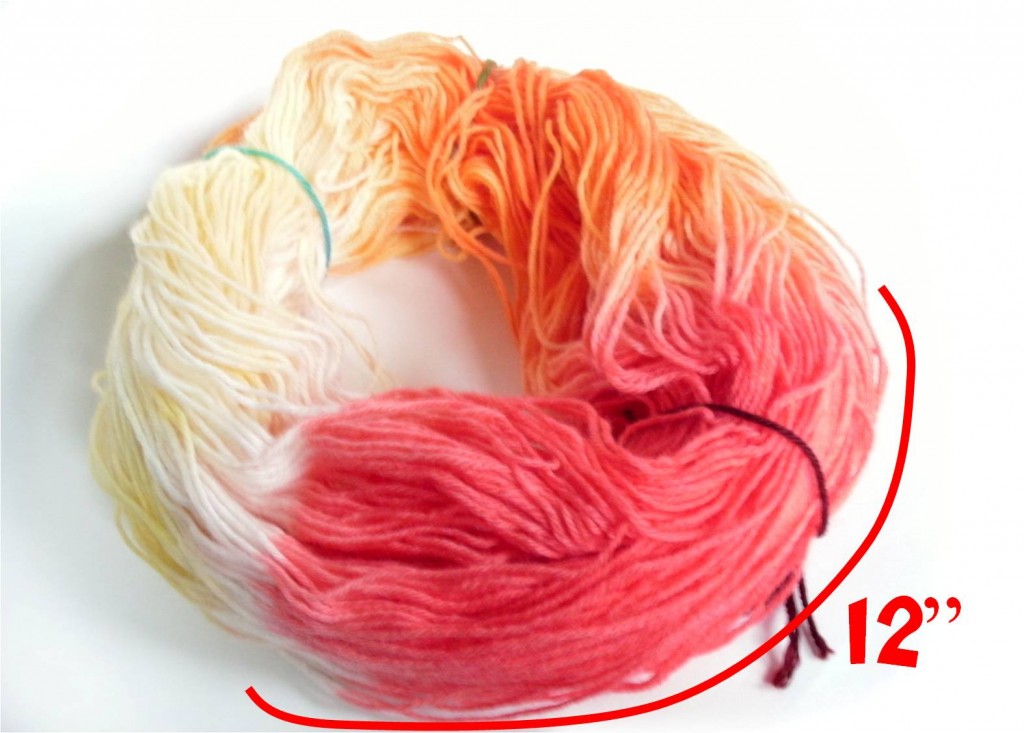
Here, I’ve laid out my (dyed) skein, and set a ruler to the length of red:

My length of red is 12″ long.

I know from experience that when I single crochet, I use 1.8″ per stitch. This means that using this yarn, I’ll crochet about 6 stitches before the yarn turns to a new color.

This is helpful info to know when planning a project! It means that using this technique, you won’t get stripes, but small puddles of color. (Tune in tomorrow, where I’ll show you how to get stripes!)

You can alter the length of your color repeats either by dyeing larger/smaller sections of your skein, or by winding your skein into a larger/smaller loop. The possibilities are endless, so give them a try!

Best,
Stacey