Our Kepler the Lion CAL is well underway! The pattern is available for sale here.
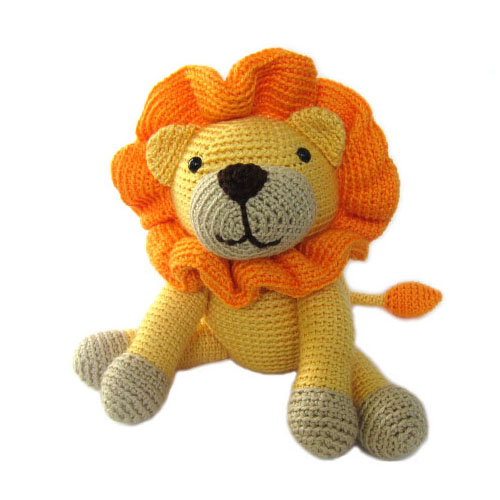
The trickiest part about this pattern is the mane. And although the pattern has step-by-step photos, I thought you might enjoy a little video that demonstrates the hardest part: planning and doing the first round of single crochets for the mane.
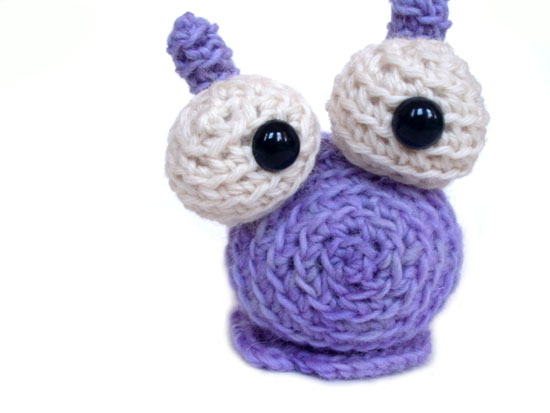
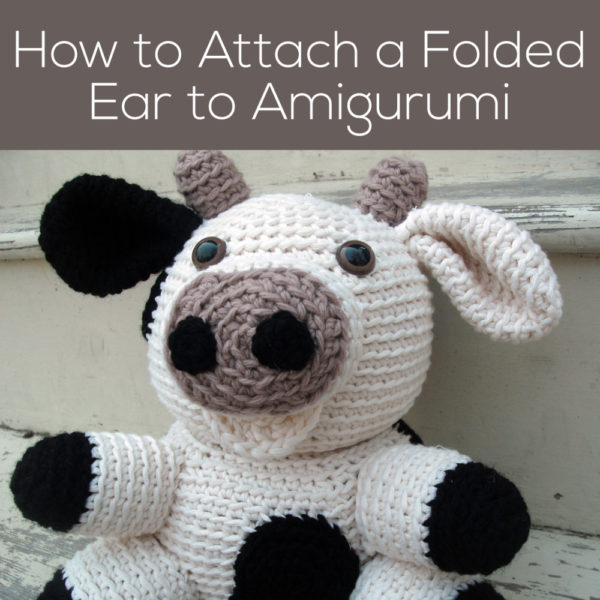
(Tip – you can use this skill in lots of different ways – like attaching a skirt to a doll, a foot to a slug, petals to a flower, and more.)
For this technique, I begin by attaching with a single crochet (read more about how to do that, here!) Why? This is an easy way to join a new yarn, and because you’re doing a single crochet, you’ve actually started the work! No need to get confused by a slip stitch or extra knots.
Don’t forget to share how your lion is coming along!

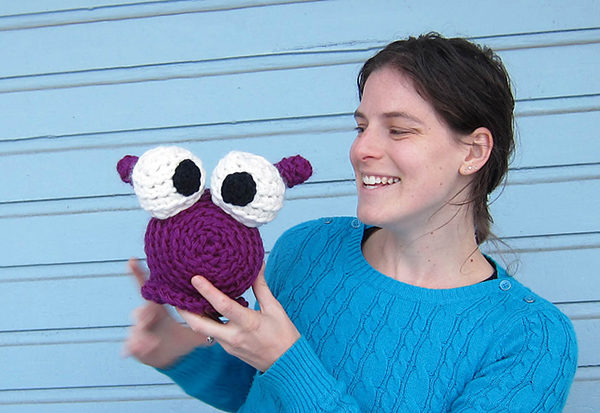
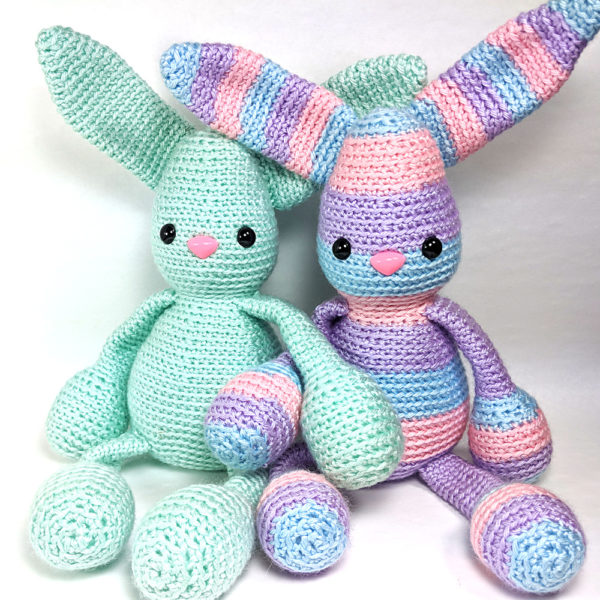
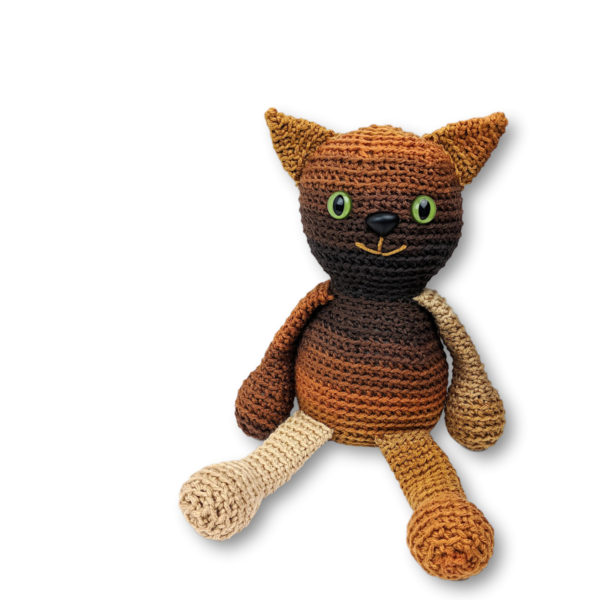
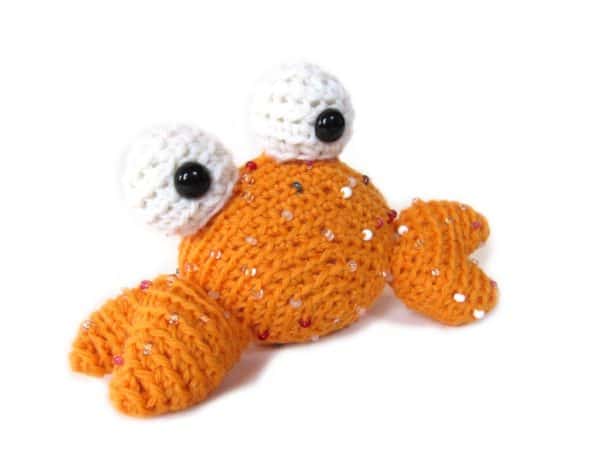
Here are handy links to all the posts about crocheting more advanced shapes. . .
- How to Work the Bottom Side of a Foundation Chain
- How to Crochet an Oval
- How to Stitch One Row Below
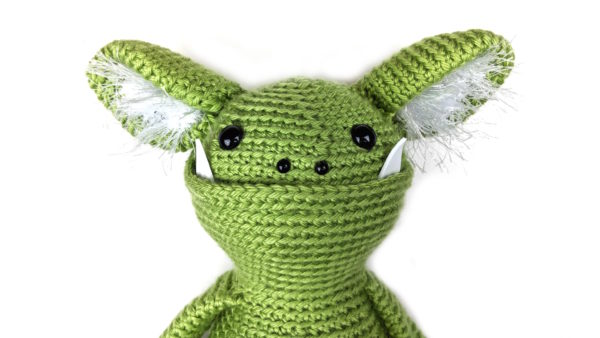
- How to Crochet an Underbite
- How to Crochet Scallops
- How to Crochet a Pocket Mouth
- How to Crochet Two Rounds Together that Are Separated by a Foundation Chain
- How to Add a Ruffle to Amigurumi
- How to Crochet a Donut Shape
- How to Crochet the Mane on a Lion
Return to the main table of contents for Let’s Learn to Crochet Amigurumi.
Move on to the posts about troubleshooting common problems.
Happy stitching!