


When you crochet amigurumi, there are a couple of ways to attach arms and legs (and other parts).
Sometimes you attach amigurumi limbs after you’ve made and stuffed all the parts using whipstitch and a tapestry needle. (There’s a tutorial here showing that method.)
This is necessary if the attachment runs across several rows of stitching, but if the attachment is running WITH a row of stitching, you can attach limbs while you crochet the body – all in one nifty step! You’ll see this described in patterns as sc-attach, or single crochet attach.
You can attach arms and legs with crochet if:
- The body is crocheted bottom-up (that is, starting at the bottom and ending at the top)
- The arm or leg will be attached flat
For folks who don’t like sewing, the main advantage to crocheting on the limbs is, well, you’re attaching the piece by crocheting. No need to pull out your tapestry needle!
The attachment is also quite secure, since it’s built into the fabric of the softie. And it looks really nice!
There are disadvantages, though.
The main disadvantage is that it takes a little planning, since any parts need to be finished in order to attach them. Another potential drawback is that if you don’t like your positioning, you’ll have to rip out rows of crochet to fix it.
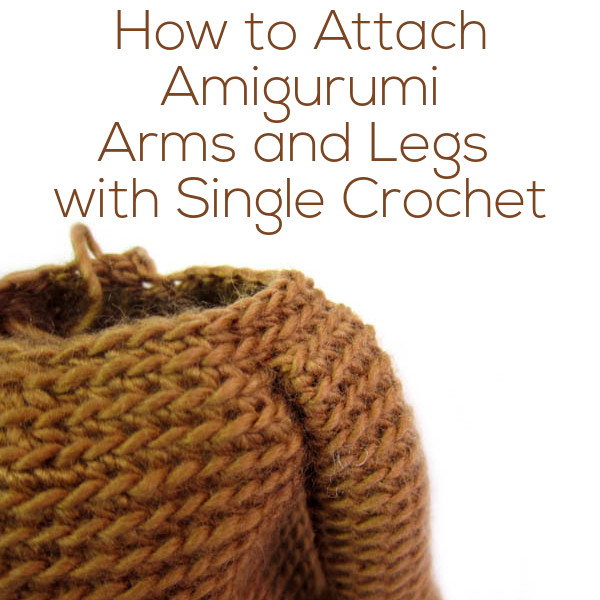
How to Attach Arms and Legs with Single Crochet
To start, work to where the arm needs to be attached (as indicated by your pattern). Now, flatten the arm, and stick your crochet hook through both layers of the arm.
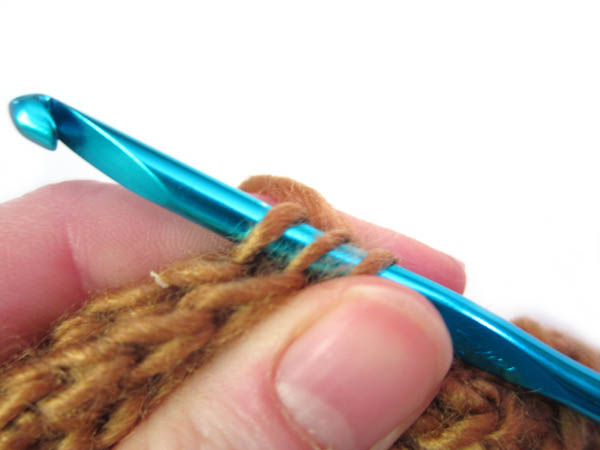
Notice that you have 3 loops on the hook: the starting loop, then the two from the arm (one from each layer). Now, insert your hook into the next stitch on the body:
I know… it’s a lot of loops!
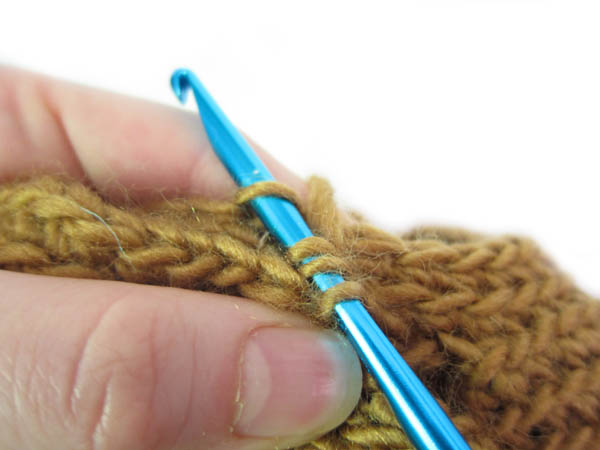
Now, to do your single crochet, treat the three newest loops as if they’re one. So, wrap your yarn around the hook, and pull through 3 loops. Now, wrap the yarn around the hook again, and pull through the remaining two!
That’s one stitch! Continue (as instructed in the pattern) until the entire arm is attached.
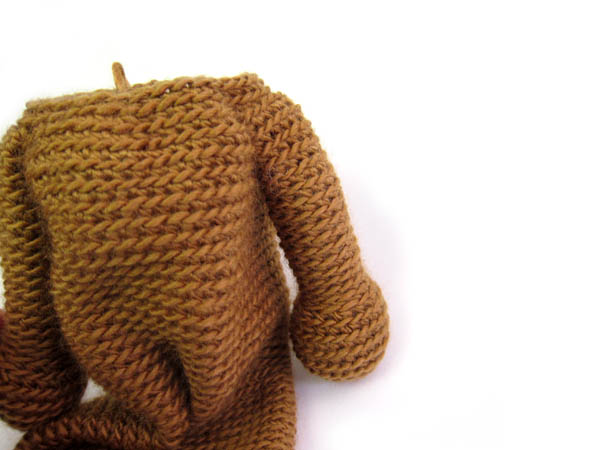
See? Look how neat that looks!
Here’s a video to give you an additional view of the process if you like.
See how easy that is? Go forth and attach all your arms and legs with single crochet!

Here are handy links to all the posts about attaching parts. . .
- How to Attach Limbs to Amigurumi
- How to Attach Amigurumi Arms and Legs with Single Crochet
- Tips for Attaching Amigurumi Features
- Which Loop Do You Use When Attaching Pieces?
- How to Attach Nicely Rounded Amigurumi Pieces
- How to Give Your Amigurumi a Shapely Neck
- How to Attach a Flattened Piece to Amigurumi
- How to Attach a Folded Ear to Amigurumi
- How to Attach a Folded Ear to Two Rounds
- How to Attach Flat Spots Using Running Stitch
- How to Attach with Single Crochet
- Tips for Attaching a Dress to Your Doll
Return to the main table of contents for Let’s Learn to Crochet Amigurumi.
Move on to the lessons about faces and details.
Happy stitching!

Oh, this is wonderful! I will try this on the next stuffed toy I make and am sure it will be a much better way to attach arms and legs, and so much more accurate in placement.
Thank you. So glad I ran across your article.