


Quilt layouts can be very simple – or very complex.
When I design a quilt pattern I always make up a sample – usually a simple grid.
But if you think of my quilt patterns as patterns for collections of blocks that you can put together any way you like – it opens up all kinds of other possibilities!
In this video I show a few different quilt layouts you can use for almost any of my patterns. It’s a long video because I’m talking you through the whole process, but you can scroll past the video to see lots of photo examples with shorter descriptions.
For each layout style, you’ll find a downloadable PDF with fabric requirements, cutting instructions, assembly diagrams and more for six different sizes in this post – Quilt Sizes and Supplied Needed (I Did All the Math).
This is a long post with lots of photos. Don’t want to scroll through the whole thing? Use these links to jump right to info and examples of each layout style. . .
- Simple Grid
- Checkerboard Grid
- Grid with Sashing
- Stripes with Sashing
- Wide Stripes
- Wonky Faux Sashing
- Polaroid Blocks
- Alternate Grid with Double Blocks
- Alternate Grid with Half Blocks
- Non-Quilt Projects
Simple Grid
Most of my quilt patterns default to this, and you can simplify the ones that don’t by just leaving out any half or double size blocks. Here’s an example using the Wild Flowers quilt pattern.

This kind of grid is the easiest to sew up. Just sew together all the blocks in each row, then sew all the rows together. Easy peasy.
You can fancy up the quilt design a little bit by adding in some blocks from other patterns (almost all my patterns are designed for 10-inch squares so it’s easy to mix and match) or – if it’s a quilt with faces – by adding some Fancy Doodads accessories.
Here’s a Bunches of Bears quilt made by Brenda where she did both. She added in this Koala block, and several of the accessories from the Fancy Doodads pattern.

This is a great way for you to add some of your own creativity, but still have a quilt that’s really easy to assemble.
What if you’re in a hurry?
Checkerboard Grid
You can make a quilt where you only applique half the blocks. The other blocks are just quilted. Here’s a great example of that with an Arctic Chill quilt made by Lisa.

And here’s an example of the Woodland Critters quilt assembled with alternating plain blocks.

Grid with Sashing
Maybe you want to add sashing to your quilt!
That’s really easy to do – it’s still a simple grid assembly. The hardest part is the math to figure out how the sashing changes the number of blocks needed and how much fabric you need to buy – and I’ve done all that for you in this post.
Here’s a fairy traditional grid and border layout. I used the Noisy Farm pattern but left out all the half blocks, and added sashing.

This post has all the info you need to add sashing to a Quilt As You Go quilt.
Stripes with Sashing
You can also just add sashing between rows or columns instead of sashing around each block. I built that design into the Dinosaurs pattern.

But you can do that with any pattern!
Your stripes can go tall too, instead of wide. Here’s the morning glory block from the Wild Flowers pattern repeated in tall stripes with sashing between them.

Wide Stripes
Of course, you can set your quilt in long stripes without adding sashing – and you don’t have to have that stripe filled up with applique either. Look at the fun striped quilt Linda made with the Mix & Match Monsters pattern!

Wonky Faux Sashing
You can also add wonky faux sashing to any quilt.
All the blocks are off-kilter and irregular so it looks like it would be really hard to assemble, but actually it’s still just a simple grid. Here’s an example made by Kathleen of a bunch of individual block patterns (plus a couple of chickens of her own design), set with wonky sashing.

This post tells you how to add that wonky faux sashing to any pattern.
Bonus! See how the tree frog’s toes hang outside of his block?
You can make any applique bust out of its block using this tutorial.
Here are a few more fun examples.

Polaroid Blocks
One more fun setting that looks complicated but is actually still a simple grid assembly. . .
A Polaroid quilt!

There’s a tutorial showing how to do that here.
Now, on to the most complicated thing you can do to vary the setting of your quilt (which still isn’t really hard to do). You can break up that simple grid.
You can do that in two ways.
Alternate Grid with Double Blocks
The first way is designed into some of my patterns – using double-size blocks. You can see that in the Sea Creatures pattern.

Alternate Grid with Half Blocks
Double-size blocks are pretty hard to do if the pattern doesn’t already include those sizes. But it’s REALLY EASY (and even more effective) to add some half-size blocks to any pattern.
Half-blocks are included in the Woodland Critters pattern.

The Beep Beep pattern too.

Word blocks like these are one of my favorite ways to add half blocks to a quilt pattern that doesn’t include them. There’s a free ABC applique pattern here that you can use to add sounds, names, birth dates, and more. Here’s a version of the Bunches of Bears pattern where I added words.

And here’s a Wild Flowers quilt with a quote added.

The hardest part about working with this broken grid is sewing the squares together, and the final quilting.
This post has a video showing how to quilt a quilt with an alternate grid, since you don’t have continuous lines crossing the entire quilt.
Add lots of meow blocks to a the Cuddly Cats quilt, add the names of your children to the Mix & Match Monsters quilt, and more. Have fun and play around with your layouts!
Not Quilts
Of course, you can also use your block patterns to make things that aren’t quilts.
Here are several free patterns that work with my basic 10-inch applique squares – no resizing needed!
- Make a Wall Hanging with a Wonky Churn Dash Frame
- Trick or Treat Bag (medium tote bag)
- Quilted Tablet Cover
- How to Turn Any Quilt Block into a Pillow
- Fast and Easy Placemats
- Fancy Felt Frame
- Receiving Blanket
Here are several free patterns that work with just some simple resizing. This post about making coasters has info about resizing an applique pattern that can be applied to any of these projects.
- Free Bib Pattern
- Simple Christmas Stocking
- Mini Bunny Tote Bag
- Turn Any Quilt Block Patterns into Cute Coasters
- Cozy Bear Coasters
- The Big Bag (applique on the pocket)
- Cloth Book for Babies
Return to the main Let’s Make a Quilt Table of Contents.
The suggestions here are really just the tip of the iceberg. If you do a unique quilt layout I’d love to see it! Share a photo in the Shiny Happy People group. 🙂

Find links to all the posts about pattern size and layouts here.
Quilt Sizes and Supplies Needed
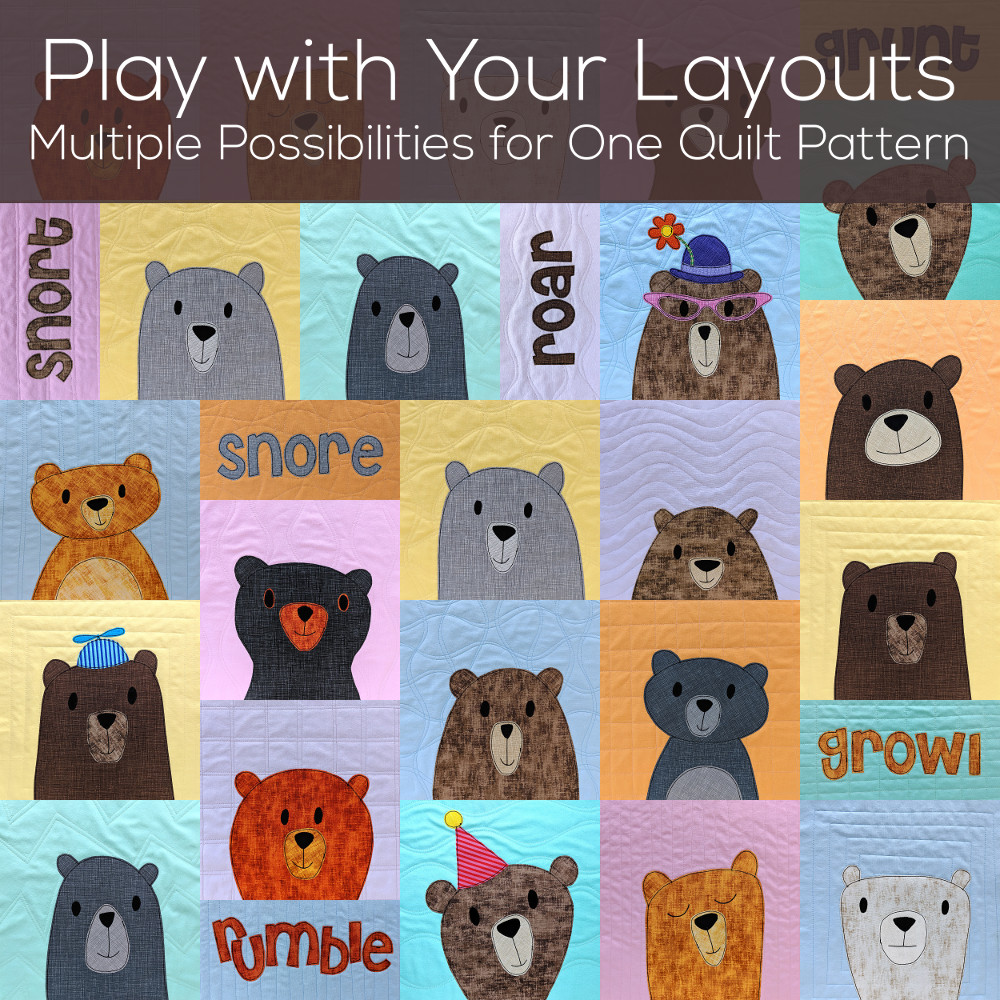
Play with Your Layouts – Multiple Possibilities for One Quilt Pattern
Sashing
- How to Add Sashing to a Quilt
- How to Add Sashing to a Quilt Pattern
- How to Add Sashing to a Quilt As You Go Quilt
- How to Pin Long Seams
- How to Make Wonky Faux Sashing with Quilt As You Go Blocks
How to Make Applique Bust Out of Its Frame
Alternate or Broken Grid layouts (adding half and double blocks)
- How to Make a Quilt with an Alternate Grid
- Quilt Block Sizes for Alternate Grid Layouts
- How to Assemble a Quilt that Uses an Alternate Grid
- How to Quilt a Broken Grid
How to Make an Applique Rag Quilt
How to Make a Wonky Churn Dash Frame for Any Block
Finished with this topic?
Return to the Let’s Make a Quilt main Table of Contents.
Move on to the lessons about choosing your fabric.
Happy stitching!


This is fabulous! I love your Bunches of Bears pattern, and how great to look at different options for layouts. I’ve put a link in my newsletter that goes out tomorrow.
Thanks so much!
Pingback: How to Make a Quilt - Shiny Happy World
Pingback: Quilt Sizes and Supplies Needed - Shiny Happy World
I’m trying to get the letters & numbers pattern, I already shave the seagulls and wild flowers pattern. HOW can I get alphabet?
The letters and numbers are both free patterns. Click on the Free Patterns link in the light purple navigation bar at the top of every page and you’ll find them there. 🙂