How to use a ball winder

How to Use a Ball Winder - a video from FreshStitches and Shiny Happy World

This post contains affiliate links. That means I make a little commission if you buy something after clicking through. All affiliate links are marked with an *.

Today, I’ve put together a little video to show you how to use a ball winder.

What is a ball winder?

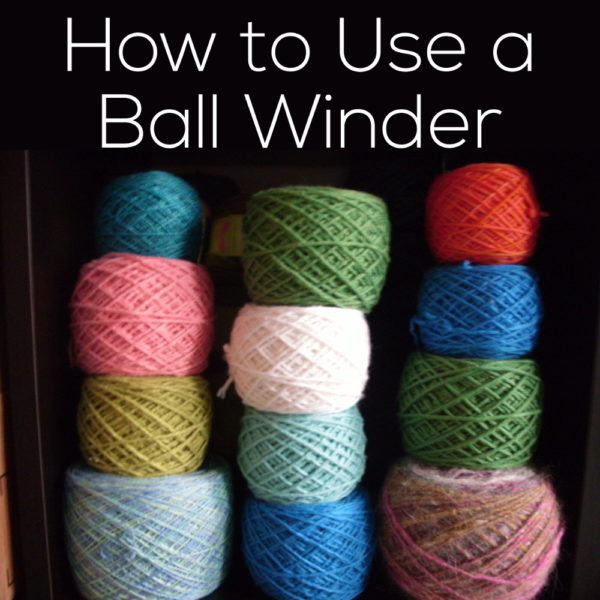
A ball winder* is a handy device that allows you to make neat center-pull yarn balls (also called ‘cakes’). They’re a great alternative to hand-winding yarn, and contrary to popular belief, aren’t terribly expensive.

About the Lacis Ball Winder

Specifically, I’m going to show you how to use the ball winder that I own, the Lacis Wool Yarn Ball Winder*. Why this one?

In my opinion, this is the best ball winder for the at-home crafter: it’s inexpensive and very reliable. You can read my full review about the winder, by clicking here.

However, I’ve read some not-so nice things about this winder in online reviews: saying that it doesn’t work properly. Unless the reviewer received a defective model, I think the problems experienced come from improper installation/usage of the ball winder.

So, I’m going to show you how to install, tension and use the winder… and you’ll be a happy camper!

The Video

To view the window in full-screen mode (which is probably easier to see), click the icon in the lower right corner of the insert.

With proper installation and usage, I think you’ll find that your winder works like a dream!

Here are handy links to all the posts about yarn. . .

Return to the main table of contents for Let’s Learn to Crochet Amigurumi.

Move on to the lessons for the basic crochet stitches.

Happy stitching!

A Yarn Lover’s Guide to Sydney, Australia

Looking for yarn shops in Sydney, Australia? Then this guide is for you!

I’ve spent a fair bit of time in Sydney, and it’s a beautiful and walkable city. I’ve picked four areas of town that are fabulous for walking around and sightseeing – and they also have some of the best yarn shops in Sydney! In this guide, I’ve included yarn stores, craft stores/markets and shops where you’ll find yarn and exclusively Australian wool products.

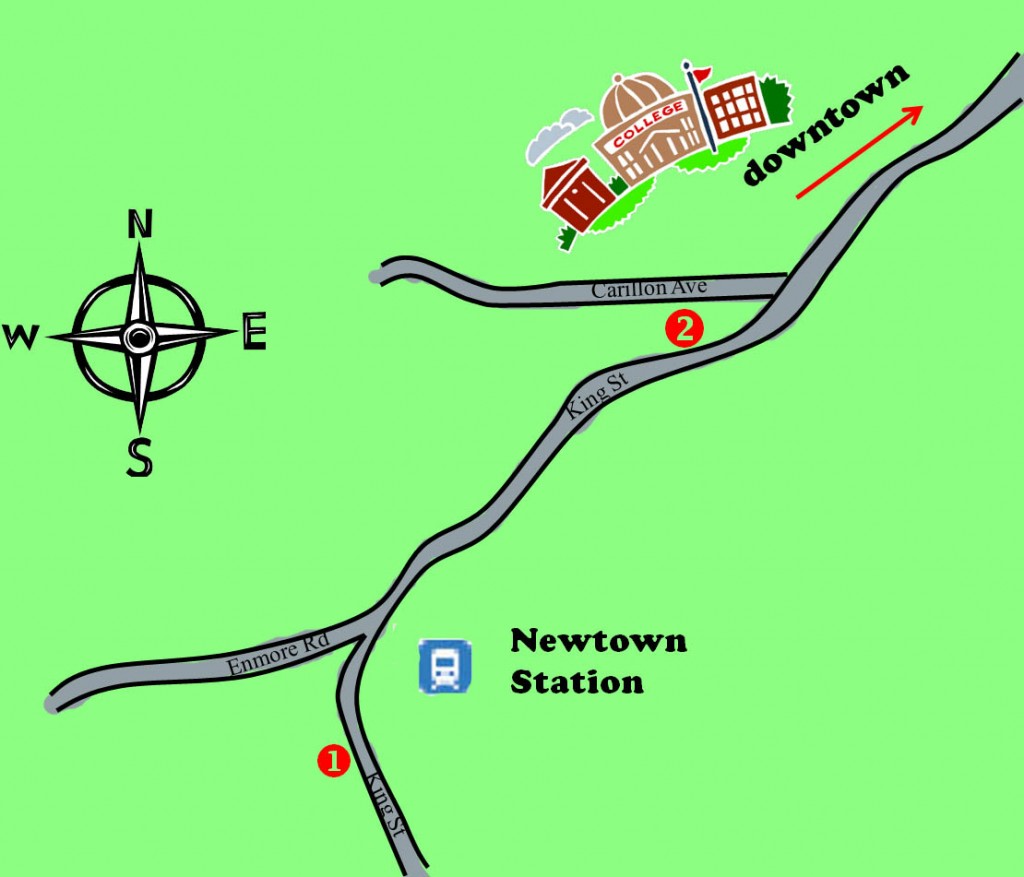
I’ve sketched some maps… but you’ll want a ‘real’ map as well, since mine aren’t terribly detailed.

Ready? Let’s get started!

The CBD

The CBD (Central Business District) is what Aussies call their ‘downtown’. On any trip to Sydney, you’ll likely find yourself wandering through this district of beautiful buildings and shops. Subway stations are plentiful, but if you’re making a special trip, then Town Hall is probably your best bet for the yarn shops.

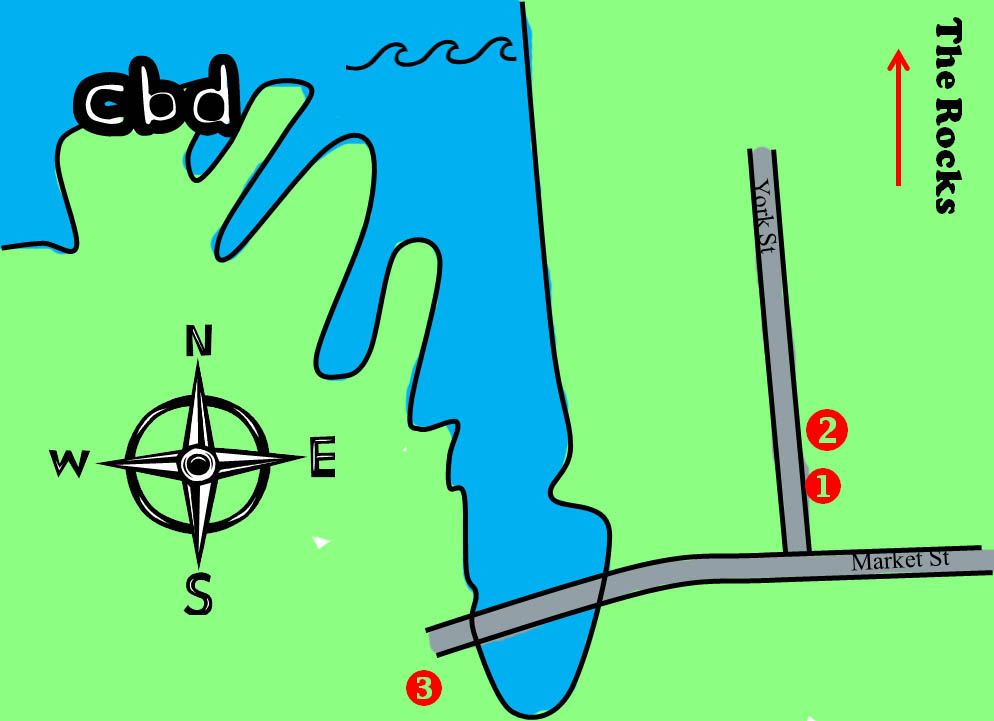
map showing yarn shops in Sydney, Australia - the CBD

1. Morris and Sons, 50 York St. Morris and Sons is a cross between an LYS (local yarn store) and a big box store. They have a couple of stores nationwide and their own brand of (reasonably priced) yarn. They also carry loads of imported fine yarns and have a table for sitting & stitching. Click here to read a full review.

2. Lincraft, 68 York St. Lincraft is comparable to a JoAnn’s or Hobby Lobby in the US: lots of craft goodies, and mediocre (but cheap) yarn. You may not find much yarn worth putting in your suitcase, but it’s amazingly good fun to look around at all the supplies. It’s stocked slightly differently than an American shop (for example, you’ll find a hat-making aisle and kangaroo scrapbooking supplies), so I doubt you’ll walk out empty-handed.

3. Darling Harbour Souvenir shops. Walk west along Market Street, and you’ll head over to Darling Harbour, which is full of souvenir shops. I wouldn’t usually recommend going to these (usually junky) shops, but this is where you’re most likely to find scarves and hats made from possum yarn. Possum yarn is unique to the Australia/New Zealand region (mostly from New Zealand, where they’re an introduced species threatening the native wildlife), and is incredibly warm and soft. It’s very difficult to find the yarn, so a lovely possum scarf might be your best bet.

Other sights. The Queen Victoria Building is the main ‘place to shop’ in the city. Wander a little further to Galleries Victoria and stop by Kinokuniya– a fabulous Japanese book store with an unbelievable selection of craft (and knitting and crocheting) books.

Walk north up George Street, and you’ll end up at our next stop…

The Rocks

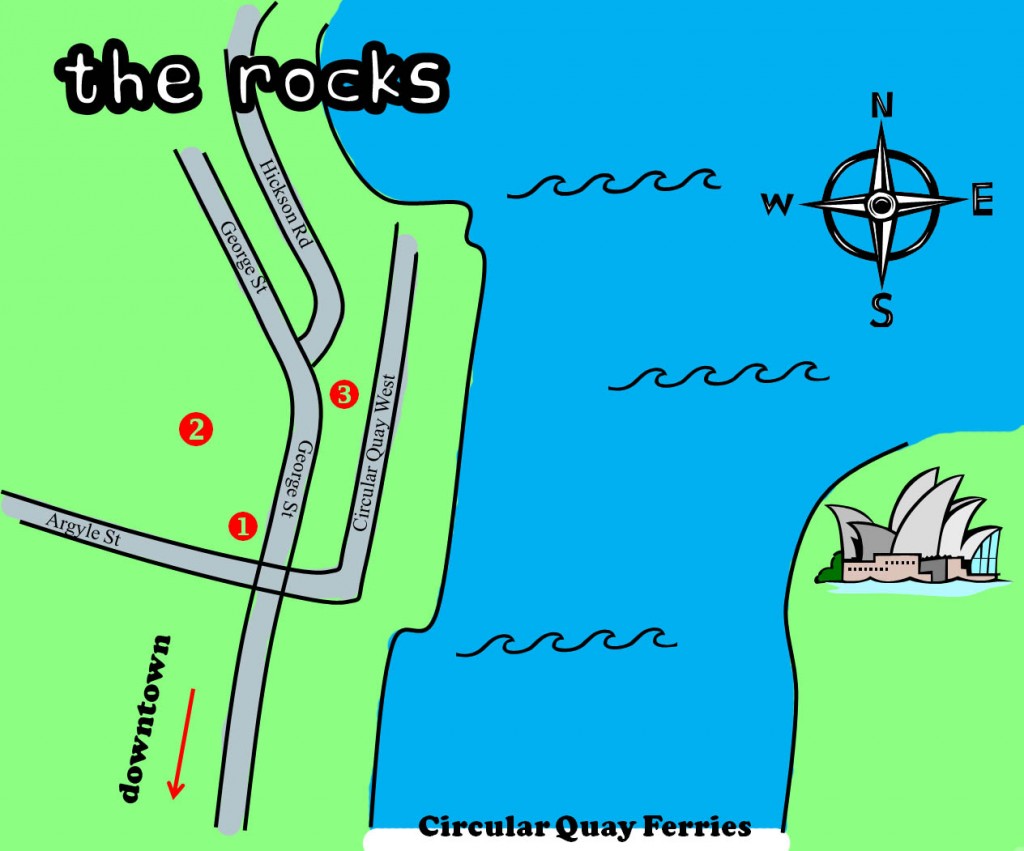
map showing yarn shops in Sydney, Australia - The Rocks neighborhood

The Rocks is sorta touristy, but sorta artsy and hip… and it’s one of my favorite districts in town.

1. The Sheep Shop Okay, you’re going to be mad at me, but I don’t actually know the name of this place! But, it’s a genuine sheepskin store, not some wacky souvenir shop. It’s on the left, and you’ll see it as you’re walking up George Street from Circular Quay (pronouced: Circular KEE). This shop occasionally stocks possum scarves and accessories (see point 3, above) and lots of wonderful sheepiness. Come here for the real thing.

2. The Rocks Market. The market is held every Saturday and Sunday, and is a great source for handmade items. I haven’t yet seen a stall full of handspun yarn, but it would fit right in.

3. Craft NSW, 104 George St. This store is a lovely place full of work made by local artisans. I can’t guarantee it will always be in stock, but I’ve spotted some great local handspun yarn for sale. Click here for a complete review of the shop.

Other sights. Hands down, The Rocks is the best place to have your photo taken with the Opera House in the background. Just walk up to the water and you’ll see what I mean (it’s where I took the photo above). This is also the home of The Museum of Contemporary Art, which is worth a visit if you have the time. On the food scene, you’ll want to check out Pancakes on the Rocks (for yummy crepes) and The Rocks Cafe and have a Kangaroo Burger (the tourist favorite) or a plain ‘ol burger with a slice of Beet (the Aussie classic).

Mosman

Mosman is sorta like the ‘well-to-do’ district: filled with lovely shops and beautiful cafes. To get to Mosman, I’d recommend the ferry from Circular Quay (even though buses do run): it’s a fantastic view of the city!

Mosman is also home to my one of my favorite yarn shops in Sydney: Mosman Needlecraft, 529 Military Road. It’s a well-stocked shop with lots of goodies – and I always like checking out the needlepoint (a rarity in the US)! Click here for a full review.

Other sights. I happened upon in.cube8r Gallery on my last trip there: it’s a great gallery filled with work from local artisans. There was even an amigurumi artist – steal my heart! It’s also worth having a walk up and down Military road, and maybe down a street to get to the water. Beautiful.

Newtown

Newtown is the district right next to Sydney University, and so has a ‘college-town’, hippie feel to it. It’s also home to Sydney’s newest yarn store – A Coffee and a Yarn, which makes it well worth the visit.

I like to walk into Newtown from the city because my in-laws live nearby (City Road turns into King St), about a 45 minute walk end-to-end. If you’d prefer, take the subway to the Newtown station, placing you right next to the yarn shop!

map showing yarn shops in Sydney, Australia - The Newtown neighborhood

1. A Coffee and a Yarn. This shop opened last year and is as much like an American LYS as I’ve seen in Australia. Classes, tables for sitting, nice yarn and even a coffee bar!

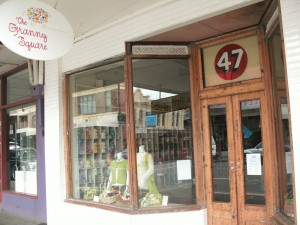
2. The Granny Square. If you’re walking in from the city, you’ll see two yarn shops on your right (one picture, The Granny Square). They weren’t open when I was passing by, but if you’re on a yarn adventure, you might want to make the stop!

Other sights. I love Newtown for its yummy Asian food… and almost every noodle shop you stop into is wonderful! It’s also the place to find some rarer cuisines, like Nepalese food.

It’s your turn!

Planning a visit? Already been? Let me know if you spy any new yarn shops Sydney! I’d love to hear how your trip went!

How to tie a knot in amigurumi

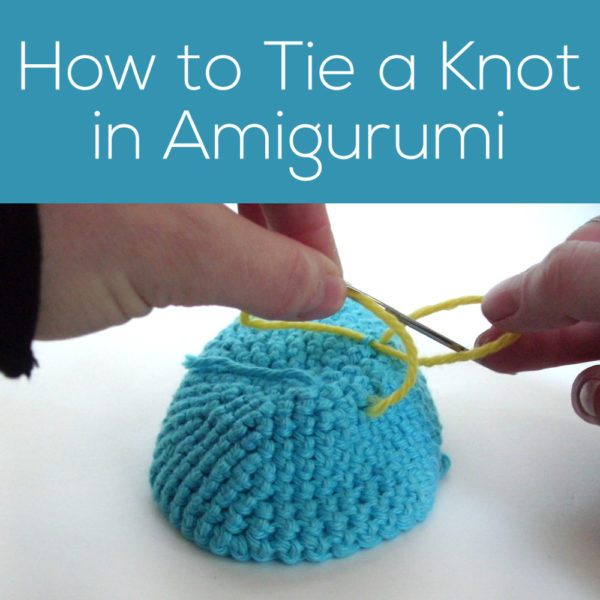
How to Tie a Knot in Amigurumi - a tutorial from Shiny Happy World and FreshStitches

It’s another Tip Tuesday! Today, I’m going to show you, step-by-step, how I tie a knot in my amigurumi to secure limbs.

My preferred method of tying knots in amigurumi is to attach the limbs to the body before the body is stuffed, so that you can tie the knot on the wrong side of the work.

How to tie a secure knot

You don’t want your animal’s arm/leg/whatever to fall off, so it’s important to tie a secure knot. Here’s how I do it:

The knot begins after you’ve already done your sewing of the limb to the body. Once you’ve done that, pull your yarn (already on a tapestry needle) to the wrong side of your work:

Insert your tapestry needle (from right to left) into a stitch of the body. I like to pick a stitch close to where the yarn has been pulled through to the wrong side, so that there isn’t extra yarn flying around:

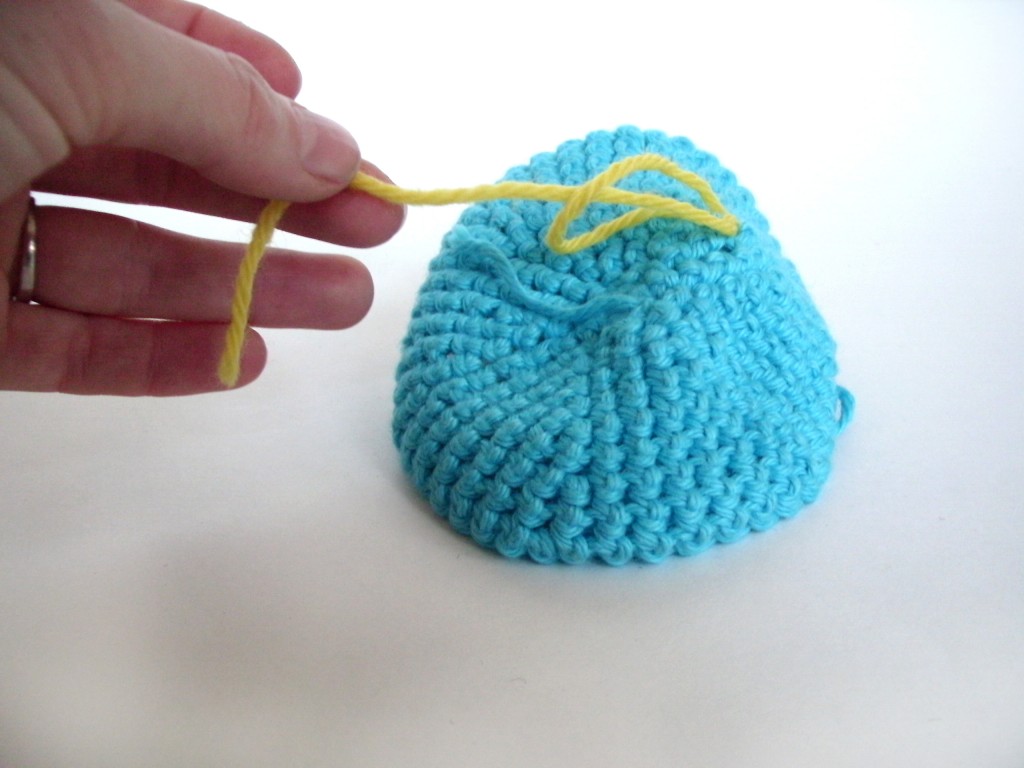
Now, pull the tapestry needle with your left hand (not all the way!), and stick your right index finger in the loop that forms on the right:

Insert your tapestry needle (from left to right) into the loop that the index finger on your right hand has been holding open:

Hold onto the tapestry needle with your right hand (taking it out of the loop it was holding), and stick your left index finger into the new loop that has formed on the left:

With your left hand, pull on the loop. This will cause the old ‘right-side’ loop to shrink:

You’re almost there! Now, insert the tapestry needle (from right to left) into the loop that your left hand is holding:

Now, you want to pull the knot snug. Pull the yarn (you can remove the tapestry needle if you’d like):

And you’re done!

It looks a little complicated at first, but once you do it a few times, it becomes second nature! And this trick results in a firm and secure knot… gotta love that!

Here are handy links to all the posts about closing up the stuffing opening and fastening off in amigurumi. . .

Return to the main table of contents for Let’s Learn to Crochet Amigurumi.

Move on to the lessons for attaching parts.

Happy stitching!

Eep! There’s a knot in my yarn! Help is here…

What to Do When You Find a Knot in Your Yarn - tips from Shiny Happy World and FreshStitches

Yippee! Another Tip Tuesday, where I share (what I hope is) a super-helpful crocheting tip. Today, I’m going to talk you through what to do when you arrive at an oh-so-pesky knot in your yarn.

Knots in yarn are a part of life. Even in commercial yarns, knots occur when the manufacturer needs to join two (very long) lengths of yarn together. Unfortunately, that knot has to go somewhere – and sometimes it’s your skein! But fear not- I’ll show you a couple ways of handling it.

Option 1: Check if the yarn is actually broken

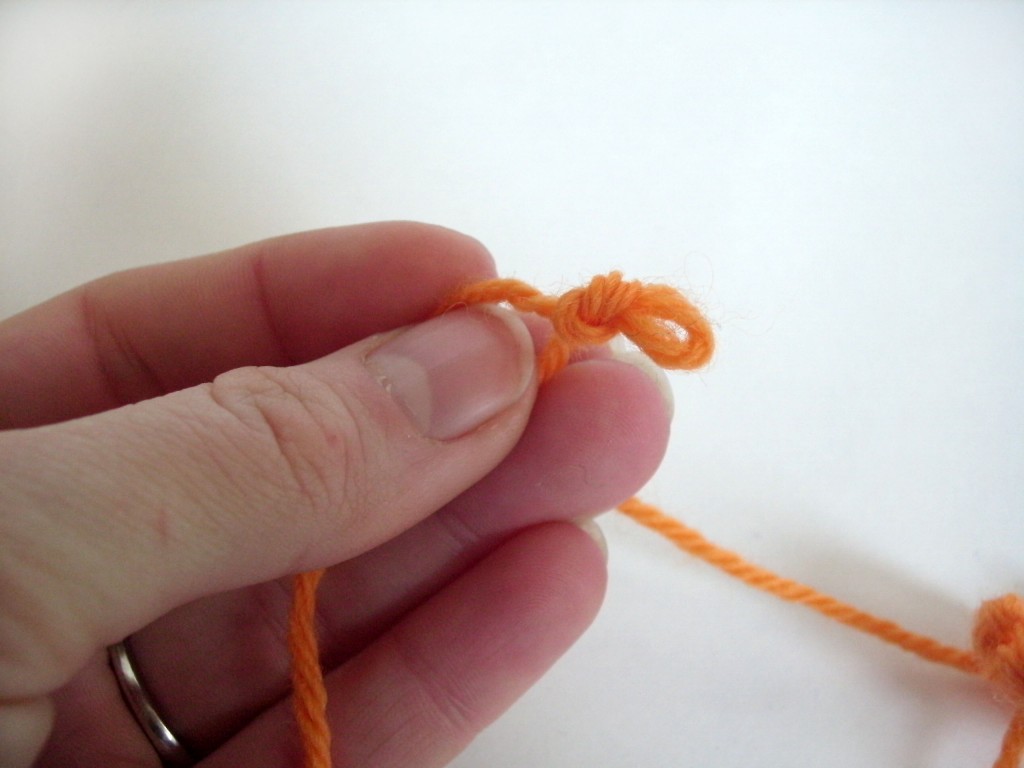
Sometimes, there’s a knot in your skein because the yarn has gotten a bit tangled.

I’m not sure if you can tell from the photo, but this knot is just a tangle- there’s no break in the yarn. Gently work to untie the knot, and you can just keep on crocheting! Like nothing ever happened!

Option 2: Continue crocheting with the knot in place

What if you’re not so lucky and there is actually a break in your yarn?

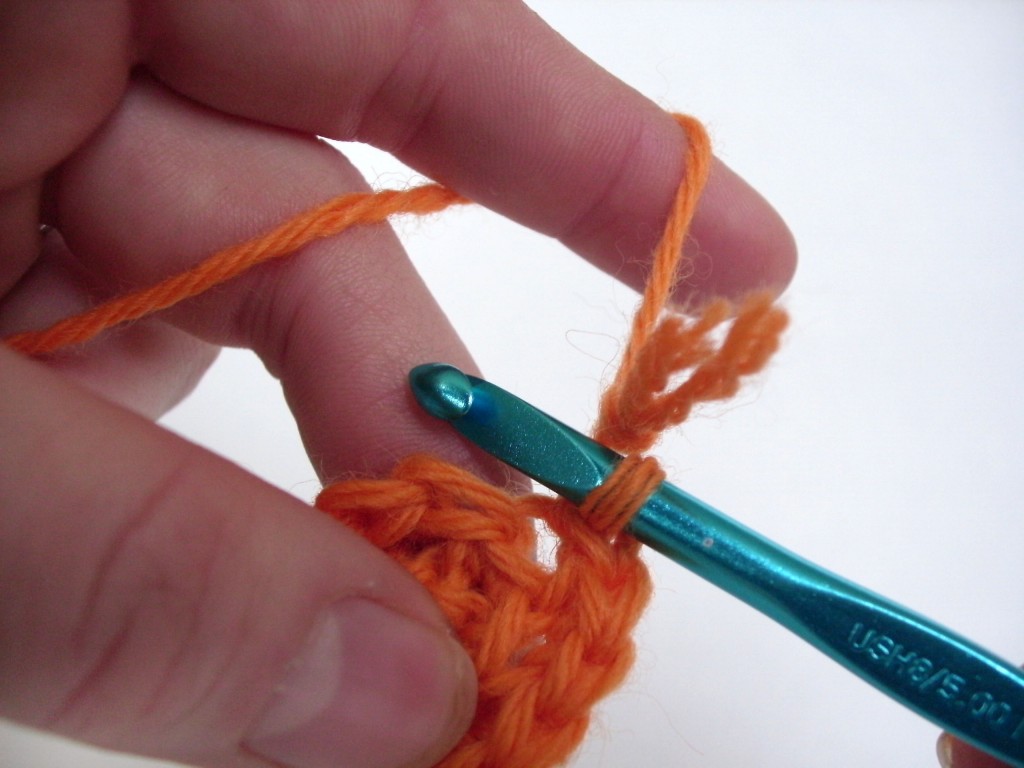
Sometimes, you can keep right on crocheting! You can see here, I’ve crocheted until I’m at the knot:

Can you tell that the knot is very close to my hook? That’s a good sign! It means that I’ll be able to crochet right over the knot, and just push the knot to the wrong side of my work.

To do this, I continue crocheting- coaxing the knot to stay on the wrong side of my work:

And the right side looks marvelous!

Crocheting over the knot only works if:

  • The knot happens to fall in the right place while crocheting. A centimeter further along, and it might end up smack in the middle of your stitch. Bleh.
  • You don’t mind having a knot in the back of your work. I make a lot of stuffed animals, so I don’t mind (the inside gets stuffed). But if you’re making a shawl, this may not be ideal.

So what if crocheting over the knot doesn’t work? Onto option 3…

Option 3: Cut the knot

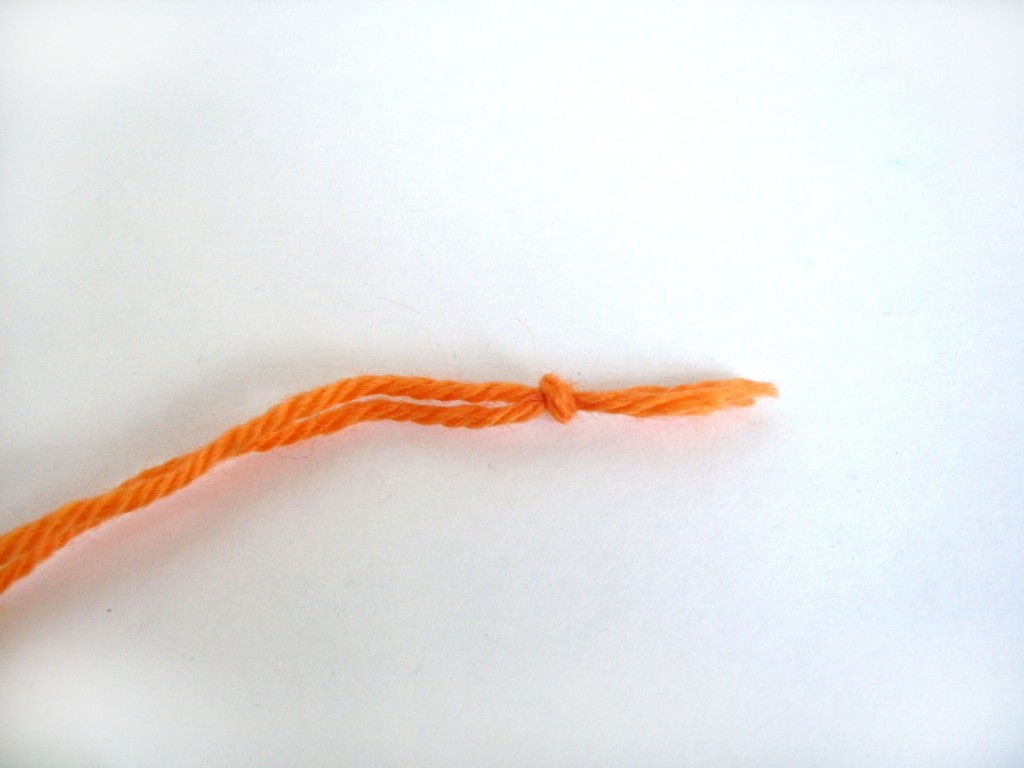
If the knot happens in a funny place (so that you can’t hide it on the back of your work) or you don’t want a knot, then you’ll need to cut the knot.

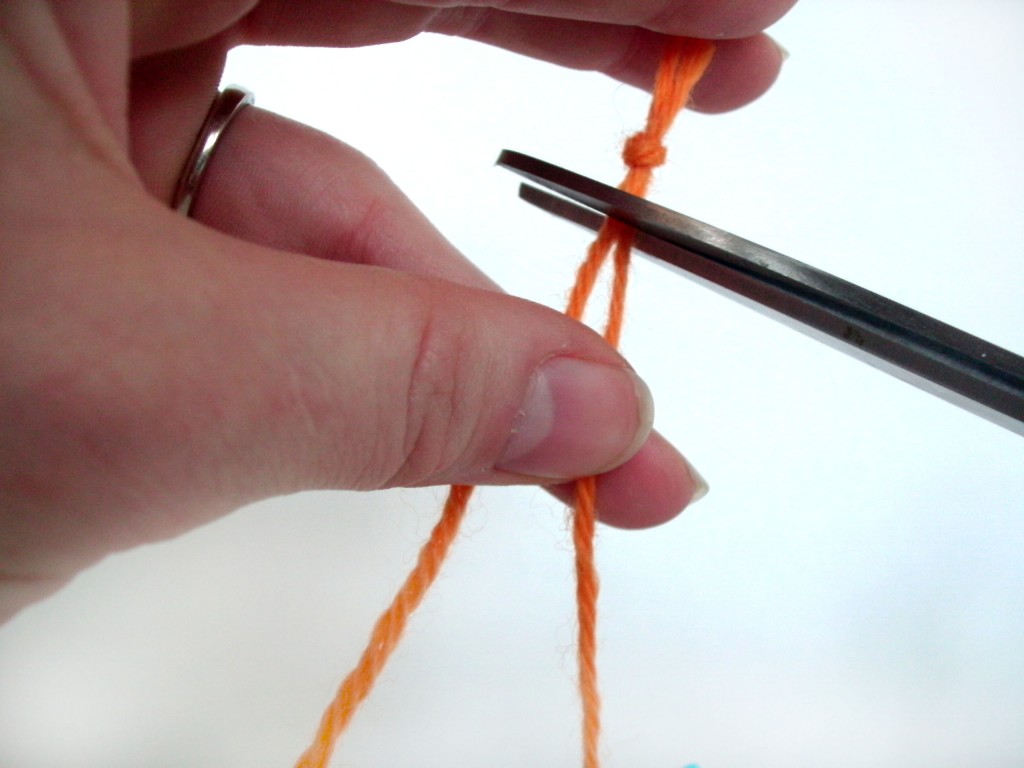
To do this, stop crocheting a few inches before you get to the knot, and cut the knot off:

Now you have no knot, but two pieces of yarn. From now on, you’re going to work as if you’re changing colors… but you’re really just changing yarns!

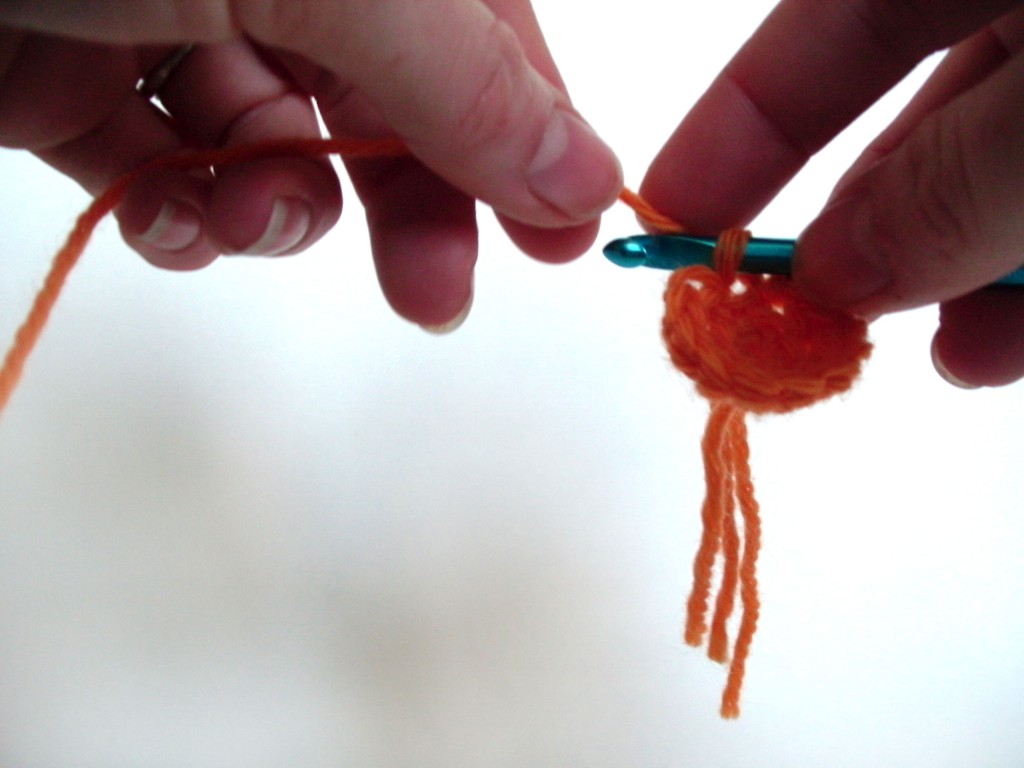
As if you’re about to change colors (check out this video on color changes if you’re unfamiliar), begin working with your new yarn:

and continue working with the new yarn.

You’ll have 2″ or so of tails (one from each piece of yarn) on the wrong side of your work… and you’ll want to handle them the way that suits your project best. For a stuffed animal, I would tie a knot:

If you’re making a shawl or another piece where you don’t want a knot, you’d want to weave the tails in to secure.

And that’s it! No matter where the knot turns up, now you know how to tackle it!

Here are handy links to all the posts about yarn. . .

Return to the main table of contents for Let’s Learn to Crochet Amigurumi.

Move on to the lessons for the basic crochet stitches.

Happy stitching!

Crocheting in Rounds: free download

Crochet in the Round - free patterns for basic shapes from Shiny Happy World

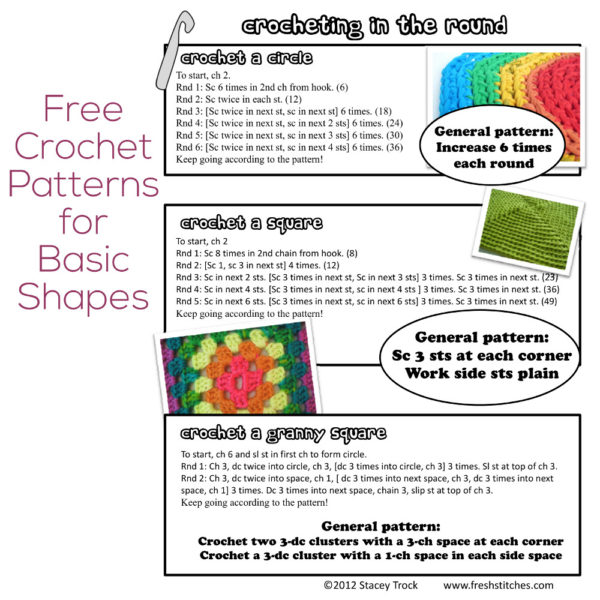
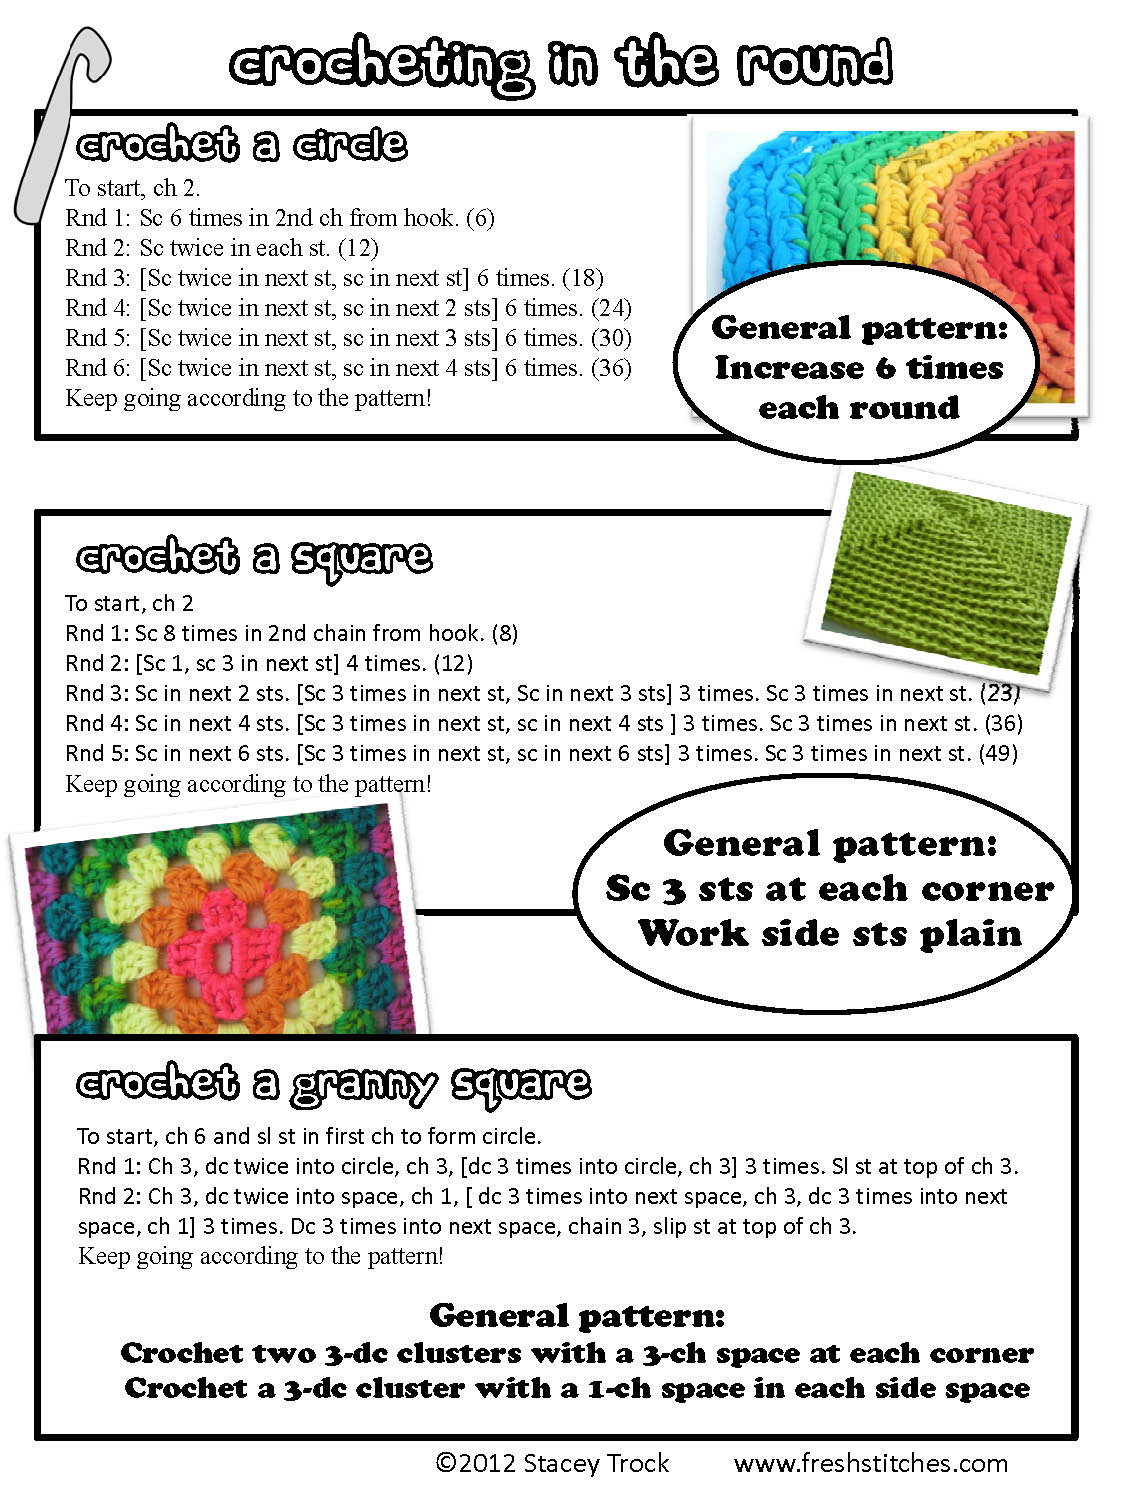
I love crocheting in the round! It’s easy to crochet circles… but also squares! I’ve put together this easy reference guide to get you started crocheting circles, squares and granny squares:

Download the pdf version of the guide by clicking here.
What can you actually do with these patterns? Lots! Here are a few ideas:

  • Crochet a hat. Make a circle, and continue increasing until the circumference of the circle is about the circumference of your head. Work plain rounds until it’s long enough to be a hat!
  • Crochet an awesome rainbow rug. Pick a super-bulky yarn (or fabric strips) in bright colors. Crochet a circle, changing colors every few rounds. Continue until it’s the size you want!
  • Crochet a washcloth. Pick a cotton yarn. Crochet a square, and keep going until it’s a handy washcloth size.
  • Make a pillow. Use either the square or granny square patterns to make 2 equal-sized squares. Stick a pillow insert between the two squares, sew up around the edges- and you have a great pillow!
  • Crochet an afghan. Work the granny square pattern until it’s the size you like for a blanket.

These are just a couple of ideas… the possibilities are endless!

How to get an even stitch and gauge in crochet

Happy Tip Tuesday! Today, I’m going to share my trick with you for getting a lovely, even gauge when you crochet.

Grab your yarn and hook, and follow along!

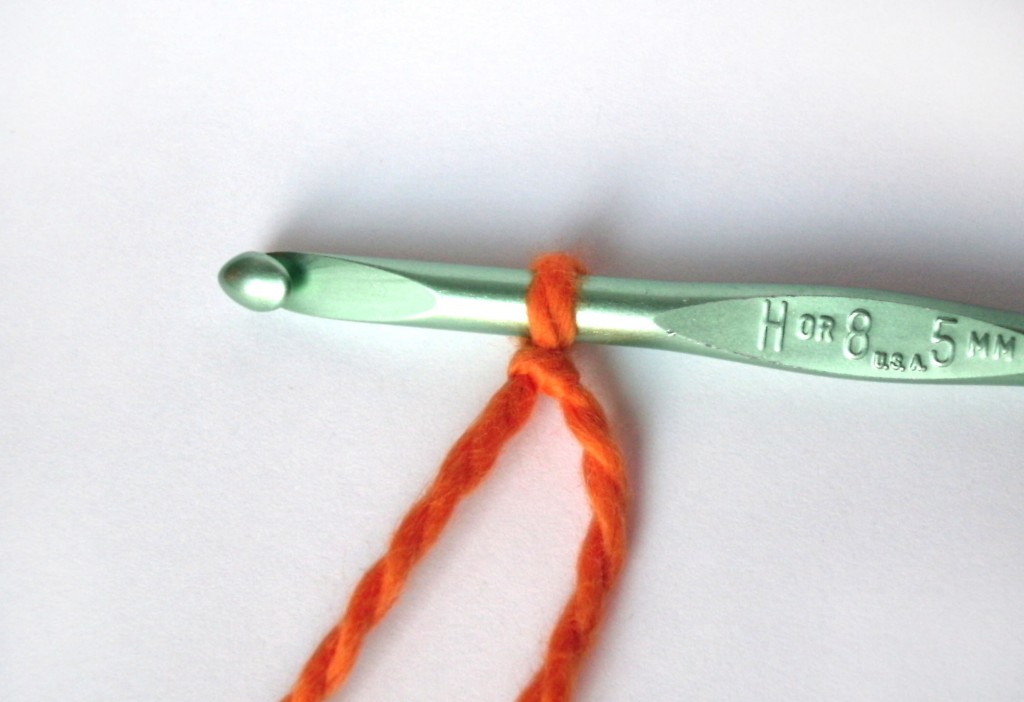
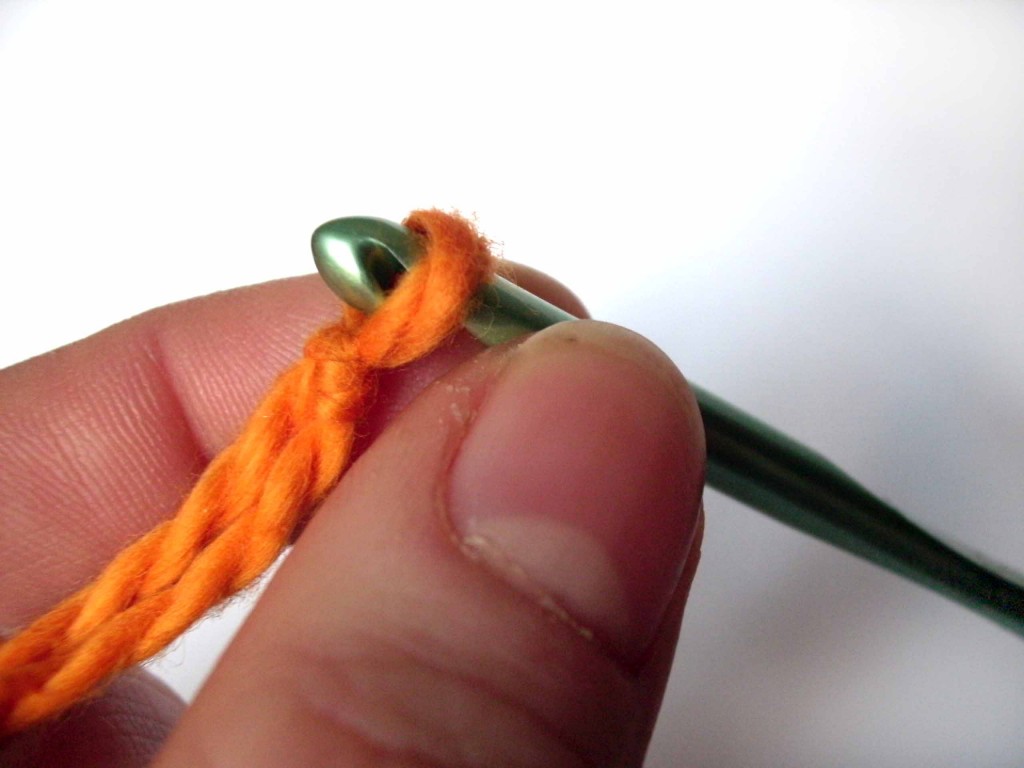
Step 1: Make sure your loop is on the shaft of the hook. This is where the hook size is measured, so it’s where you’ll want to put your yarn to get the appropriately-sized stitch.

Don’t know where the shaft is? Don’t worry! Check out this crochet hook anatomy lesson! It’s basically the even cylinder above the handle. If you pull your loop tight around the throat (the skinny part near the hook), you’re going to get too-tight stitches.

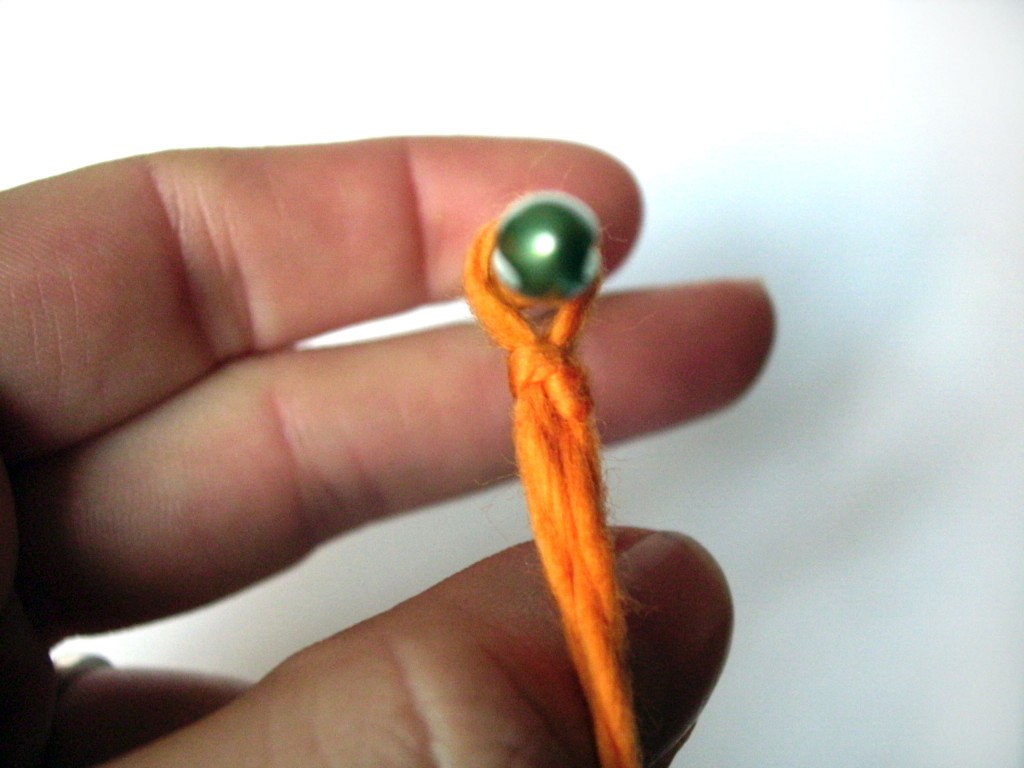
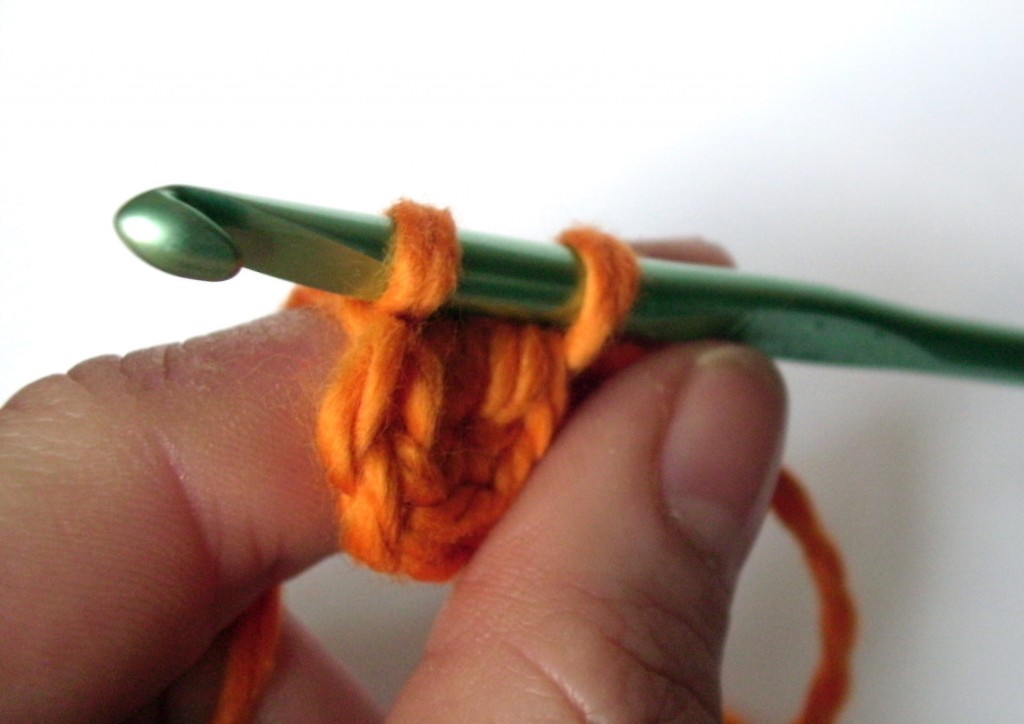
Step 2: Look for the teardrop-shape. What teardrop shape? Take a look at your hook head-on. The loop should look like an upside-down teardrop that fits snugly around your hook.

Do you see it?

Why is the upside-down teardrop shape so important? Because you’ll need that point to slide the hook through while stitching!

See how my hook is sliding through? If your loop is a perfect circle (strangling the poor hook!), then your hook is probably going to get caught on your loop as you try to pull yarn through- making crocheting very frustrating!

Step 3: Check for the teardrop at every step. Look at me! I’m single crocheting!

Now, take a look at my loops… still in the teardrop shape! To get a nice, even gauge, you’ll want to check these loops to make sure they are the right shape at every step. A lot of beginning crocheters let their stitches get super huge (a non-snug teardrop) while they’re in the middle of the stitch, which leads to very loose stitches.

Follow these three steps, and you’ll get beautiful, even stitches every time! Rock on, teardrop!

A Crocheter’s Guide to Pattern Reading- free download

How to Read a Crochet Pattern - from Shiny Happy World and FreshStitches

Do you know how to crochet, but feel like patterns are a foreign language? You’re not alone!

Many of us crocheters learn how to do the stitches from a family member or friend, and don’t learn to read the patterns until much later. And it’s true, reading a pattern can be scary… but well worth learning how! Once you can read crochet patterns, you’ll be able to make anything!

The patterns you find here at Shiny Happy World are written in a little more “plain English” than you may see elsewhere – but we still use abbreviations and common conventions. I’ll walk you through the instructions for making Howie the Penguin’s wings below. (Howie is a free pattern you can find here.)

The instructions are in regular black text. The “translation” is below it in pink. 🙂 If there’s a link in the translation, that’s taking you to a tutorial demonstrating that skill.

Wings

Make 2.

This is just telling you that you need to make two wings. Make one from start to finish – then make a second one just like it.

With MC, ch 2

With the main color of yarn, chain two.

Round 1 sc 6 times in 2nd ch from hook (6)

The instructions number each round in the project. Single crochet 6 times in the second chain from the hook. The 6 in parentheses tells you that there are 6 total stitches in this round.

Round 2 sc twice in each st (12)

Single crochet twice in each stitch (that’s an increase), for a total of 12 stitches in round 2.

Rounds 3-4 sc in each st (12, 2 rounds)

This line of instructions applies to two rounds. Single crochet in each stitch for a total of twelve stitches, and repeat for a total of two rounds.

Round 5 [sc twice in next st, sc in next st] 6 times (18)

These brackets look scary, but they’re actually easy. They just tell you that everything in the brackets will be repeated. So for round 5, single crochet twice in the next stitch, then single crochet one in the next stitch. Repeat that sequence [single crochet twice in the next stitch, then single crochet once in the next stitch] for a total of 6 times. It will be a total of 18 stitches in the round.

Rounds 6-9 sc in each st (18, 4 rounds)

Single crochet in each stitch for a total of 18 stitches in the round. And repeat that round for a total of 4 rounds.

Round 10 [sc2tog, sc in next st] 6 times (12)

Single crochet 2 together (that’s a decrease), and then single crochet in the next stitch. Repeat that sequence for a total of 6 times. There should be 12 stitches total in the round.

Fasten off with long tail.

You’re done! Fasten off, but don’t cut your yarn short. Leave a tail of at least a foot.

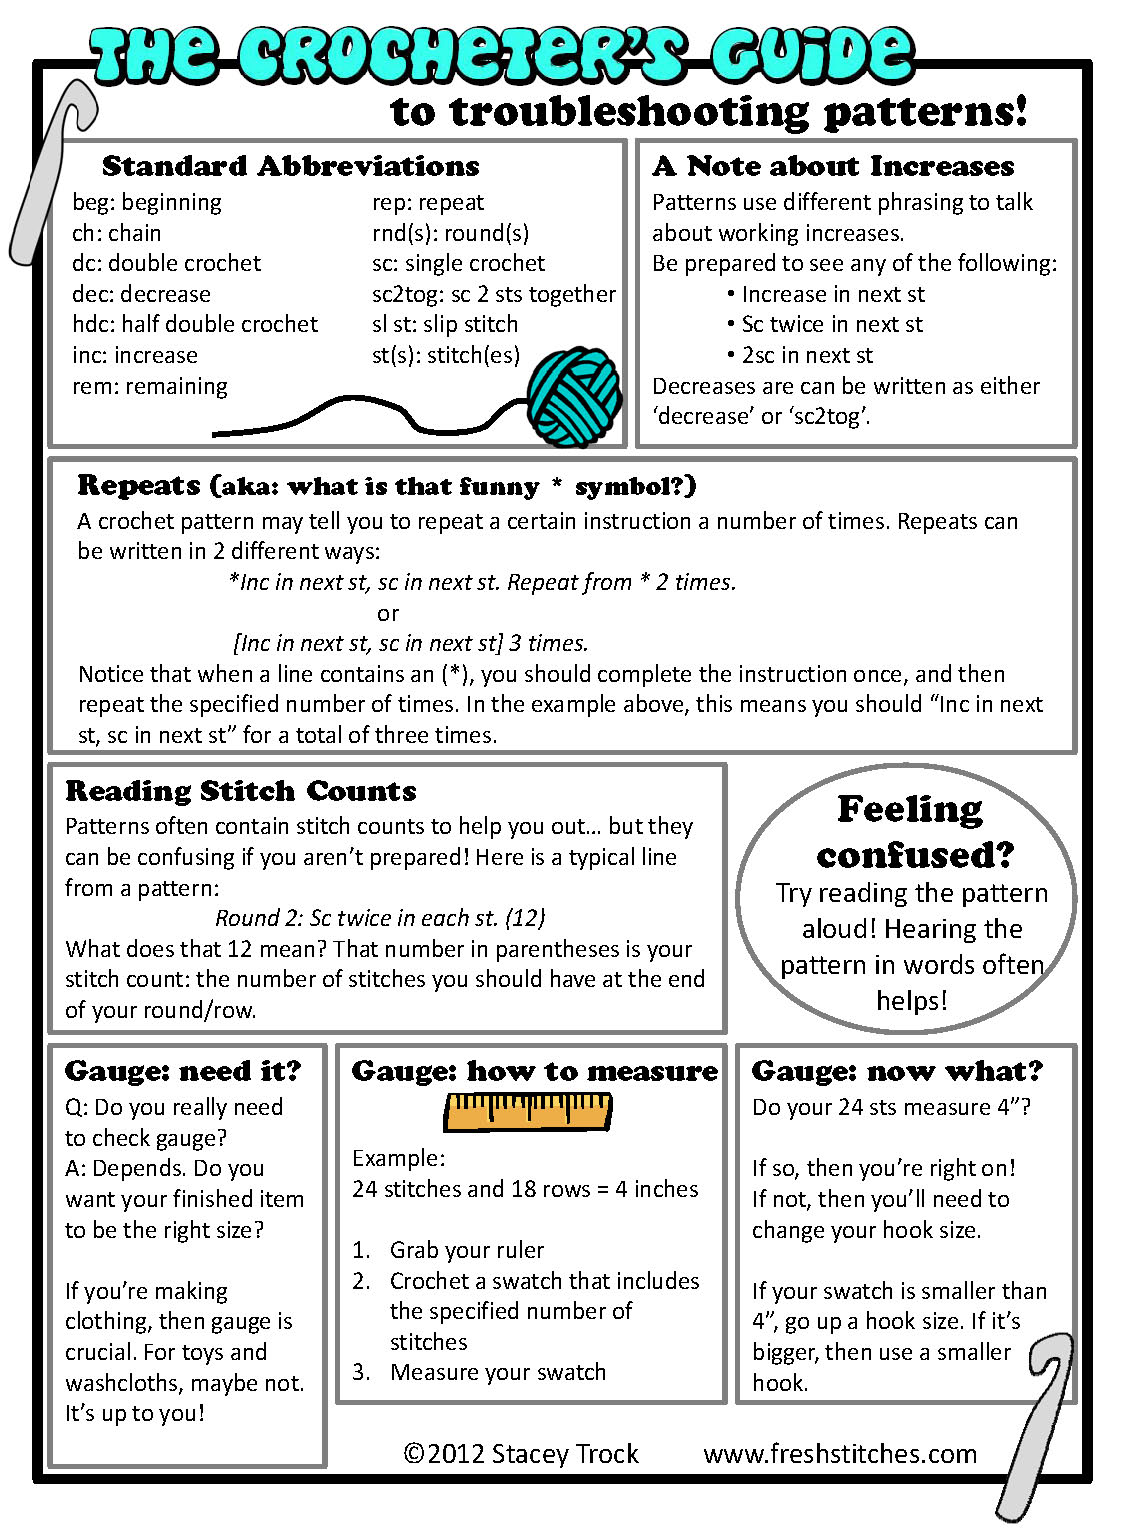
That one little pattern for a wing includes most of the major conventions you’ll run into in patterns. It has starting, fastening off, increasing, decreasing, repeating sections, and repeating rows. Beyond that – or for patterns from other companies who abbreviate a bit more or use different abbreviations – this tip sheet will help you out a lot.

Click here to download this page as a pdf (much better resolution)!

Now that you can read crochet patterns, what are you going to make?

Here are handy links to all the posts about working with crochet patterns. . .

Return to the main table of contents for Let’s Learn to Crochet Amigurumi.

Move on to the lessons for working the first round of your crochet pattern.

Happy stitching!

Mosman Needlecraft: Sydney, NSW, Australia

  • store: Mosman Needlecraft
  • address: Shop 3, 529 Military Road, Mosman, NSW 2088 Australia
  • website: www.mosmanneedlecraft.com.au/
  • date of visit: January, 2012

If you’ve read my previous posts about Australian yarn stores, you have probably heard me lament that they aren’t quite the same as American yarn stores. A typical Aussie ‘wool shop’ (and trust me, relatives have sent me to many of them!) has: no table for knitting, scratchy yarn with a limited selection and owners who look at you as if you have two heads if you mention ‘Ravelry’. Sigh.

With that as background, I have to announce: I love Mosman Needlecraft! The store is beautiful and spacious. They’re stocked with beautiful and amazing yarns… even hand-dyed yarns! There’s even a table where you can come in to sit and knit!
The owners are super-friendly, love their yarn and are on Ravelry! They’re up to date with the latest patterns! They even ask what yarn interests you and look into ordering it! Swoon…

You’ll find pretty much everything you could be looking for: Berocco, Claudia Handpainted, Debbie Bliss, Jade Sapphire, Madeline Tosh, Malabrigo, Rowan… I could keep going. They’re also fully stocked with pattern booklets and books.

Of course, I’m selling the store short by focusing so much on yarn. Mosman Needlecraft is a full needlecraft store, with supplies for cross stitch and embroidery in addition to knitting. I know very little about those things- but the displays looked nice!

It can be tricky to find a rockin’ awesome LYS in Australia… so if you’re in Sydney, be sure to stop by Mosman Needlecraft! It’s the best source of yarn I’ve found in the city!

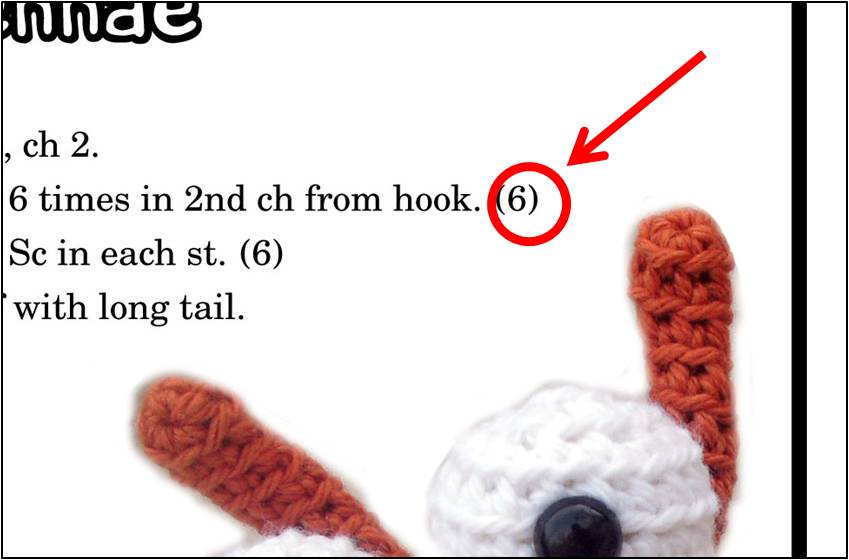
What does the number in parentheses mean in a crochet pattern?

Have you ever looked at a crochet (or knitting) pattern and wonder what those numbers at the end of the line are?

numbers in parentheses in crochet knitting patterns

Those numbers are the stitch count for that line of the pattern… in other words, how many stitches you should have in that row/round (6 stitches in the above example).

Sometimes a pattern may be more explicit and say “6 sc” (meaning there should be 6 single crochet stitches), but often the type of stitch is left out, leaving just a number.

So, fear not- it’s not some crazy instruction telling you to do more stitches… it’s just meant to help you out!

How to Add a Crocheted Edge to Anything – video and PDF

How to Add a Crochet Edge to Anything - a video tutorial from Shiny Happy World

Today we’re going all out with the fancification you can add to the hem of a simple skirt (or a pillowcase, a hankie, a tea towel – anything with a hem really). Today I bring you my favorite fancy schmancy embellishment – the crocheted scallop edge.

Here’s what it looks like. I happen to think this elevates a simple T-shirt skirt into something really nice. That simple band of color around the bottom, the addition of a different texture – it just works. And it works for grown up clothes too!

Want to see it closer?

You can click on any of the images to see them even bigger.

I don’t care if you’ve never picked up a crochet hook before – you can totally do this! The video is longish – not because it’s extra complicated, but because I take you slowly through every step. AND I’ve also made up a printable PDF with a kajillion step by step photos that you can keep near you on the sofa while you work. You can download that here. I tell you what needle size to use and I even took photos of the label of the yarn I use so you can see all the details. You can do this!

This is the last of this batch of skirt fancification videos. Here’s a rundown of the other posts.

How to Add Ruffles to a T-shirt Skirt (video)

How to Embroider the Hem of a T-shirt Skirt (video)

How to Add a Crocheted Scallop Edge to Anything. That’s this one. 🙂

Are you ready to sew some fabulous skirts? I’m ready to see them! Post photos to the Shiny Happy People group! 🙂

Happy stitching everyone!

Best,
Wendi
Applique Wendi (with fabulous hat)