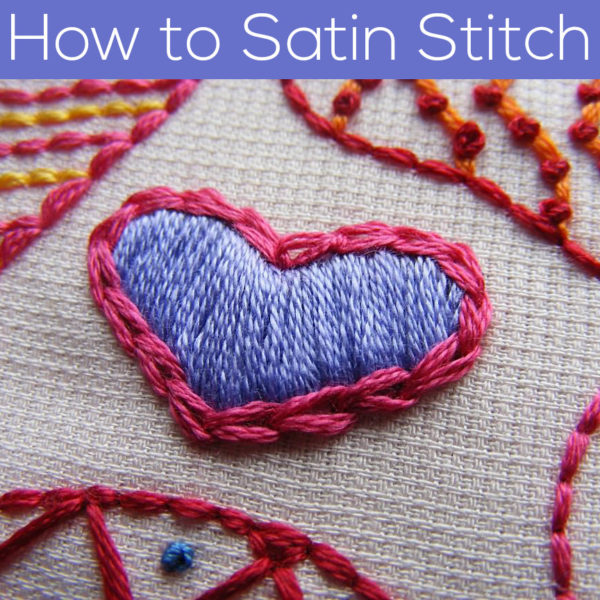
Satin stitch is one of my favorite fill stitches for small areas. It has a smooth (yes, satiny) surface and it’s a very effective way to make small areas pop. I like it when the satin stitched area is slightly raised above the surface of the fabric, and I’ll show you how to achieve that effect. It’s a nifty trick that also makes your stitching easier. I like that kind of trick!
See how easy? Satin stitch isn’t hard – it’s just slow. 🙂
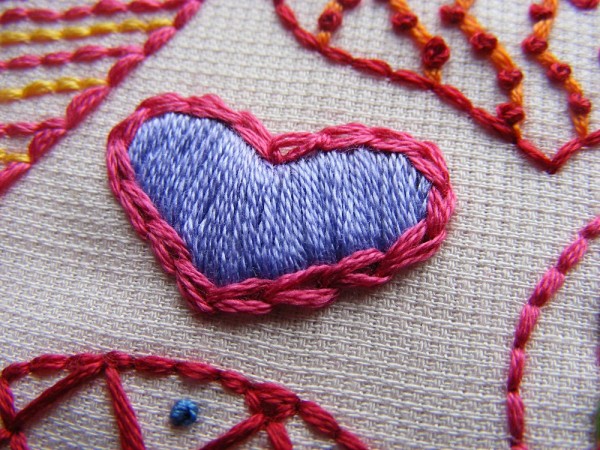
Technically, this is called padded satin stitch. I show it with a ring of split stitch around the edge of the shape. There’s a tutorial showing how to split stitch here.
If you’re filling a larger area, or just want to pad the entire shape, you can use split stitch as a fill stitch to completely fill the area before sating stitching over it.
Another option (which I occasionally use for doll or softie eyes) is to cut the shape out of felt (in a color to match the thread) and then satin stitch over the felt as the padding.
Want the effect you see in that heart in the top photo? After satin stitching the heart, I outlined the shape with chain stitch. Easy peasy and super fancy.
You can find that heart embroidery pattern here.

Here are my lessons for the four most basic embroidery stitches I recommend for beginners.
- How to Backstitch
- How to Stitch a Lazy Daisy (or Detached Chain Stitch)
- How to Stitch a French Knot
- How to Satin Stitch
Return to the Learn to Embroider main Table of Contents.
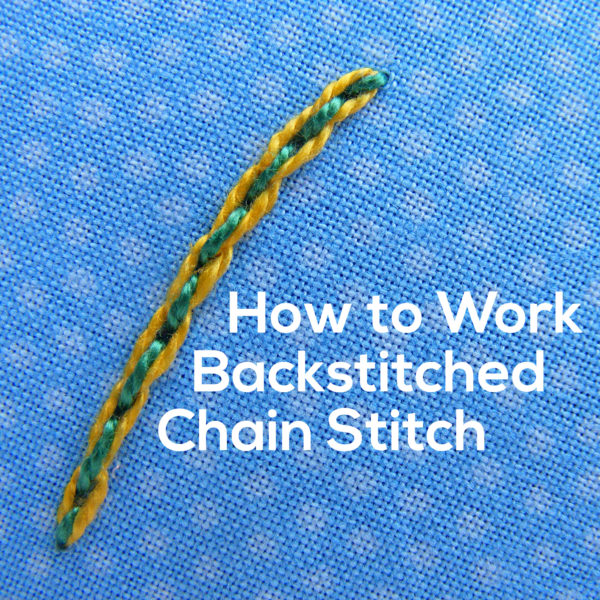
Move on to the lessons teaching other options for outline stitches.